Though the nights have been cool, the days are starting to warm up. I continue to stupefy Mama and Papa at the lengths I will go to to escape the confines of our yard. (You should see me climb!) There’s lots of yard work to be done, and even though I don’t help with it at all, I’m pretty hungry come dinner time. Mama and Papa both wanted something light and fresh, while I just wanted something in my belly.
-
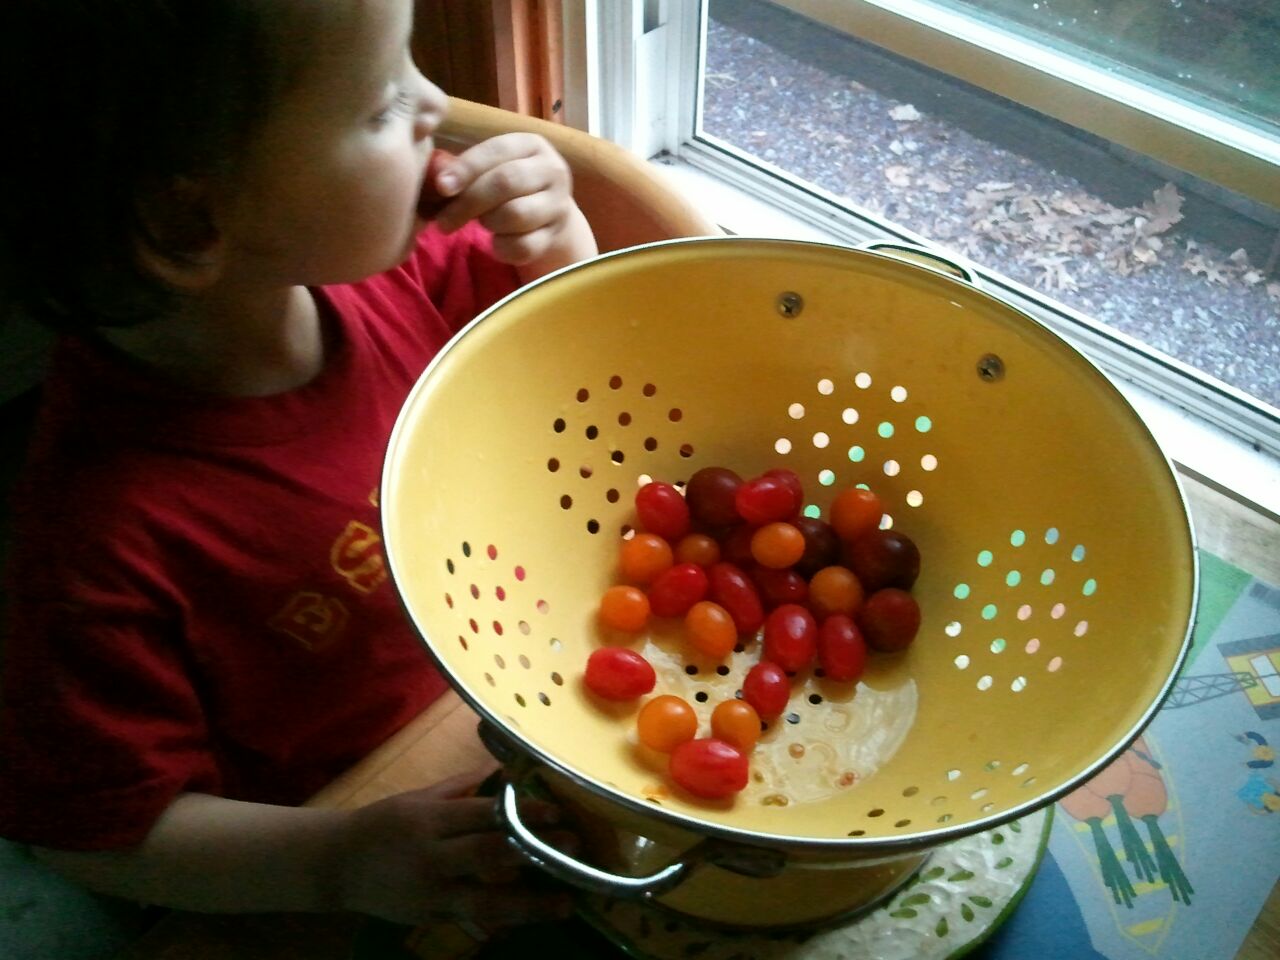
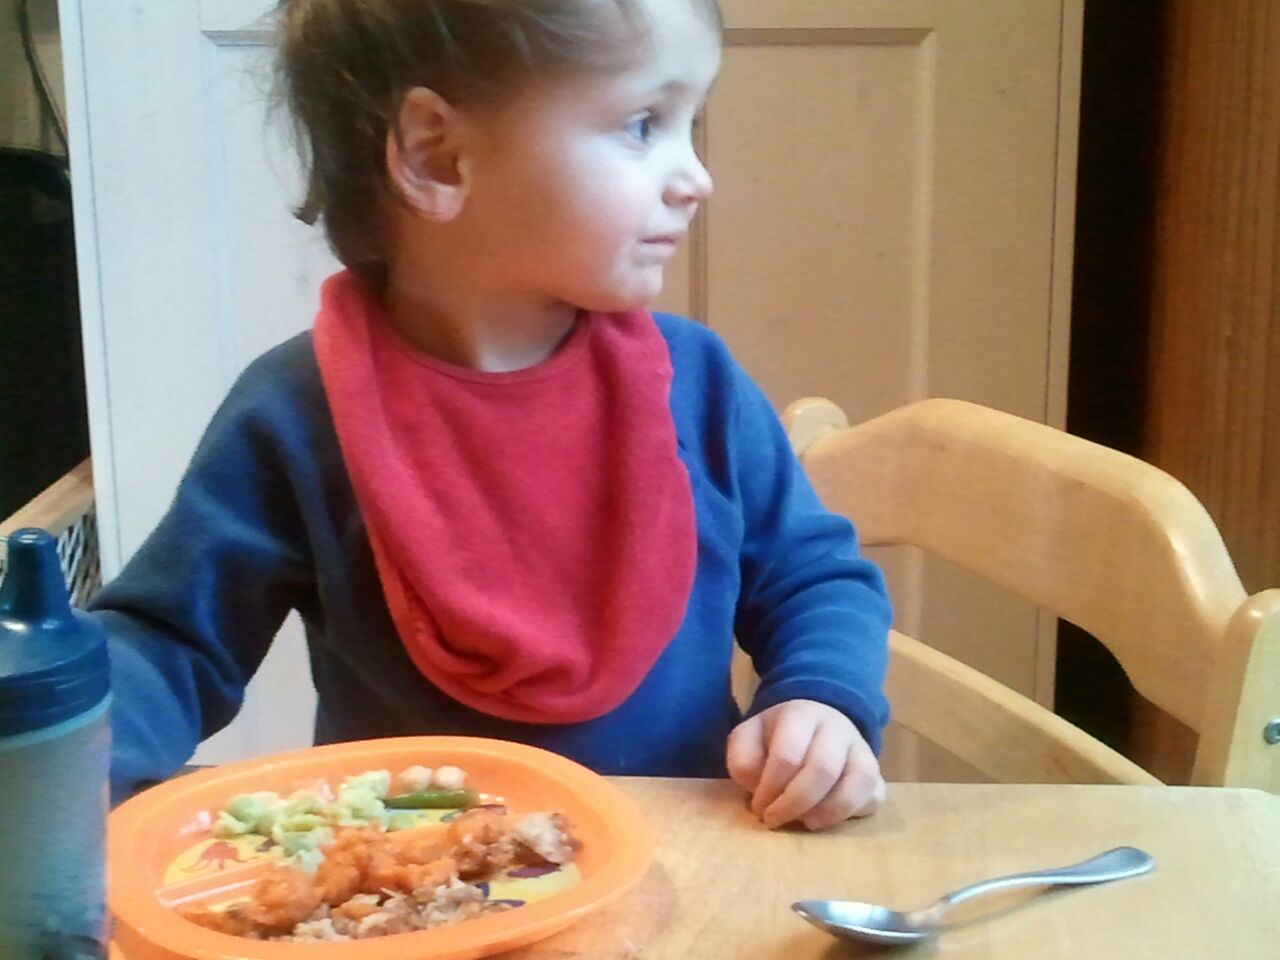
- Just look at all those veggies…that I’m not going to eat.
-

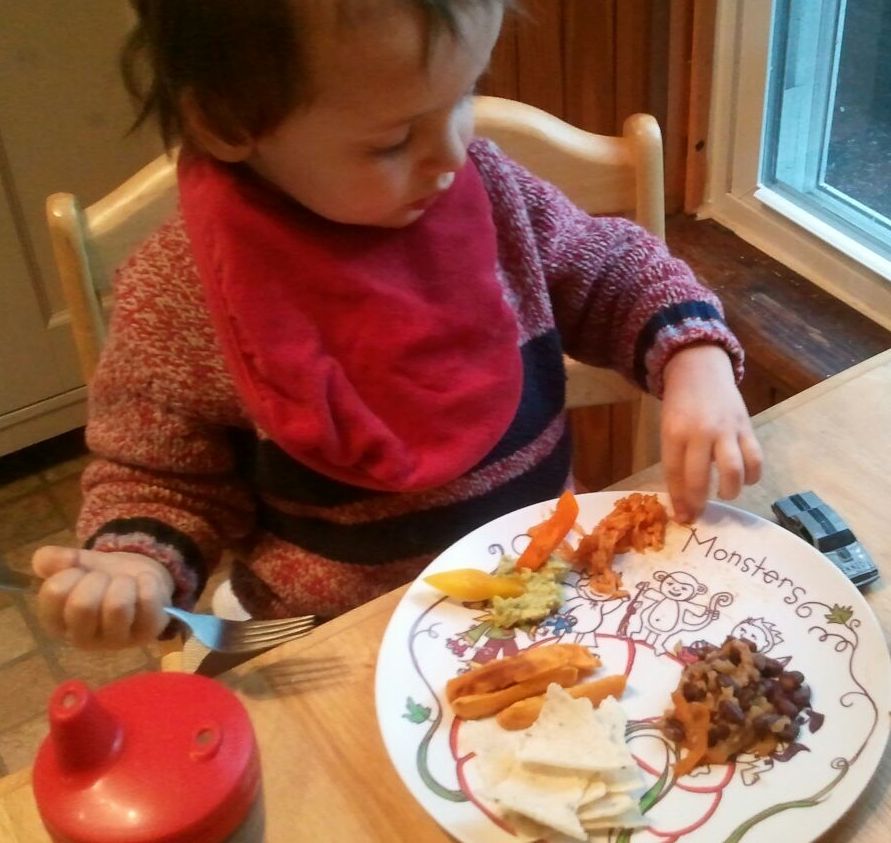
- Mama says this piece of chicken looks like Michigan, but I don’t know what that means.
-
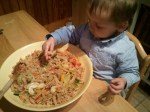
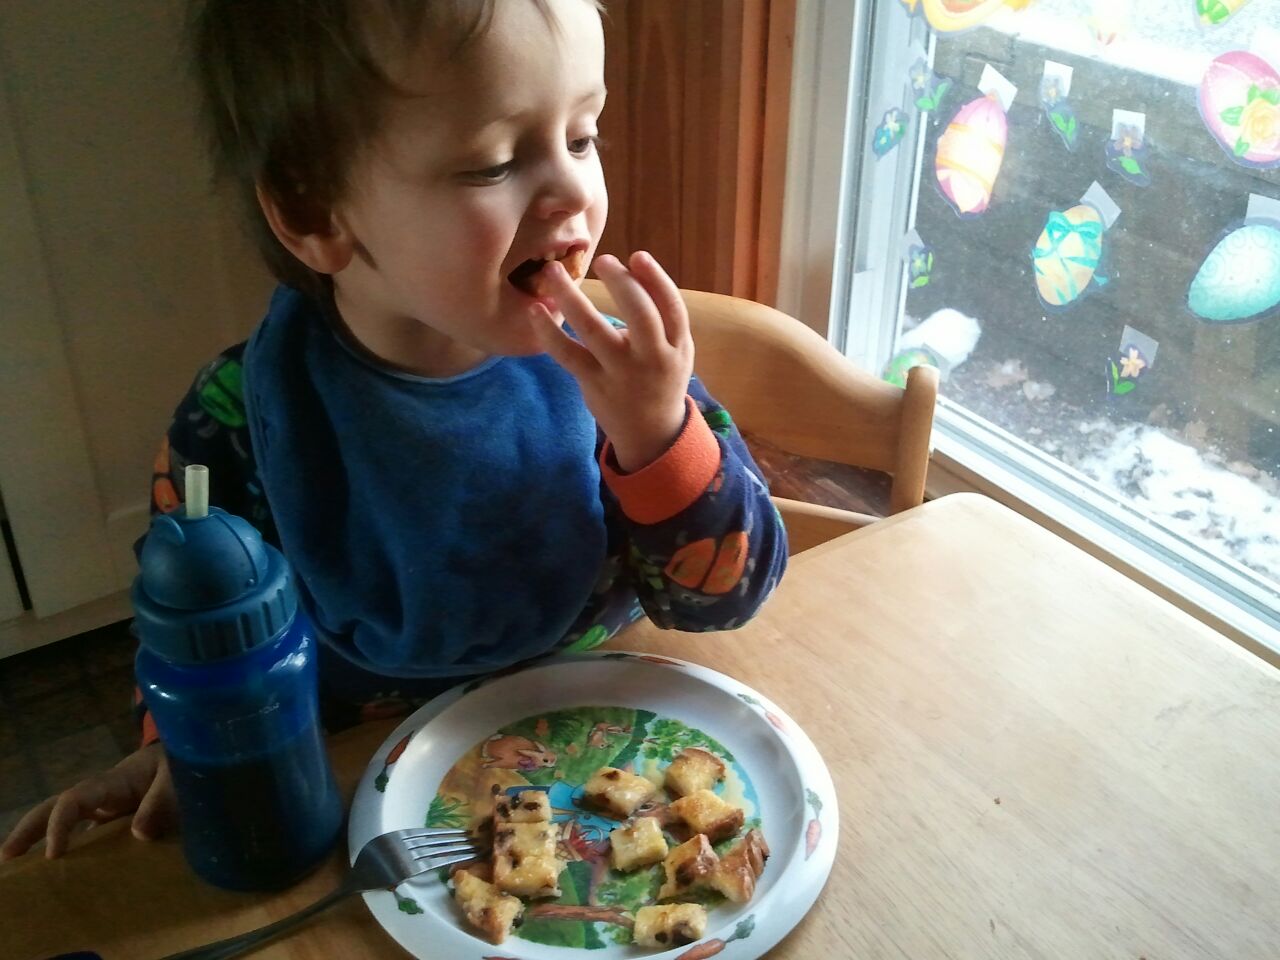
- Give me pasta, or give me… pasta.
Mama went to an easy stand-by recipe, one of those she says everyone should know how to make: chicken piccata. There are probably as many variations on this dish as there are on any other, but Mama likes it for its simplicity—it’s all cooked in one pan—and Papa likes it because it’s delicious. I like it for the capers. But, as you might recall, Mama doesn’t eat chicken, and pasta’s just as easy as anything to make (you know we eat a lot of it). So she got the water boiling and set to work on the veggies she was going to serve it with. Mama and Papa ate it up, but I scarfed the pasta almost exclusively (the exception being a few orange segments). When Mama asked me to take a bite of the zucchini, I said, “No way, José,” followed by a swift, “No, thank you.” Can you believe this actually worked, and I didn’t have to eat it?
Love, Jude
Chicken Piccata
(This one’s real loosey-goosey, but it’s pretty tough to screw up.)
Chicken breasts (for however many you’re cooking for)
Flour (whatever kind you have on hand)
Salt and pepper
Olive oil (to coat the pan)
About 1/4 cup chicken or vegetable stock (optional)
About 1/4 cup white wine
Juice of 1 lemon
1 large clove garlic, minced
About 2 Tbsp capers
Pat of butter
Parsley (a small handful, chopped)
Put the chicken in a large zip-top plastic bag, seal it, then pound the chicken with a meat mallet until uniform in thickness, about 1/2″. Toss in a handful or two of flour and some s&p. Reseal the bag, then shake it all up to coat the chicken.
Heat a skillet (of ample size to hold your chicken without crowding) over medium heat. Add about 1 Tbsp oil (a couple swirls around the pan—just enough for a thin coat) and wait until it’s hot before carefully adding the chicken (shake off the excess flour first). If you don’t want to be cleaning your stovetop and nearest wall for the rest of the night, put a lid on the pan. Cook until chicken is golden brown (5 or so minutes), then flip, and cook until golden on the other side and the chicken is cooked through. Remove chicken to a plate and loosely cover with foil to keep warm.
Deglaze the skillet with stock, if using, and/or wine. Scrape up the bits on the bottom of the pan, then add the lemon juice, garlic, and capers. Cook until reduced and slightly thickened, a few minutes. Add more s&p, if desired. Add the pat of butter (dredge it in flour first, if desired, to give a slight bit more oomph to your sauce) and continue cooking until melted and shiny. Sprinkle in the parsley, then pour the sauce over the chicken.
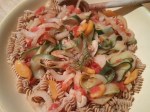
Rotini with Fennel, Squash, Tomato, and Orange de Provençe
12 oz whole-grain rotini (or any pasta you have on hand—and use a whole box, even if it’s a pound)
Olive oil
Salt & pepper
1 bulb fennel, stalks removed, cored, and thinly sliced
1 large tomato, large diced
1 small-to-medium zucchini, cut into “ribbons” with a veggie peeler
1 clove garlic, minced
About 1/4 cup vegetable stock
2 oranges, segmented (squeeze & reserve the juice from the inner membranes)
Herbes de Provençe (a couple teaspoons, maybe a Tbsp)
Cook the pasta according to package directions, then drain.
Meanwhile, heat a medium-to-large lidded skillet over medium-high heat. Add the oil, about a tbsp. (enough to coat the pan), then add the fennel and s&p. Cover and allow to sweat for a few minutes. (You can actually prepare the remaining ingredients in stages, if you like, rather than having them all prepped and ready to go before you begin cooking.) Add the tomato and the garlic and sweat some more, stirring occasionally (keep covered). The fennel won’t take on much color, but it will get soft. Once it is, add the zucchini, some s&p, and the veg stock. (Add enough stock to make the veggies wet but not soupy. This is going to be your pasta’s sauce, remember.) Cover and allow to cook until ribbons are soft, just a couple minutes. Add the orange segments and their reserved juice, and the herbes. Stir to incorporate, taste for seasoning, then combine with the pasta and serve.