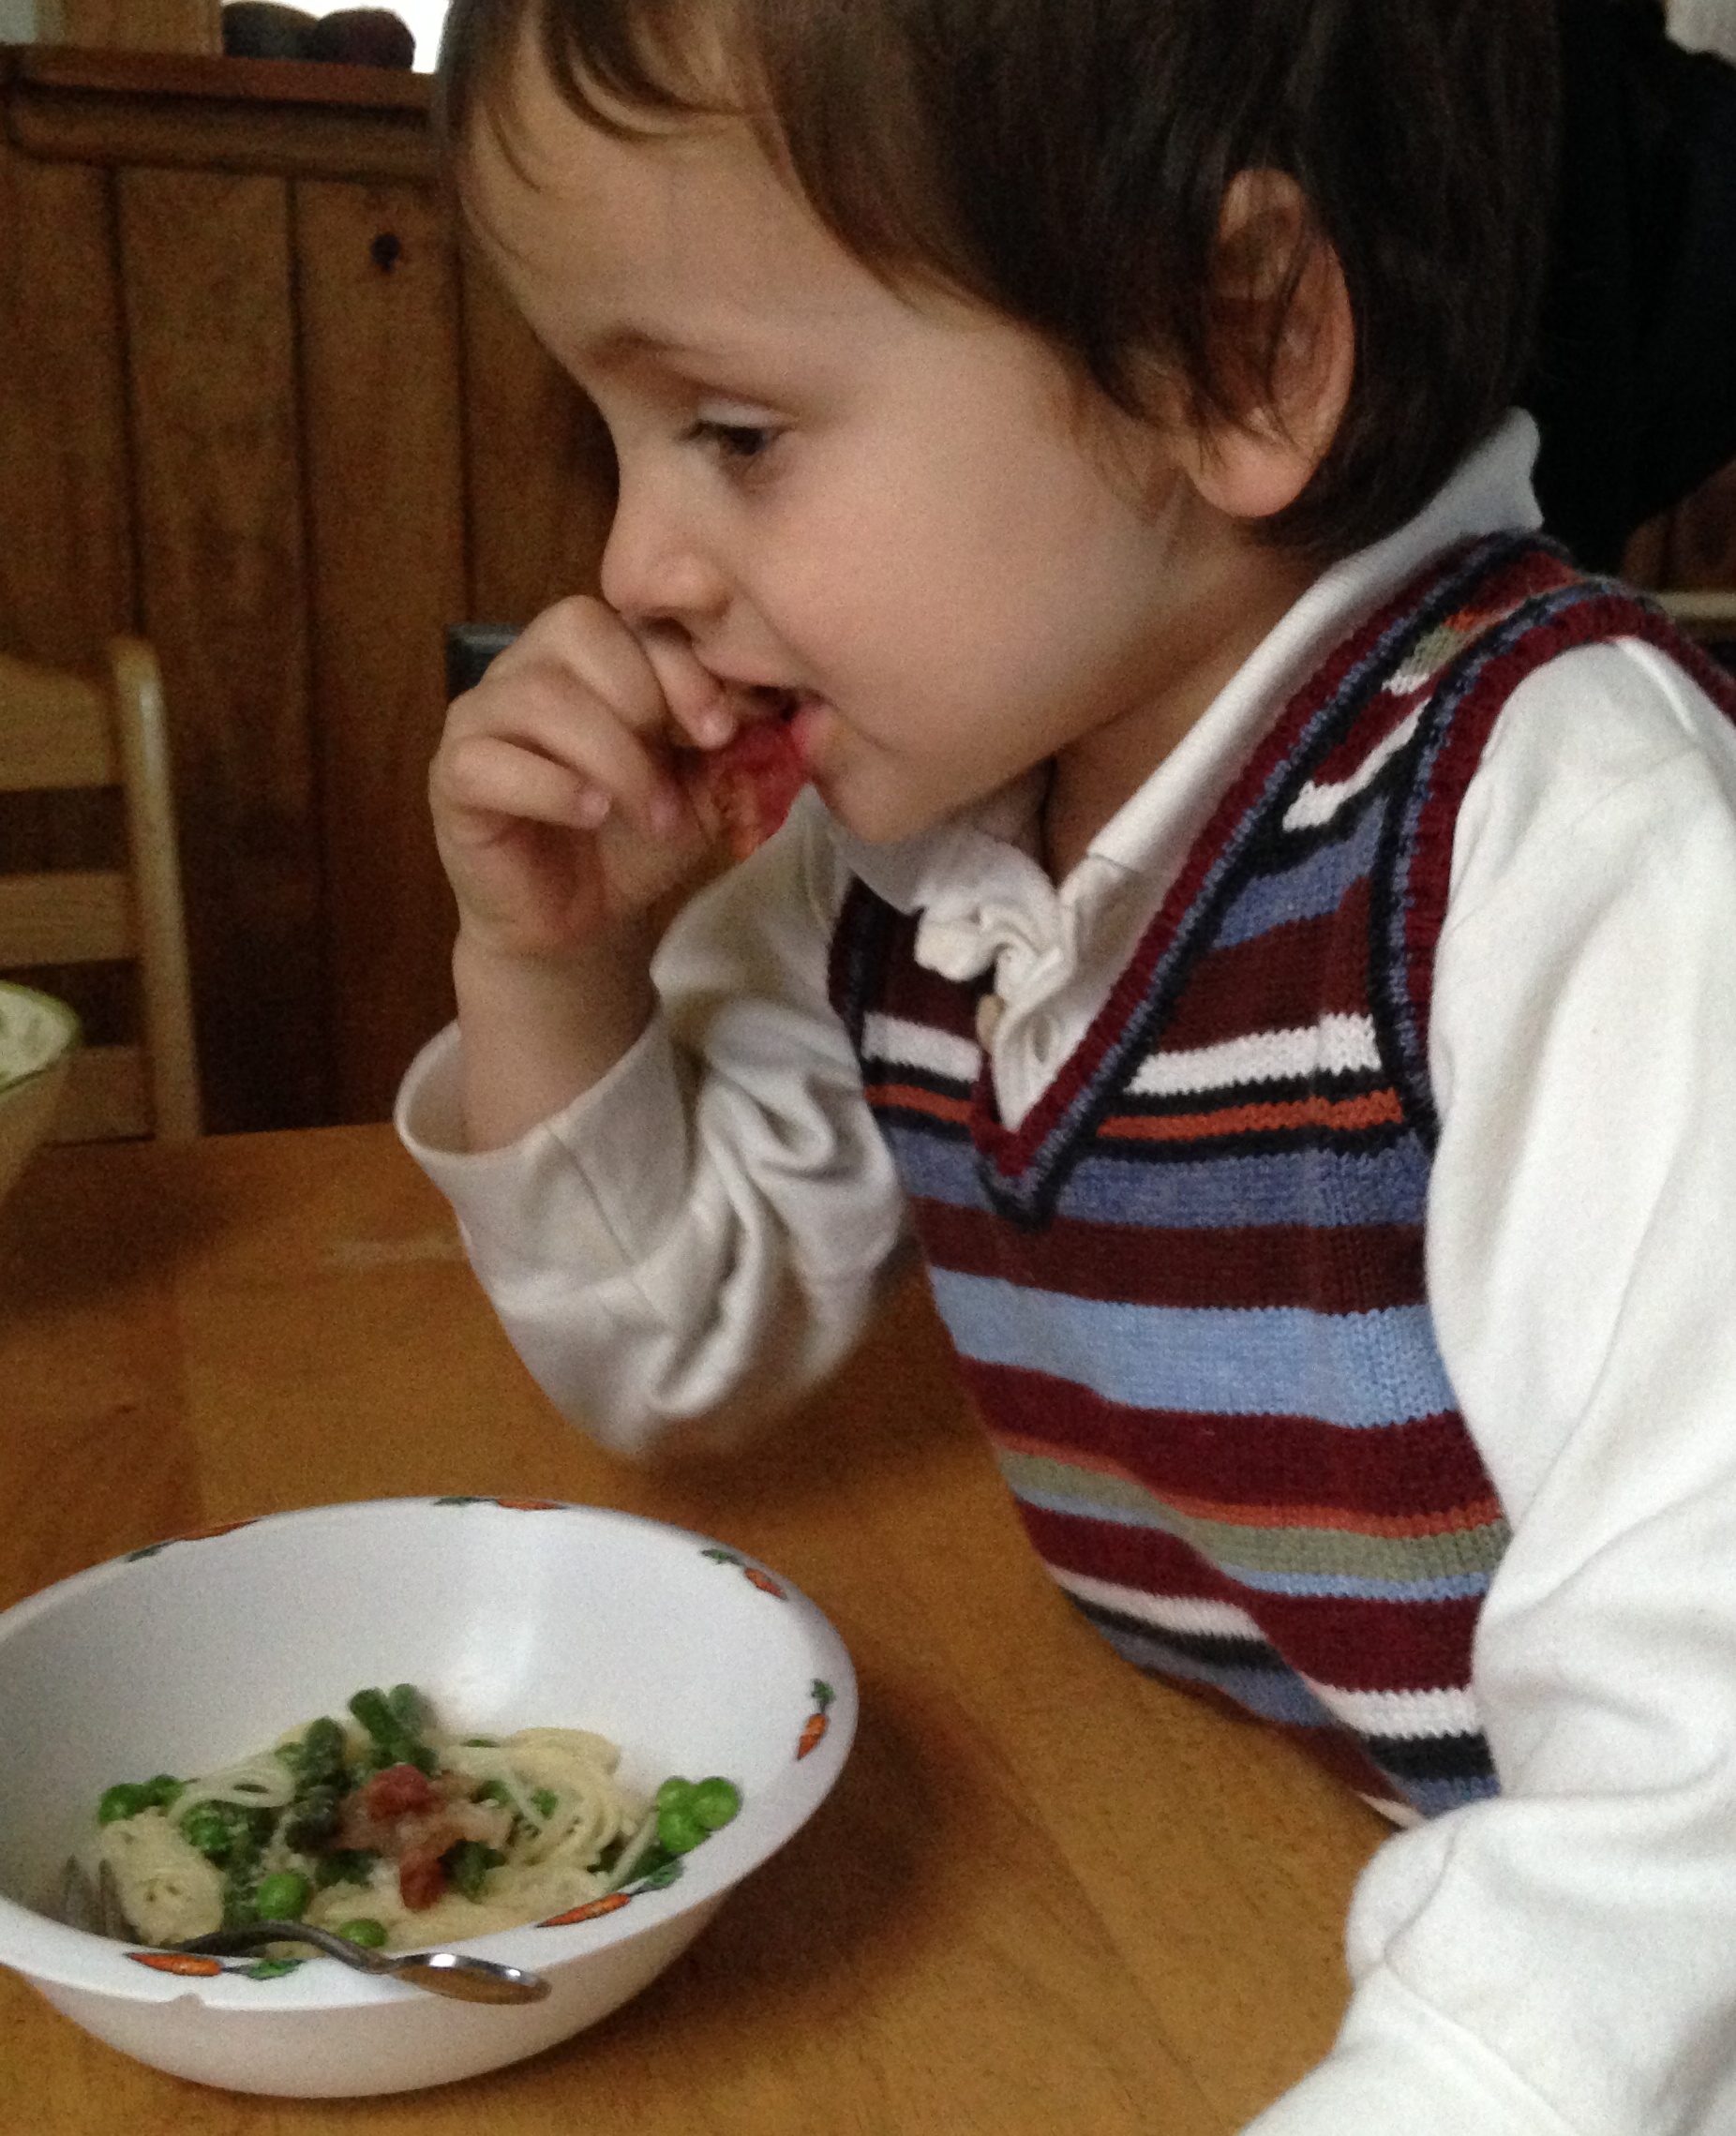
It’s finally warm(ish) today! Very windy, though. Mama and I had to hunt the neighborhood for our missing decoration from the front of our house. Successful mission, but because of it, we needed dinner fast. Papa and I were hon-gree. And Mama did not keep us waiting long.
Because it feels like spring outside, she figured asparagus and peas were the way to go. She boiled water for pasta, and when it was nearly done, she added the veggies. Meanwhile, in another pan, she cooked bacon, and then made a sauce out of the drippings, veggie stock, and cream cheese. Hear me out: It was creamy with just the right bit of salty, and the veggies were brightly cooked and fun to eat! But as in all things Jude, however, I had to be convinced to try it.
“Awww… I didn’t want THIS dinner.”
One bite was all the convincing I needed. We even sopped up the extra sauce from the pan with bread. How often does that happen?
“I’m a bacon eater!”
Love, Jude
Pasta with Bacon and Spring Vegetables
8–12 oz pasta of choice, preferably whole wheat
2–4 strips bacon, preferably uncured
1 clove garlic, finely chopped
1/2–1 cup vegetable or chicken stock
2–3 Tbsp cream cheese (Mama used what was left in a whipped cream cheese container, but use whatever you like)
1–2″ tips from 1 pound asparagus (reserve the stalks for roasting)
1/2 cup (or so) peas (add more if you like; frozen peas are okay)
Bring a saucepan of salted water to a boil. Add the pasta and cook 2 minutes shy of what the package directions suggest.
Meanwhile, heat a large skillet over medium or med-high heat and cook the bacon until nearly crispy. Add the garlic and cook until fragrant, 30–60 seconds. Remove the bacon to a plate lined with paper towel; crumble when cool enough to handle. Add the stock to the pan. Allow to bubble, then whisk in the cream cheese until thoroughly combined. (It may want to separate, so keep whisking.)
About 2 minutes before the end of the pasta’s cook time, add the asparagus and peas. When the pasta is cooked and the veggies are bright green, drain everything, then add the pasta and veg to the skillet. Use tongs to coat the pasta with the cream cheese sauce. Serve with bacon crumbled on top.
Note: For added flavor: squeeze a lemon, grind some black pepper, and/or sprinkle freshly chopped herbs over top. Also, you may substitute canola or olive oil for the bacon fat and serve the dish to any carnivores with torn prosciutto instead of crumbled bacon.
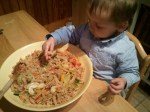
I helped Mama make stuffed shells. They’re really easy. Basically, I took a cooked pasta shell and, before handing it to her to stuff, I took a bite out of it.
Usually Mama makes a double batch of shells, bakes ones, and freezes the other in a disposable pan. But then you have a large “brick” (so she says) taking up freezer space, which’ll take longer to bake, and you’re left with acidic tomato sauce sitting in aluminum—and they don’t like each other very much.
Tonight, Mama tried a new approach: freeze the stuffed shells like she would berries. That is, spread them out on a baking sheet, freeze them until they’re solid, then bag them together in dinner-size groups. Then, when it’s time to use them, just take out a bag and arrange them in the baking pan with fresh sauce for dinner in no time at all.
A nice side of veggies made its way on the plate shortly after this was taken.
I like the shells very much. They’re cheesy and noodle-y, and they have lots of good sauce. And they really do look like sea shells.
Love, Jude
Stuffed Shells
(this makes a double batch, or enough for a few freezer-size portions)
2 boxes (12 oz each) jumbo shells
2 large containers ricotta cheese (we used part-skim)
3 cups grated Parmesan cheese
8 eggs
Chopped fresh herbs, if desired (we used parsley, chives, and oregano from the garden)
Salt and pepper
Chili flakes, if desired for heat
1 quart tomato sauce (we used homemade, but make this easy on yourself and used jarred if desired)
1 cup shredded mozzarella cheese (or more, as desired)
Preheat oven to 350°F.
In salted boiling water, par-cook the shells (you’ll probably need to do this in 2 batches). This means to cook them just until they become pliable, 5 or 6 minutes. Drain, quickly rinse to help cool them down, and toss with a little bit of olive oil. Set aside on a baking sheet.
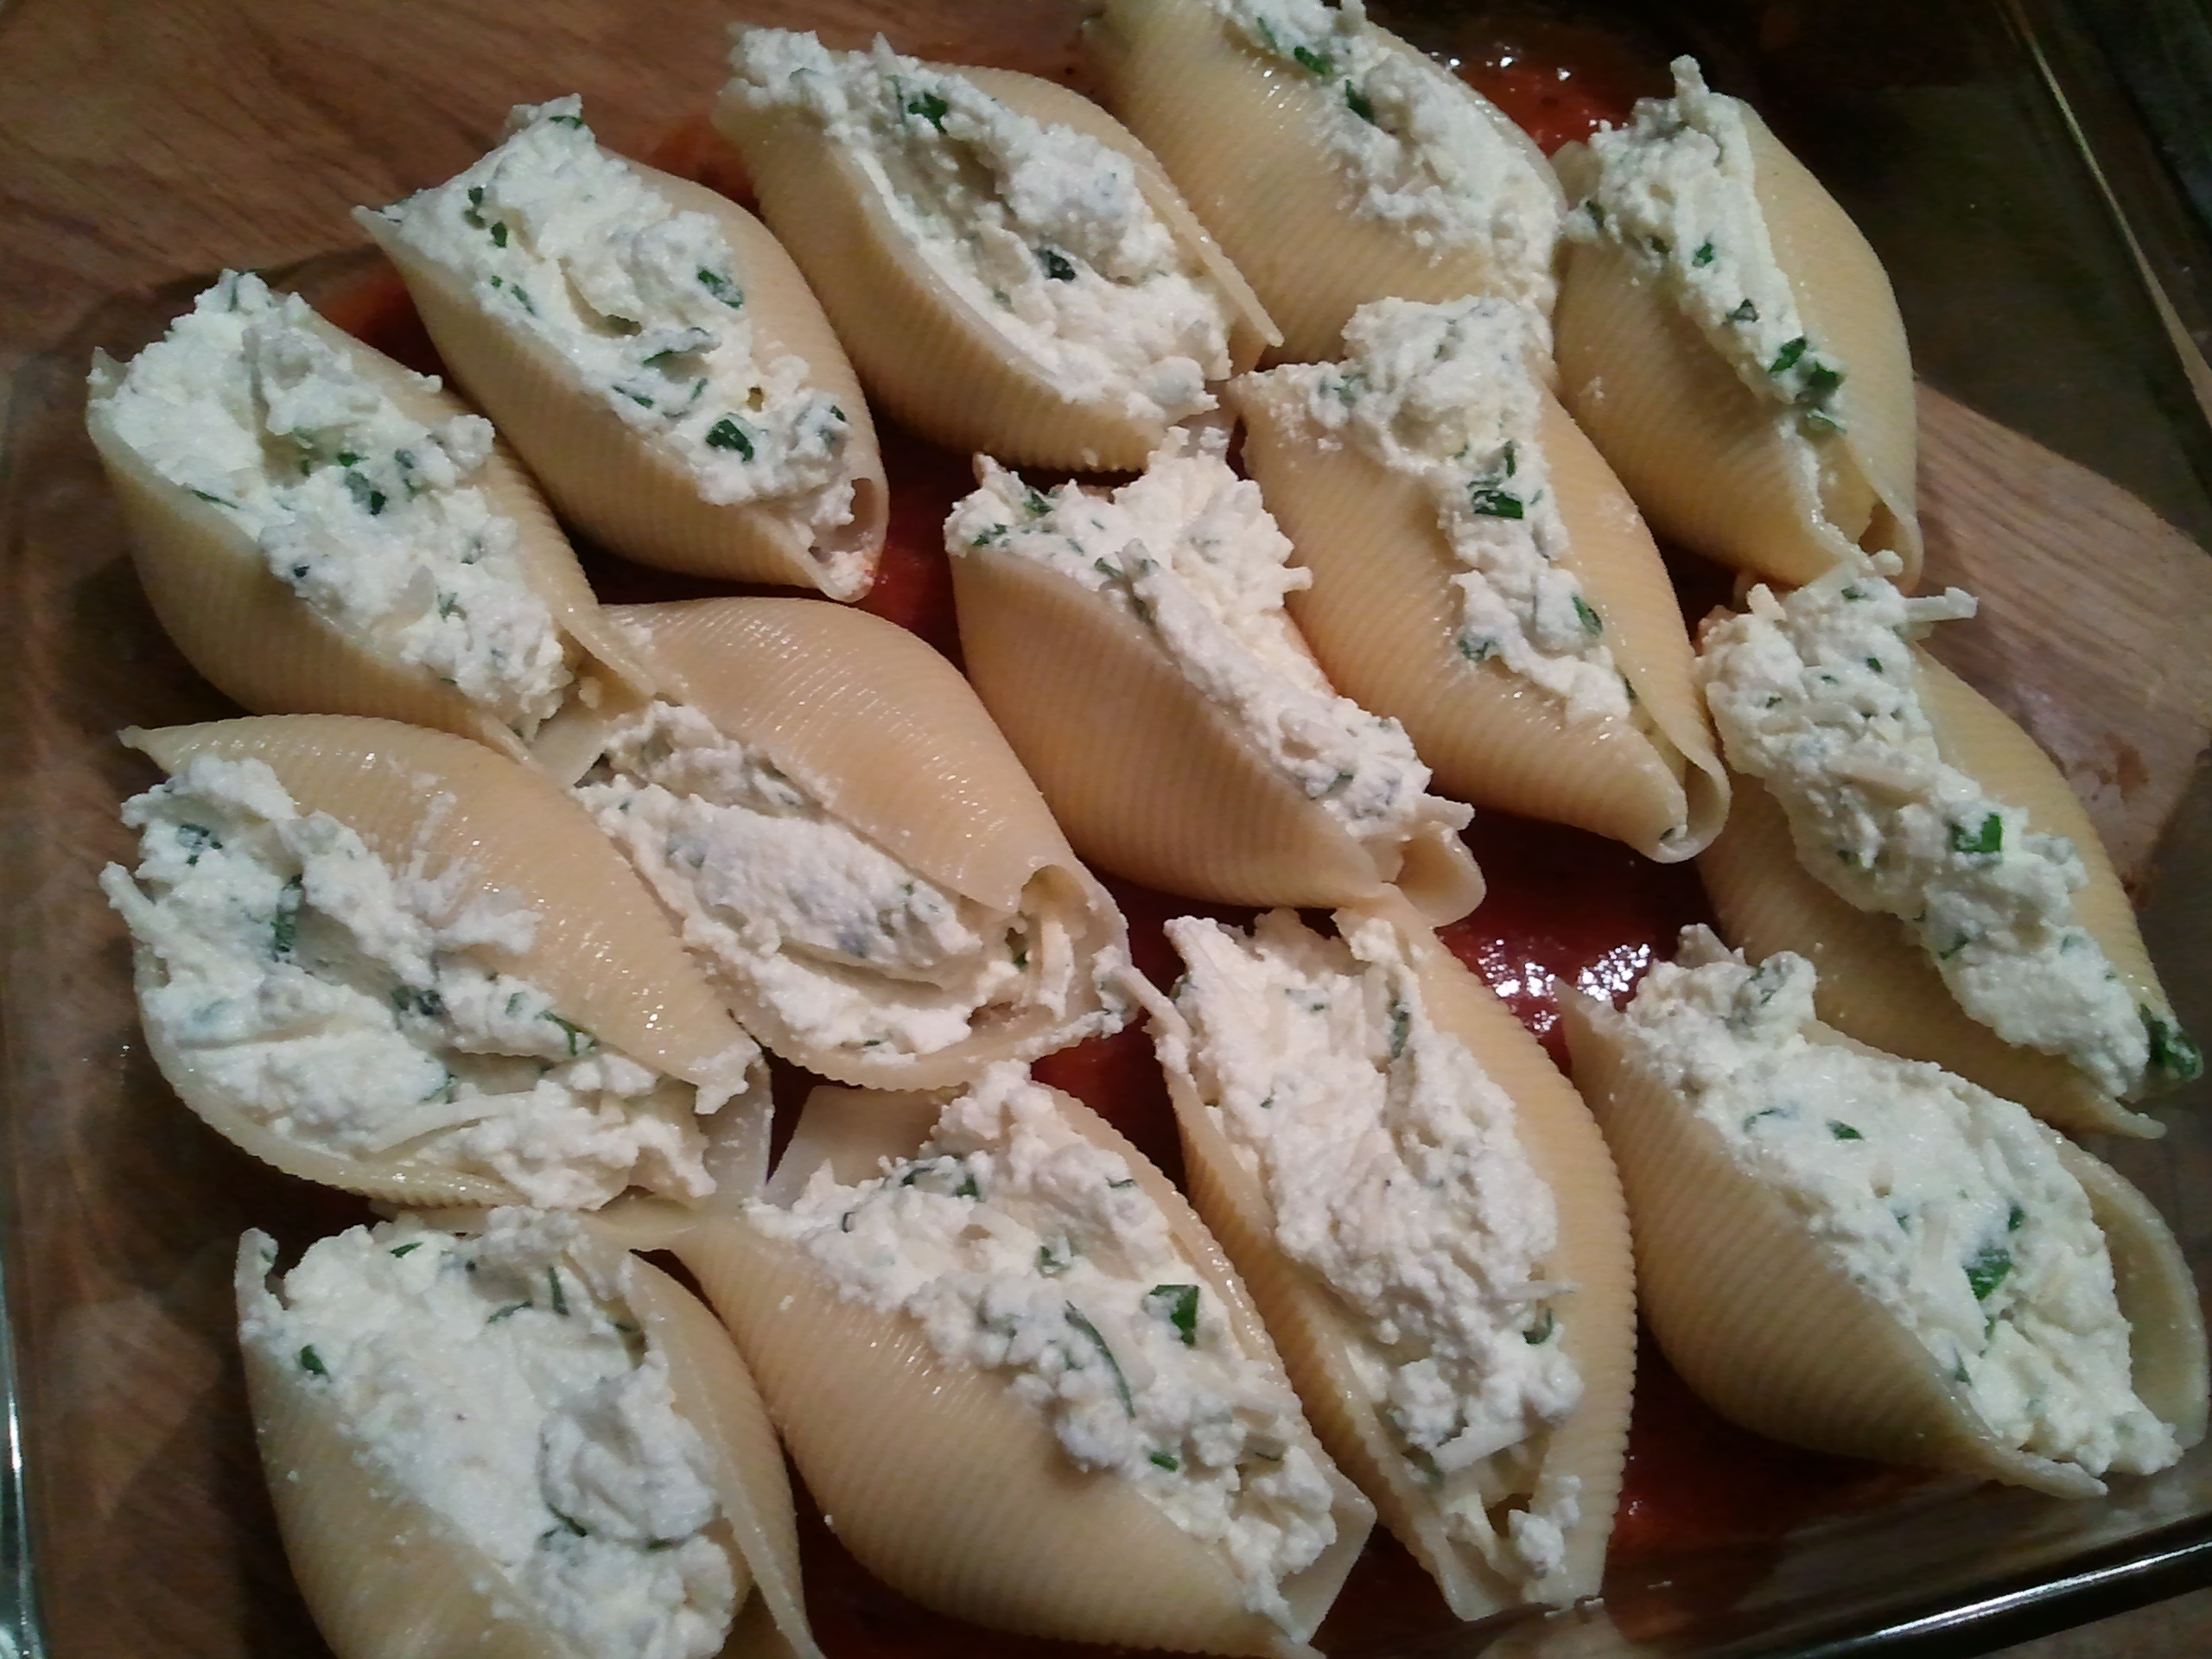
Meanwhile, in a large bowl, mix together the ricotta, Parmesan, eggs, herbs, salt and pepper, and chili flakes if using. When the shells have cooled enough to handle, spoon the filling into them. Fill them as much or as little as you like. They’re your shells. Mama stuffs them enough to keep them open without too much filling piling out. (She used a large table spoon.)
Spread 1 cup tomato sauce around the bottom of an 8 x 8” baking dish. Arrange 12 stuffed shells in it. (It’s okay that they touch.)
If you can fit a few more in there, go for it.
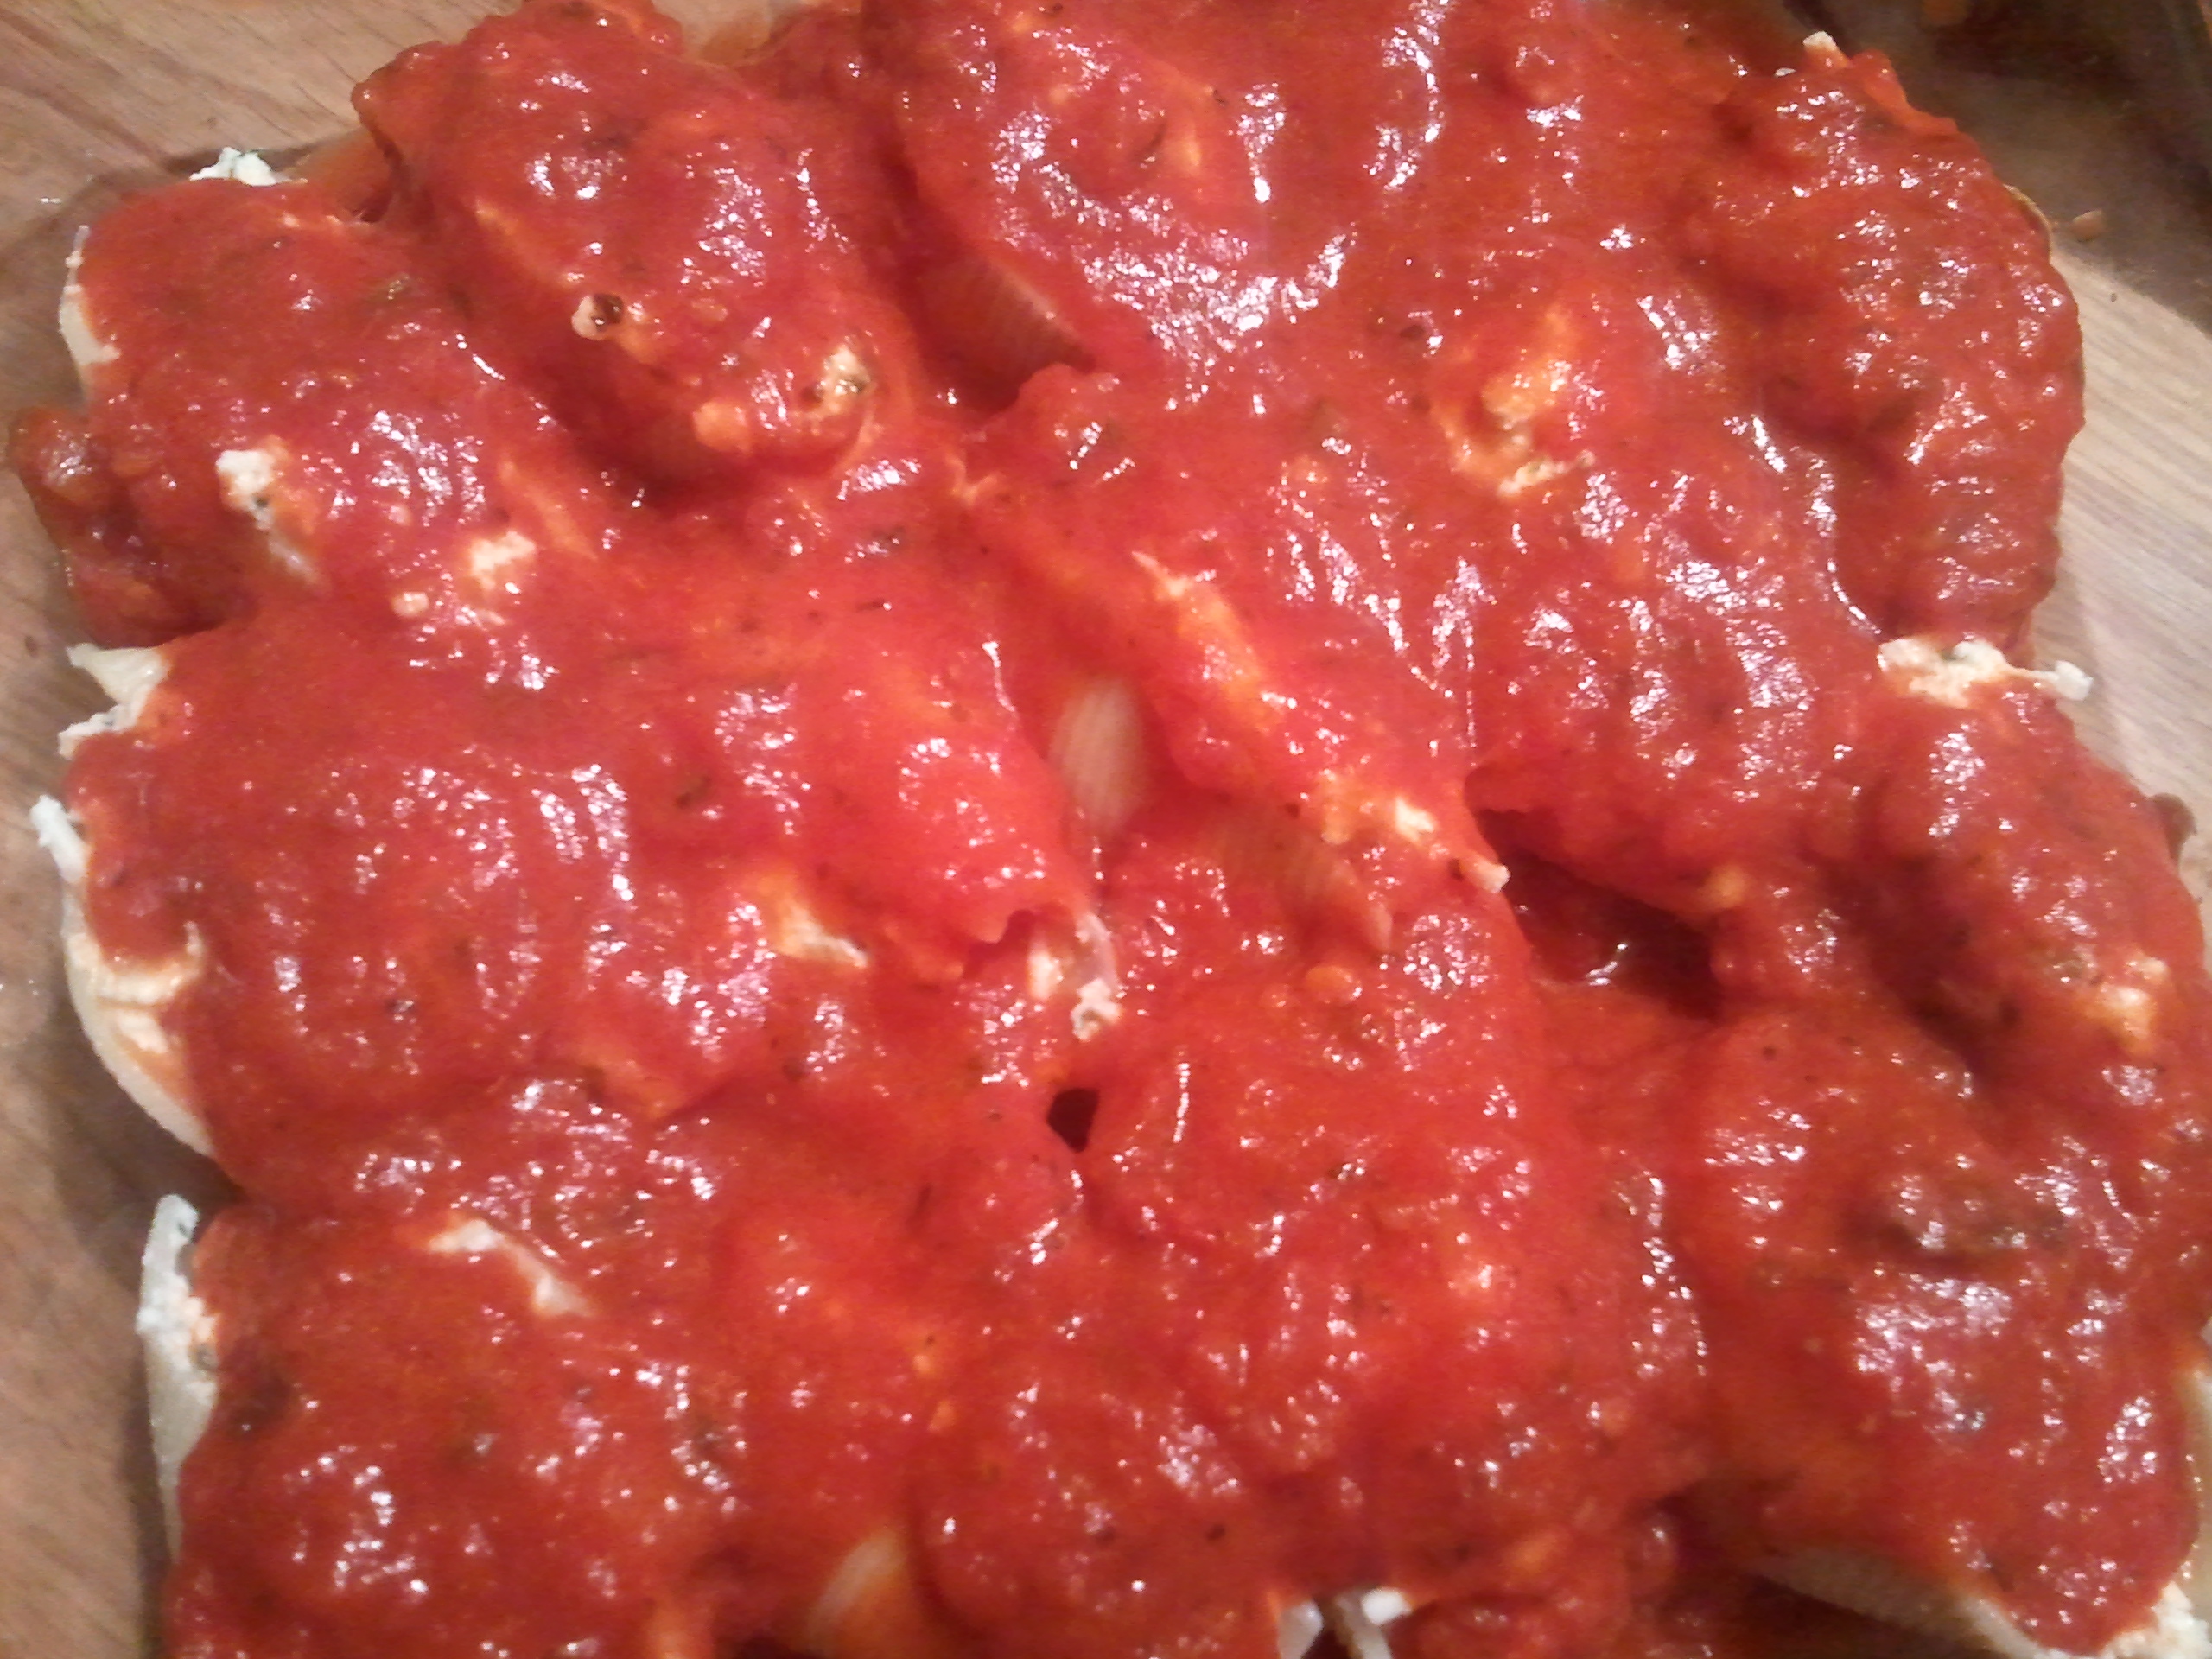
Pour the remaining sauce over the shells, making sure all the shells are completely covered, as they’ll need the moisture to finish cooking in the oven.
Don’t be shy about the sauce.
Sprinkle with mozzarella to cover.
Ready to be baked.
Bake, uncovered, for about 30 minutes. The mozzarella should be bubbling and golden, and the center should be hot. Let sit for 10 minutes to allow the cheeses to congeal.
Mama took out a few for me so they could cool. It’s a little runny in that corner as a result. Resist the urge to dig in right away!
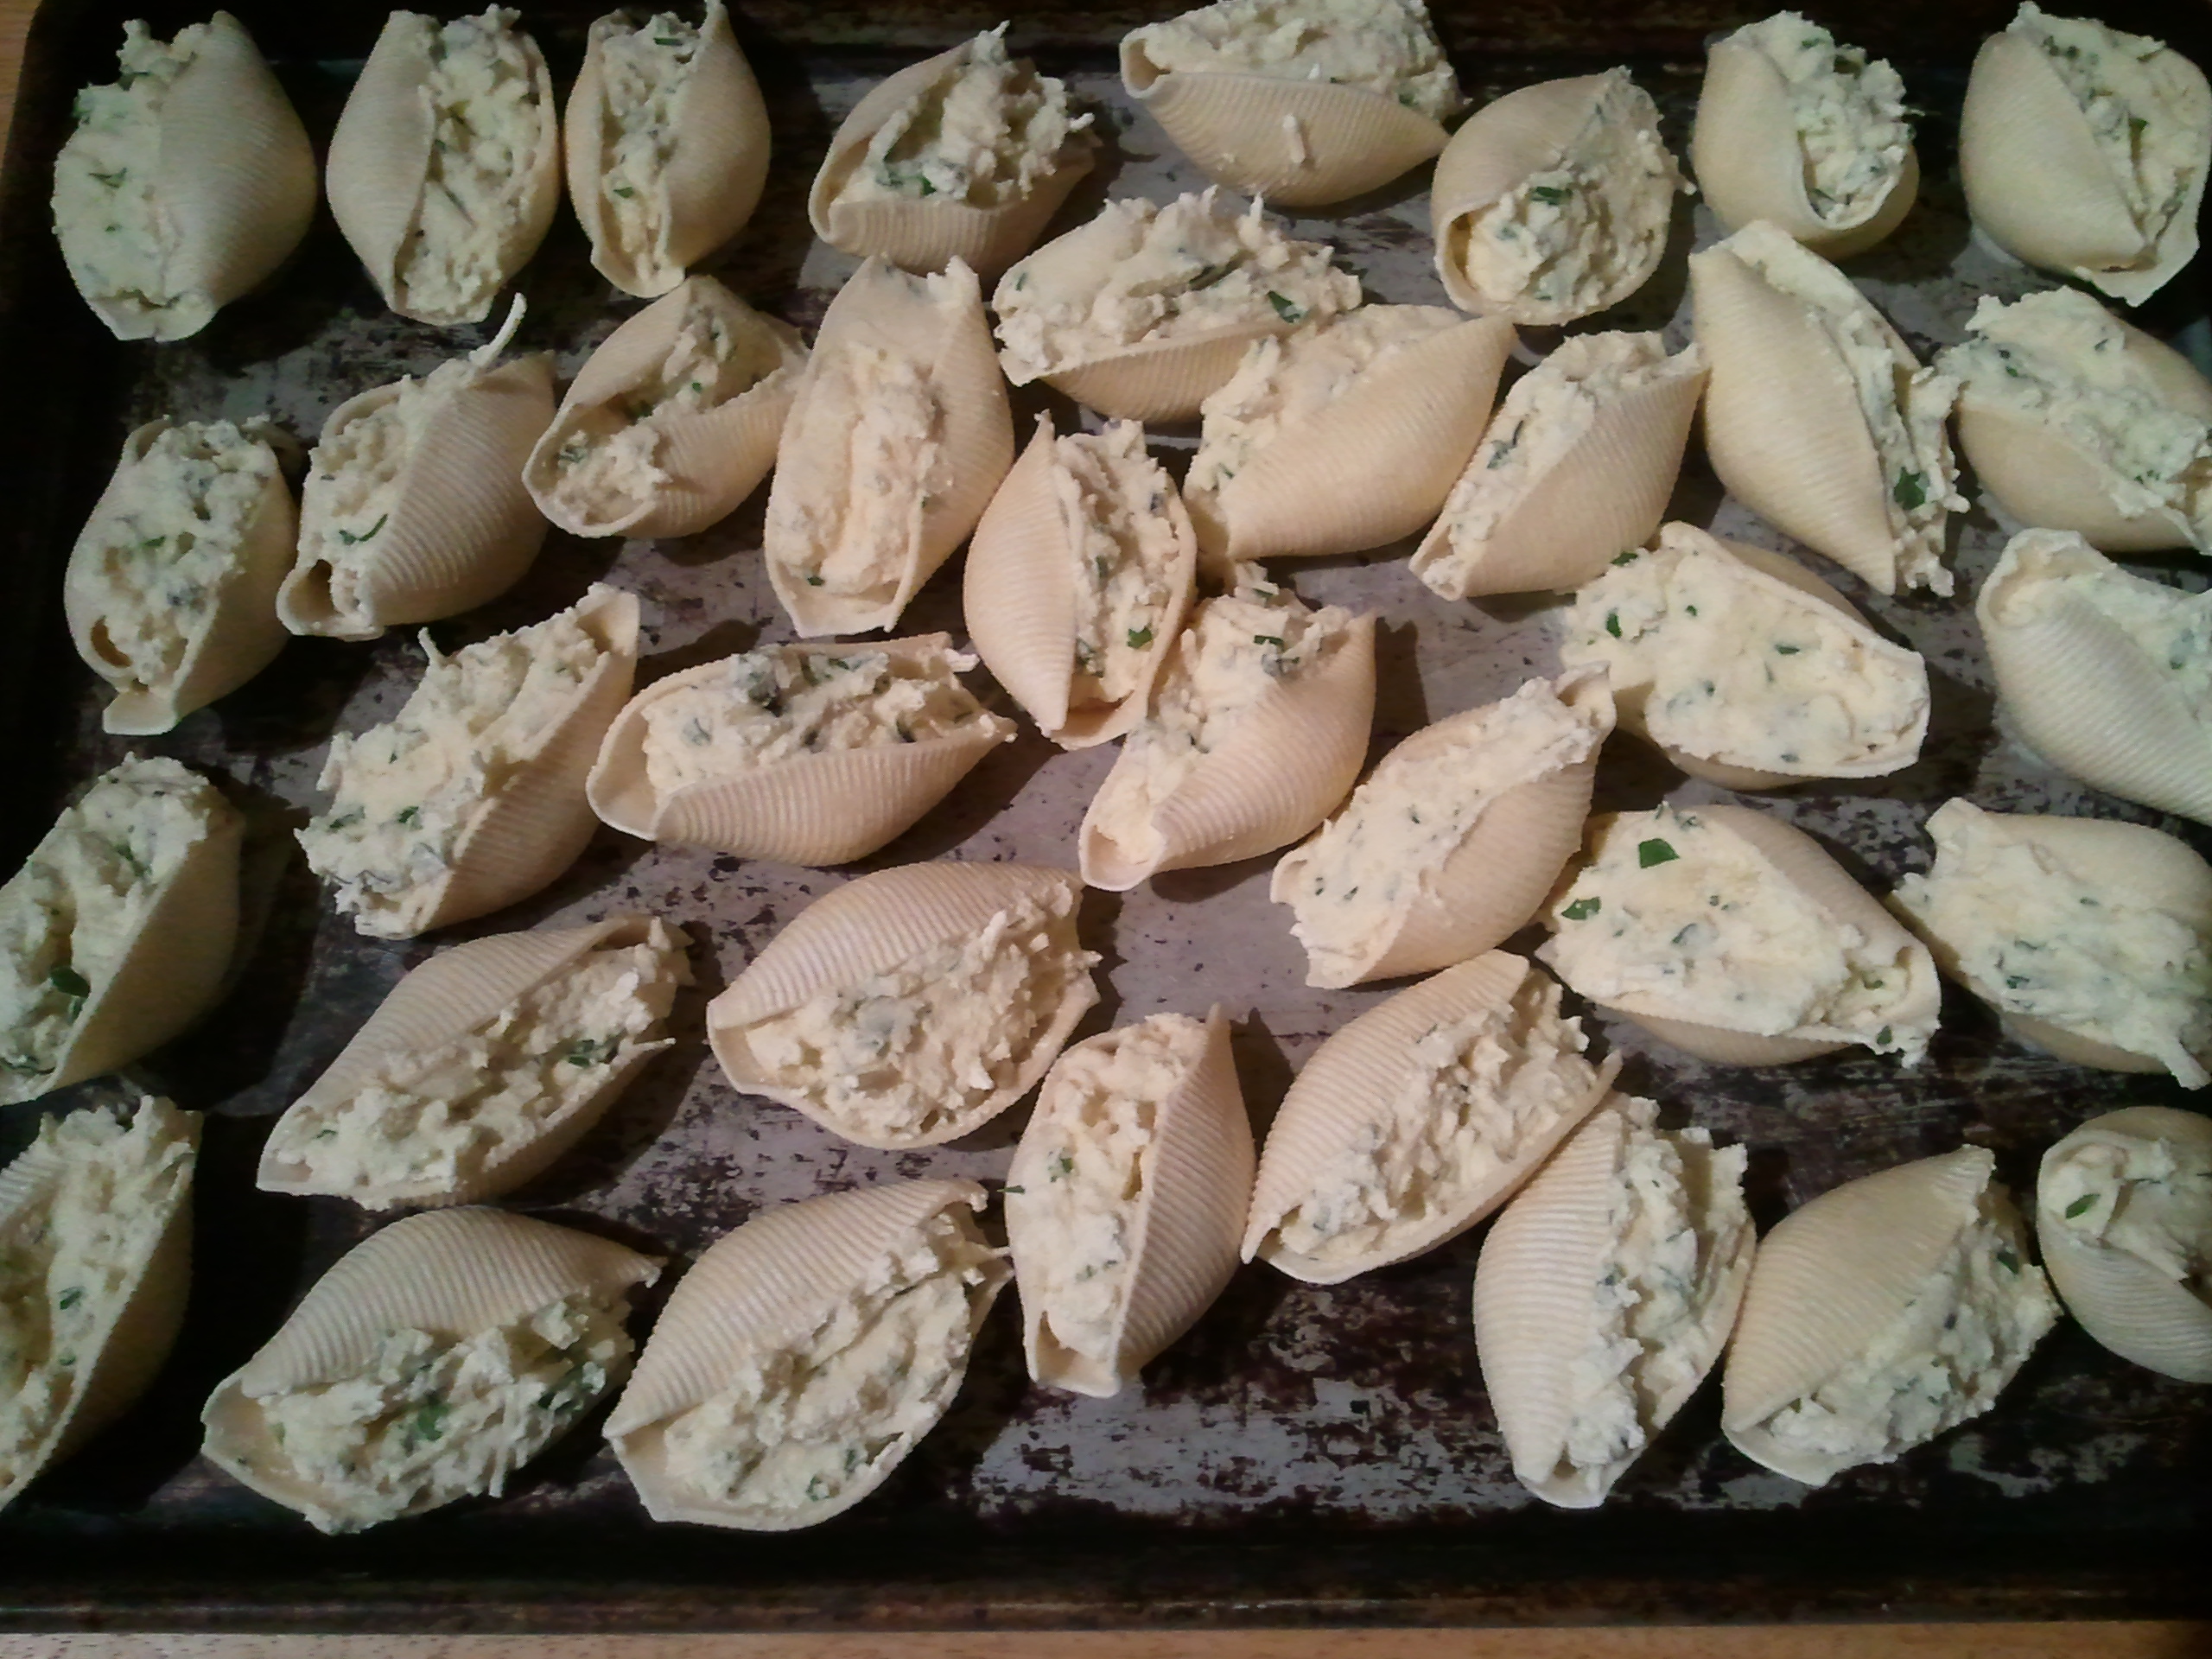
To freeze the remainder of the stuffed shells, arrange them on the lightly oiled baking sheet. Try to keep them from touching (but it’s okay if a couple do). Set in the freezer until frozen solid, at least 1 hour.
They really do look like sea shells.
Remove from the freezer and bag in desired portions. Mama did baker’s dozens because that’s what fit in the bags; she got 4 bags (+ dinner). May also make a second assembled batch, with sauce, and freeze the whole thing. It can go right into the oven, but you should decrease the oven temp to 325°F, and bake until the center is hot.
Serves 3–4
Note: Feel free to bake off more than 12 in a larger size baking dish. You’ll need to increase the amount of sauce and mozzarella accordingly. If using jarred tomato sauce, consider livening it up by sautéing half an onion in olive oil until soft and golden; then add a clove or two of minced garlic a minute before adding the sauce to heat through.
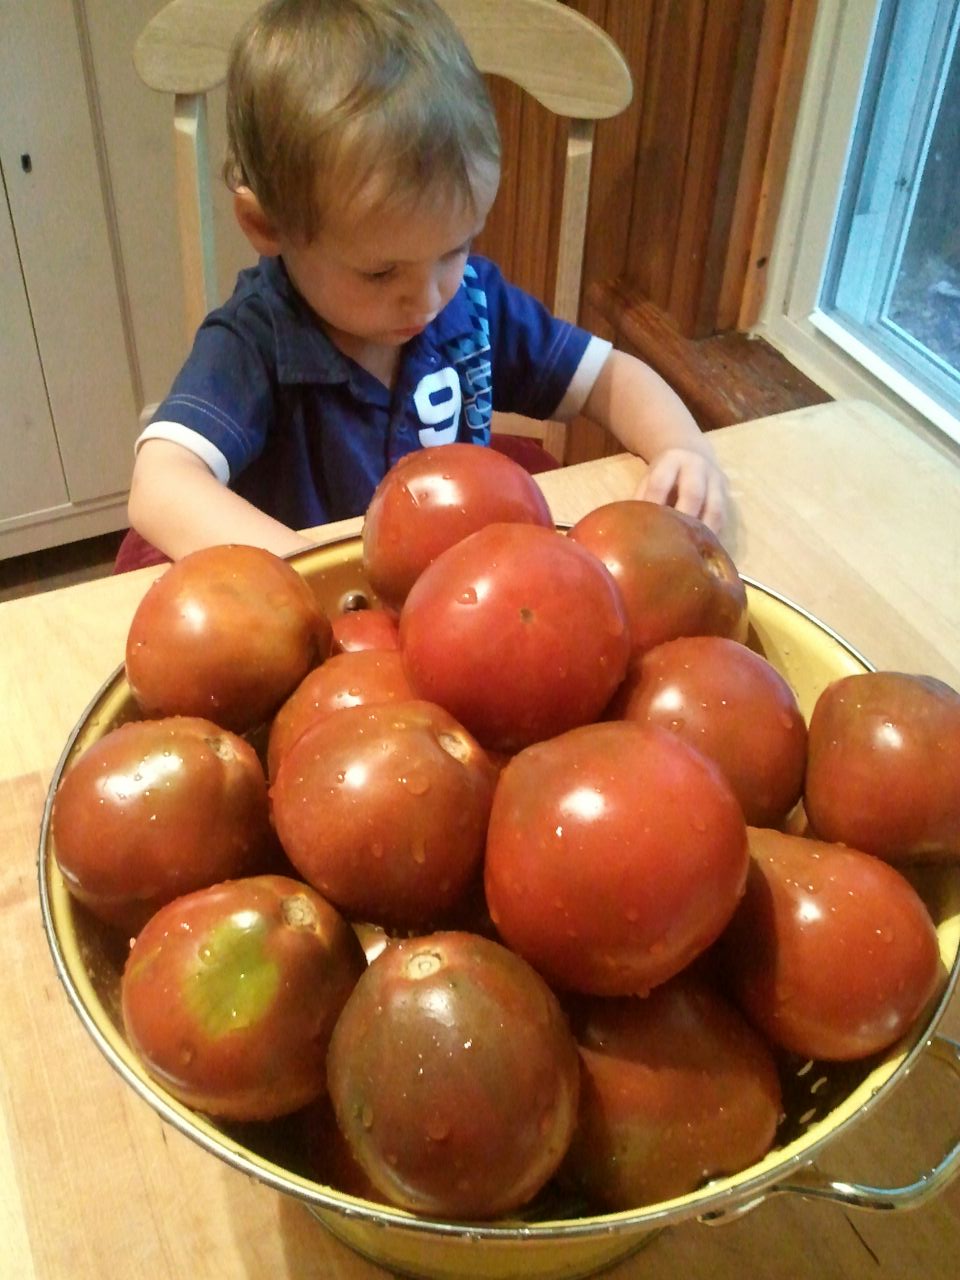
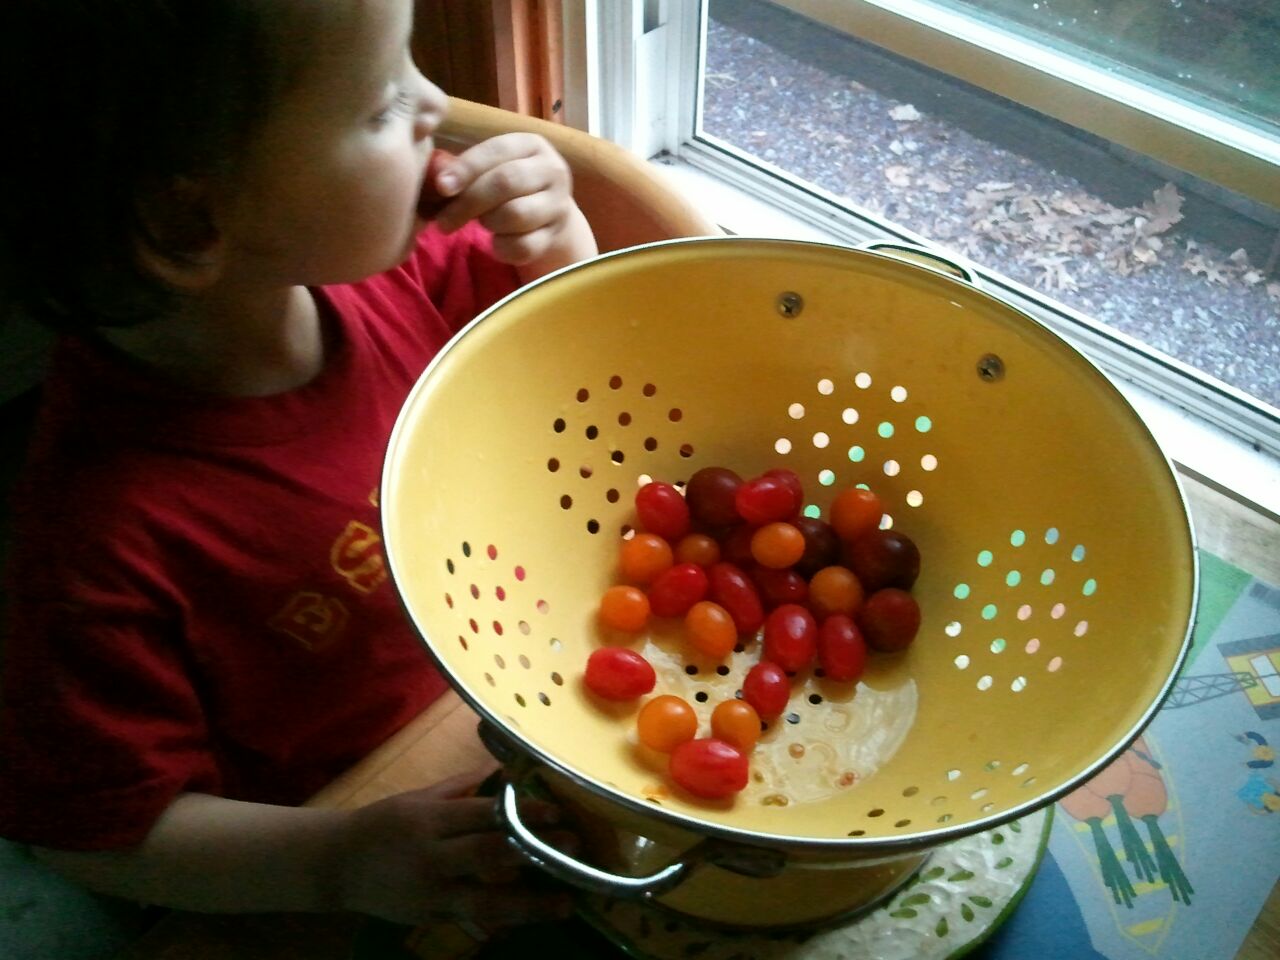
Mama says it’s funny that we pine 10 months out of the year for vine-ripened tomatoes only to bemoan their abundance come August and September. Since we don’t grow them at home (as I tend to pick them too early… I just can’t help myself!), Mama brought home a nice big box of organic heirlooms. In it were Rutgers, Moscovich, Brandywines, Cherokee purples, and Japanese Trifles, which are apparently a hot commodity in Russia. Mama roasted a few dozen, and then she made sauce.
Mama tells me that you’re going to find as many variations of tomato, or marinara, sauce as there are tomatoes. There are quick tomato sauces and slow tomato sauces. Some stay on the stove, while others are tucked into the oven. Some rely on fresh garden produce, while others punch up the flavor by adding sugar or balsamic vinegar. Because she was asked, here’s how Mama does a quick, fresh tomato sauce:
Finely chop 1 yellow or sweet onion and sauté it in olive oil until soft. Add 1–2 minced garlic cloves and sauté 1 minute. Add 2, 3, 4, or 5 chopped tomatoes and cook until tomatoes break down and are heated through. Add salt and pepper, to taste, and stir in chopped fresh herbs (basil or oregano, but whatever you like). Done. Use immediately.
If you have more time, however, why not cook a little bit of summer in a pot that you can freeze for delectable dining come December?
This isn’t even remotely close to half of what Mama brought home. Sheesh.
Regarding peels: They’re fine in a fresh sauce, but you don’t want them in your long-cooked sauce. Peel ripe tomatoes by hand, or try this method: core them (or lop off the top), cut a small X in the bottom, dunk in boiling water for 20–30 seconds, then plunge into ice water. Alternatively, you can run your finished sauce through a food mill, which will remove the seeds and skins. (While some folks feel the seeds turn bitter with prolonged cooking, Mama doesn’t mind them, so she doesn’t use a food mill.)
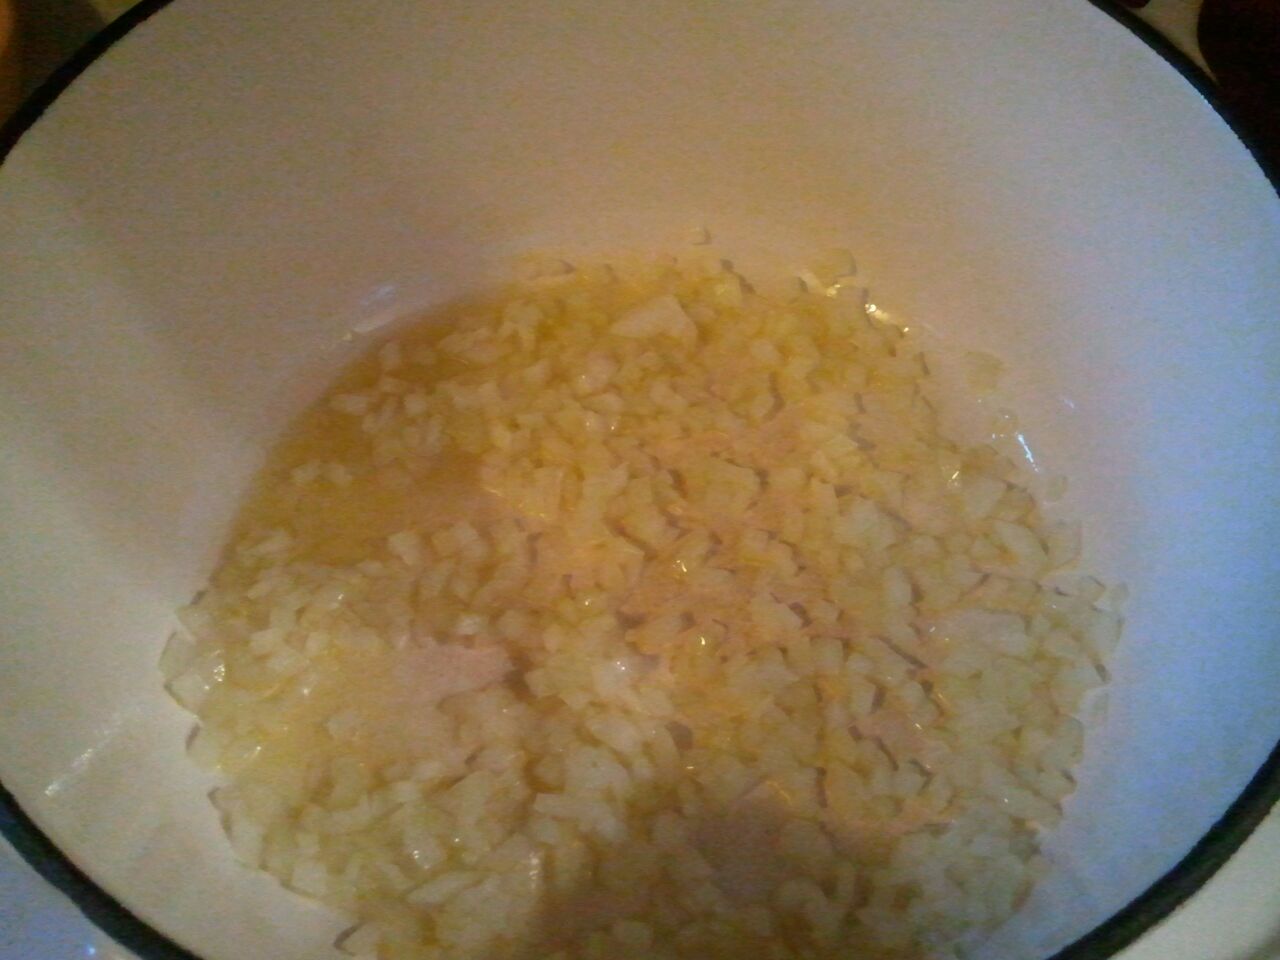
As with most things delicious, Mama insists on starting with a good base of sautéed onions and garlic in olive oil. Depending on personal preference, you can keep the heat low and cook them until tender, or you can raise the heat a bit and cook them until soft and caramelized (that’s when they turn brown). In either case, start with a big pot, and don’t add the garlic until the onions are where you want them (otherwise it’ll burn).
Even if you don’t like to eat onions, you would notice their absent flavor if you skipped them.
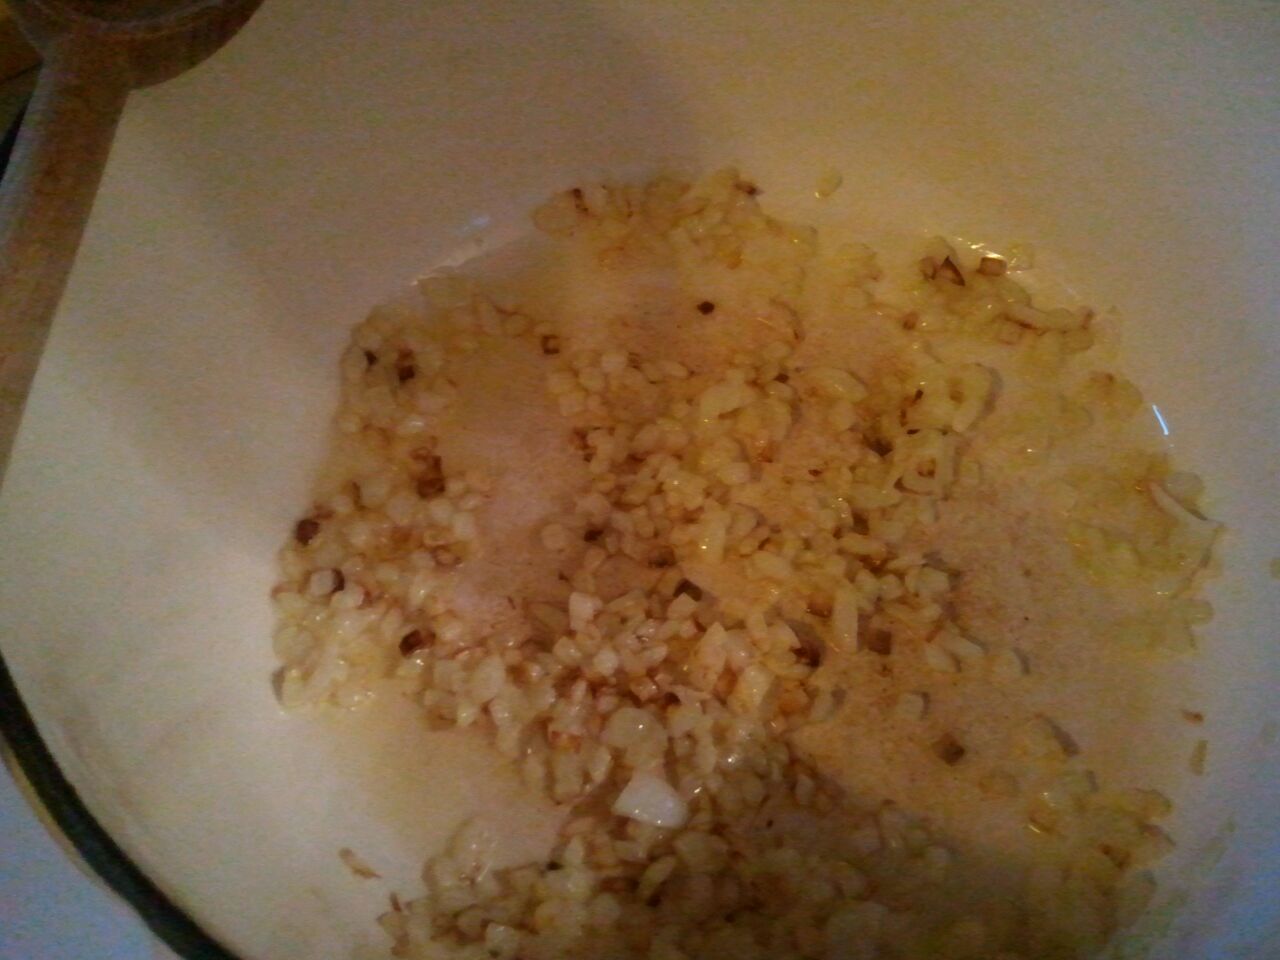
The darker you brown the onions, the more flavor they’ll have.
Mama chose to deglaze the pot with some red wine since she happened to have some on hand. No red wine? No problem. Just add the roughly halved tomatoes. But here’s the catch: You have to squish them. This is a great thing for a kid like me to do! Lower the heat, and begin simmering. Give them a good dose of kosher or sea salt and toss in sprigs of fresh herbs.
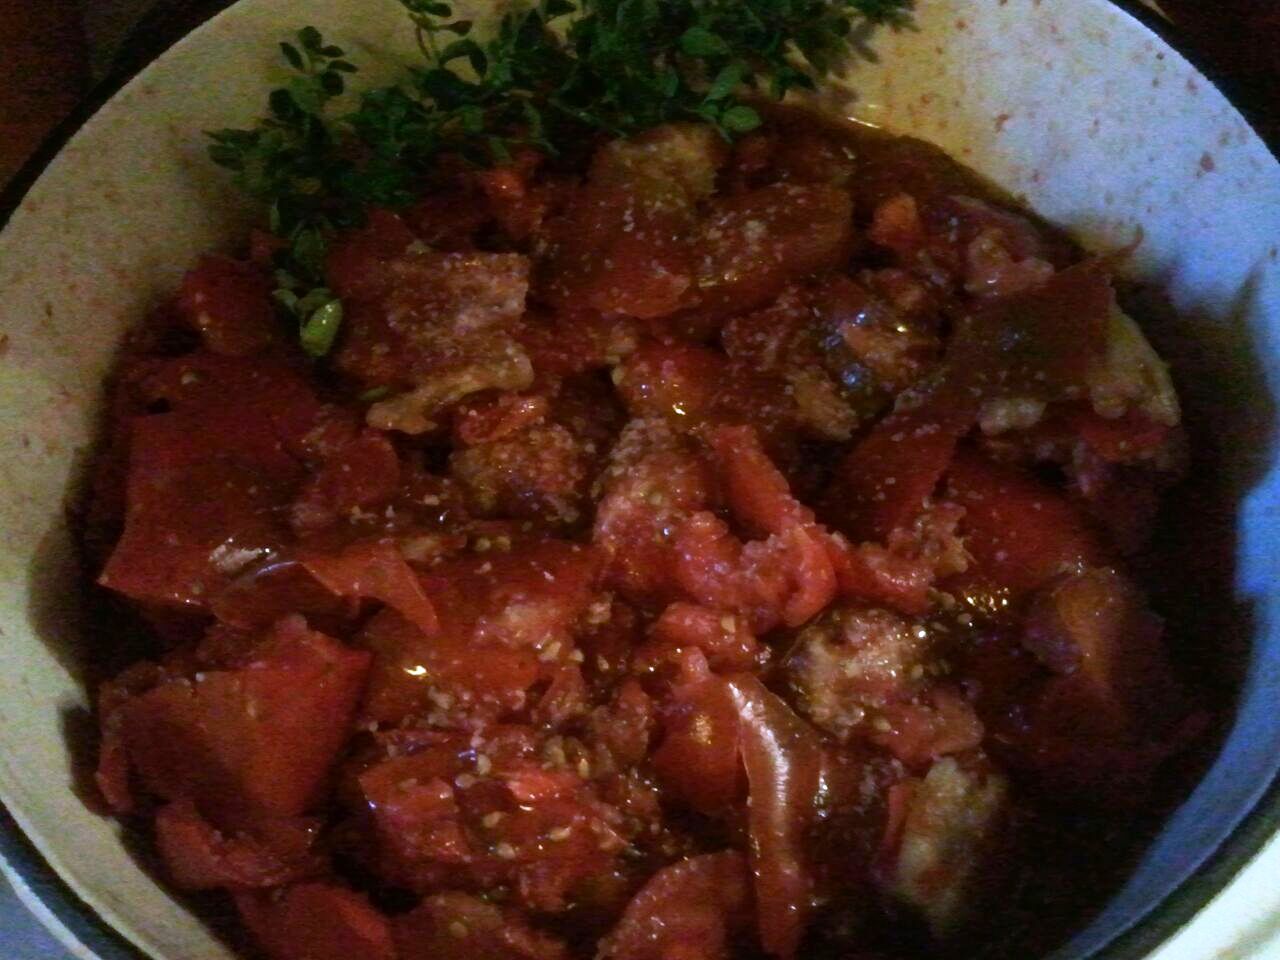
Mama clipped some oregano from the garden. (She’ll add the basil later, since it’s more delicate.) You should’ve seen the mess these tomatoes made on the walls!
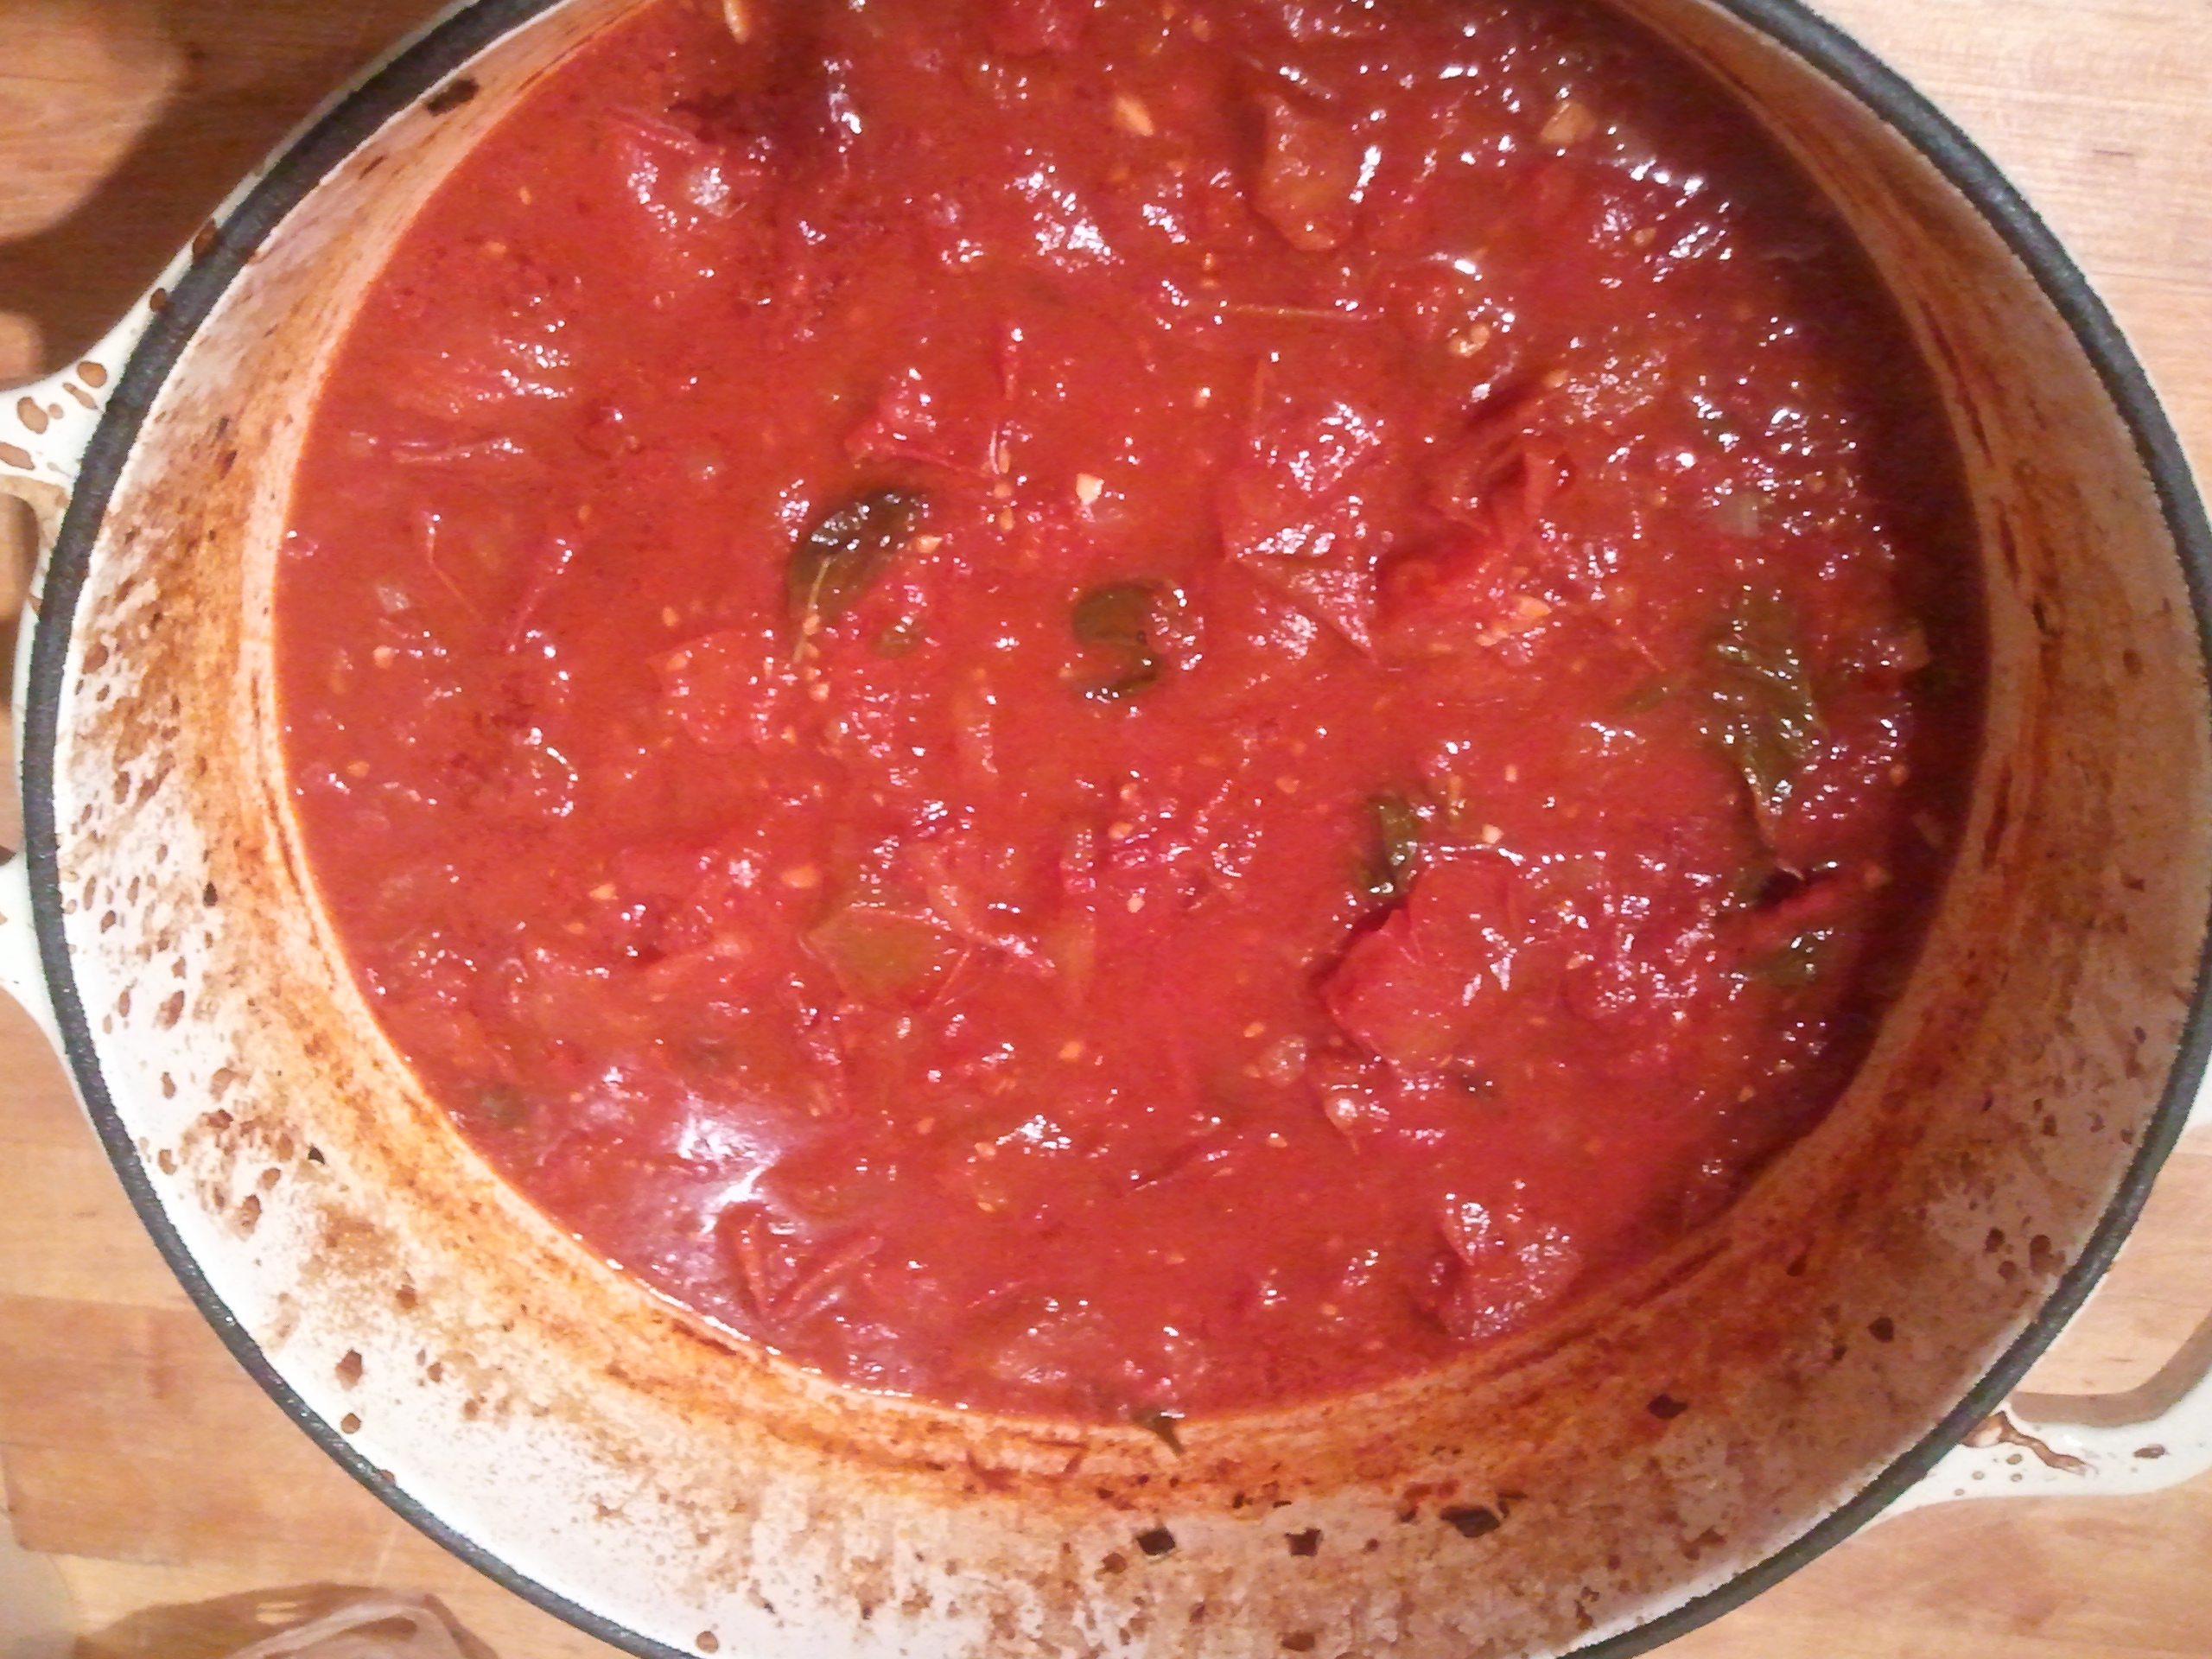
Once the tomatoes cook down, they’re going to release all their delicious juices. To add a bit of body (and to give the sauce a fighting chance of sticking to pasta), Mama did add a small can of organic tomato paste. When everything was good and bubbly, she put the whole pot, lid and all, in the oven on a lowish heat, about 300°F, and forgot about it. Well, not really. Every now and then she left me to play on the porch while she stirred the sauce, and the heavenly sweet smell would waft through the windows to where I sat. She cooked it until it reduced to a thickness she liked and the flavor was concentrated enough to be considered “awesome.”
What do you think was for dinner?
If you prefer a smoother sauce, run it through a food mill, or take an immersion blender to it. We happen to prefer a little heft to our sauce. Set some aside for dinner, then allow the rest of the sauce to cool before portioning it into jars or zip-top freezer bags.
Poor Papa. He wanted to take a bag out of the freezer a few days after Mama made it, and she said he wasn’t allowed! It doesn’t matter that she froze several quarts. She doesn’t want to run out before the end of the year. Which is a shame, since I could see eating this every day.
Love, Jude
Oven-Roasted Tomato Sauce
Extra-virgin olive oil
1 (or 2) yellow or sweet onion, finely chopped (depending on how many tomatoes you have)
2–4 cloves garlic, minced (depending on how garlicky you like it)
Red wine (optional)
12–15 pounds fresh tomatoes, peeled* and roughly halved (crosswise preferred)
Kosher or sea salt
6 ounces tomato paste
Several sprigs fresh herbs, as desired
Preheat oven to 300°F.
Coat the bottom of a large, oven-safe pot or Dutch with olive oil and heat it over medium heat. Add the onion and sauté, stirring occasionally, until very soft and beginning to caramelize, about 10 minutes. Add the garlic and sauté 1 minute more. If desired, deglaze the pot with a healthy splash of red wine. Carefully add the tomatoes in batches, squishing them with your hands as you go. Mama supposes you could skip the squishing step, but it gets the juices released a bit quicker. Alternatively, you could give them a few pulses in a food processor to speed things up. But we’re not talking fast here, are we?
Get the tomatoes going at a low simmer. Add a generous helping of salt and stir in the tomato paste. Toss in a few sprigs of hearty herbs like oregano. Just put the whole thing in; you can fish it out later or catch it in the food mill. Cover and put in the oven for a couple hours, stirring occasionally. Towards the end, add more delicate herbs, like basil.
*May also reserve peeling for after the sauce is cooked, either by hand (tedious!) or with a food mill.
Our basil was slow to start this year, but it decided to spring up while we were on vacation. Now the plants are almost as big as me! In order to keep the plants lush and producing big flavorful leaves, Mama picks off the flowers. She says otherwise, the basil will get woody. “Woody?” I ask. “Woody,” she confirms. (I was being too much of a stinker to let Mama get a good picture of me with the basil, but you can see how tall the plants are here.)
She also has to harvest the stems and leaves if she wants to keep using the plants. It sounds funny to me that you have to take off leaves to get more, but Mama is sometimes right about things, so I’ll trust her on this one.
Aside from tossing chiffonade basil (that’s thin ribbons) into salads and over tomatoes & mozzarella, Mama likes to make pesto. Though pesto is decidedly of Italian origin, Mama told me she first had fresh pesto while in college on a visit to a friend in Germany (she says I’m not allowed to say how long ago that was ). She wrote down her friend’s mother’s recipe in her little journal and used that recipe for many years. Now she makes her own, and you’ll see that it’s not only simple to prepare but simple to store—and so much tastier than the oily stuff that comes in jars.
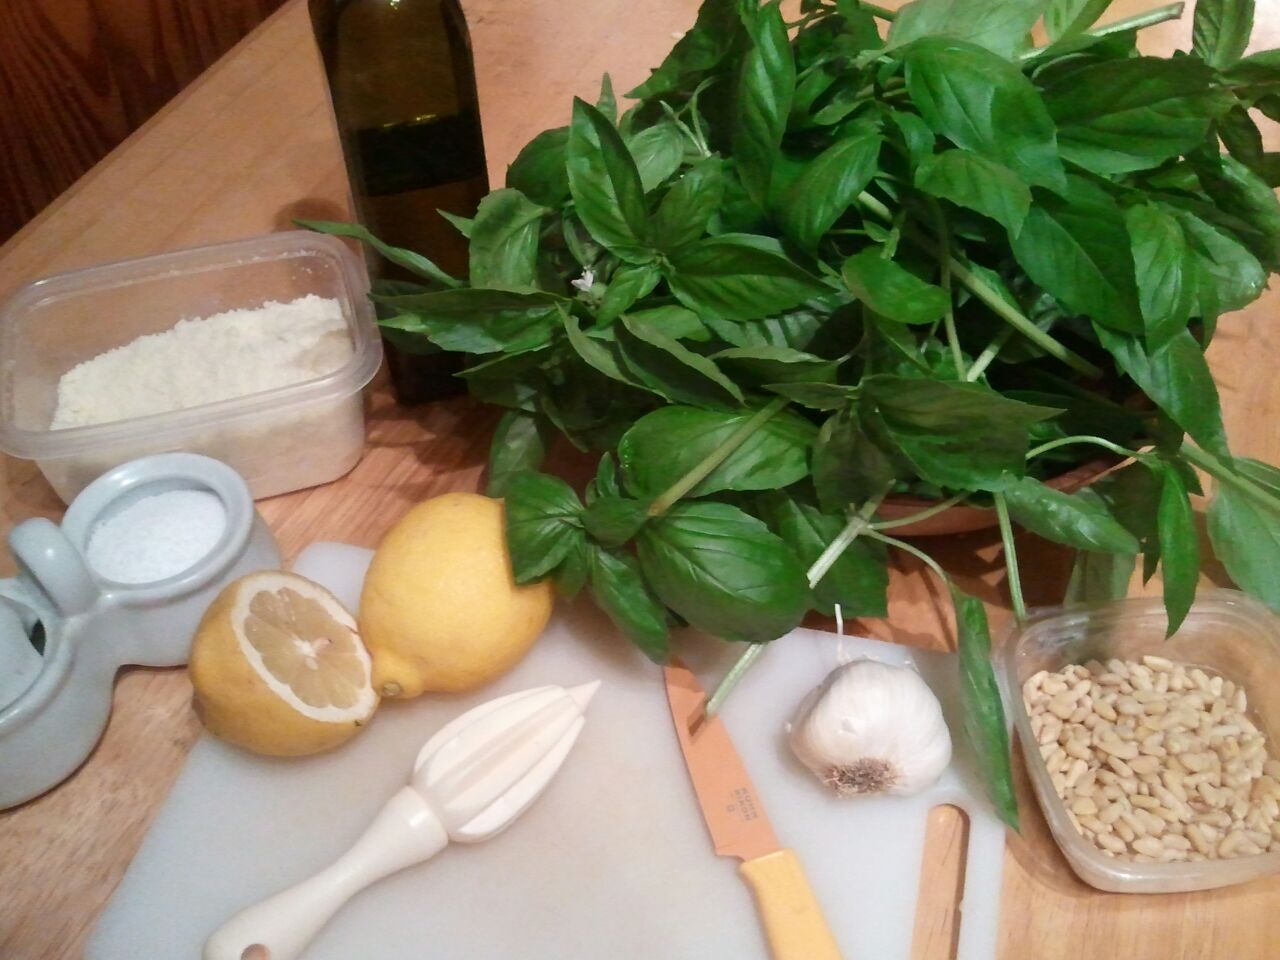
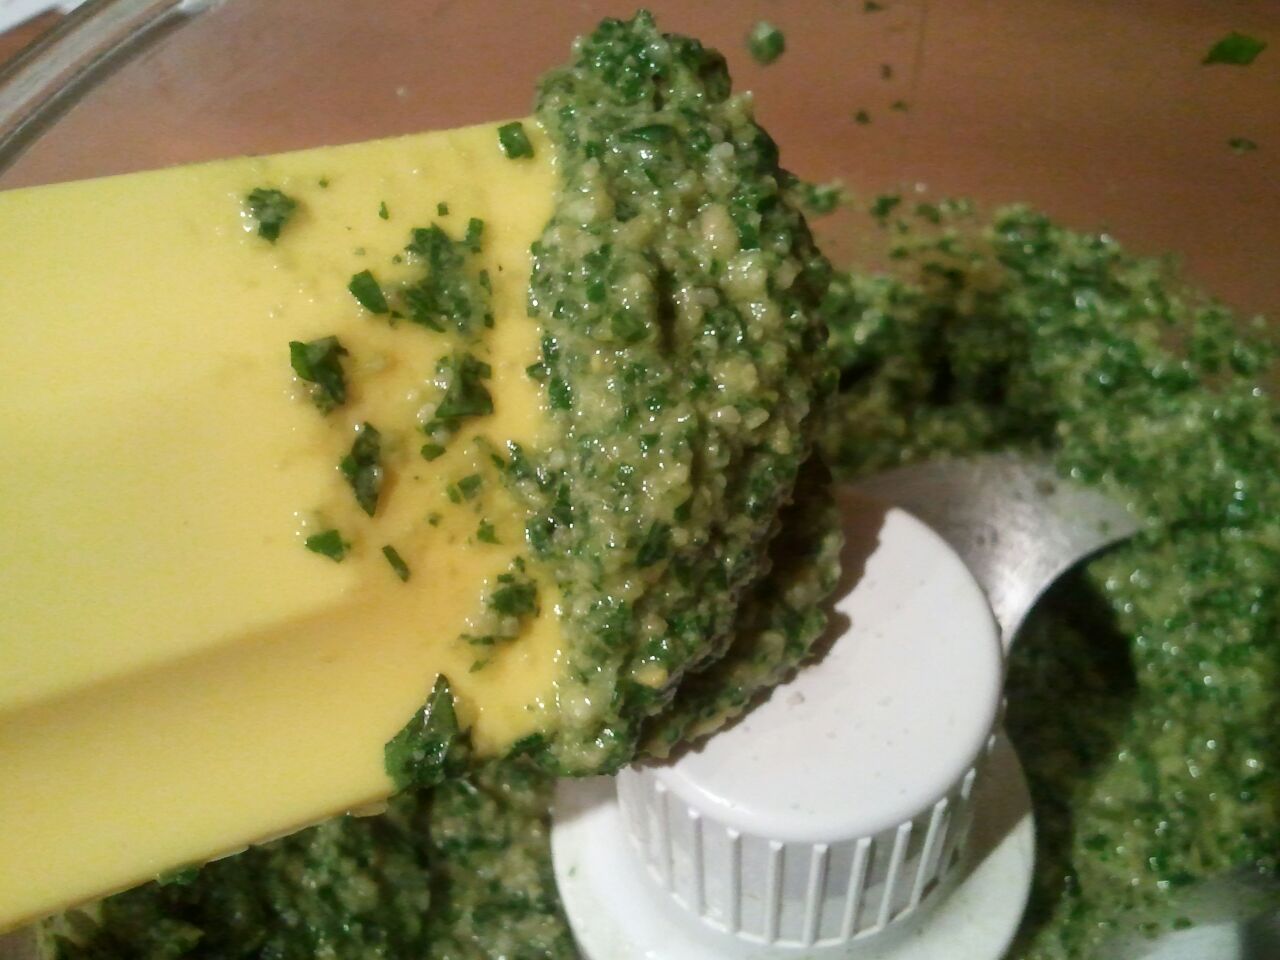
Gather everything together before you start, and you’ll be done with your pesto in no time.
Mama showed me how she whirrs everything in a food processor. She usually does it to taste, which is helpful when you don’t have a recipe handy. She said if you want to keep your pesto looking as bright as the day you made it, blanch the basil leaves in boiling water for all of 20 seconds, then plunge them in ice water and squeeze dry. Otherwise, if you don’t really care that the color fades, skip the extra step.
The last thing I’ll tell you about pesto is that you can use just about any green, like kale, cilantro, or parsley, as well as just about any nut or seed, such as walnuts or pumpkin seeds. If you find yourself with a bunch of herbs or a head of greens, try making your own variation on a classic pesto.
Now, I told Mama, “I don’t like pesto,” but she and Papa claim I’ve eaten it before. I’m not so sure, so I’ll give this one both a “hit” and a “miss.”
Love, Jude
What would enjoy a dab of pesto? What wouldn’t?!
Potato salad
Various pastas
Peas/green beans/asparagus Béchamel (white sauce)
Meatloaf, burgers, meatballs (add to the mix or serve as a topping)
Scrambled eggs
Egg salad
On top of grilled portabellas or eggplant with mozzarella & tomatoes
Pizza (spread on pizza crust or a pita or anything else you’d consider a “pizza”)
Mix with softened butter and slathered on corn on the cob
Sandwich spread
Aïoli
Bruschetta with roasted red peppers
Broiled or grilled chicken or fish
Hummus or white bean mash
Chickpeas
Thinned with a bit of balsamic vinegar and use it as a vinaigrette
Basil Pesto
1 cup packed basil leaves
2 tablespoons pine nuts (Mama uses raw, but go ahead and use toasted if that’s what you have)
2 cloves garlic, roughly chopped
1/3 cup olive oil (extra-virgin, if you like)
¼ cup grated pecorino Romano or Parmesan (Parm is more traditional, and lends a nuttier taste, but Mama likes to change it up and likes the subtle sweetness of the sheep’s milk cheese. That, and she had pecorino and didn’t feel like running out for Parm.)
¼ teaspoon sea salt
few grinds of black pepper
½ tablespoon fresh lemon juice
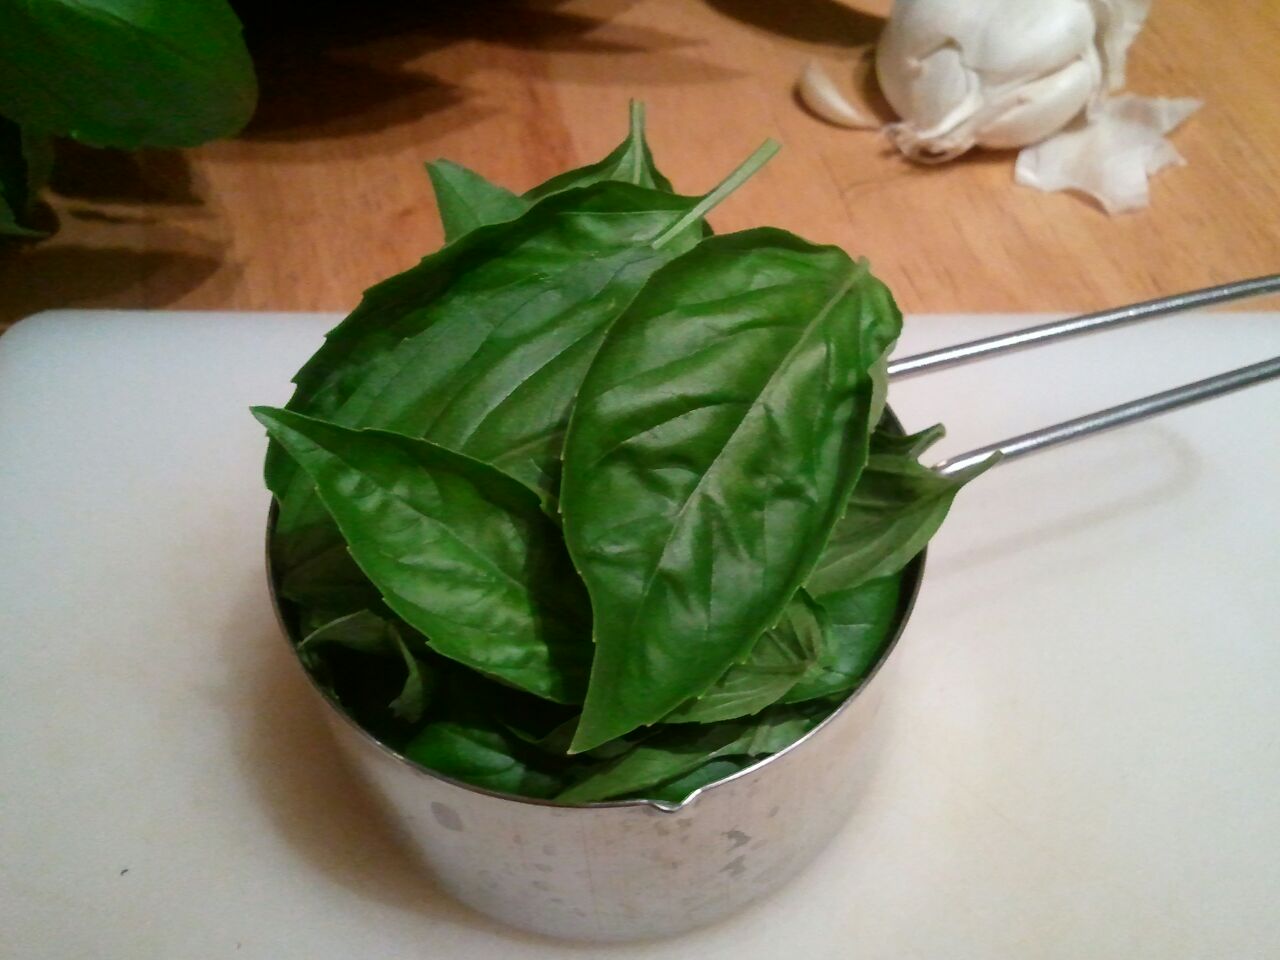
This is a packed cup of basil. I couldn’t fit more leaves in there if I tried. (By the way, picking leaves off a basil plant is a great task for someone like me!)
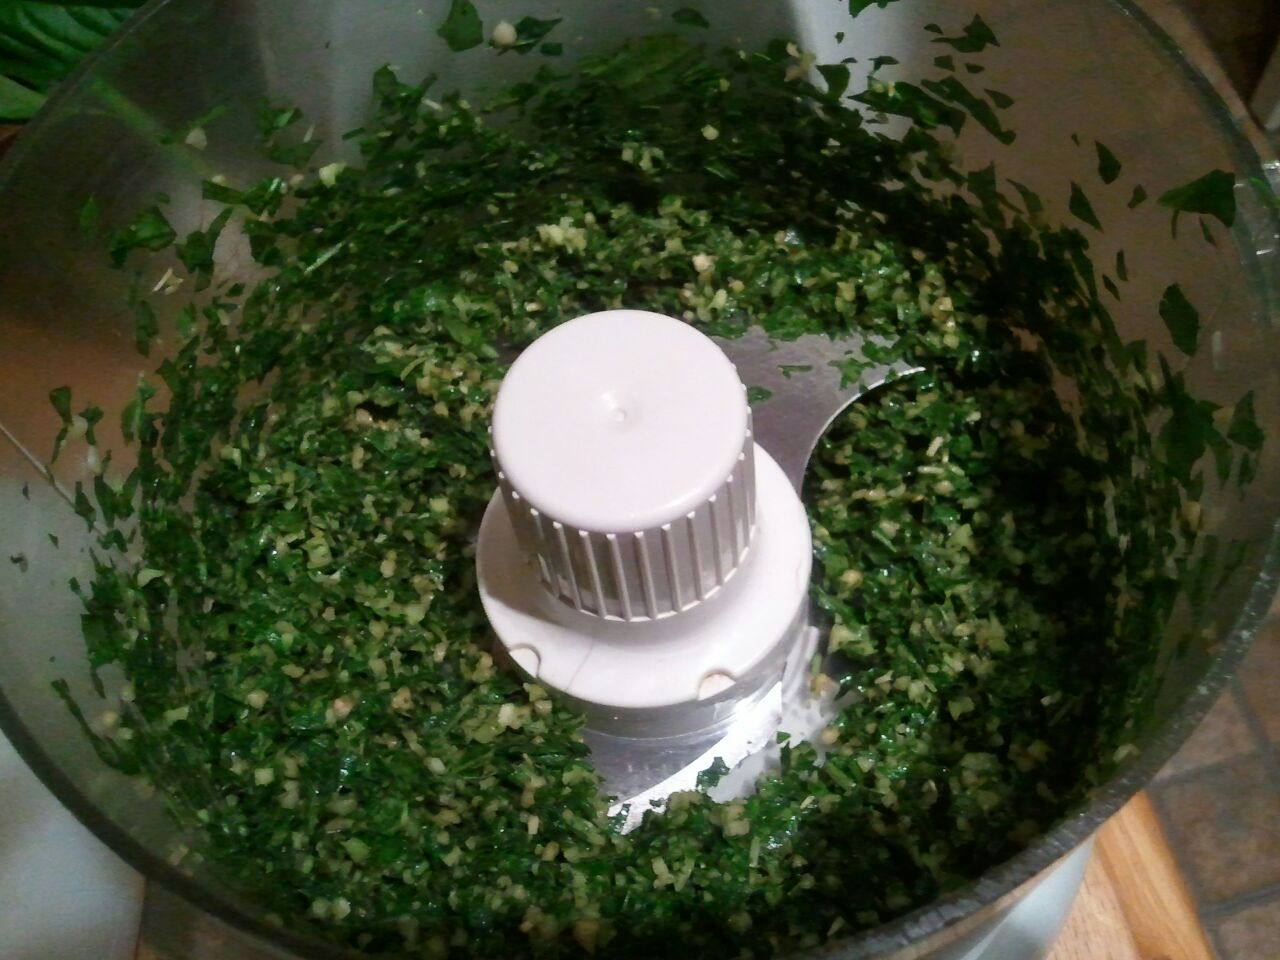
In a food processor, process the basil, pine nuts, and garlic into a paste.
Your pesto really doesn’t need to look just like this, but it gives you an idea.
Add the oil, cheese, salt, pepper, and lemon juice and process until well blended. If you want to be able to drizzle your pesto, add more oil or cut back on the cheese.
This is a good consistency for pesto, but you can certainly make it thinner with more oil.
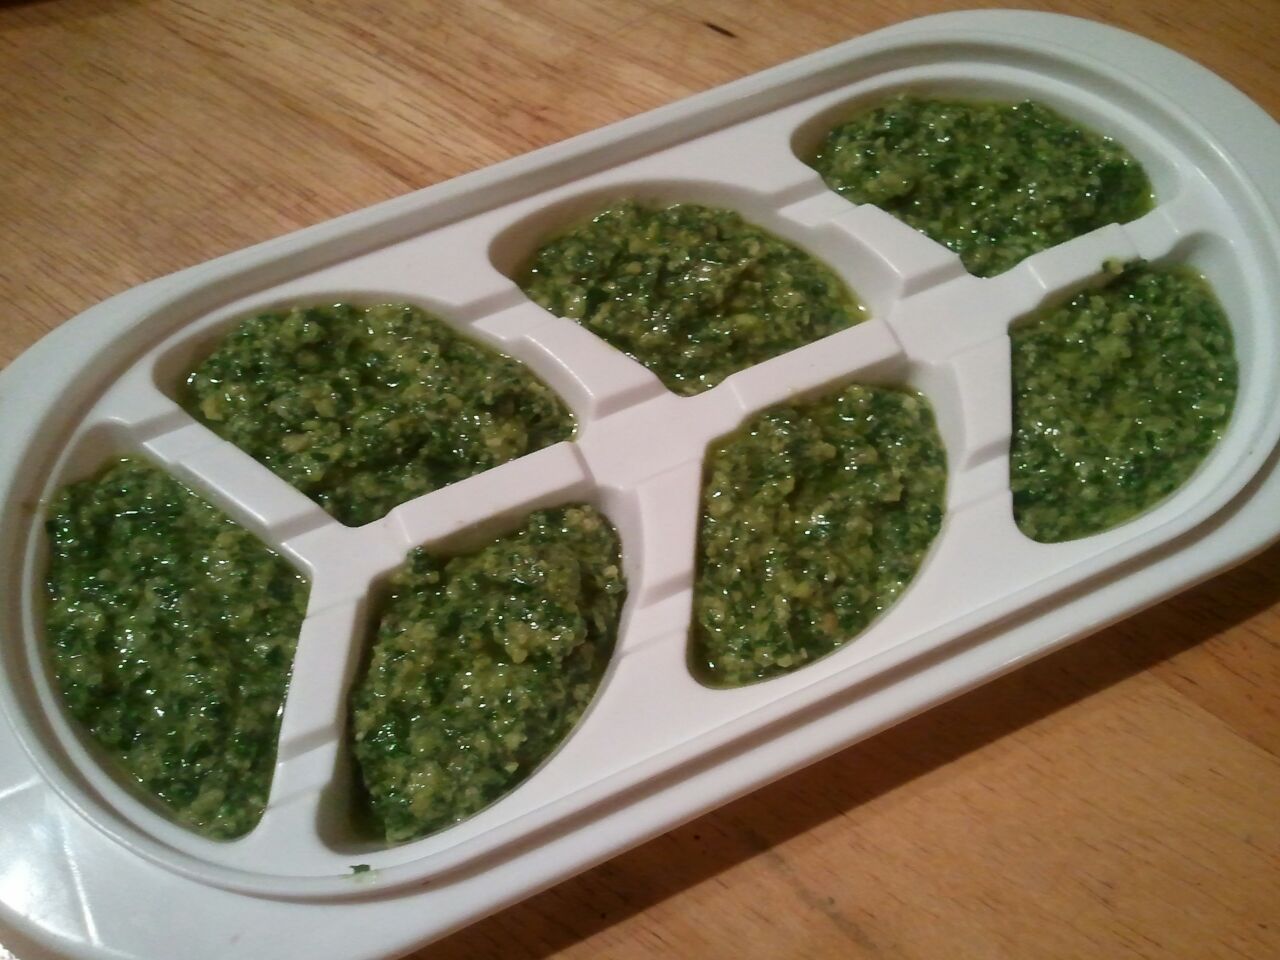
A little goes a long way, so it pays to experiment with how much you prefer on pasta, etc. Pesto will keep in the fridge for at least a week; or, freeze in ice cube trays, then store cubes in zip-top plastic freezer bags for a few months.
Mama put my old baby food freezer trays to good use!
Note: Mama says this pesto will taste salty, which is a good thing as it generally tops plain pasta. If you’re concerned about the salt, start with a little less—or use kosher salt. The bigger grains cause you to use less of it.
Though the nights have been cool, the days are starting to warm up. I continue to stupefy Mama and Papa at the lengths I will go to to escape the confines of our yard. (You should see me climb!) There’s lots of yard work to be done, and even though I don’t help with it at all, I’m pretty hungry come dinner time. Mama and Papa both wanted something light and fresh, while I just wanted something in my belly.
Just look at all those veggies…that I’m not going to eat.
Mama says this piece of chicken looks like Michigan, but I don’t know what that means.
Give me pasta, or give me… pasta.
Mama went to an easy stand-by recipe, one of those she says everyone should know how to make: chicken piccata. There are probably as many variations on this dish as there are on any other, but Mama likes it for its simplicity—it’s all cooked in one pan—and Papa likes it because it’s delicious. I like it for the capers. But, as you might recall, Mama doesn’t eat chicken, and pasta’s just as easy as anything to make (you know we eat a lot of it). So she got the water boiling and set to work on the veggies she was going to serve it with. Mama and Papa ate it up, but I scarfed the pasta almost exclusively (the exception being a few orange segments). When Mama asked me to take a bite of the zucchini, I said, “No way, José,” followed by a swift, “No, thank you.” Can you believe this actually worked, and I didn’t have to eat it?
Love, Jude
Chicken Piccata (This one’s real loosey-goosey, but it’s pretty tough to screw up.)
Chicken breasts (for however many you’re cooking for) Flour (whatever kind you have on hand) Salt and pepper Olive oil (to coat the pan) About 1/4 cup chicken or vegetable stock (optional) About 1/4 cup white wine Juice of 1 lemon 1 large clove garlic, minced About 2 Tbsp capers Pat of butter Parsley (a small handful, chopped)
Put the chicken in a large zip-top plastic bag, seal it, then pound the chicken with a meat mallet until uniform in thickness, about 1/2″. Toss in a handful or two of flour and some s&p. Reseal the bag, then shake it all up to coat the chicken.
Heat a skillet (of ample size to hold your chicken without crowding) over medium heat. Add about 1 Tbsp oil (a couple swirls around the pan—just enough for a thin coat) and wait until it’s hot before carefully adding the chicken (shake off the excess flour first). If you don’t want to be cleaning your stovetop and nearest wall for the rest of the night, put a lid on the pan. Cook until chicken is golden brown (5 or so minutes), then flip, and cook until golden on the other side and the chicken is cooked through. Remove chicken to a plate and loosely cover with foil to keep warm.
Deglaze the skillet with stock, if using, and/or wine. Scrape up the bits on the bottom of the pan, then add the lemon juice, garlic, and capers. Cook until reduced and slightly thickened, a few minutes. Add more s&p, if desired. Add the pat of butter (dredge it in flour first, if desired, to give a slight bit more oomph to your sauce) and continue cooking until melted and shiny. Sprinkle in the parsley, then pour the sauce over the chicken.
Rotini with Fennel, Squash, Tomato, and Orange de Provençe
12 oz whole-grain rotini (or any pasta you have on hand—and use a whole box, even if it’s a pound) Olive oil Salt & pepper 1 bulb fennel, stalks removed, cored, and thinly sliced 1 large tomato, large diced 1 small-to-medium zucchini, cut into “ribbons” with a veggie peeler 1 clove garlic, minced About 1/4 cup vegetable stock 2 oranges, segmented (squeeze & reserve the juice from the inner membranes) Herbes de Provençe (a couple teaspoons, maybe a Tbsp)
Cook the pasta according to package directions, then drain.
Meanwhile, heat a medium-to-large lidded skillet over medium-high heat. Add the oil, about a tbsp. (enough to coat the pan), then add the fennel and s&p. Cover and allow to sweat for a few minutes. (You can actually prepare the remaining ingredients in stages, if you like, rather than having them all prepped and ready to go before you begin cooking.) Add the tomato and the garlic and sweat some more, stirring occasionally (keep covered). The fennel won’t take on much color, but it will get soft. Once it is, add the zucchini, some s&p, and the veg stock. (Add enough stock to make the veggies wet but not soupy. This is going to be your pasta’s sauce, remember.) Cover and allow to cook until ribbons are soft, just a couple minutes. Add the orange segments and their reserved juice, and the herbes. Stir to incorporate, taste for seasoning, then combine with the pasta and serve.
Because it was so warm and sunny outside when Mama picked me up from daycare, she took me to the river so I could throw rocks in it. (I like to pick up the biggest rocks I can carry.) Needless to say, it was already past dinnertime by the time we walked in the door, wet feet and all. Mama chose to make a dinner that practically cooked itself.
First, she put a pot of salty water on the stove to boil and set the oven to 400°. Then she rinsed and prepped the veggies: snapped the bottom ends off the asparagus, cut the broccoli into florets, cut some basil into ribbons, and sliced the colorful little tomatoes in half (I helped). She put the tomatoes and basil in a large bowl and the broccoli and asparagus on a baking sheet and tossed them with olive oil and salt & pepper.
I sure love teeny tomatoes.
Then she showed me the funny little pasta we would be eating, called Israeli couscous. It looks like couscous that grew up to be big and strong. Mama said that even though it looks like a grain, it’s really just a pasta. I ate a few of them raw—crunchy! Once the water came to a rolling boil, Mama poured in the couscous and gave it a good stir. Did you know that the proper way to cook pasta involves plenty of boiling water for the pasta to move around in? She also put the asparagus & broccoli in the oven, on the lower rack.
You would think Mama would’ve stopped there, but instead she took out a pound of beautiful Pacific salmon. She gave it a quick rinse, then set it on a baking sheet, skin-side down, and patted the flesh dry. She drizzled olive oil on it then sprinkled it with salt and pepper, and into the oven it went, on the upper rack. While dinner cooked, we had time to wash our feet in the tub. Do you have any idea what a river does to kid feet?
I’m trying to eat around the basil.
Israeli couscous cooks quicker than regular pasta (it’s really small), so when that was tender, Mama drained it and added it to the bowl with the tomatoes. She added—you guessed it—olive oil, salt, pepper, lemon juice, a bunch of freshly grated Parmesan (I helped), and some leftover roasted garlic. (This is even easier to make: Cut off the top of an entire garlic bulb, drizzle about 1/2 tsp olive oil over it, wrap it in foil, then bake at 375°F for about 45 minutes, or until very soft and oh-so-yummy.) Gently, she mixed it all up and set it out for yours truly to devour. I loved those little baby balls of pasta, but I had to pick around the basil, which slowed me down. The fish and veggies were done at about the same time (veggies starting to brown, fish just opaque in the center), about 10 minutes all told.
This was my plate! (Just kidding.)
Do you think I tried everything on my plate? You bet I did. The fish was succulent, almost creamy. The veggies were toasty and fragrant and full of flavor (and Mama grated some more cheese on them). Then I discovered how fun it was to toss the Israeli couscous….and that was the end of my dinner.
Love, Jude
Israeli Couscous with Tiny Tomatoes
1 cup Israeli couscous
1 pint cherry or grape tomatoes, halved
4 or 5 cloves roasted garlic (or 1 or 2 cloves fresh, minced)
5 or 6 basil leaves, chiffonade (cut into ribbons)
Juice of 1/2 lemon
Salt & pepper to taste
Olive oil
Parmesan cheese
Cook the pasta according to package directions. Drain and add to a bowl, along with the tomatoes, garlic, basil, and lemon juice. Add salt and pepper to taste, along with a healthy drizzle of olive oil. (Mama says you don’t want to drown your pasta, you just want to moisten it.) Top it with freshly grated Parmesan cheese, if desired. Serve warm or cold.
Being from Wisconsin, Mama tends to keep a lot of cheese in the house. I happen to love the stuff. (People say I take after my Uncle Scotty in that way.) My first cheese was an organic, raw-milk farmer’s cheese from a certified raw dairy a few miles from where we live. (The cows there are really nice!) The cheese was piquant and creamy and lovely.
I’ve since had different varieties of raw cheeses, both fresh and aged, as well as your run-of-the-mill store-bought varieties: Parmesan (from the wedge, not the can, of course!), Gruyère, feta, fresh mozzarella, Muenster, Manchego, sharp cheddar, chèvre (that’s from a goat), even cottage, though that wasn’t really my favorite. I did draw the line at bleu and Esrom, a real stinker of a cheese from Denmark. But I was a much younger baby when Mama gave those to me, so I’d be willing to try them again.
One of my first words was “cheese” (after “moo” and “Mama,” in that order). When we go out for the day, and I see my insulated lunch sack coming with us, I know there’s an organic cheese stick inside. Now that I have nearly all my teeth, I get to eat it by myself. Mama has to help peel it, but she no longer has to break it into tiny bites (some of which usually ended up in her own mouth anyway). At home, I have to fight off the dog when I have cheese in my hands, as she goes bonkers for the stuff.
What I haven’t eaten, though, is macaroni and cheese from a box. Mama says it’s just as easy to make it from scratch, so I’ll let you be the judge. (She can have the sauce made before the pasta’s even cooked!) To be honest, I wasn’t crazy about it at first—but then again, I wasn’t in love with pasta. But the cheesy stuff’s grown on me, as Mama’s started sprinkling a teensy bit of sea salt on her mac and cheese. (You try eating plain cream and butter over plain pasta and see how you like it. Mama says sea salt is not as bad for your health as regular table salt.) It’s still not my favorite-favorite, but I’ll eat it.
While the water boils for the pasta, Mama shows me how to grate the cheese without getting my fingers involved. She’s using my raw cheddar today, but she tells me most any cheese will work. Then she melts some butter in a small saucepan, adds some flour, and stirs. She calls this a “roo.” (What’s Roo doing in my mac and cheese? And where’s Tigger?) Then she adds the cream. She’d also use milk, but because I’m a baby, I can use all the fat I can get. (It’s great being a baby!) Mama whisks the cream gently until it starts to thicken, but she doesn’t want it to be too thick now since the cheese will thicken it further. (Add a bit more cream if necessary.) Then she stirs in the grated cheese, and it’s all gooey and melty. She’s drained the pasta and has added it to the sauce. Mama explains that hot pasta absorbs more of the cheesy goodness, though I prefer it a bit on the saucy side—it makes more of a mess that way, of course.
Love, Jude
Enjoying my mac & cheese.
Playing with my mac & cheese.
Wearing my mac & cheese.
Homemade Macaroni and Cheese
(Mama makes this one by feel, so amounts are approximate)
½ cup uncooked pasta
1–2 Tbsp, each, butter and flour
1 cup milk, half-and-half, or cream
½ cup grated cheese of choice (or more, to taste)
Sea salt, to taste
Cook the pasta according to package directions in very salty water. (Mama uses veggie spirals or kamut shells or quinoa letters or really anything other than white pasta.) Meanwhile, melt the butter over medium heat. Add the flour and whisk until combined, making a roux. Cook about 1 minute more. Add the milk in a steady stream, while whisking. Continue to steadily whisk the sauce until it begins to thicken, 3–5 minutes. Stir or whisk in the cheese, and mix until smooth. If it’s too thick, add some more cream. Mama says you can’t wreck it at this point. Taste it and see if it needs salt. Drain the pasta and add it right into the sauce, stirring to coat. This is a very cheesy dish. If you like it a little less cheesy (who are you?), make more pasta.
Yield: Enough to feed a baby and his mama lunch (or, about 2 cups)
Note: Mama sometimes tries sneaking veggies, such as baby spinach or chopped grape tomatoes, into this dish. As if I can’t tell they’re there! She tells me she’s going to try pouring some of the “mornay sauce,” as she calls it, on broccoli. We’ll see about that. She also notes that it’s very important to choose organic dairy products. They’re the best!

![IMG_1762[1]](https://littlejudeonfood.com/wp-content/uploads/2014/03/img_17621-e1396306995915.jpg)