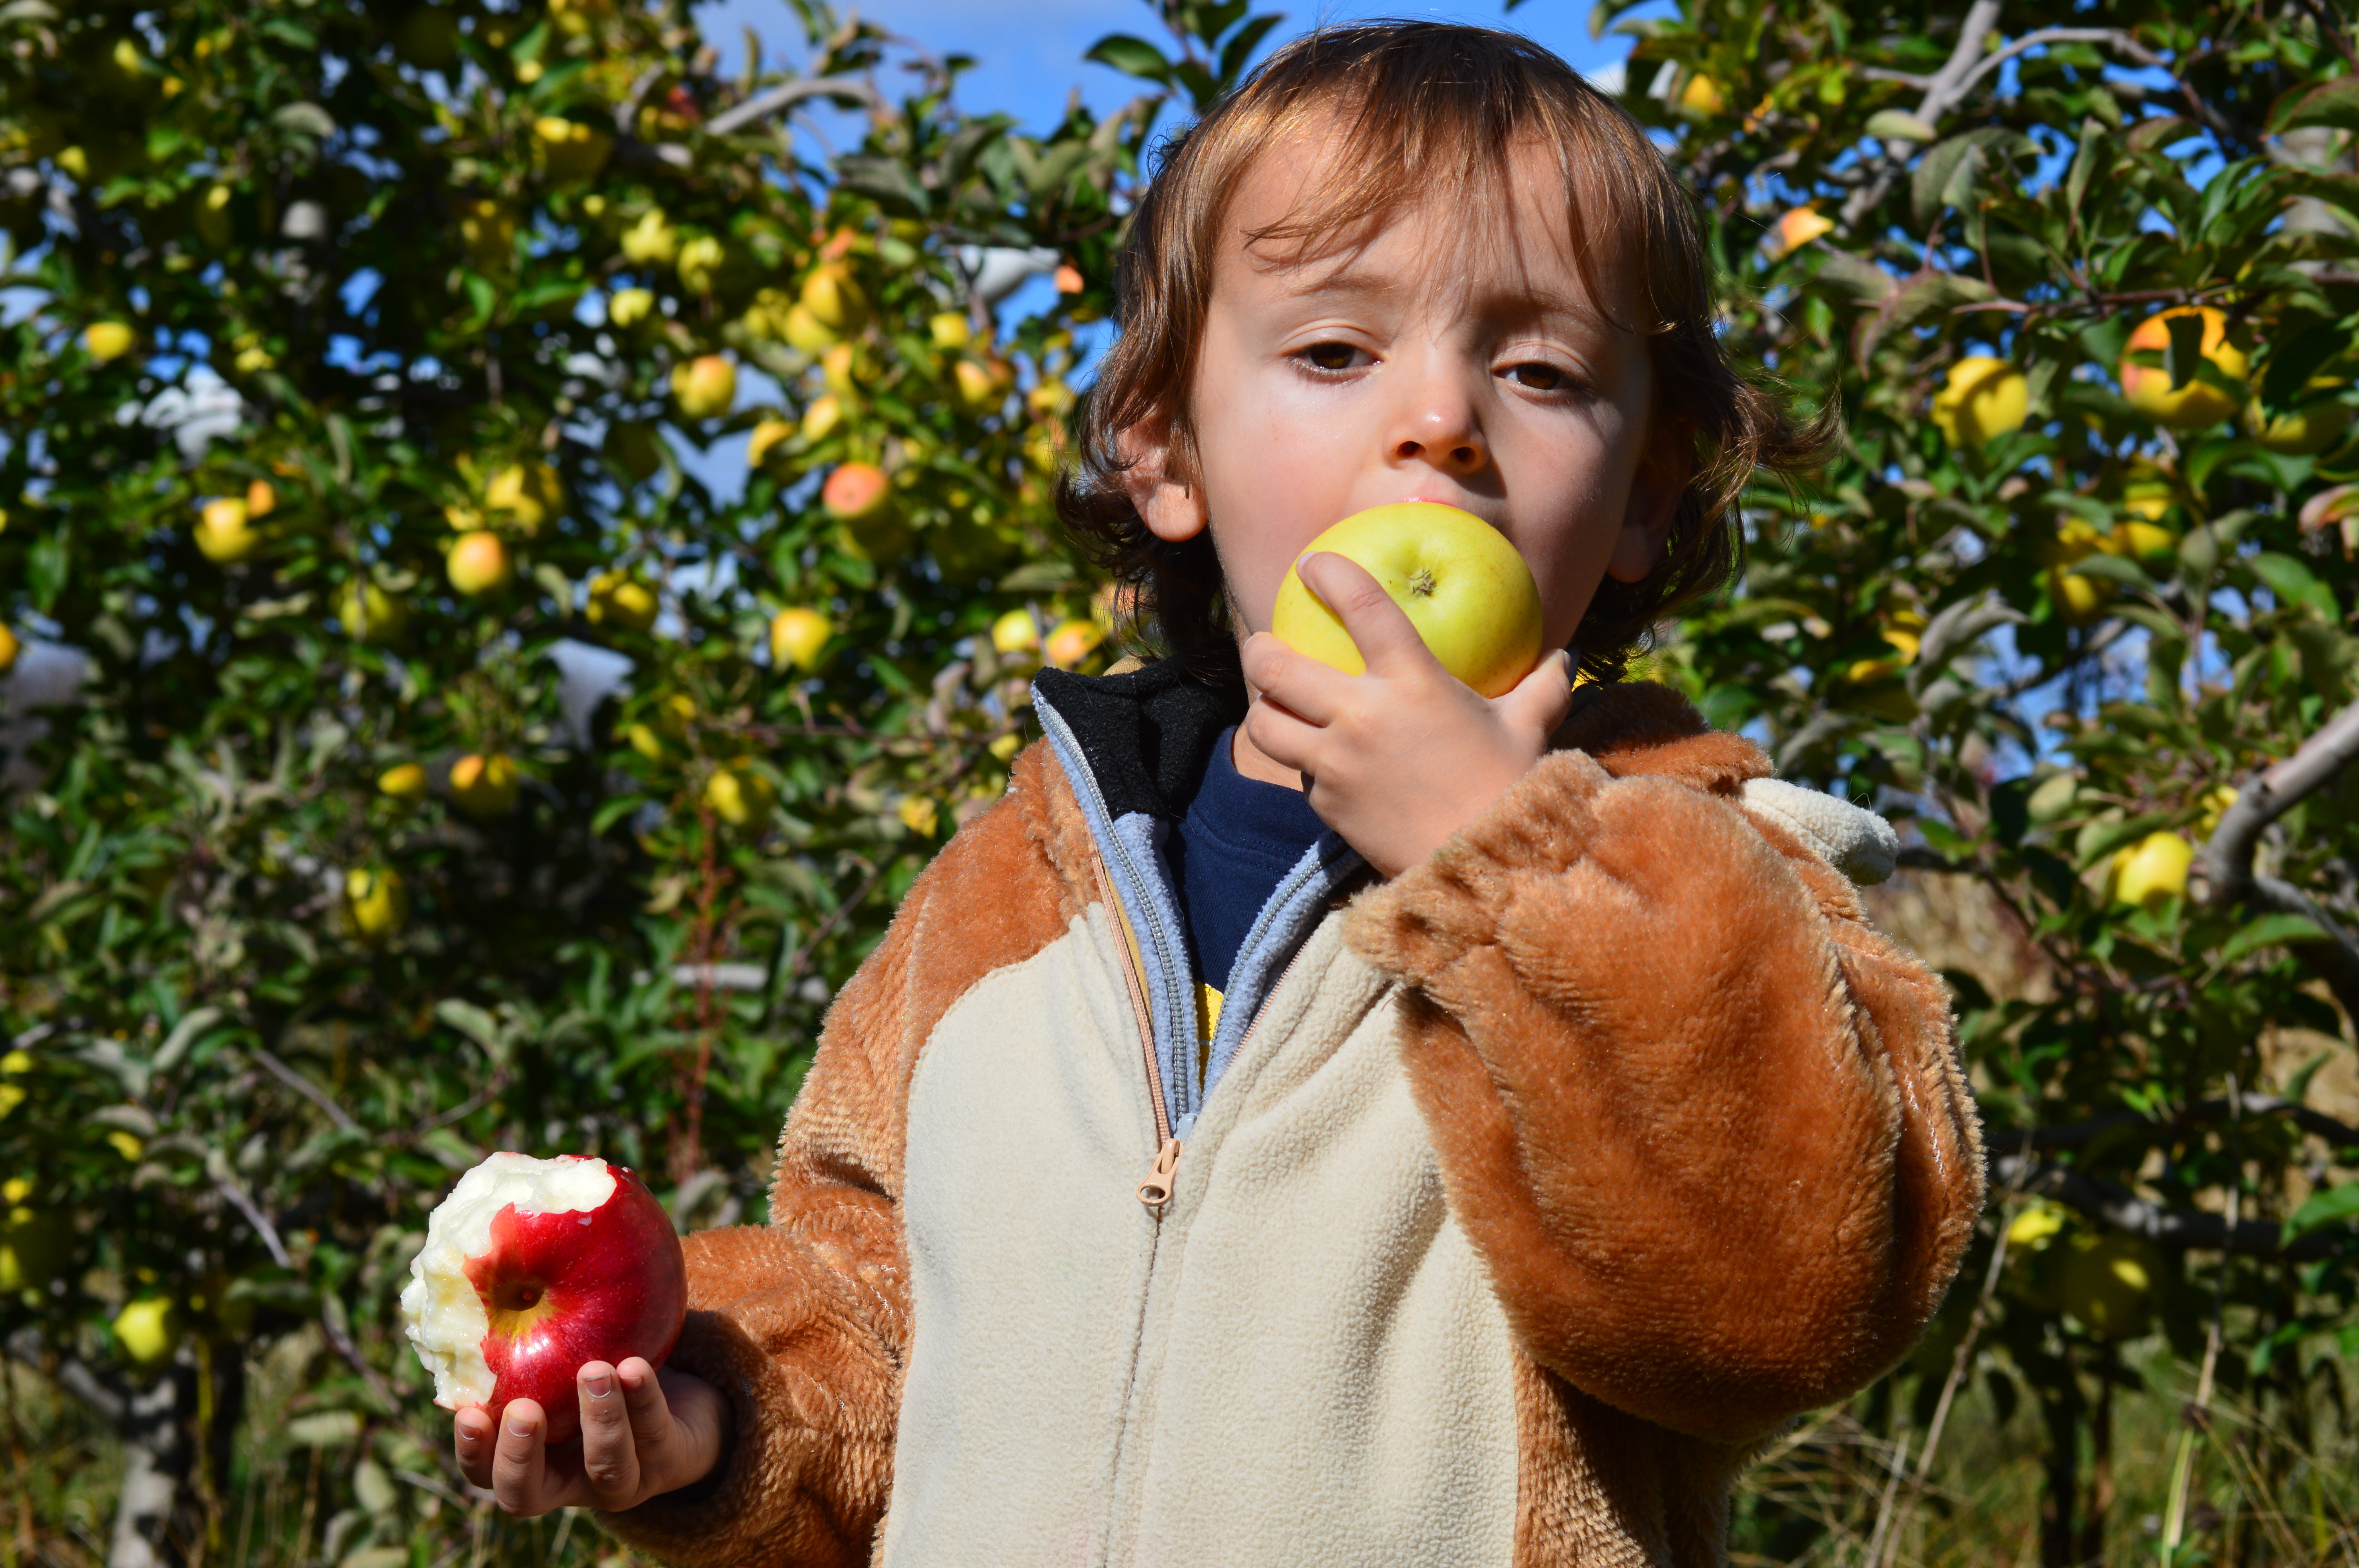
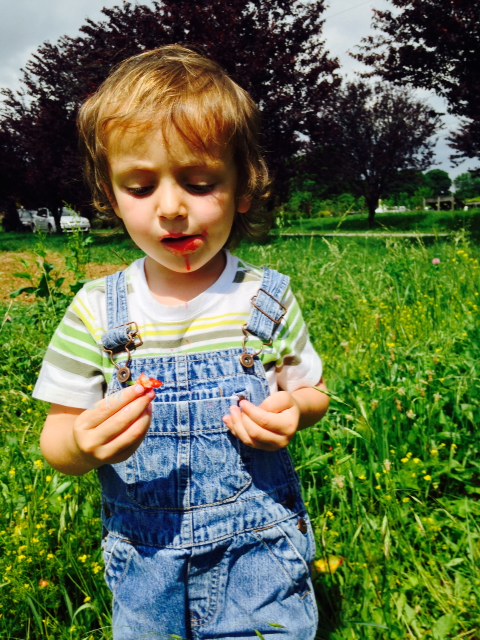
The time of year when we venture into apple orchards and make ourselves sticky (and a little ill) from all the apples we sample. Because we went a little later than usual this year, Mama and Papa indulged me in my choice of attire that day:
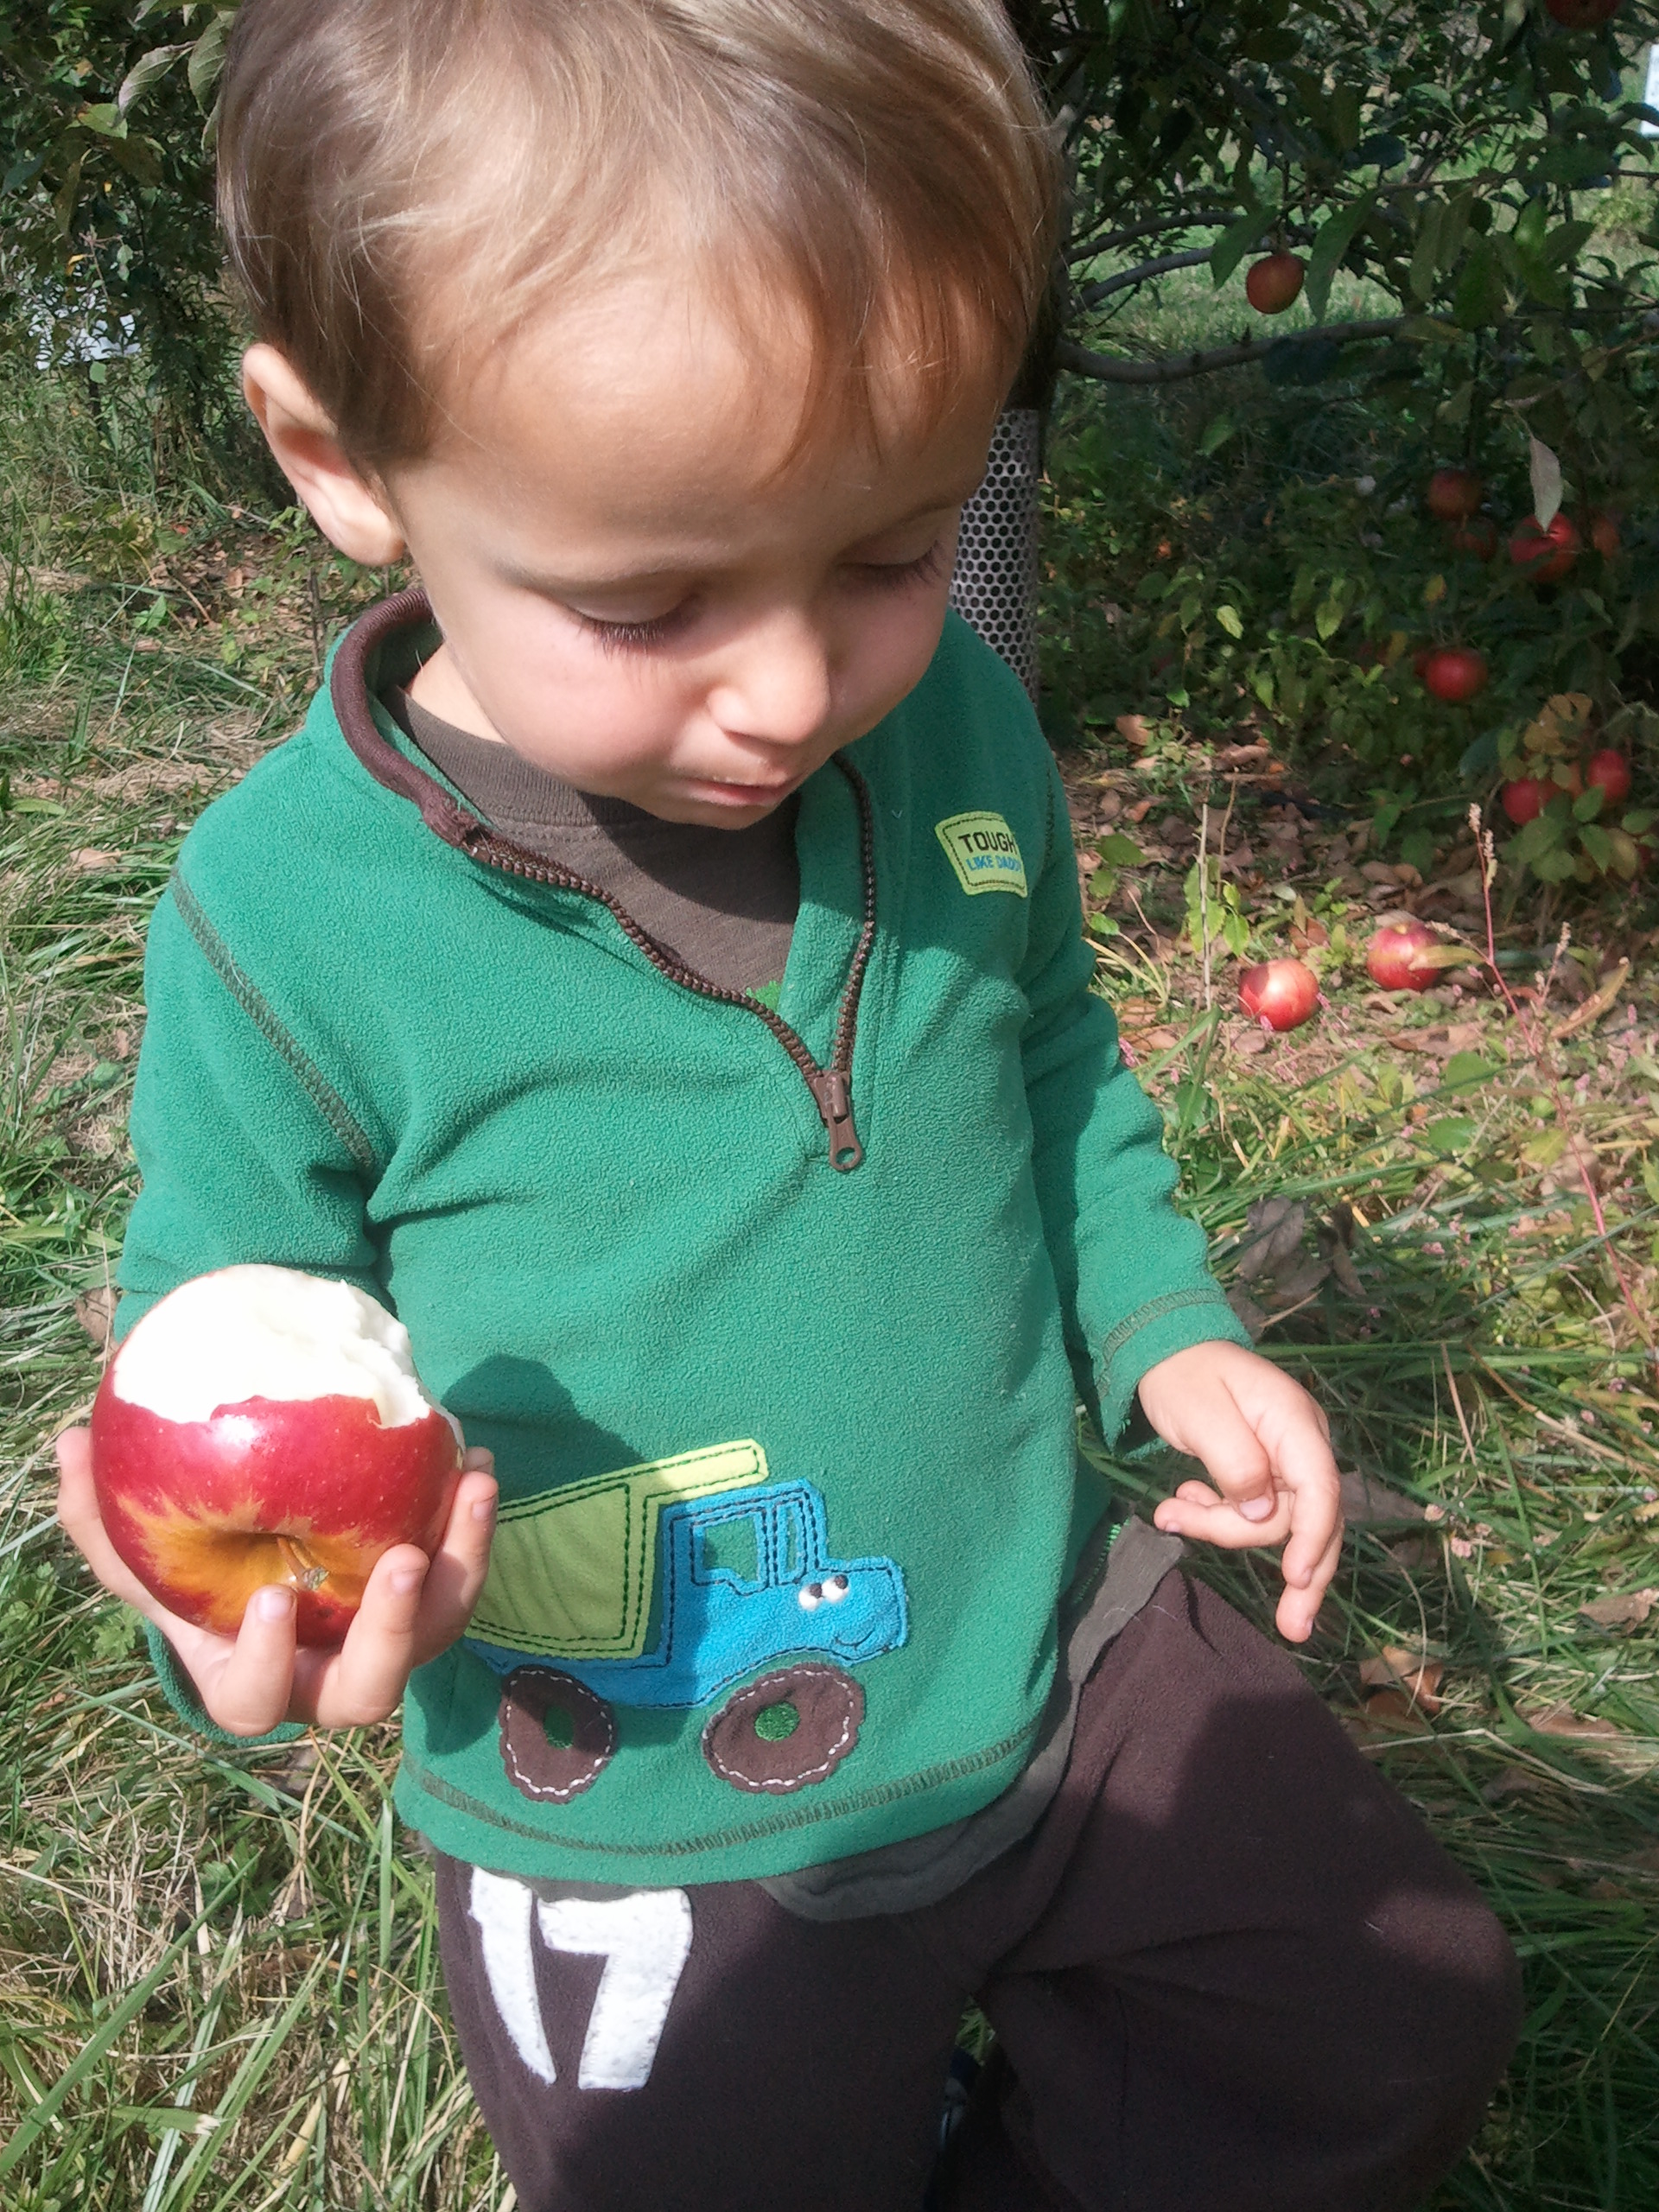
After trying both kinds of apples, this monkey is sticking with the red.
Ordinarily, we make applesauce, but as we still have a fairly full stash from last year’s harvest, Mama thought we’d try our hands at apple butter. I’ll write about that a little later because for now, I want to tell you about something that can only be called a revelation (if only I knew what that word meant):
Apple bread.
It’s a tad sweet and totally snackable. We made one loaf of bread, and from here on out, we’re making apple muffins.
We used the yummy recipe found here. Mama substituted one cup of the flour with whole-wheat and all the sugar with brown, just because that’s how Mama does things.
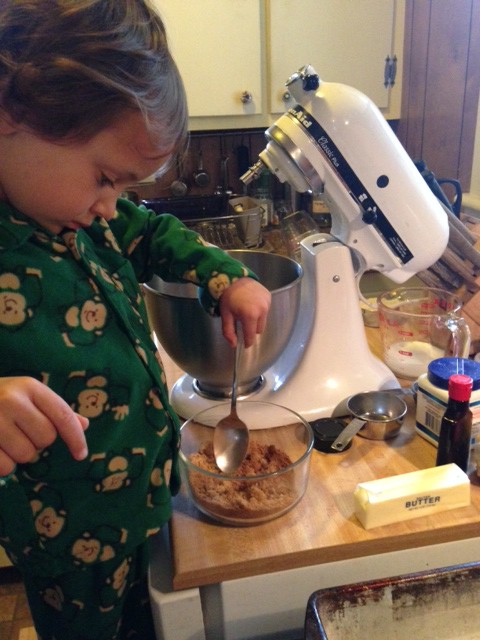
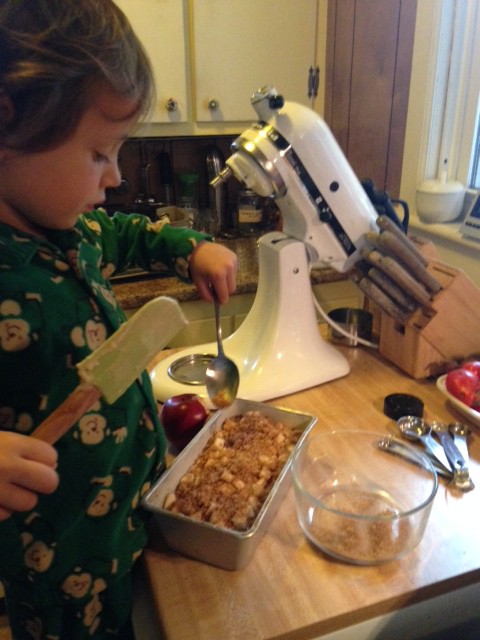
First, I mixed the brown sugar together with the cinnamon. Here I am breaking up the little lumps of brown sugar. (Mama just reached in and pinched whatever was left with her fingers.)
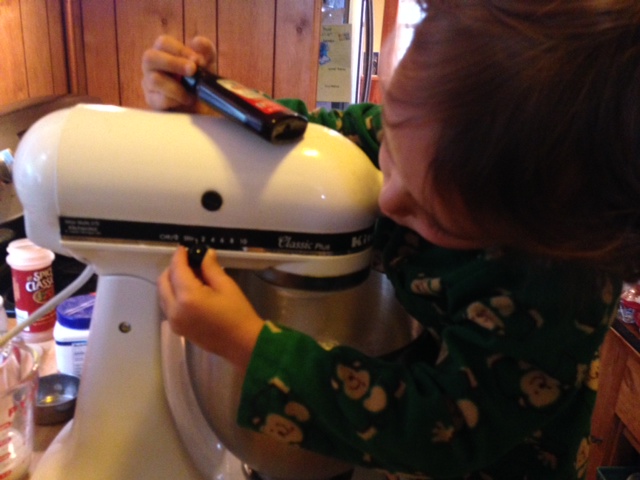
Then we put different sugar and butter in the mixing bowl and creamed them with the paddle. Mama told me to start slow, and I said “otherwise the dough will get angry.” What I meant was that it will fly all over the place. You’re not just combining the sugar and butter. What you’re doing is smashing the sugar into all that butter, coating all the little sugar granules with fat. This results in a lighter finished product with better lift.
I’m holding the vanilla because I can’t wait to add it. I love it so much!
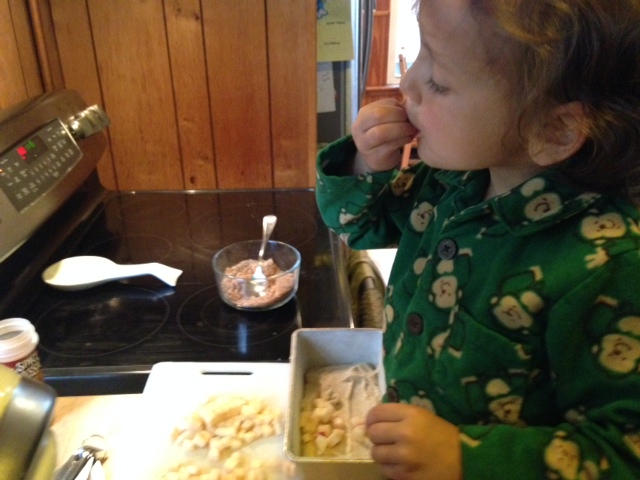
Once the batter was made, we practiced a new word: half. Mama spread half the batter into the bread pan, then I sprinkled half the chopped apple over the batter, then topped that with half the cinnamon-brown sugar mixture. (I might have eaten a little along the way.)
Good thing Mama diced a large apple.
Then we repeated the whole operation with a second layer. Mama advised me to spread out my additions as evenly as possible so there were no overly sweet or apply spots.
I was eating batter with one hand and sprinkling cinnamon-sugar with the other. Talk about multitasking.
Our bread took a bit more than an hour to bake until our tester came out clean. (When we made muffins a week later, the same amount of batter and fillings made 12 and baked for 20 minutes.) I declared this bread delicious. Good thing we picked lots of apples. We’re going to need them.
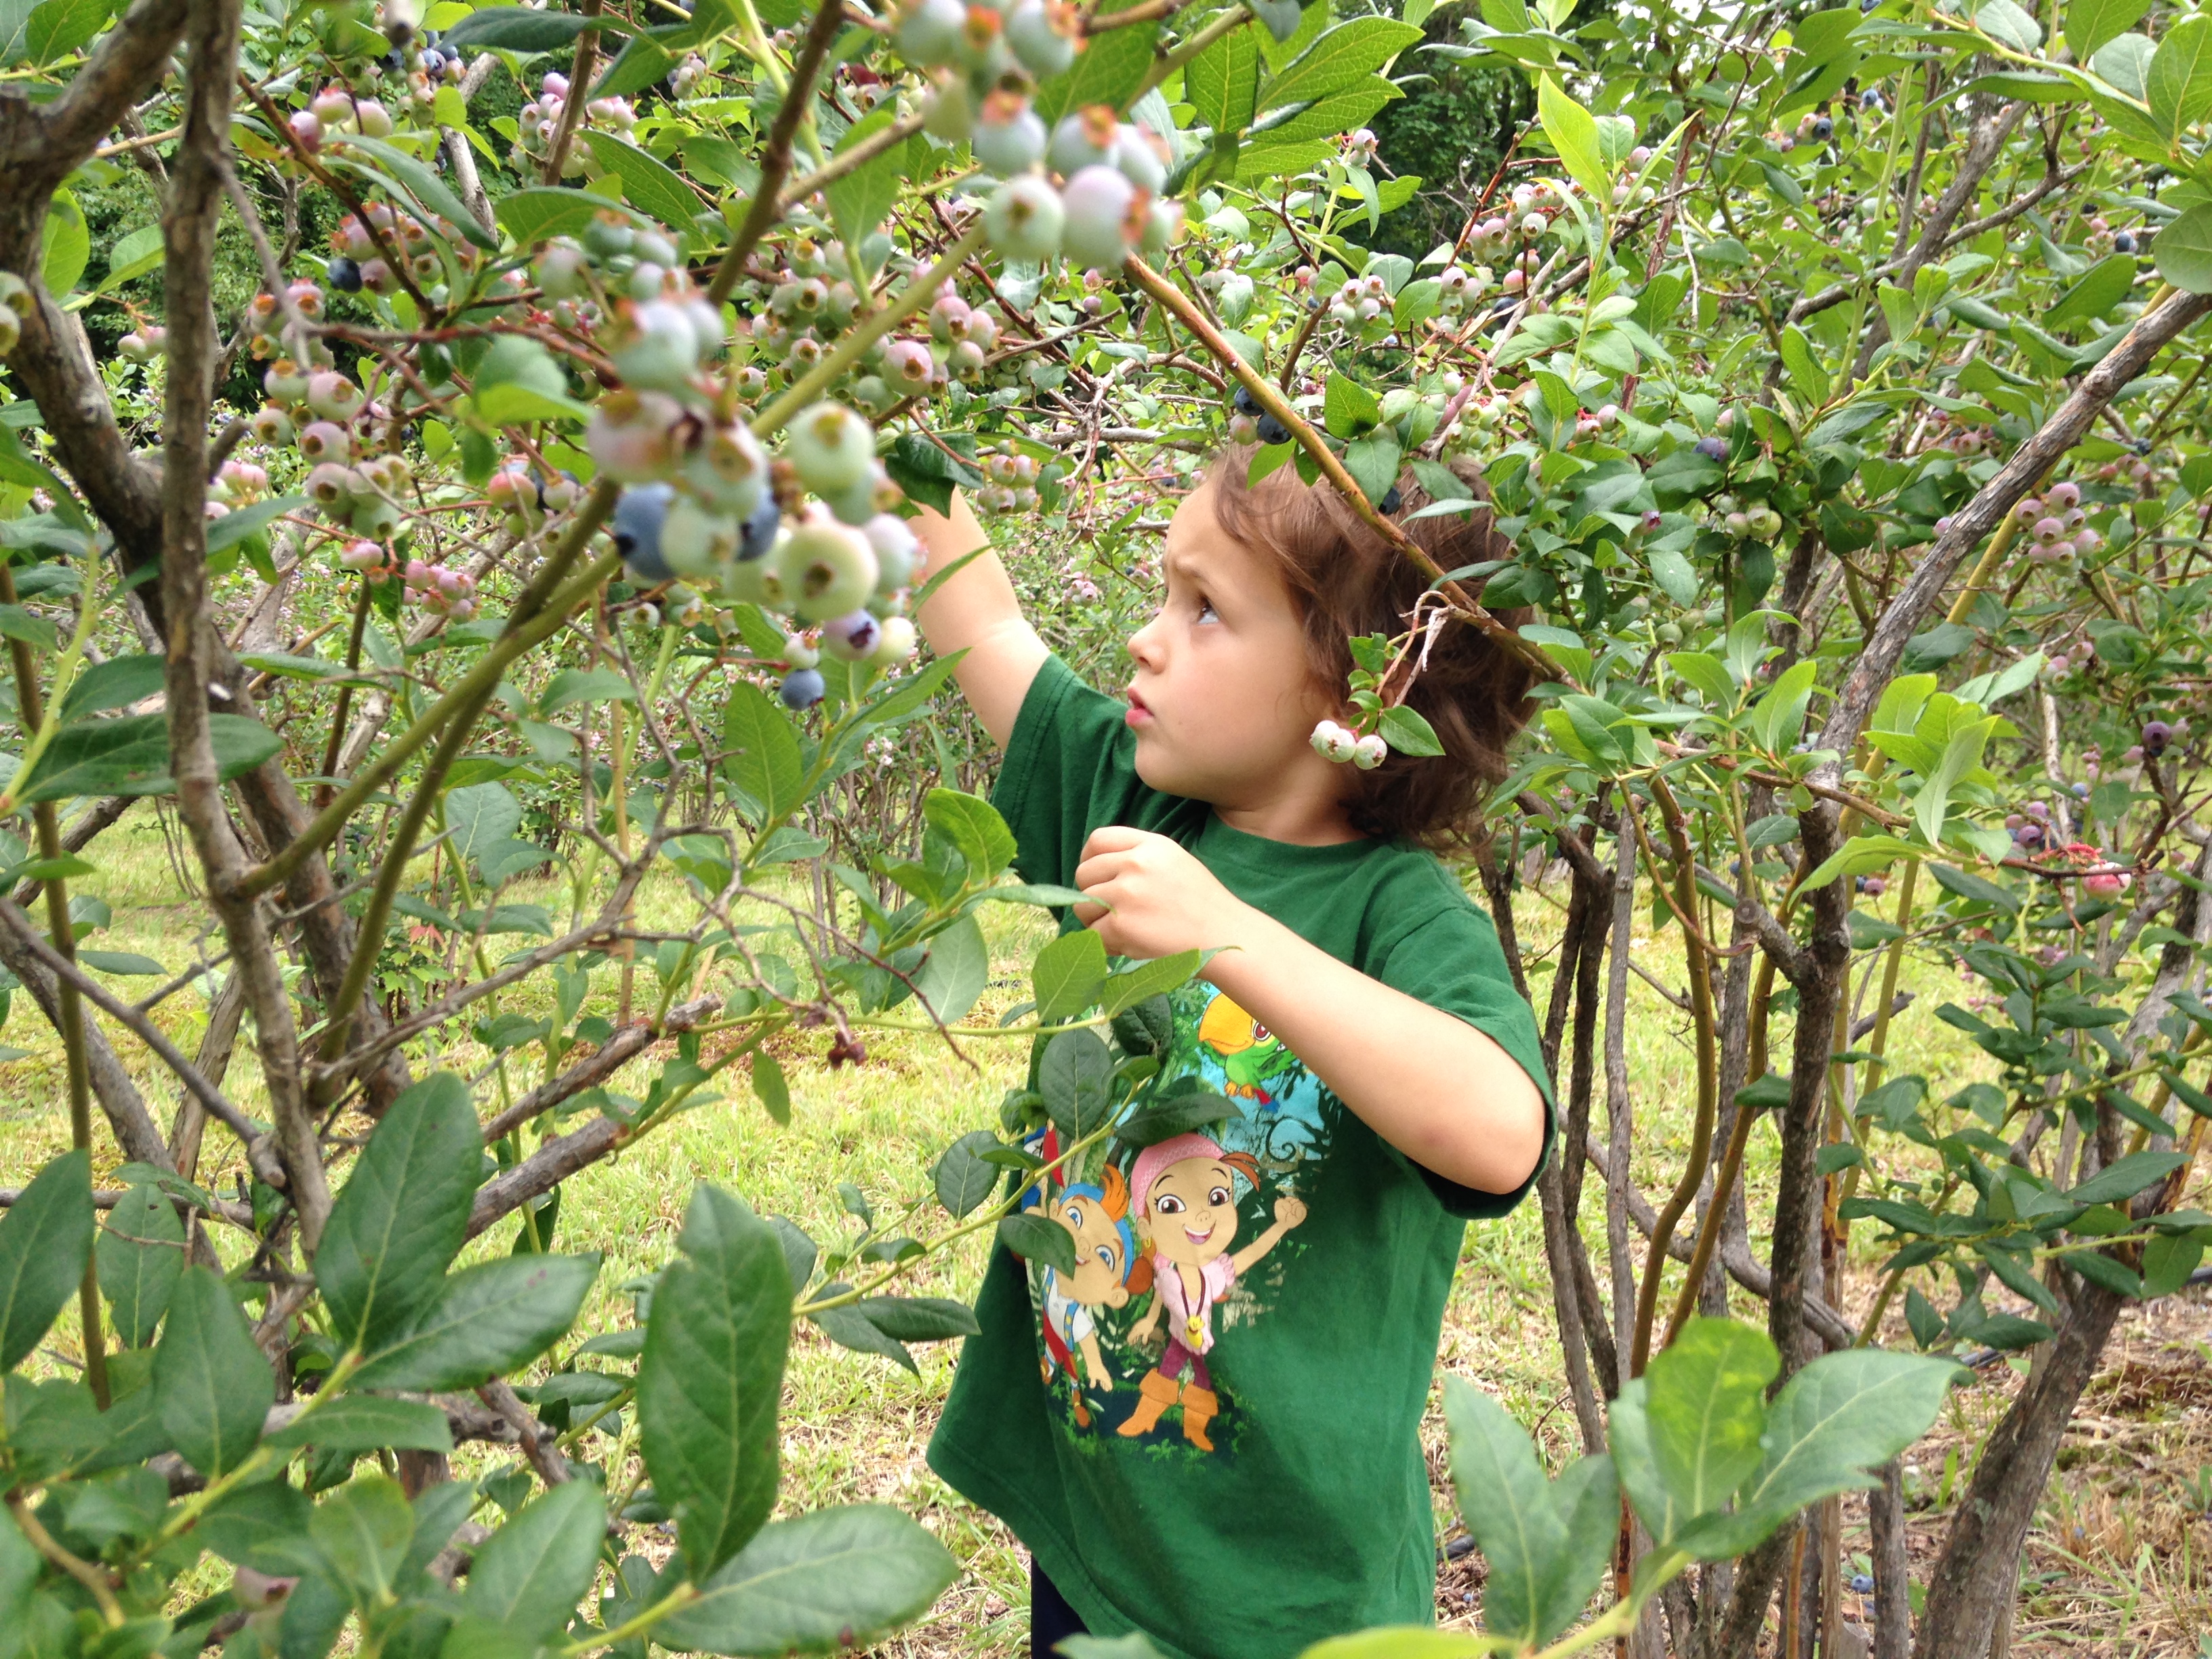
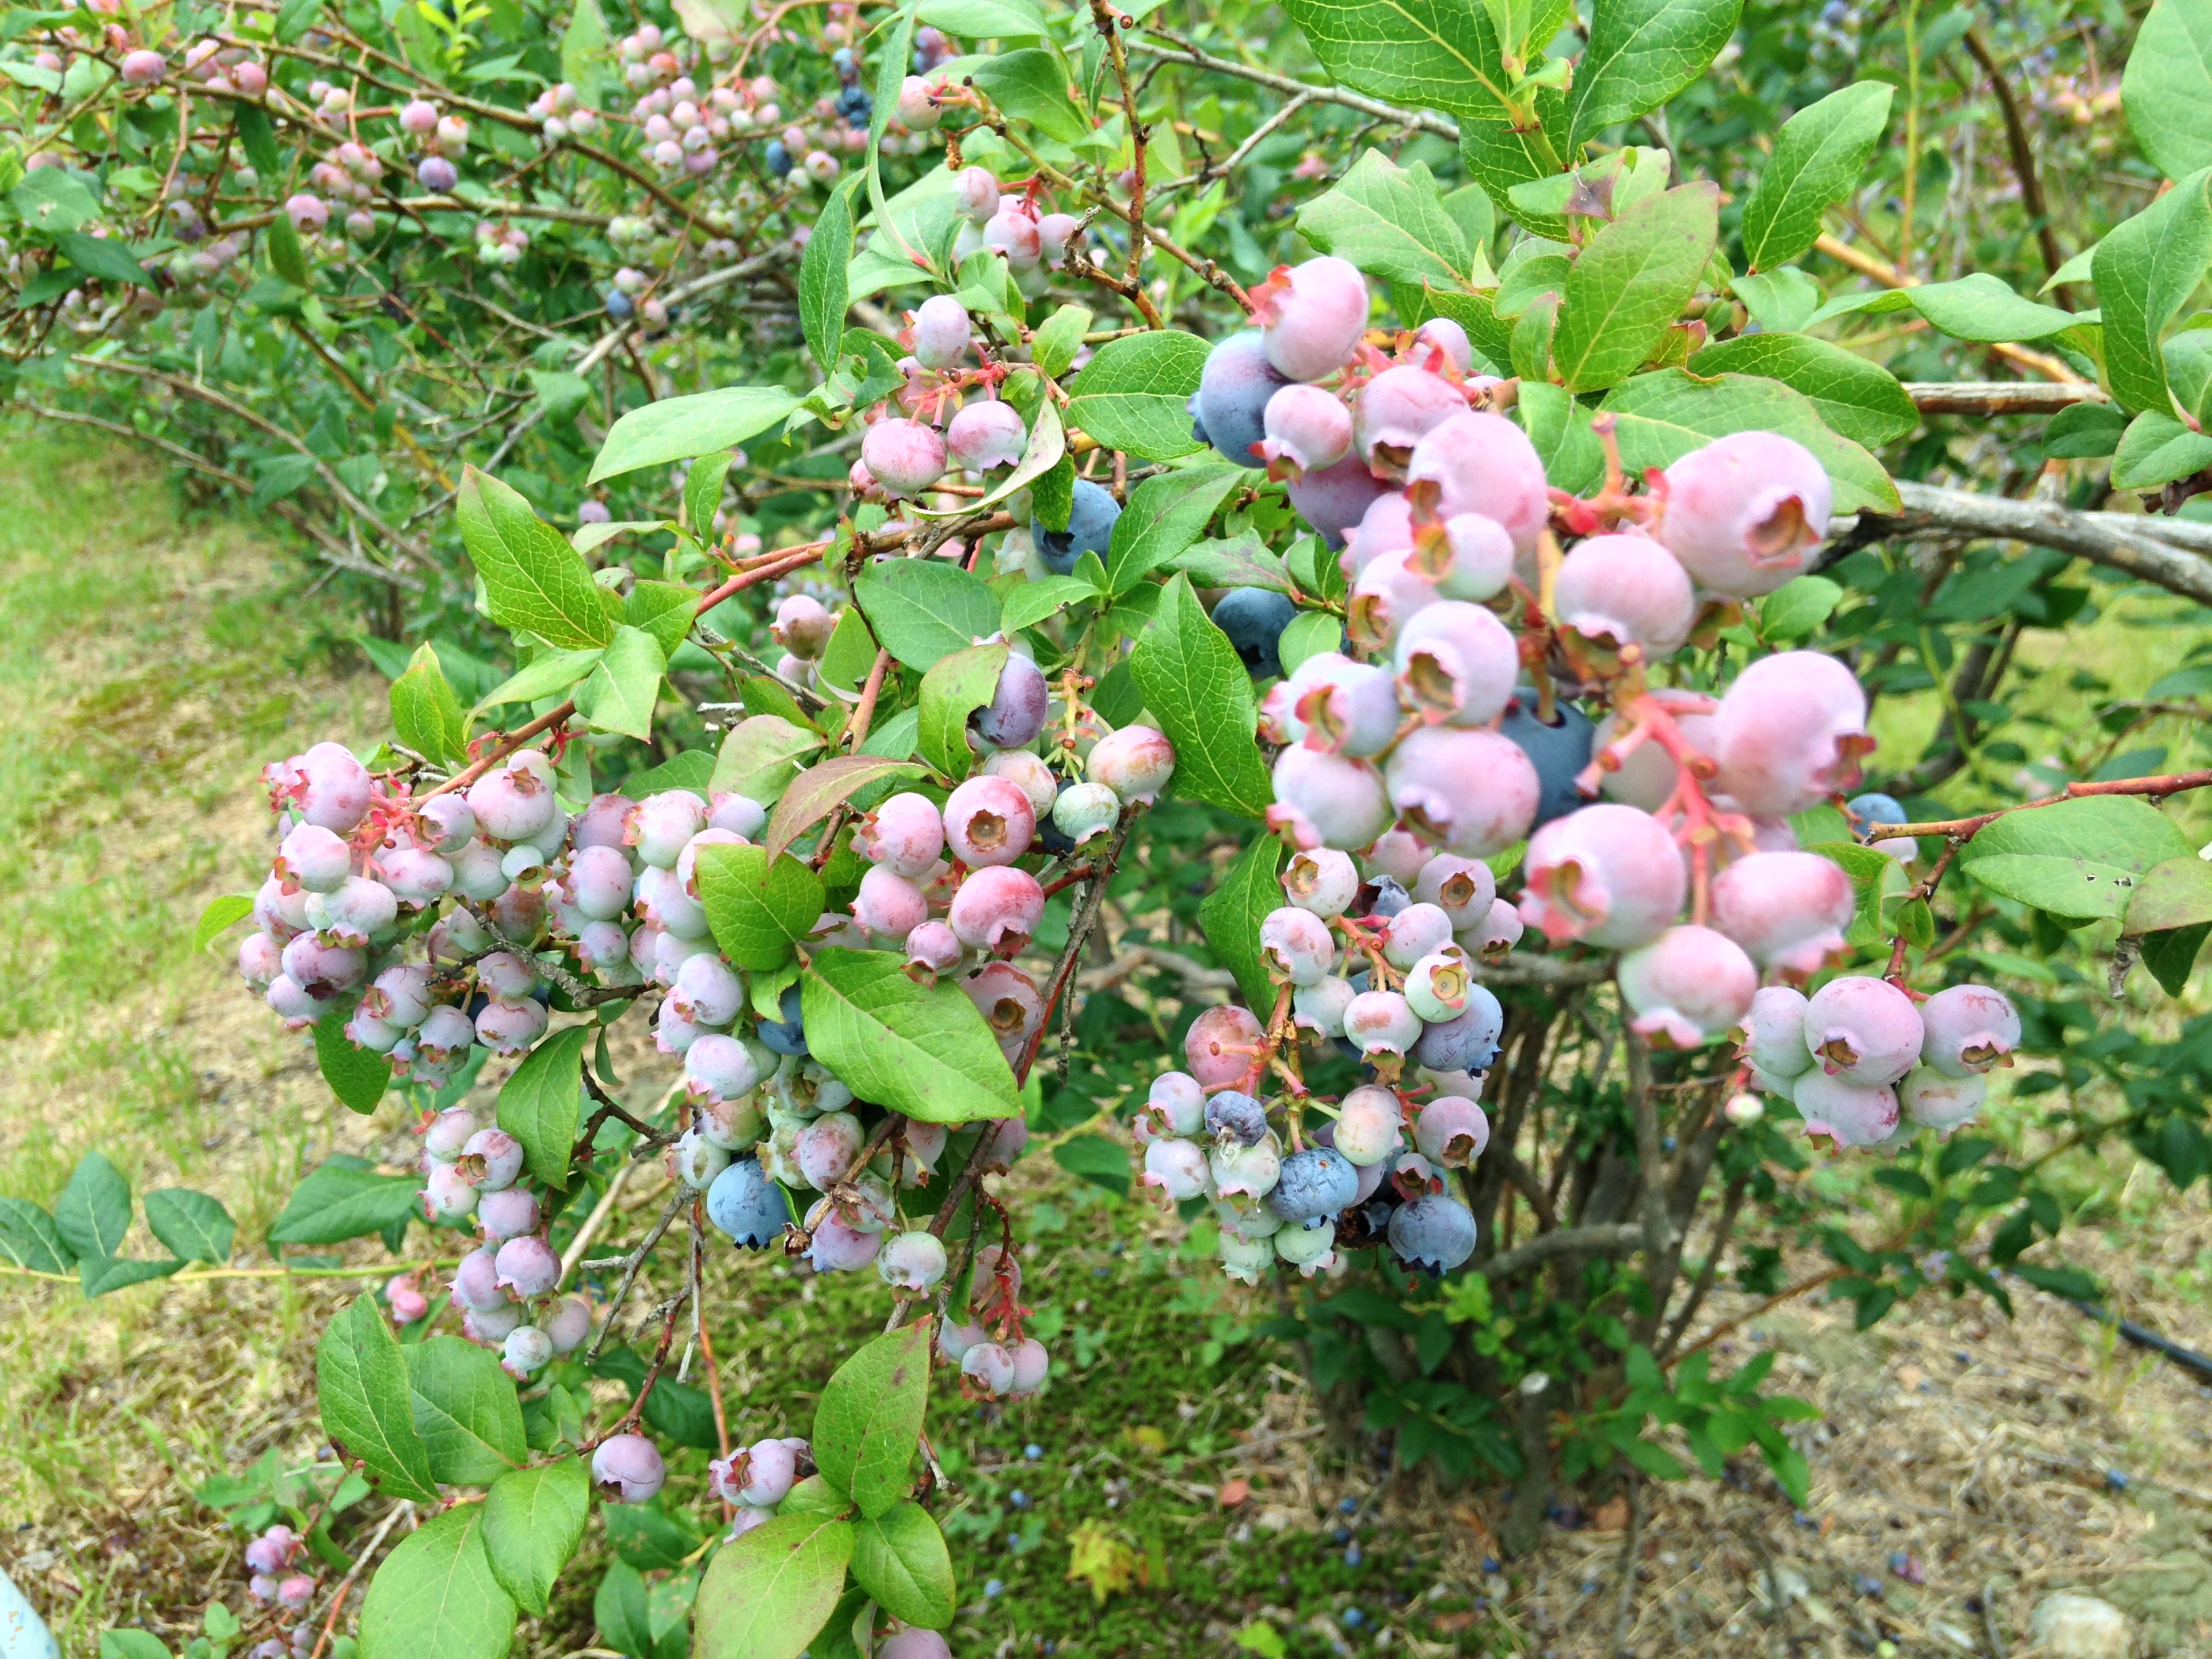
We’ve been fortunate to have a really long blueberry season this summer… then again, they started pretty late. And our two bushes never produced, so there’s that. Still, we went picking a bunch of times.
After Mama did all her sorting and freezing (and I did all my snacking), she made jam. Now, I like to say “jams and jellies” because that’s what Mr. Gru and Dr. Nefario say, but Mama tells me that they’re very different. Jam is the cooked down, sugared, soft, and jelled version of fruits, whereas jelly is the jelled version of a fruit’s sweetened juices—that’s why it’s clear.
And if you know one thing about us, it’s that we don’t have time to make jelly.
So jam it is.
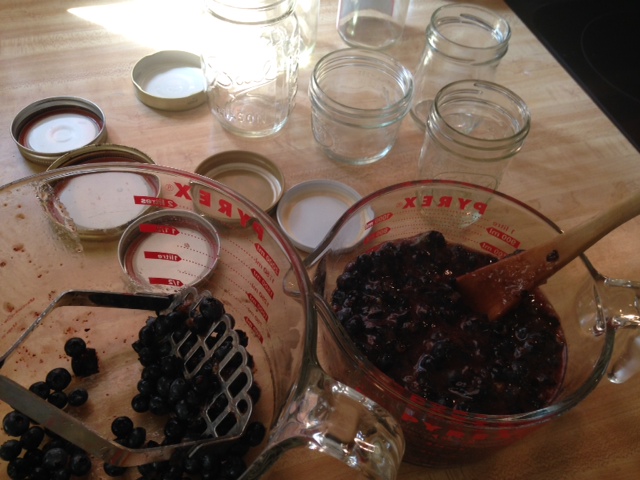
The first thing to do is mash the berries. I would like to say that Mama let me do this, but the whole jam-making experience was more of an observation. Blueberry mess + boiling sugar syrup = imminent danger in this household.
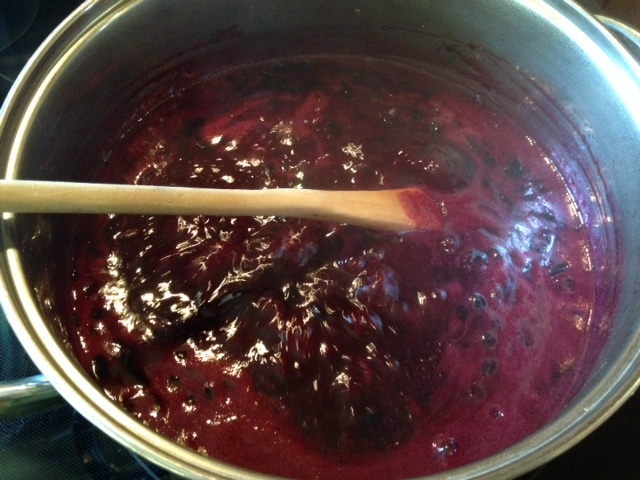
Once the berries were mashed, they were cooked with some water, local honey (Mama thought she’d change it up a bit), lemon juice, spices—cinnamon and cardamom, to be exact—and a dash of good ol’ pectin, to help it set up. When we’re making a quick on-the-spot jam, Mama skips the pectin, but as blueberries don’t have a lot of it on their own, she opted for the help. Pectin also needs a bit of acid to do its magic, hence the lemon juice (that, and blueberries and lemons are just plain yummy together).
Either way, the simple test to see whether the jam is sufficiently jelled is by putting a dab of it on a plate that’s been in the freezer. Return it to the freezer, and if, when you take it out and run your finger through it, it seems jammy, you’re done! If not, return the jam to a boil and cook it down a little more.
Mama decided to store this jam in the freezer (mainly so she didn’t have to haul out her canning equipment), so she put it in a bunch of pretty little jars instead and called it a day.
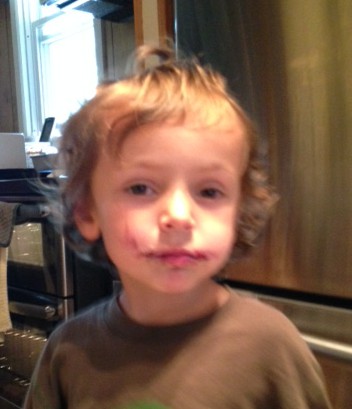
Once cooled, she carted the jars to the freezer and found a cozy place for them. And the very next day, I made myself a yummy blueberry jam and peanut butter sandwich.
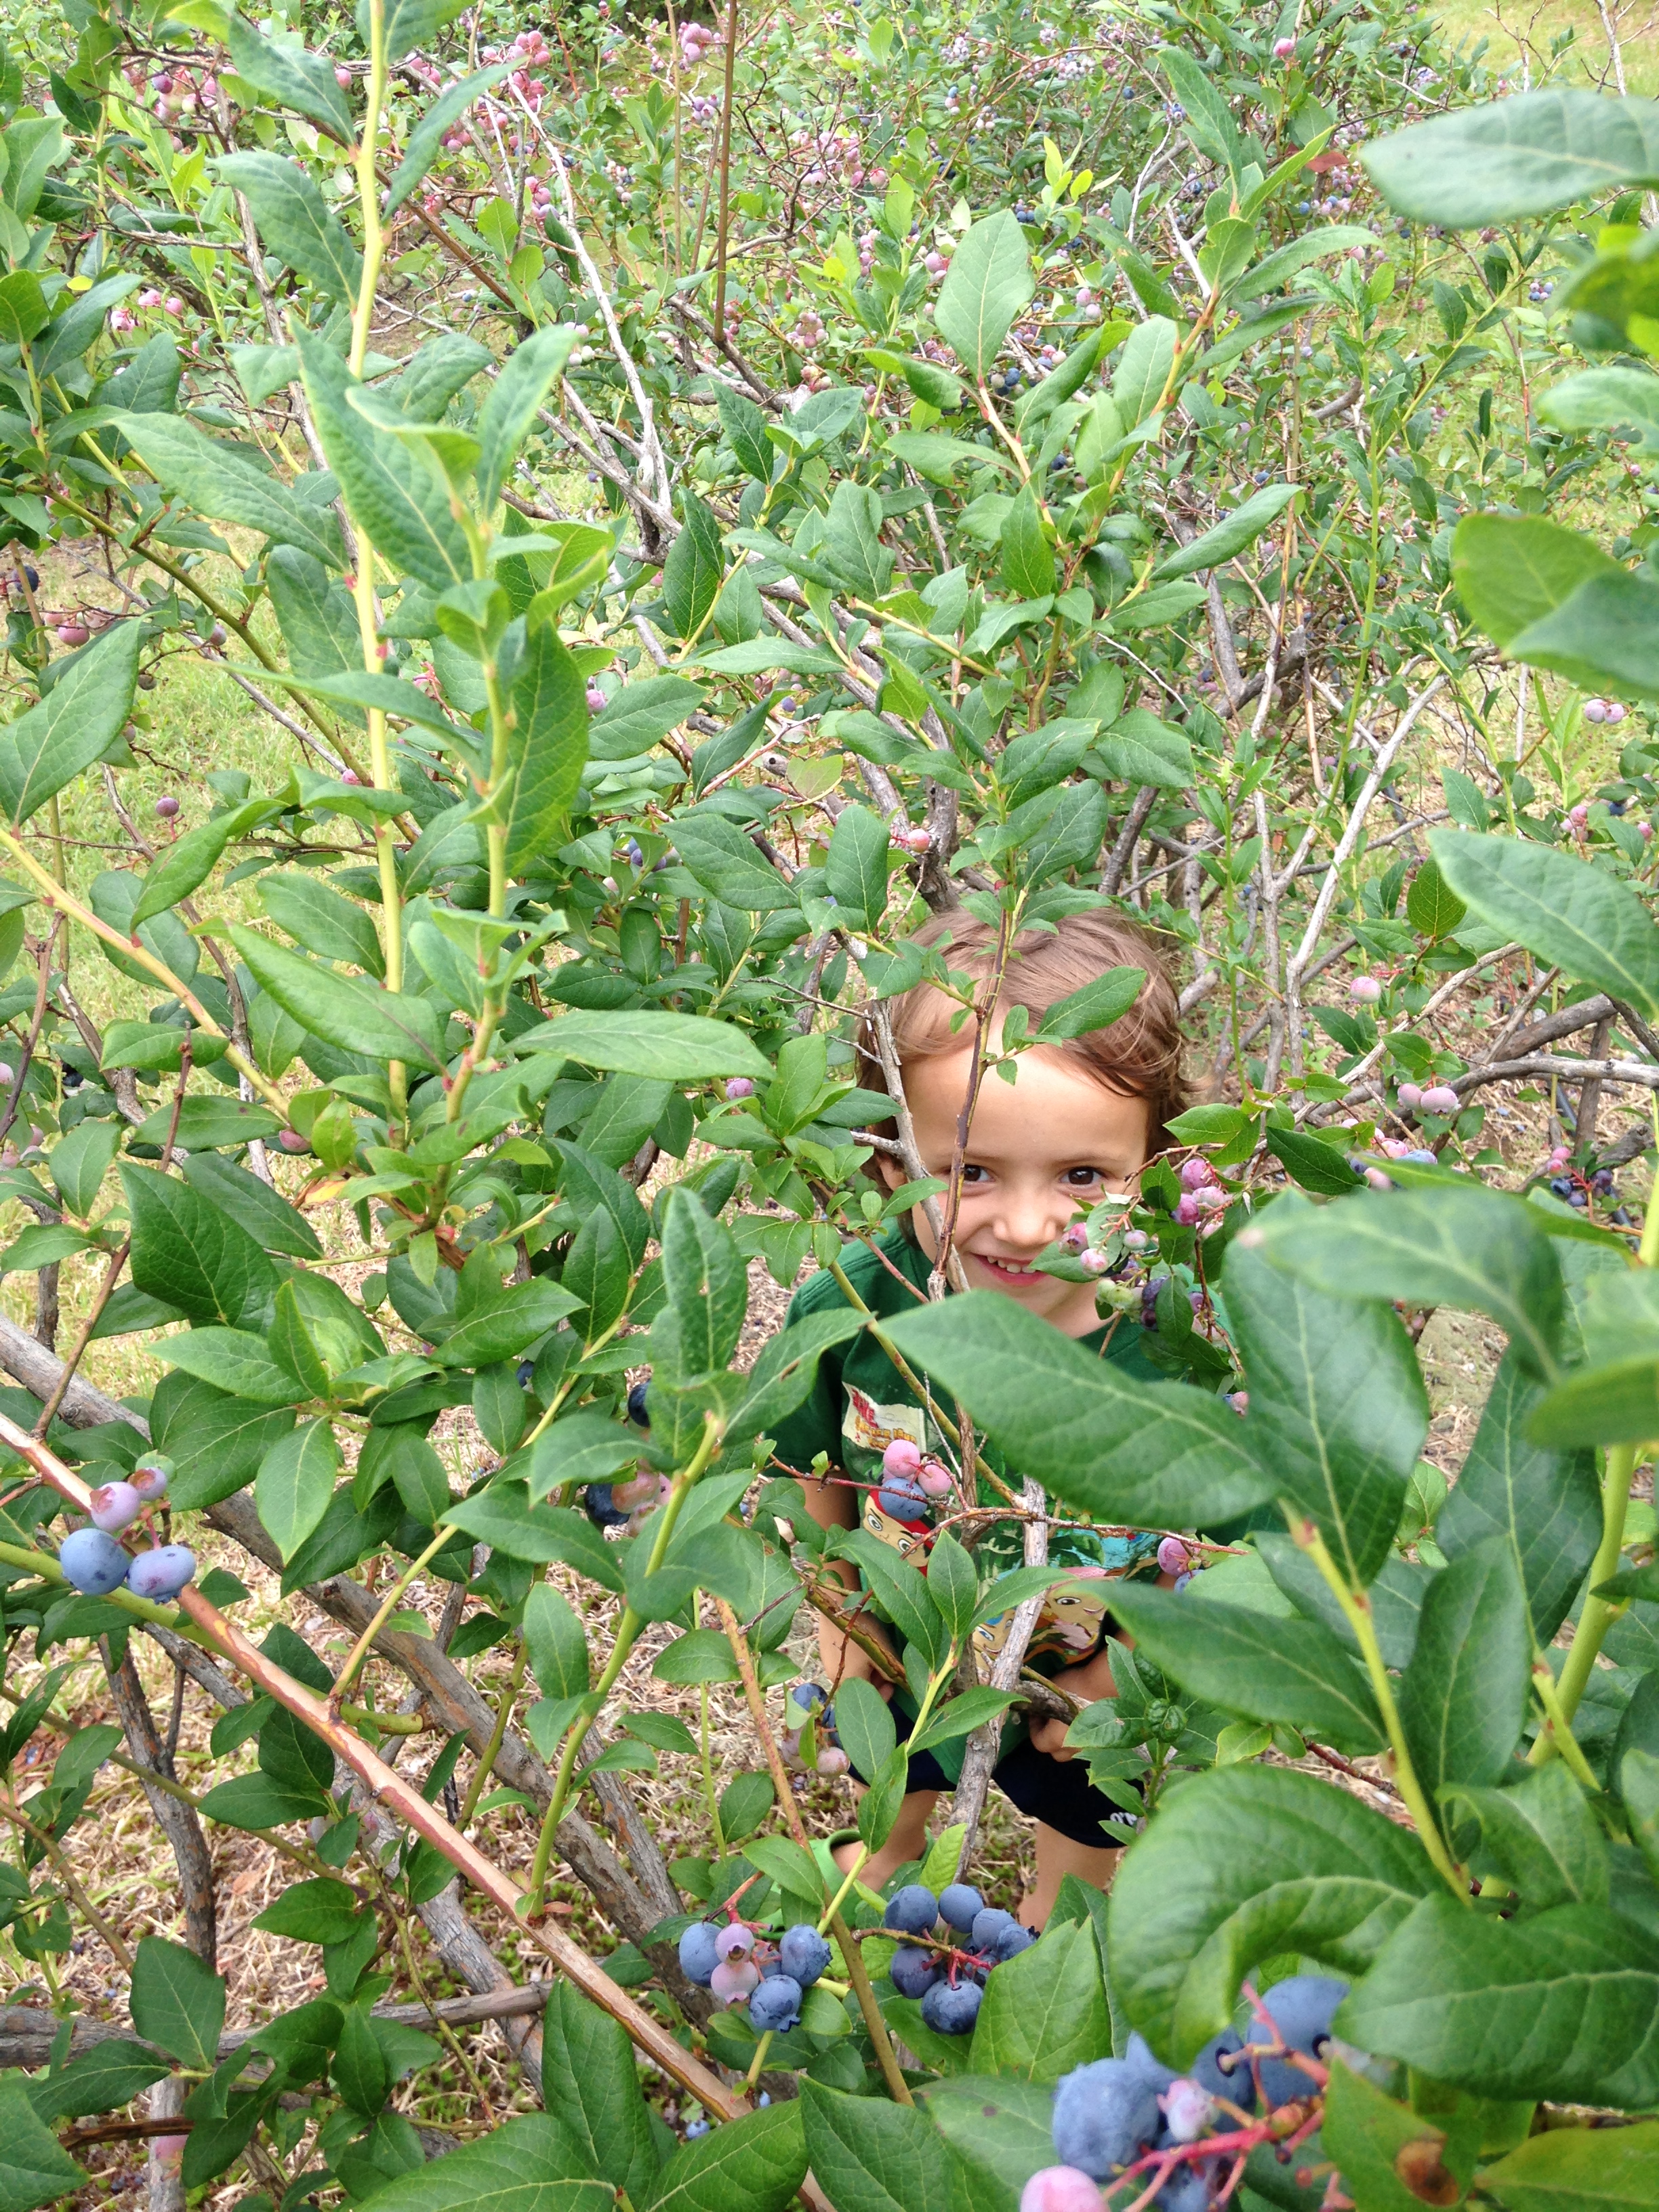
Mama says I look like the Joker, whoever that is. I say this face looks like summer.
We’ve done this many times before, and I told Mama, “I have good memories of picking blueberries with you.”
I told everyone we met that we were going to make blueberry pie and blueberry jam.
Soon after Mama stuck a bunch in the freezer (remember to freeze on a tray before putting them into bags!), we set to work on making that pie. We’ve made all kinds of pies before, and I thought we might make a Bluecherry Pie or a crumble, but Mama wanted to show me how to make a pie that’s both fast and doesn’t require an oven.
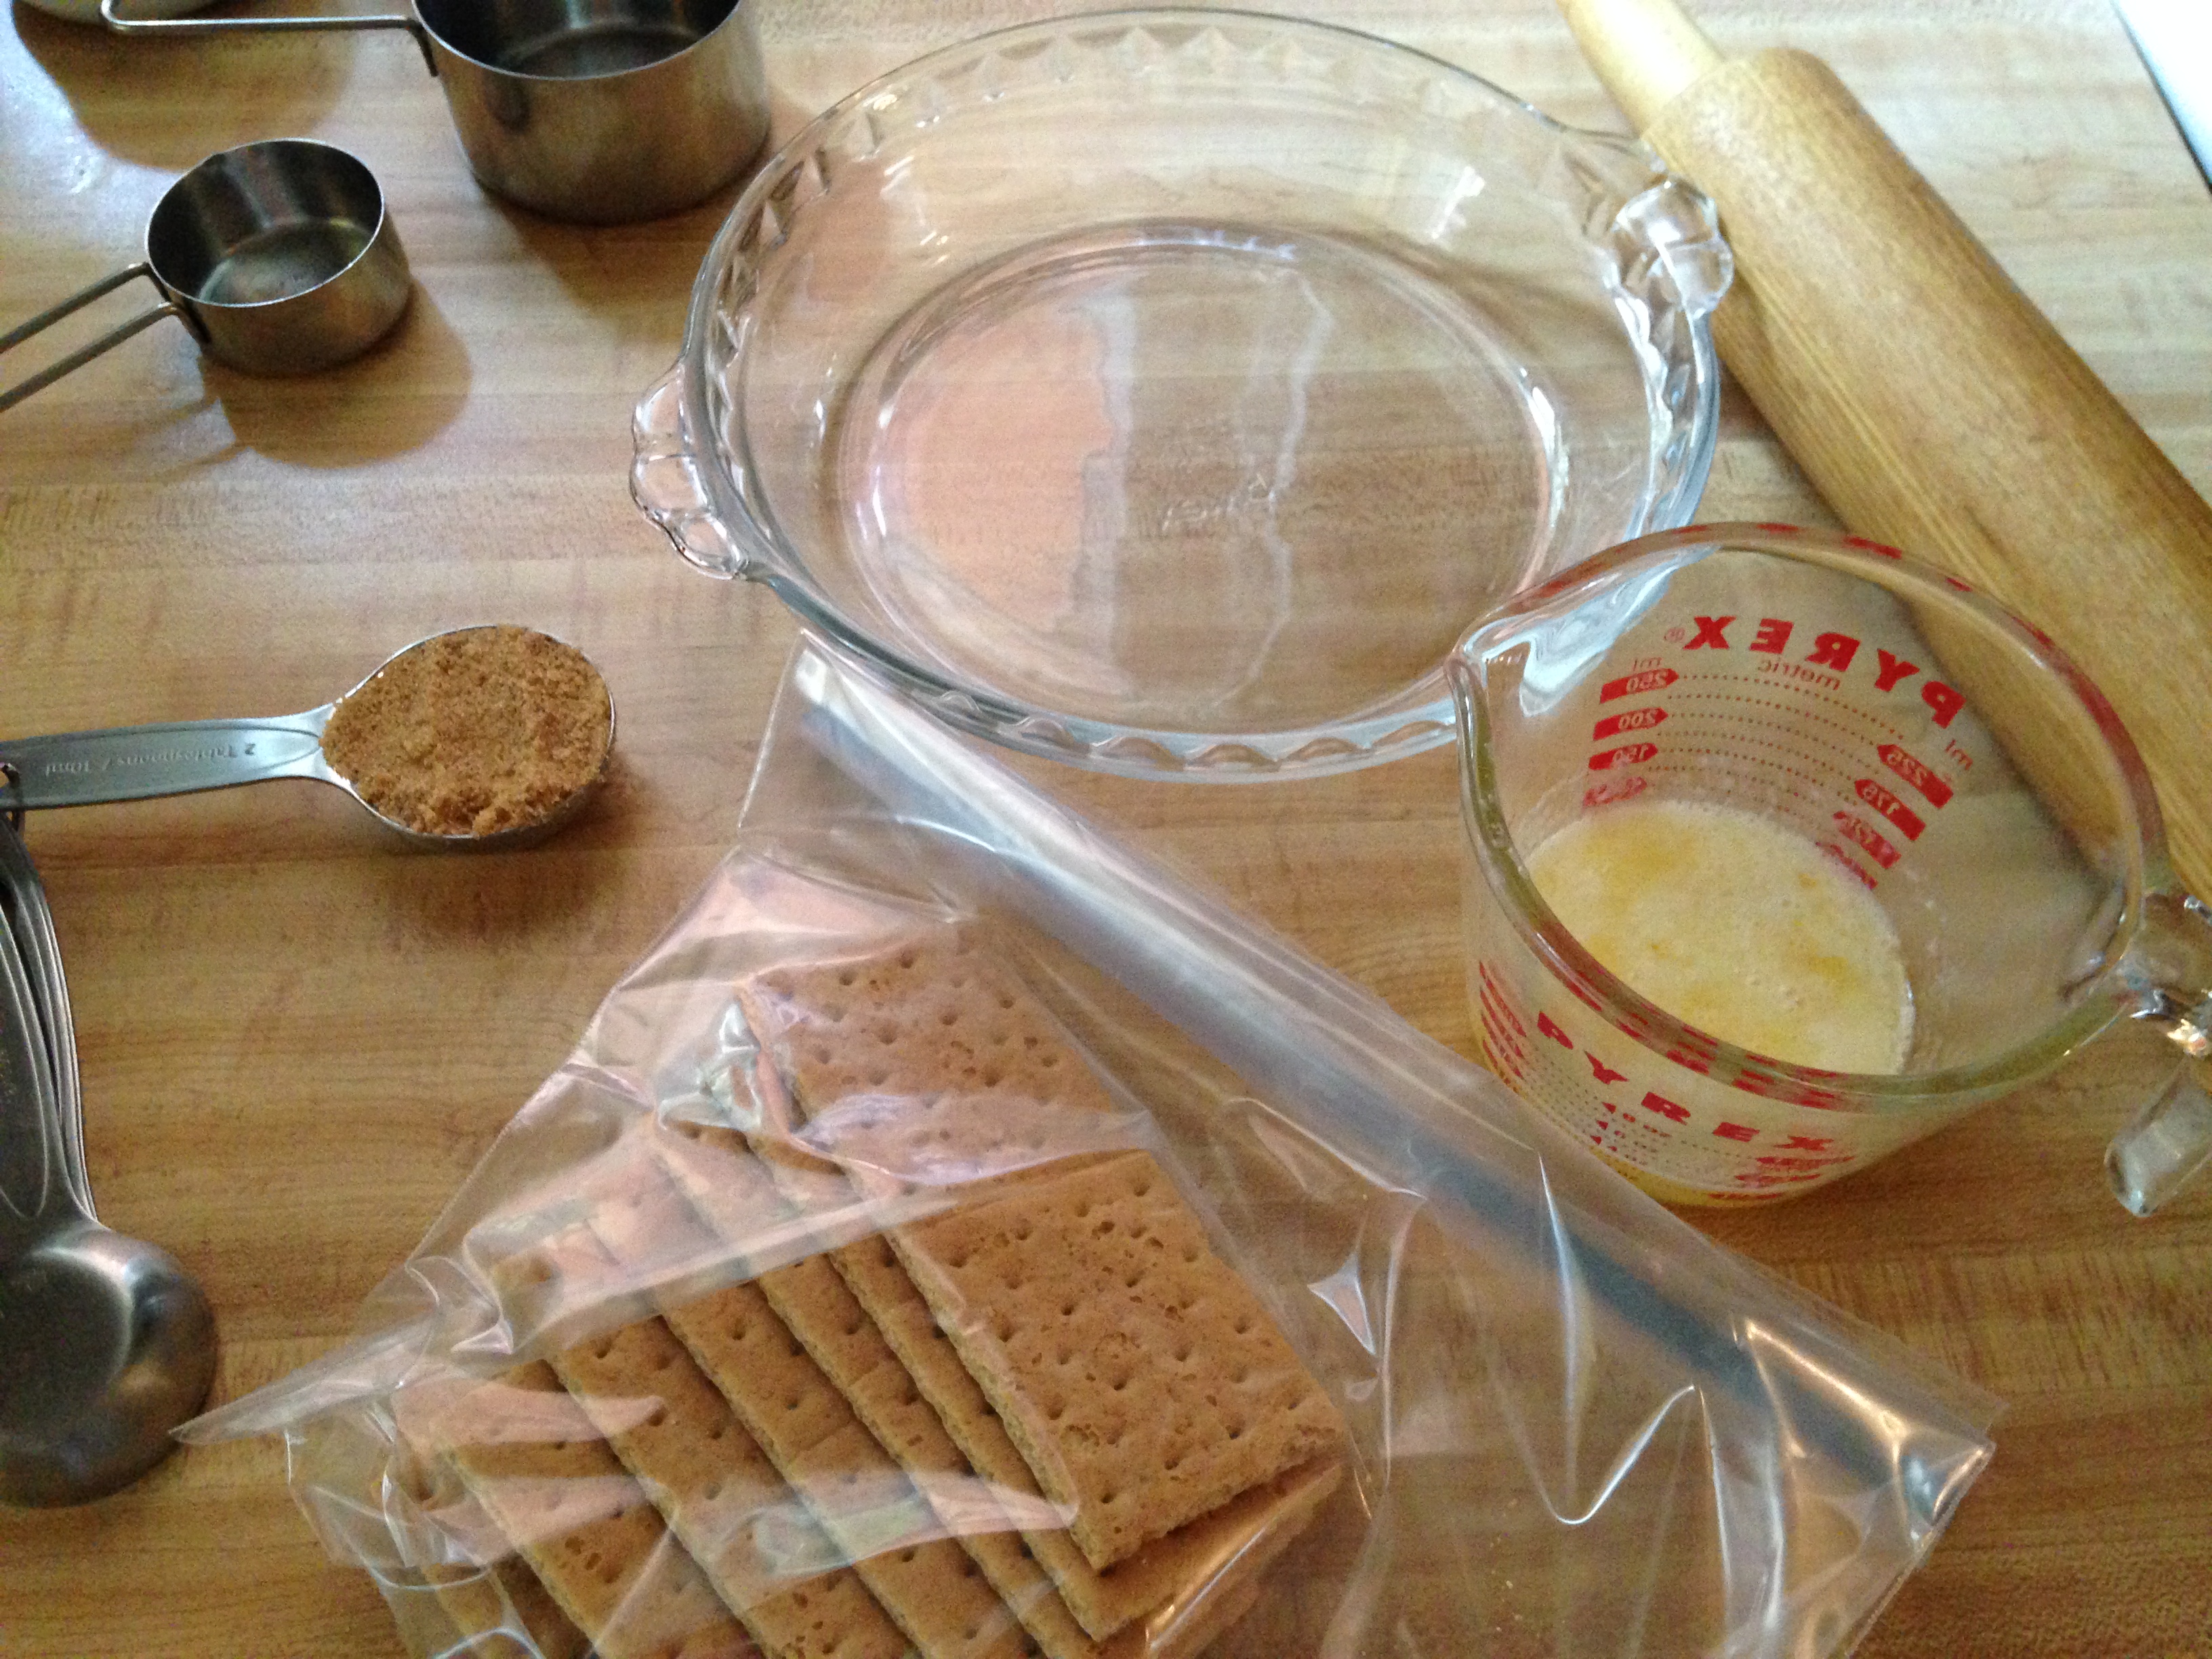
Here’s what we needed to get started:
Just graham crackers, melted butter, and a bit of brown sugar is all you need to put together a crust.
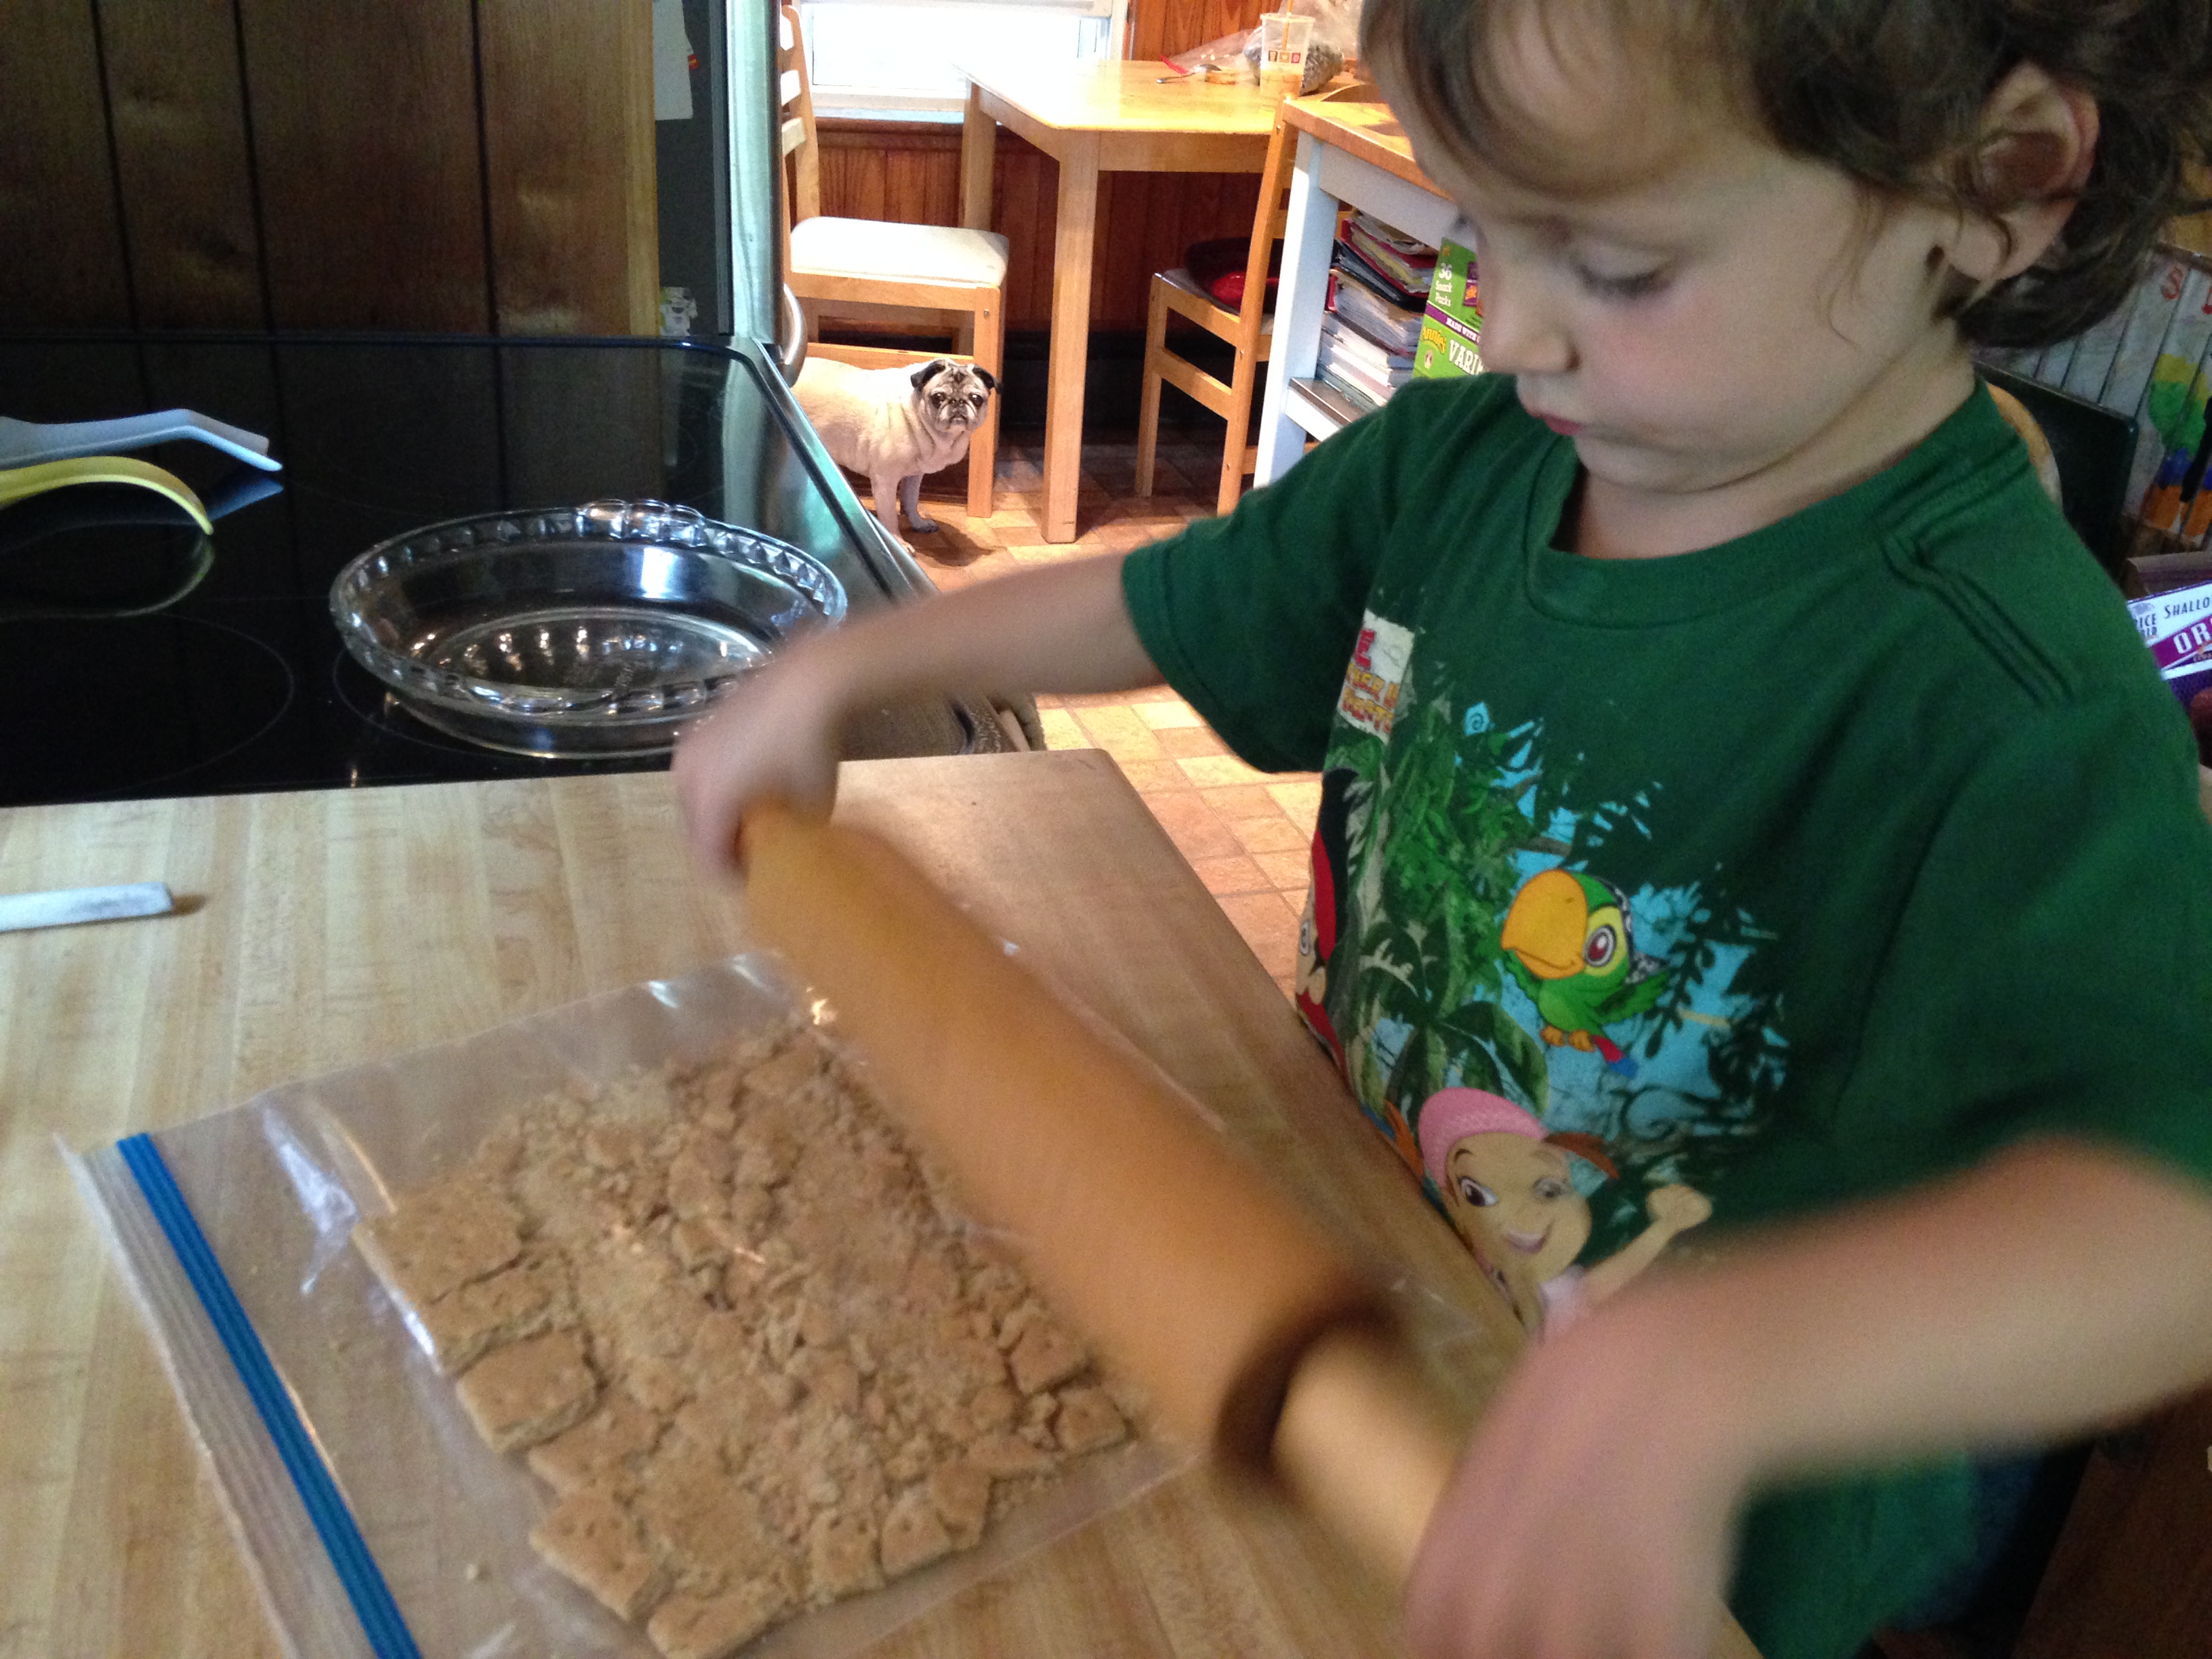
Then Mama let me pound the graham crackers into crumbs:
This is a GREAT activity for a kid like me.
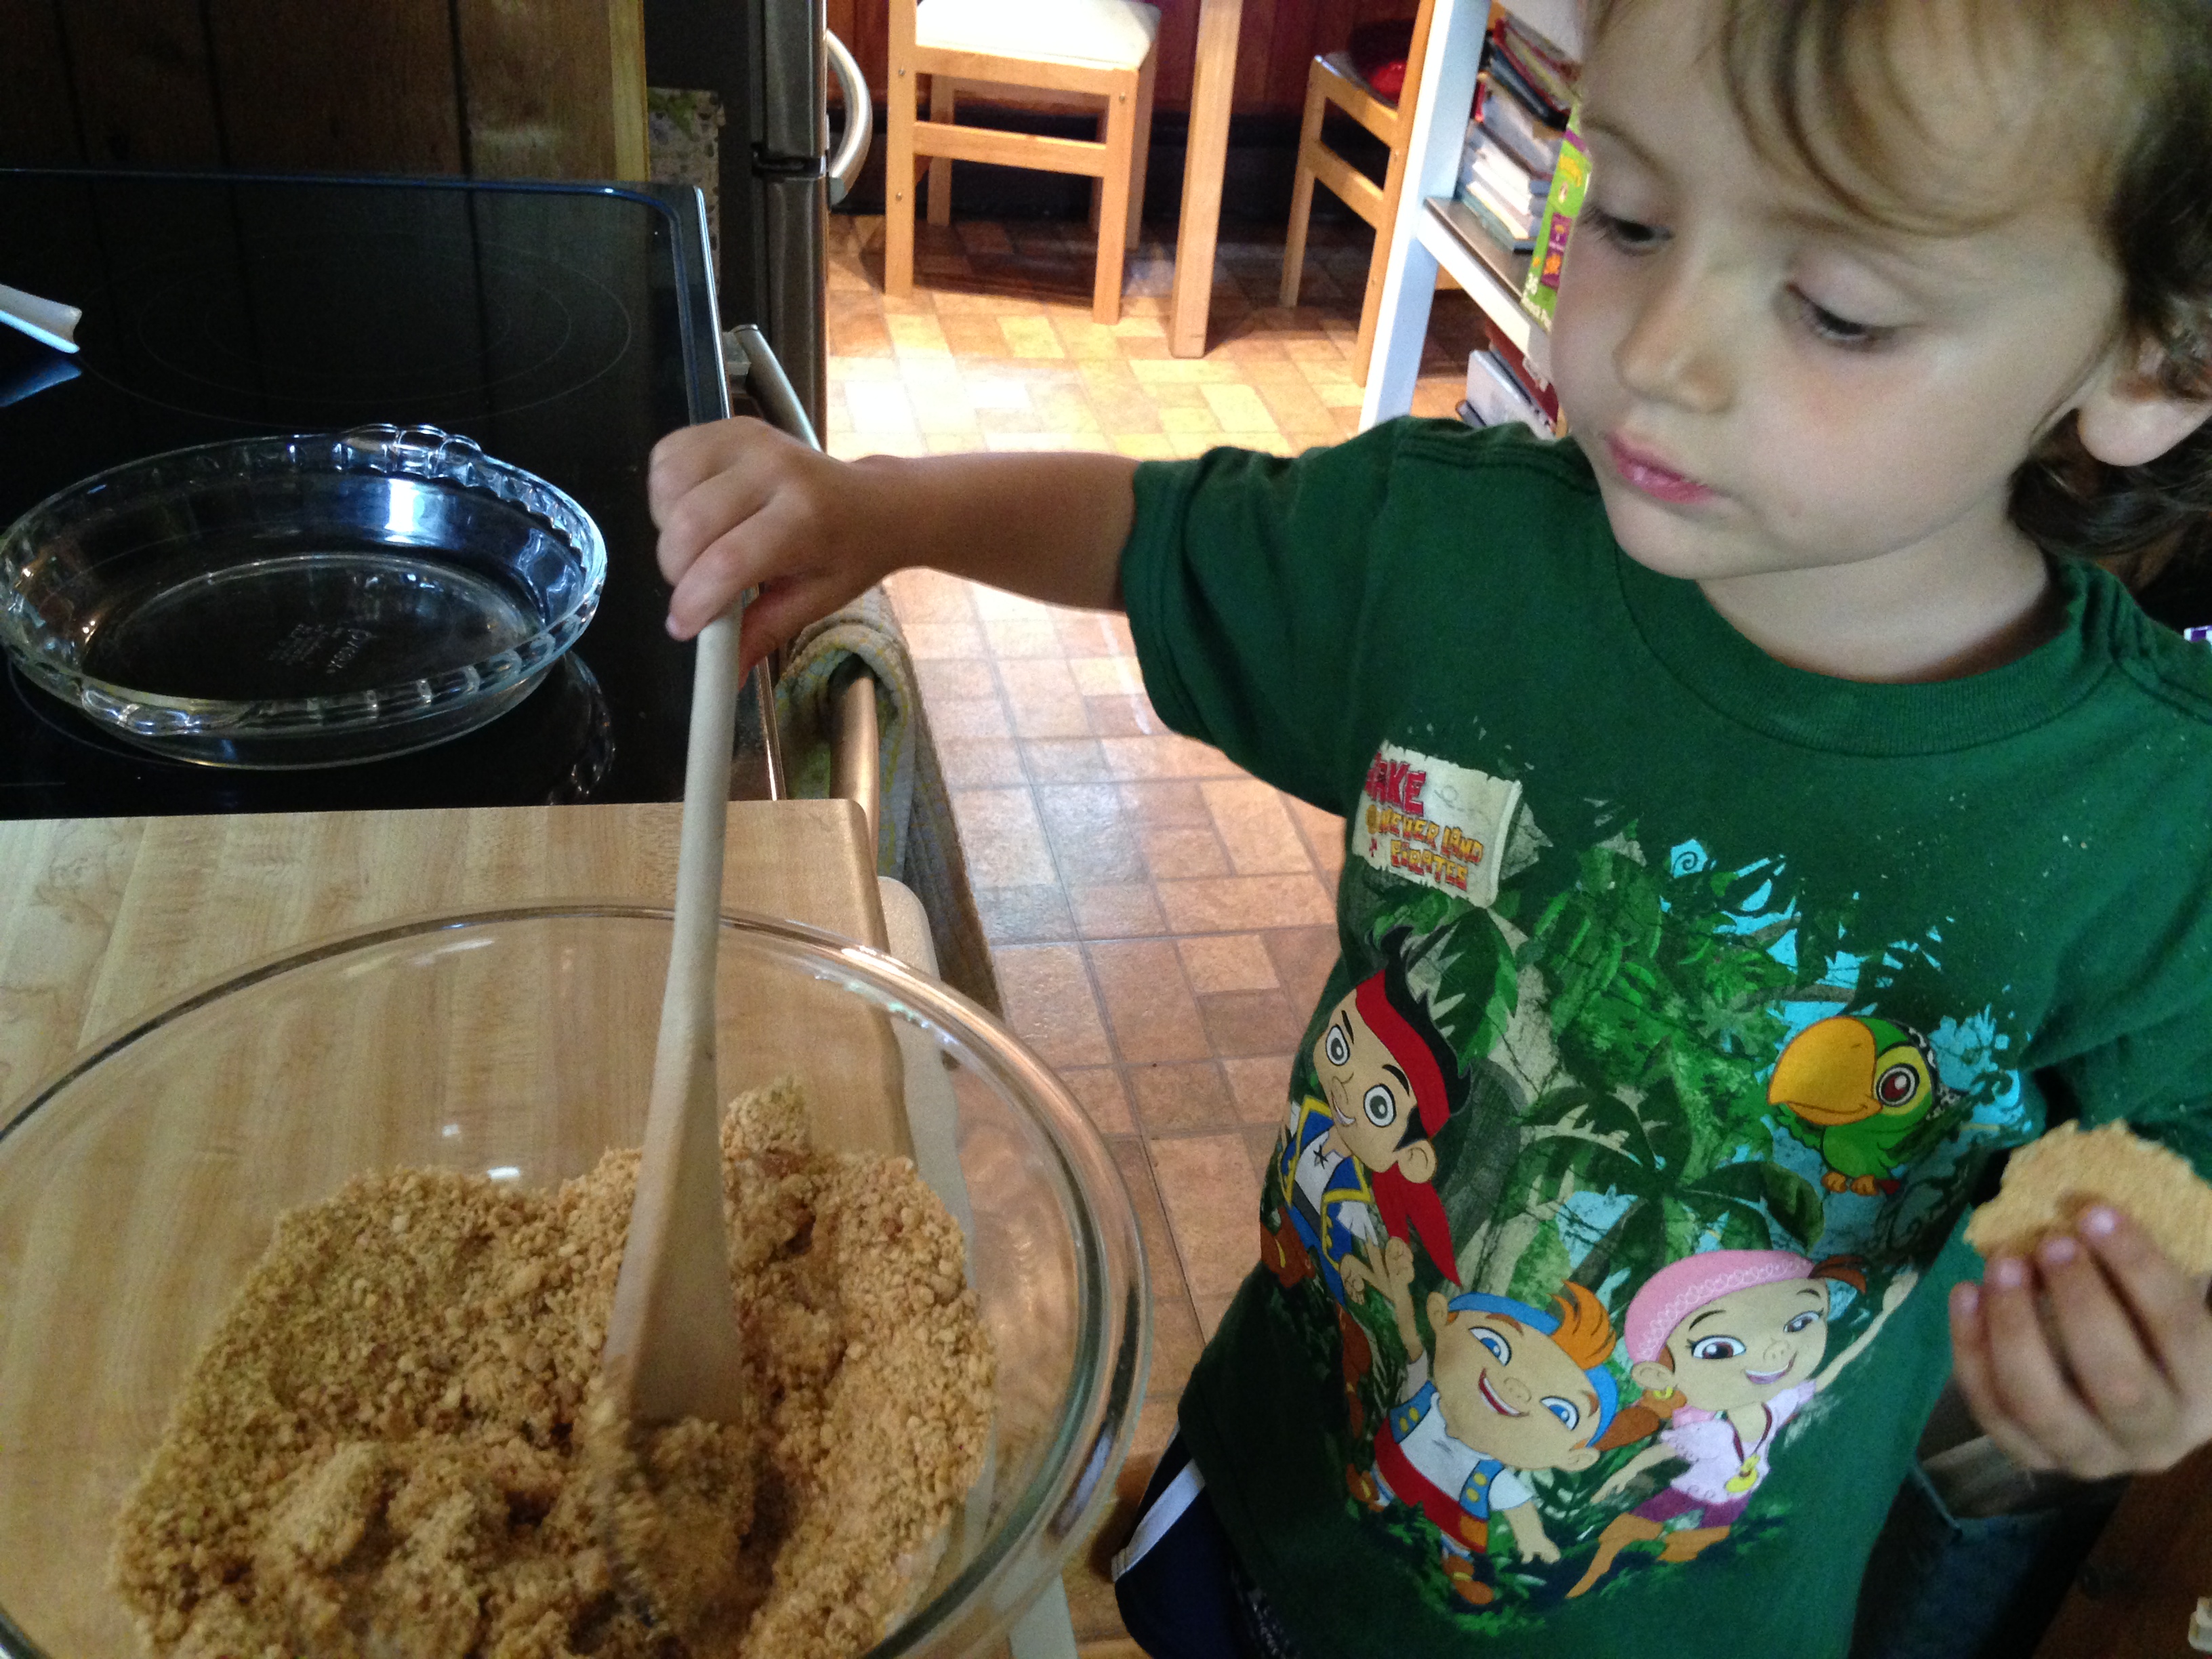
Then we added the melted butter and brown sugar:
I got to eat the extra graham cracker.
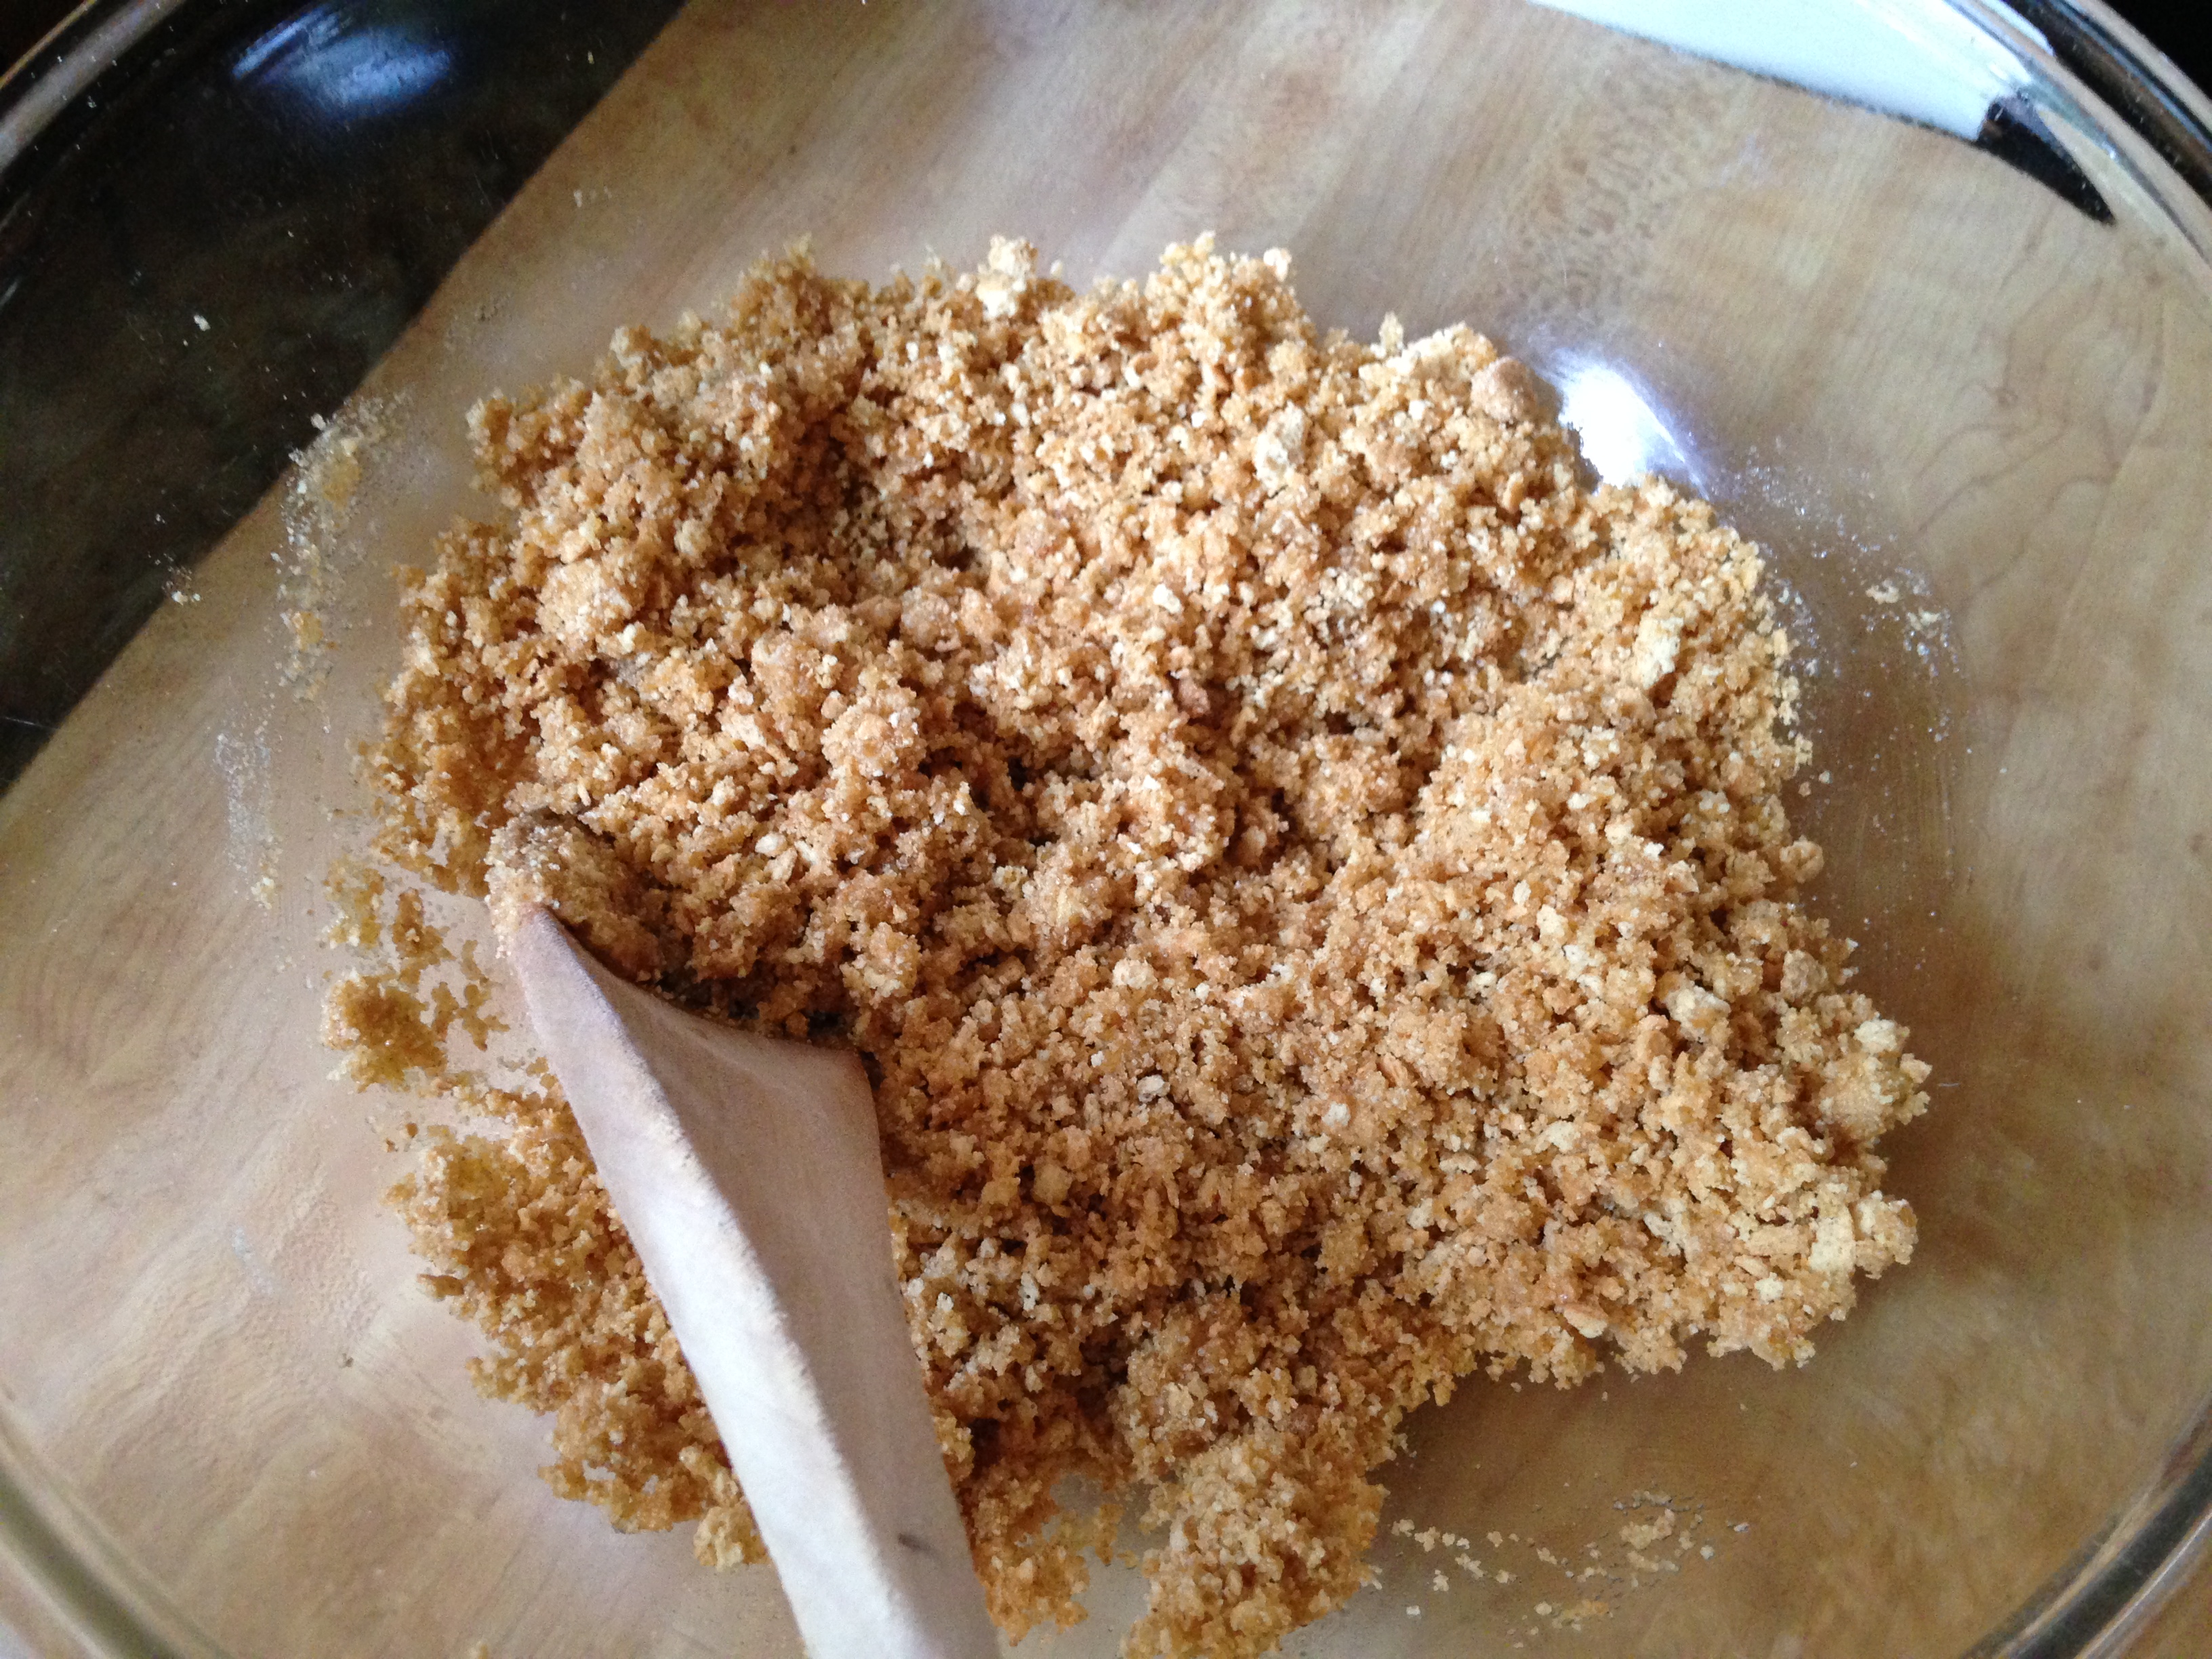
This is what it should look like when it’s all mixed:
It doesn’t look like it will hold together, but trust me: It will. Mama explained that if you use too much butter, your crust will be greasy and not hold its shape. (Too little, and it will fall apart.)
Mama pressed the crumbs into the pie plate. (I didn’t want to touch it.) You should use your hands, but to help press it firmly into the edges and up the sides, use a measuring cup or glass.
From this point, you can chill the crust before filling it, or bake it (cool before using). Either way, you’ve just made yourself a pie crust that will hold together. (Shortcut: Buy a graham cracker, Oreo, or Nilla Wafer crust.)
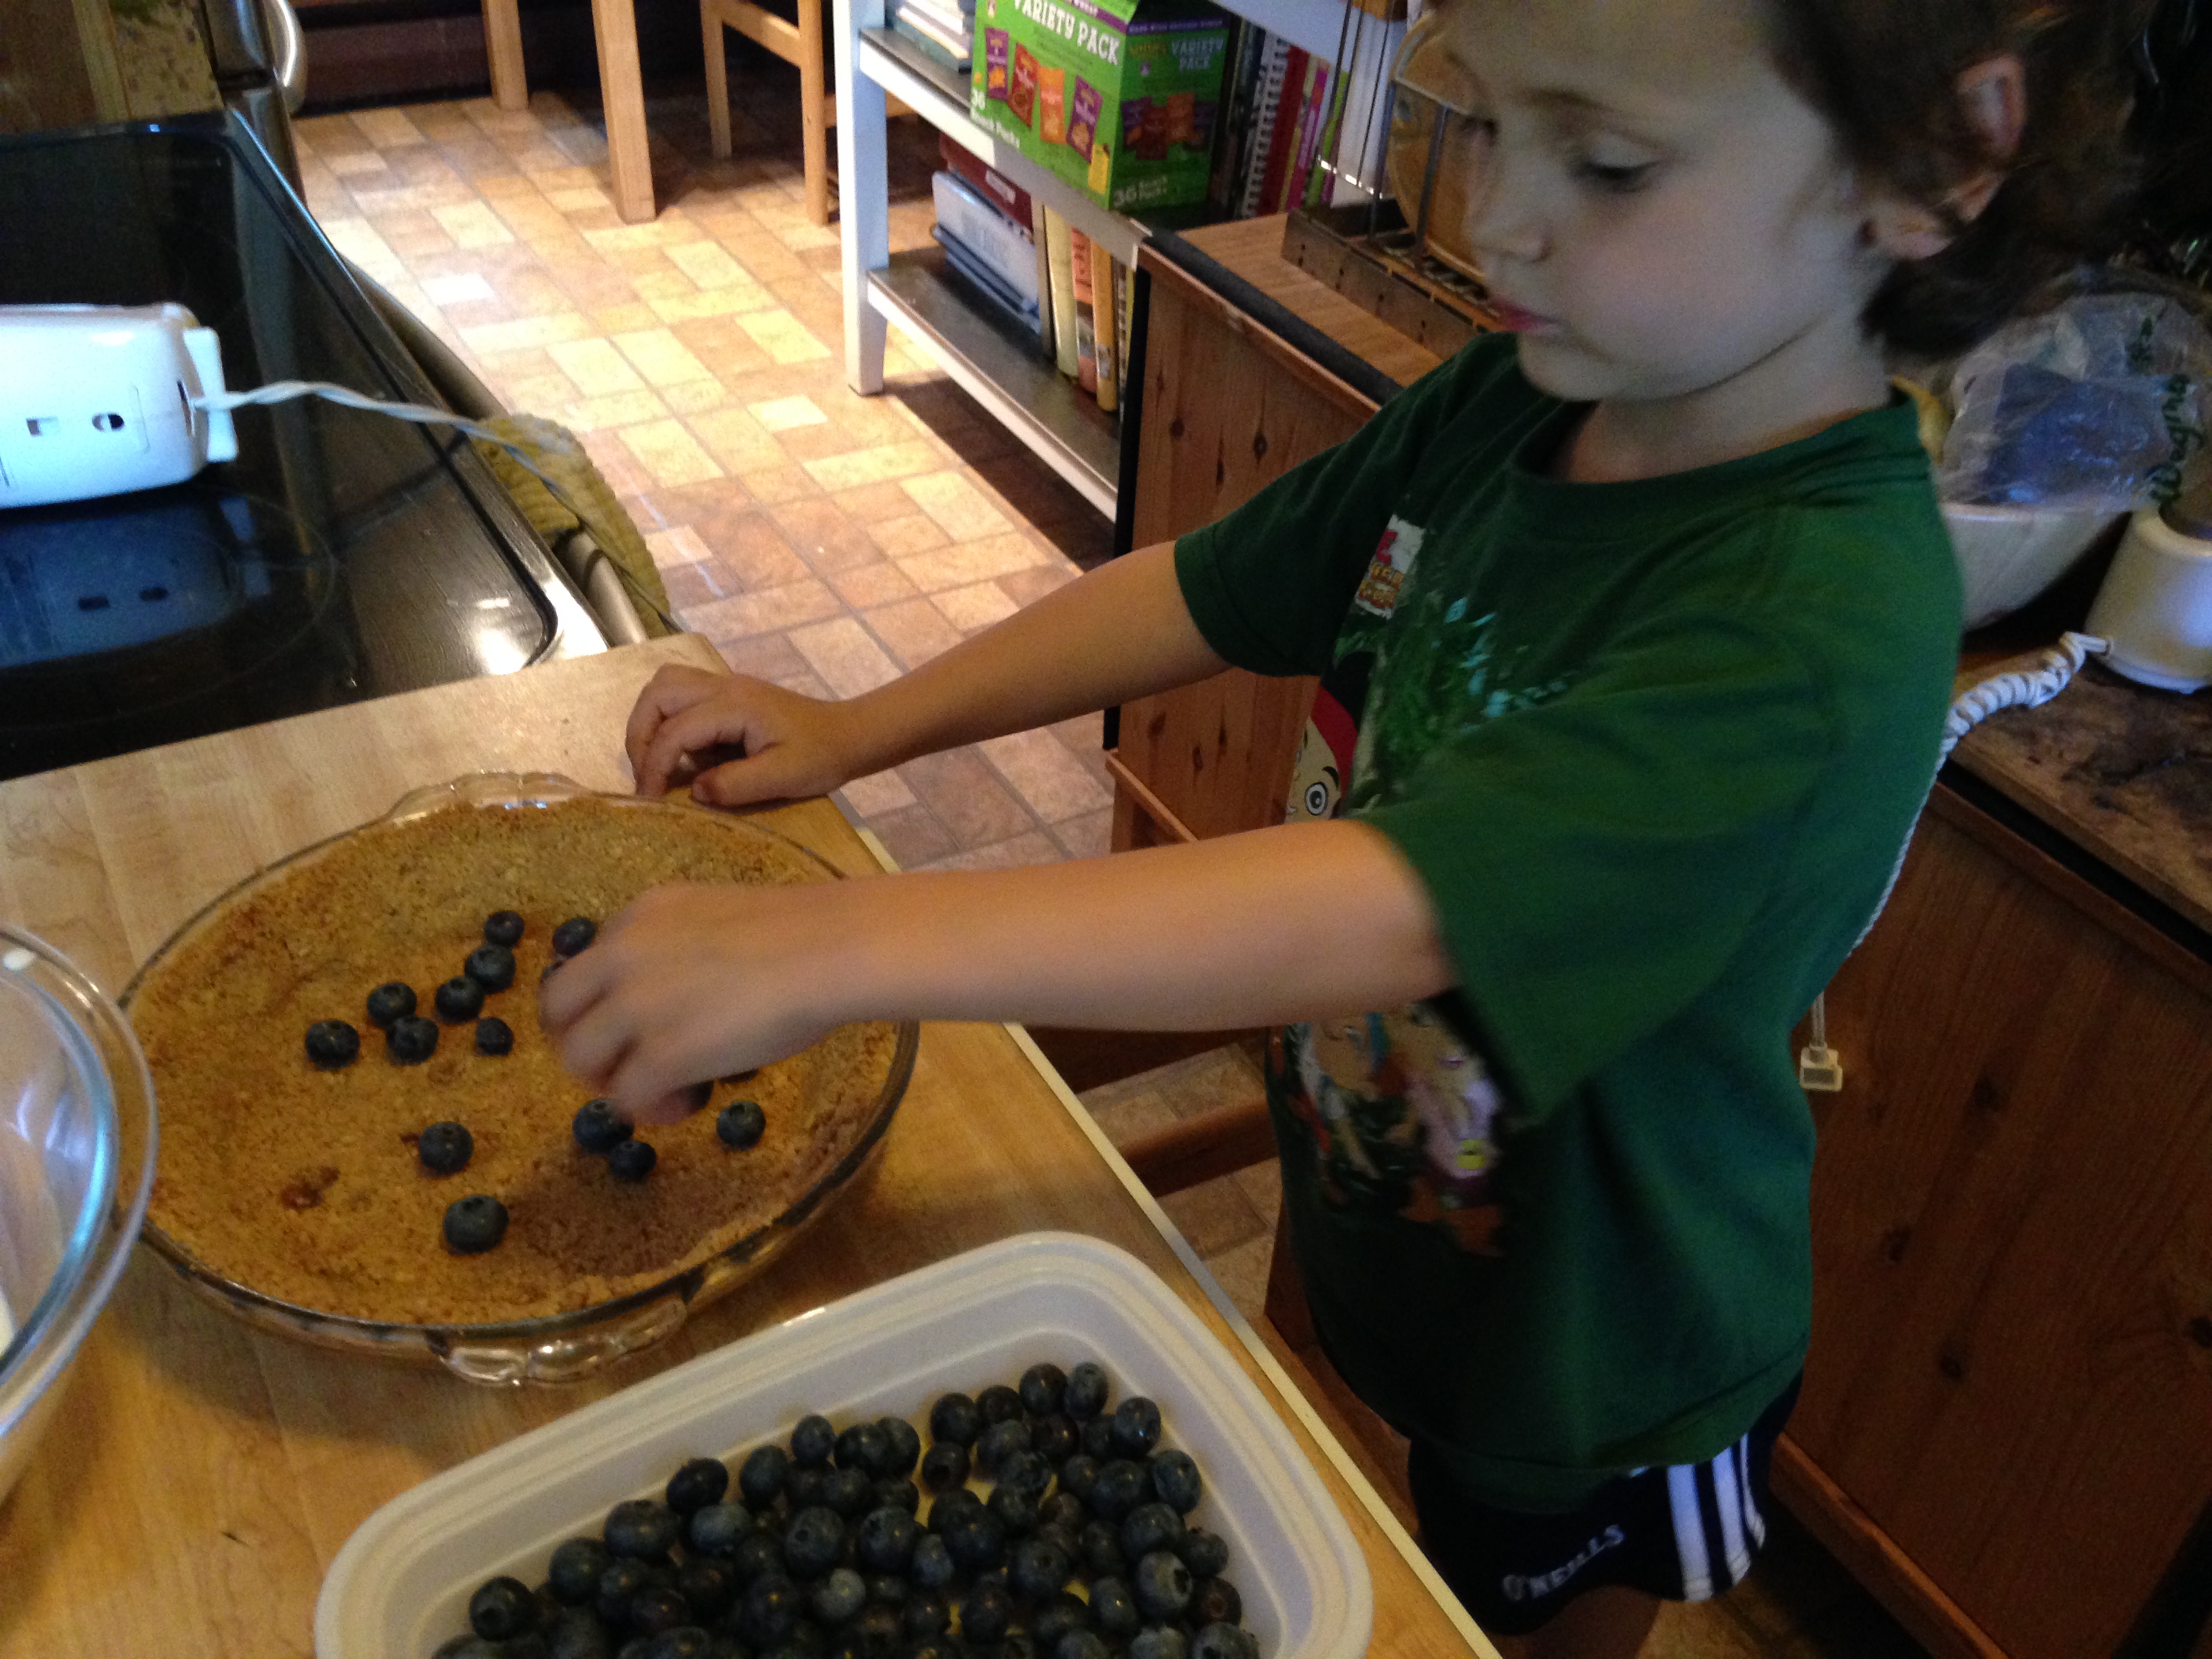
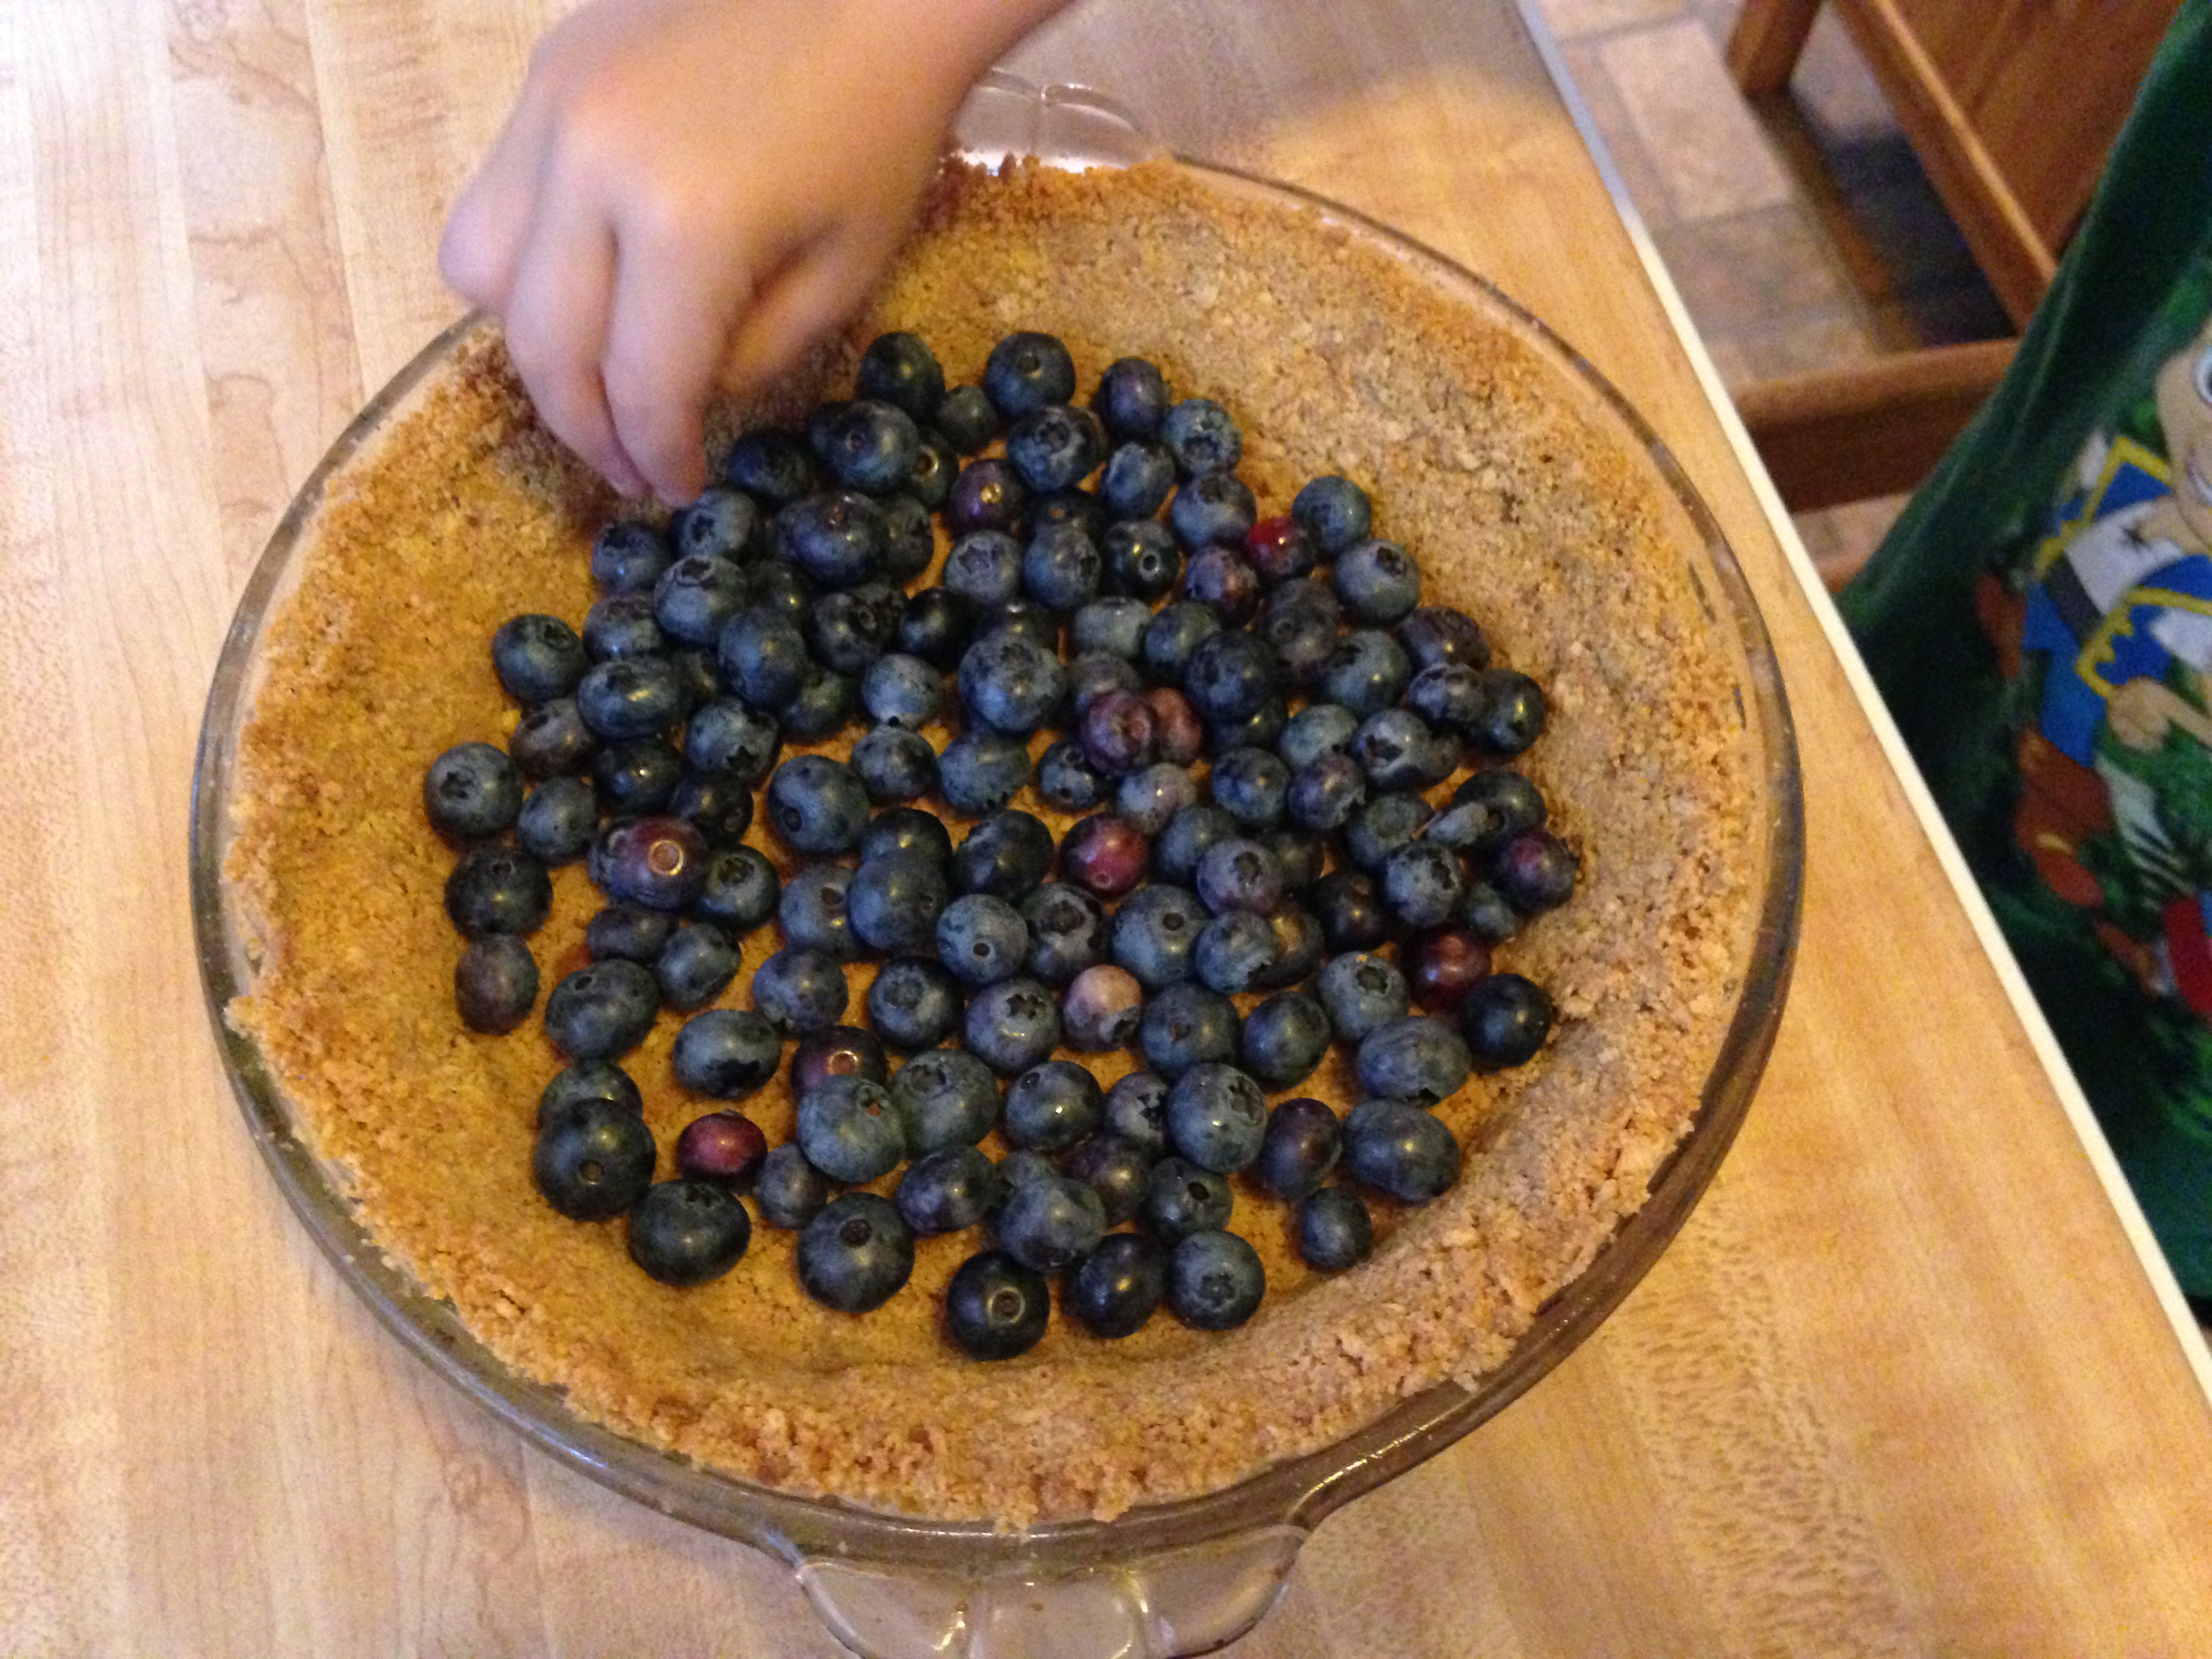
Scatter blueberries around the set crust. (You may use any kind of berry you like.)
Use just enough to cover the bottom. (I put a little more in than that, and it was extra yummy.)
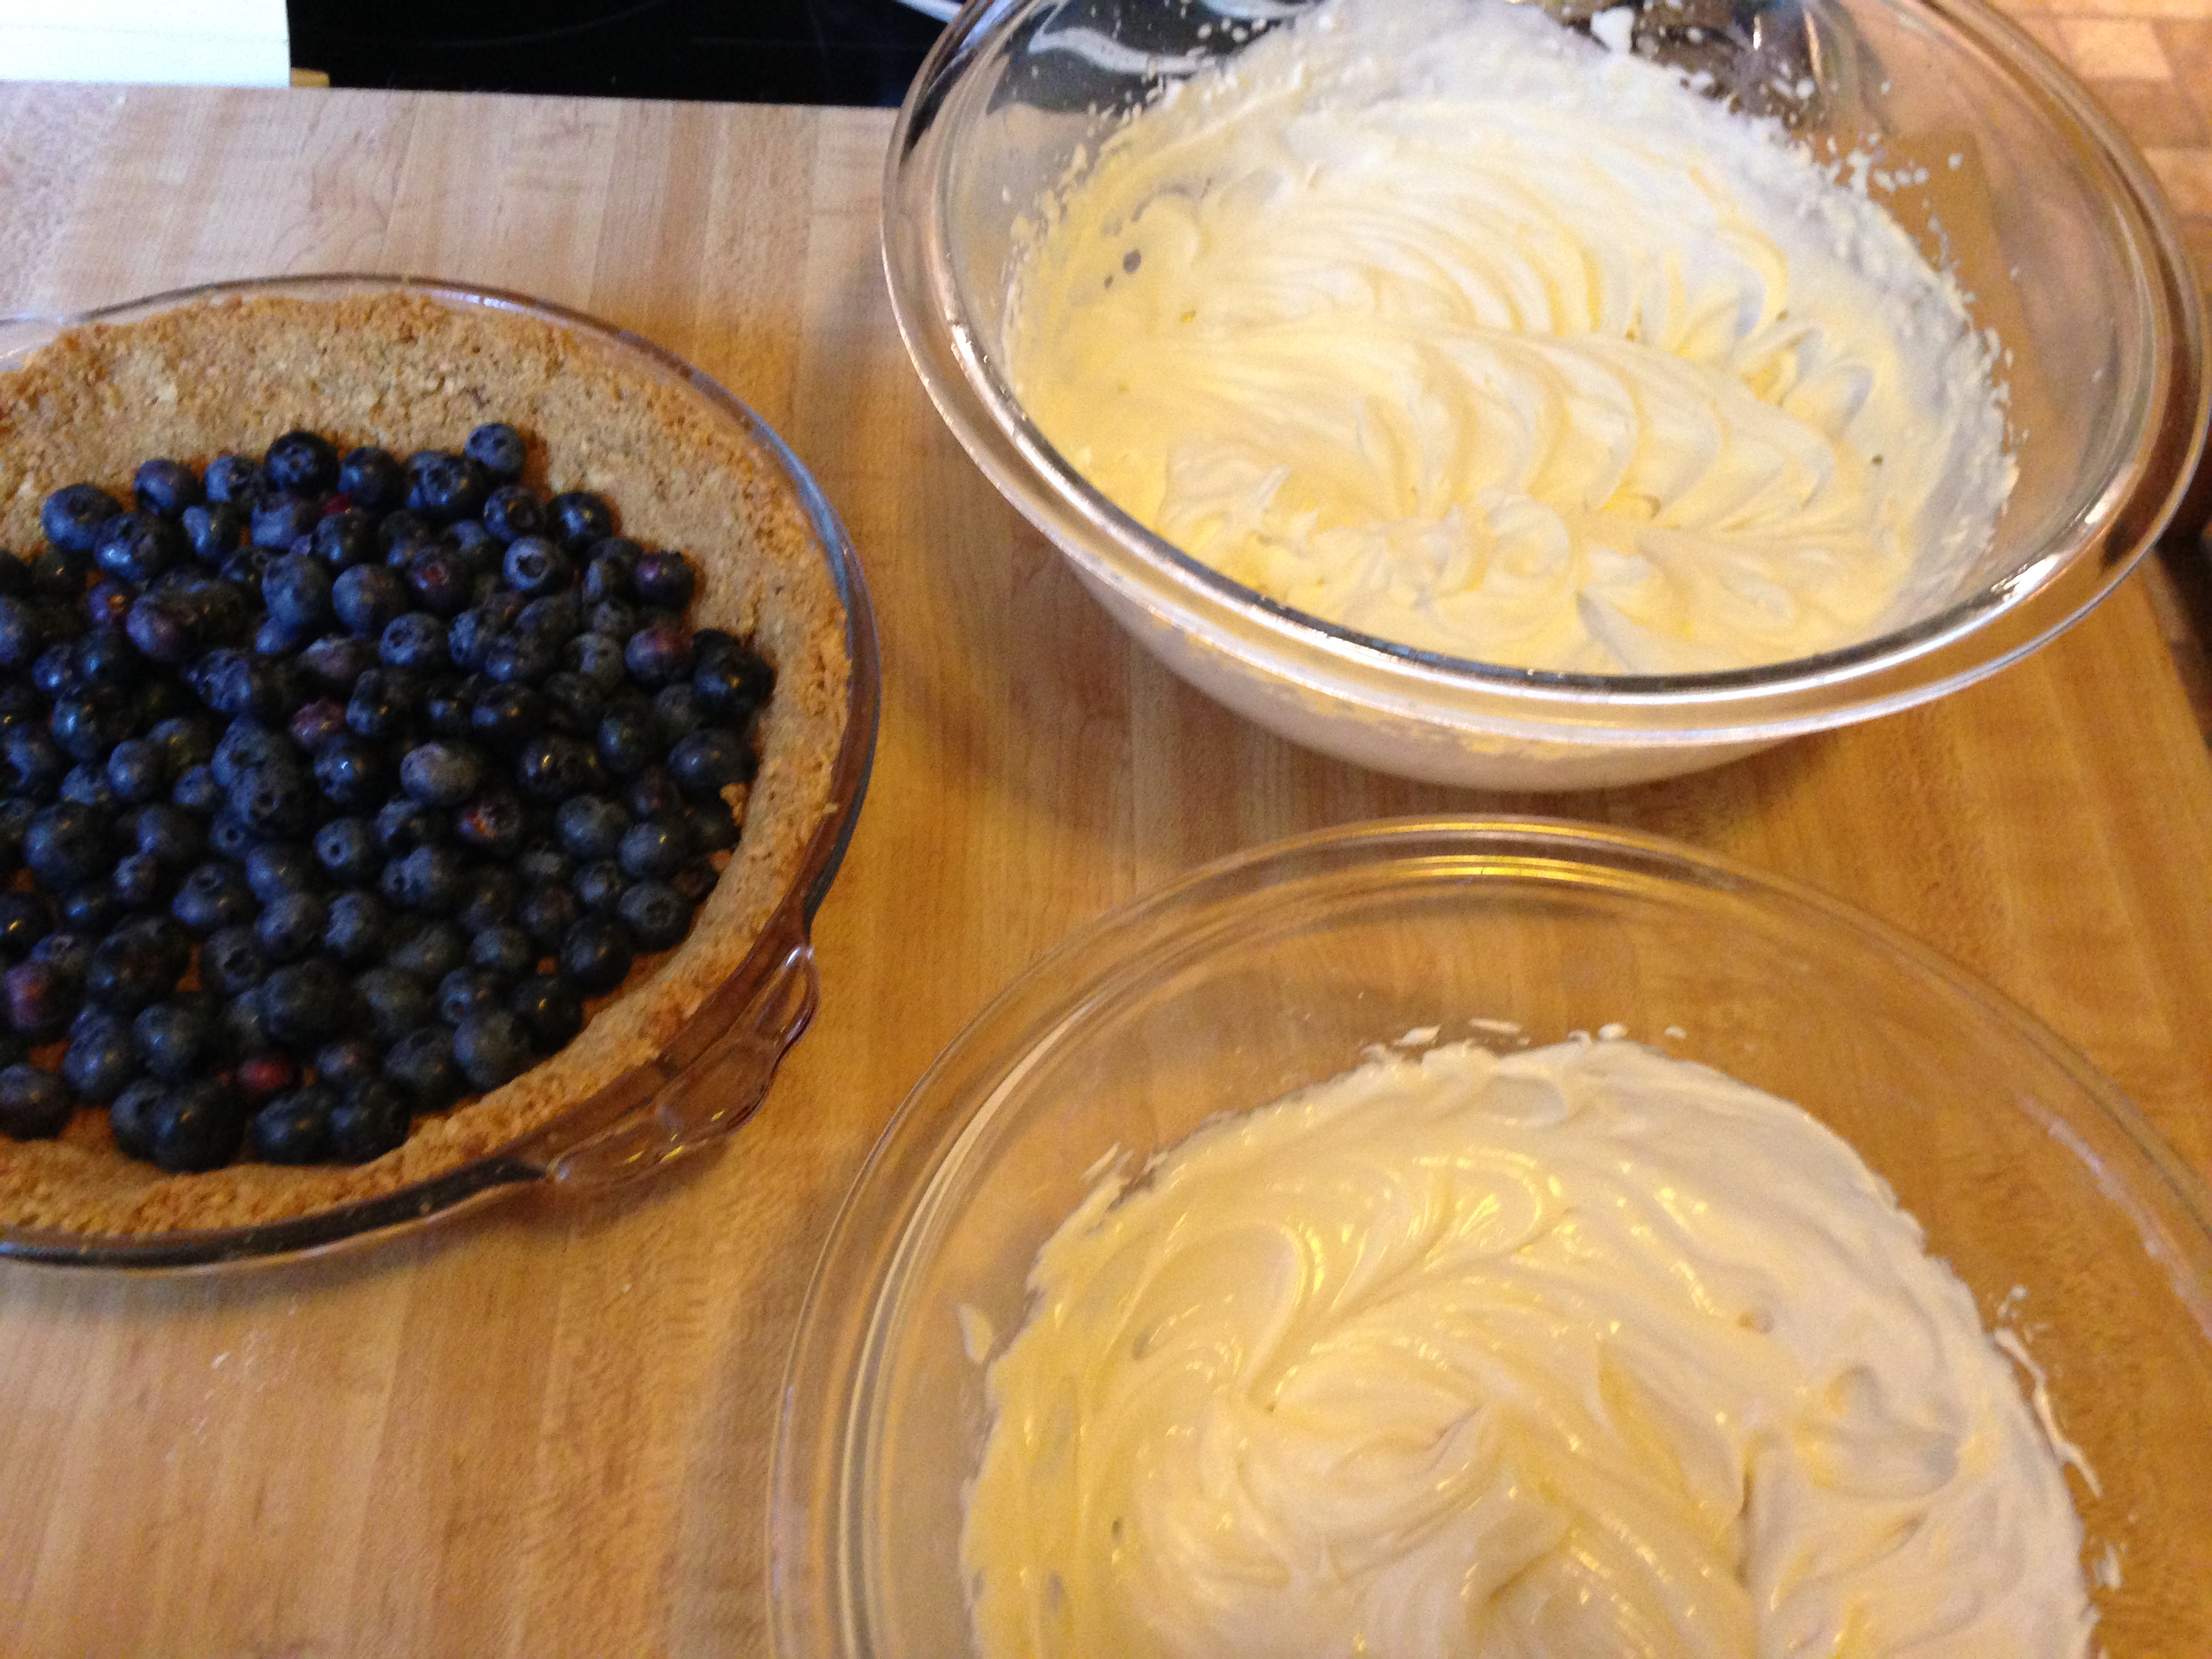
For the filling, Mama let me whip the cream. (Remember how to make chantilly?) Then she made sort of the same thing, but with cream cheese.
She said to do the whipped cream part first because you can use the same beaters for the cream cheese without having to wash them first. (If you did the cream cheese first, any fat left over from the cream cheese would inhibit the heavy cream from whipping.)
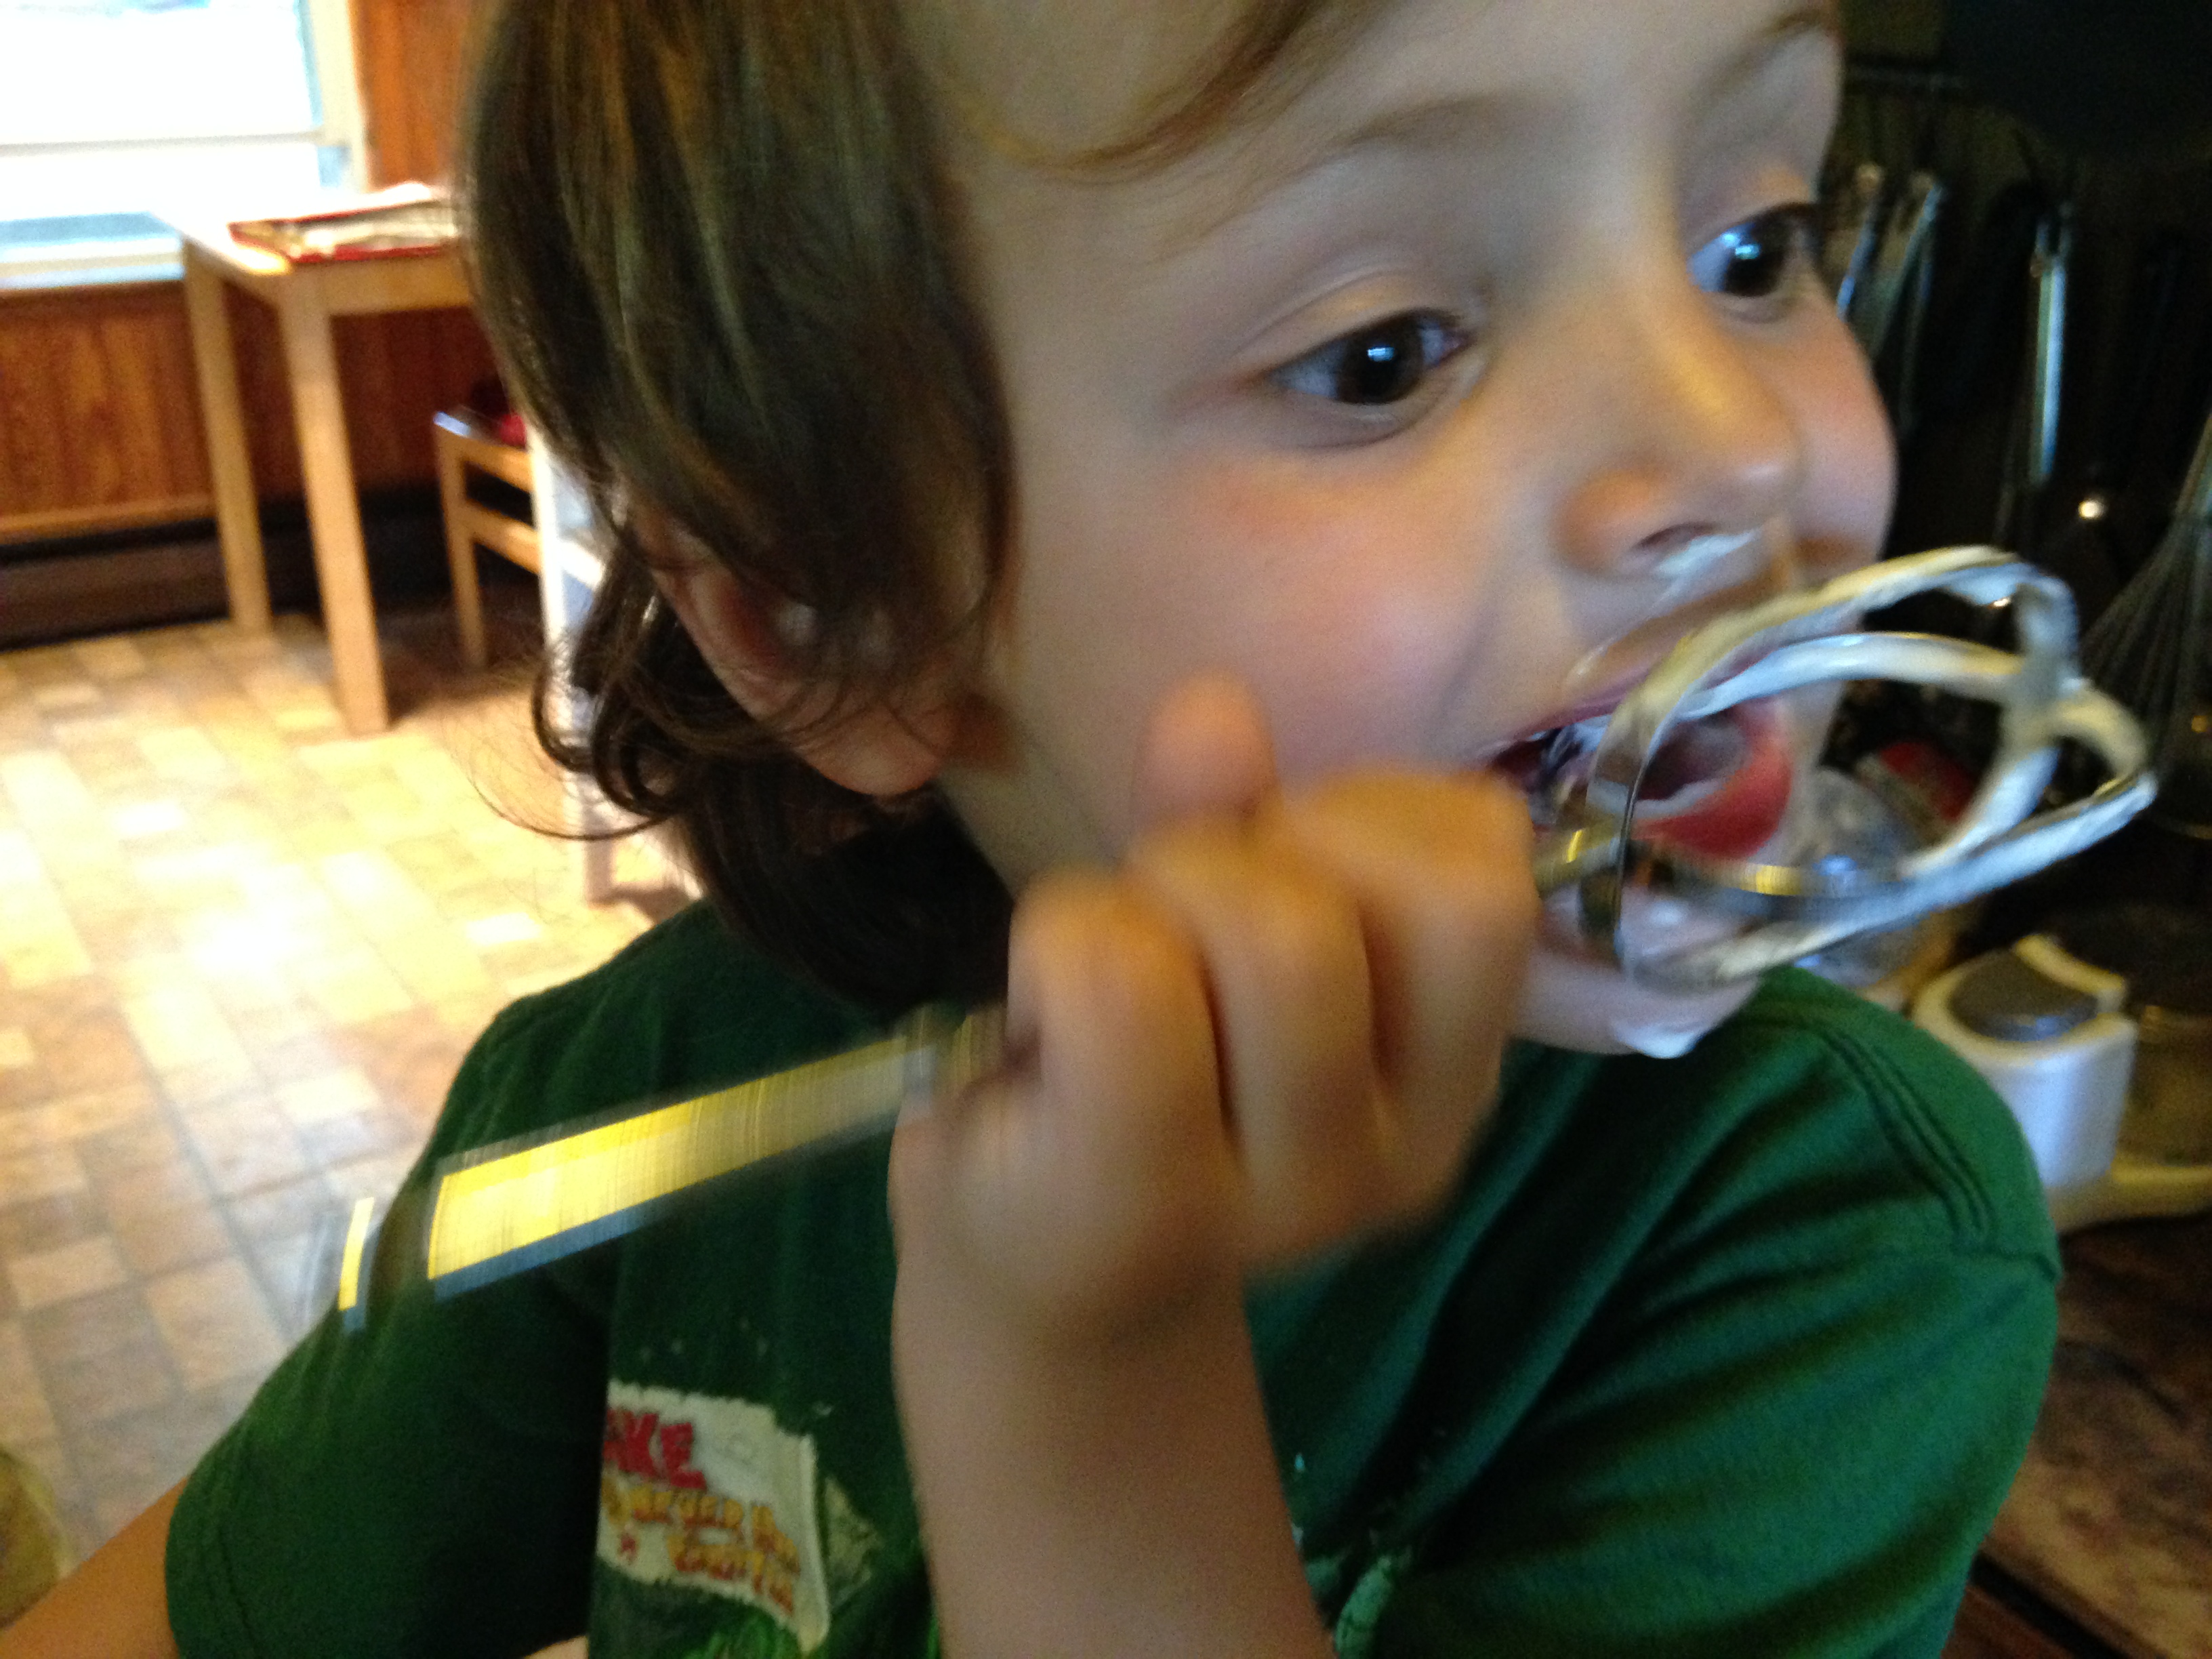
This is my preferred method of cleaning beaters.
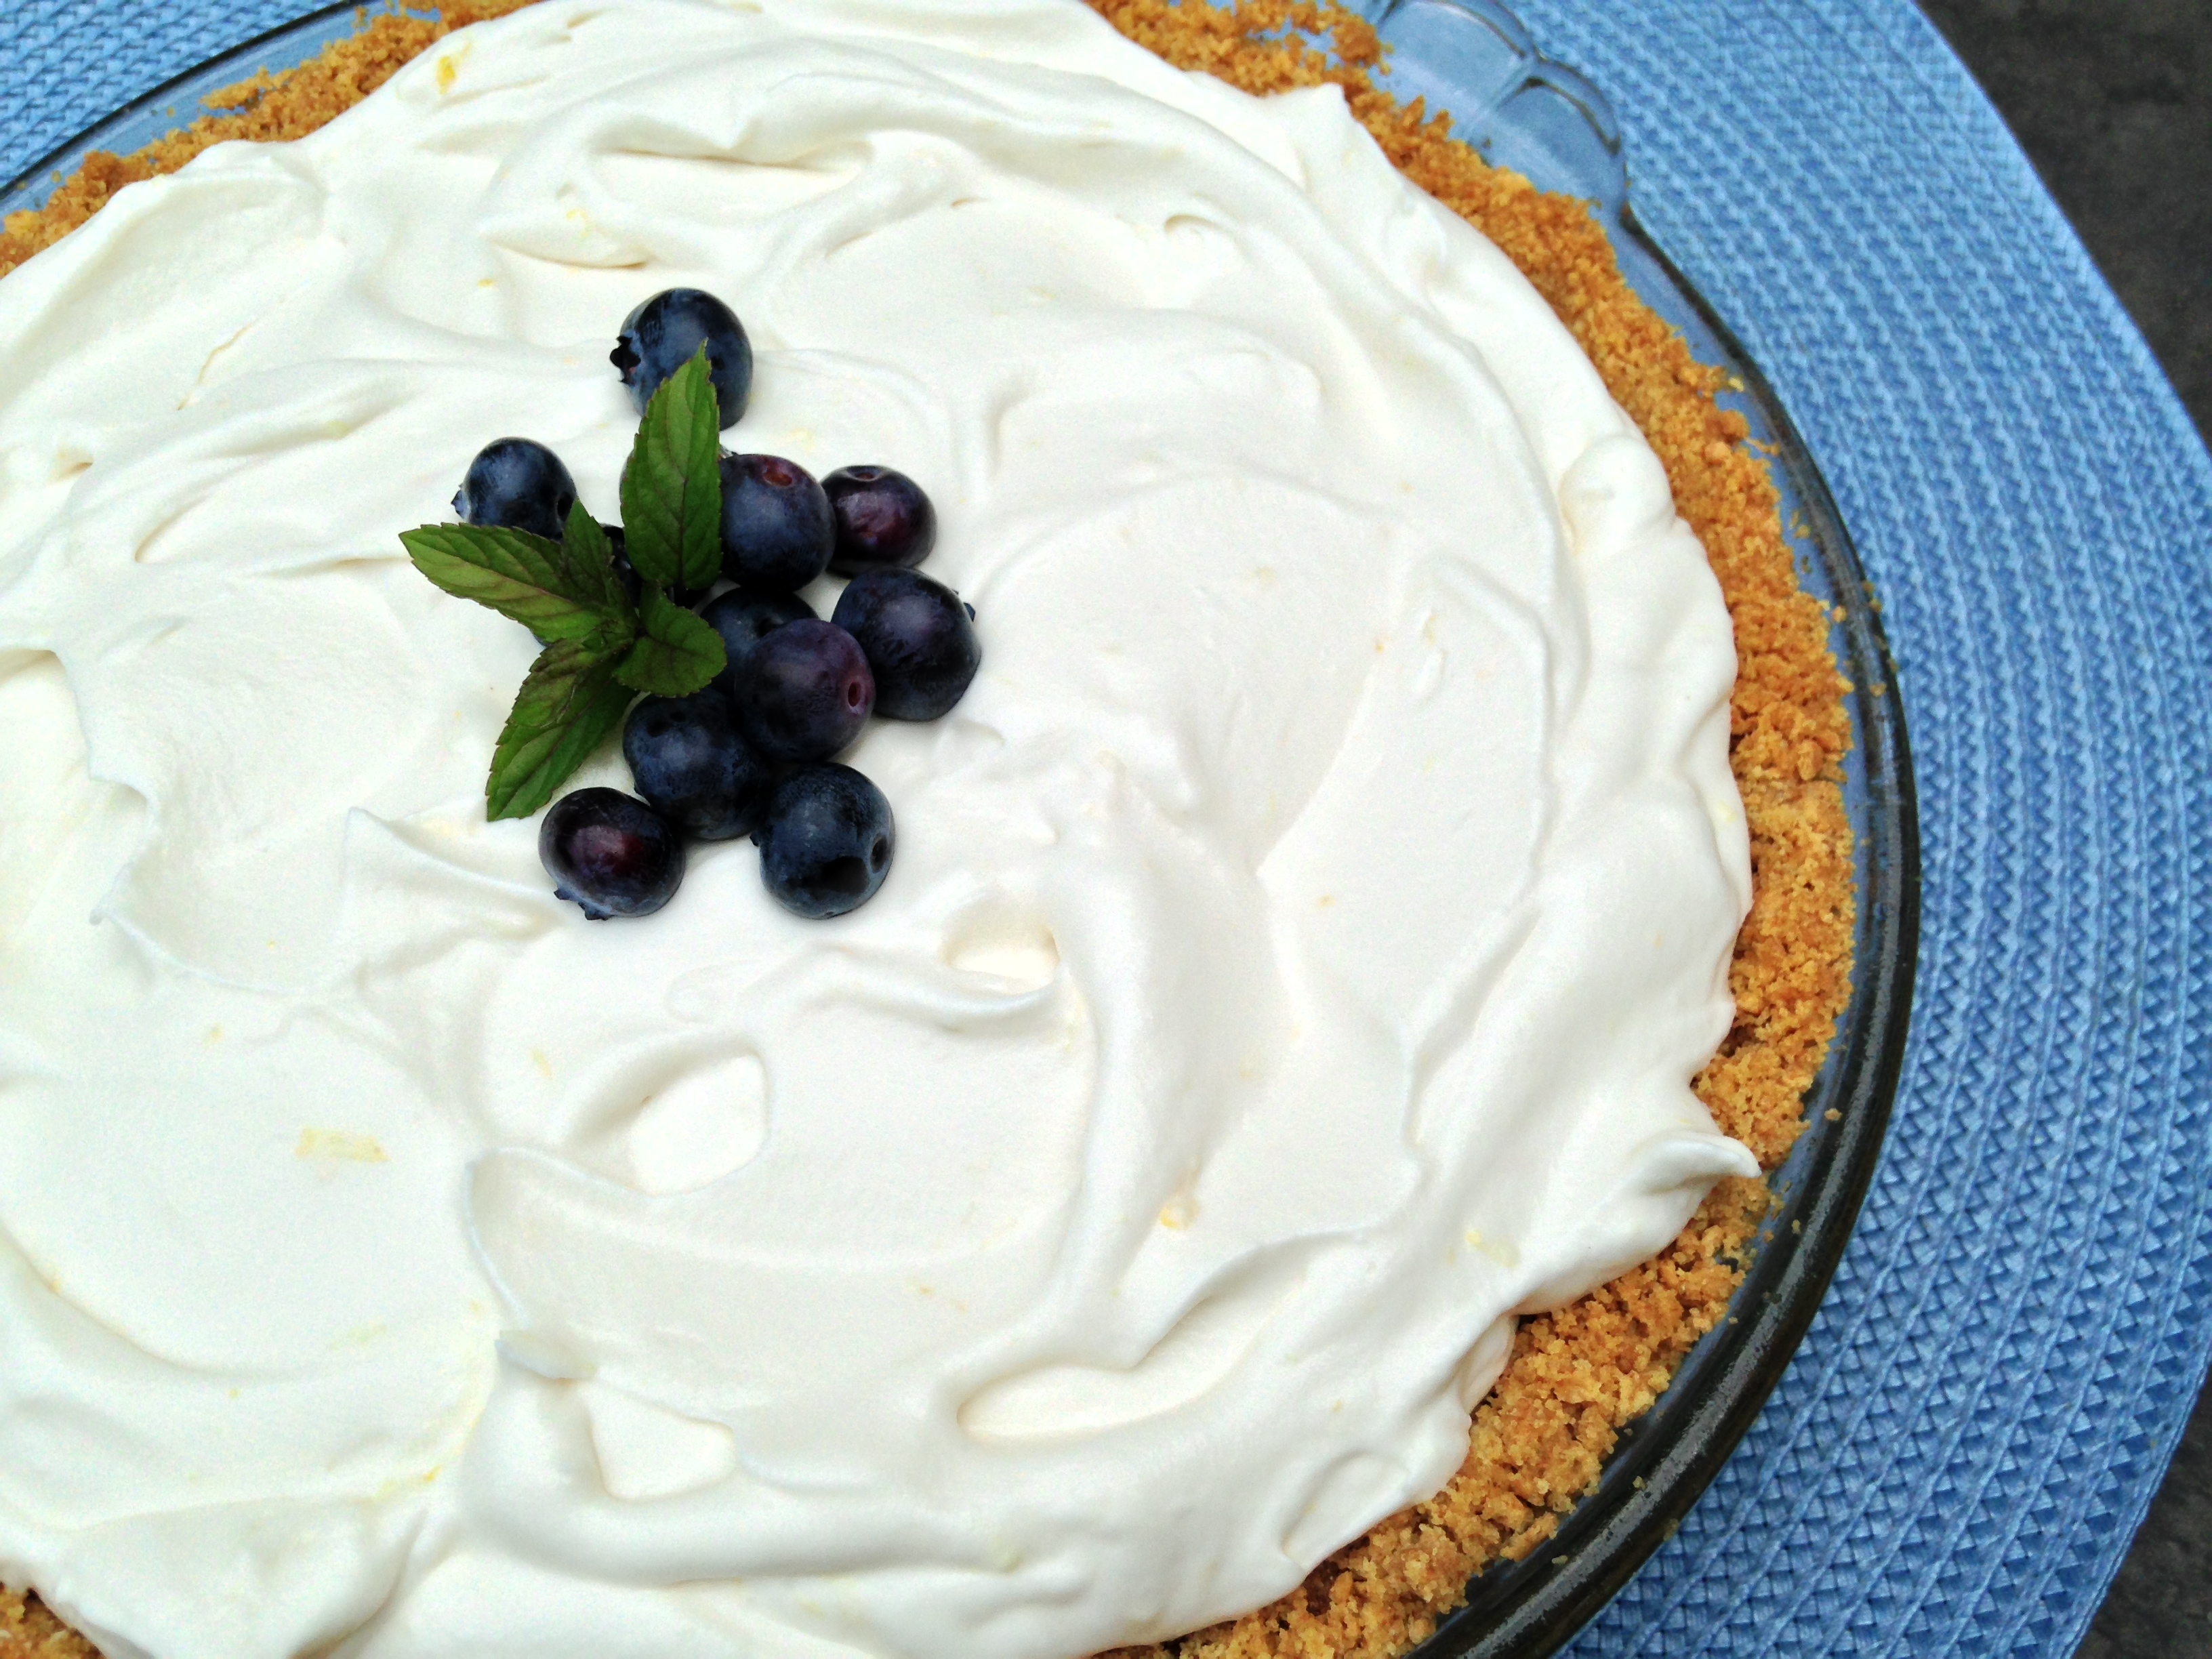
Fold the two together, add some lemon zest, and you have your filling. Carefully spoon the creamy mixture over the berries, and now you have pie!
I have to say that this is the easiest pie I’ve made. And Mama let me have a small piece for breakfast today…just before we had our blueberry pancakes. I love blueberry season!
Love, Jude
No-Bake Blueberries & Cream Pie
1 1/4 cup graham cracker crumbs (about 7 1/2 full-size crackers; may also buy pre-crushed)
1/3 cup melted butter (we used salted)
2 tablespoons brown sugar
1 cup heavy whipping cream
1.5-2 tablespoons + 1/2 cup powdered sugar, divided
2 splashes vanilla
8 oz cream cheese, softened
Zest of 1 organic lemon
About 2 cups organic blueberries
Mix together the crumbs, butter, and brown sugar until uniformly moist. Firmly press into a 9″ pie plate. Chill for 1 hour or bake at 325°F for 10 minutes; cool before proceeding.
Use a hand mixer to beat the heavy cream, 1.5-2 tbsp powdered sugar, and a splash of vanilla until stiff peaks. Taste and adjust flavorings, if desired. In a separate bowl, beat the cream cheese, 1/2 cup powdered sugar, and a healthy splash of vanilla until smooth. Stir in the lemon zest, then fold the whipped cream into the cream cheese.
Scatter the blueberries over the bottom of the chilled or baked-and-cooled crust. Carefully spoon the cream mixture over top. Garnish with berries, lemon curls, mint, etc. Keep refrigerated until ready to serve.
This year, our favorite organic berry-picking patch was overrun by hungry deer, so we couldn’t pick our usual lovely collection. Mama found another patch, though it was much less unkempt. Witness the weeds:
I didn’t like picking these strawberries because it was too much work hunting for them. I kept asking Mama to add her berries into my basket.
But the berries were warmed by the sun, and they positively burst when I bit into them.
At home, Mama ended up doing all the cleaning, but I helped her by eating a lot of those strawberries so that there were fewer of them for her to clean.
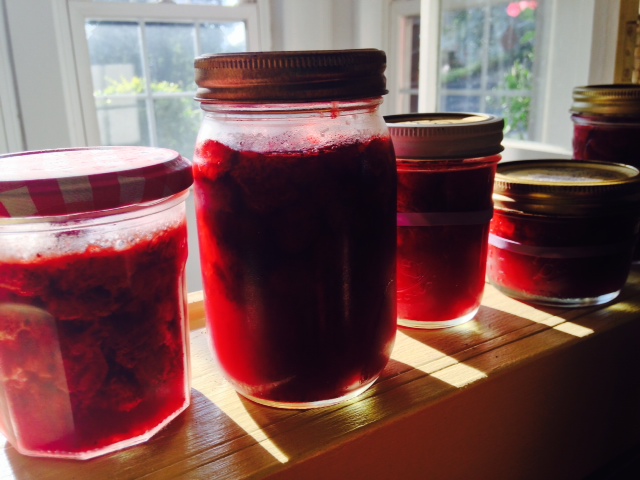
With them, we made a lot of freezer jam. We’ve made it before, but this time Mama tried a new recipe, based loosely on this one. Voilà:
Though all the jars ended up sealing, we’re going to store them in the fridge & freezer.
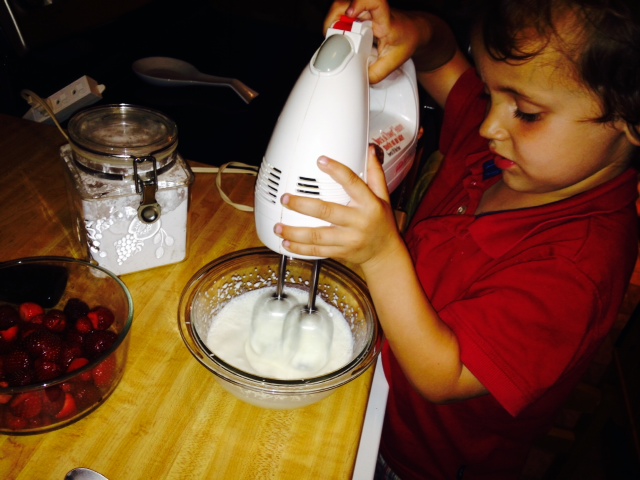
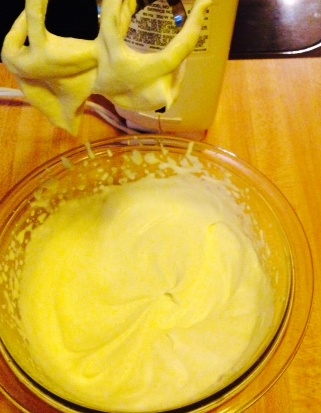
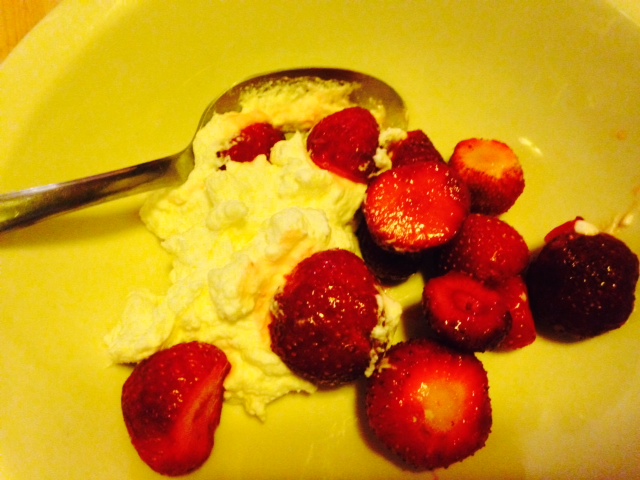
But the real show stopper, the easiest and most delicious part, was the fresh berries with whipped cream we ate for dessert. Mama says anyone with a whisk can whip cream, but not everyone does it correctly. She showed me how to do it right.
First, we kept everything cold, including the bowl and the beaters. Mama said this isn’t strictly necessary, but it’s been pretty hot out lately, so better to be safe—you’ll get a better whip with cold equipment. (She also wanted to save her arms by not whipping it by hand, though she suggests everyone ought to give that a try sometime.)
Mama explained that the only cream that’s going to whip is heavy cream, or whipping cream (either one will work). If you try to whip light cream or half-and-half, you’ll be whipping until I turn 4. This is because of the fat content (the fat is what holds it together). She also explained that plain whipped cream tastes about as bland as… well, plain whipping cream. Bleck.
Jude on Food: Flavor everything!
To remedy this, Mama showed me how to make chantilly cream. If you’re feeling fancy, you can pronounce it “shahn-tee-ee,” but I’m really good at making “L” sounds, so I’m going to stick with that. Chantilly is basically sweetened whipped cream with added vanilla.
You can find all sorts of recipes for basic chantilly cream, but Mama’s advice is to taste it once it’s beginning to whip up. If it needs more vanilla (or other flavoring, such as orange, lemon, or almond), add it. If it could be sweeter, sprinkle in more sugar. As for the type of sweetener you use, regular sugar works fine, but Mama likes to use confectioners’ sugar—that’s the soft powdery kind we sometimes put on crepes. She told me she’s never tried other sweeteners, but she supposes they would work just as well. (If you try one, let us know!)
Two other things Mama noted about making whipped cream: 1) go slowly—if you rush it by turning your mixer on high speed, you’ll not only splatter cream everywhere (as I found out), but you’ll heat up the cream, and it’ll take longer. 2) Don’t overwhip it.
Whip it–whip it real good!
The problem with overwhipping cream isn’t the taste. It’s the texture. Even I don’t want my whipped cream to look like cottage cheese. Ewww, right? You can whip it to soft peaks or stiff peaks, but if you go beyond that, you can’t do much with it…except, maybe stuff it into something.
Because it’s just Mama and me right now (Papa’s out of town), she showed me what would happen if we pushed the cream too far:
Who am I kidding? I’d still eat that.
Mama let me beat the cream at first (note the splatters), but then took over to finish the job. I took this picture (and about 18 more like it):
See the trails that are created by the beaters? They’re loosely holding their shape, but they’re still very soft.
Another way to tell when the cream is getting close is to stop beating it and check how it looks on the beater.
The whipped cream is just clinging to the beaters, and there’s a soft little peak down in the bowl.
From here to ruin is a short path, so beat carefully from now on. If you’re planning to pipe the cream, you’ll want stiffer peaks, as they’ll hold their shape. If you’re looking for just a bit of billowy adornment, as we want for our berries, then stop when they’re soft.
Stiff cream will hold in the fridge, covered, for a day or so. Soft cream should be used pretty soon after it’s made. If it starts to weep, give it a light whipping with a whisk before using.
And what’s not to like about having a little whipped cream on hand?
Love, Jude
Chantilly Cream
1 cup cold heavy cream or whipping cream*
1 Tbsp powdered sugar (or, to taste)
1/2 tsp vanilla extract (or, to taste)
Place cream, sugar, and vanilla in a medium bowl and beat at low speed with an electric mixer (or in the bowl of a stand mixer with whip attachment); alternatively, use a whisk. When the cream begins to take shape, you may increase your speed a little bit more, but not more than medium. Move the beaters around the bowl and rotate the bowl to ensure you reach all the edges. Beat until desired stiffness, then serve or store until ready to use.
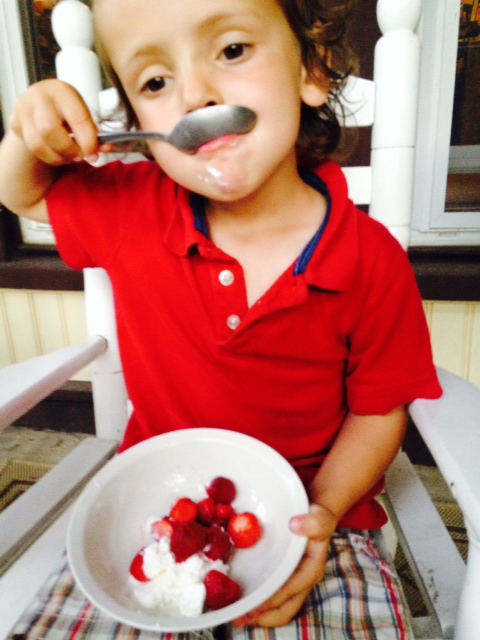
This dessert is Mama approved AND Jude approved.
Note: For an extra-special treat, try whipping crème fraiche. As sour cream’s sophisticated (and more pricey) cousin, it’s tangy and makes for a great complement to lemon curd and supersweet berries.
For a vegan alternative, put a can of full-fat coconut milk in the fridge overnight. Without shaking it, take it out of the fridge, remove the lid, and scoop out the solid white part. (Reserve the watery portion for smoothies.) Whip & flavor the white solids like you would cream.
You know me well enough by now to understand my ice cream obsession.
It should be no surprise, then, that I’ve been helping myself to treats out of the freezer. I bring them to Mama and ask, “Are you thinking what I’m thinking?”
Invariably, she says, “No, I’m not. Now put that back.”
Sigh.
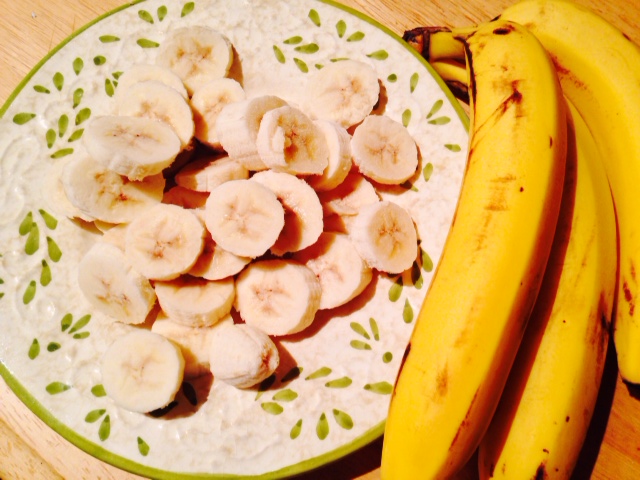
So I was thrilled when she offered to make banana ice cream with me, and not the kind that takes all day, what with the heating and the straining and the cooling and the freezing. Sneaky Mama planned it in advance. First, she sliced 2 bananas, then put the plate in the freezer.
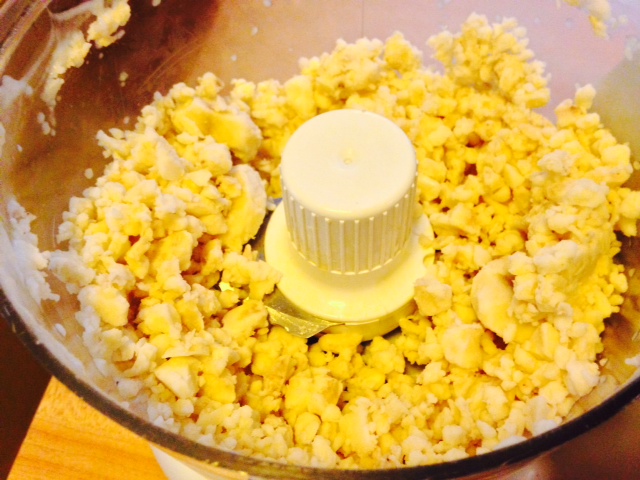
I didn’t know what was up her sleeve when she did this, so the wait didn’t bother me. Then she put the frozen slices in the food processor and began chopping them up. It was really loud, and I didn’t see how this was going to turn into ice cream.
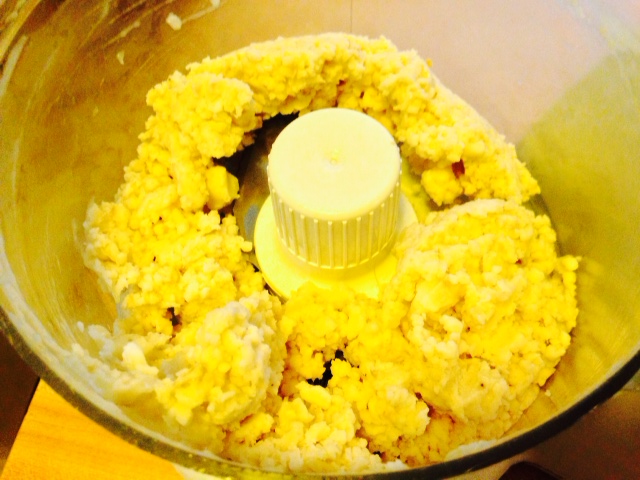
She had to scrape down the bowl a few times, but it started getting smoother:
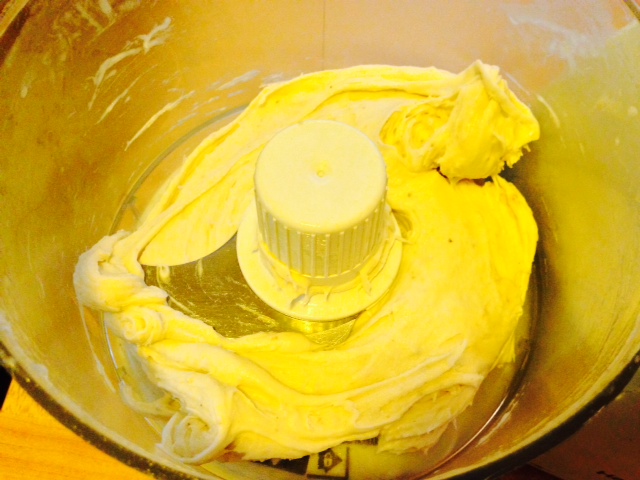
Until, eventually, it looked like ice cream:
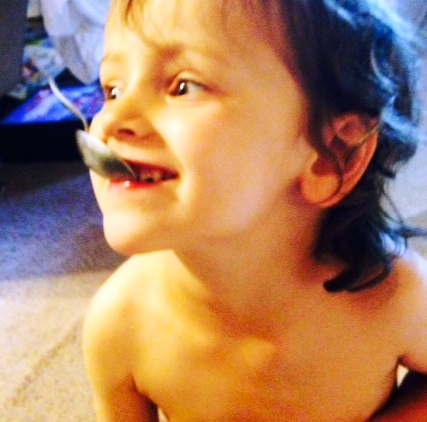
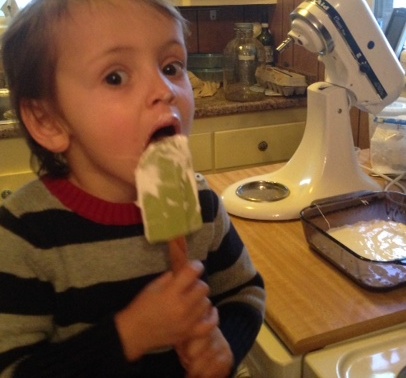
It was smooth and creamy—and cold! Though it looks quite yellow in these pictures, it was actually closer to vanilla in color. And best of all, it was so easy (and so good for me) that Mama promised that we can make it all summer long.
And that makes me about the happiest kid on the block.
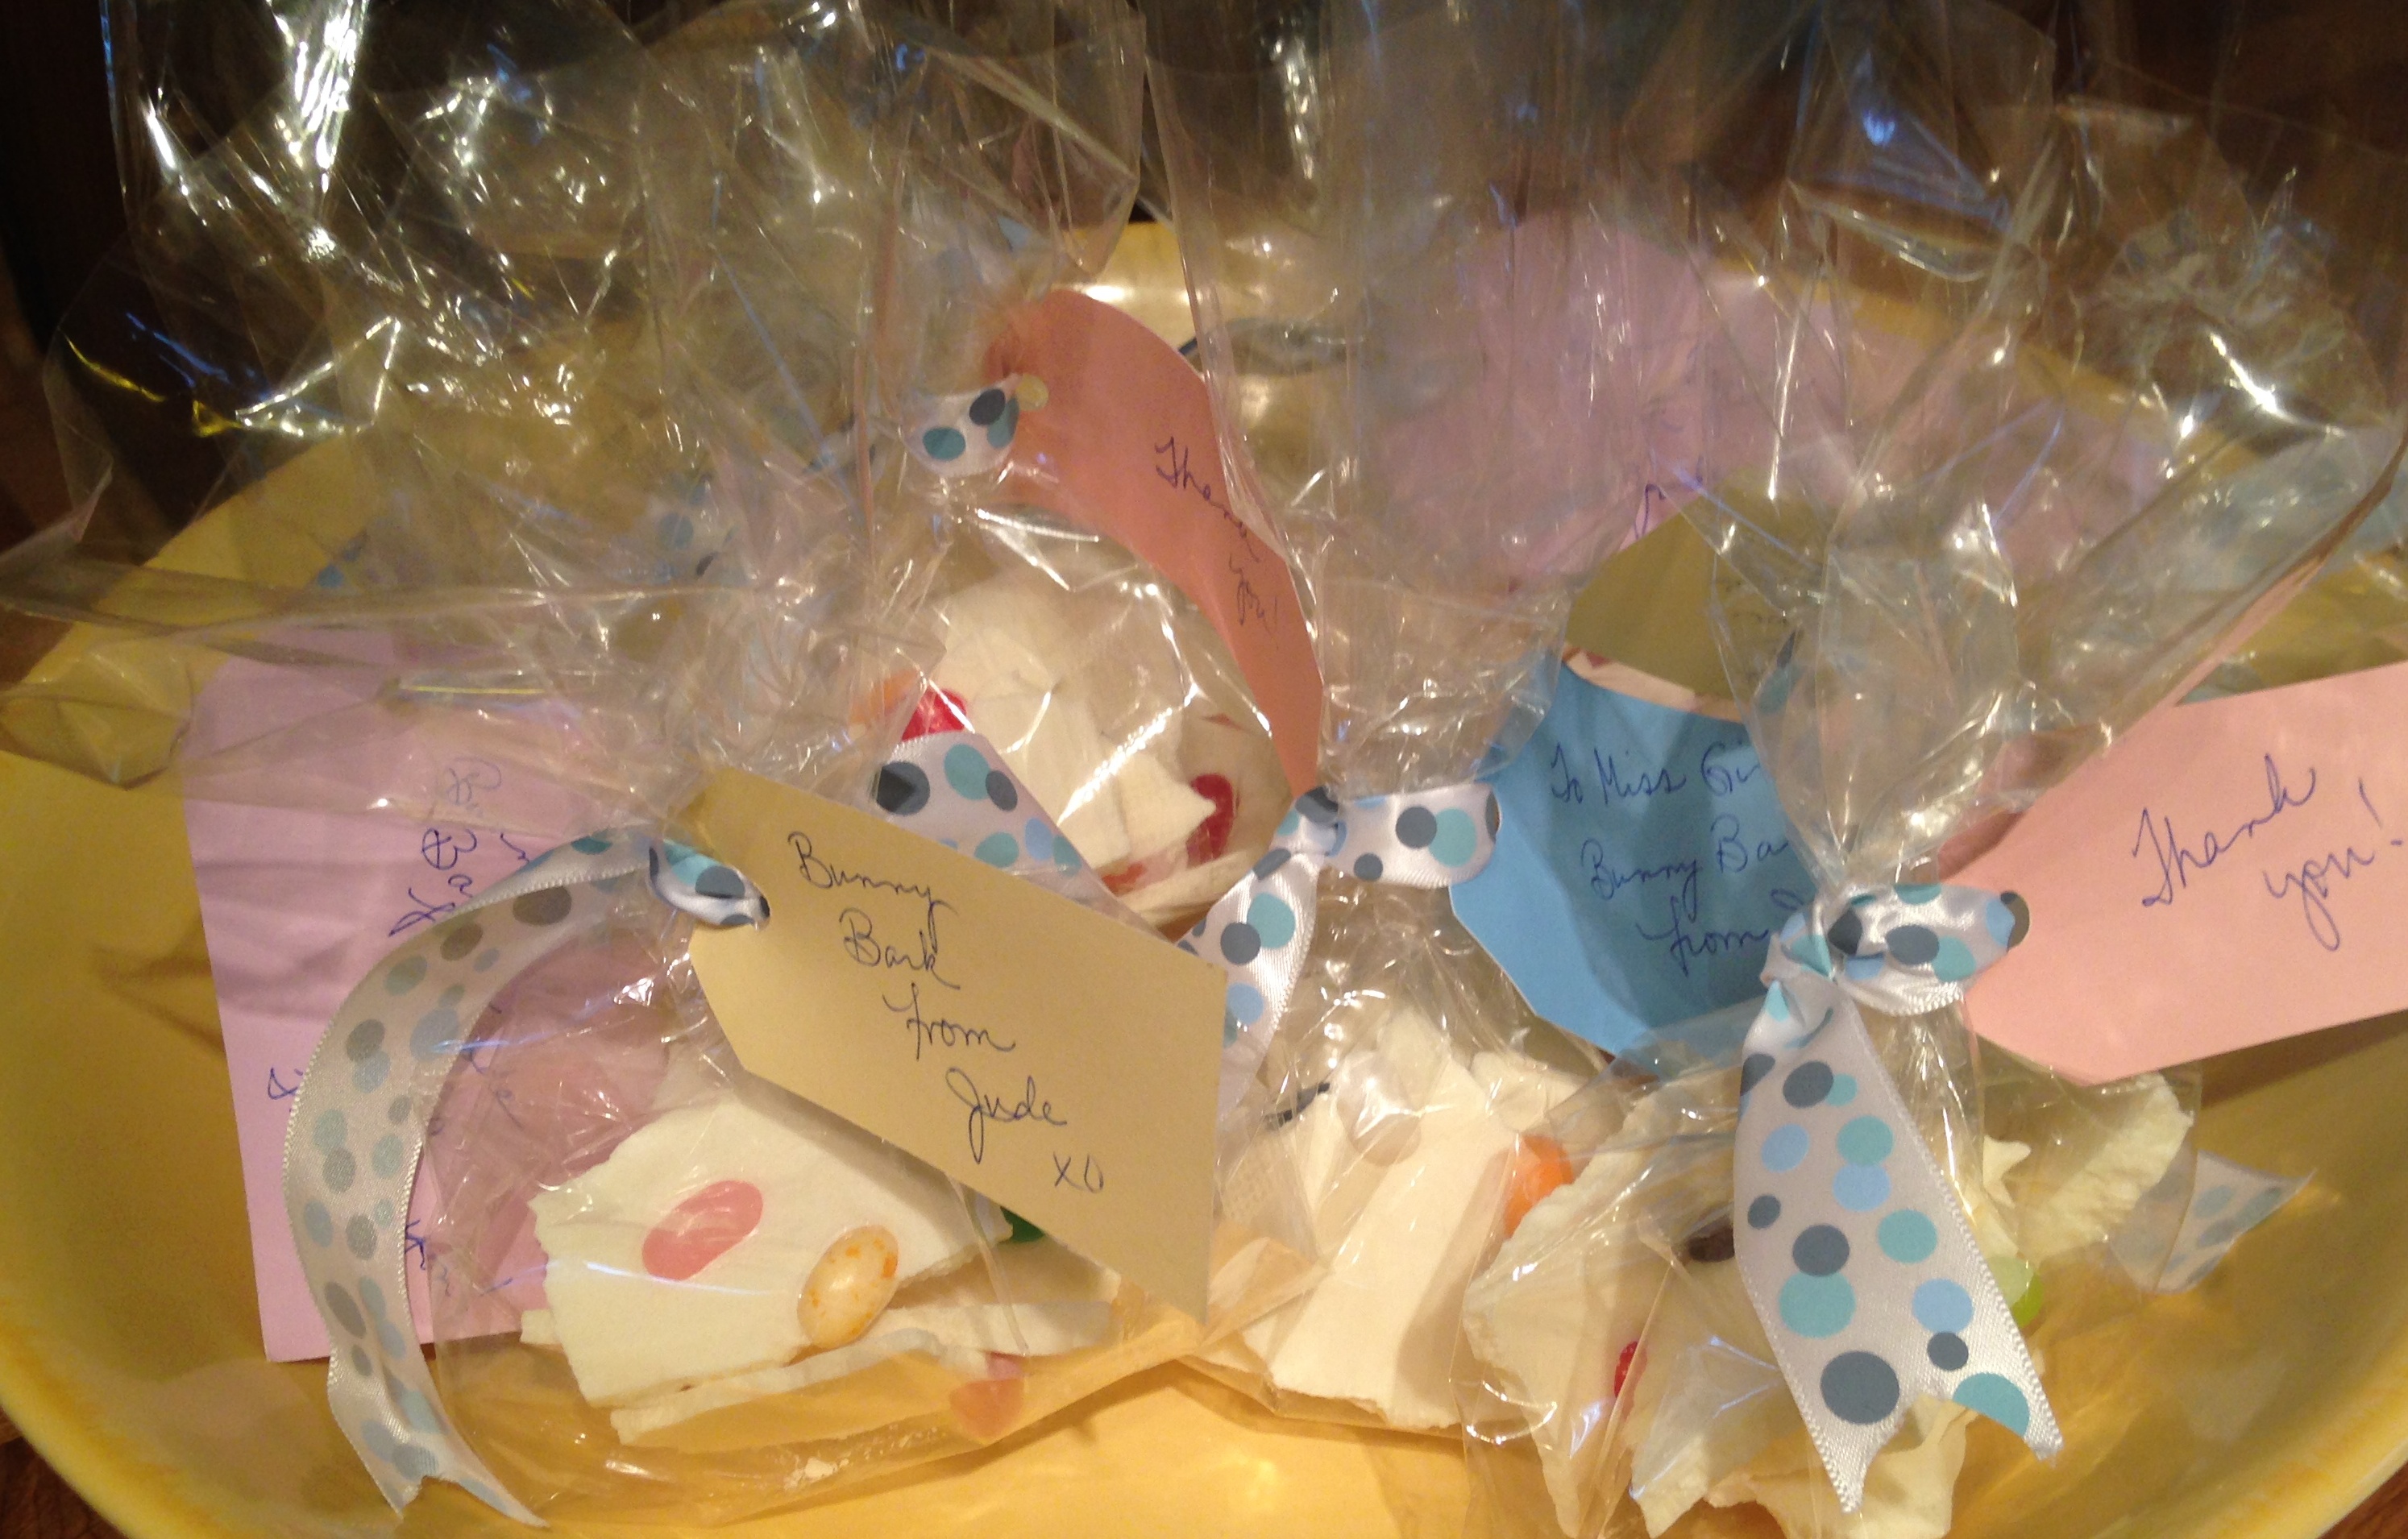
A.K.A., candy Mama doesn’t want me to know about. The Easter Bunny, apparently, left a partial bag of jelly beans in a cupboard. Mama decided the quickest way to get them out of the house was to make a treat for my teachers. We’re calling it Bunny Bark. Isn’t that funny? Bunnies don’t bark!
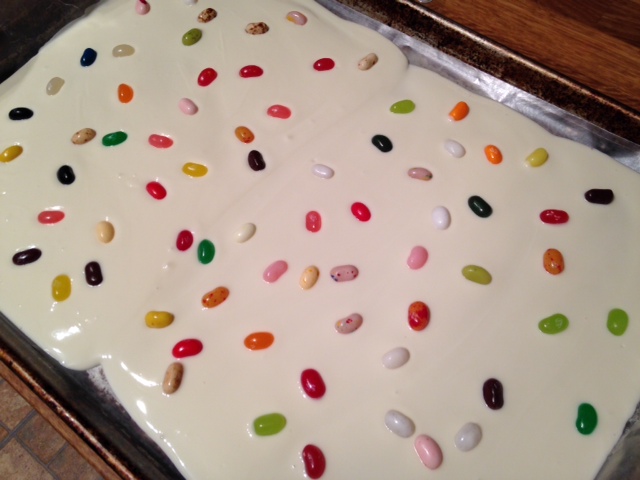
It’s super simple to make. Mama melted white chocolate chips in something she called a double boiler then spread it out in a baking sheet.
I got to lick the spatula.
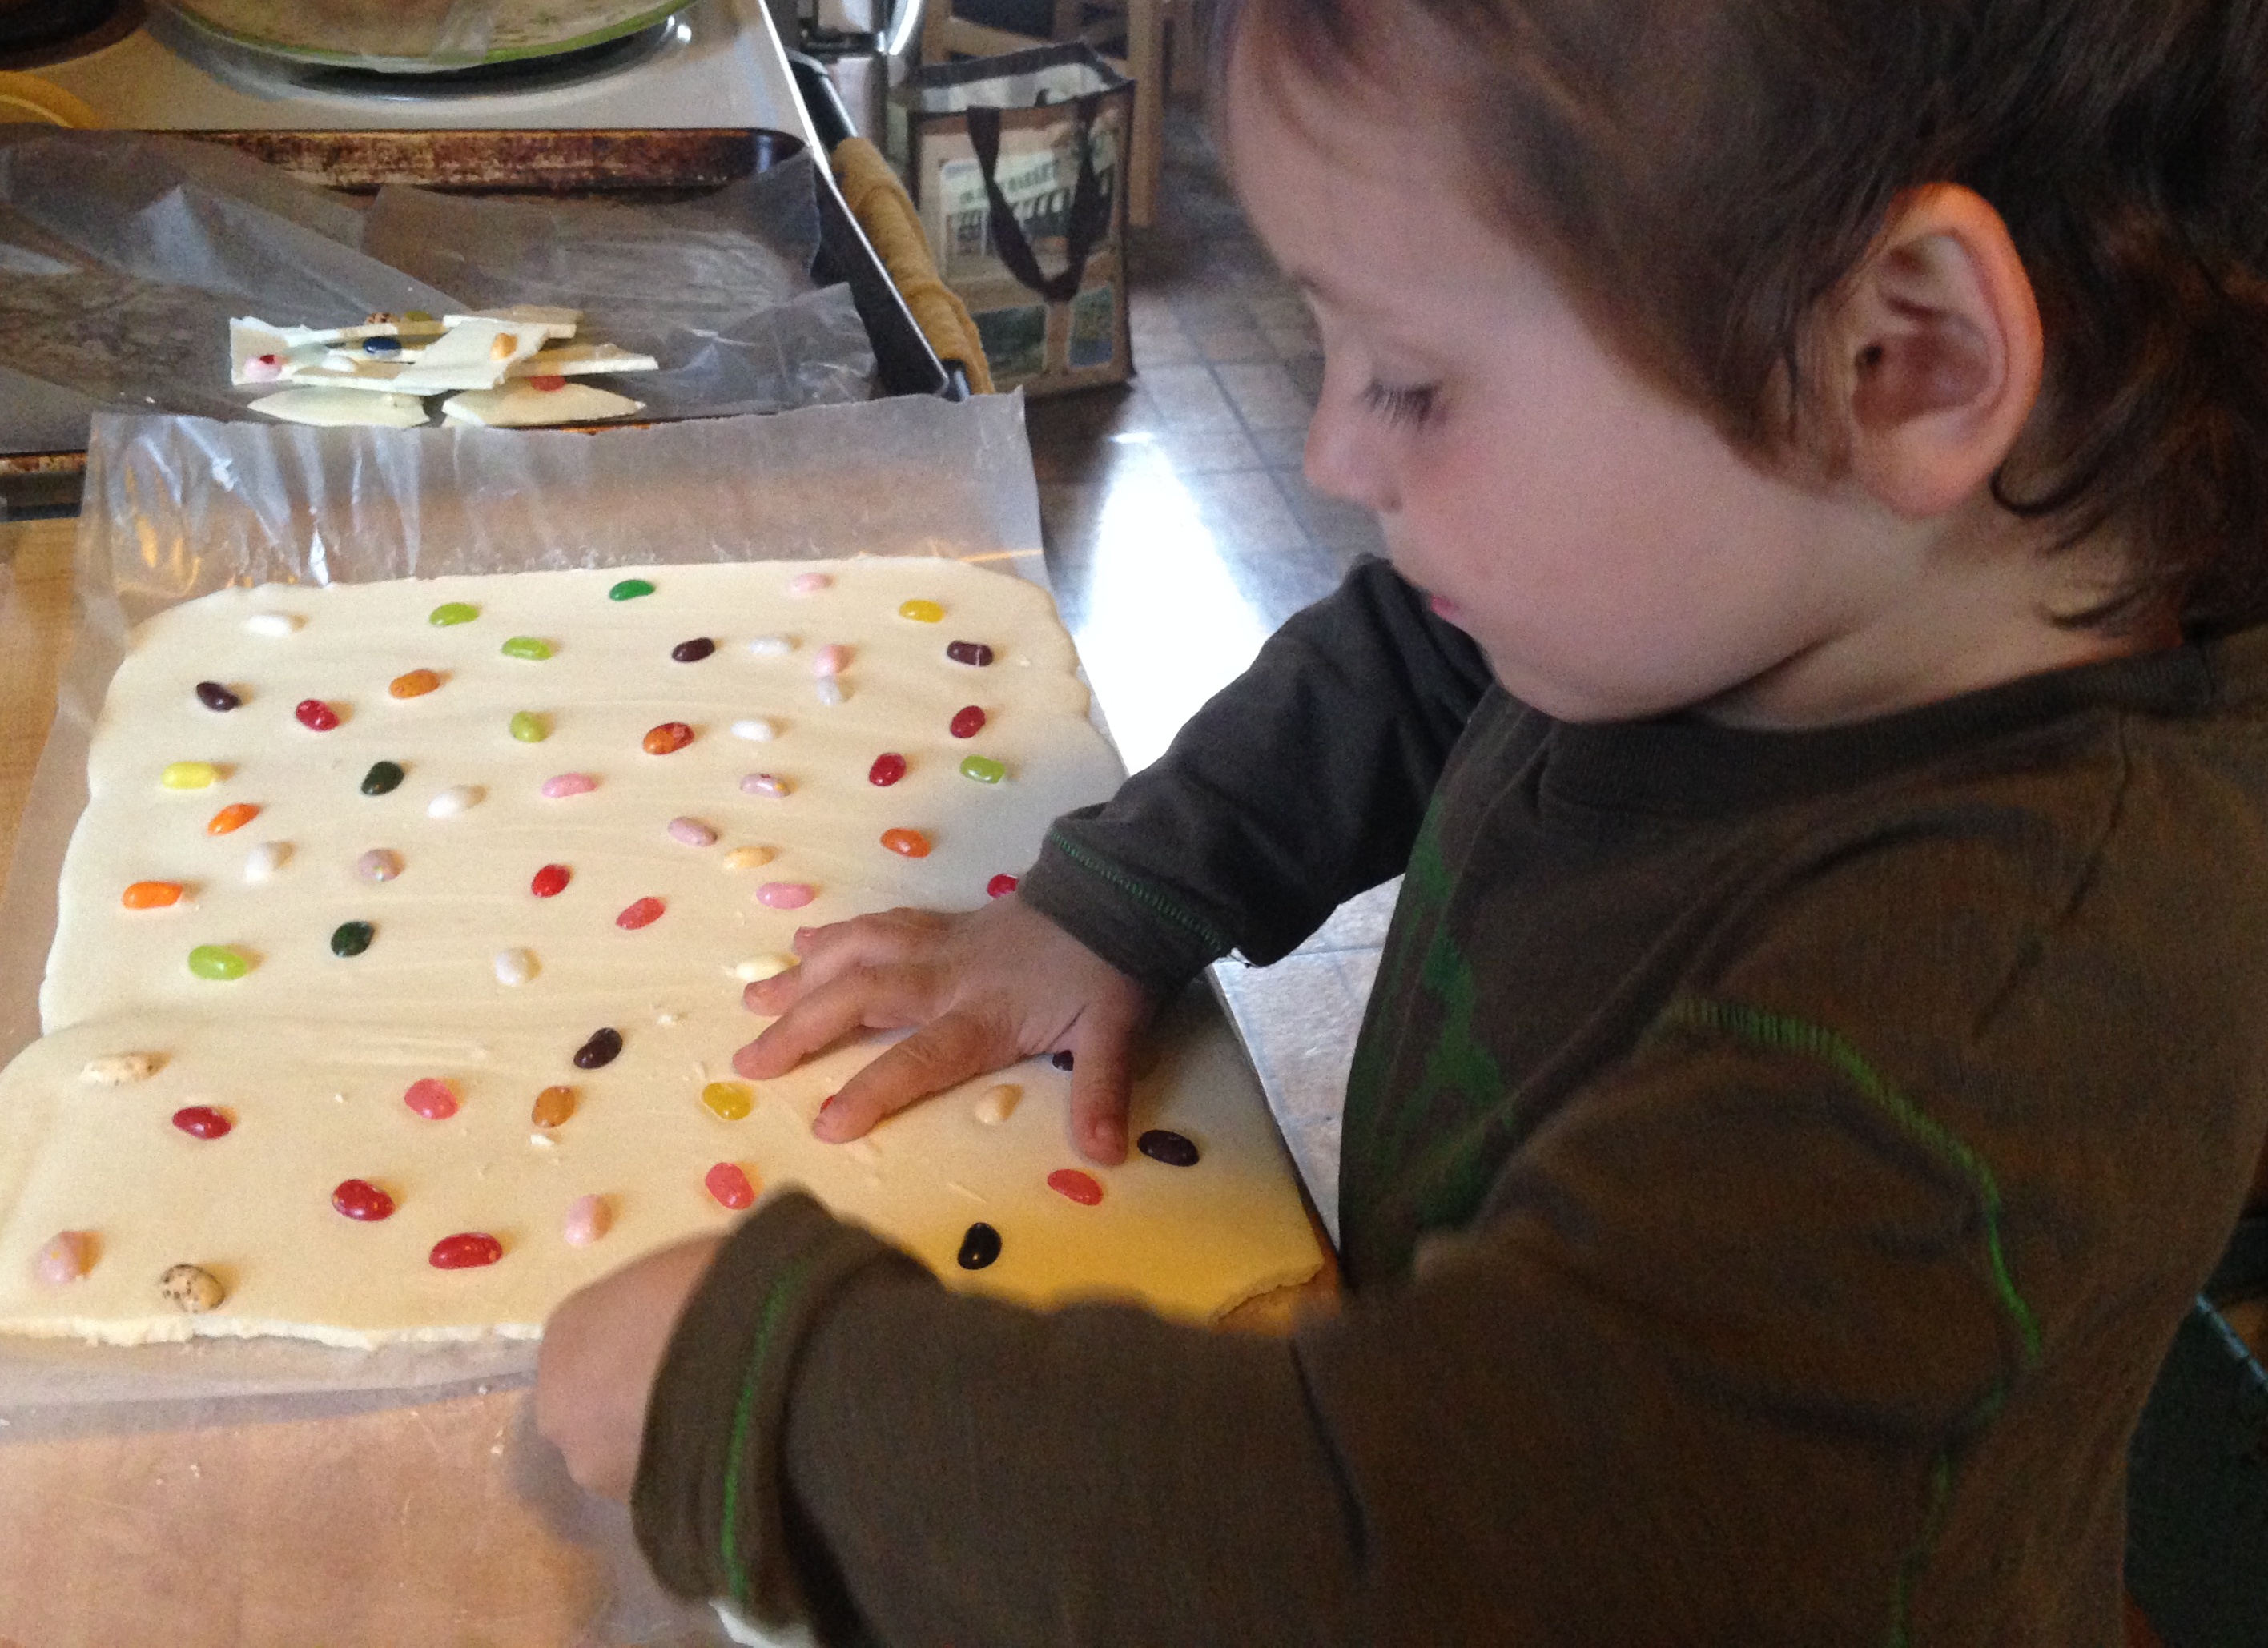
After a minute or two, we scattered jelly beans over it. (I even retrieved my personal stash of Easter beans to help fill in some gaps.)
Isn’t that pretty? I had fun pointing out the matching ones.
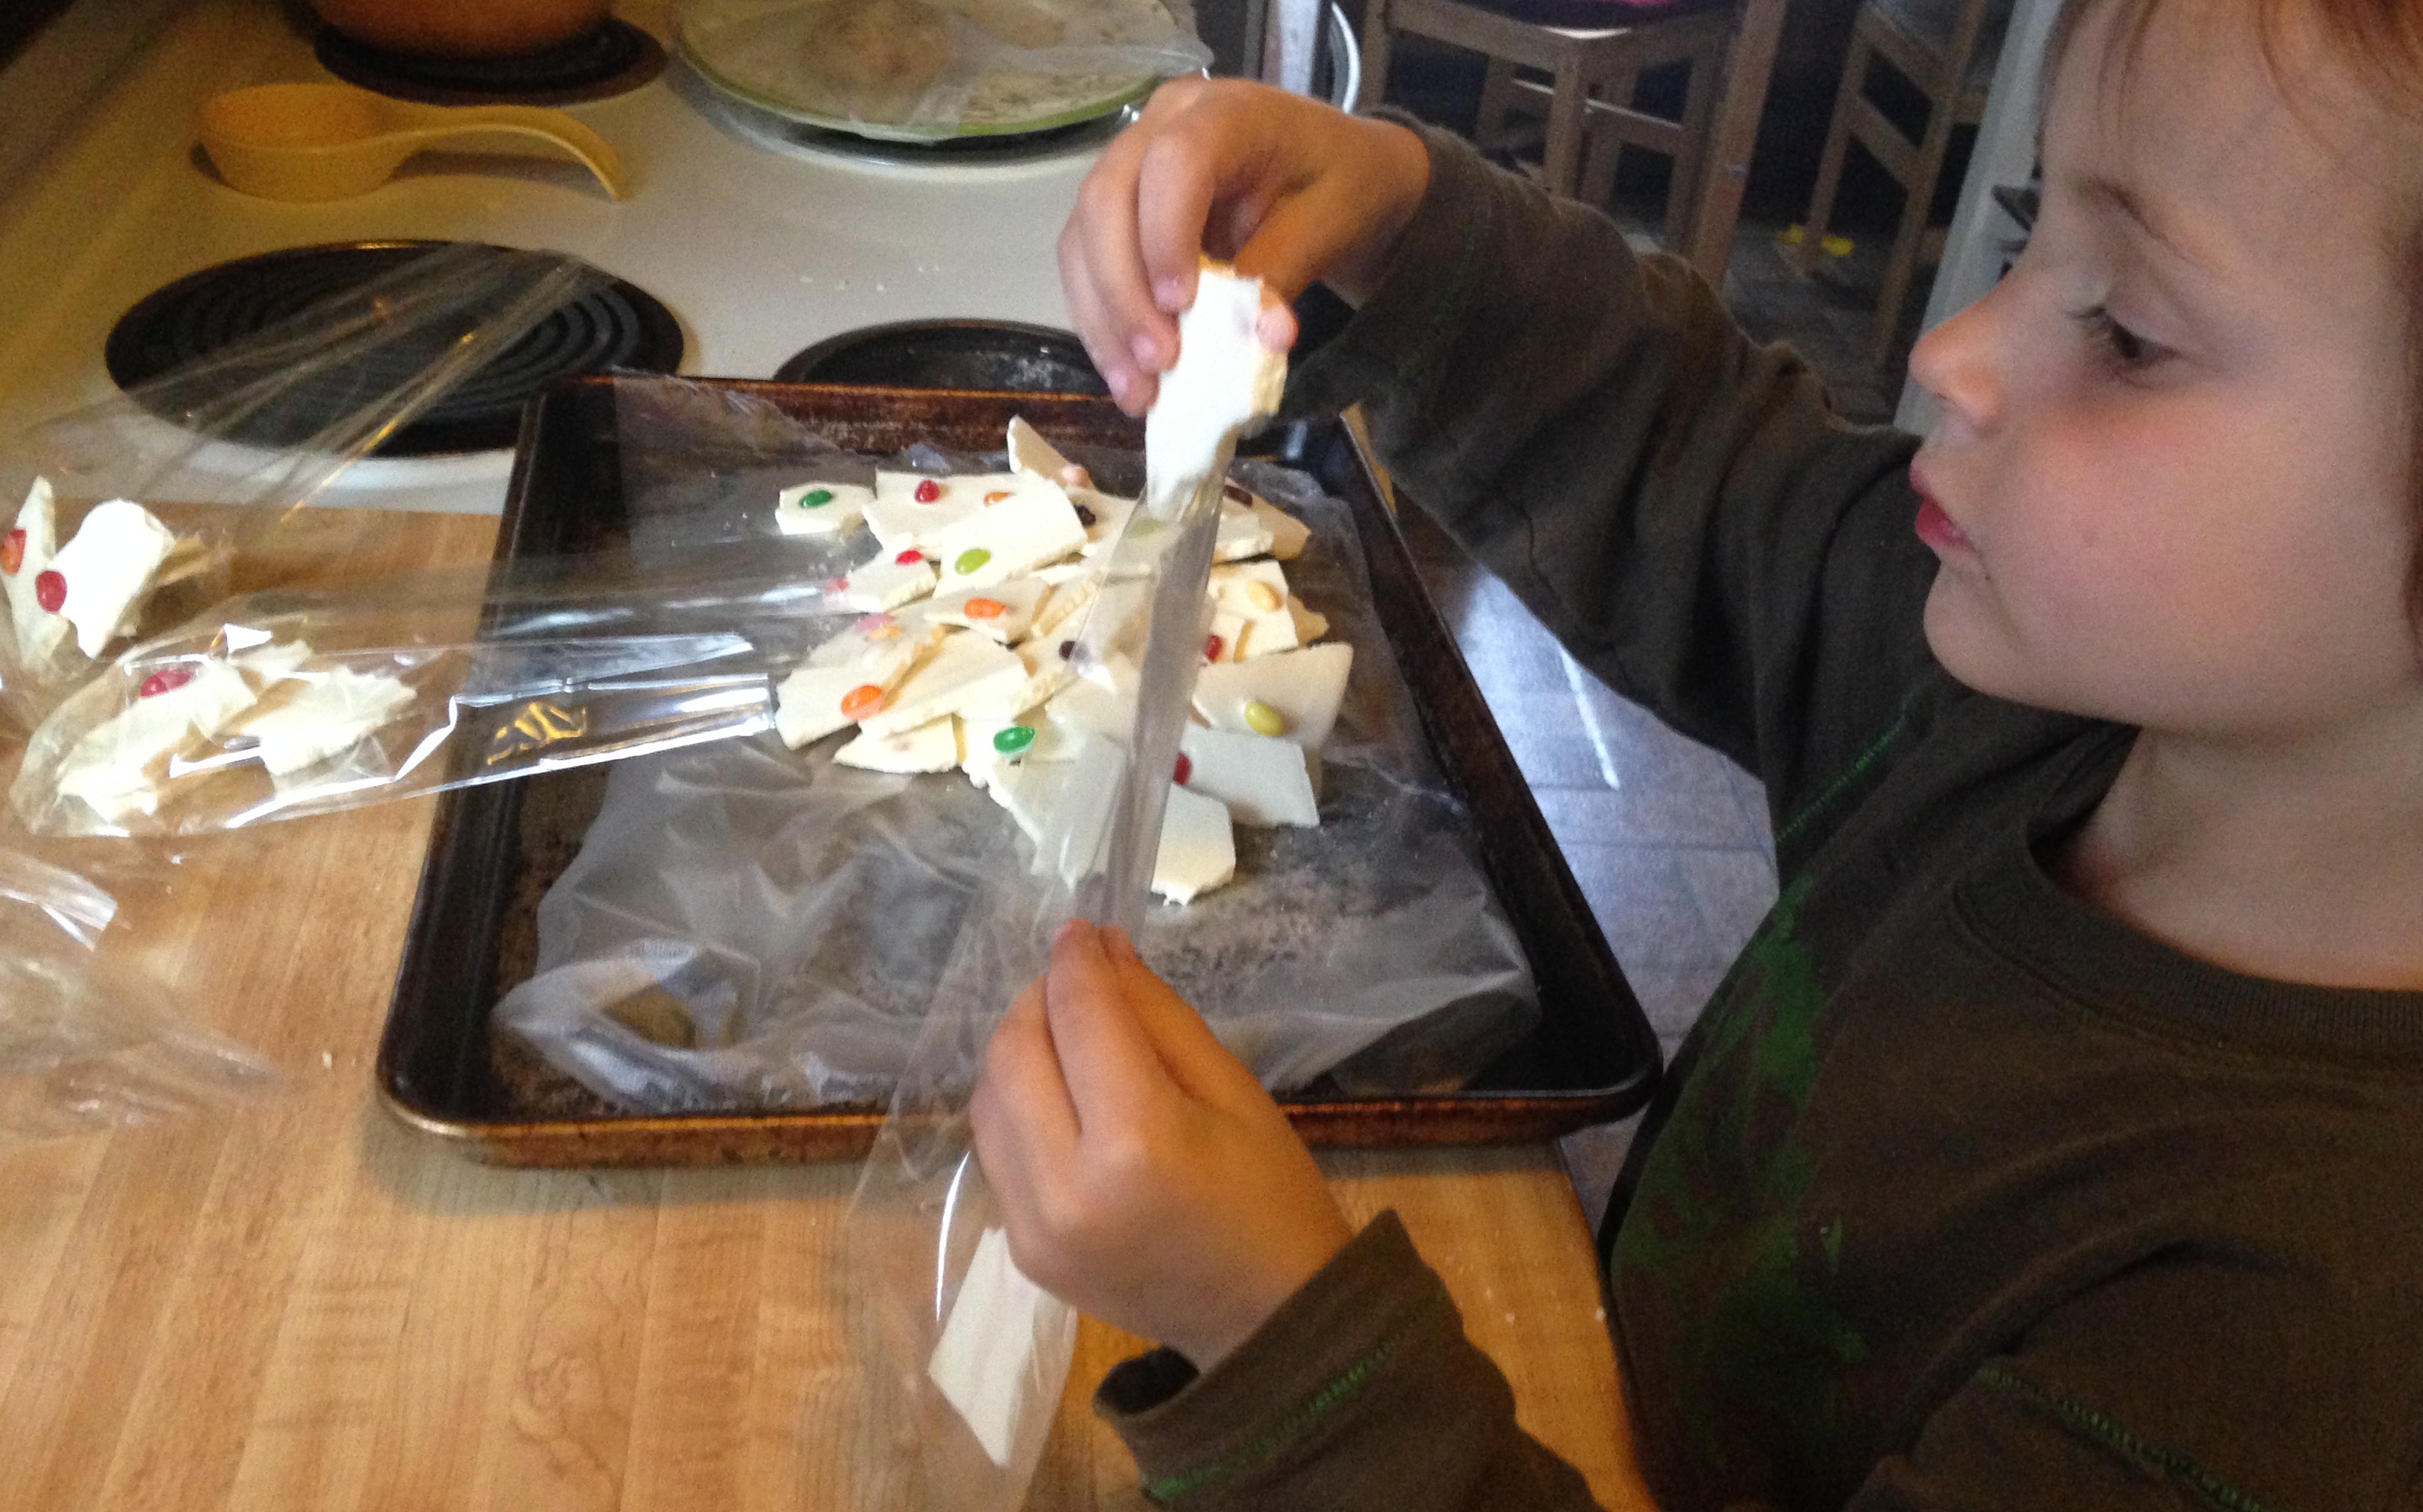
Once it cooled and hardened, we broke it apart…
I tried to get at least 1 jelly bean per piece of bark. (Use more candy if you like.)
…and bagged it. (No need to store in the fridge.)
I counted the number of pieces in each bag so they were all the same.
Not only is this a pretty gift, but it was fun to make (and yummy to eat).
Easy peasy, Easter breezy.
Love, Jude
Bunny Bark
2 12-oz bags white chocolate chips (may also chop white baker’s chocolate)
½–1 cup jelly beans
Melt the chocolate in the top of a double boiler (or in smaller batches in the microwave in 20-second intervals). To set up a double boiler, simmer water in a medium saucepan and set a bowl over it (not touching the water). Be careful when you stir the chocolate and remove the bowl, as steam can escape from the saucepan, and it’s hot! When the chips are nearly melted, remove the bowl of chocolate and continue stirring until fully melted.
Pour the melted chocolate onto a jelly roll pan or baking sheet lined with waxed paper or parchment paper; our sheet is about 16” x 13”. Spread out the chocolate and then give the baking sheet a little shimmy or a tap to encourage the chocolate to smooth out. Allow to cool a couple minutes, then sprinkle jelly beans on top—in however dense a manner as desired.
Note: This recipe may be halved. You can use milk or dark chocolate—or swirl white and brown chocolates together. You may also substitute malted chocolate eggs in place of the jelly beans.
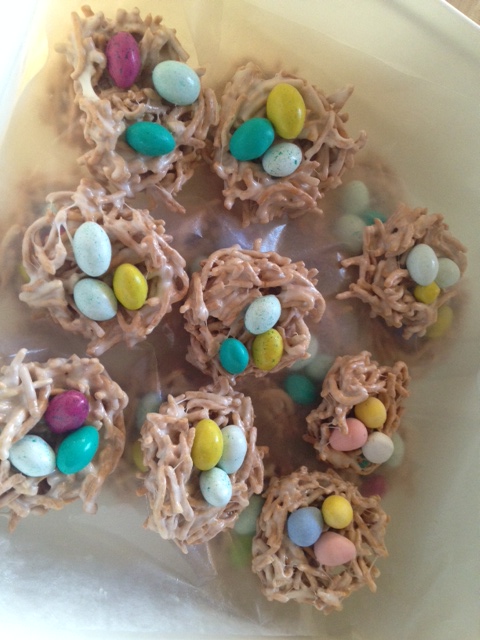
Bonus recipe! We made birds’ nests with other leftover candy. For a tutorial, see how this lovely lady does it. Mama melted a bag of mini marshmallows with ¾ stick of butter, then mixed in 2 bags of chow mein noodles. She rubbed a bit of butter on parchment paper so the nests wouldn’t stick and greased up her hands really well before diving in to the gooey mess. (I did all the measuring; she did all the forming.) Have someone else (like a little kid!) place the candied eggs in the nests while the marshmallow is still sticky, so that they stay put. If you miss your chance, then microwave a small cup of marshmallows for 10–15 seconds until they’re melty, then use that as glue to hold them in place. We made 2 dozen nests, and I still had Easter candy left over. (The Easter bunny was very generous with candy this year, as opposed to years past.)
We used peanut butter M&Ms and malted eggs, but jelly beans would’ve worked too…if we had any left.
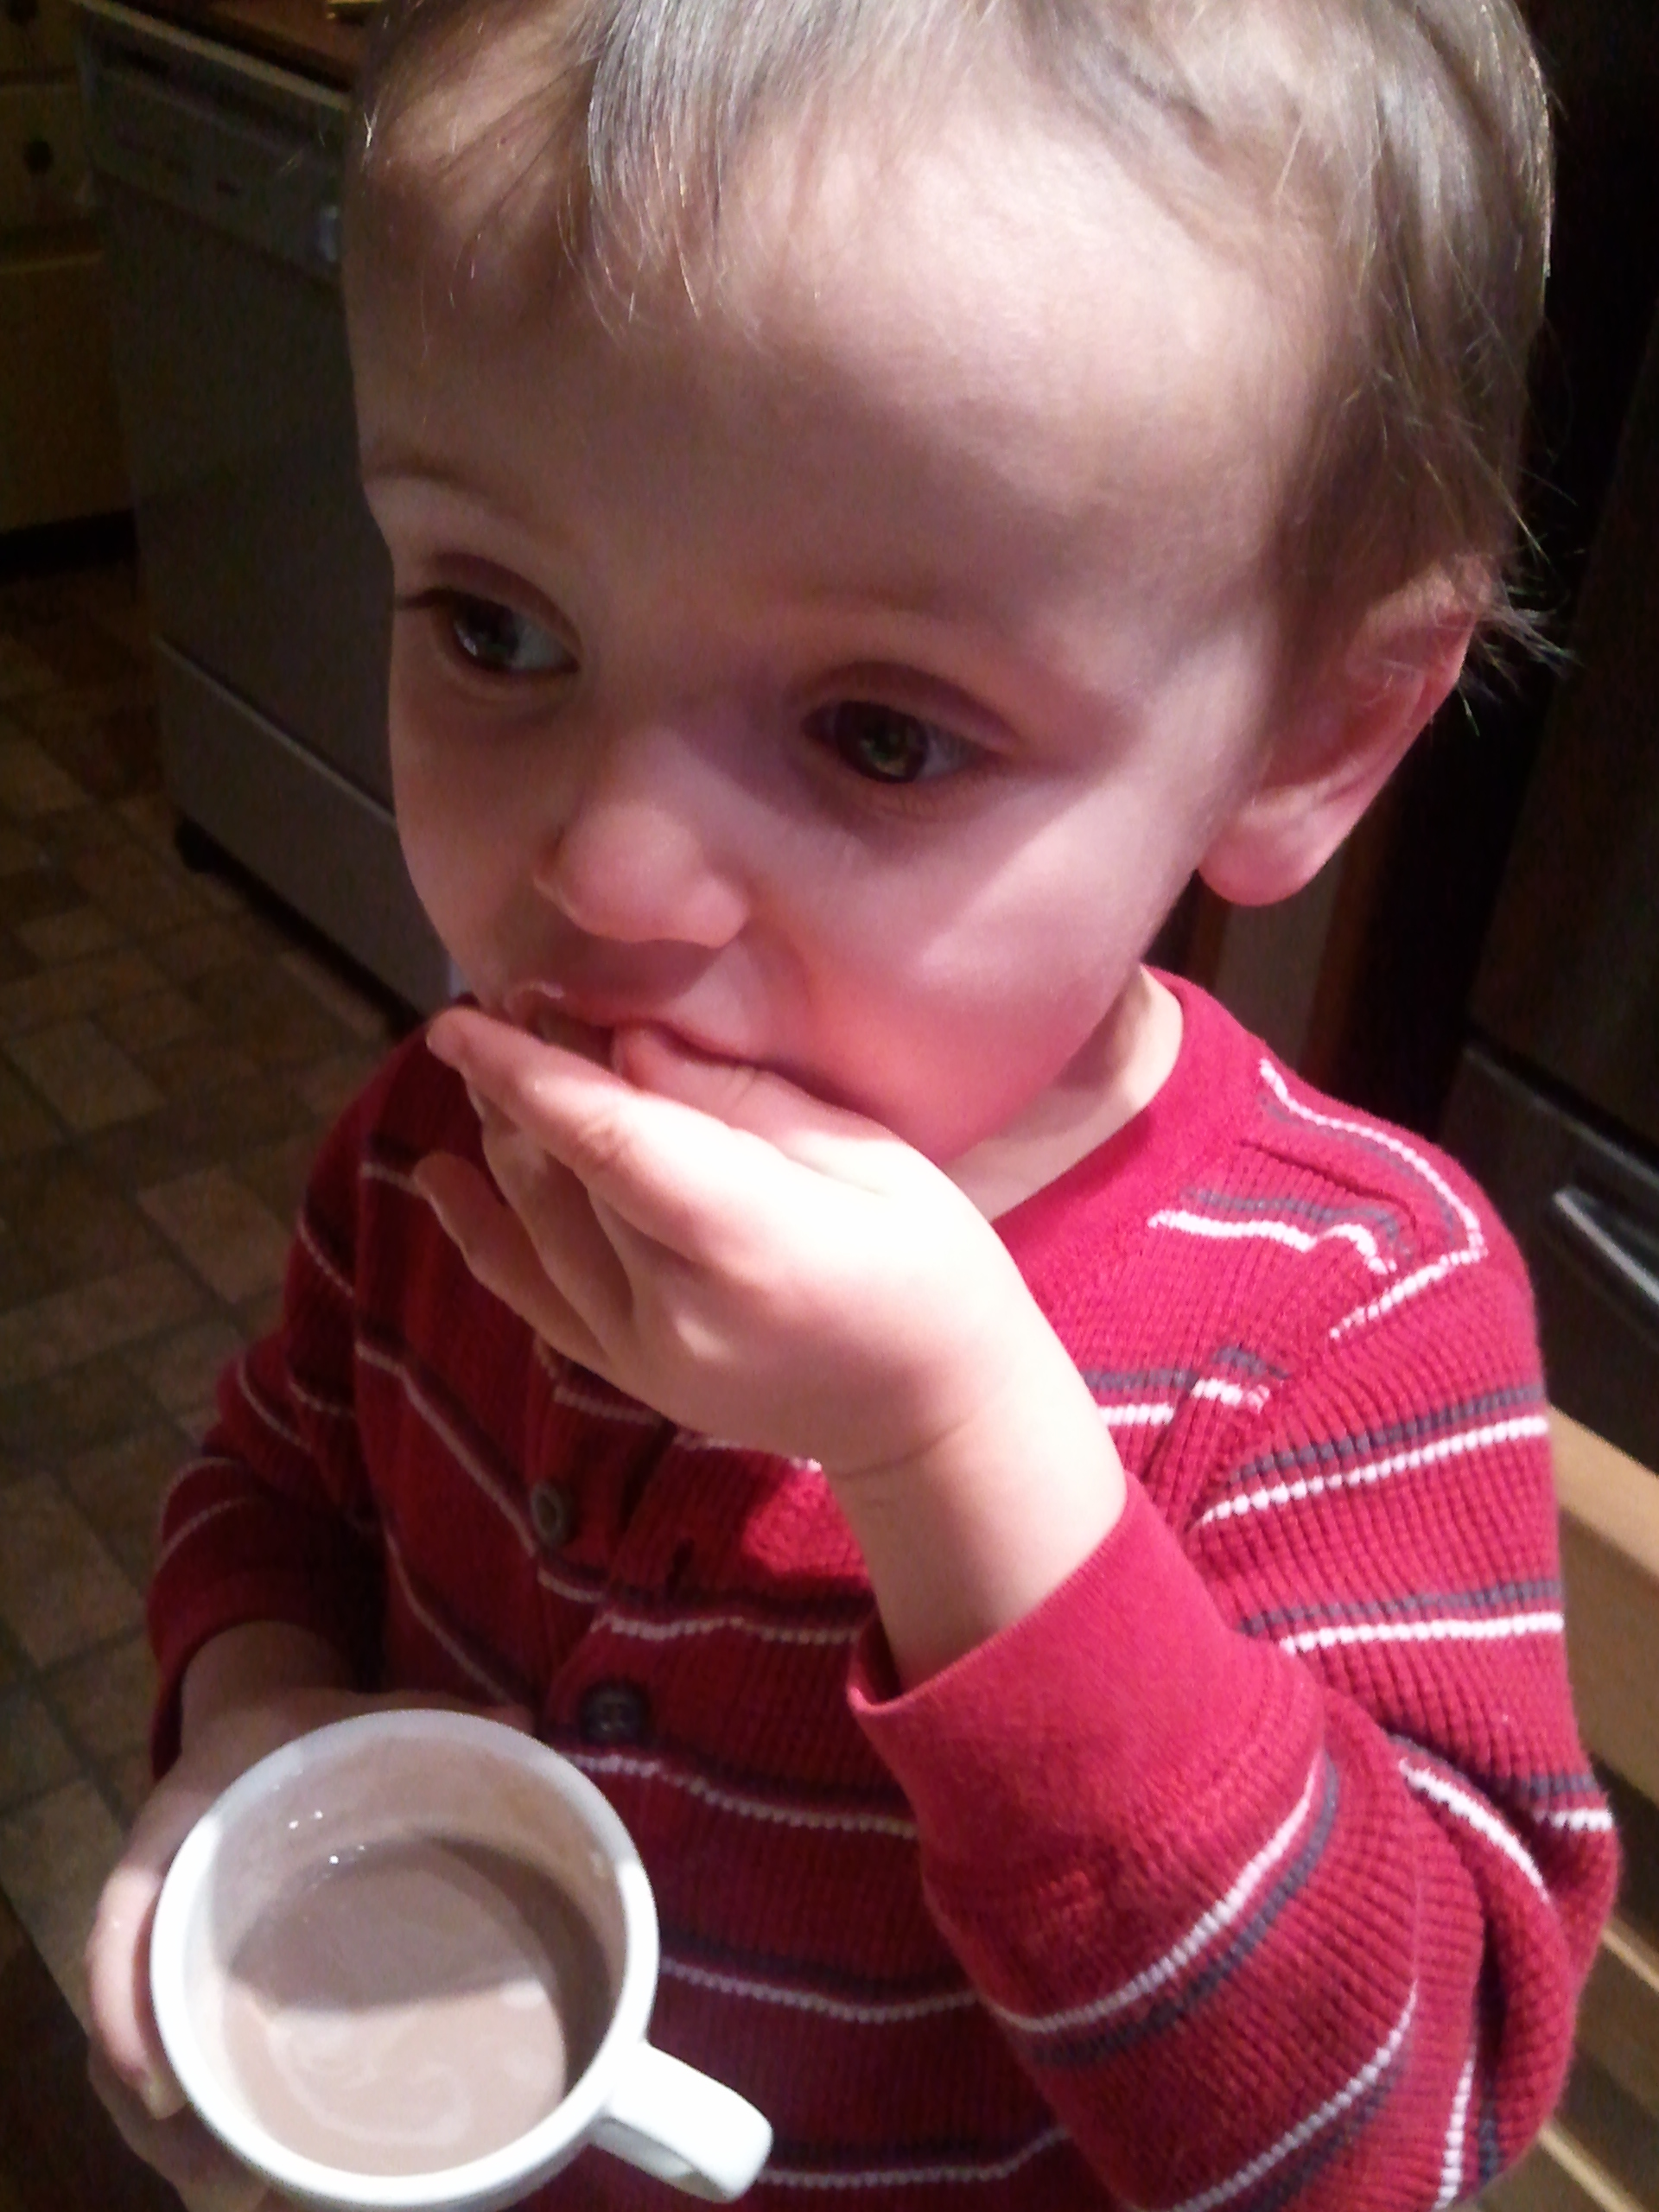
Now that I’ve completely forgotten what it’s like to ever be warm while outdoors, Mama decided to bring back a little bit of summer in the form of marshmallows. She’s made these many times before, but not with me. And because it’s so cold outside, they make the perfect accompaniment to hot chocolate or hot cocoa.
And what’s the difference between these two chocolaty libations?
Hot cocoa is made with unsweetened cocoa powder mixed with milk and some sort of sweetener. The beauty of it—and why Mama tends to make it for me—is that you can control the amount of sugar. She brings the milk to a simmer, then whisks in the cocoa powder, brown sugar, and a splash of vanilla. She tastes it and adjusts the flavor to her liking. If you need a formula, however, The Joy of Cooking pairs 1 Tbsp cocoa with 1 tsp sugar and ¾ cup milk.
Hot chocolate, as its name implies, is melted chocolate, mixed with a bit of hot milk. It’s much richer and silkier than hot cocoa. You can add more sugar or other flavorings to it, but that’s basically all there is to it. When Mama makes it, she brings milk to a simmer and tosses in a combination of finely chopped dark and milk chocolates and whisks it until the chocolate melts. Then she adds a splash of vanilla, and she’s done. This is another one of those recipes that you throw together by taste, and if all you have on hand is chocolate chips, by all means, they’ll work, too.
I’m snacking on marshmallows while sipping my “warm cocoa.”
As for the marshmallows, they take a little longer than either hot chocolate or hot cocoa to make. There are many recipes for marshmallows, and the one Mama uses starts with gelatin. We’ve used this before in our panna cottas.
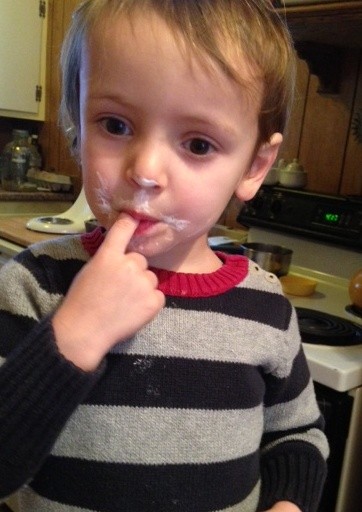
‘mallow ‘stache
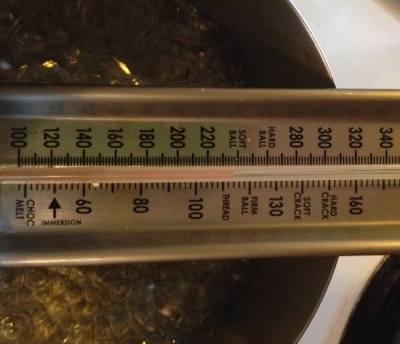
While the gelatin is blooming in the bowl of the stand mixer, Mama heats up a mixture of water, sugar, and something called invert sugar, which she says is similar to light corn syrup. It takes a long time for that mixture to get to 240°F, or “soft ball” stage, which Mama says is a candy-making term for when a bit of melted sugar turns into a soft gel-like ball when dropped into water.
The red line of the thermometer is really close to “soft ball.” It takes a while to get there, but once it’s close, you have to be ready for it!
What’s left is mixing the hot syrup into the gelatin. It takes about 15 minutes, which is 15 minutes too many!
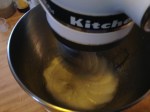
The gelatin mixture soon after the sugar syrup is added.
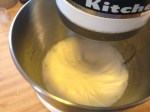
Here it is just a few minutes into mixing.
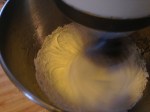
It’s nearly done.
Once the mallow is properly whipped, all that’s left to do is spread it in a pan to set.
Marshmallow is really sticky. I had to work hard to get it off this spatula.
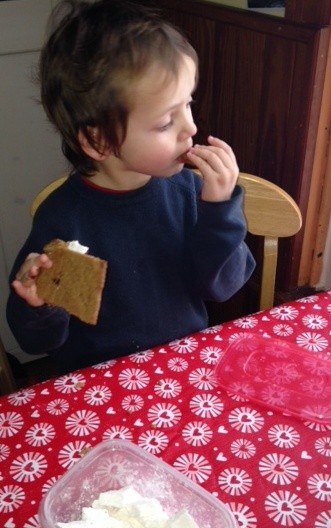
We of course had marshmallows in our hot cocoa, but even better: Mama made graham crackers over the weekend, so we had s’mores after all. Toasted marshmallows are the best!
You can’t see it, but there’s melted chocolate on that graham cracker.
If you looked in our fridge, you’d see sundry dairy products: milk for me and Papa, milk for Mama, milk for mama’s coffee, buttermilk for pancakes… Clearly, we have a yen for the stuff. So when Mama decided to show me how to turn the milk into something you can eat with a spoon, I was intrigued.
Panna cotta, in its simplest explanation, is eggless Italian custard. It’s cream that’s been cooked with a smidge of sugar, combined with gelatin, and allowed to set. What could be simpler? And the “formula” is easy enough for a kid like me to remember:
3 cups liquid to 1 package gelatin
That’s it! Mama chooses to divide the liquid equally between heavy cream and half-and-half. She could divvy it up differently or use regular milk, goat’s milk, or even nondairy creamer. She noted that non-milks such as coconut milk and almond milk don’t have enough fat in them to properly set without further tweaks to the recipe. They’ll come together, but they won’t have the proper texture, which Mama says should be solid enough to sit on a spoon but soft enough to wobble like the backs of her arms when she waves.
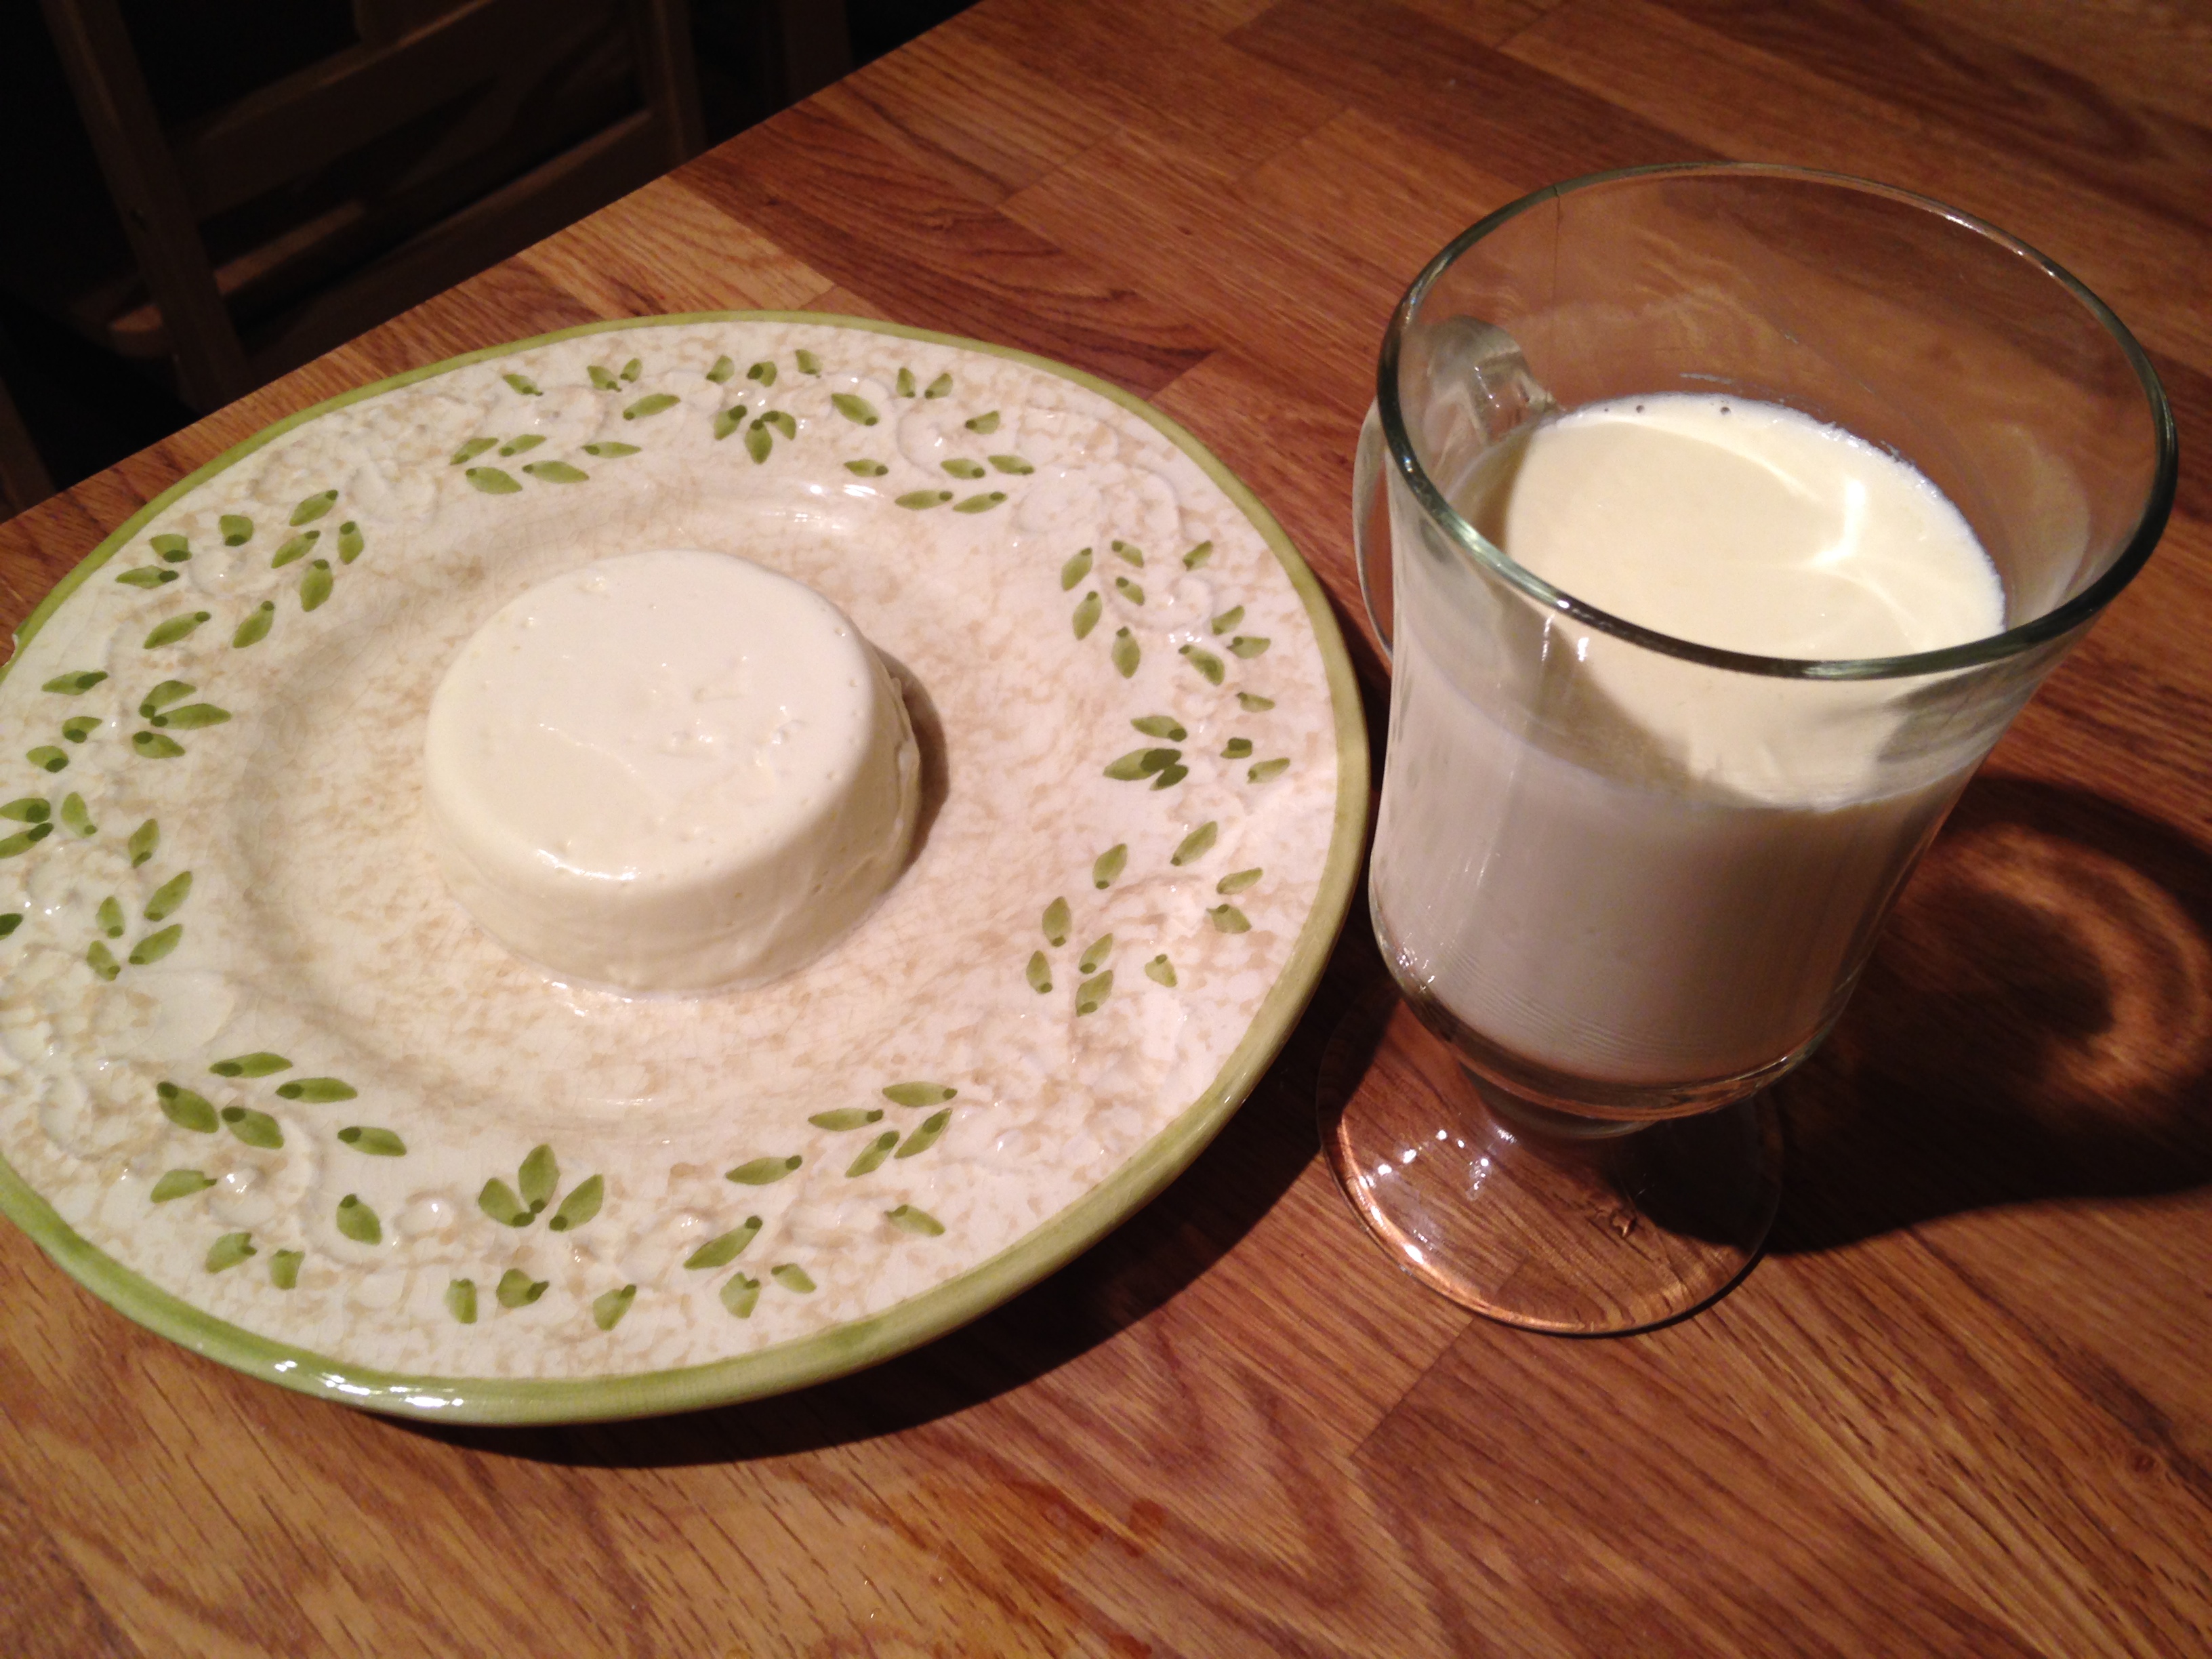
Panna cotta, two ways
Mama says there’s little reason to fear gelatin (unless you’re talking about those neon-hued sugar-laden varieties or this; then be afraid, be very afraid). While it’s true that gelatin is an animal product, it’s highly processed. So, much like the wasp in a fig, it’s not like you’re eating an actual bone. There are more natural varieties (such as Jensen’s) available, and a vegetarian alternative is agar agar, which is fun to say. Gelatin also comes in sheets, but we’re sticking with the powdered kind. Either variety basically has an indefinite shelf-life, so scrounge in your cupboards for a box tucked away in the back.
Working with gelatin requires a two-step process. First it needs to be bloomed, which has nothing to do with James Joyce and everything to do with coating it with cool liquid.
It starts to form a skin and get all wrinkly immediately.
Then it needs to be melted by either heating it over a low heat or combining it with a hot (not boiling) liquid. Using a hot liquid to bloom gelatin will impede the blooming process, whereas boiling the gelatin at any point will deactivate its gelling properties. (Though isn’t it interesting that you could melt a batch of finished gelatin and reset it several times?)
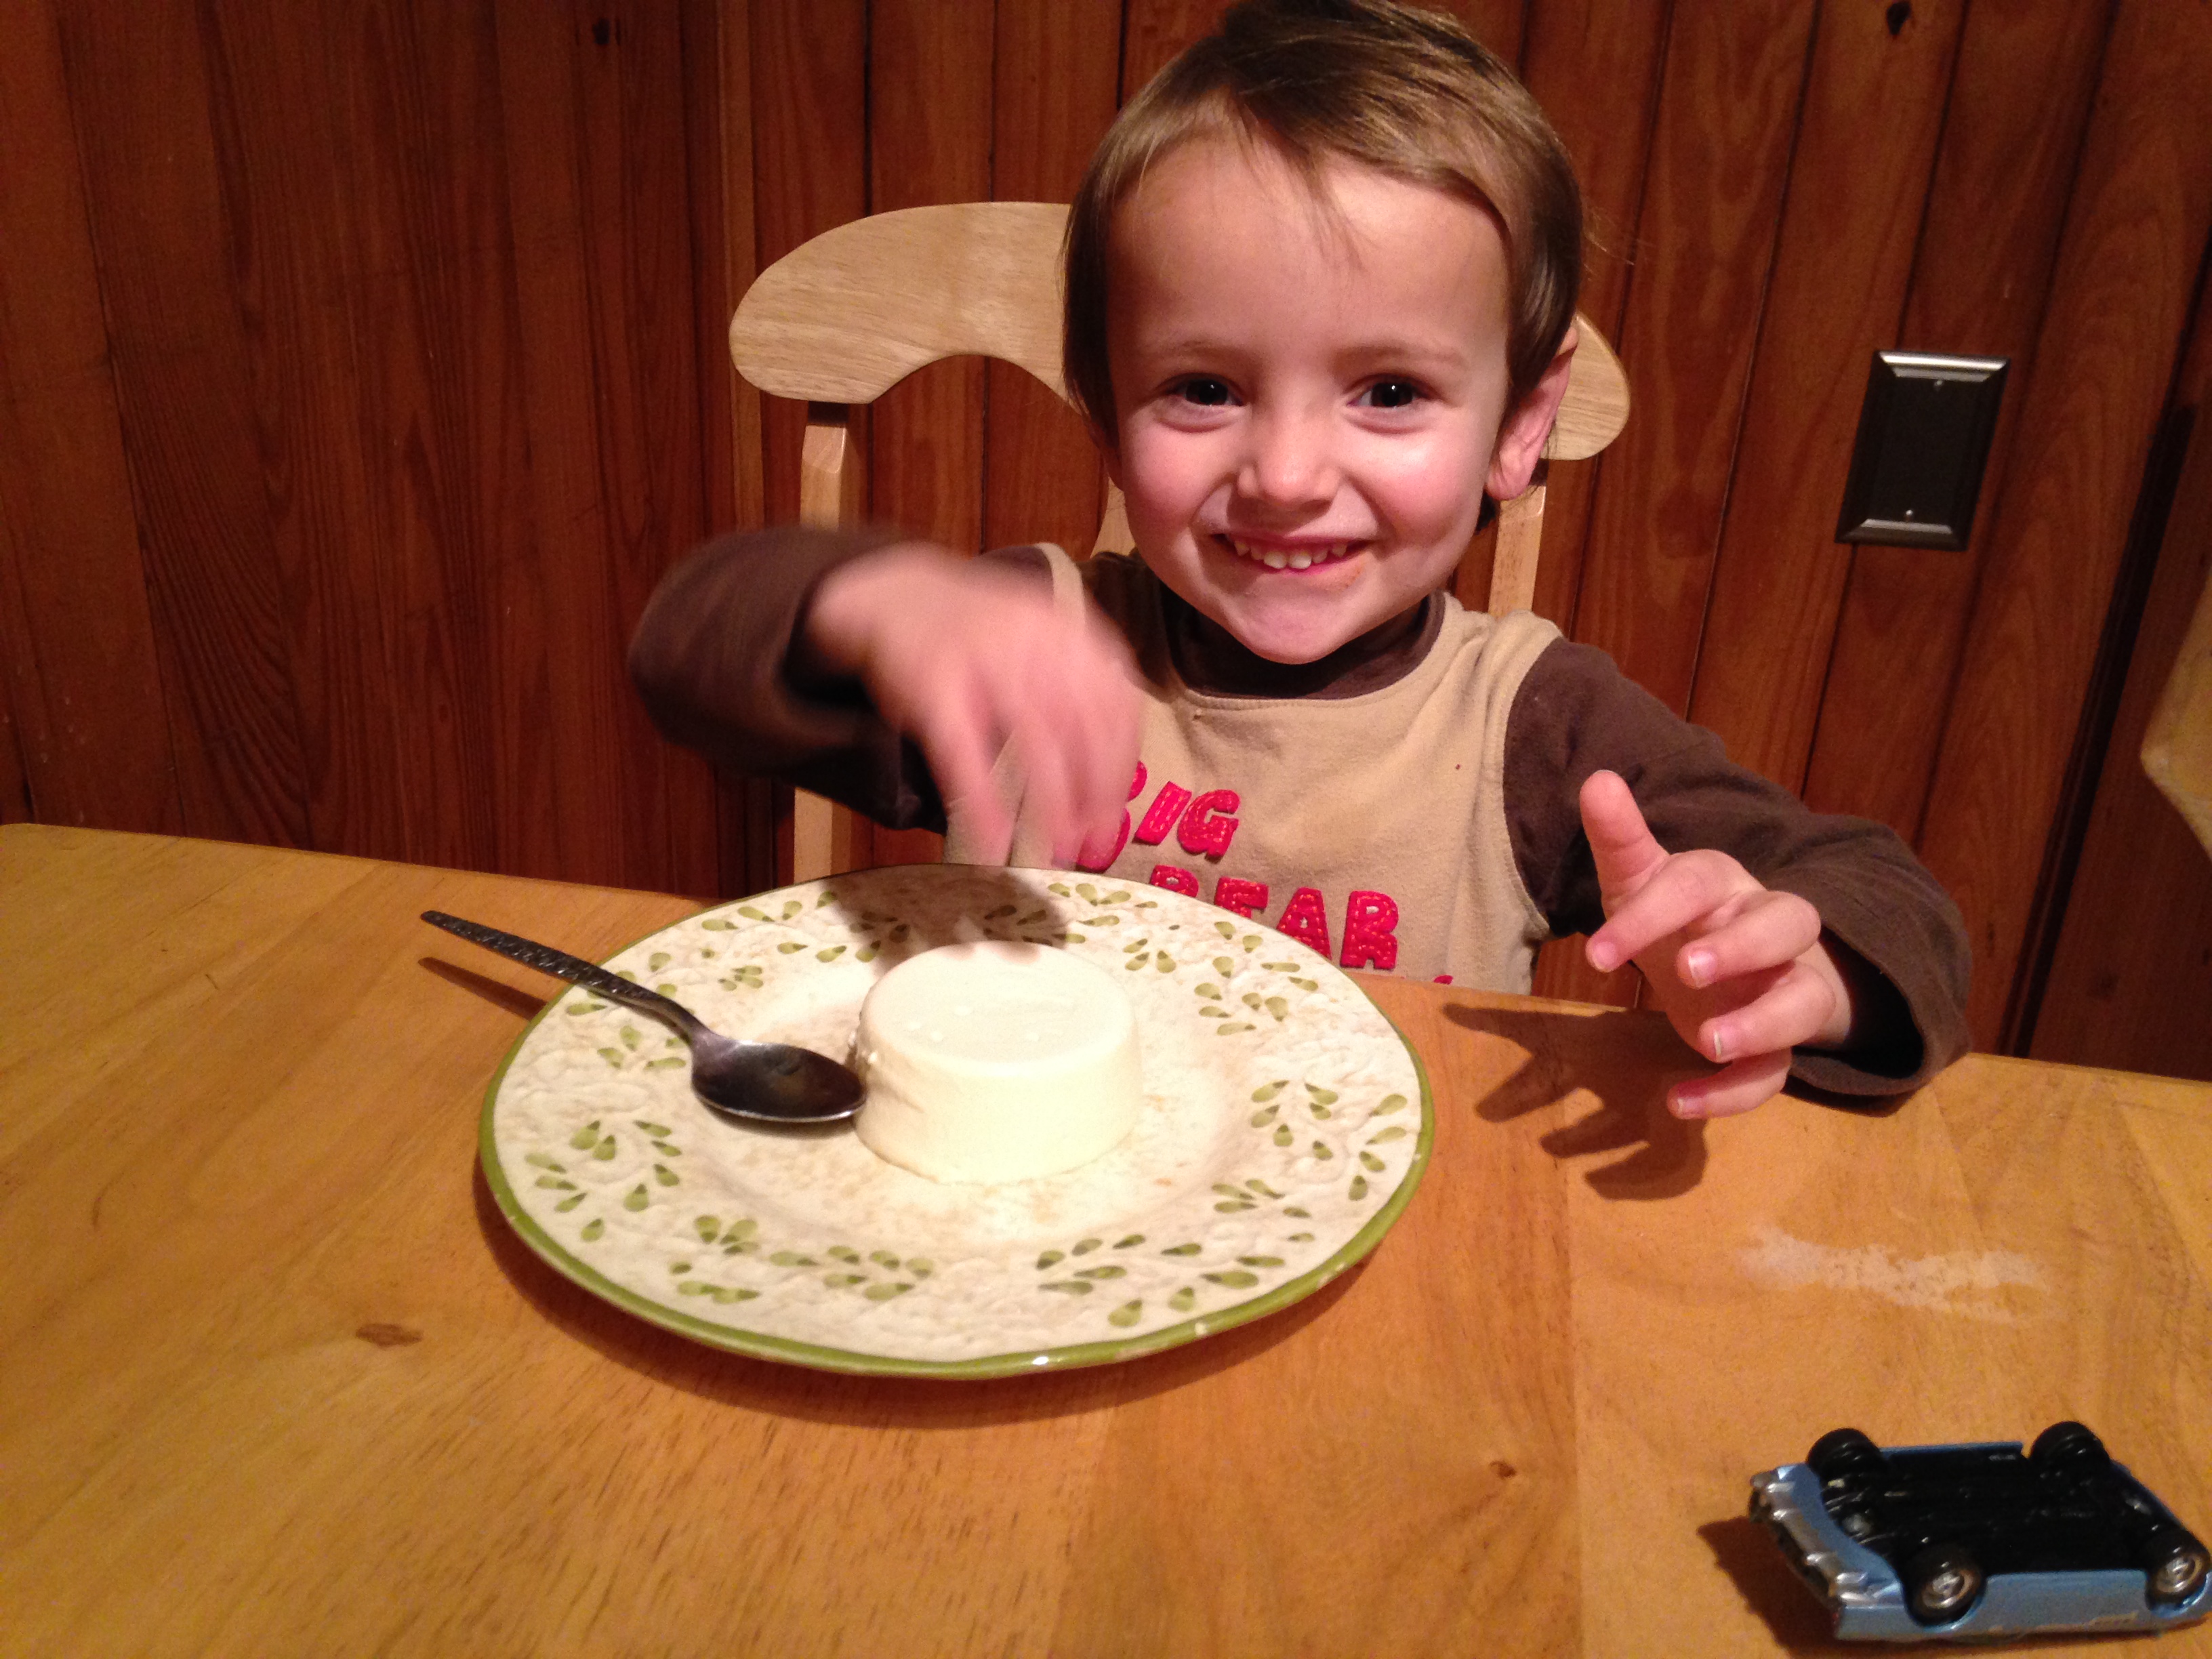
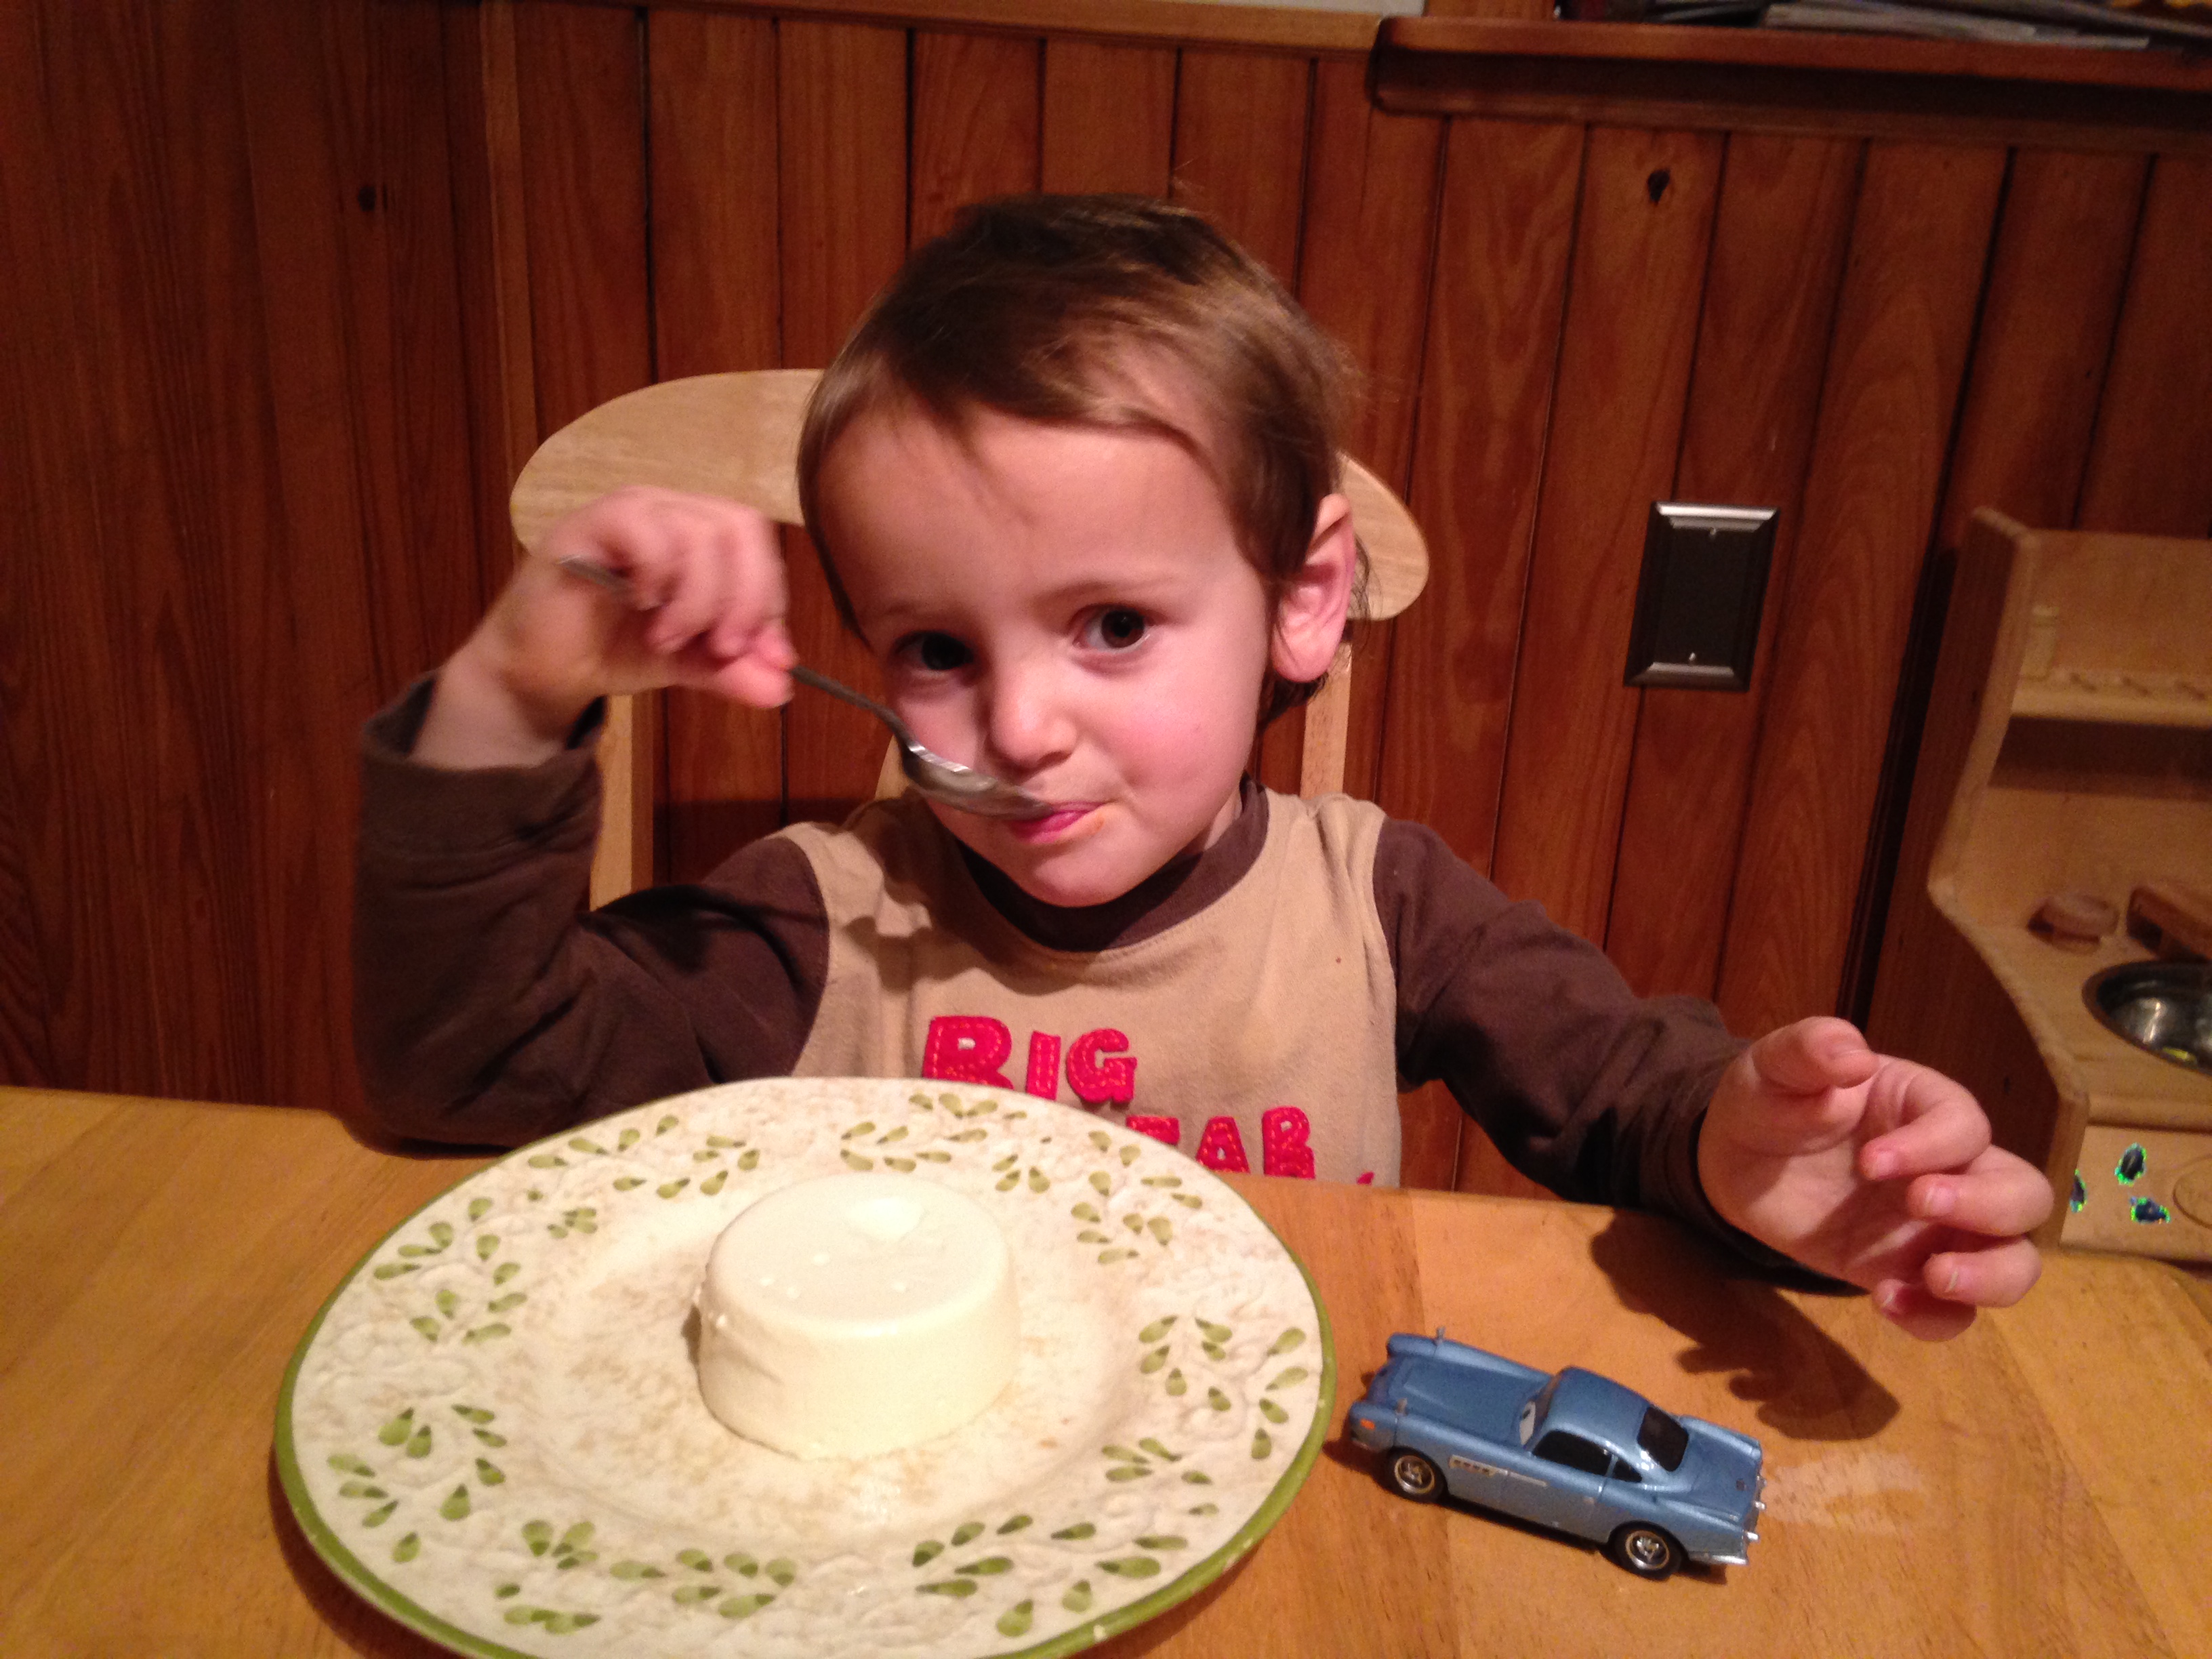
Because this recipe involves a lot of hot liquid, Mama did most of the work. She made it just before she cooked dinner (chicken piccata, steamed green beans with toasted almonds, and mushroom rice pilaf), and by the time we cleaned up the dinner mess, it was ready. I love how it jiggles but even more, I love how velvety this is. It’s creamy and subtly sweet. What’s more, it looks fancypants but isn’t.
I especially liked going “Boing! Boing!” on top of the panna cotta.
Love, Jude
Basic Panna Cotta
1 ½ cups heavy cream
1 ½ cups half-and-half, divided
¼ cup sugar (or more, to taste)
1 package gelatin (or 2 ¼ tsp)
Vanilla bean/vanilla extract/other flavorings, to taste
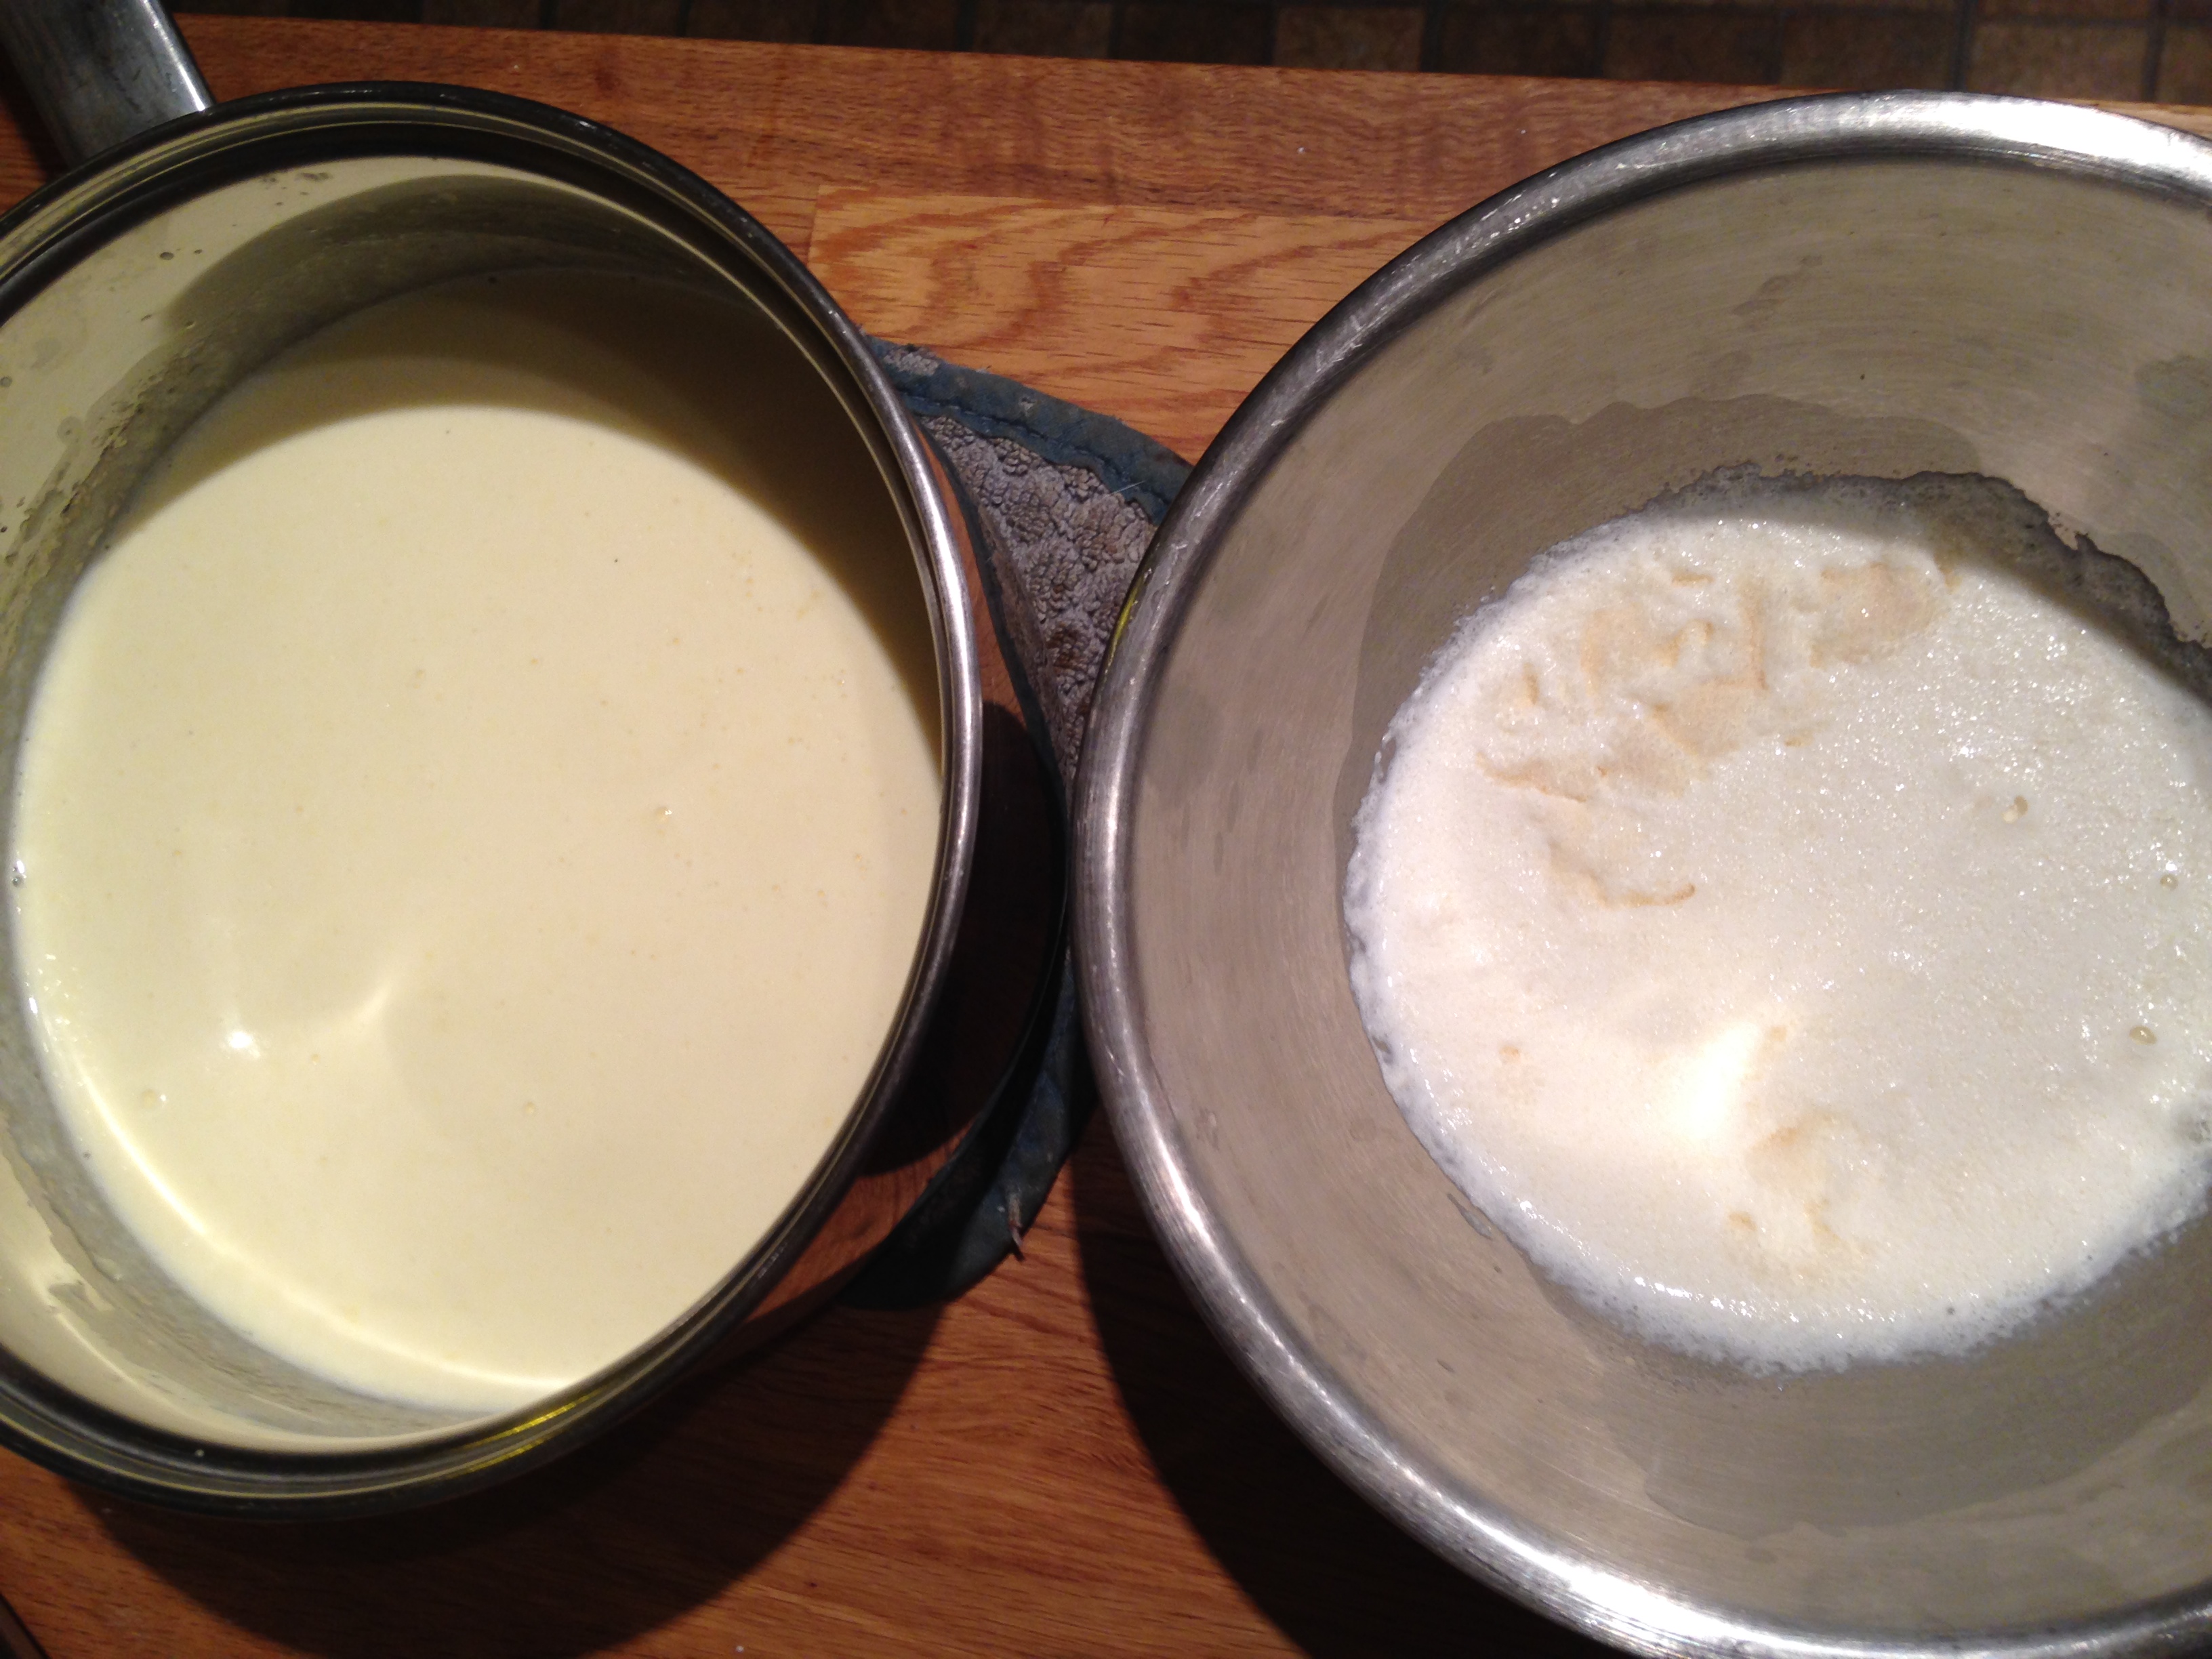
In a medium saucepan, combine the heavy cream, 1 cup of the half-and-half, and the sugar. Set over medium-low heat and gently warm, stirring occasionally, until the mixture is hot and the sugar is dissolved, about 5 minutes. Do not boil. (Remove from the heat, if necessary, or turn the heat down to low.)
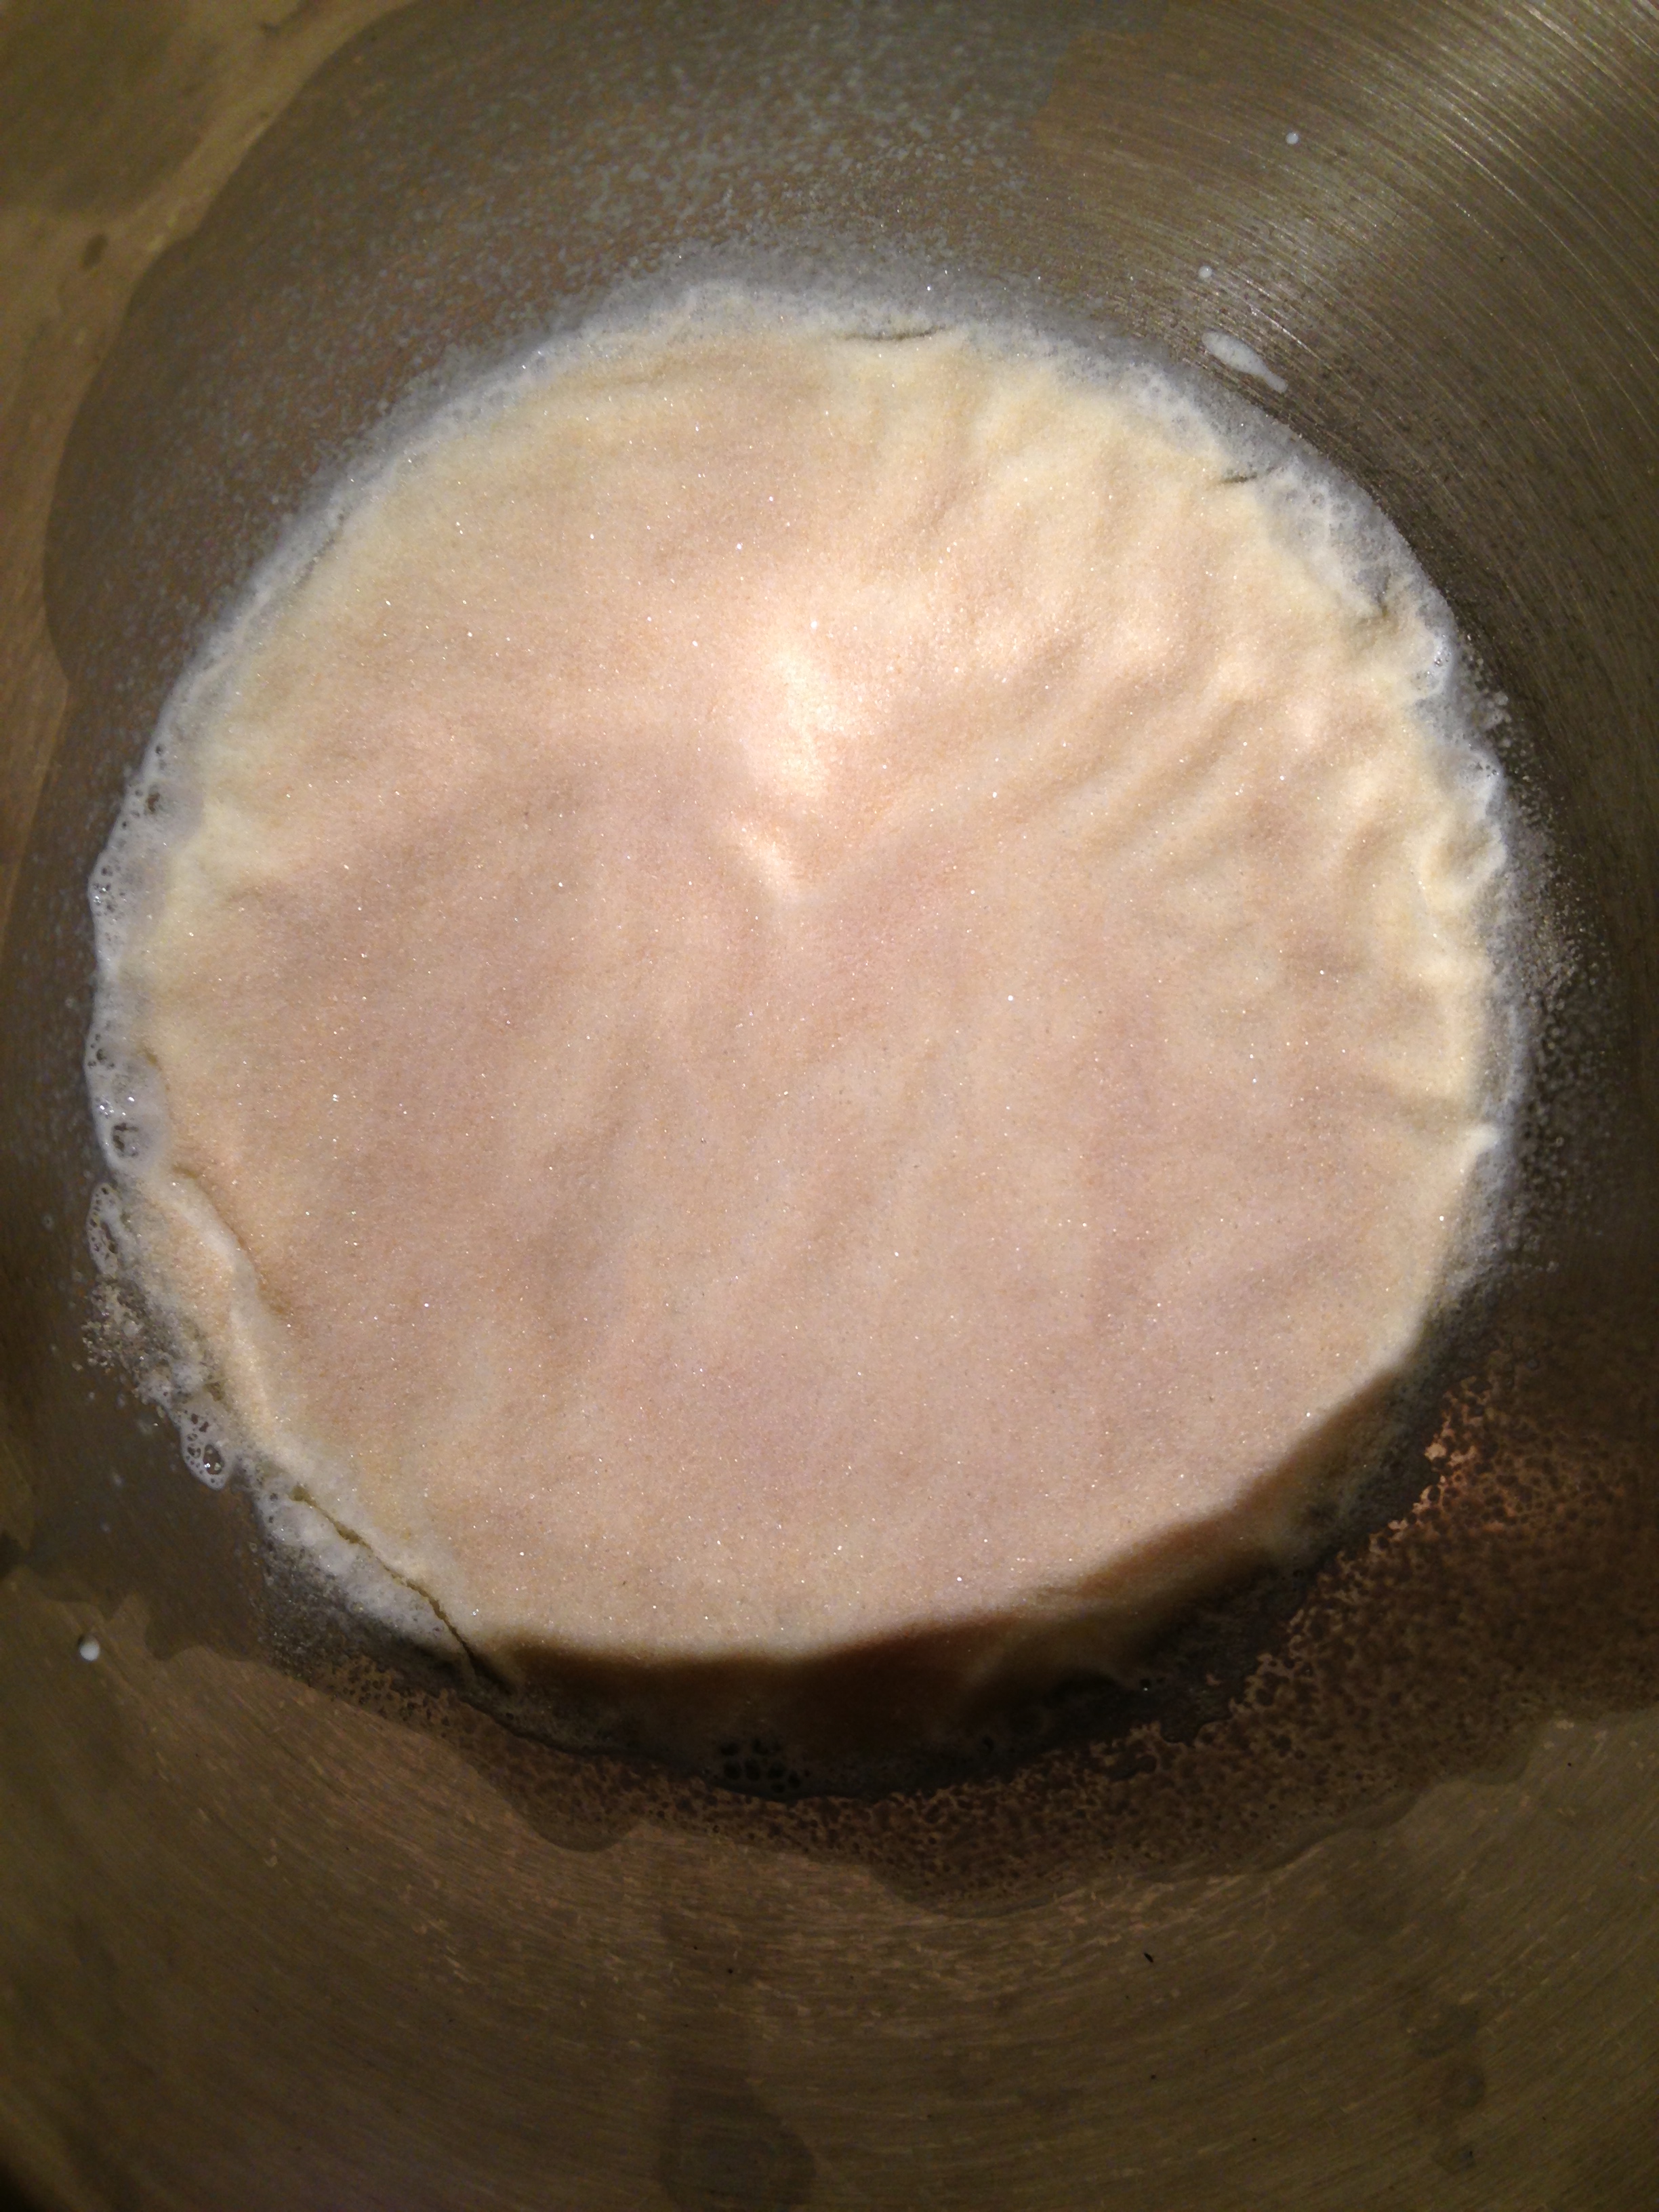
Meanwhile, pour the remaining half-and-half in a shallow bowl, then sprinkle the packet of gelatin over the top in an even layer. Set aside to bloom the gelatin, about 5 minutes. When the surface looks wrinkly and there’s no dry powder remaining, it’s ready. (If there’s a lot of dry powder, then gently stir to get it wet.)
Ready to combine. You can see a bit of dry gelatin powder at 12 o’clock. Mama mixed it in before adding it to the hot cream.
Once the cream mixture is hot, stir in any extracts for flavor,* off-heat. Start with ½ tsp and go from there. Taste it. See if it needs more flavor or more sweetness to your liking. Stir in the gelatin mixture with a rubber spatula or wooden spoon. Stir and stir until all the gelatin is dissolved. (Check the back of the spoon/spatula—you’ll see little globs of unmelted gelatin if they’re there.)
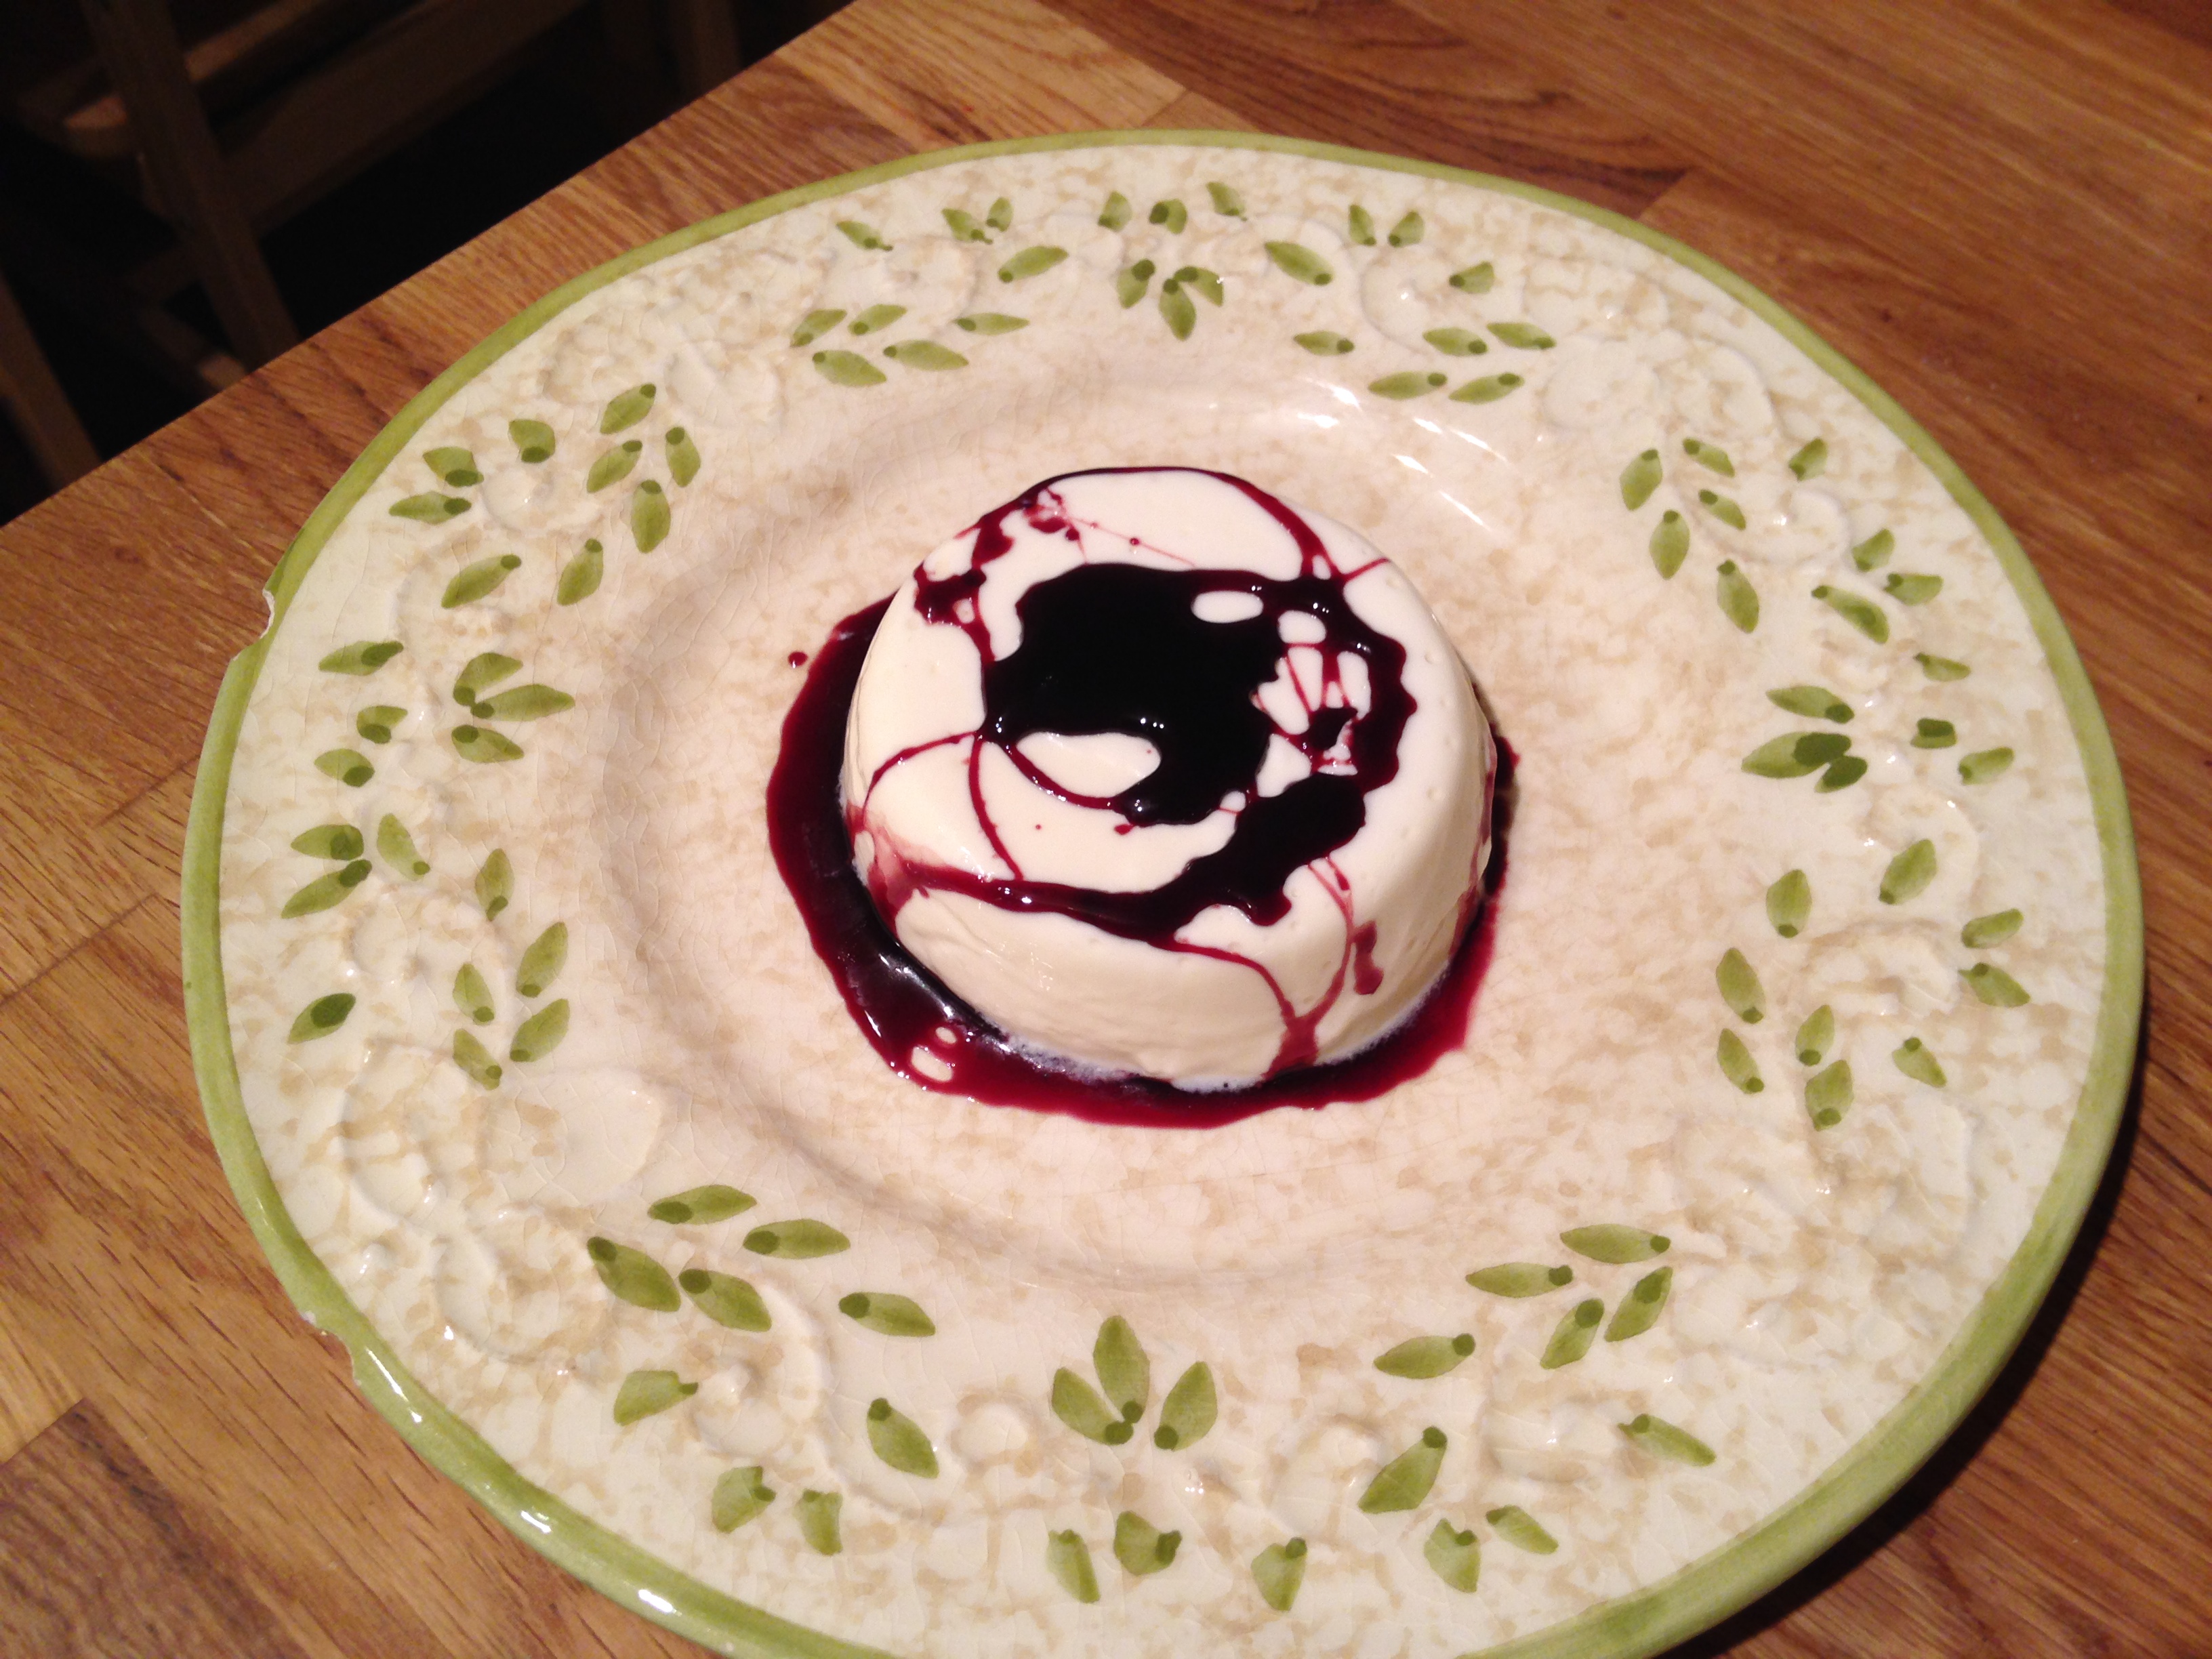
To serve panna cotta in glasses, jars, or dishes, simply pour it into the appropriate vessel. (You might want to pour the finished mixture into a glass measure for easier and neater pouring first.) Do this carefully so it doesn’t splash all up the sides of the glass, which you’ll see once it’s set. Cover with plastic wrap (not touching the surface of the panna cotta) and chill in the fridge until set, 1 to 2 hours. (If your glasses have already been in the fridge, it’ll set a little faster.)
Mama topped this with some leftover pear-poaching syrup. If the panna cotta weren’t properly set, the liquid would never sit on top like that.
To unmold the panna cotta for a fancier presentation, lightly coat or spray custard cups or ramekins with a neutral-flavored oil (e.g., grapeseed or canola). Divide the finished mixture among them, cover, and chill as above. To serve, dip each mold in hot water for 10 seconds, run a knife around the edge, and invert onto a plate. (It helps to put the plate on the ramekin, and then invert.) If the panna cotta doesn’t easily slip out of the mold, then dip it in the hot water again, making sure the water comes up as high as the panna cotta.
It’s just another way to eat it.
Either way, serve it topped with fresh berries, berries made into a sauce, chocolate sauce, caramel sauce, crumbled gingersnap or thin-mint cookies, etc. The possibilities are really endless.
Makes 6 1/2-cup servings
*Note: If using whole spices as flavoring, such as the seeds and pod of a vanilla bean or cardamom pods or cinnamon sticks, etc., steep them in the cream as it heats. Remove before adding the gelatin mixture. Also, alternatives to sugar seem to work as well as the white stuff: stevia, honey, agave, even those ghastly fake sugars (but you didn’t hear that from me).
It’s cold outside today, but it’s warm and smelling of cinnamon and cloves inside. We made 12 pints of applesauce, and we barely made a dent in our apples!
Mama decided it would go much faster if we kept the peels on. They blend right up with the immersion blender.
Papa showed me a new way to eat applesauce: as something to dip my pork chop into. Yes, indeed!
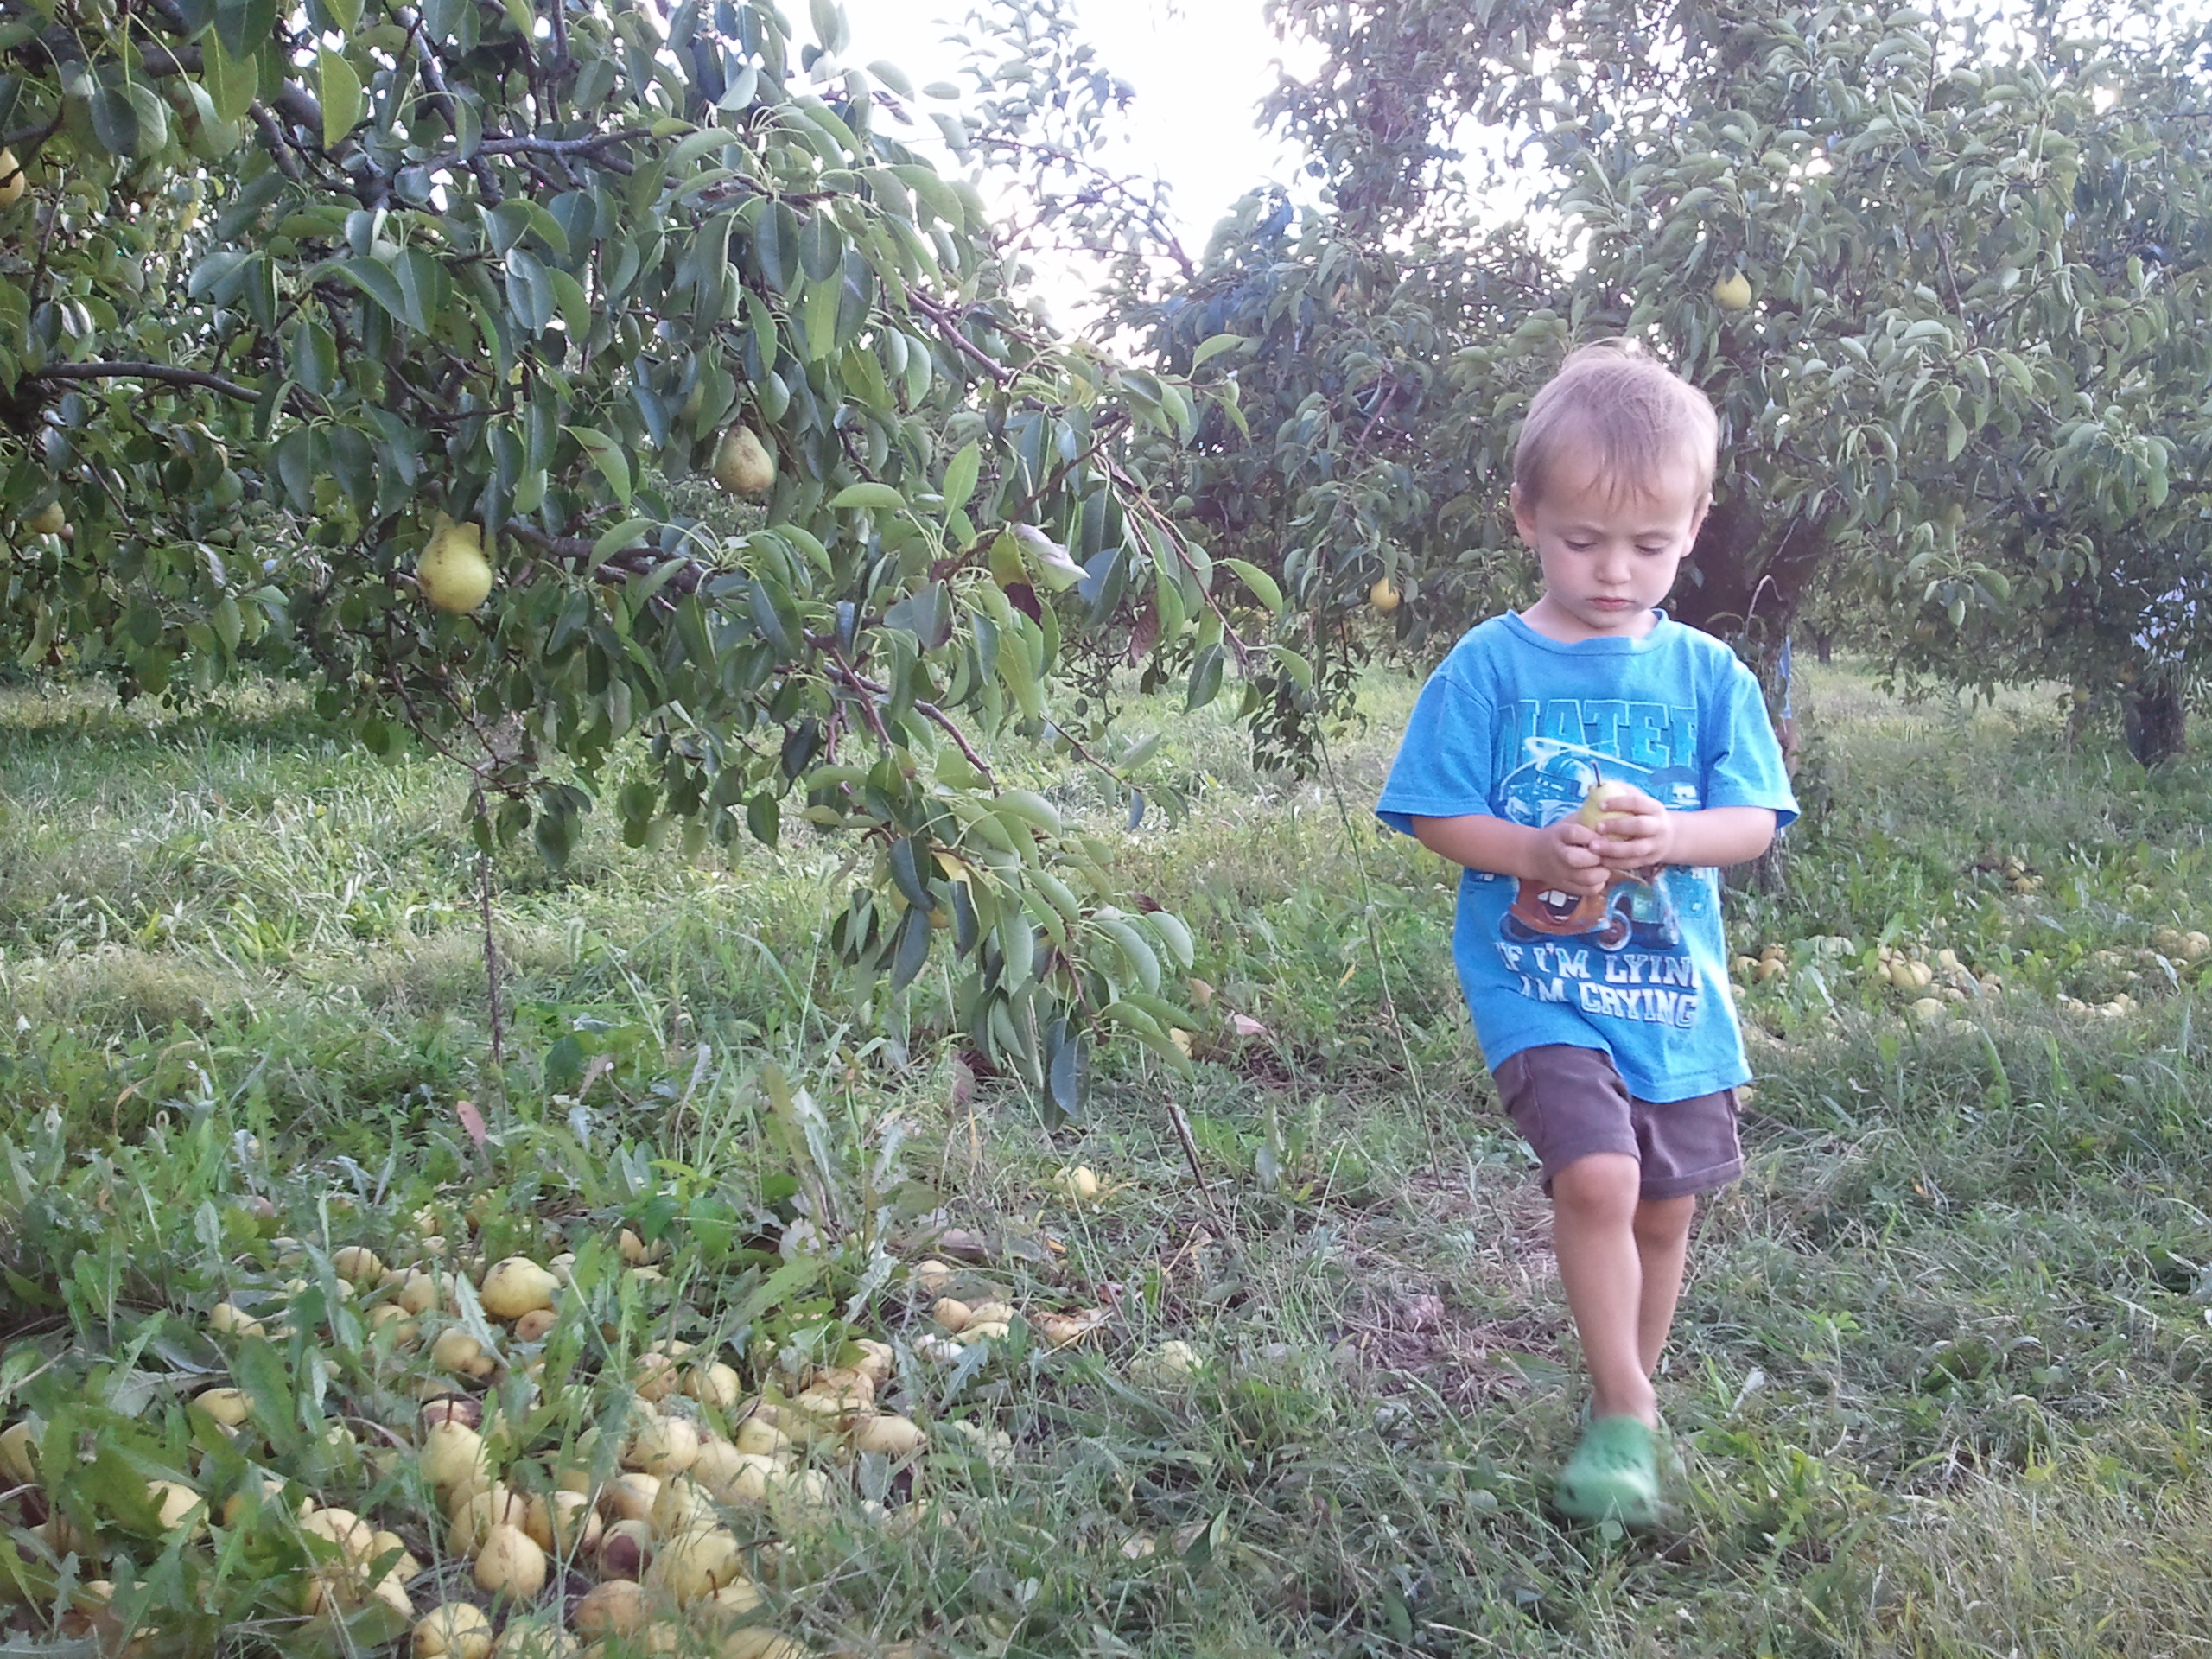
With the fall comes apples and apple picking. Being that it’s already past Halloween, we’ve gone a few times. We even picked pears in early September.
Imagine how much cider you could make with all those pears on the ground.
By now this apple picking thing is old hat for me. We pick the apples, and then we eat them. I sure do love apples.
I’m performing quality control on this apple. The brown on it means it’s russeted.
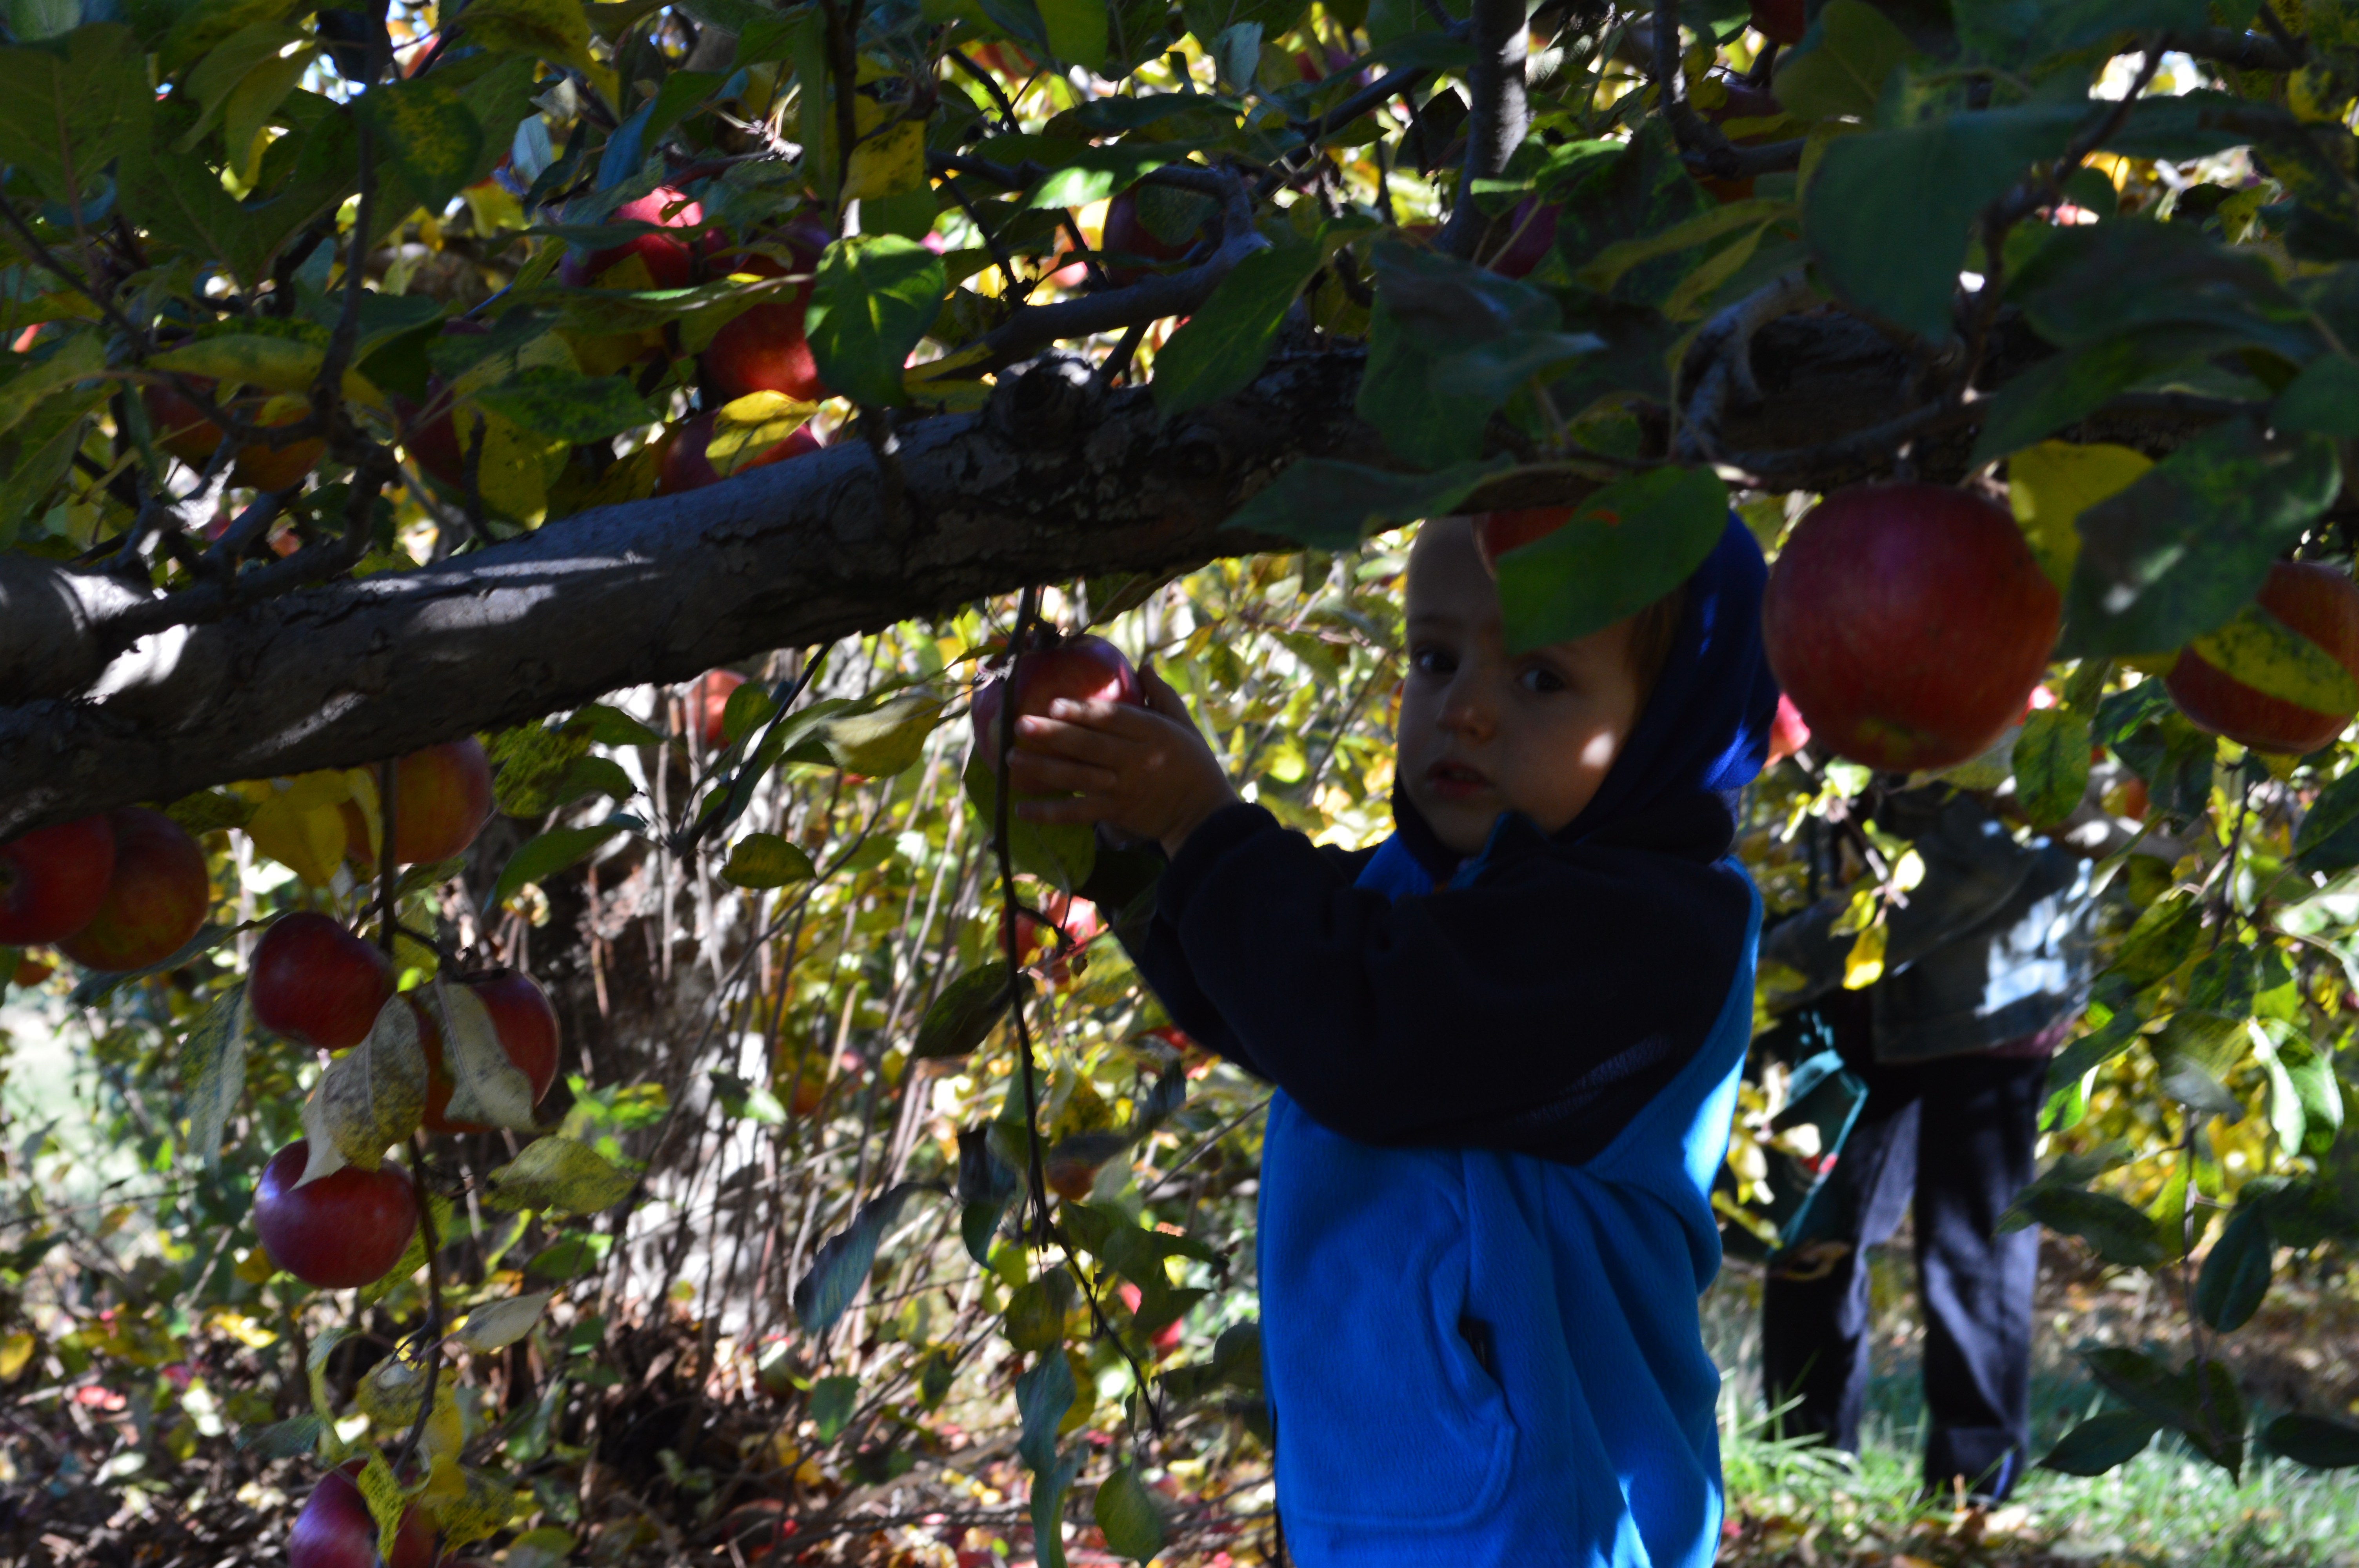
This past weekend, we picked more than 60 pounds! We’re stocking up for the winter, but we also want to make applesauce and apple pies. (Crumbles, rather, since they’re much easier to make than pies, as they don’t have a crust!)
It was sunny but really cold this day. The cold will be perfect for storing all the apples we picked until we can gobble them up.
I’m getting pretty good at making these apple crumbles. Mama hasn’t put in anything like raisins or cranberries or pomegranate arils, but don’t let that stop you from doing it. And don’t let anything keep you from making a crumble!
Love, Jude
Apple Crumble
(This is one of Mama’s loosey-goosey recipes, so feel free to improvise.)
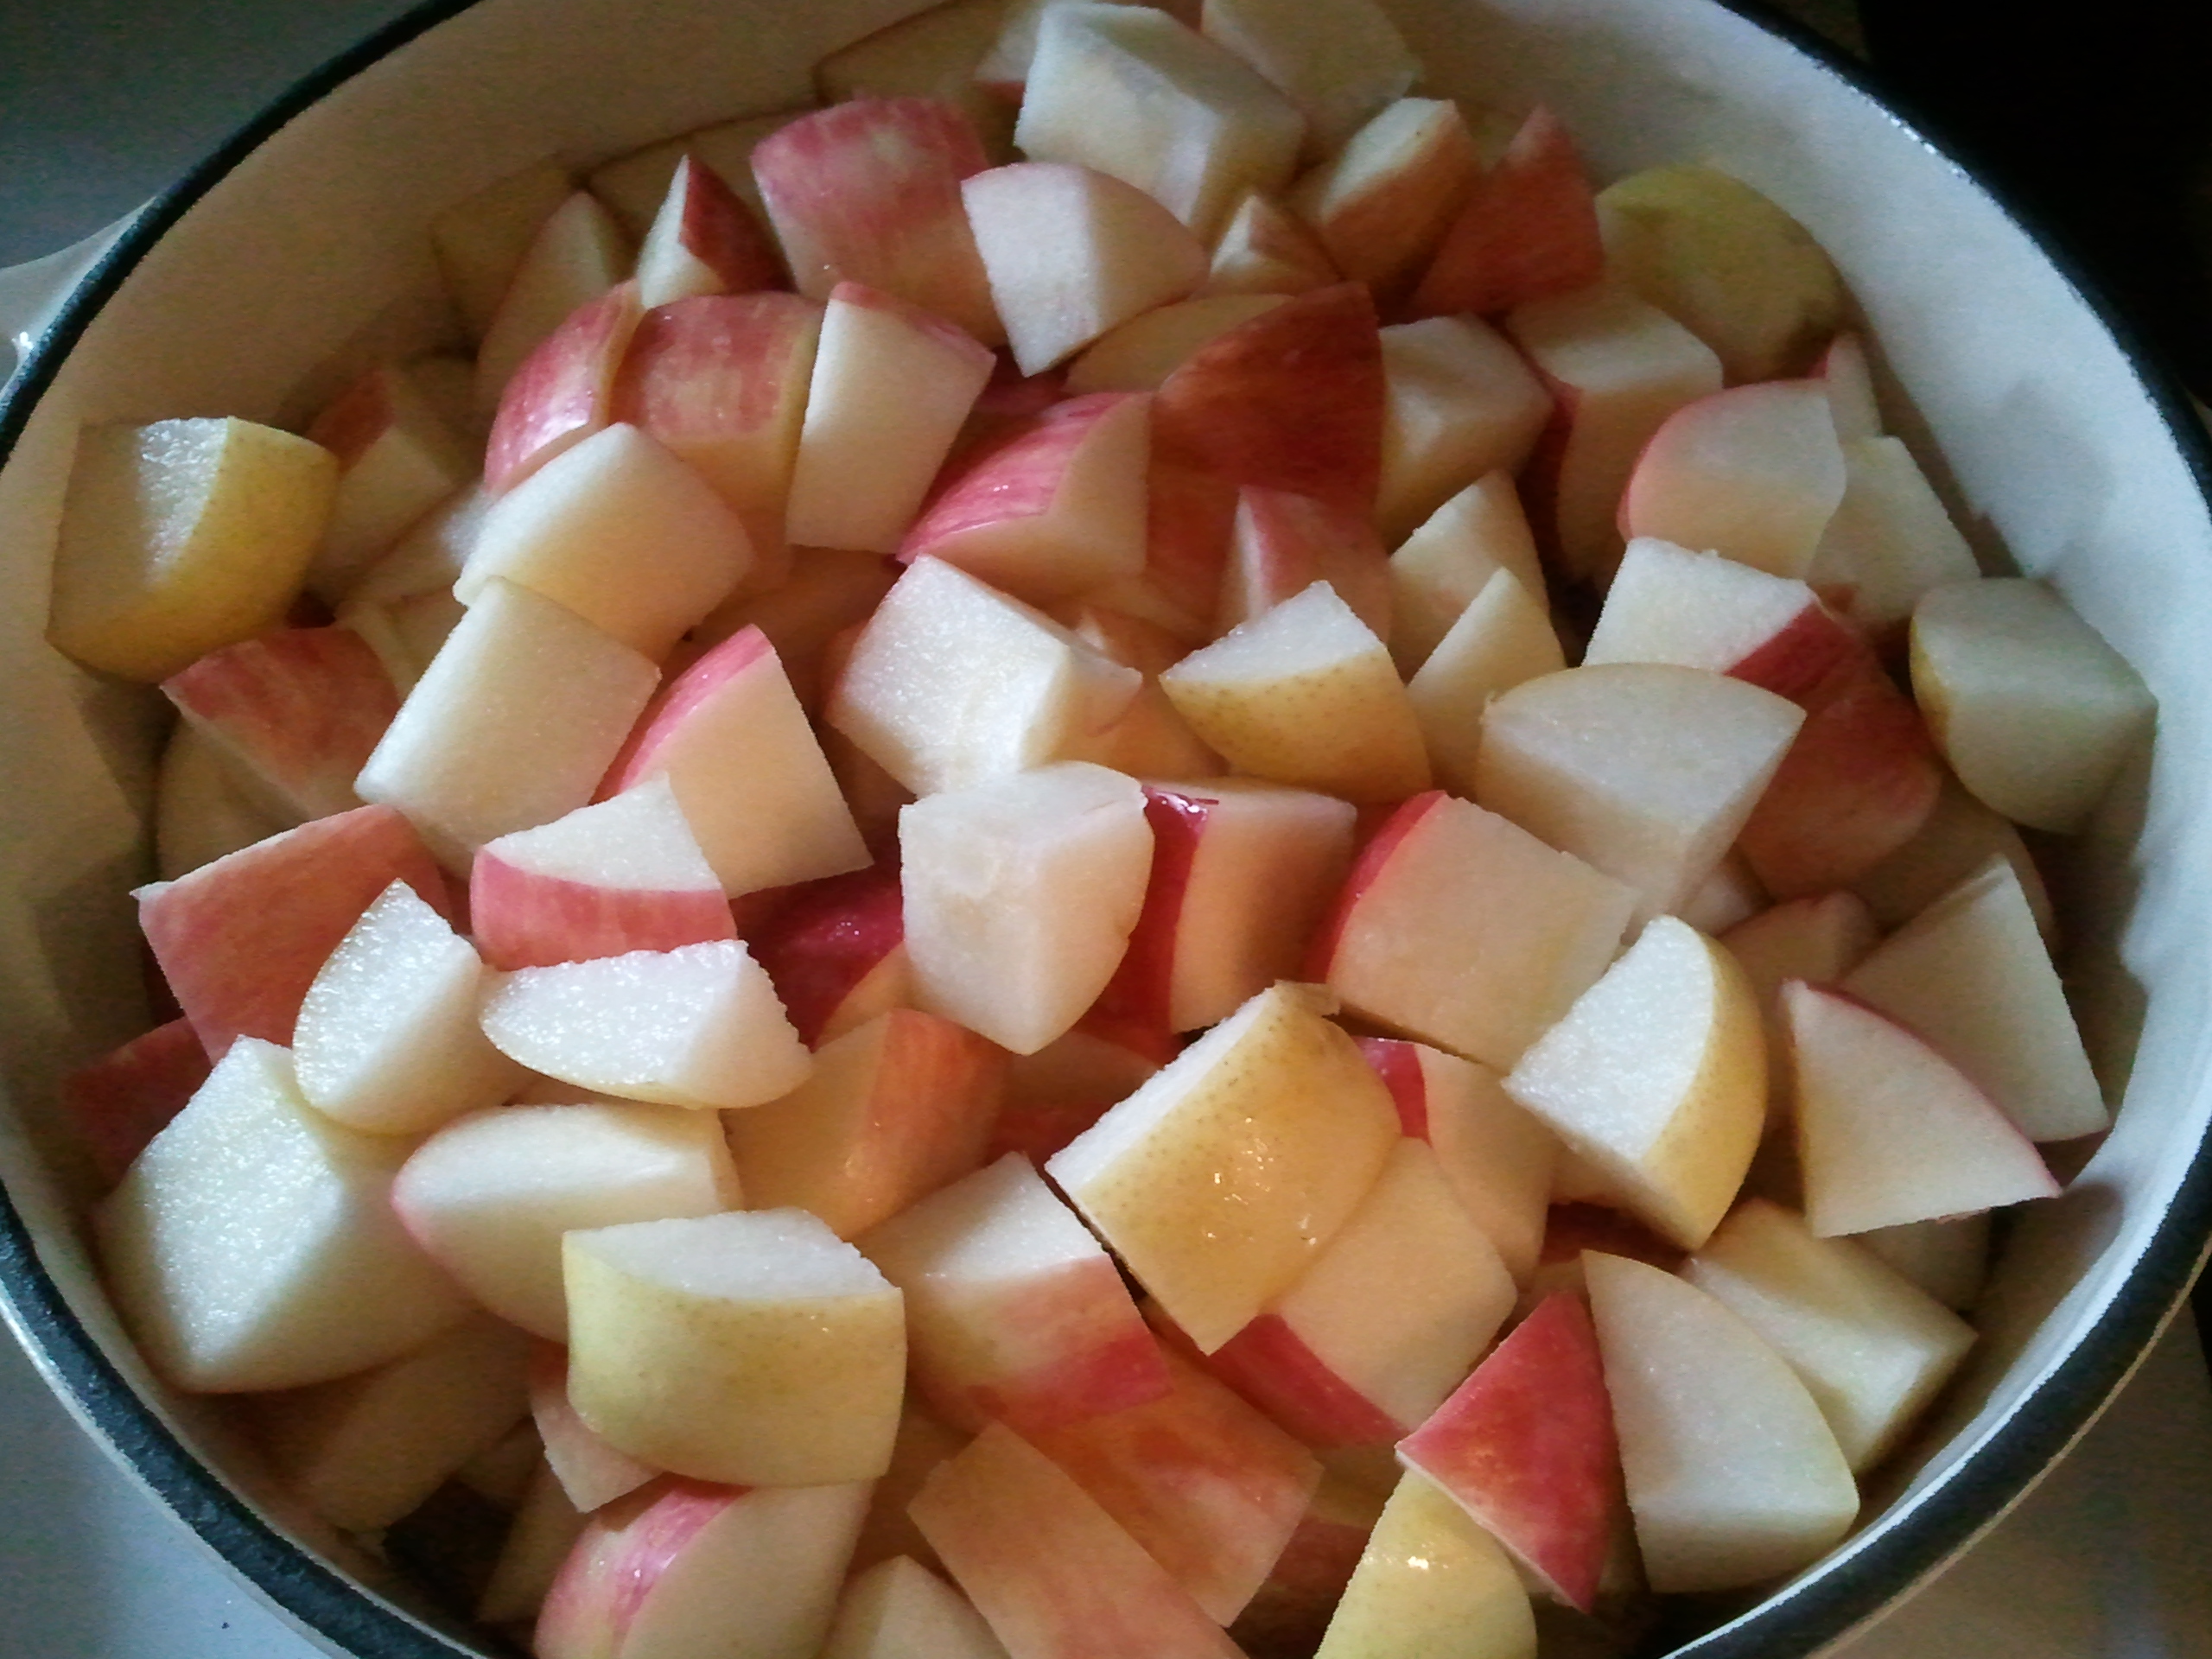
4 or 5 apples (multi-variety*), peeled, cored, and sliced or chopped as desired
Brown sugar
Whole-wheat flour
Ground cinnamon
Ground cloves
Ground nutmeg
(other spices, as desired)
Rolled oats
2 tablespoons butter (or so)
Preheat oven to 350˚F.
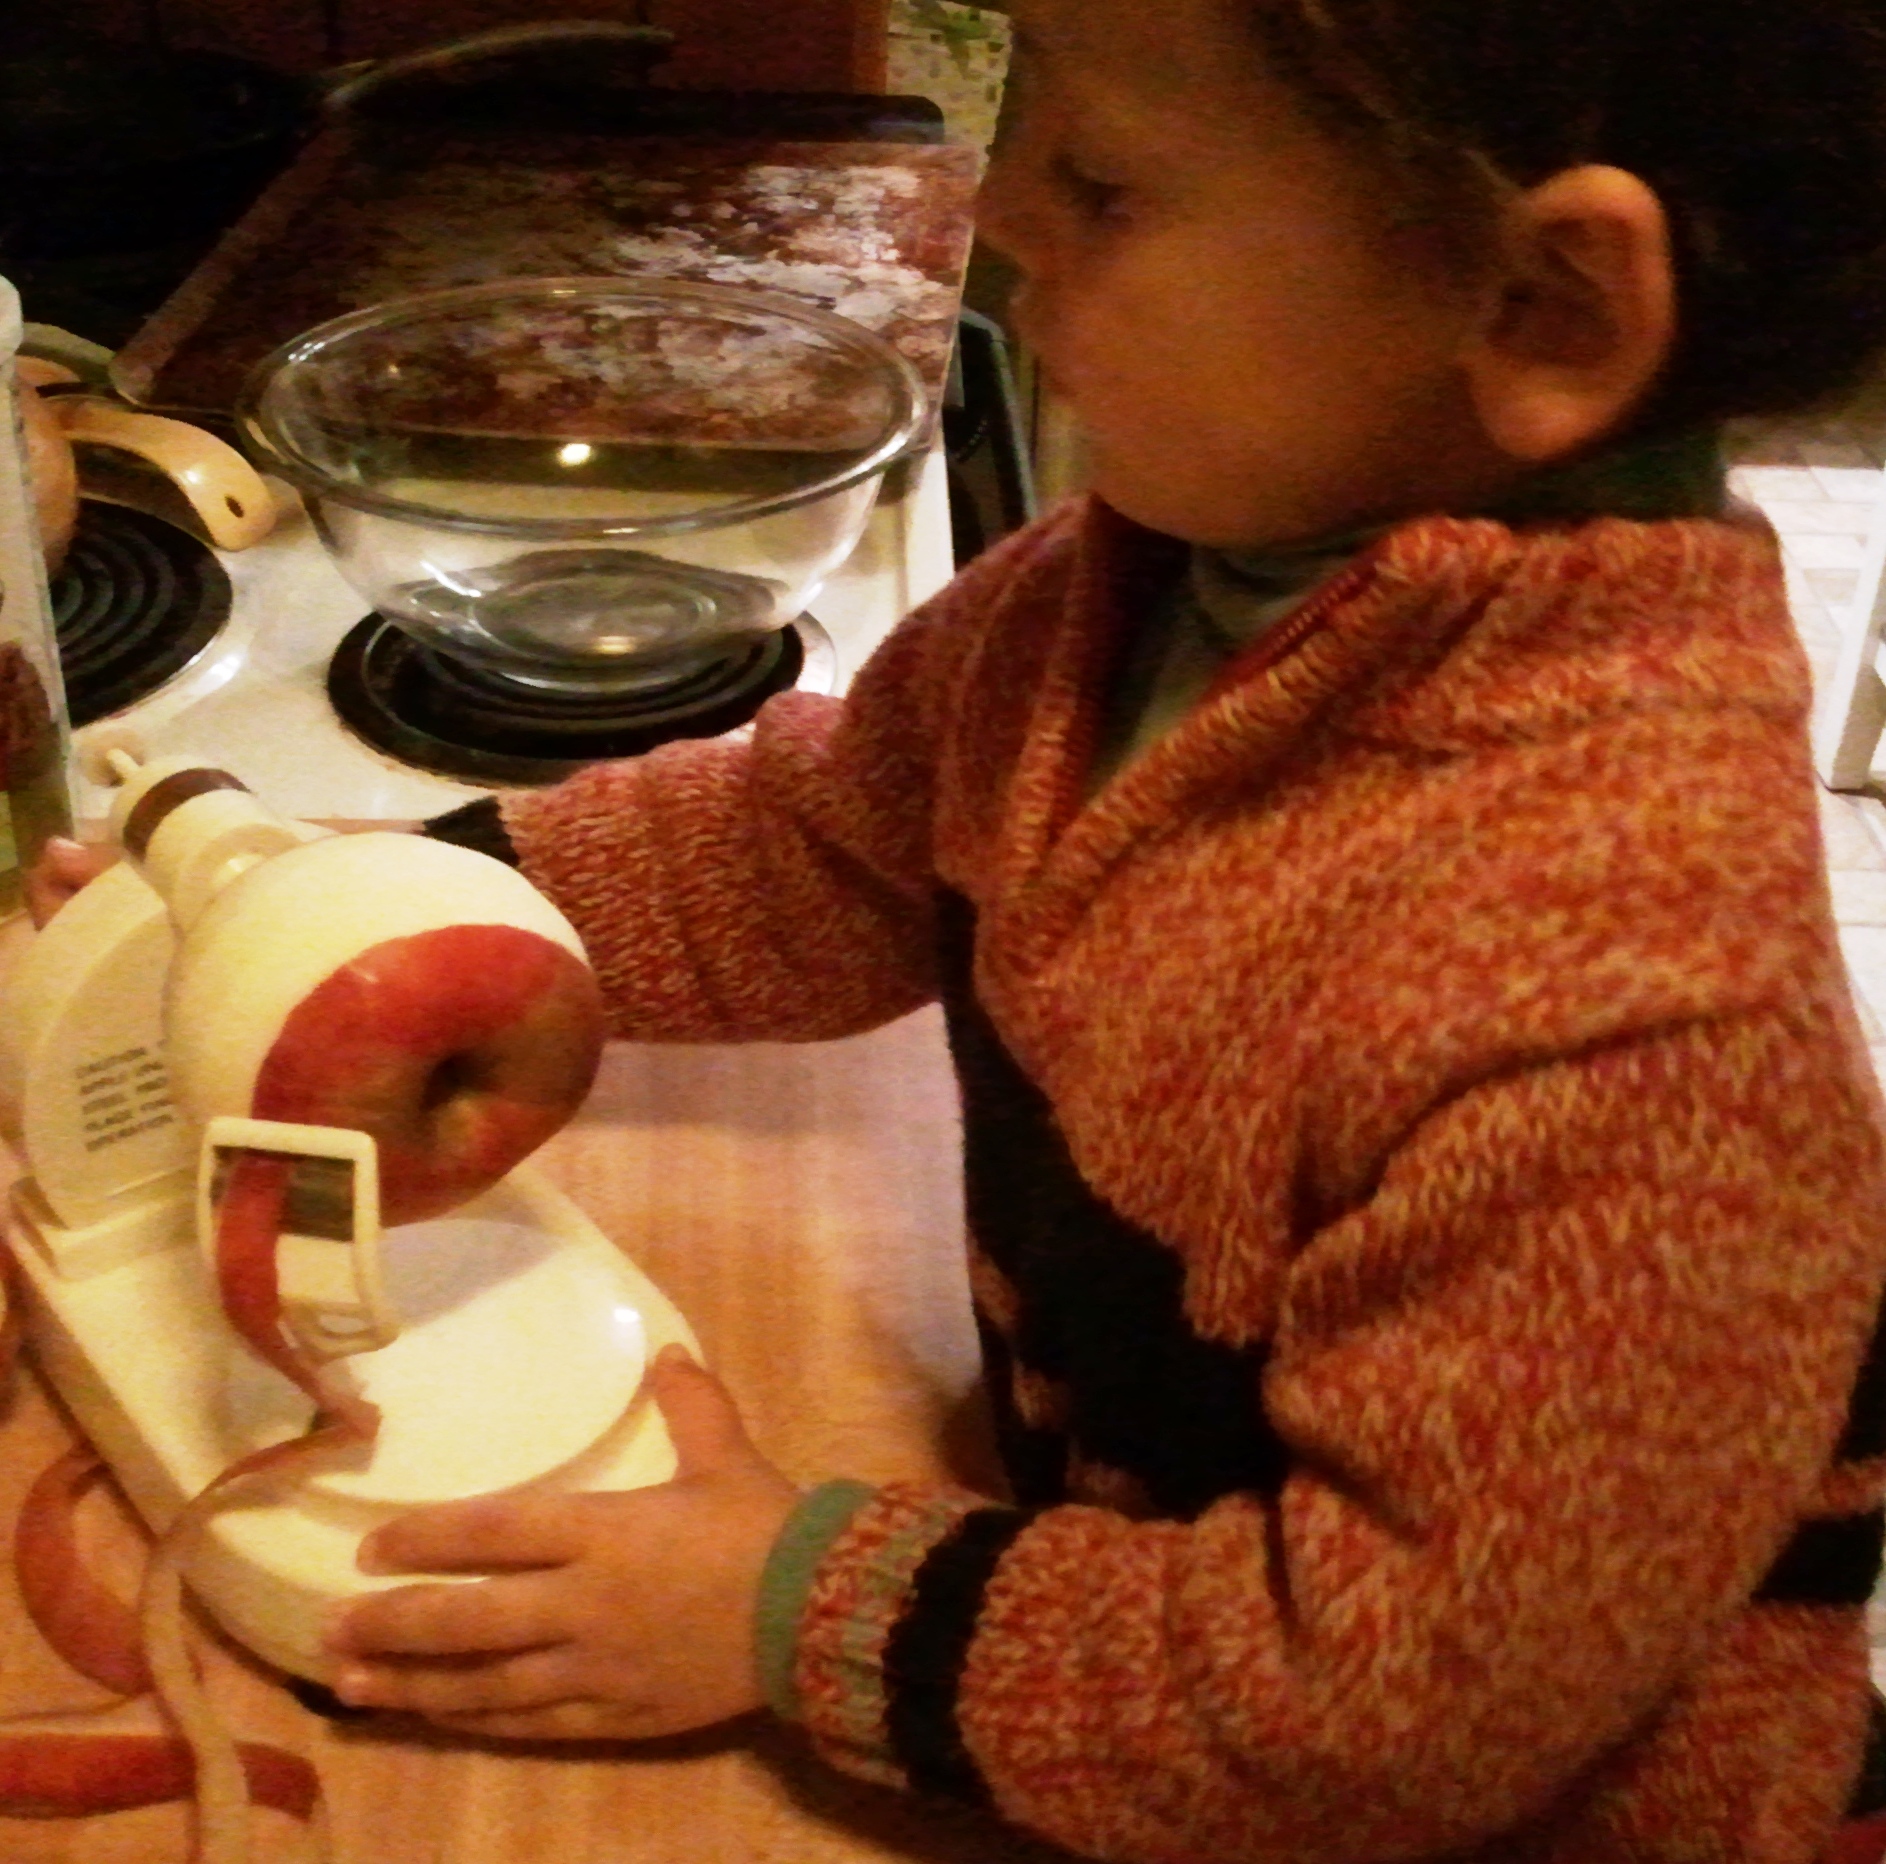
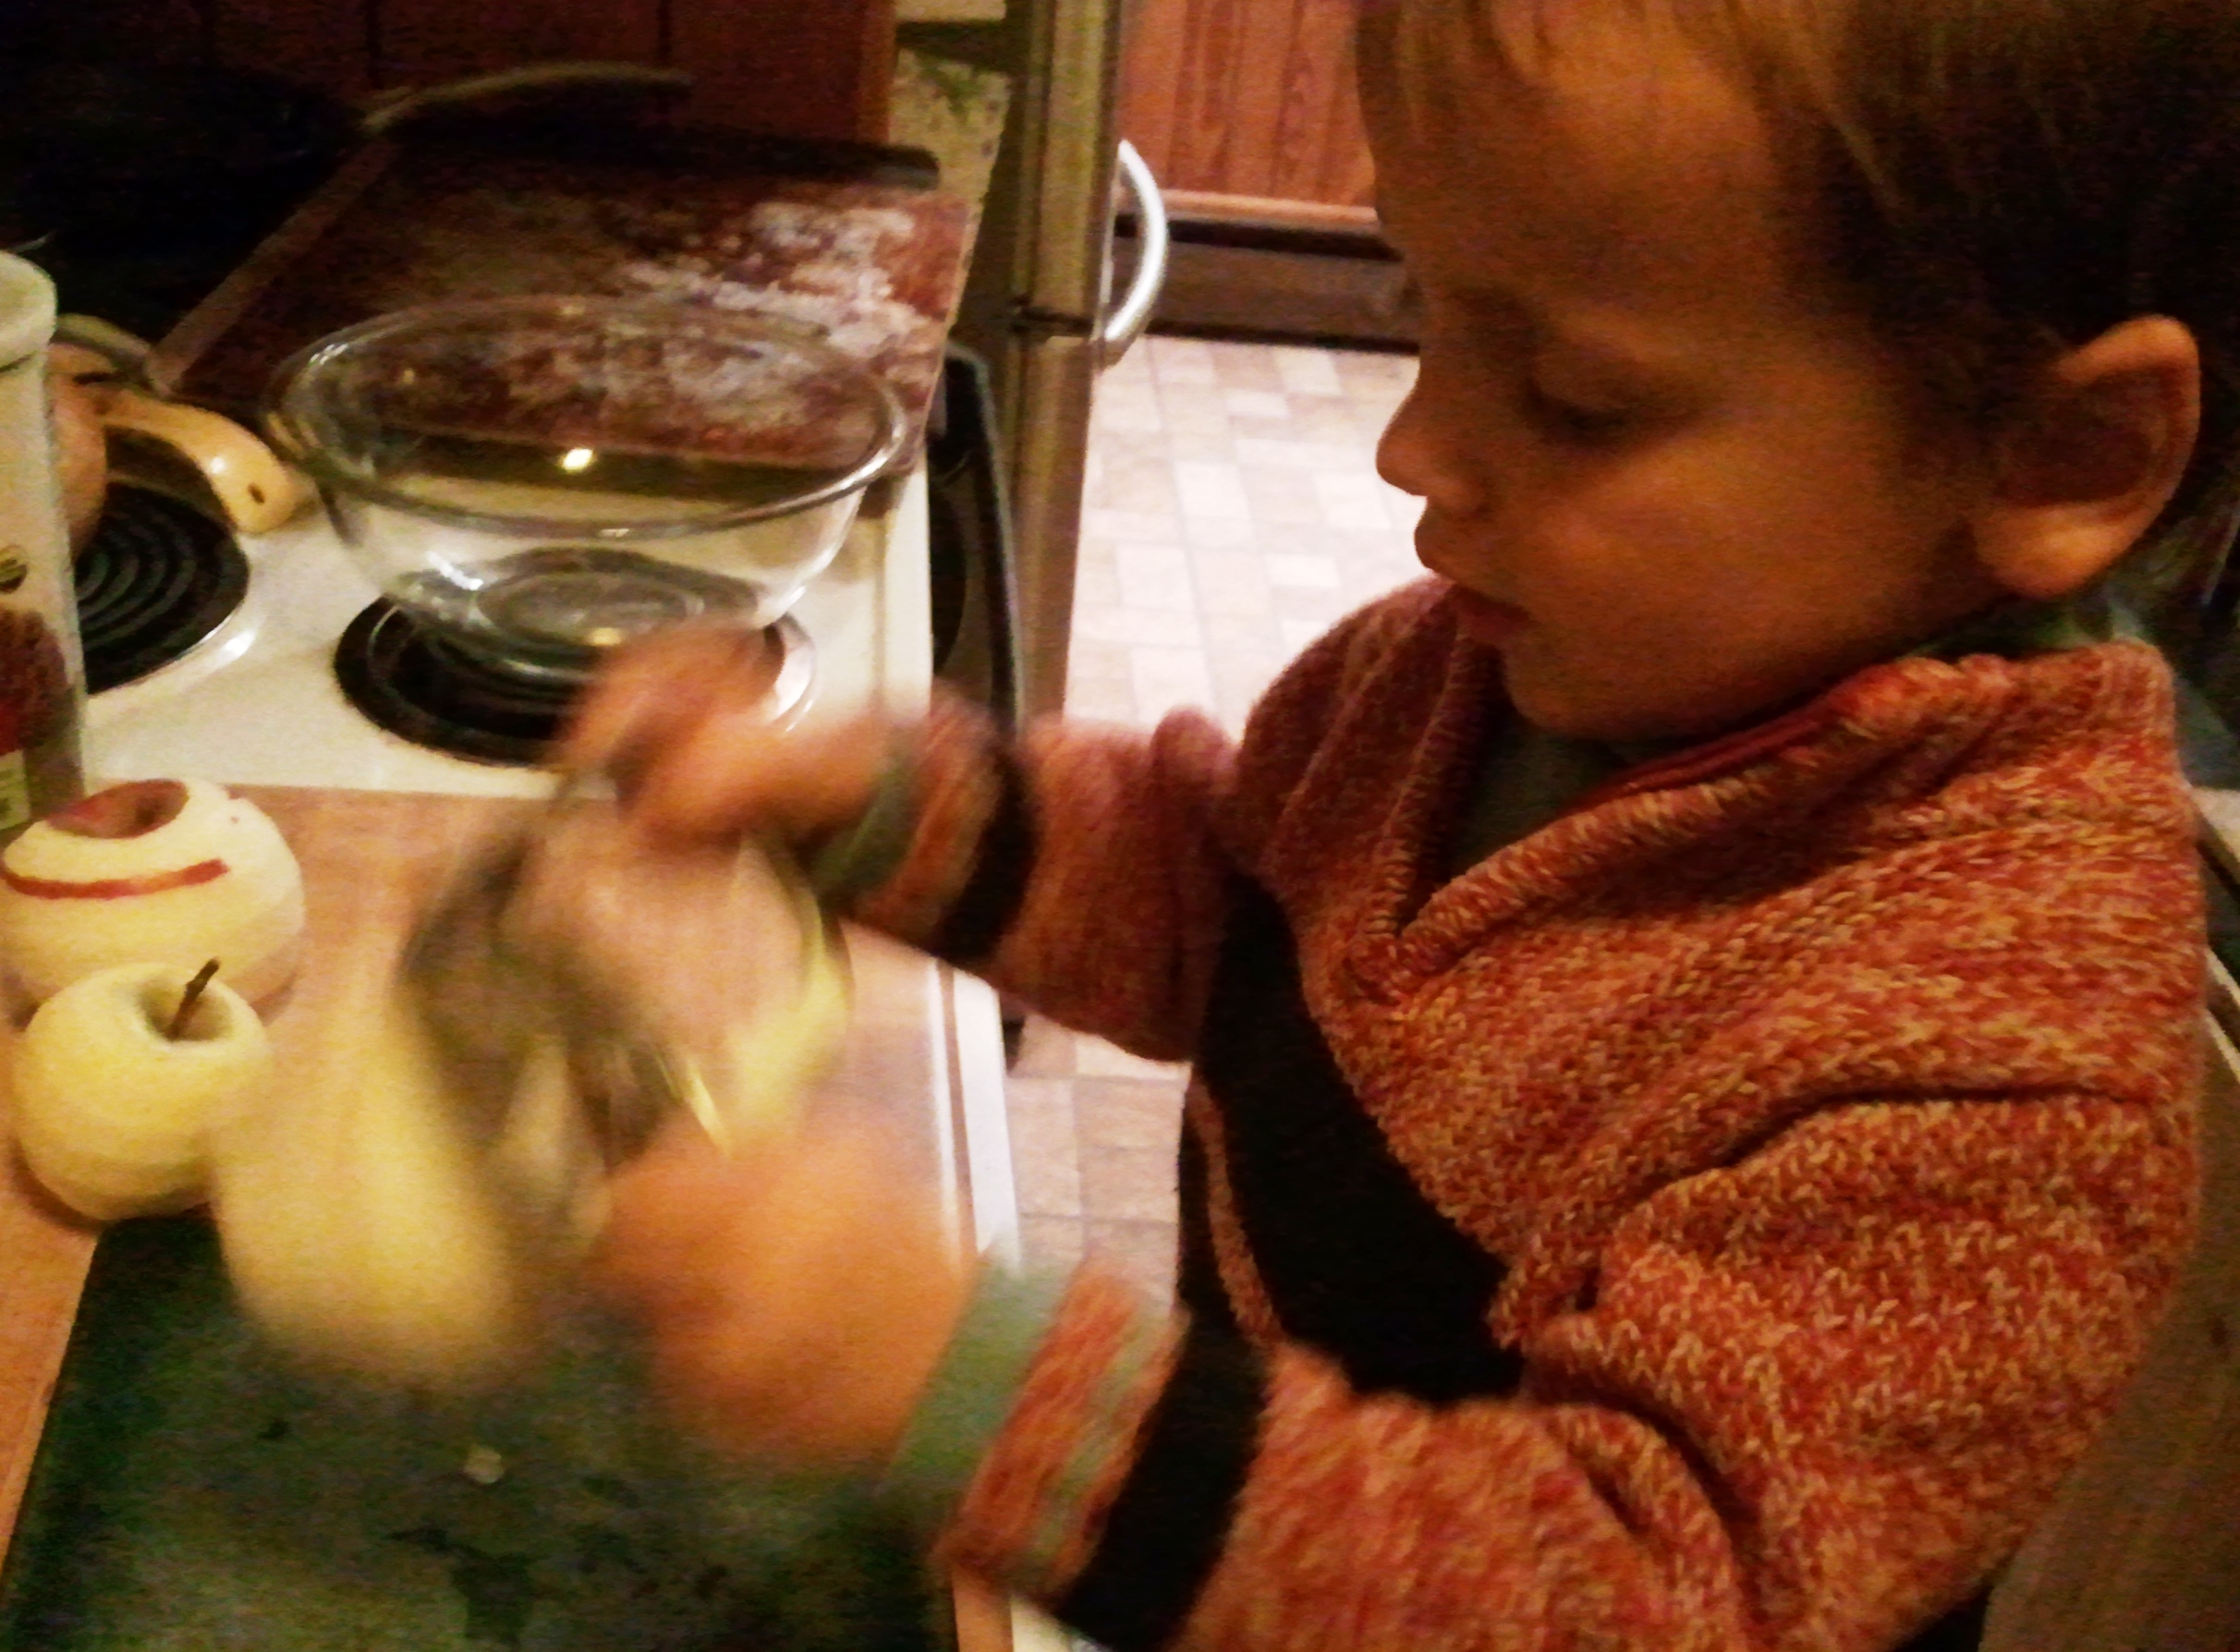
Prepare the apples. I like to use this nifty crank to peel the apples, and then Mama sometimes uses a fancy apple corer to break the apple apart.
I can only use this with supervision because Mama says the peeler is sharp.
This corer is a lot harder to use than it looks.
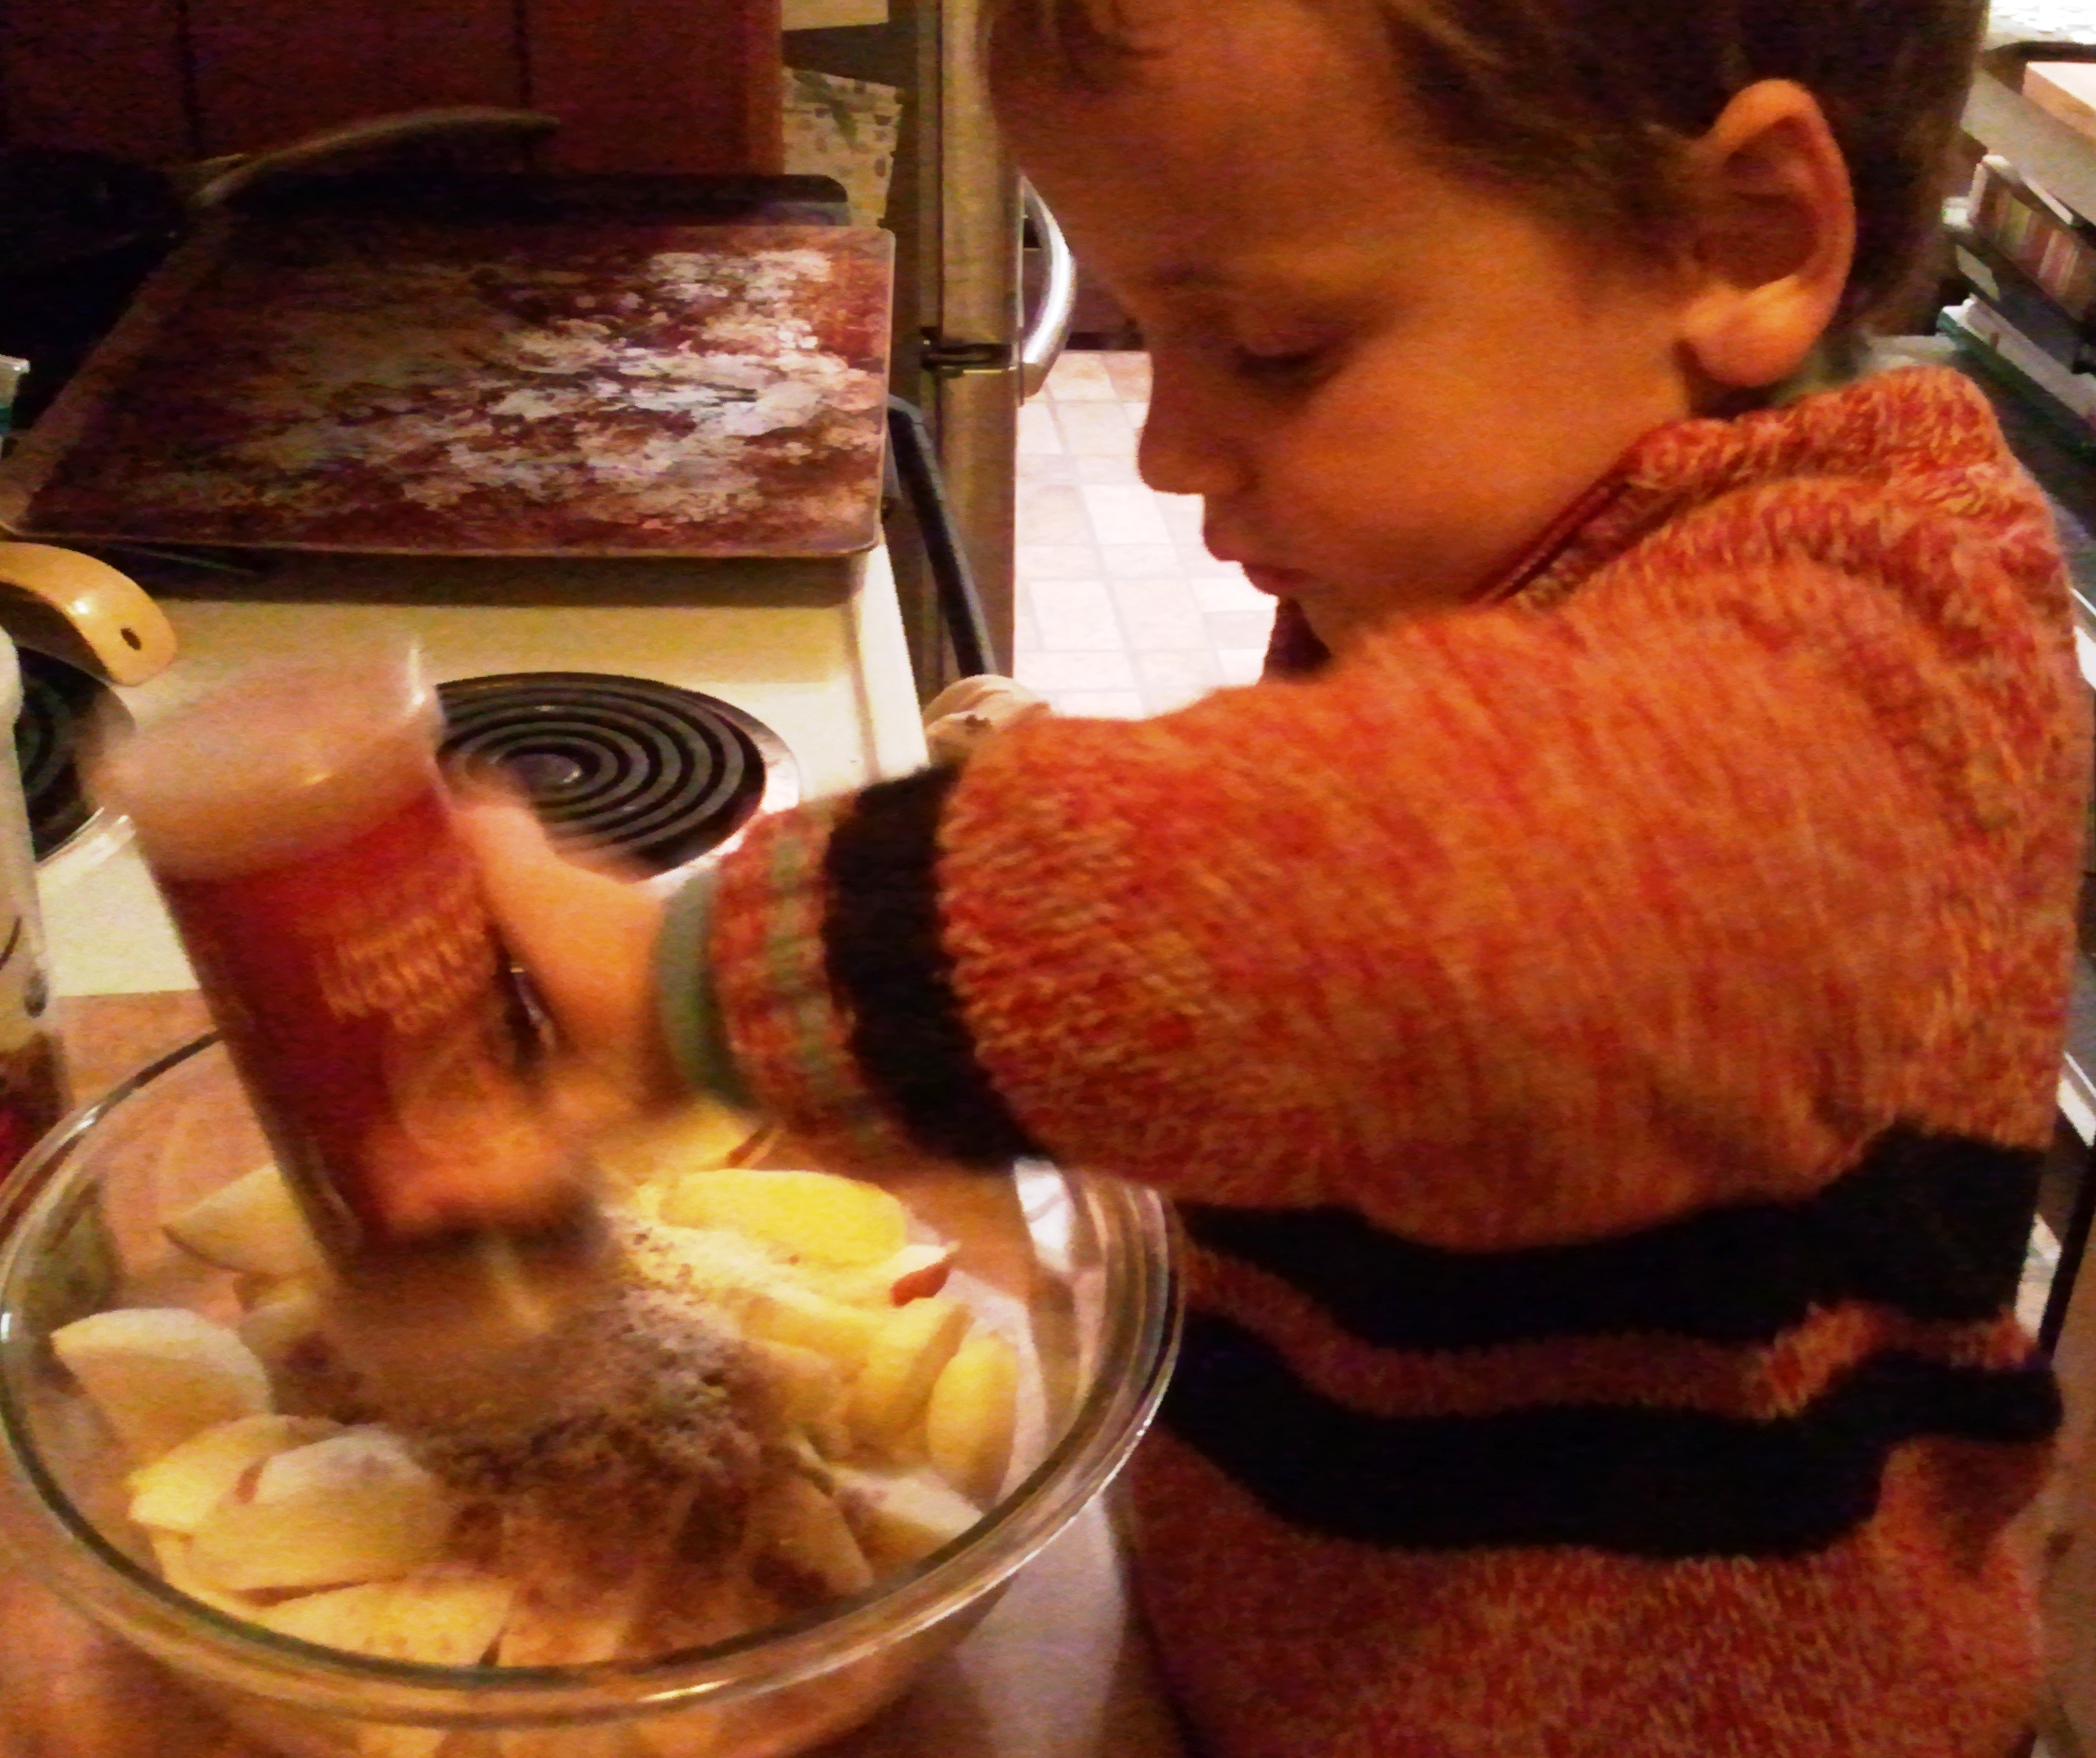
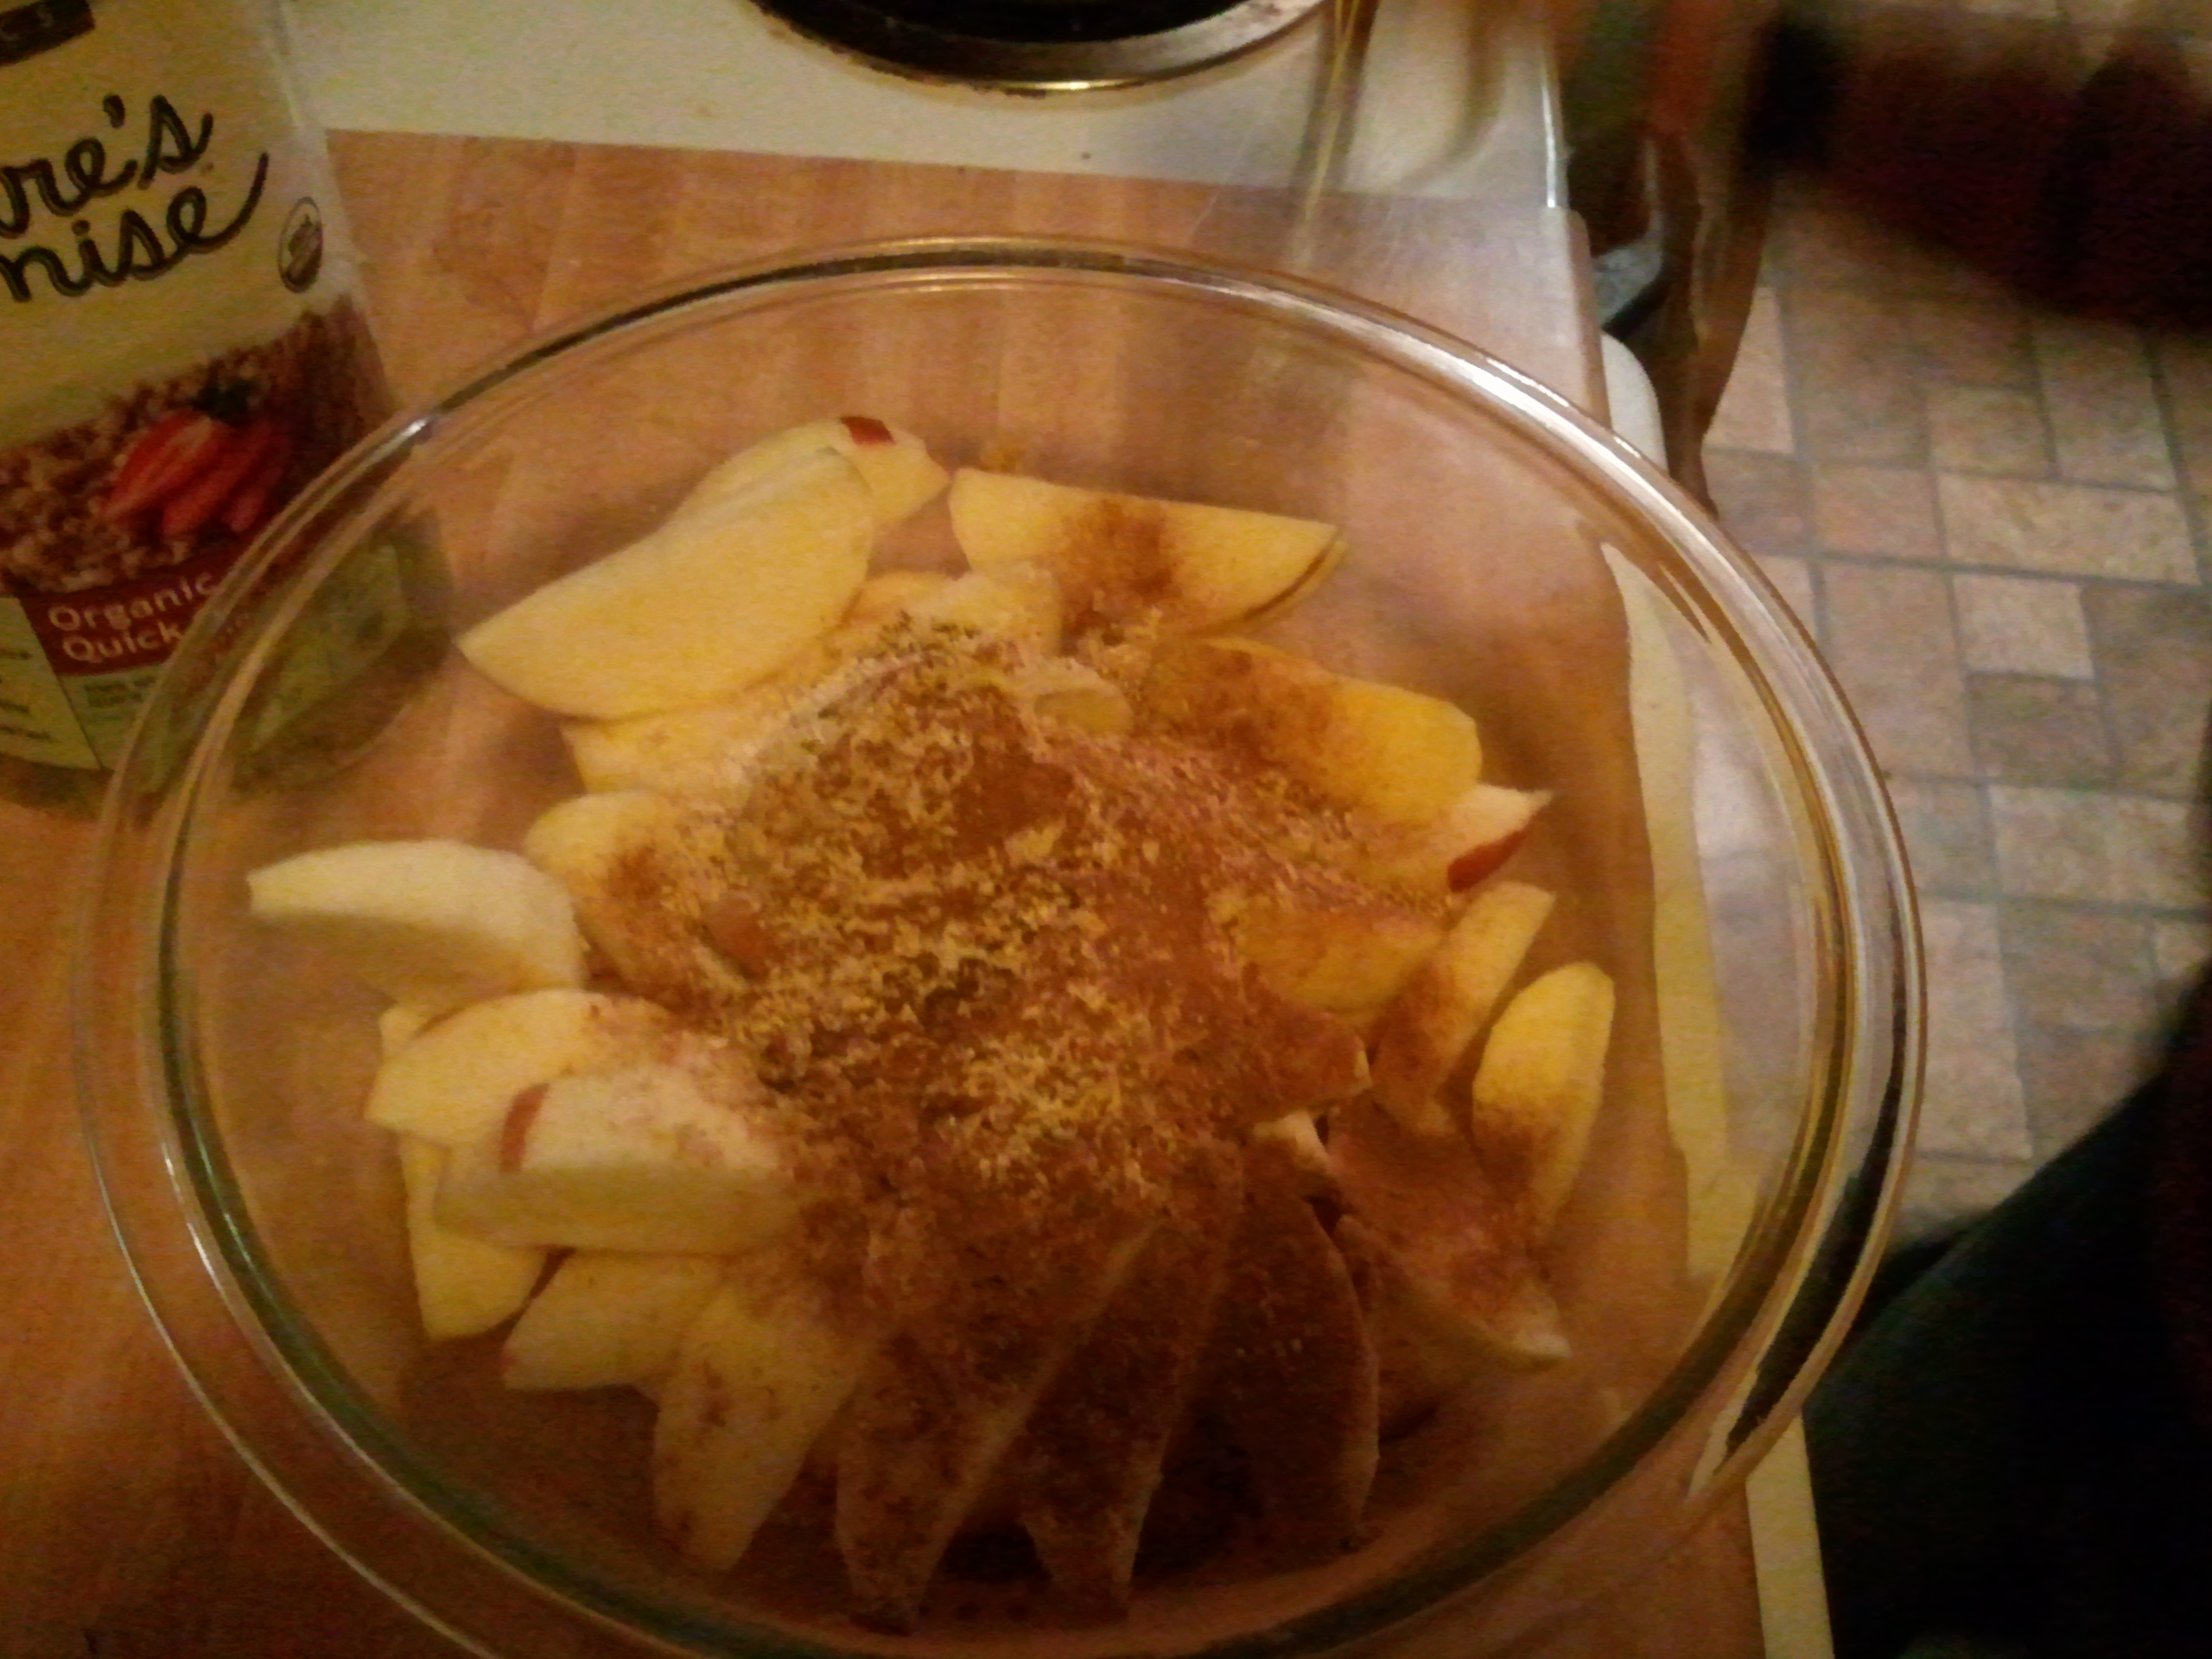
Once the apples are all sliced or chopped, put them in a bowl, and add some brown sugar (to taste), a handful of flour, and spices as desired. The flour will help thicken the juices as they seep out of the cooking apples.
Mama lets me add the spices. I like cinnamon, so I gave it an extra shake.
Maybe Mama shouldn’t entrust me with the spices…
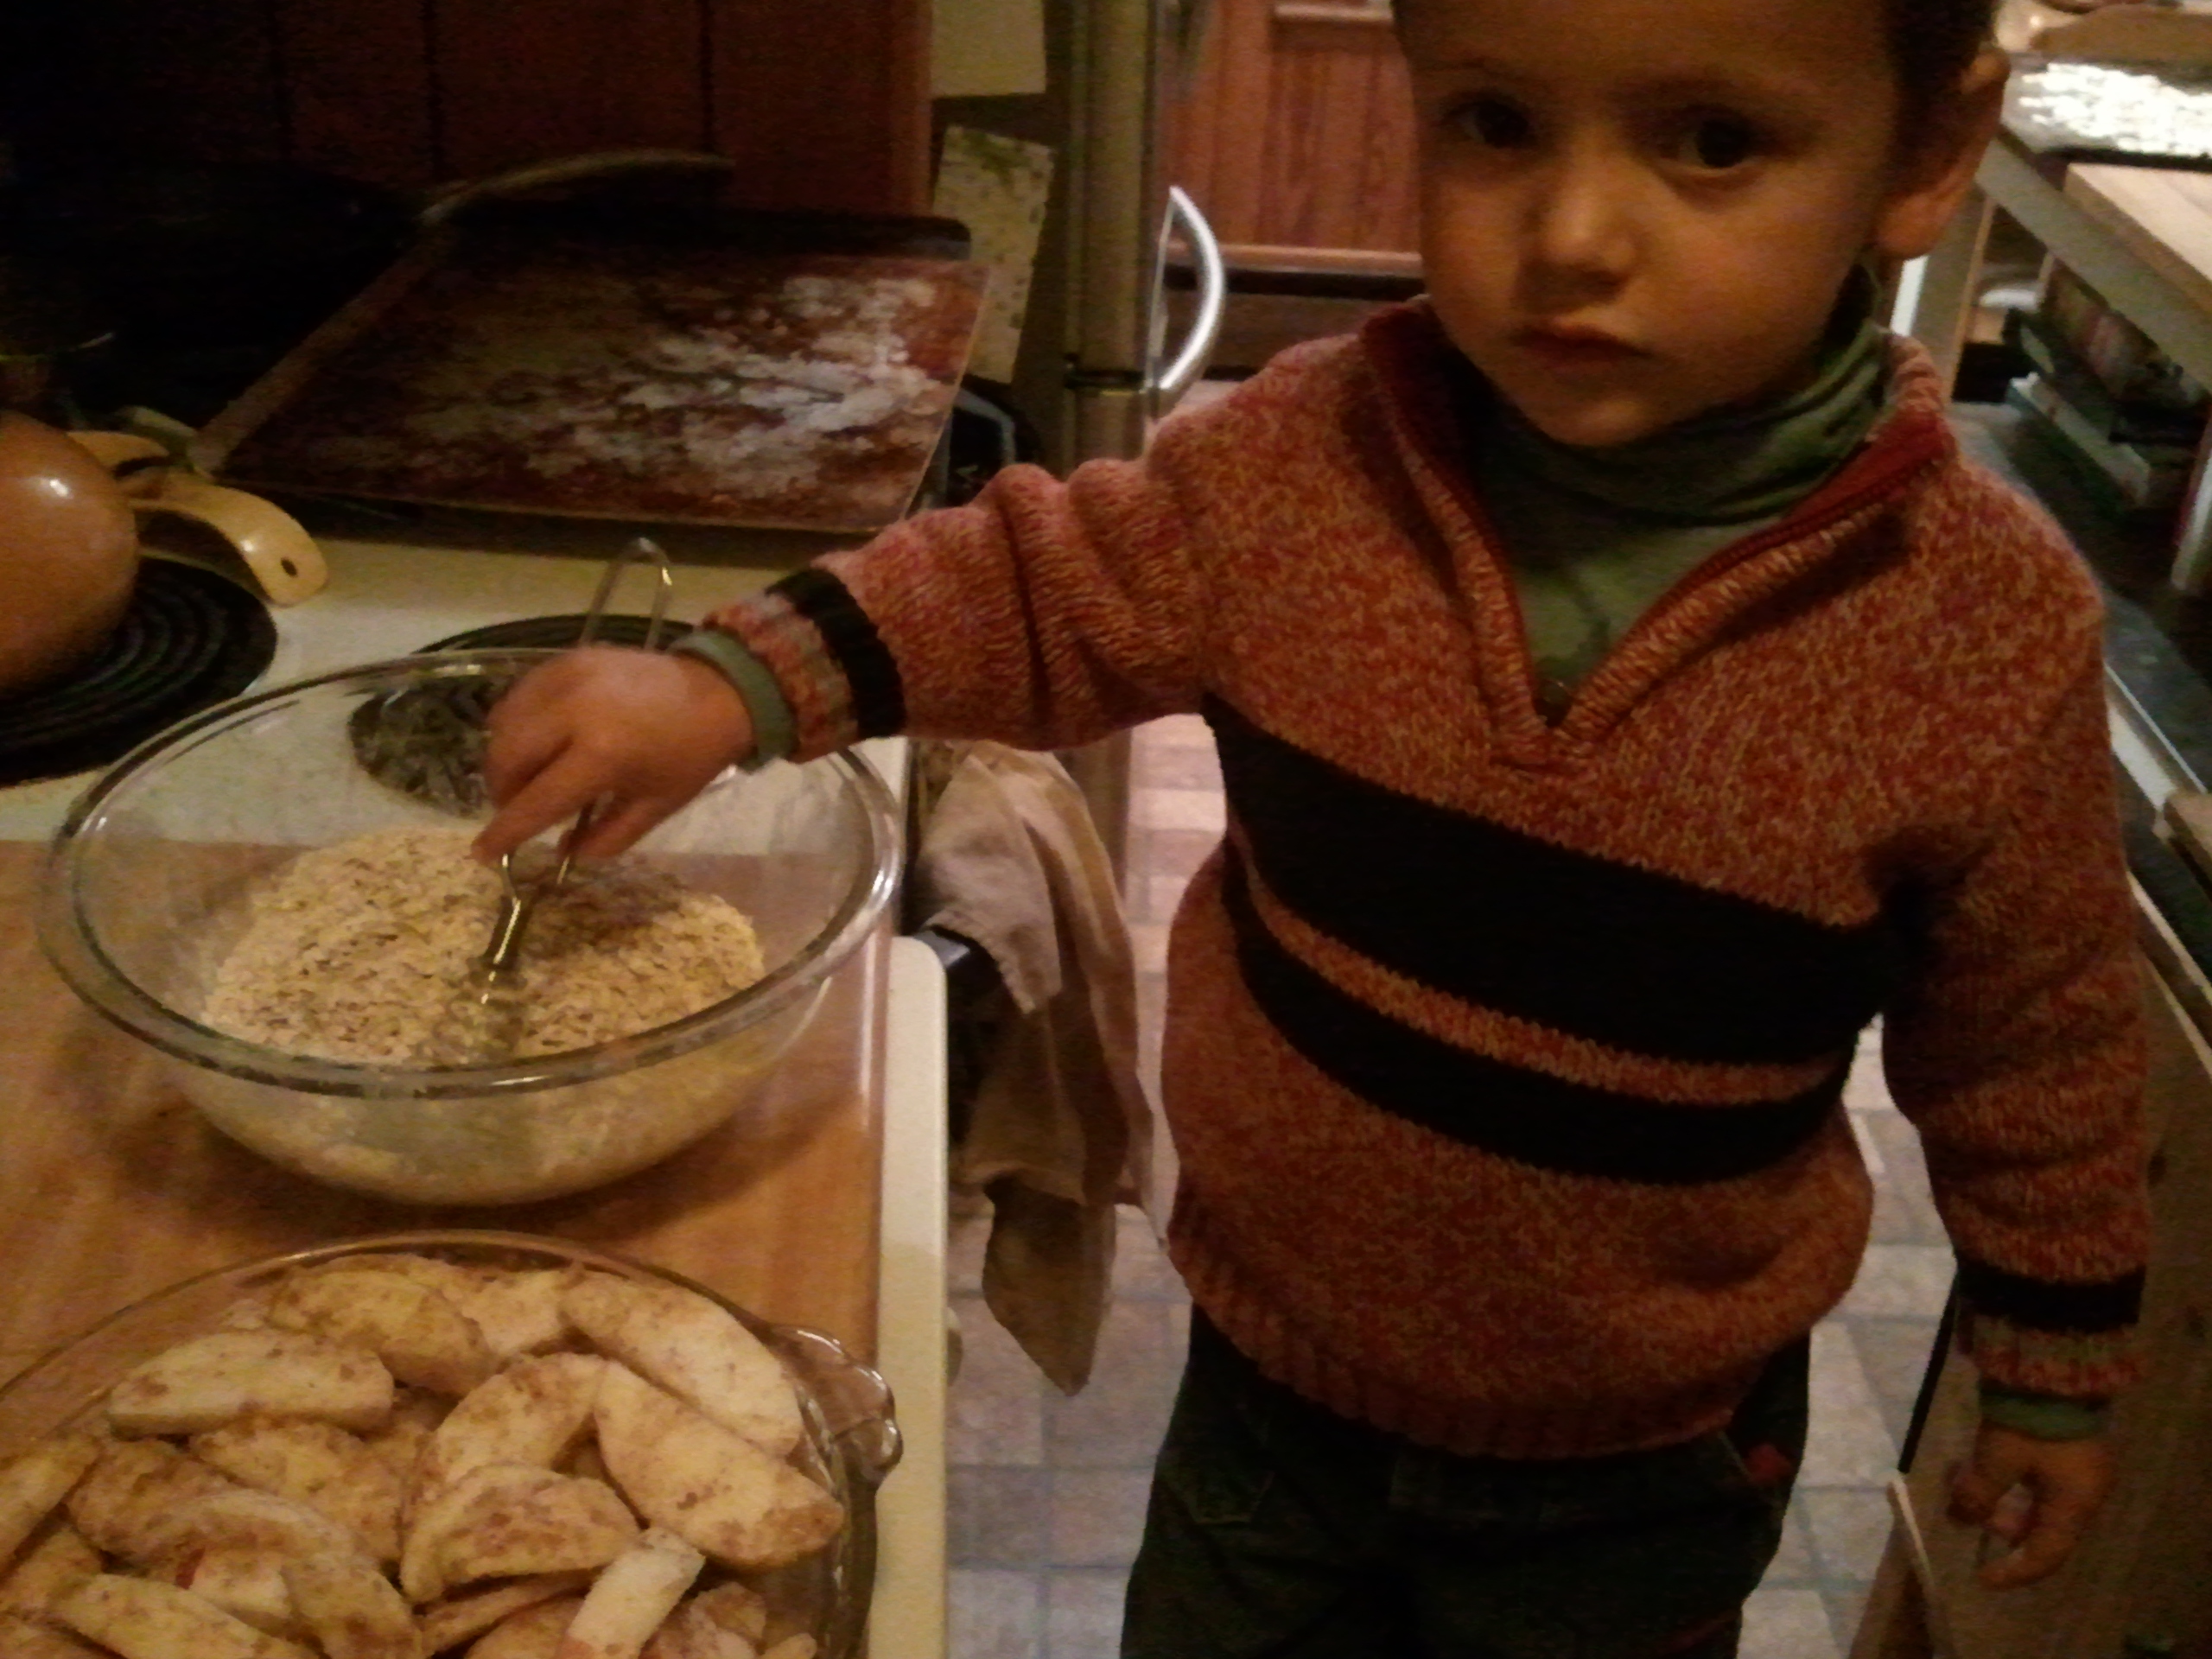
Mix with your hands or a large spoon. I had to wash my hands after doing this! Pour it all into a pie plate. Spread the apples so they lie relatively evenly. To the bowl, add more flour and brown sugar, a couple handfuls of oats, and more spices (if desired). Mama didn’t add any more cinnamon to our crumble topping. Stir it all up. (I happen to like using the whisk.
Get everything for the streusel good and blended.
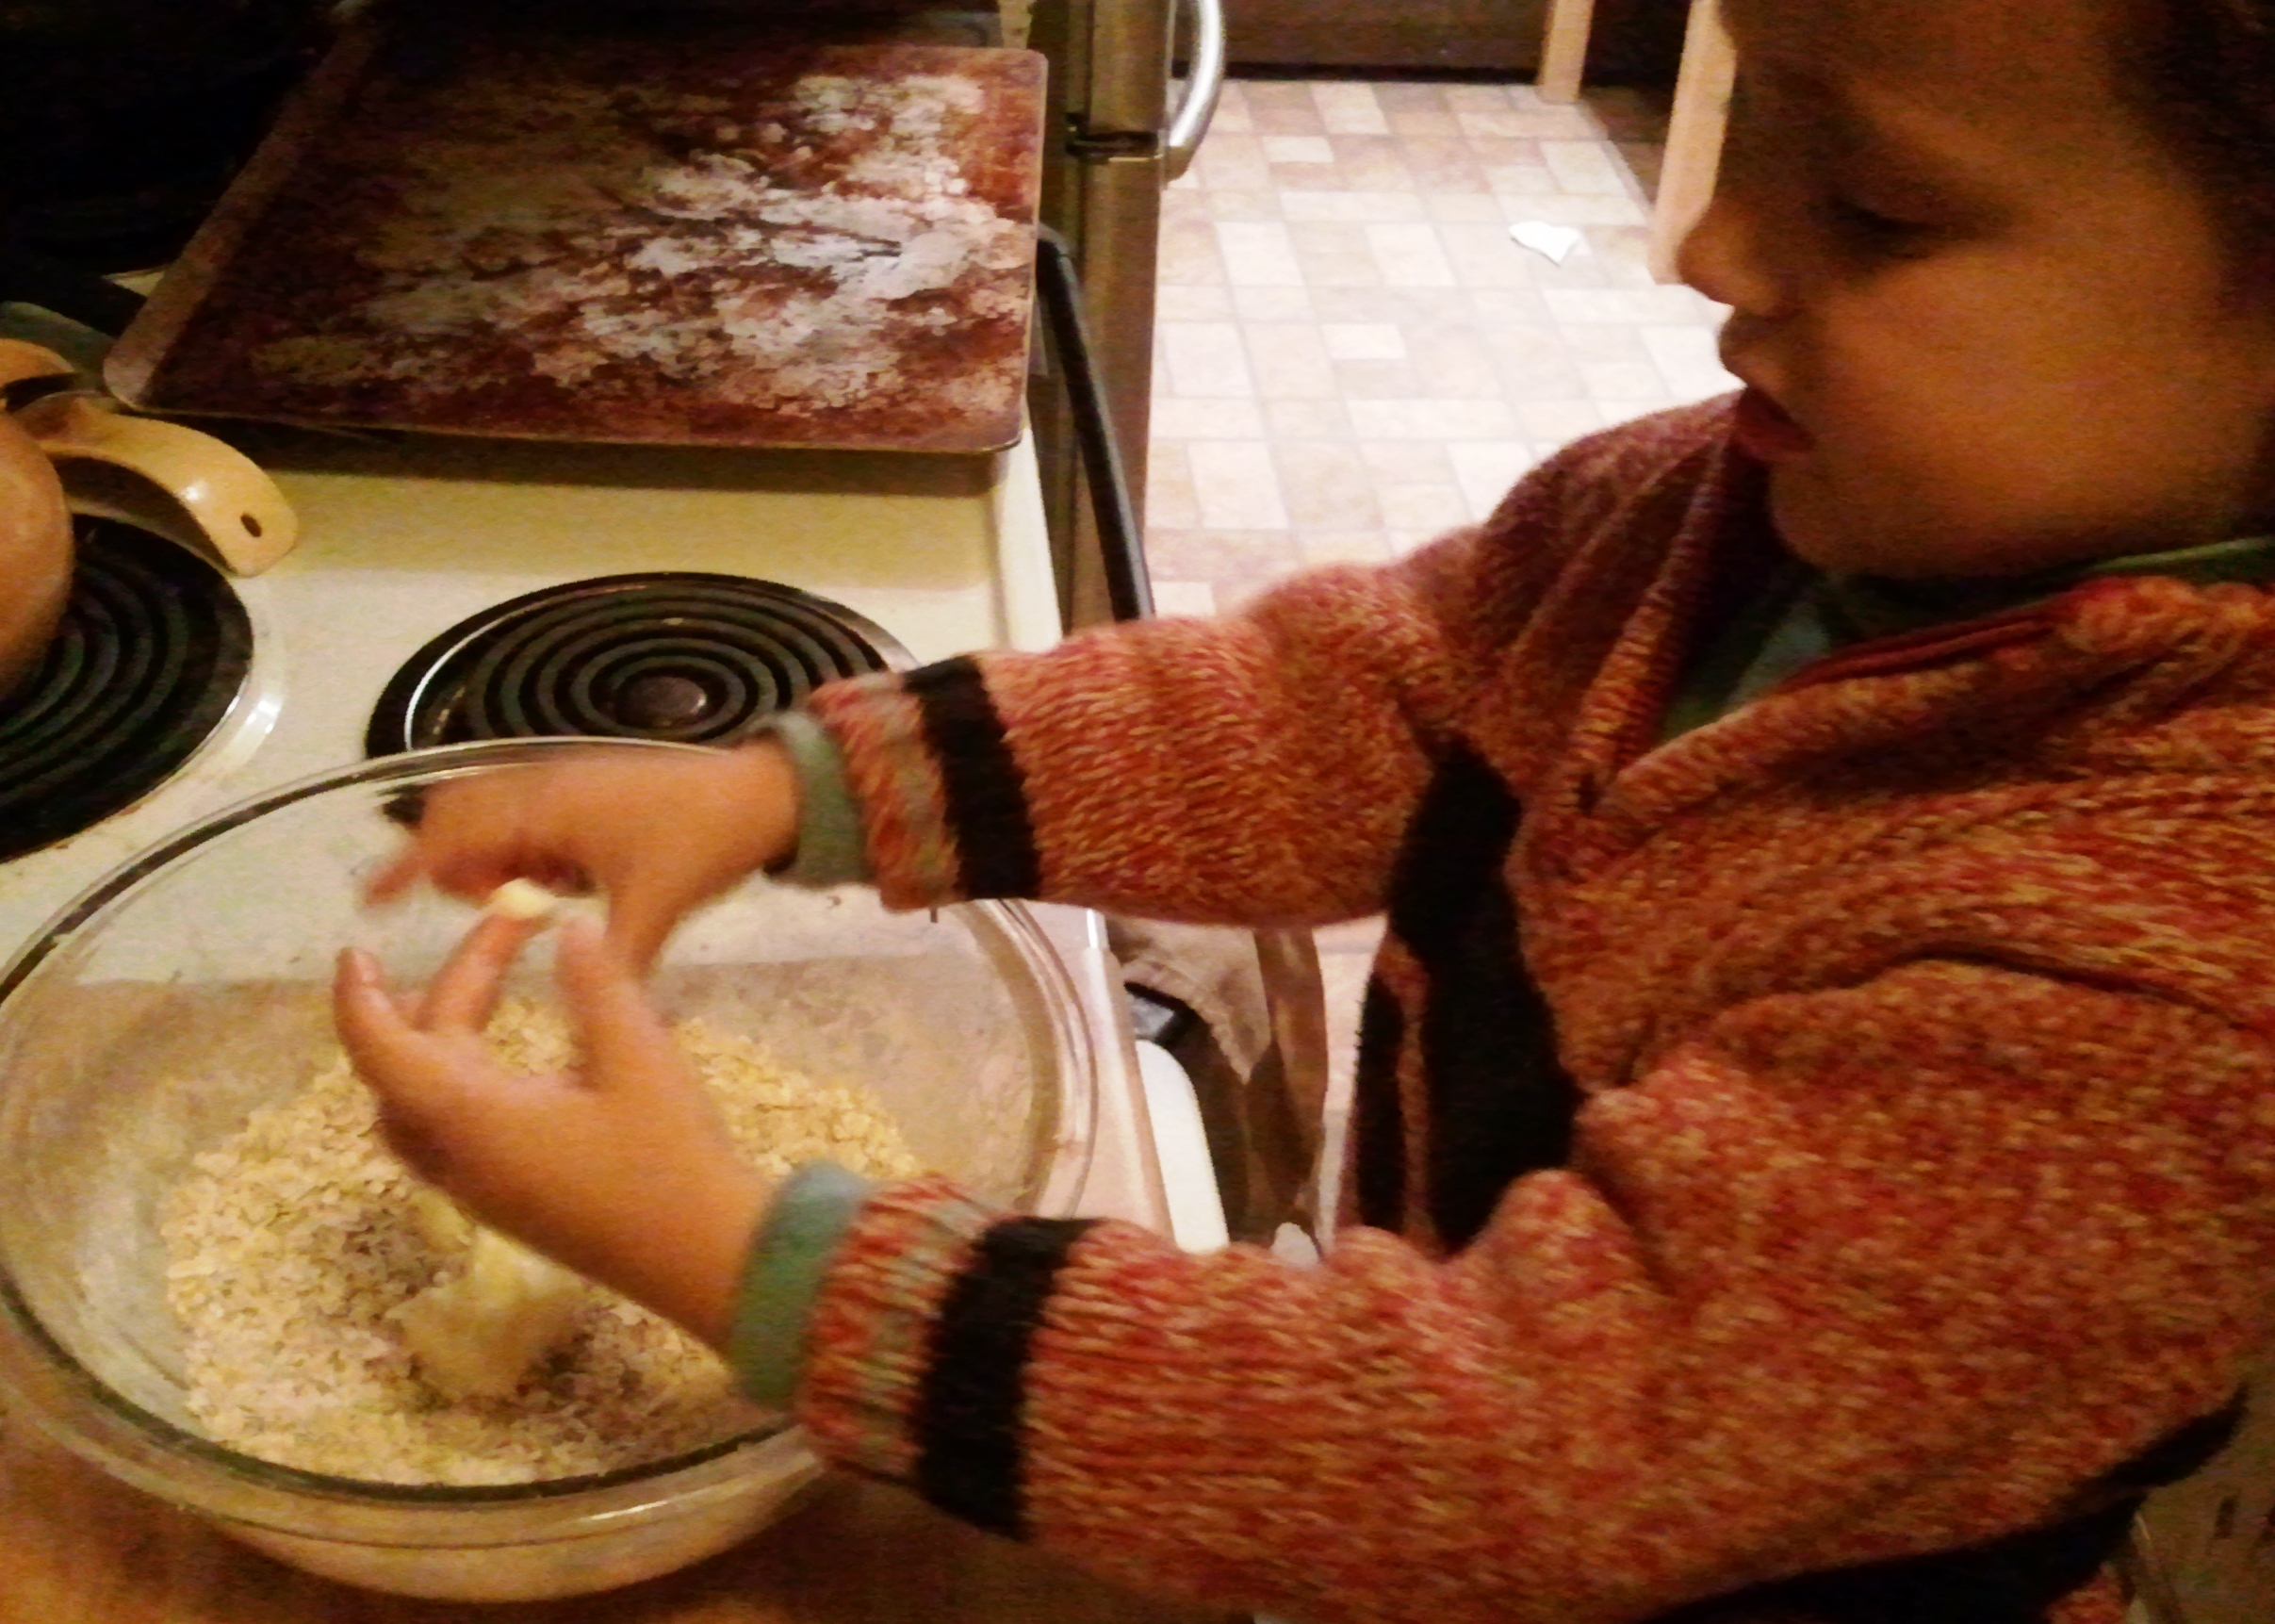
Now smoosh in the butter. Two tablespoons is just what we used. You can use more or less, but try to get at much butter covered by as much streusel mixture as you can. “I think I need to wash my hands again,” I told Mama.
Blend the butter into the topping any way you like. I didn’t really care for getting butter all over my fingers.
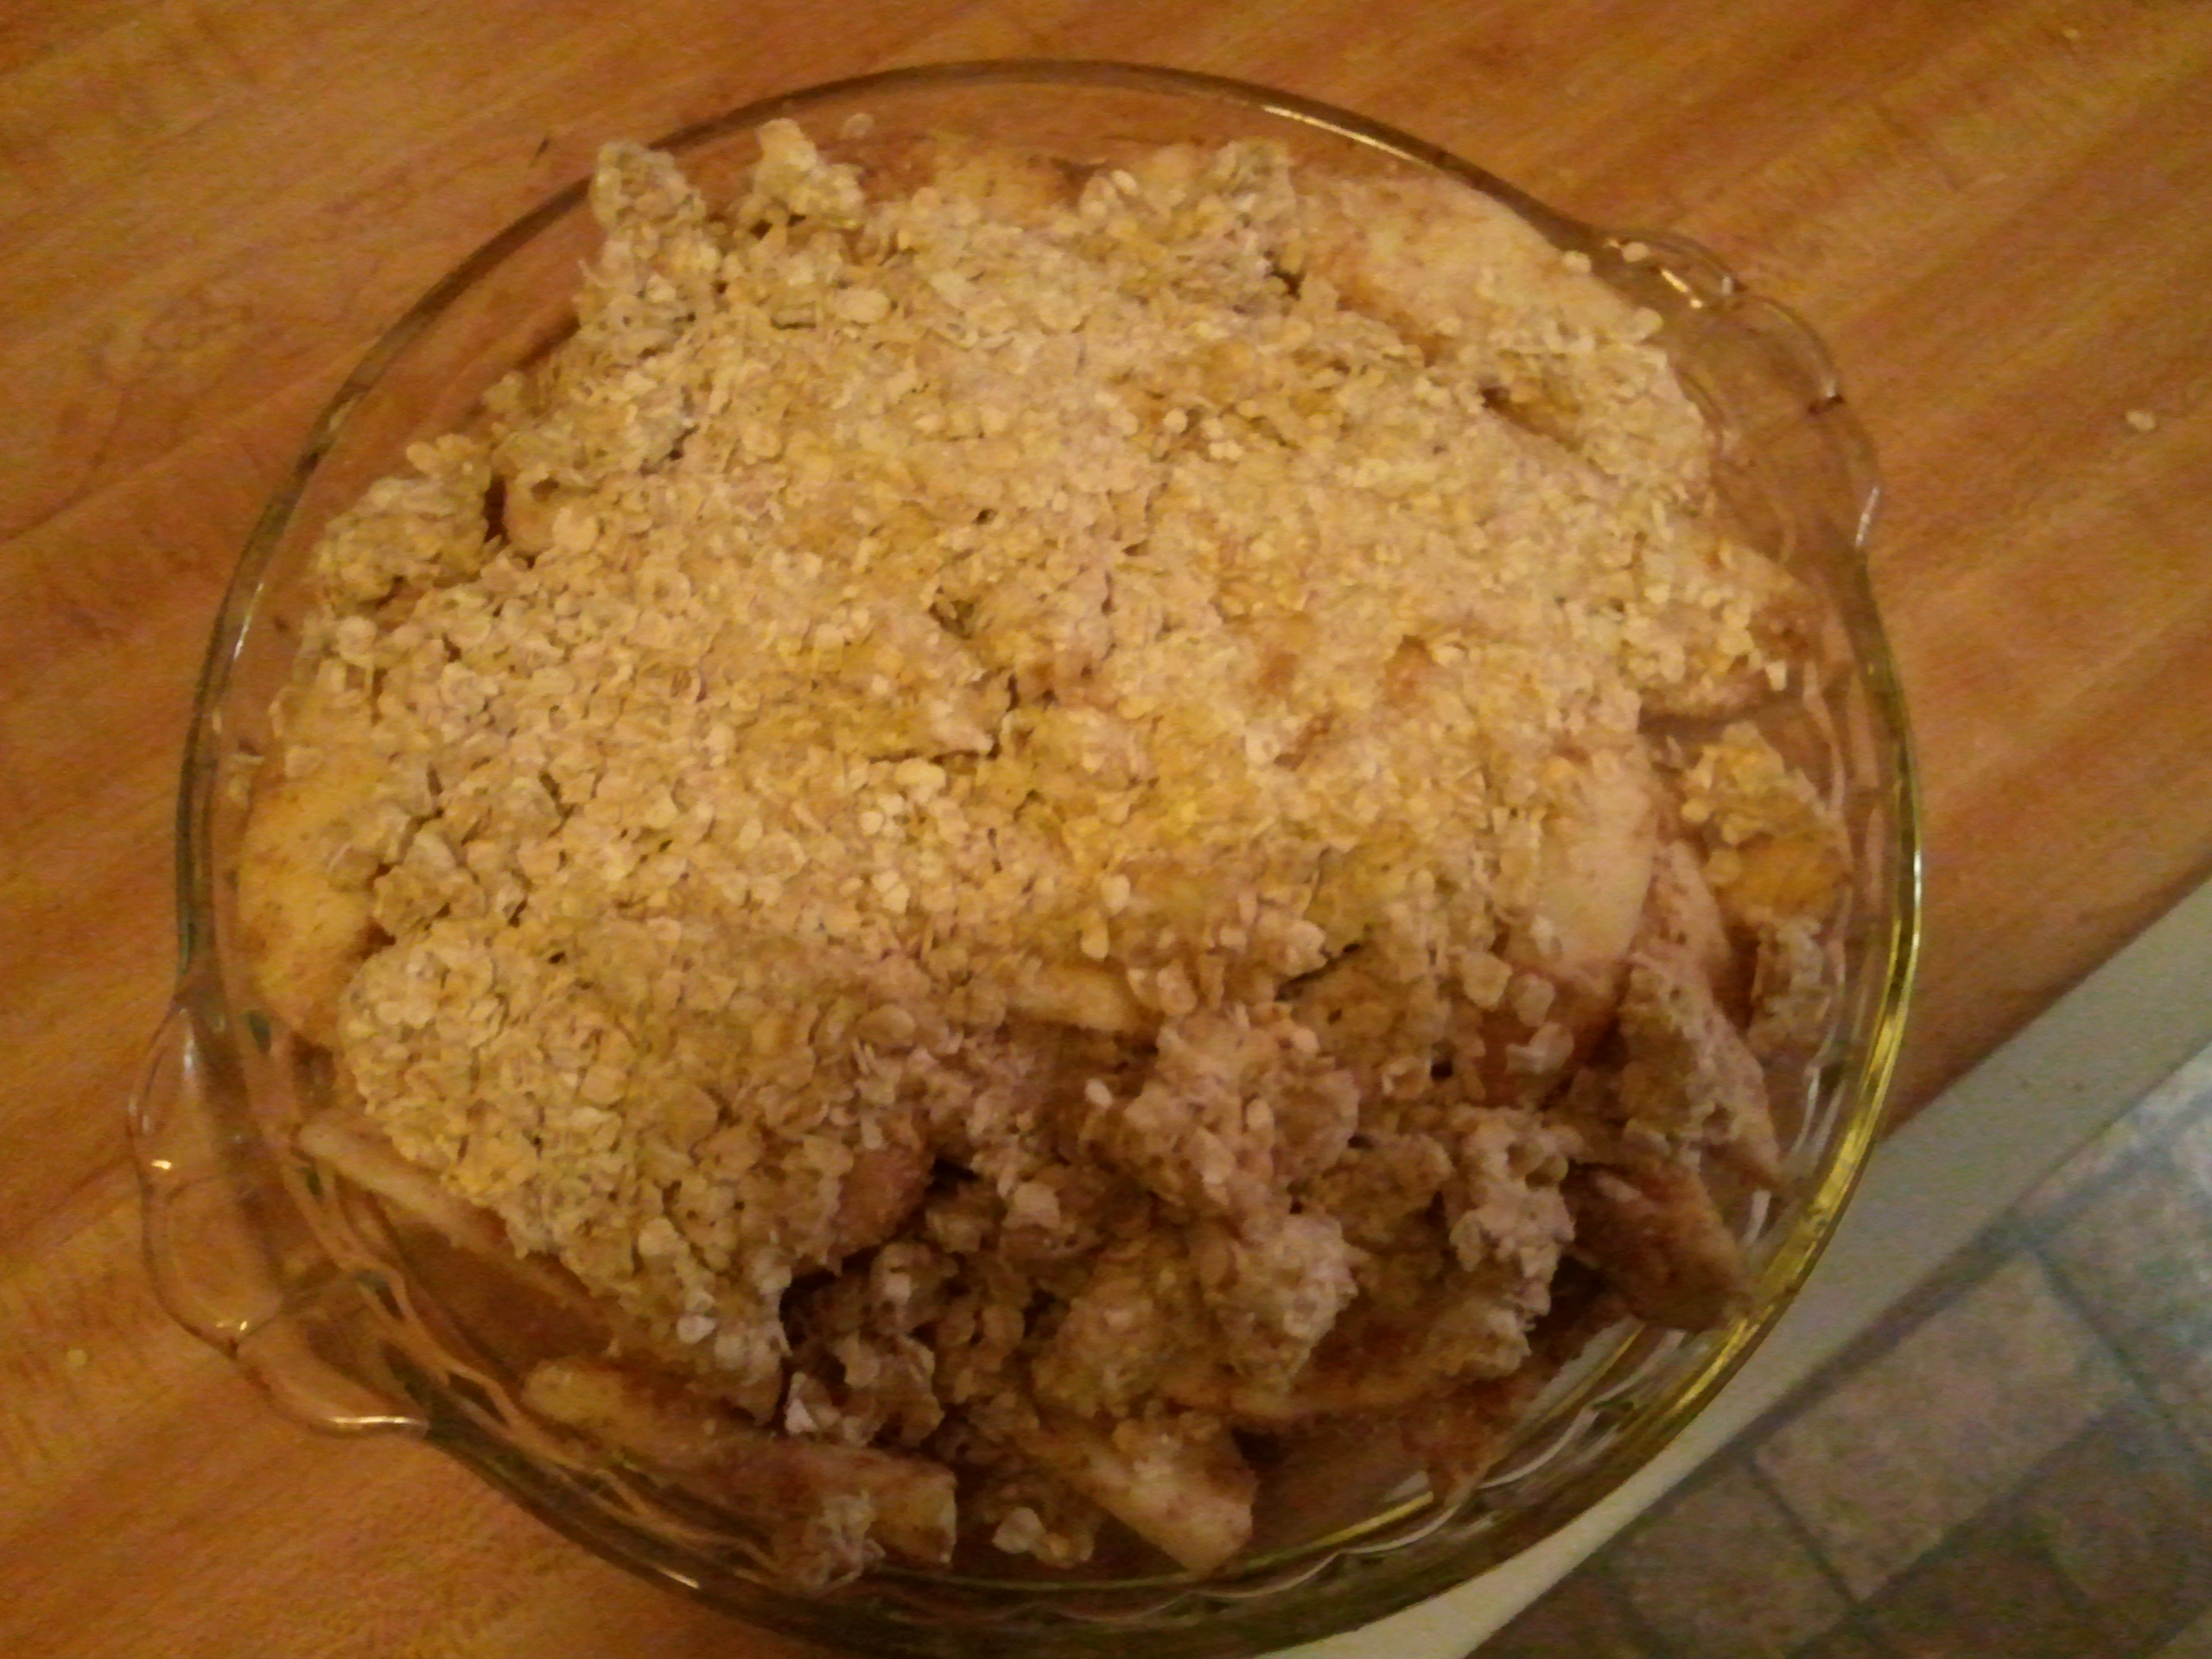
Then sprinkle the streusel topping over the fruit in an even layer.
I helped make this!
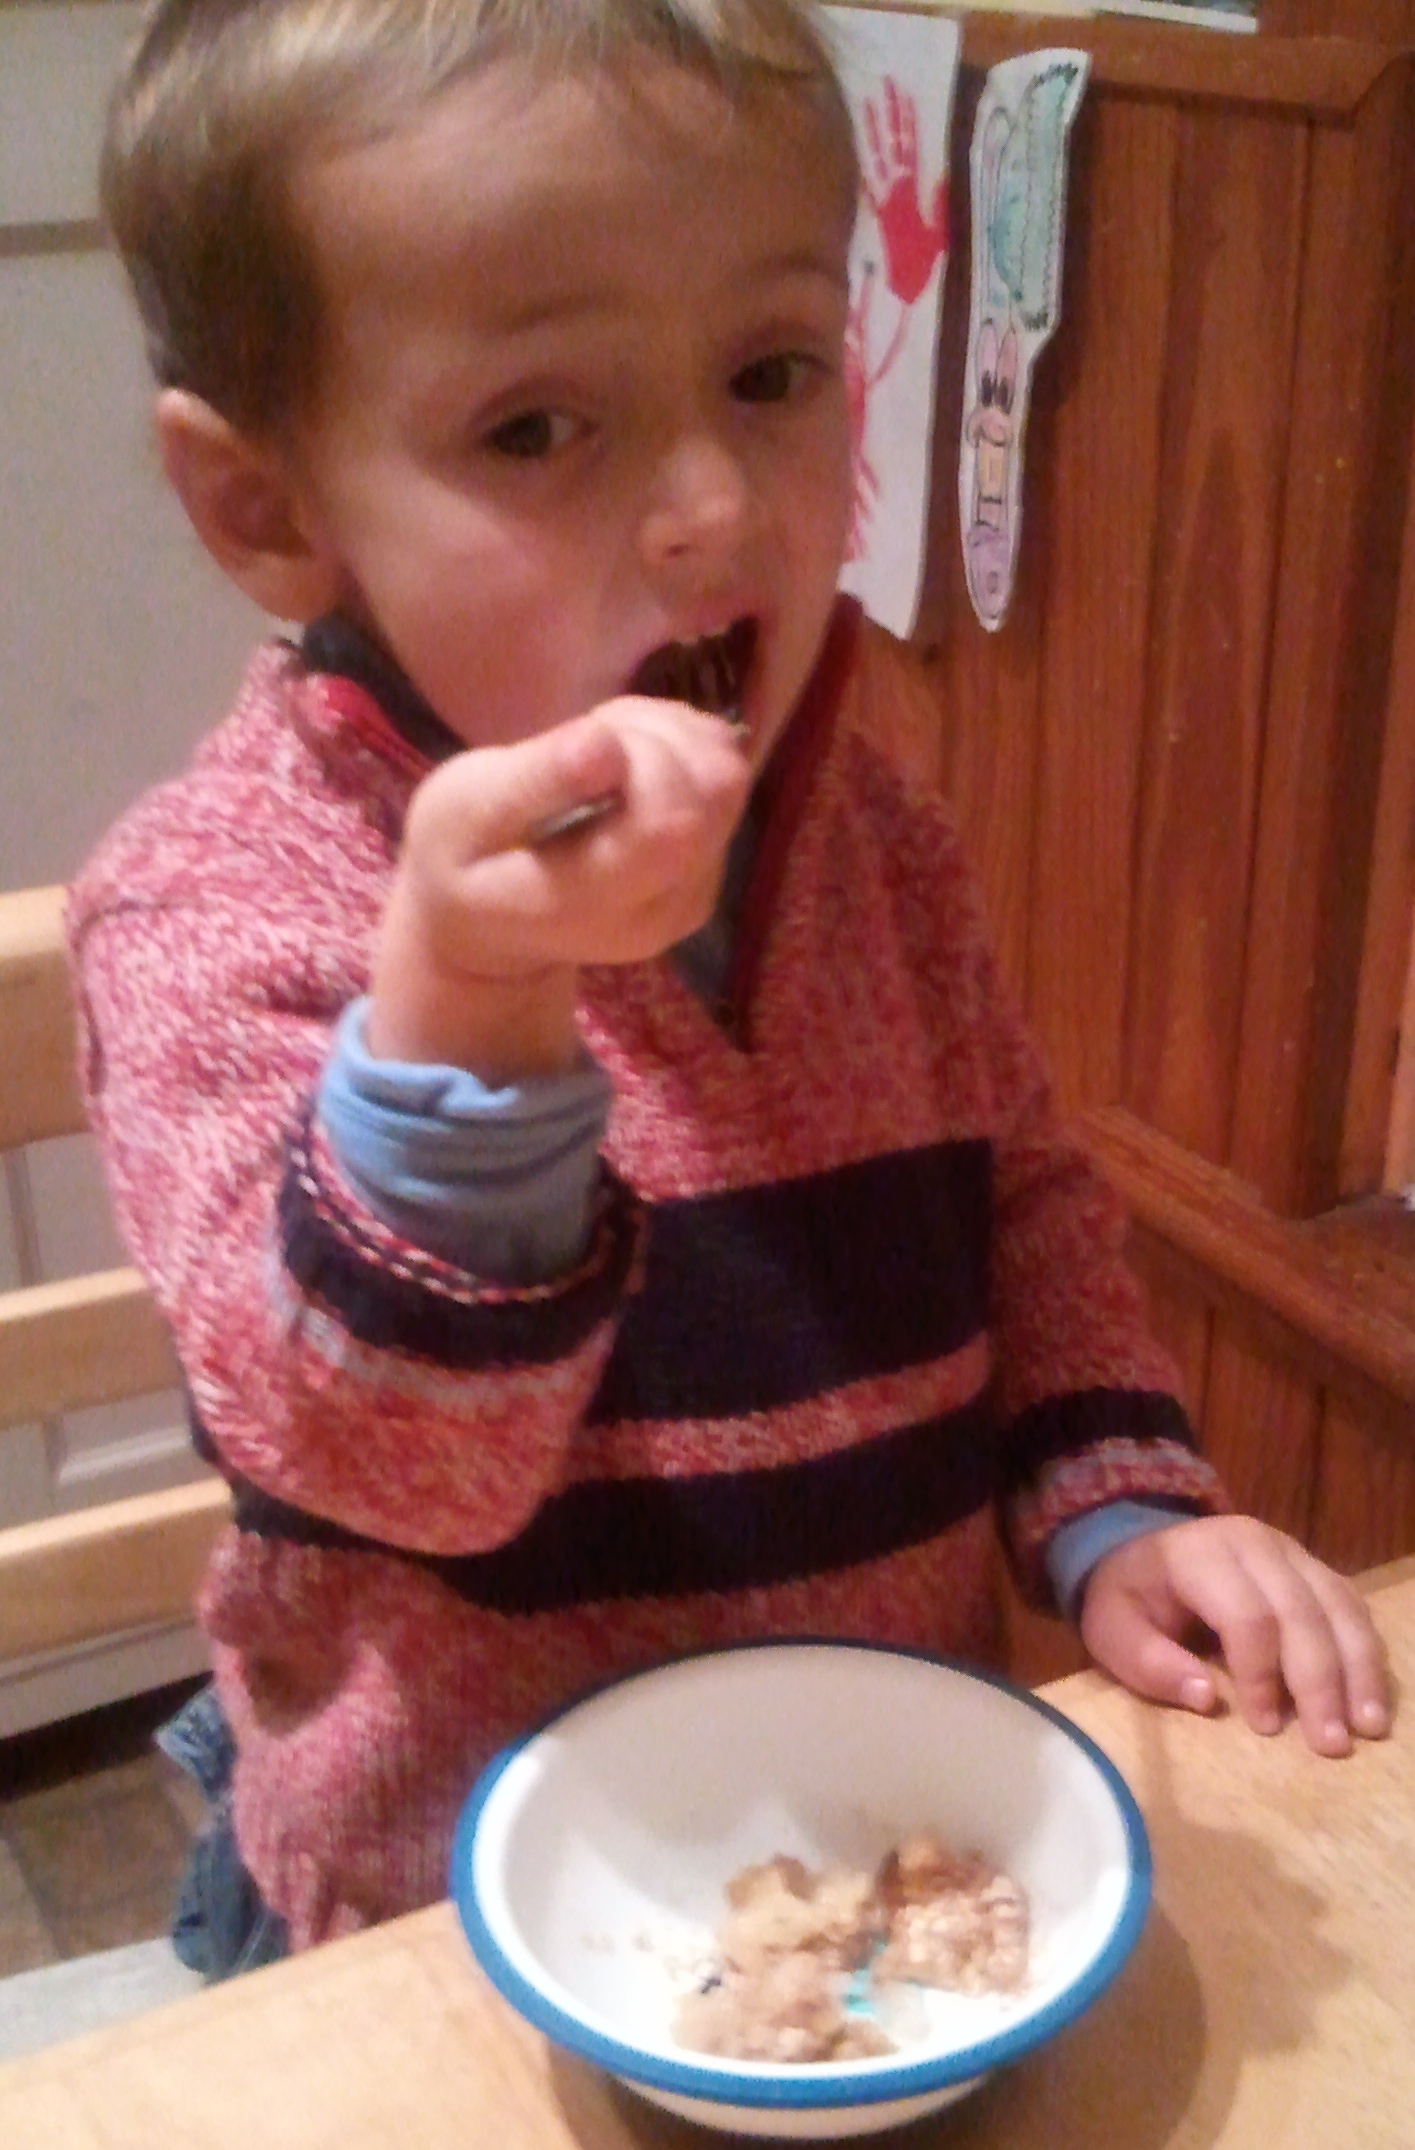
Bake until golden and the apples are soft, about 45 minutes. Allow to cool slightly before digging in. Serve with ice cream or whipped cream. And, whatever you do, don’t hold it hostage until your kid finishes his dinner. That’s just mean.
Mama and I high-fived and told each other, “Good pie!”
Note: Mama likes to use several varieties of apples in both her pies and her applesauce. The tarter ones balance out the sweeter ones, and the softer and crisper ones add texture.