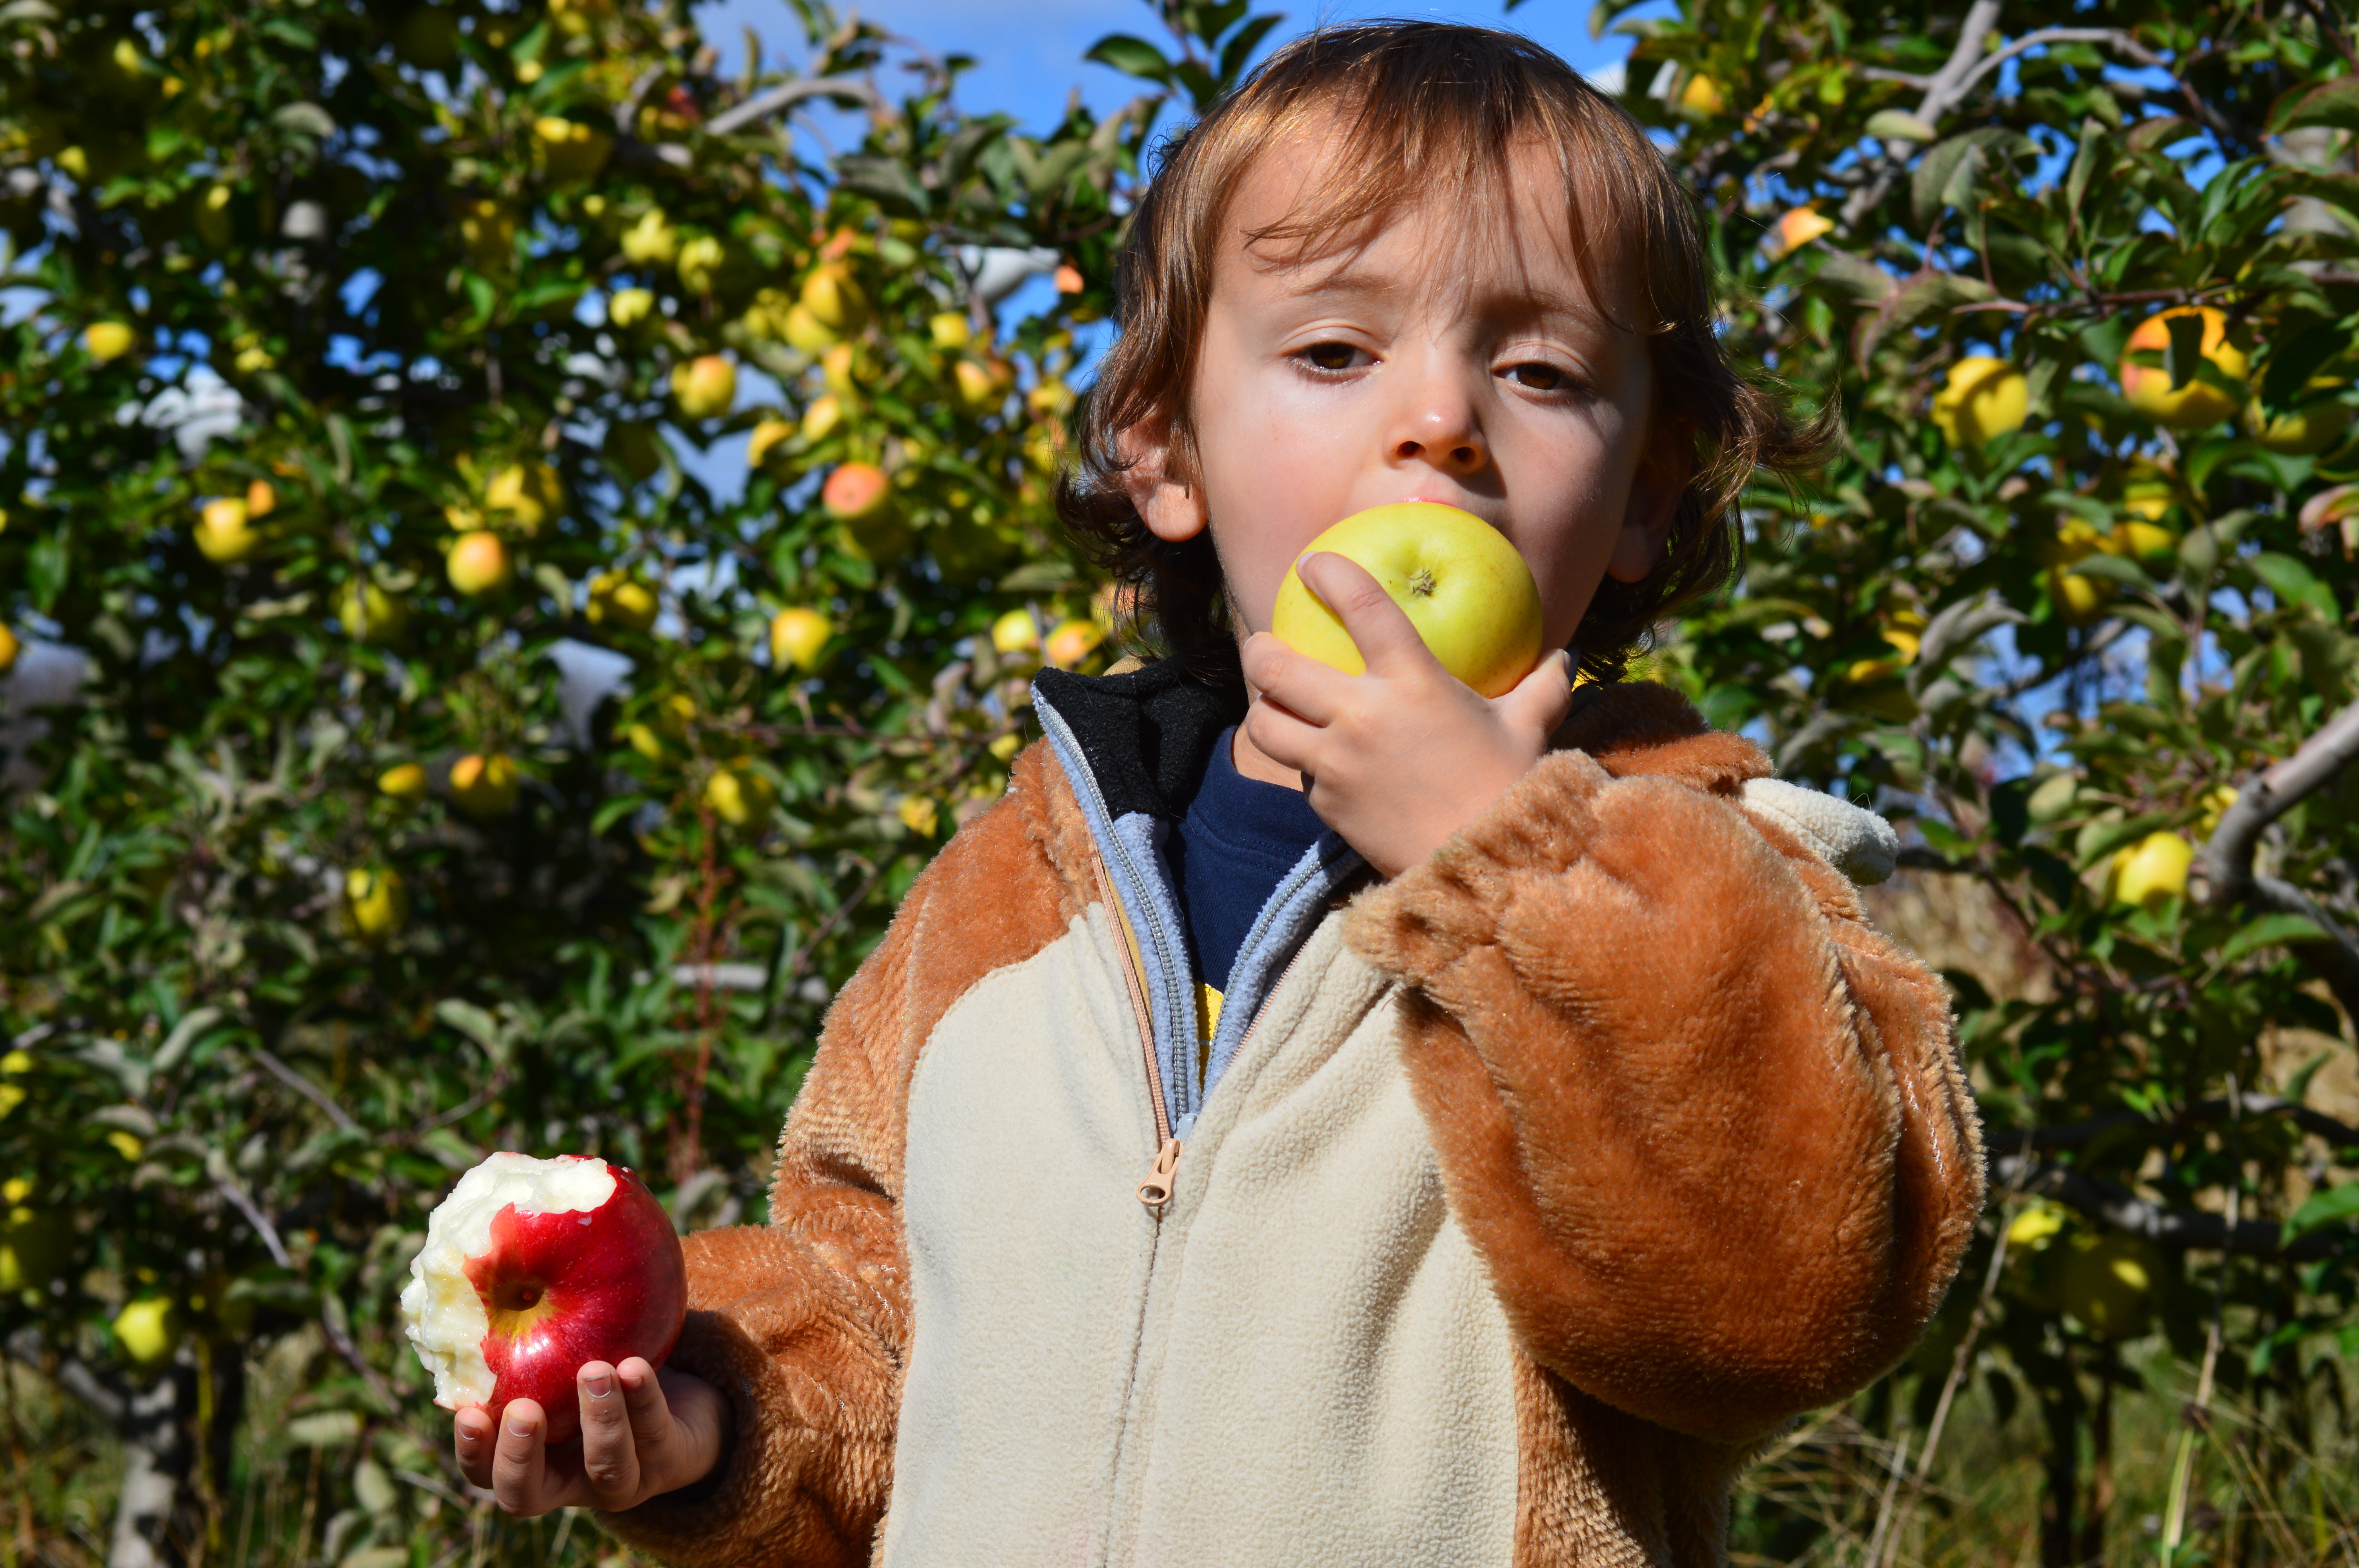
The time of year when we venture into apple orchards and make ourselves sticky (and a little ill) from all the apples we sample. Because we went a little later than usual this year, Mama and Papa indulged me in my choice of attire that day:
After trying both kinds of apples, this monkey is sticking with the red.
Ordinarily, we make applesauce, but as we still have a fairly full stash from last year’s harvest, Mama thought we’d try our hands at apple butter. I’ll write about that a little later because for now, I want to tell you about something that can only be called a revelation (if only I knew what that word meant):
Apple bread.
It’s a tad sweet and totally snackable. We made one loaf of bread, and from here on out, we’re making apple muffins.
We used the yummy recipe found here. Mama substituted one cup of the flour with whole-wheat and all the sugar with brown, just because that’s how Mama does things.
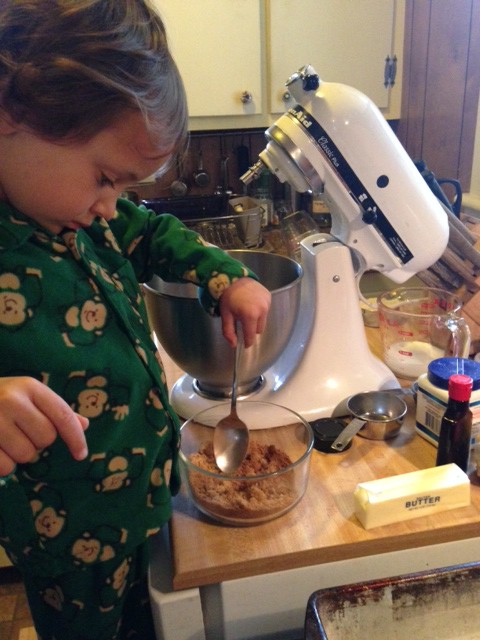
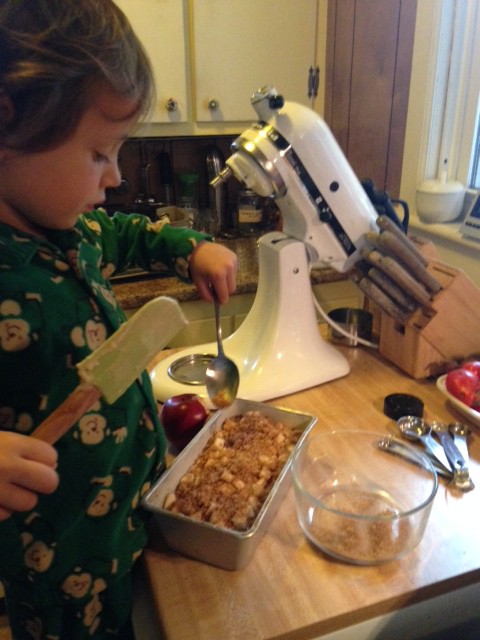
First, I mixed the brown sugar together with the cinnamon. Here I am breaking up the little lumps of brown sugar. (Mama just reached in and pinched whatever was left with her fingers.)
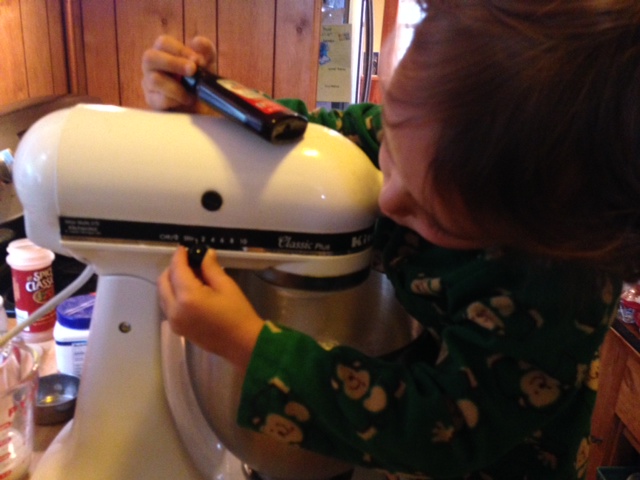
Then we put different sugar and butter in the mixing bowl and creamed them with the paddle. Mama told me to start slow, and I said “otherwise the dough will get angry.” What I meant was that it will fly all over the place. You’re not just combining the sugar and butter. What you’re doing is smashing the sugar into all that butter, coating all the little sugar granules with fat. This results in a lighter finished product with better lift.
I’m holding the vanilla because I can’t wait to add it. I love it so much!
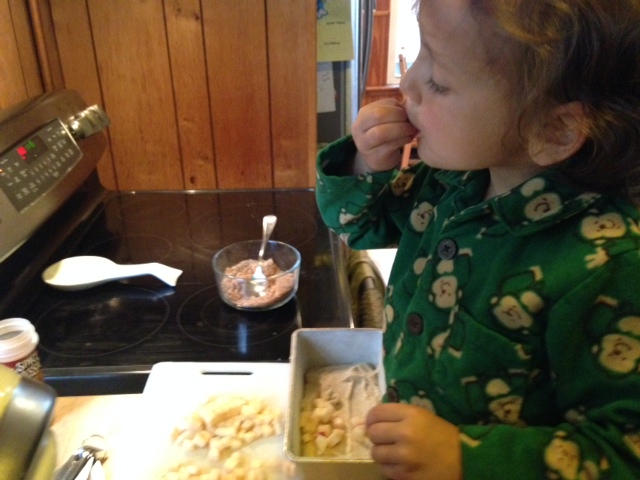
Once the batter was made, we practiced a new word: half. Mama spread half the batter into the bread pan, then I sprinkled half the chopped apple over the batter, then topped that with half the cinnamon-brown sugar mixture. (I might have eaten a little along the way.)
Good thing Mama diced a large apple.
Then we repeated the whole operation with a second layer. Mama advised me to spread out my additions as evenly as possible so there were no overly sweet or apply spots.
I was eating batter with one hand and sprinkling cinnamon-sugar with the other. Talk about multitasking.
Our bread took a bit more than an hour to bake until our tester came out clean. (When we made muffins a week later, the same amount of batter and fillings made 12 and baked for 20 minutes.) I declared this bread delicious. Good thing we picked lots of apples. We’re going to need them.
A little more than 2 years ago, I wrote about my love for kale chips. I’m happy to report that—unlike, say, pâté, beets, and orange foods—it’s a love I still embrace. Only now, because I’m such a big boy, I get to help make them. And clever Mama has upped the ante by introducing nutritional yeast into the mix.
What I can tell you about nutritional yeast can fit on a kale chip. Suffice it to say that it is different from the yeast we’ve used to make bread and is most definitely not brewer’s yeast (even though the label might tell you otherwise).
One of these is nutritional yeast, and one is not. (Psst… it’s the one on the right.)
Nutritional yeast (often called “nooch” by those in the know) has a cheesy/nutty flavor (think: Parmesan), and what’s not to like about that? In addition to adding oomph to vegetarian dishes, it has a dose of B-vitamins as well as all the amino acids. Mama likes putting it on her eggs, but it’s similarly stellar in a tofu scramble or on popcorn.
But don’t let my 4-year-old limitations hold you back from experimenting with nooch. If you make something yummy with it, let me know!
Love, Jude
Supercheesy Kale Chips
1 bunch kale
Olive oil
Sea or kosher salt
Nutritional yeast flakes
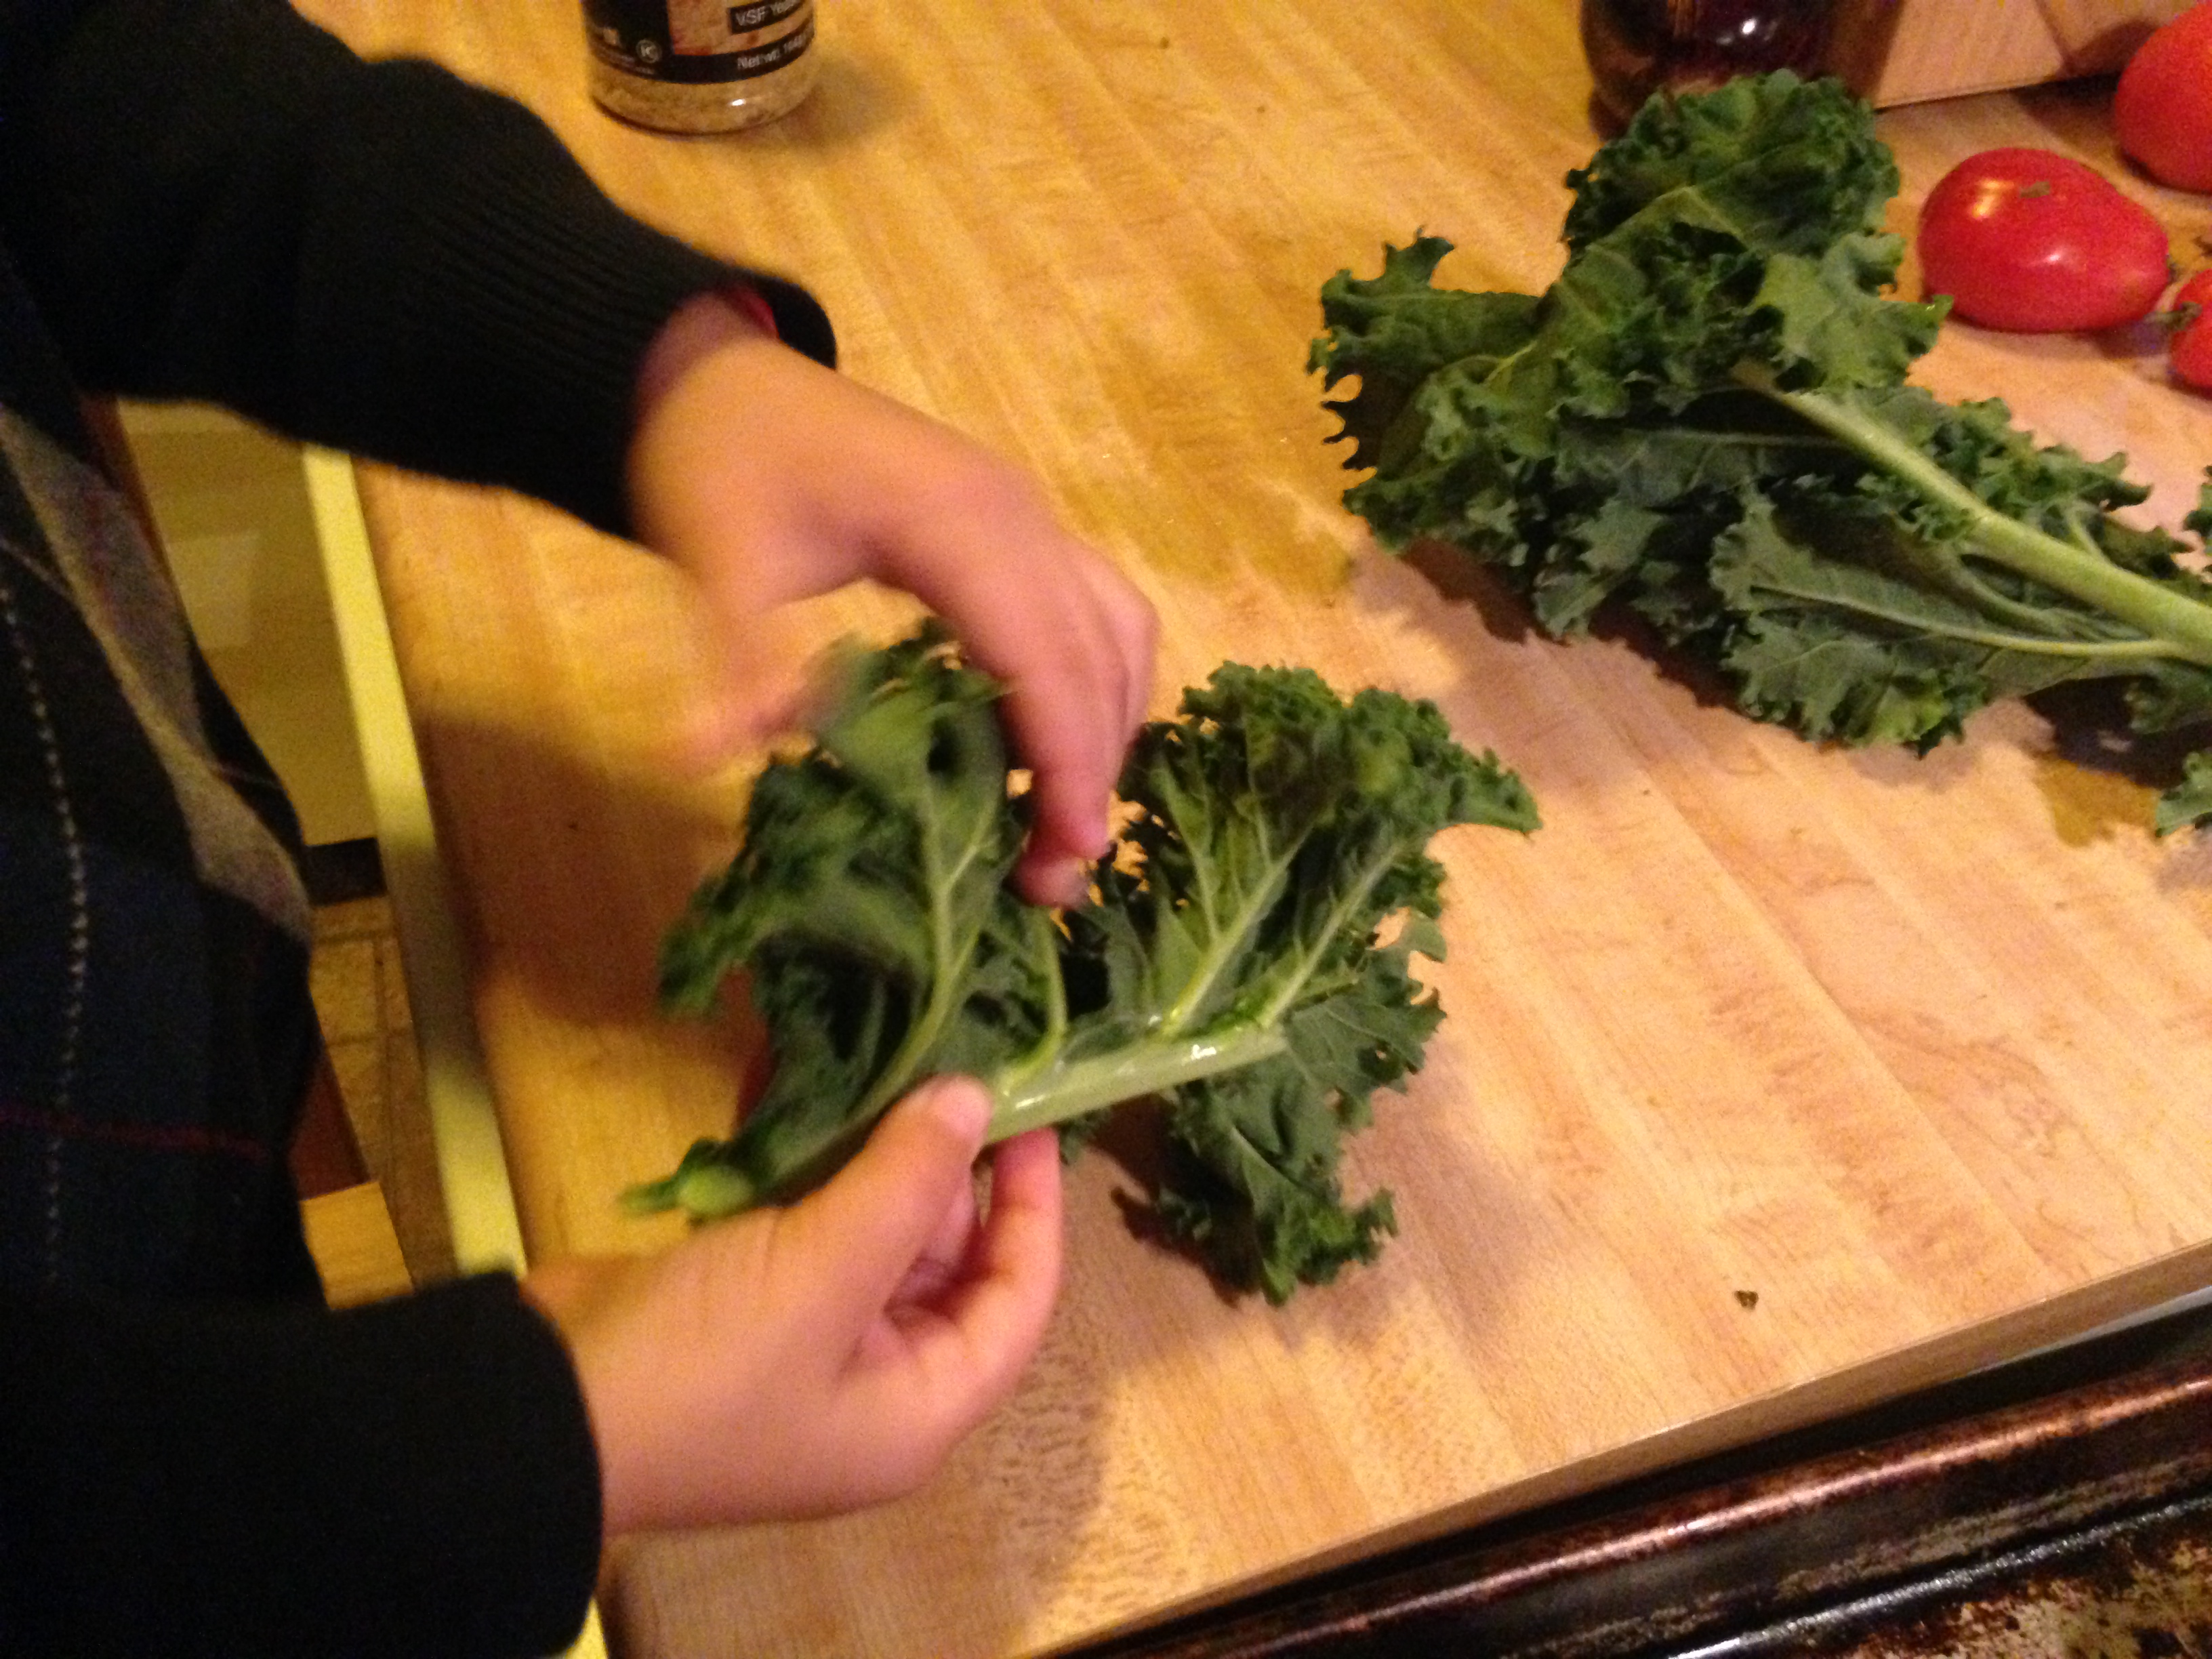
Preheat oven to 300°F. Line a baking sheet with foil or just commit to cleaning your baking sheet when you’re done and go without. Rinse kale and rip the leaves from the center stalk. Mama suggested I pull the upward-growing leaves downward, so they tear off more easily, and it works! Try to make them of similar size because remember that the larger pieces won’t crisp up as much as the smaller ones.
Tear the leaves downward away from the stalk.
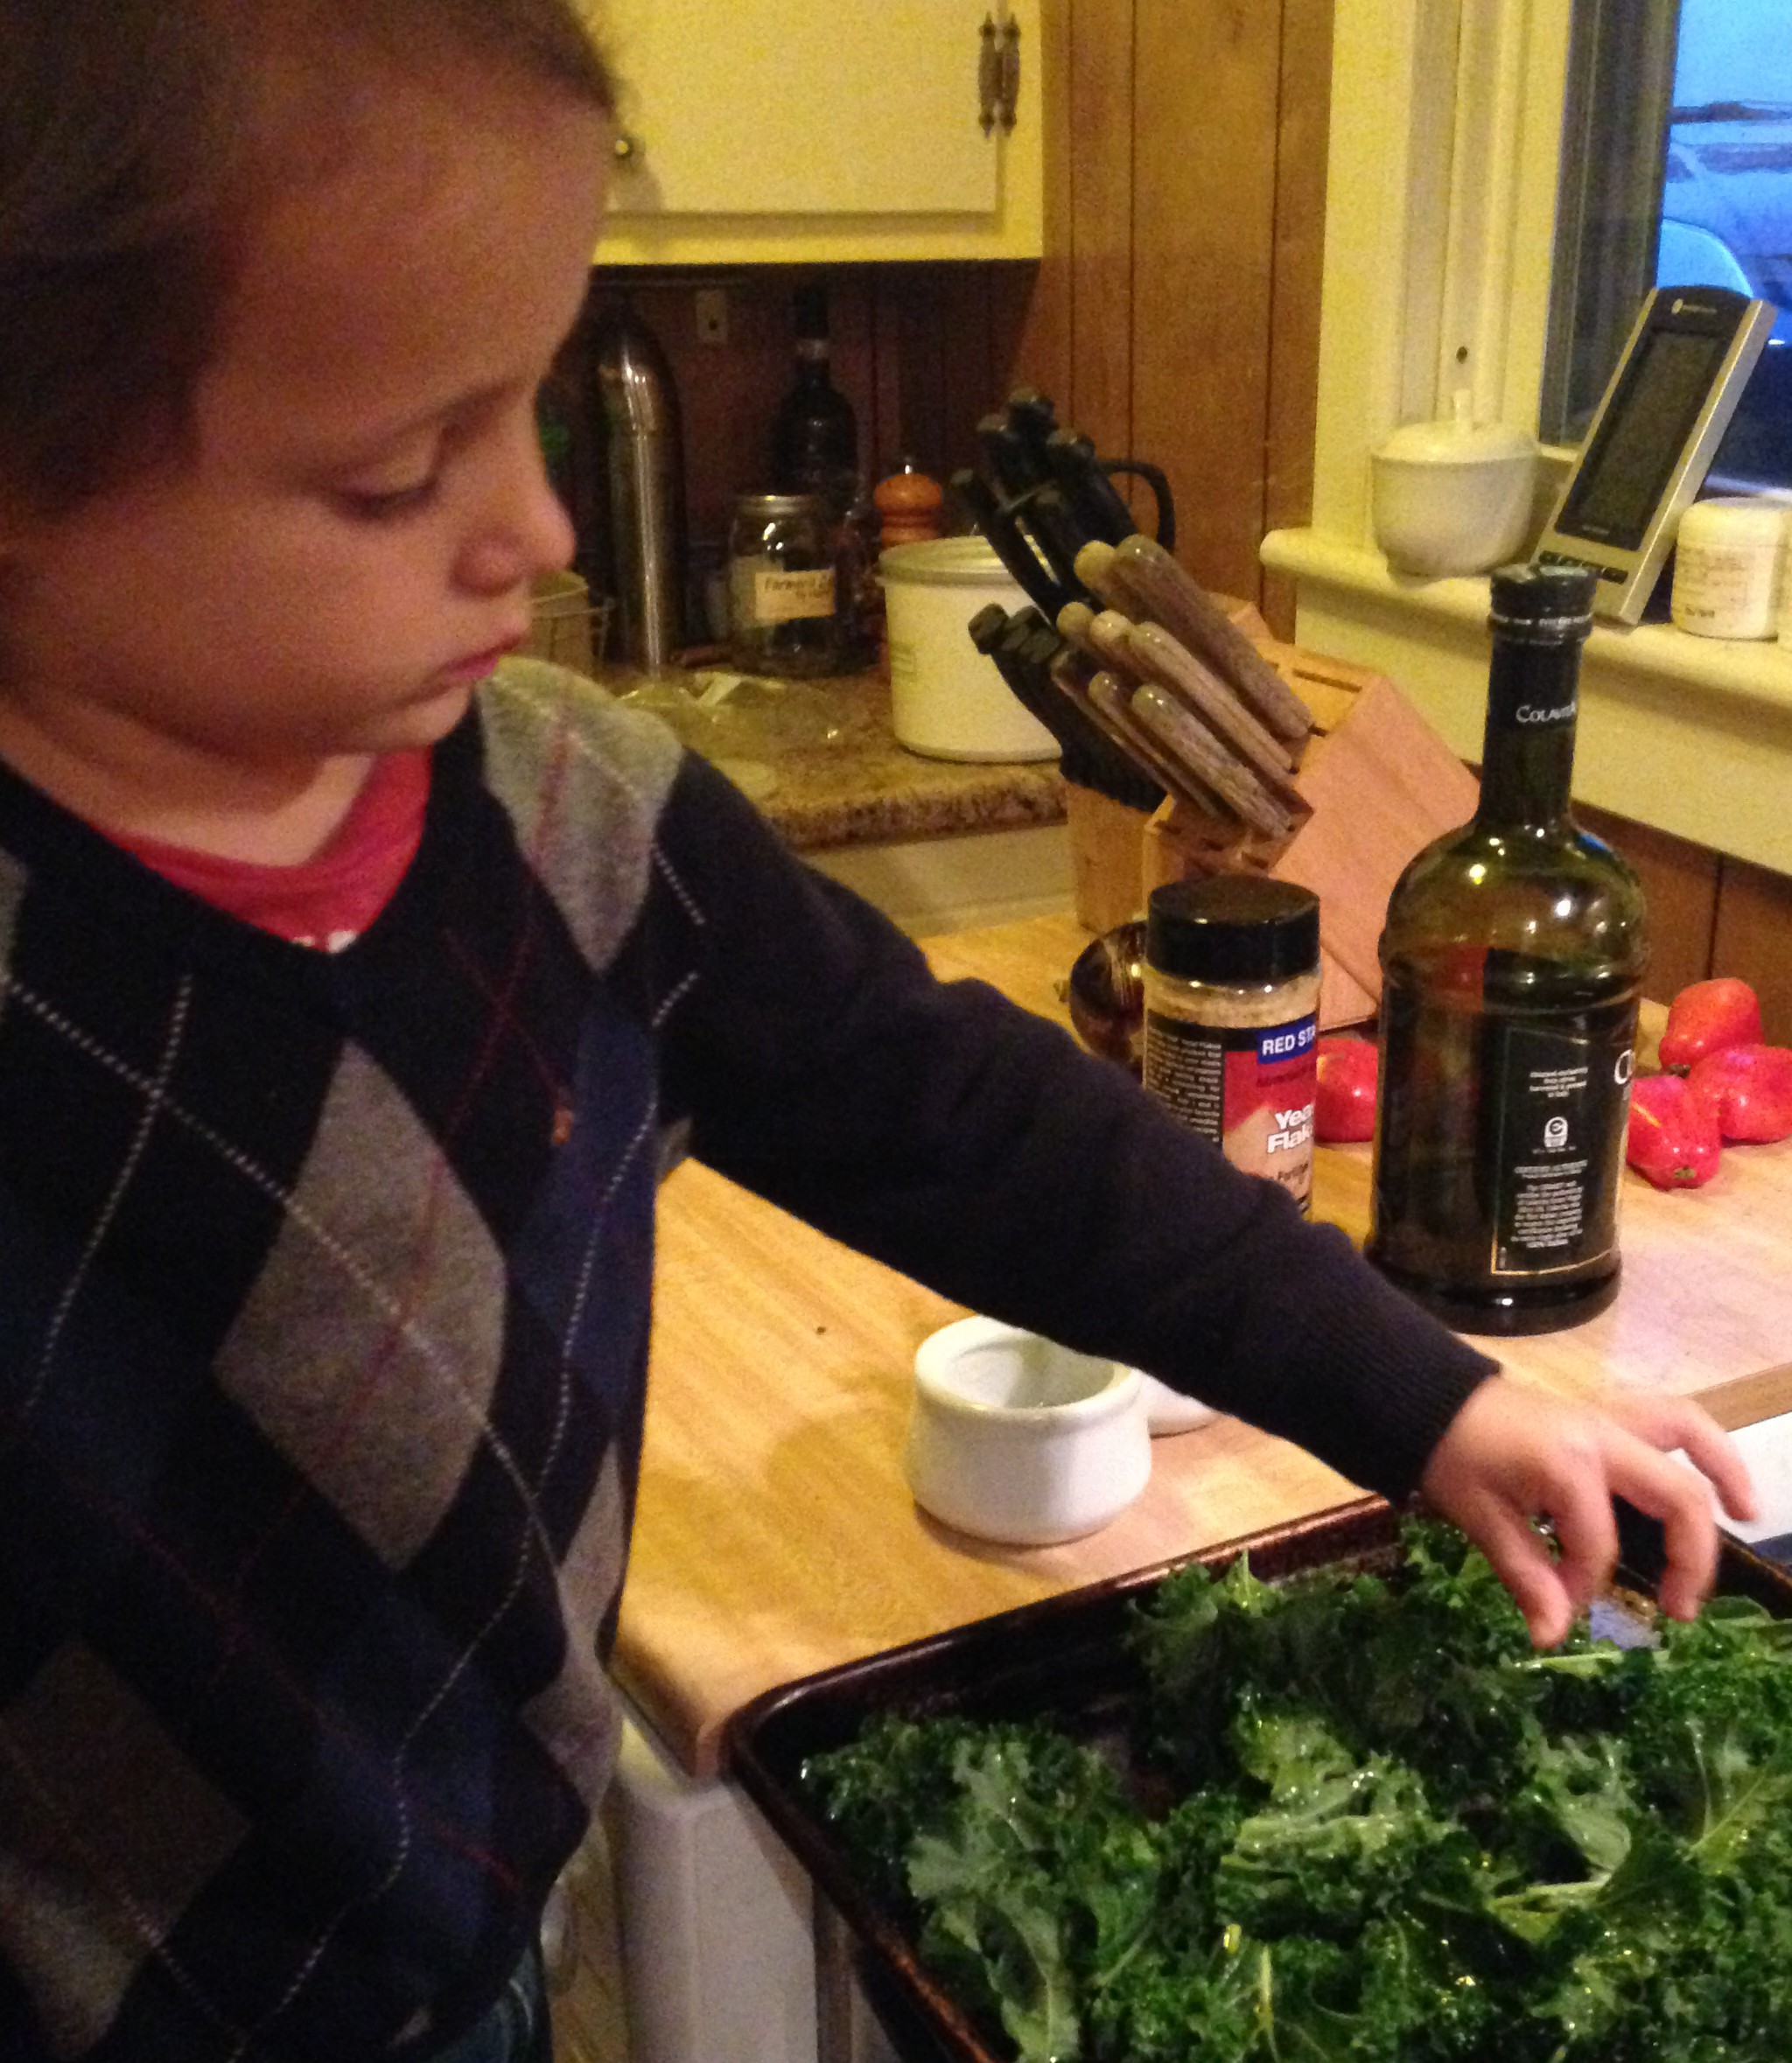
Scatter kale on baking sheet, then toss with about 1 Tbsp oil. You really don’t need a lot—it’s just so the salt and nutritional yeast has something to adhere to.
We used kosher salt on our kale, but feel free to use sea salt, if that’s what you like.
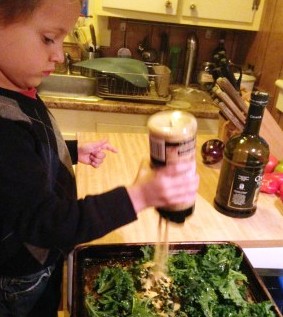
Sprinkle with salt and as much nutritional yeast as you want—the more, the cheesier. Who am I to tell you how much you like? Experiment by spreading the kale leaves around the baking sheet then sprinkling different sections with different amounts. (After my little experiment here, I think we learned that “avalanche” is a little too much.)
Maybe don’t let your kid pour on the nooch.
Bake for about 15 minutes, until desired crispness. You could toss them once during baking, but you don’t have to. Enjoy immediately!
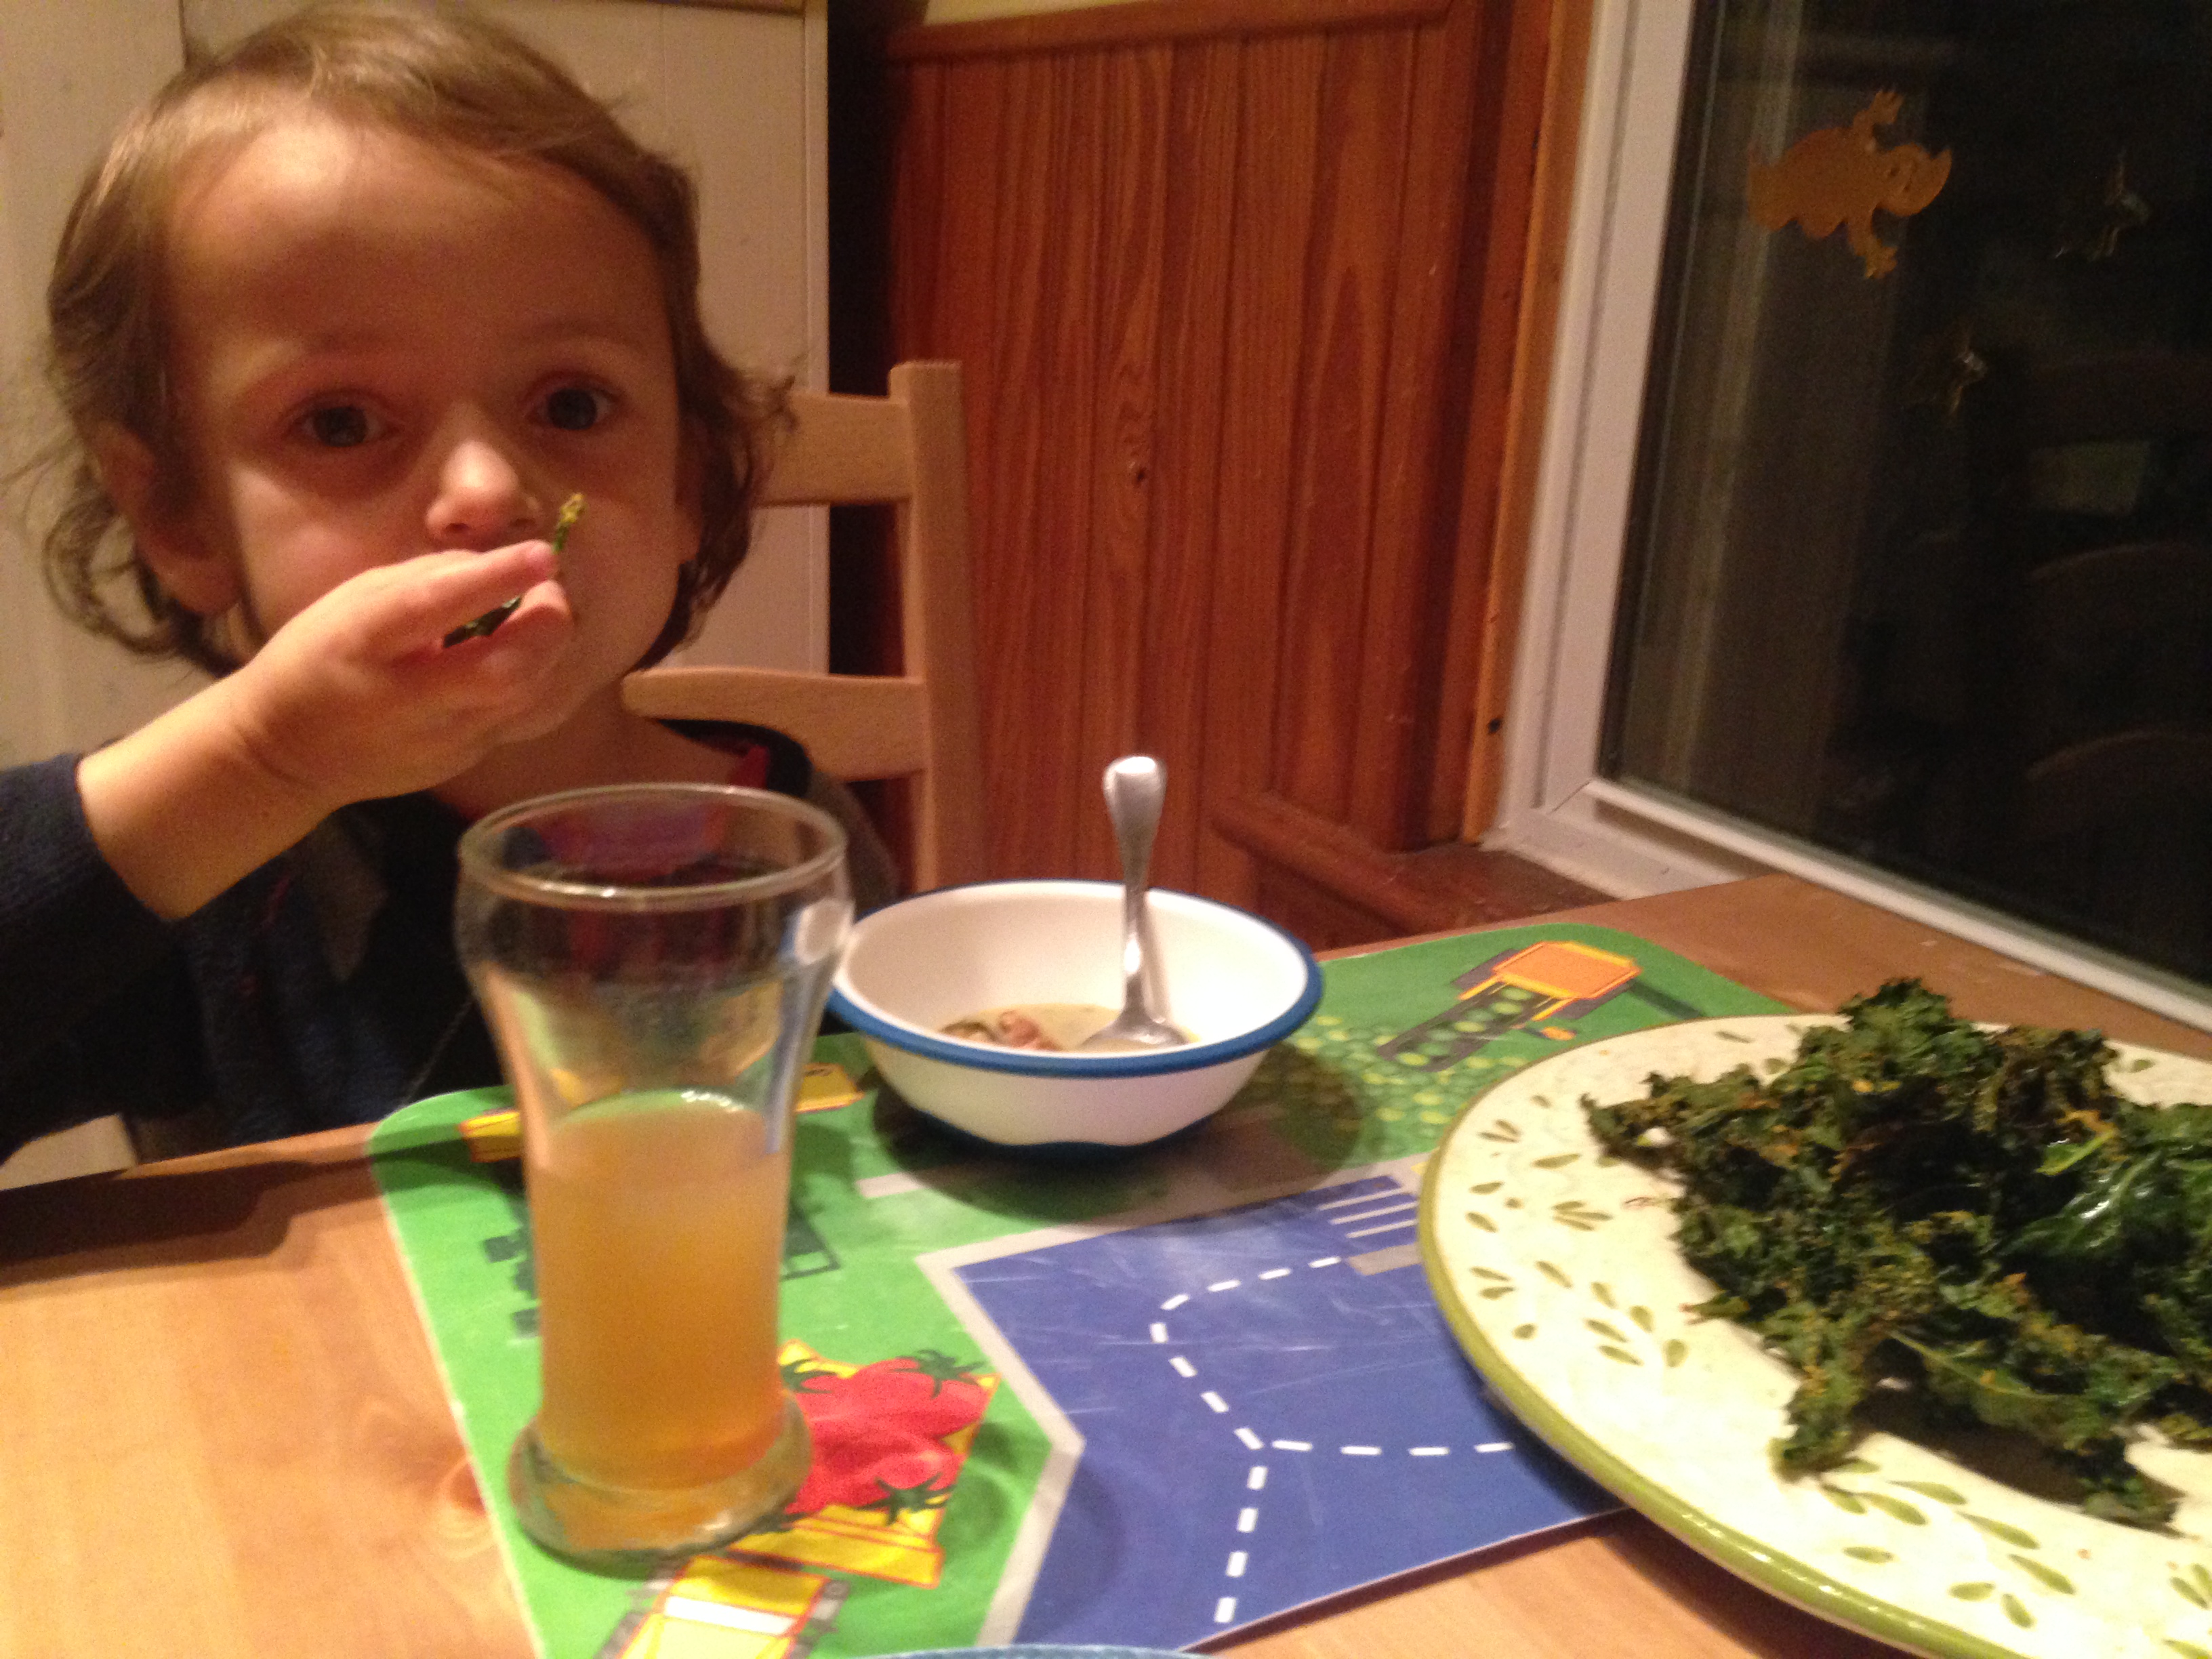
That’s a big plate of kale chips and a little bowl of soup.
We’ve been fortunate to have a really long blueberry season this summer… then again, they started pretty late. And our two bushes never produced, so there’s that. Still, we went picking a bunch of times.
After Mama did all her sorting and freezing (and I did all my snacking), she made jam. Now, I like to say “jams and jellies” because that’s what Mr. Gru and Dr. Nefario say, but Mama tells me that they’re very different. Jam is the cooked down, sugared, soft, and jelled version of fruits, whereas jelly is the jelled version of a fruit’s sweetened juices—that’s why it’s clear.
And if you know one thing about us, it’s that we don’t have time to make jelly.
So jam it is.
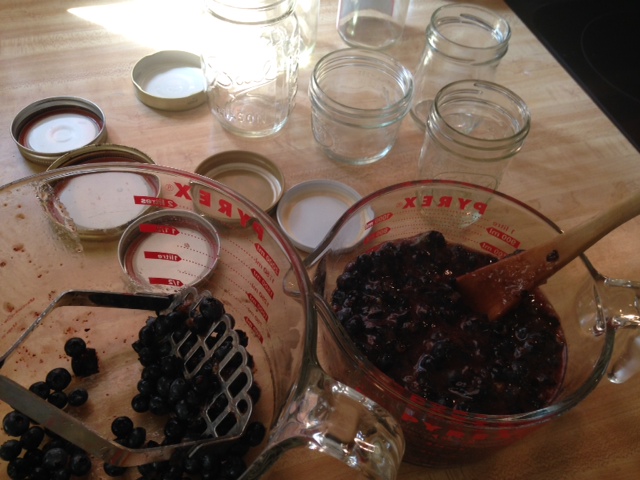
The first thing to do is mash the berries. I would like to say that Mama let me do this, but the whole jam-making experience was more of an observation. Blueberry mess + boiling sugar syrup = imminent danger in this household.
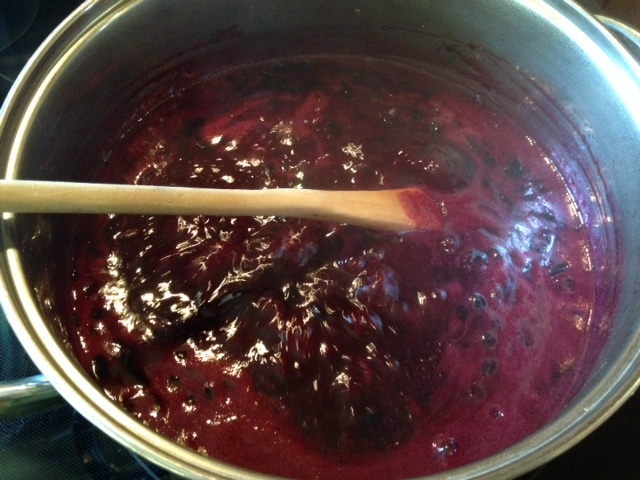
Once the berries were mashed, they were cooked with some water, local honey (Mama thought she’d change it up a bit), lemon juice, spices—cinnamon and cardamom, to be exact—and a dash of good ol’ pectin, to help it set up. When we’re making a quick on-the-spot jam, Mama skips the pectin, but as blueberries don’t have a lot of it on their own, she opted for the help. Pectin also needs a bit of acid to do its magic, hence the lemon juice (that, and blueberries and lemons are just plain yummy together).
Either way, the simple test to see whether the jam is sufficiently jelled is by putting a dab of it on a plate that’s been in the freezer. Return it to the freezer, and if, when you take it out and run your finger through it, it seems jammy, you’re done! If not, return the jam to a boil and cook it down a little more.
Mama decided to store this jam in the freezer (mainly so she didn’t have to haul out her canning equipment), so she put it in a bunch of pretty little jars instead and called it a day.
Once cooled, she carted the jars to the freezer and found a cozy place for them. And the very next day, I made myself a yummy blueberry jam and peanut butter sandwich.
Mama says I look like the Joker, whoever that is. I say this face looks like summer.
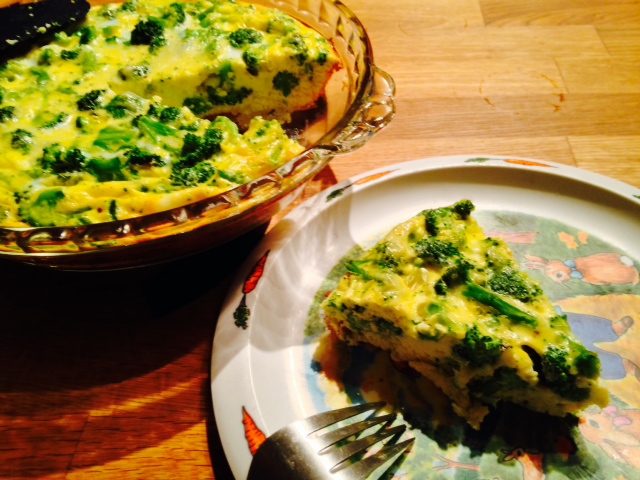
In honor of Bastille Day (and Papa’s return from Paris), Mama decided to make a quiche. She opted for crustless, as who has time to make and pre-bake a crust on a hot summer’s evening? Because I like broccoli (and because we had a bunch of it), she figured a broccoli and cheese quiche would be just the thing.
She figured wrong.
Of course she tried calling it an “egg pie” and a “broccoli pie,” which only made matters worse. After much cajoling, I finally tried a tentative bite. You can imagine what followed.
I knew from first sight that I wouldn’t like this.
Mama asked if I could tell her what I didn’t like about the quiche. I said, “I didn’t like the broccoli, and I didn’t like the egg.”
Well, there you have it. (Truth is, I might have liked it better had there been a crust, as who doesn’t love a flaky, buttery crust?)
Love, Jude
Broccoli & Cheese Quiche
A crown of broccoli, cut into small florets (our crowns were small, so Mama used 2)
6 organic eggs
½ cup cream or half-and-half
1/3 to ½ cup shredded cheese of choice (we used Gruyère, but you could use Cheddar, Asiago, Fontina…really, anything you have a hankering for)
Salt & pepper
Pinch of nutmeg (to make this a classic quiche)
Preheat oven to 350°F. Grease a 9” pie plate. (We used butter, as it’s a French dish, after all.) Boil or steam the broccoli until bright green and crisp tender, about 1 minute. Drain and set aside.
Jude on Food: All ingredients that go into a quiche should be cooked.
In a medium bowl, whisk the eggs until broken up and well combined. Add the cream or half-and-half and whisk to combine. Stir in the blanched broccoli and cheese. Season with salt, pepper, and nutmeg. Gently pour into prepared pie plate and bake until set & puffy, about 30 minutes.
Allow to cool about 5 minutes before cutting and serving.
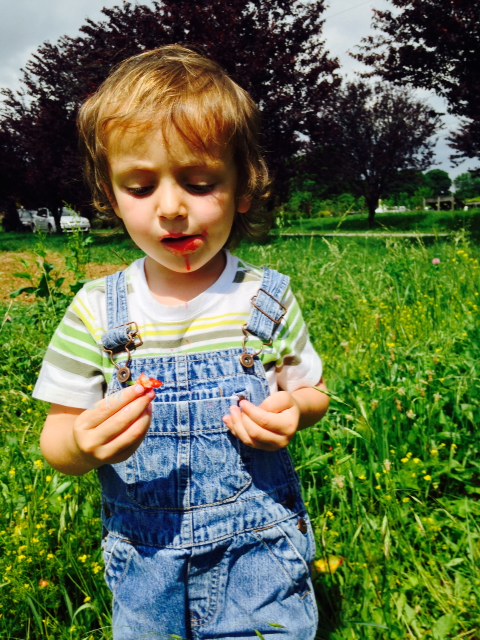
This year, our favorite organic berry-picking patch was overrun by hungry deer, so we couldn’t pick our usual lovely collection. Mama found another patch, though it was much less unkempt. Witness the weeds:
I didn’t like picking these strawberries because it was too much work hunting for them. I kept asking Mama to add her berries into my basket.
But the berries were warmed by the sun, and they positively burst when I bit into them.
At home, Mama ended up doing all the cleaning, but I helped her by eating a lot of those strawberries so that there were fewer of them for her to clean.
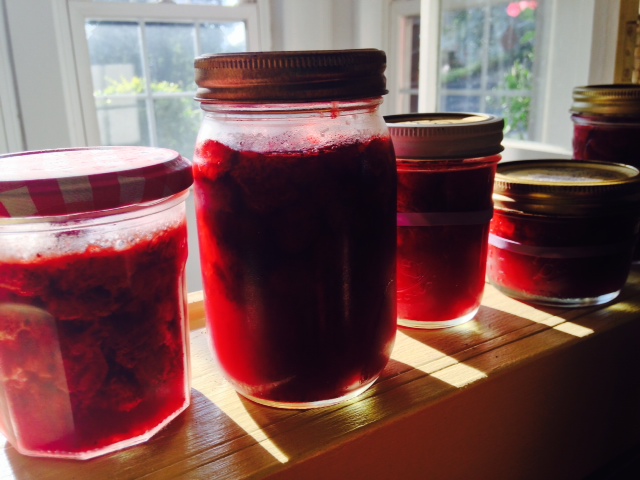
With them, we made a lot of freezer jam. We’ve made it before, but this time Mama tried a new recipe, based loosely on this one. Voilà:
Though all the jars ended up sealing, we’re going to store them in the fridge & freezer.
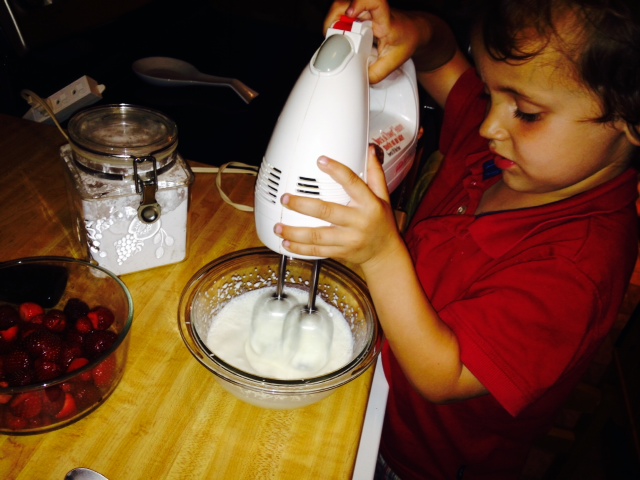
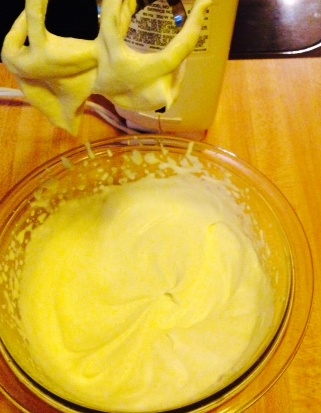
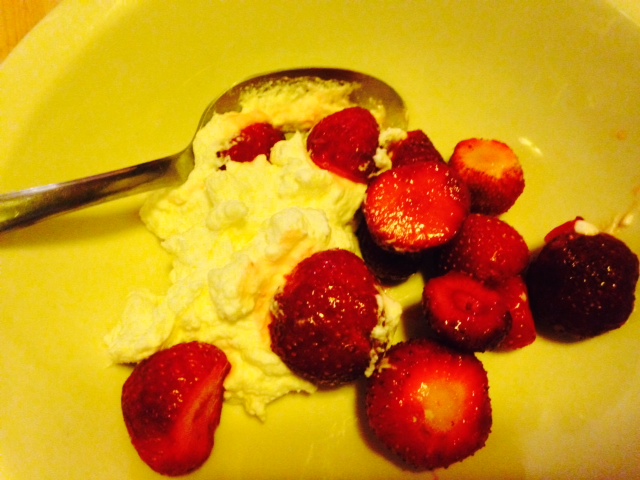
But the real show stopper, the easiest and most delicious part, was the fresh berries with whipped cream we ate for dessert. Mama says anyone with a whisk can whip cream, but not everyone does it correctly. She showed me how to do it right.
First, we kept everything cold, including the bowl and the beaters. Mama said this isn’t strictly necessary, but it’s been pretty hot out lately, so better to be safe—you’ll get a better whip with cold equipment. (She also wanted to save her arms by not whipping it by hand, though she suggests everyone ought to give that a try sometime.)
Mama explained that the only cream that’s going to whip is heavy cream, or whipping cream (either one will work). If you try to whip light cream or half-and-half, you’ll be whipping until I turn 4. This is because of the fat content (the fat is what holds it together). She also explained that plain whipped cream tastes about as bland as… well, plain whipping cream. Bleck.
Jude on Food: Flavor everything!
To remedy this, Mama showed me how to make chantilly cream. If you’re feeling fancy, you can pronounce it “shahn-tee-ee,” but I’m really good at making “L” sounds, so I’m going to stick with that. Chantilly is basically sweetened whipped cream with added vanilla.
You can find all sorts of recipes for basic chantilly cream, but Mama’s advice is to taste it once it’s beginning to whip up. If it needs more vanilla (or other flavoring, such as orange, lemon, or almond), add it. If it could be sweeter, sprinkle in more sugar. As for the type of sweetener you use, regular sugar works fine, but Mama likes to use confectioners’ sugar—that’s the soft powdery kind we sometimes put on crepes. She told me she’s never tried other sweeteners, but she supposes they would work just as well. (If you try one, let us know!)
Two other things Mama noted about making whipped cream: 1) go slowly—if you rush it by turning your mixer on high speed, you’ll not only splatter cream everywhere (as I found out), but you’ll heat up the cream, and it’ll take longer. 2) Don’t overwhip it.
Whip it–whip it real good!
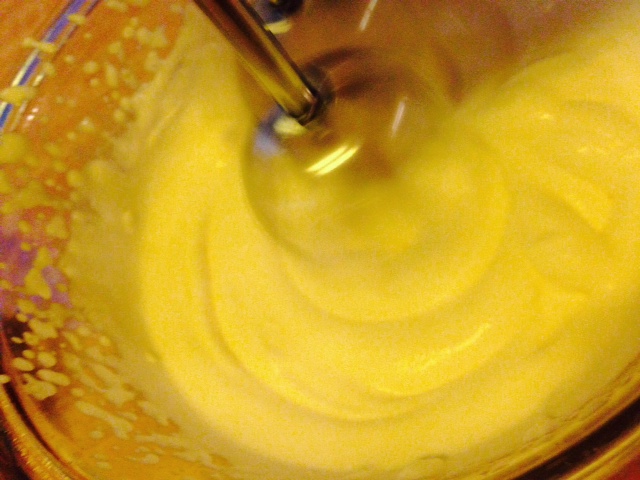
The problem with overwhipping cream isn’t the taste. It’s the texture. Even I don’t want my whipped cream to look like cottage cheese. Ewww, right? You can whip it to soft peaks or stiff peaks, but if you go beyond that, you can’t do much with it…except, maybe stuff it into something.
Because it’s just Mama and me right now (Papa’s out of town), she showed me what would happen if we pushed the cream too far:
Who am I kidding? I’d still eat that.
Mama let me beat the cream at first (note the splatters), but then took over to finish the job. I took this picture (and about 18 more like it):
See the trails that are created by the beaters? They’re loosely holding their shape, but they’re still very soft.
Another way to tell when the cream is getting close is to stop beating it and check how it looks on the beater.
The whipped cream is just clinging to the beaters, and there’s a soft little peak down in the bowl.
From here to ruin is a short path, so beat carefully from now on. If you’re planning to pipe the cream, you’ll want stiffer peaks, as they’ll hold their shape. If you’re looking for just a bit of billowy adornment, as we want for our berries, then stop when they’re soft.
Stiff cream will hold in the fridge, covered, for a day or so. Soft cream should be used pretty soon after it’s made. If it starts to weep, give it a light whipping with a whisk before using.
And what’s not to like about having a little whipped cream on hand?
Love, Jude
Chantilly Cream
1 cup cold heavy cream or whipping cream*
1 Tbsp powdered sugar (or, to taste)
1/2 tsp vanilla extract (or, to taste)
Place cream, sugar, and vanilla in a medium bowl and beat at low speed with an electric mixer (or in the bowl of a stand mixer with whip attachment); alternatively, use a whisk. When the cream begins to take shape, you may increase your speed a little bit more, but not more than medium. Move the beaters around the bowl and rotate the bowl to ensure you reach all the edges. Beat until desired stiffness, then serve or store until ready to use.
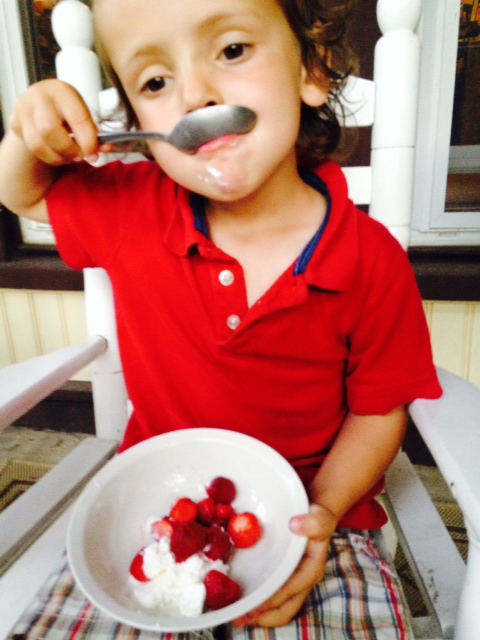
This dessert is Mama approved AND Jude approved.
Note: For an extra-special treat, try whipping crème fraiche. As sour cream’s sophisticated (and more pricey) cousin, it’s tangy and makes for a great complement to lemon curd and supersweet berries.
For a vegan alternative, put a can of full-fat coconut milk in the fridge overnight. Without shaking it, take it out of the fridge, remove the lid, and scoop out the solid white part. (Reserve the watery portion for smoothies.) Whip & flavor the white solids like you would cream.
You know me well enough by now to understand my ice cream obsession.
It should be no surprise, then, that I’ve been helping myself to treats out of the freezer. I bring them to Mama and ask, “Are you thinking what I’m thinking?”
Invariably, she says, “No, I’m not. Now put that back.”
Sigh.
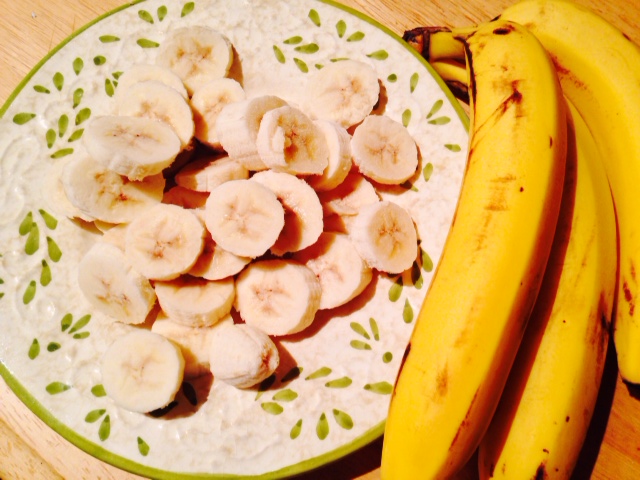
So I was thrilled when she offered to make banana ice cream with me, and not the kind that takes all day, what with the heating and the straining and the cooling and the freezing. Sneaky Mama planned it in advance. First, she sliced 2 bananas, then put the plate in the freezer.
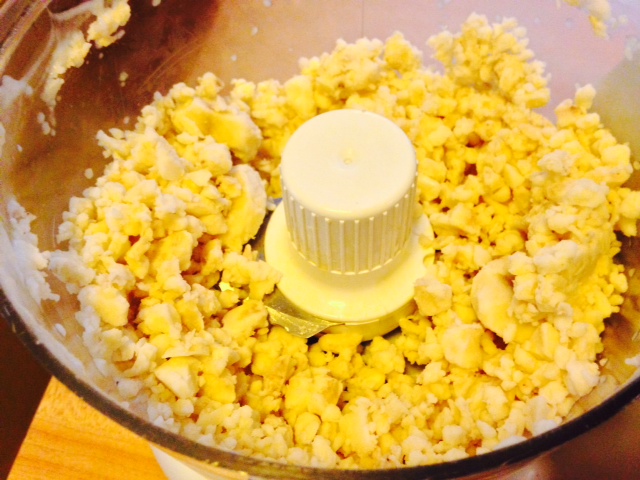
I didn’t know what was up her sleeve when she did this, so the wait didn’t bother me. Then she put the frozen slices in the food processor and began chopping them up. It was really loud, and I didn’t see how this was going to turn into ice cream.
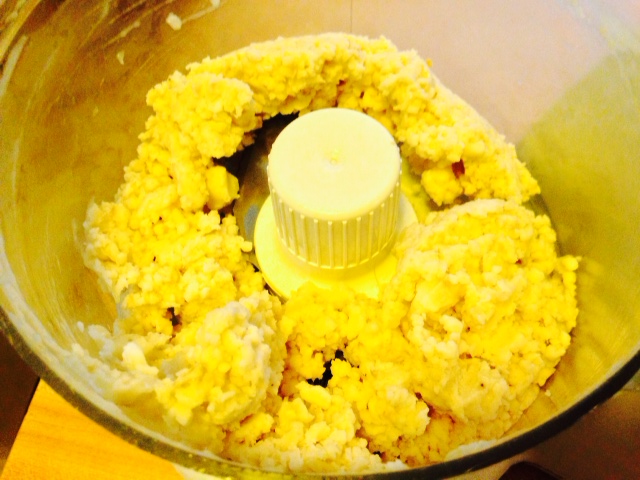
She had to scrape down the bowl a few times, but it started getting smoother:
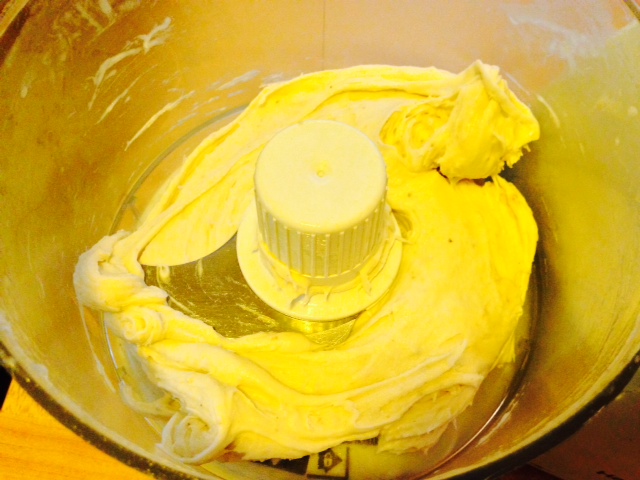
Until, eventually, it looked like ice cream:
It was smooth and creamy—and cold! Though it looks quite yellow in these pictures, it was actually closer to vanilla in color. And best of all, it was so easy (and so good for me) that Mama promised that we can make it all summer long.
And that makes me about the happiest kid on the block.
…and you can put dinner together pretty quickly. Or so I’m told.
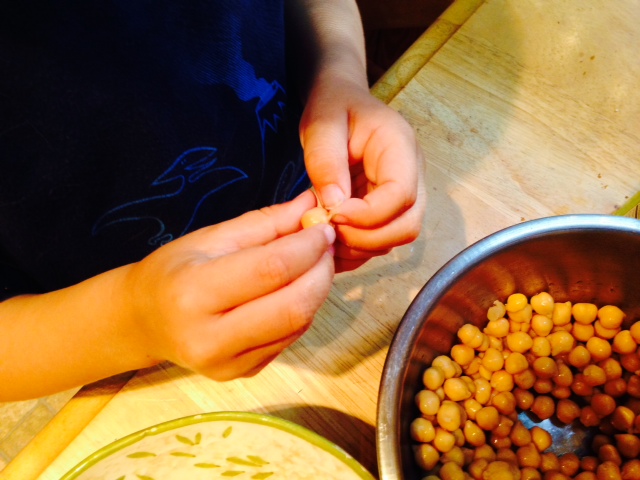
Mama occupied me with a can of chickpeas.
She showed me how to squeeze their little tails to pop them out of their skins. (I ate as many as I popped.)
Meanwhile, having been inspired by a recipe, she set to work on a dinner that involved rapini, or broccoli rabe. Not to be confused with broccolini (broccoli’s slender cousin), rapini is more leafy than broccolini. It also shares family lineage with turnips. Who knew?
But I’m getting ahead of myself.
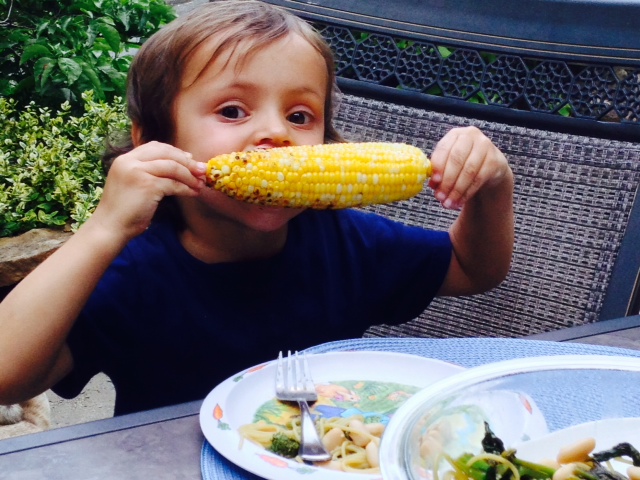
What prompted the can of chickpeas was my reluctance to pull the silk off several ears of corn. Have you seen how much silk gets trapped between the kernels? I was in no mood to pluck more than a few strands, so Mama passed the task to Papa and set me up with chickpeas.
All the while, the grill was preheating. When the corn was clean, Mama slathered olive oil on her palms, then rubbed them all over the corn. These Papa placed directly on the grill grates. He sprinkled kosher salt over them, then closed the lid. Every few minutes, one of them went out to turn the ears. Mama said she wanted “a good char” on them. At one point, she called us out to hear them popping!
Meanwhile, back in the kitchen, Mama set some spaghetti to cooking while she prepared the rapini portion in another large pot. The house smelled good with the sizzling garlic and lemon. By the time I was done with the chickpeas (Papa helped near the end), everything was done. The corn was brought to the table, the rapini-lemon-cannellini bean mixture was tossed with the pasta, and we were ready to pig out.
Except, I had eaten all those chickpeas. Still, I tried a bean. And a rapini floret—it was bitter! I did eat my corn, though. What’s not to like about corn on the cob? Luckily, none of the kernels popped in my mouth.
As I declared, “Good dinner, Mama!” It was made so quickly, and we were done with it so early, that I was able to play a long time before I had my bath. No distraction required.
Love, Jude
Char-Grilled Corn on the Cob
Peeled ears of corn
Olive oil
Kosher or sea salt (and ground black pepper, if desired)
Butter and/or grated Parmesan cheese, to serve, if desired
Preheat the grill. (Mama set it to about medium heat, and the temp gauge said it was around 400°F.) Using tongs, smear a paper towel with oil, and rub the grates. Spread about a teaspoon of olive oil between your palms, then run them around the ears of corn. (They don’t need to be heavily coated, but use more oil if necessary.) Sprinkle with salt (and pepper, if desired). Set ears directly on grill grates then close the lid.
Every few minutes, turn the ears. A char is desirable. Grill for about 10 minutes (you’ll start to hear the kernels pop). Remove to a plate and serve as is, or with butter and Parmesan.
That’s what I am. Otherwise known as “Mama’s kitchen nemesis.” We haven’t been posting a lot lately because I’ve been such a culinary critic. Needless to say, we’re both frustrated. And while that might make for some entertaining reading on occasion, I think we’re both tired of the gastronomic deadlock. If only she would make more things like Papa’s erupting Vesuvius bagel …
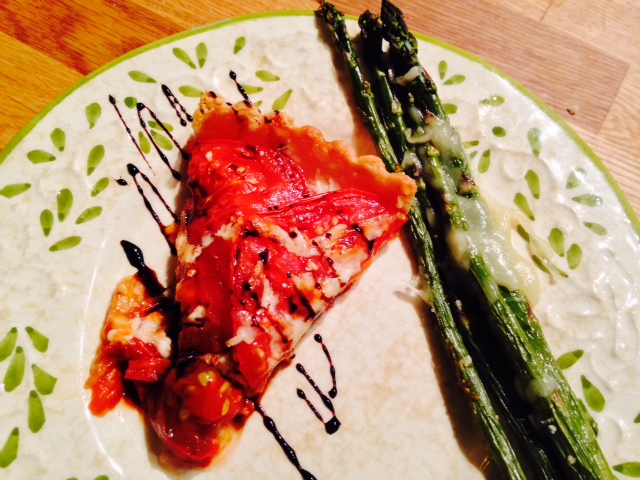
Now, what with summer around the corner, and with it all sorts of newly sprouting vegetables, Mama’s tart-making machine is in full swing. We’ve made many tartsbefore. Whether they’re called pies or tarts (or crumbles or crisps or galettes), my favorite involve fruit. And though I’ve learned that tomatoes are indeed a fruit, they don’t count. Witness, the tomato tart:
I wanted nothing to do with it. I didn’t even want to eat the asparagus because it was next to it on my plate:
The balsamic reduction didn’t help matters. And when Mama tried bribing me to try it with a piece of fruit pie (she had extra dough), I told her, “That’s okay. I had dessert last day [yesterday].”
That’s right. I passed on pie. This is getting serious.
This morning, I showed Papa how to make a smoothie with honey-vanilla Greek yogurt and a few apricot slices that Mama froze last summer specifically for this purpose. (It was delicious.) Then Papa showed me how to make a Vesuvius Bagel.
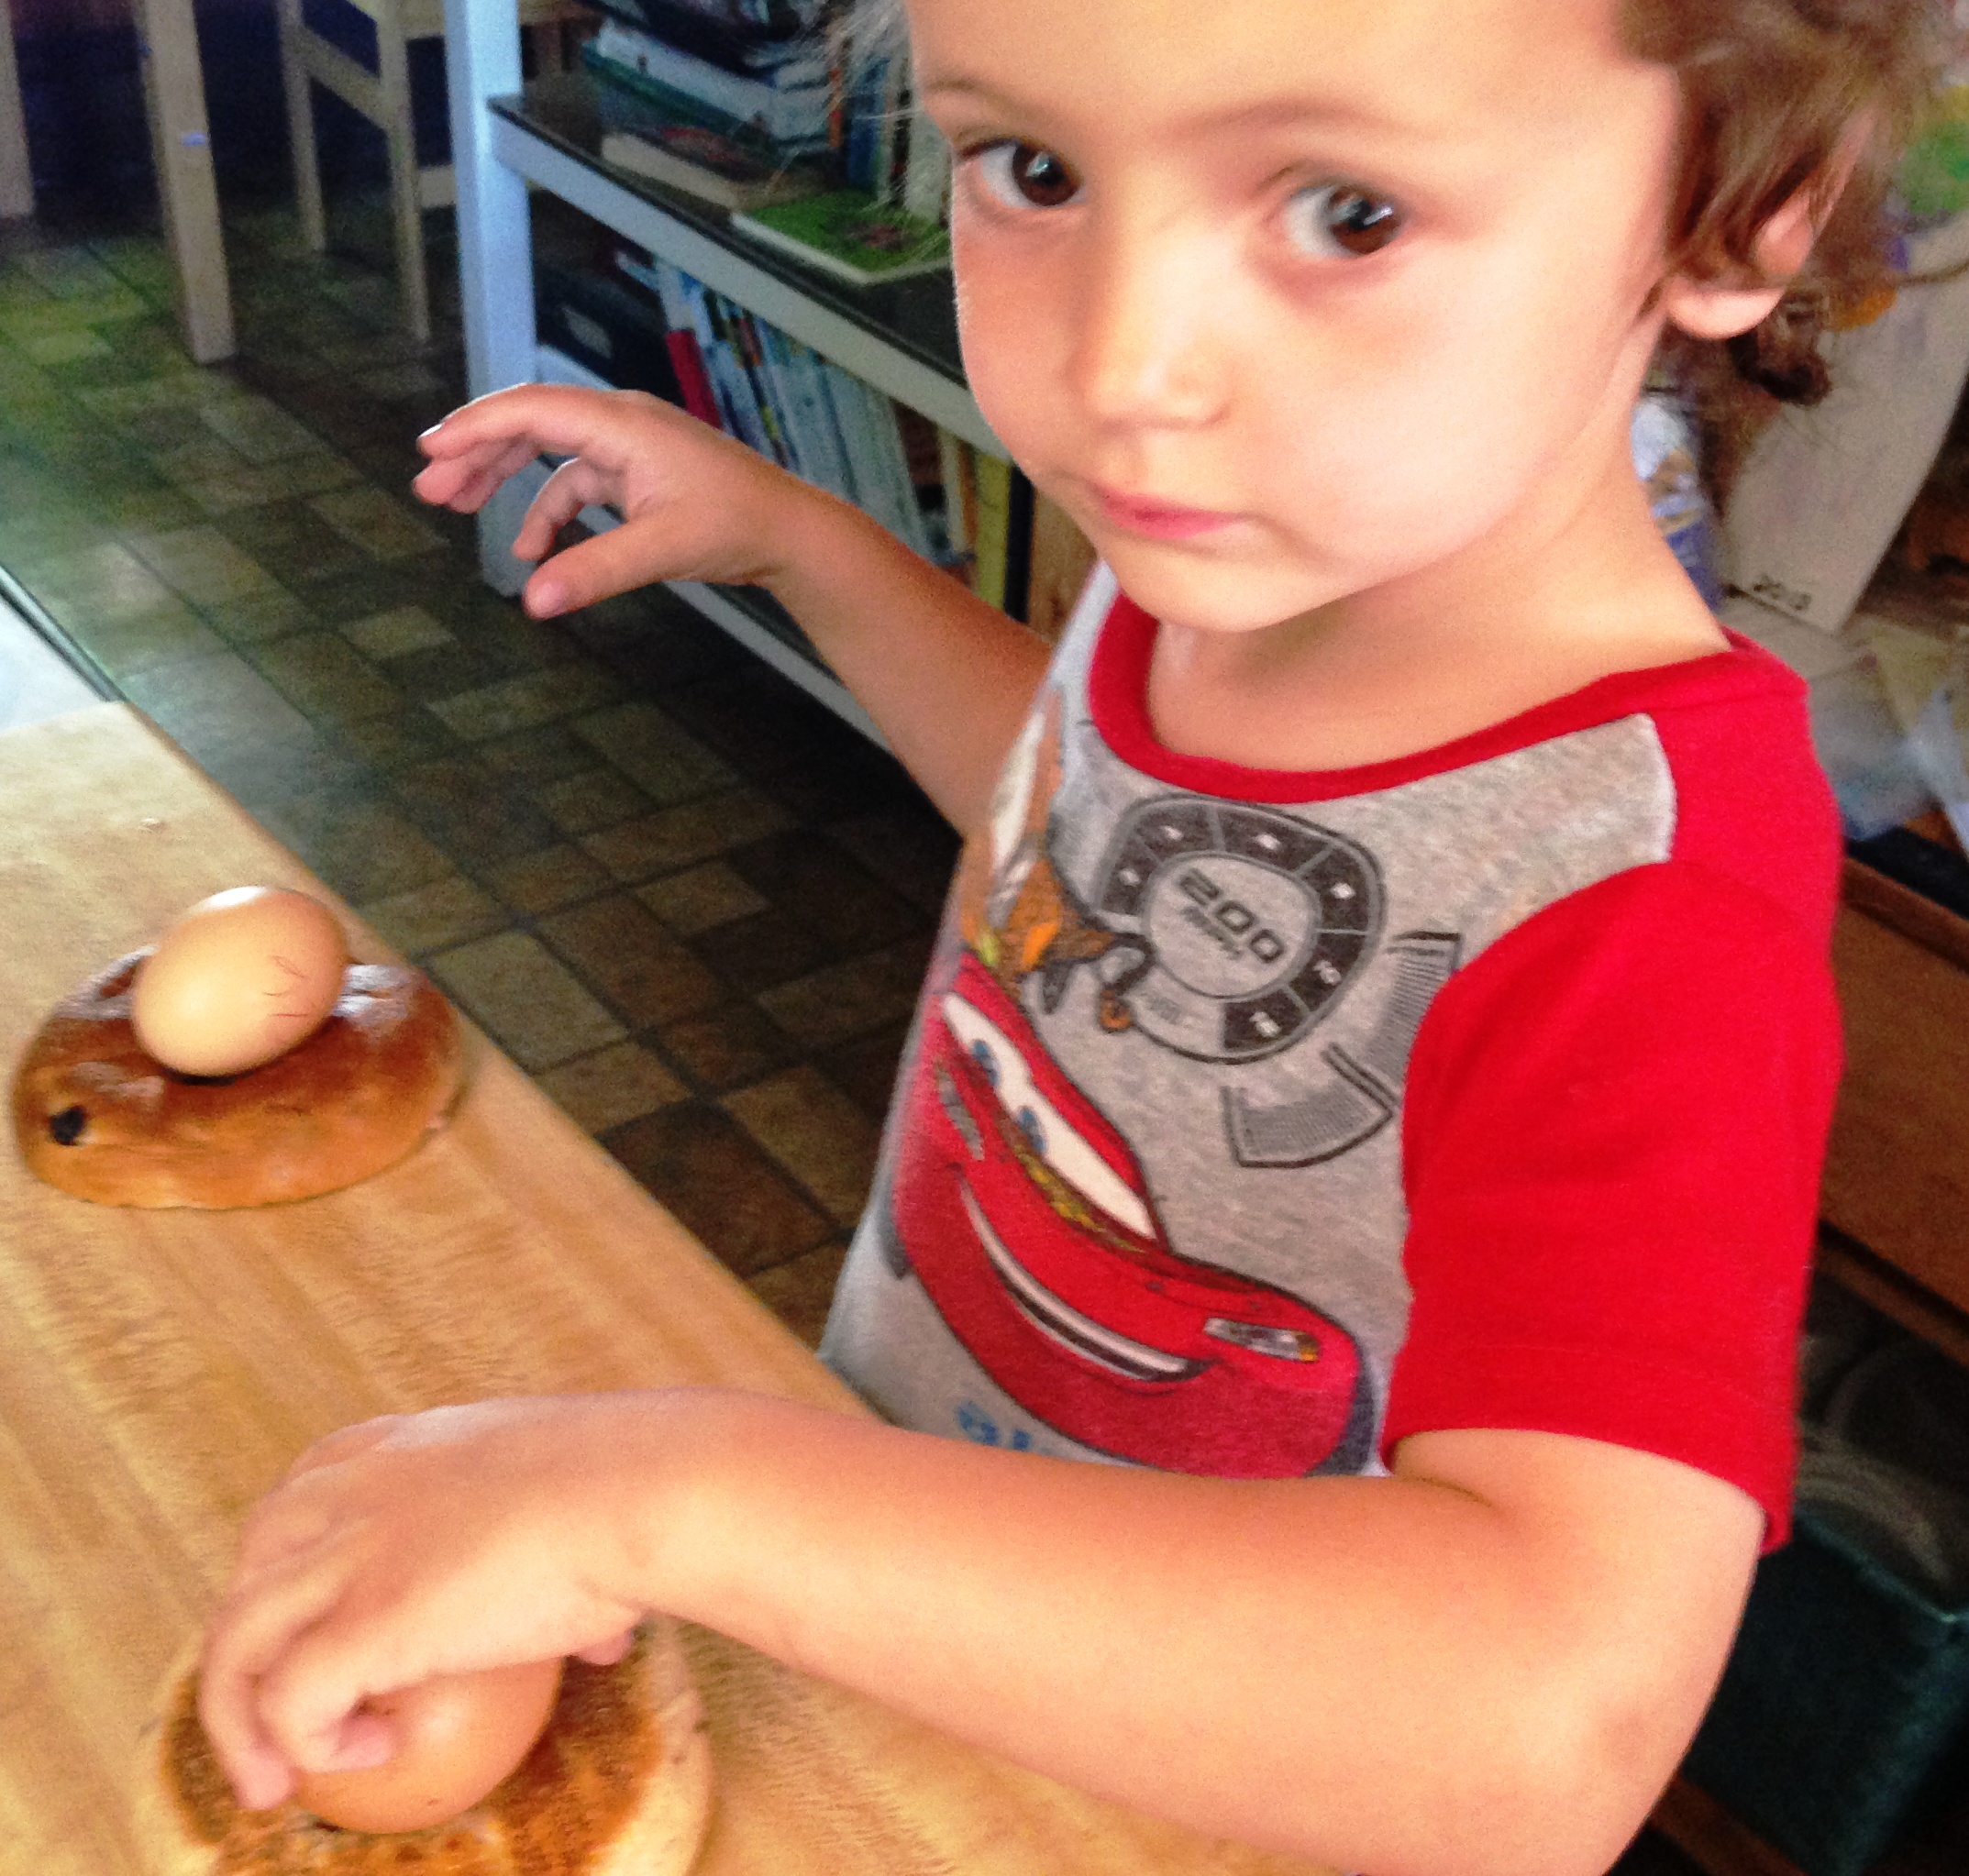
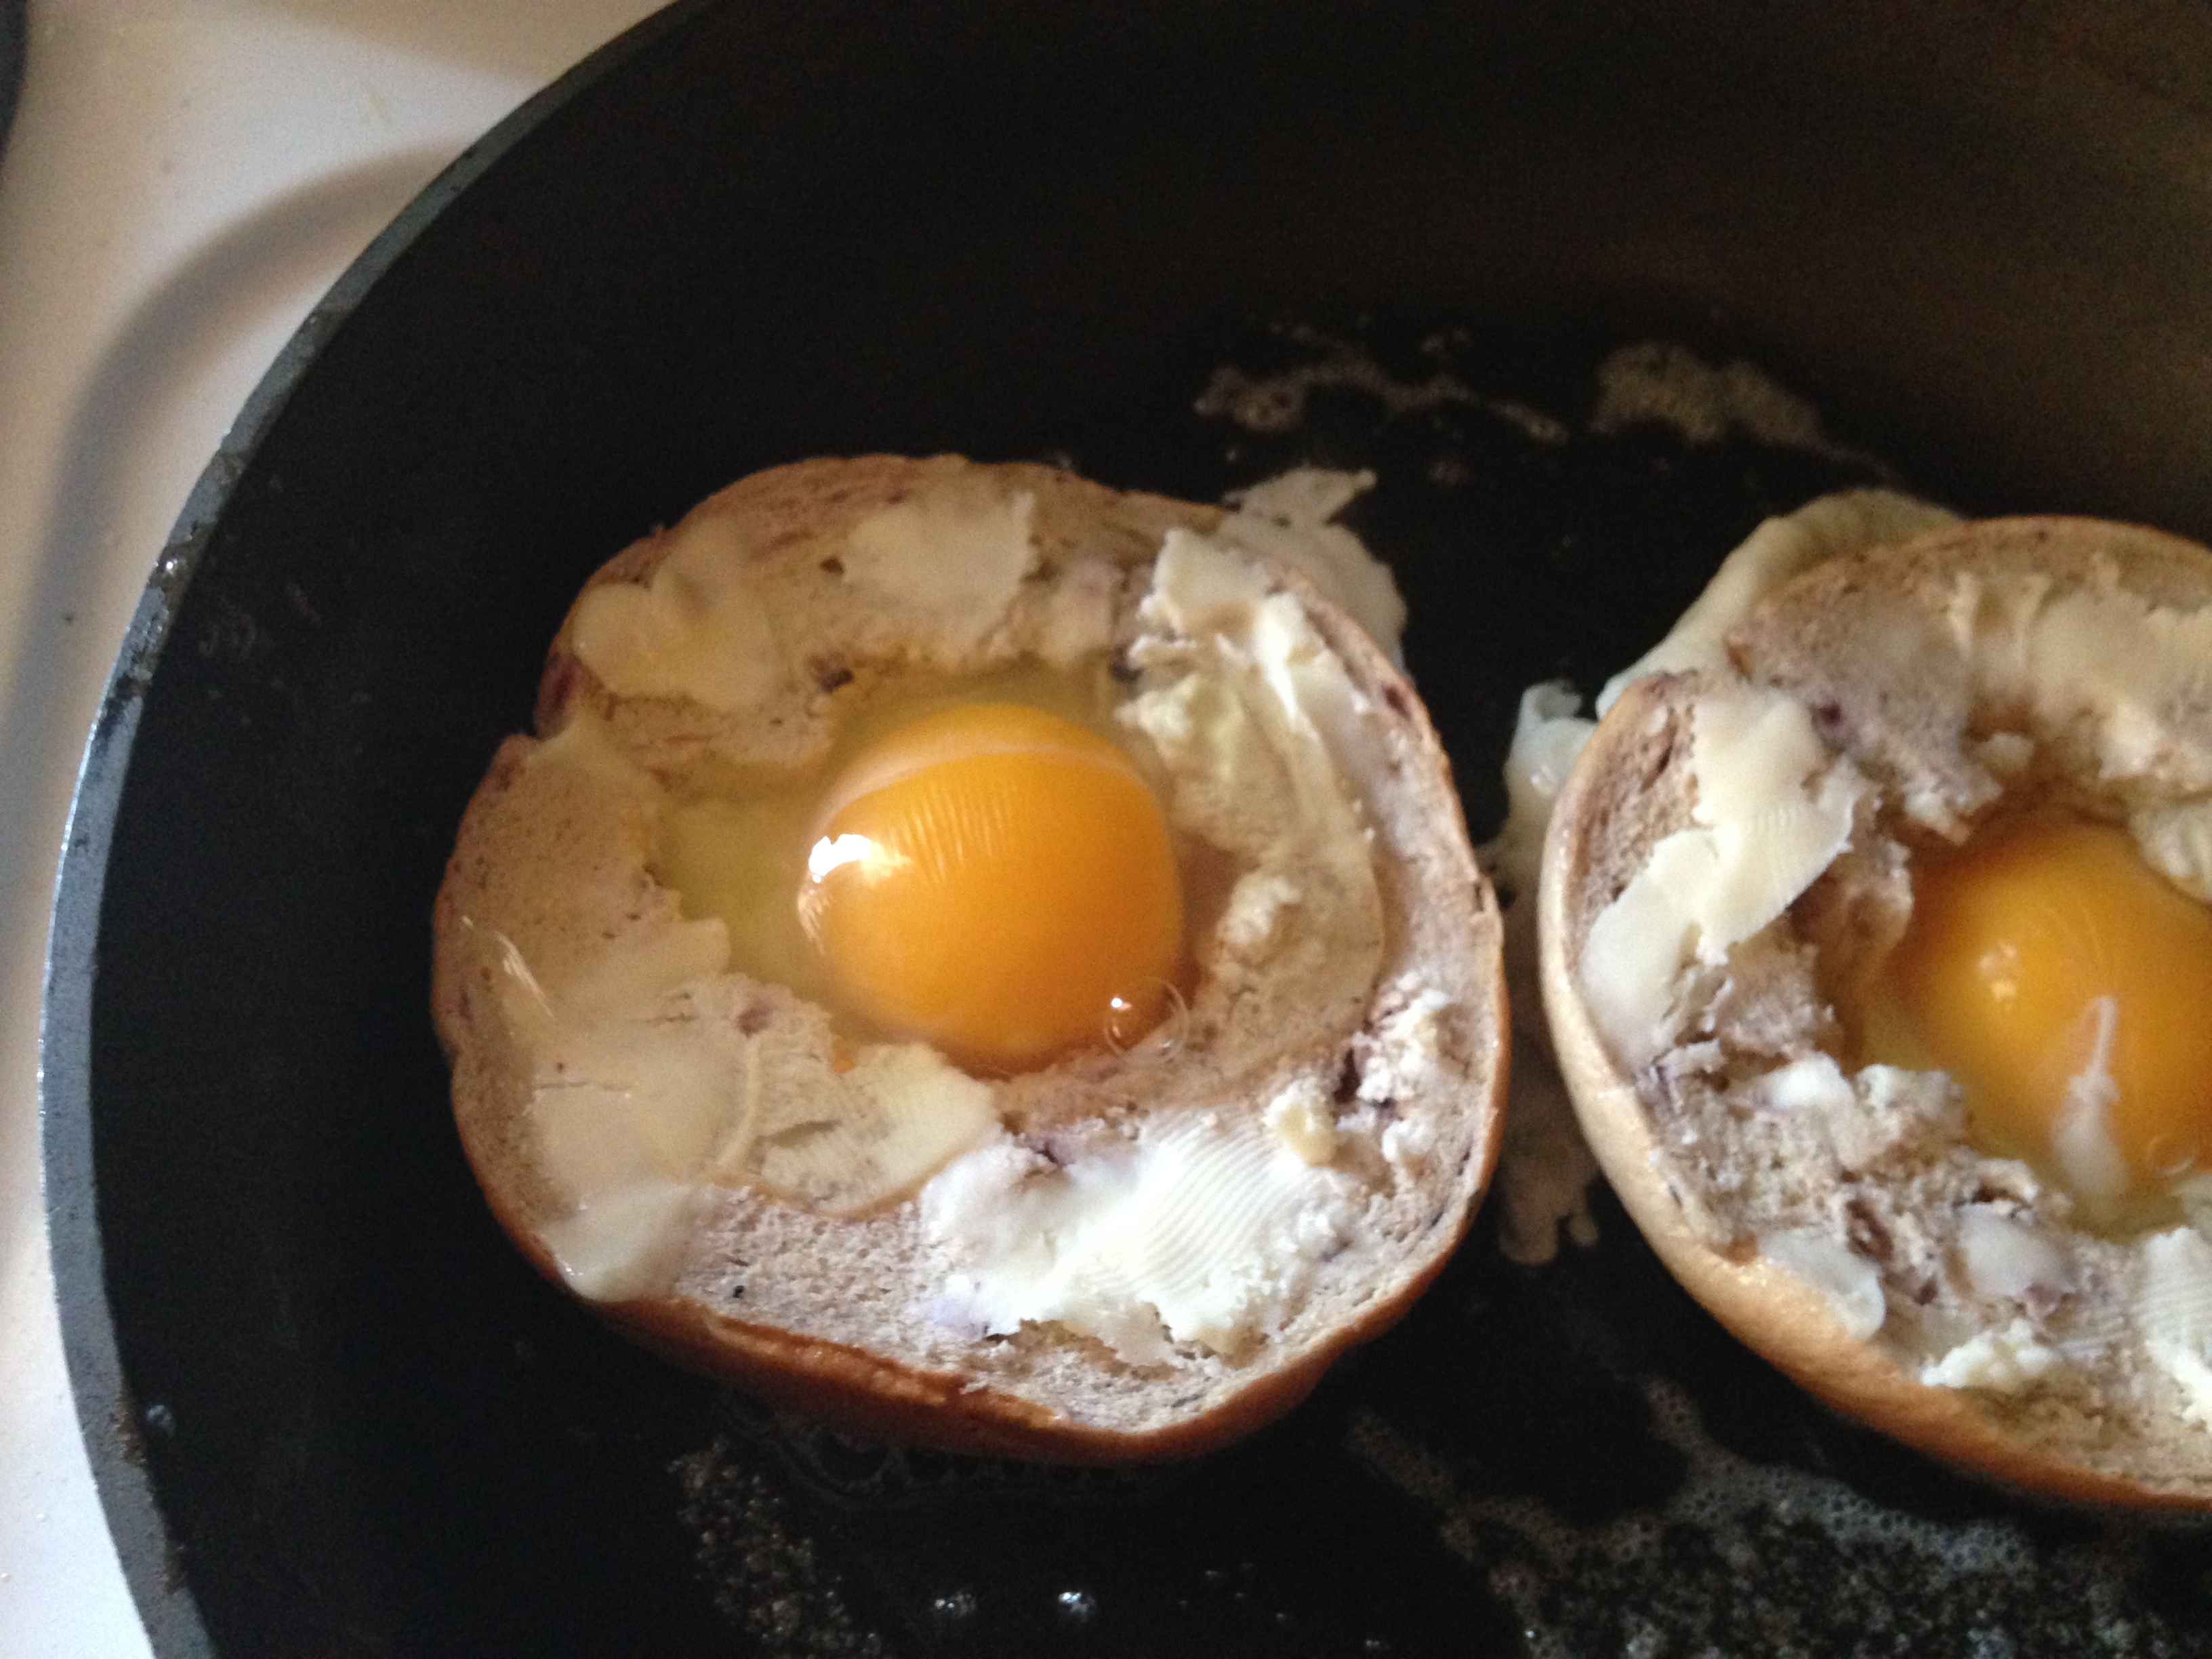
I’m giving these eggs from a friend’s farm bagel nests.
Papa calls it a Vesuvius bagel because it erupts, something like this volcano did a long, long time ago:
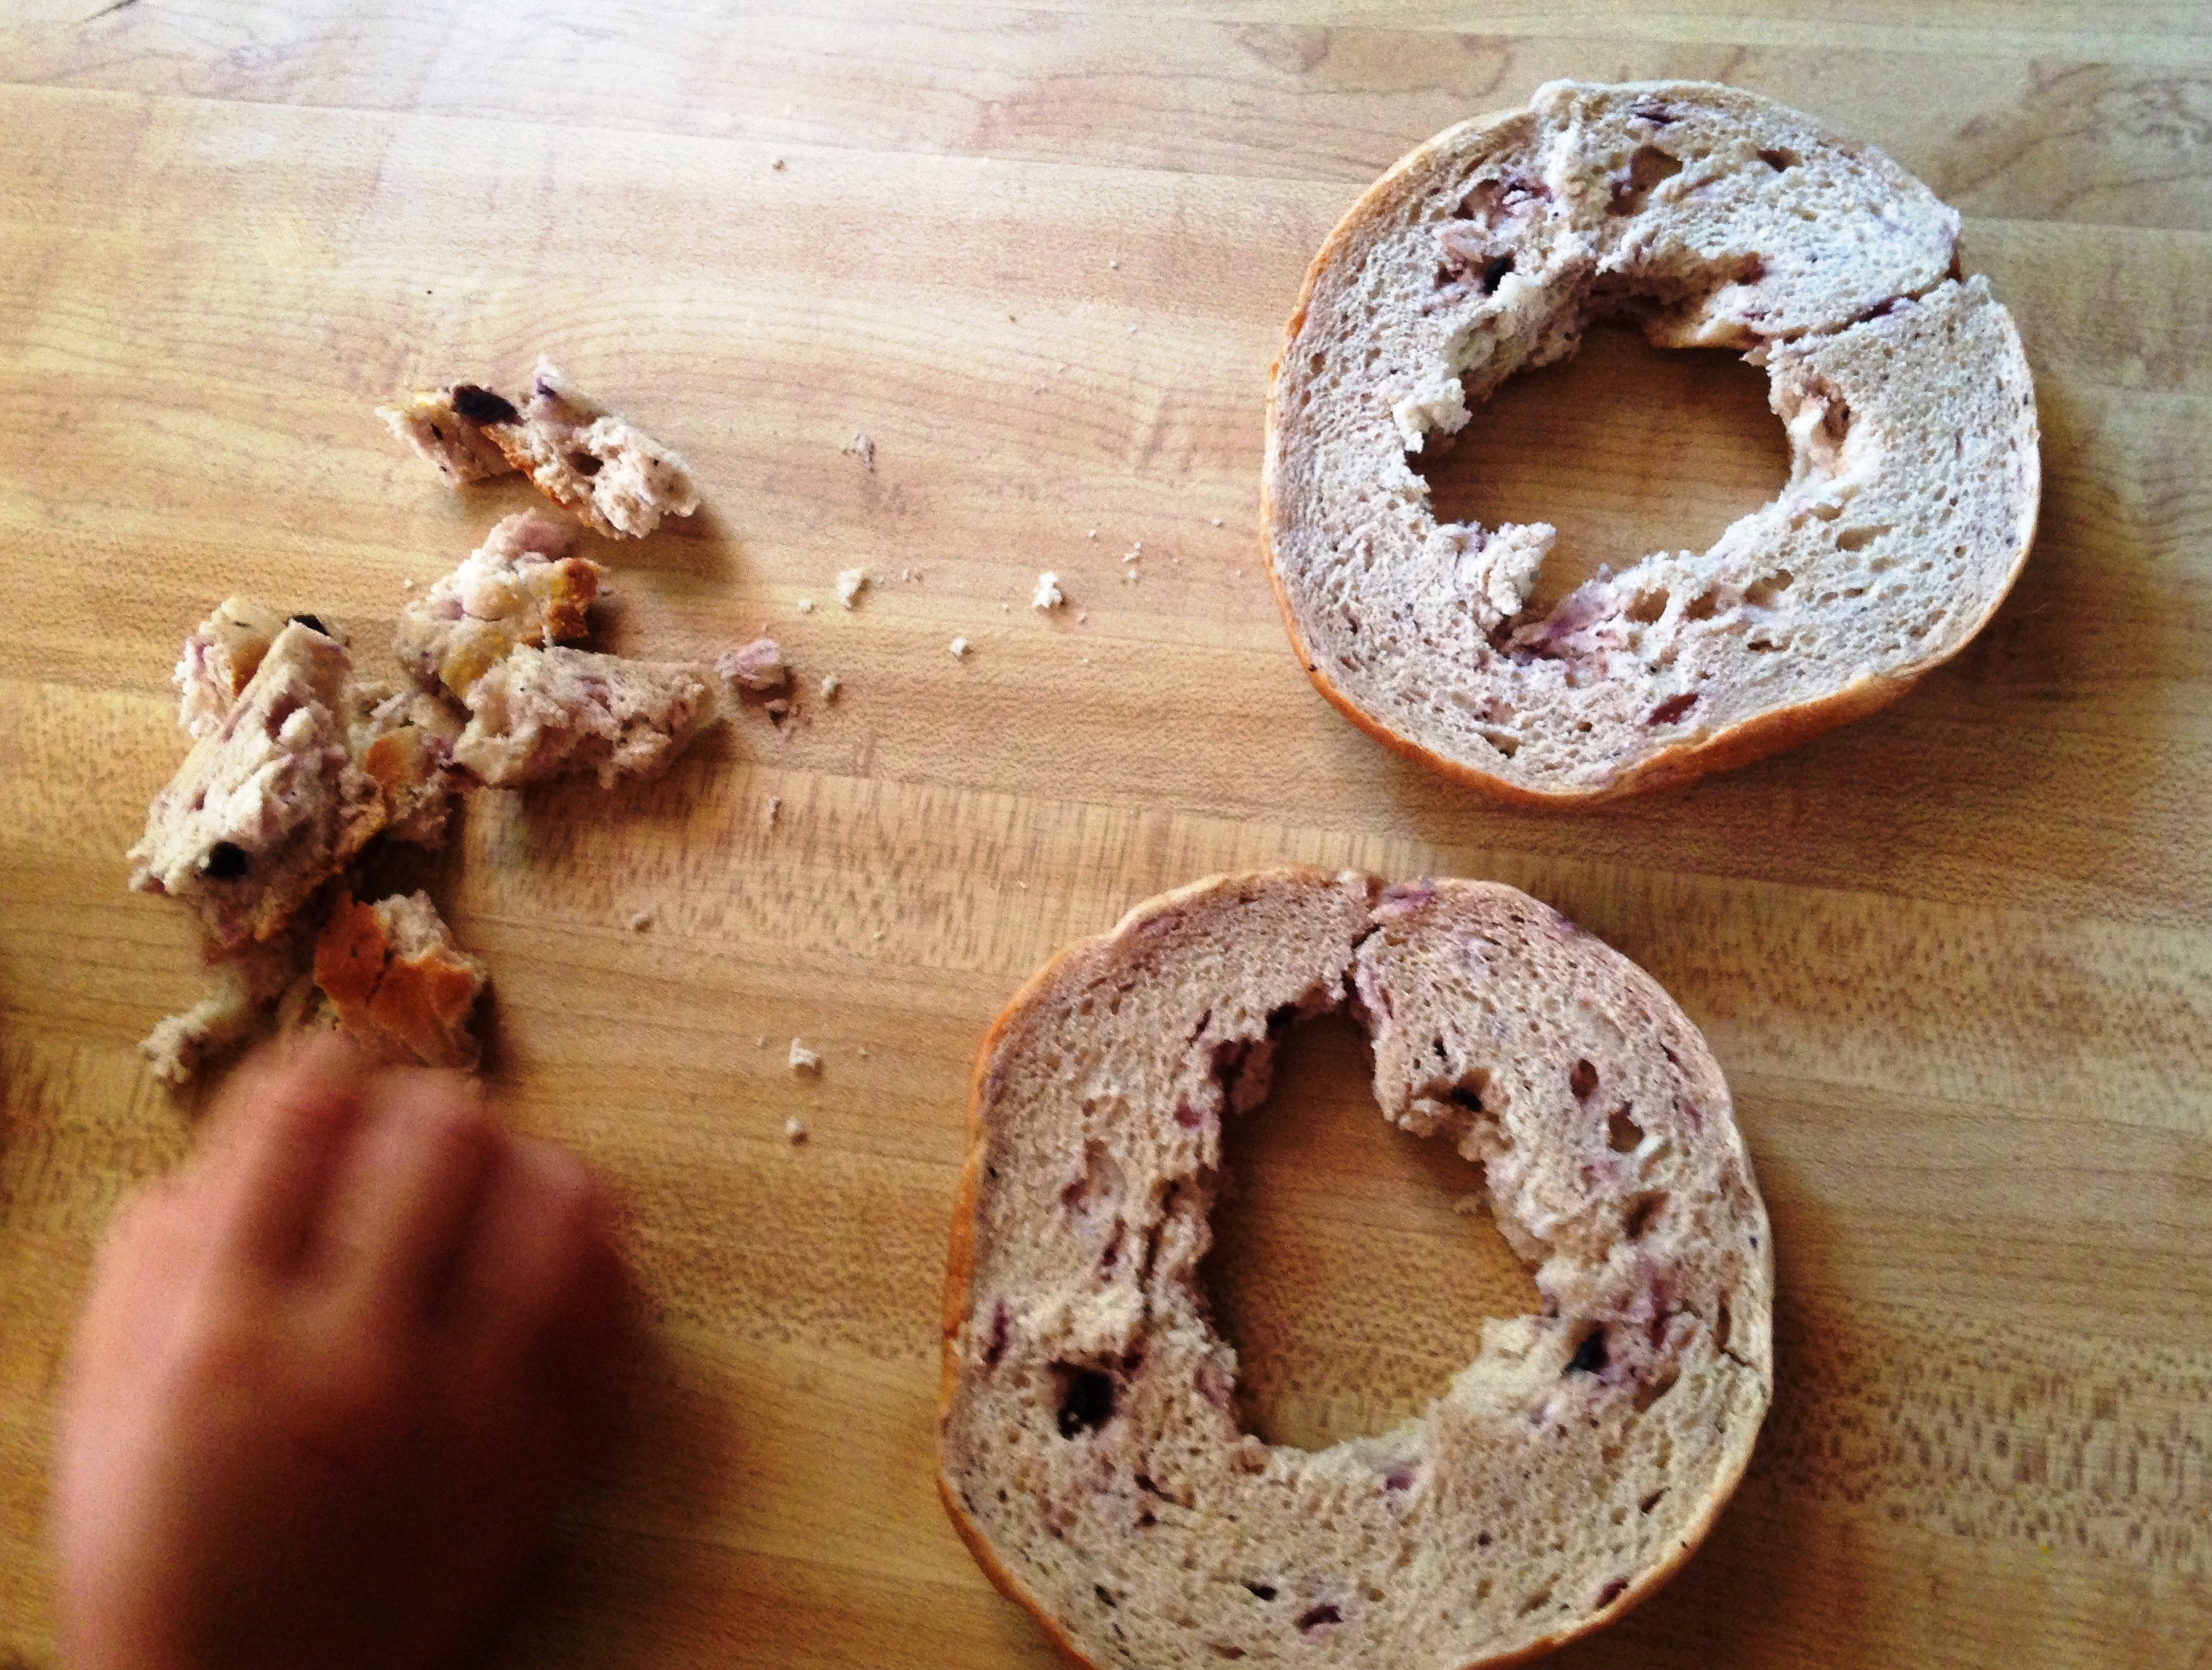
First, Papa made the bagel hole a little larger, so there’s enough room for the egg to fit.
You can eat the part of the bagel you pull from the center.
Then he buttered the top part of the bagel (so that when he flips it in the skillet, it’s all ready to go.) He melted butter in the skillet, set the bagels in it, and cracked the eggs. I was upset that I wasn’t allowed to do it, because I’m very good at cracking eggs without breaking the yolks (as you know), but Papa explained that the skillet is hot, and that it wasn’t a safe thing for me to do. (Thanks for looking out for me, Papa.)
The eggs fit perfectly in those bagel holes.
The Vesuvius part is coming up!
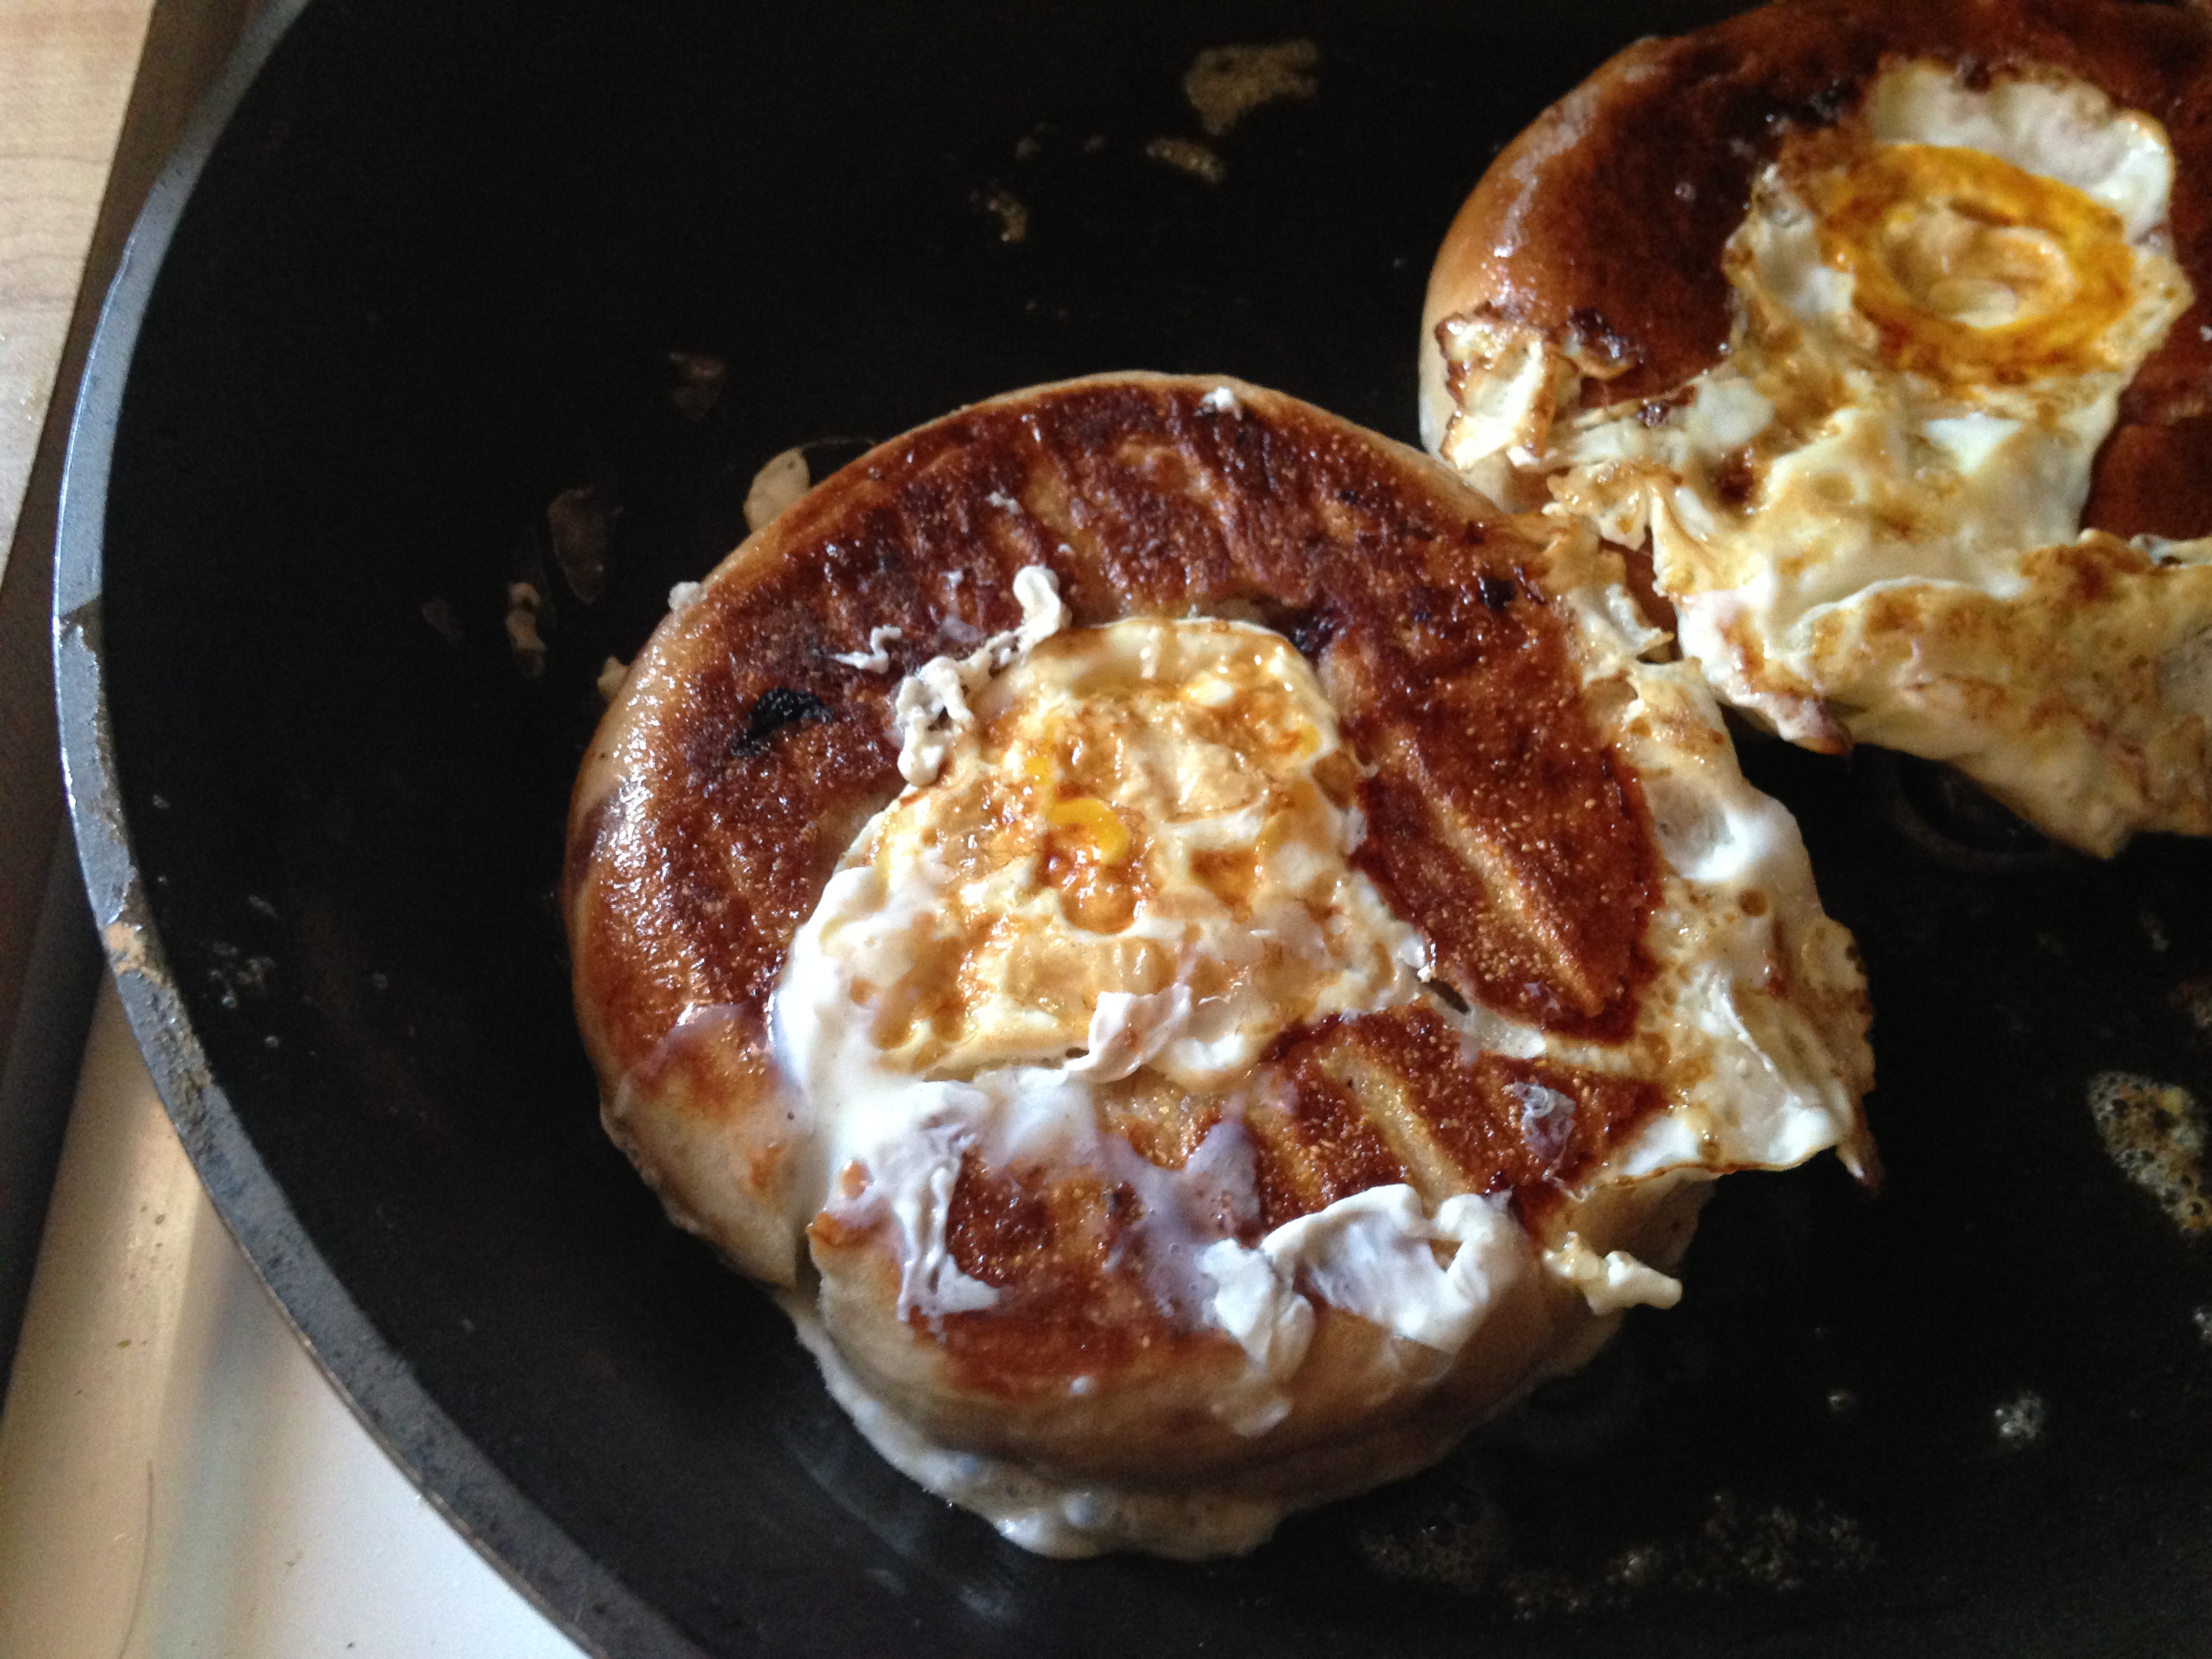
Once he flipped over the bagels, he fried them just until set. (He cooked Mama’s longer because she likes her yolks “stepped on.” Silly Mama. She shouldn’t step on her food!)
And now comes the best part:
I had to hunt around a little bit to find where the yolk was.
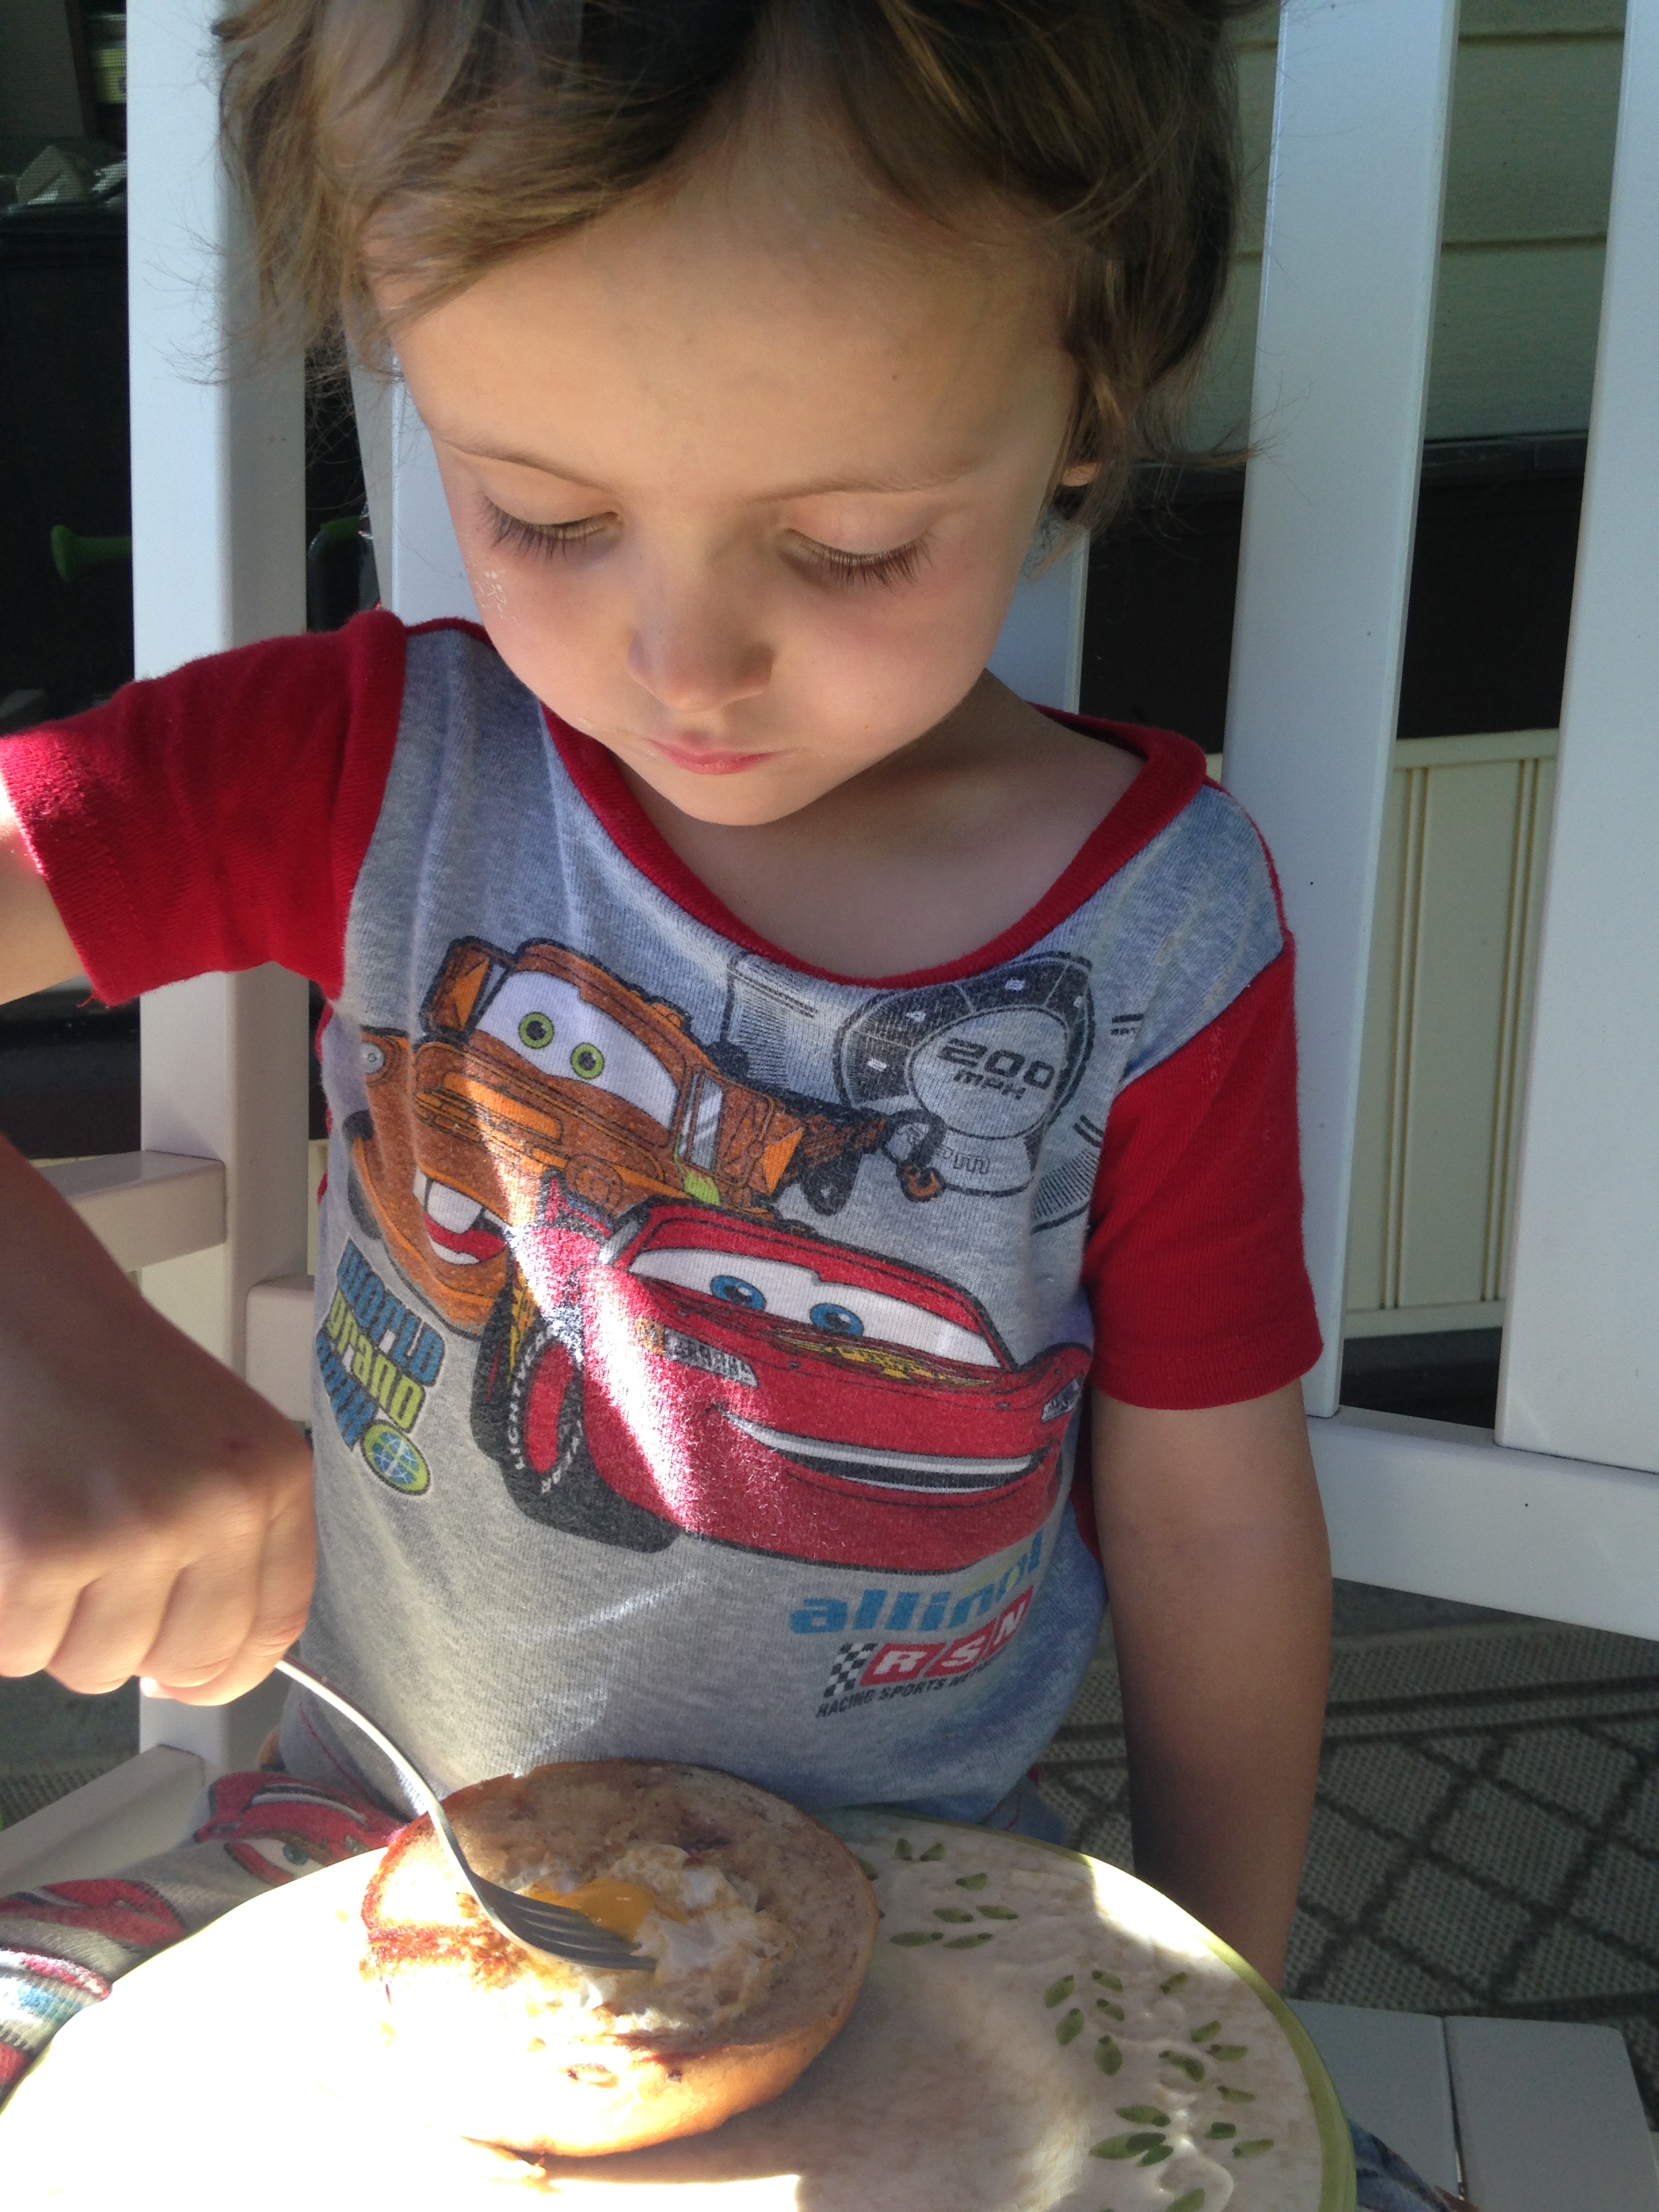
If you poke it just right, the yolk will run all over the place, just like lava.
“I want to use a big plate because I’m a big boy.”
Once I let all the lava flow from the bagel, Papa cut it up for me so that I could smear the bagel through the yolk. The bagel was toasty and buttery, and I love the creaminess of a farm-fresh egg. I wish all meals could be like this.
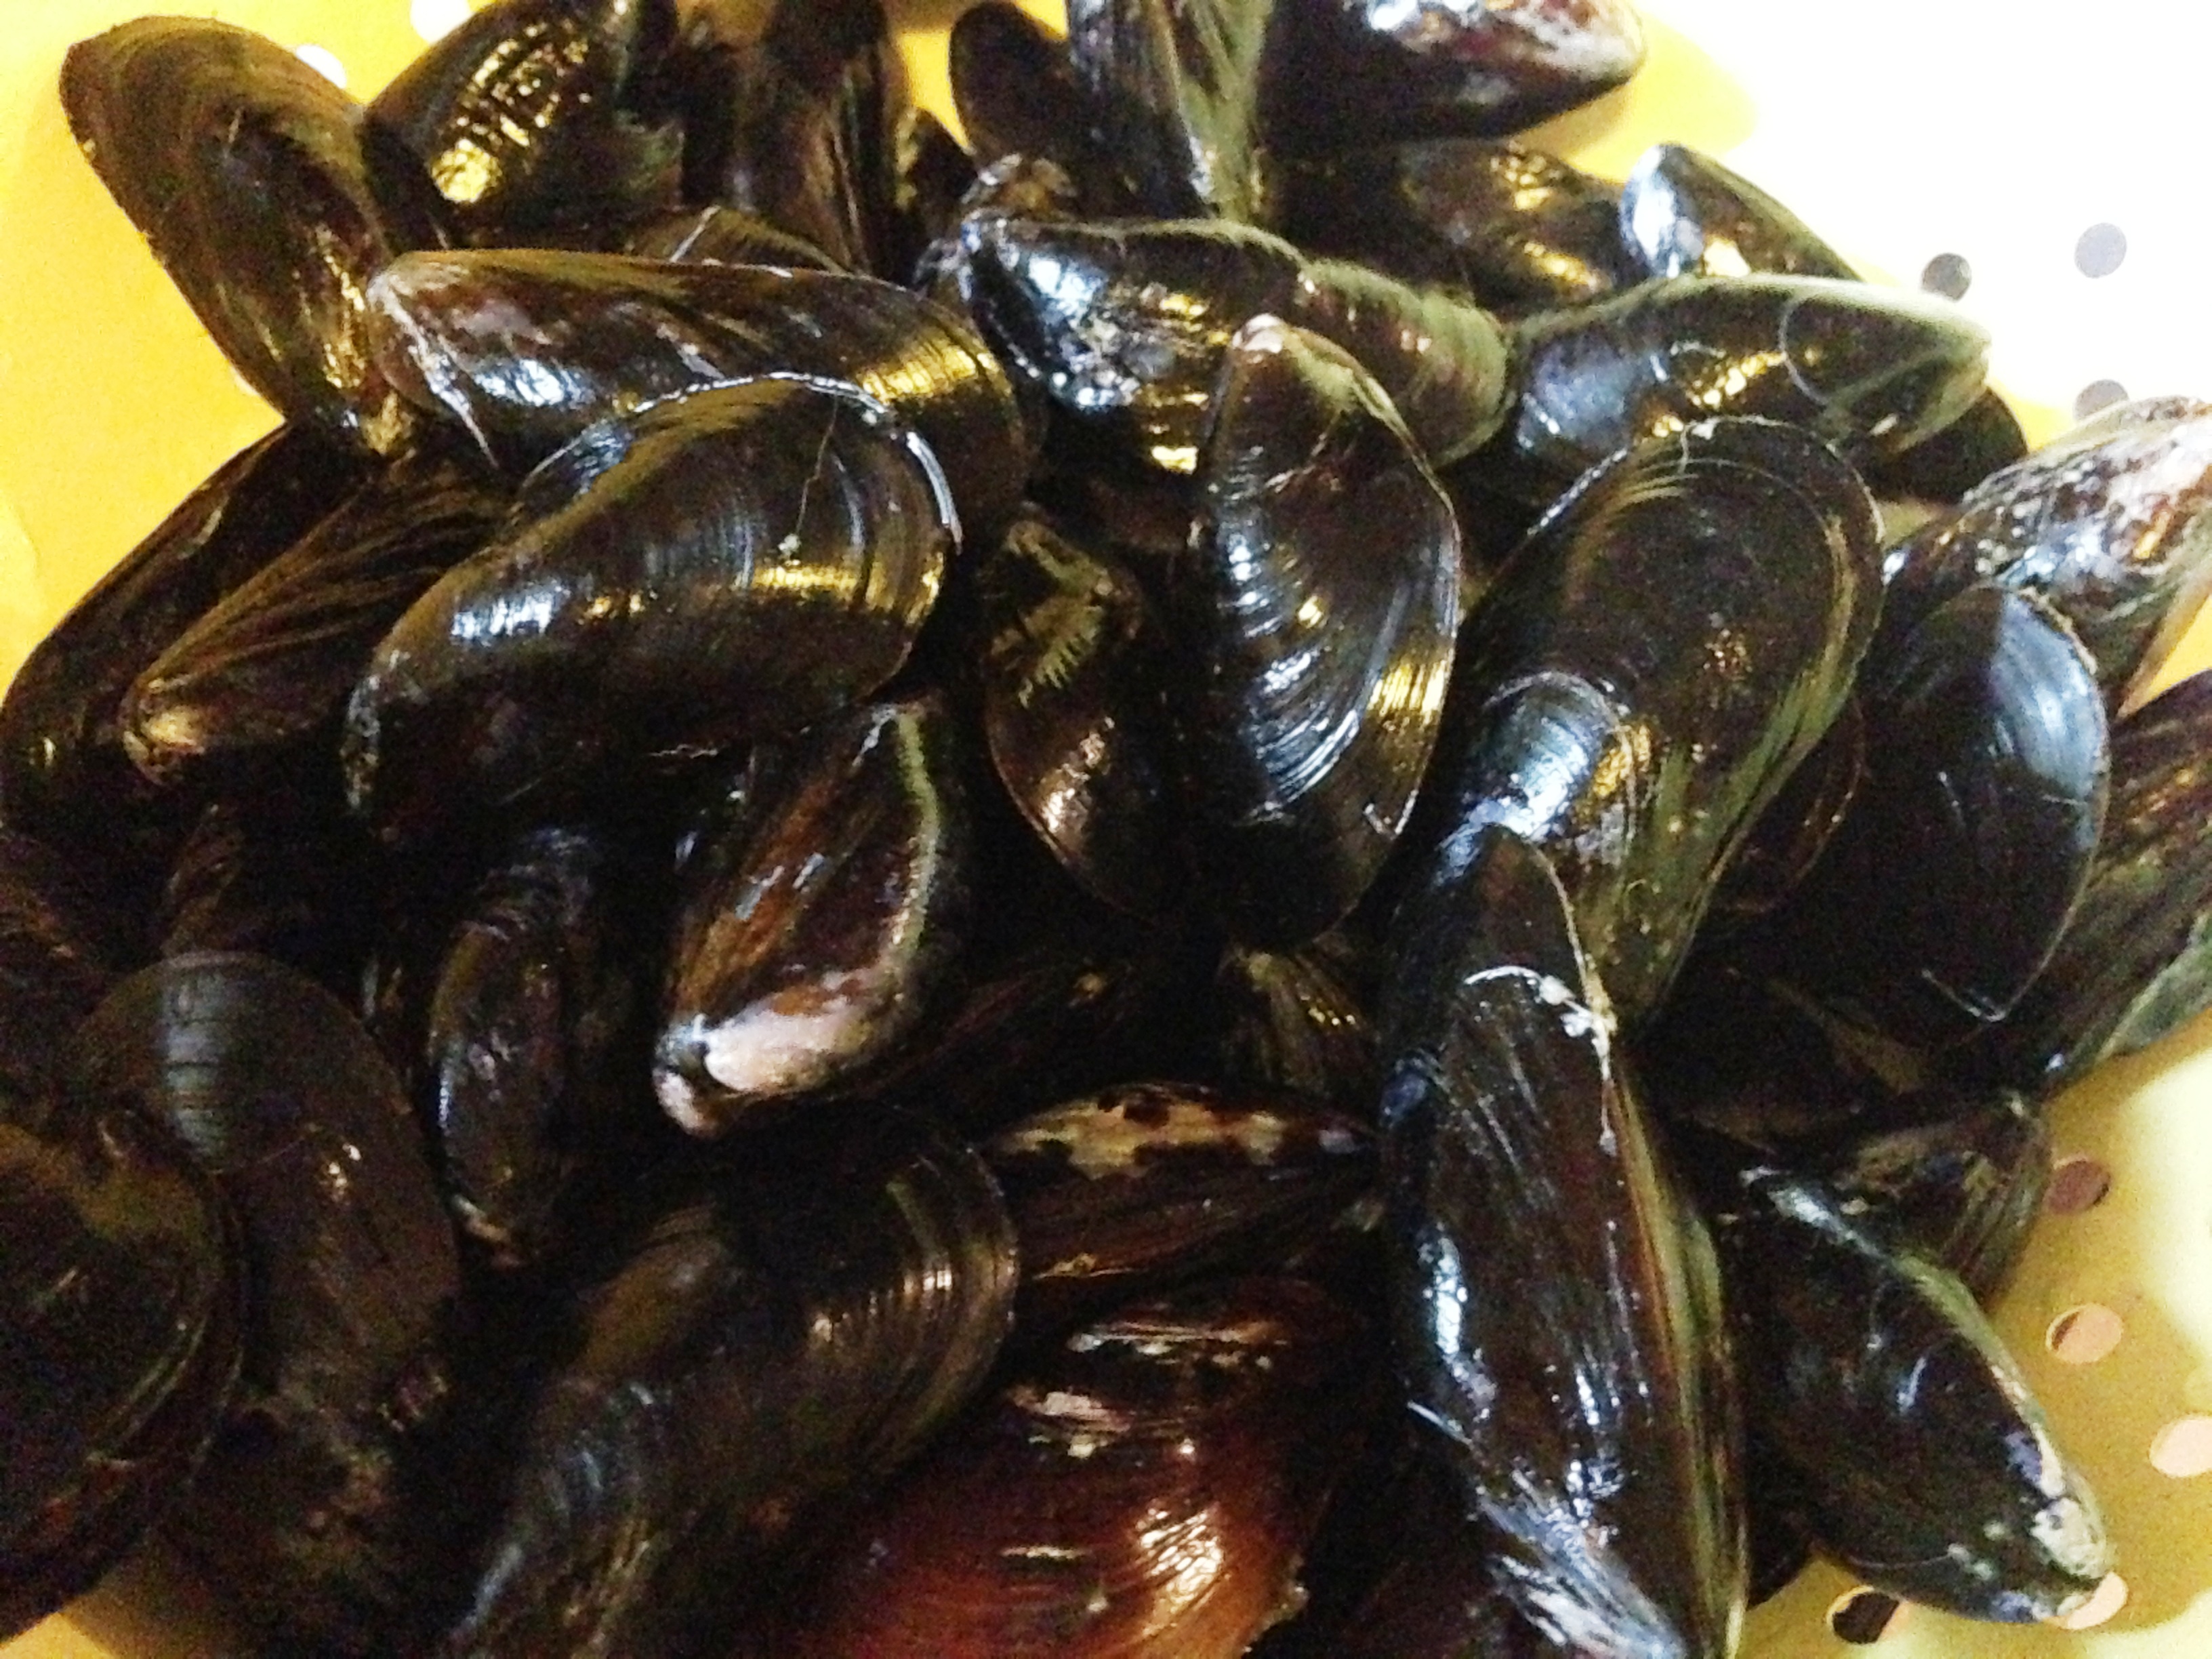
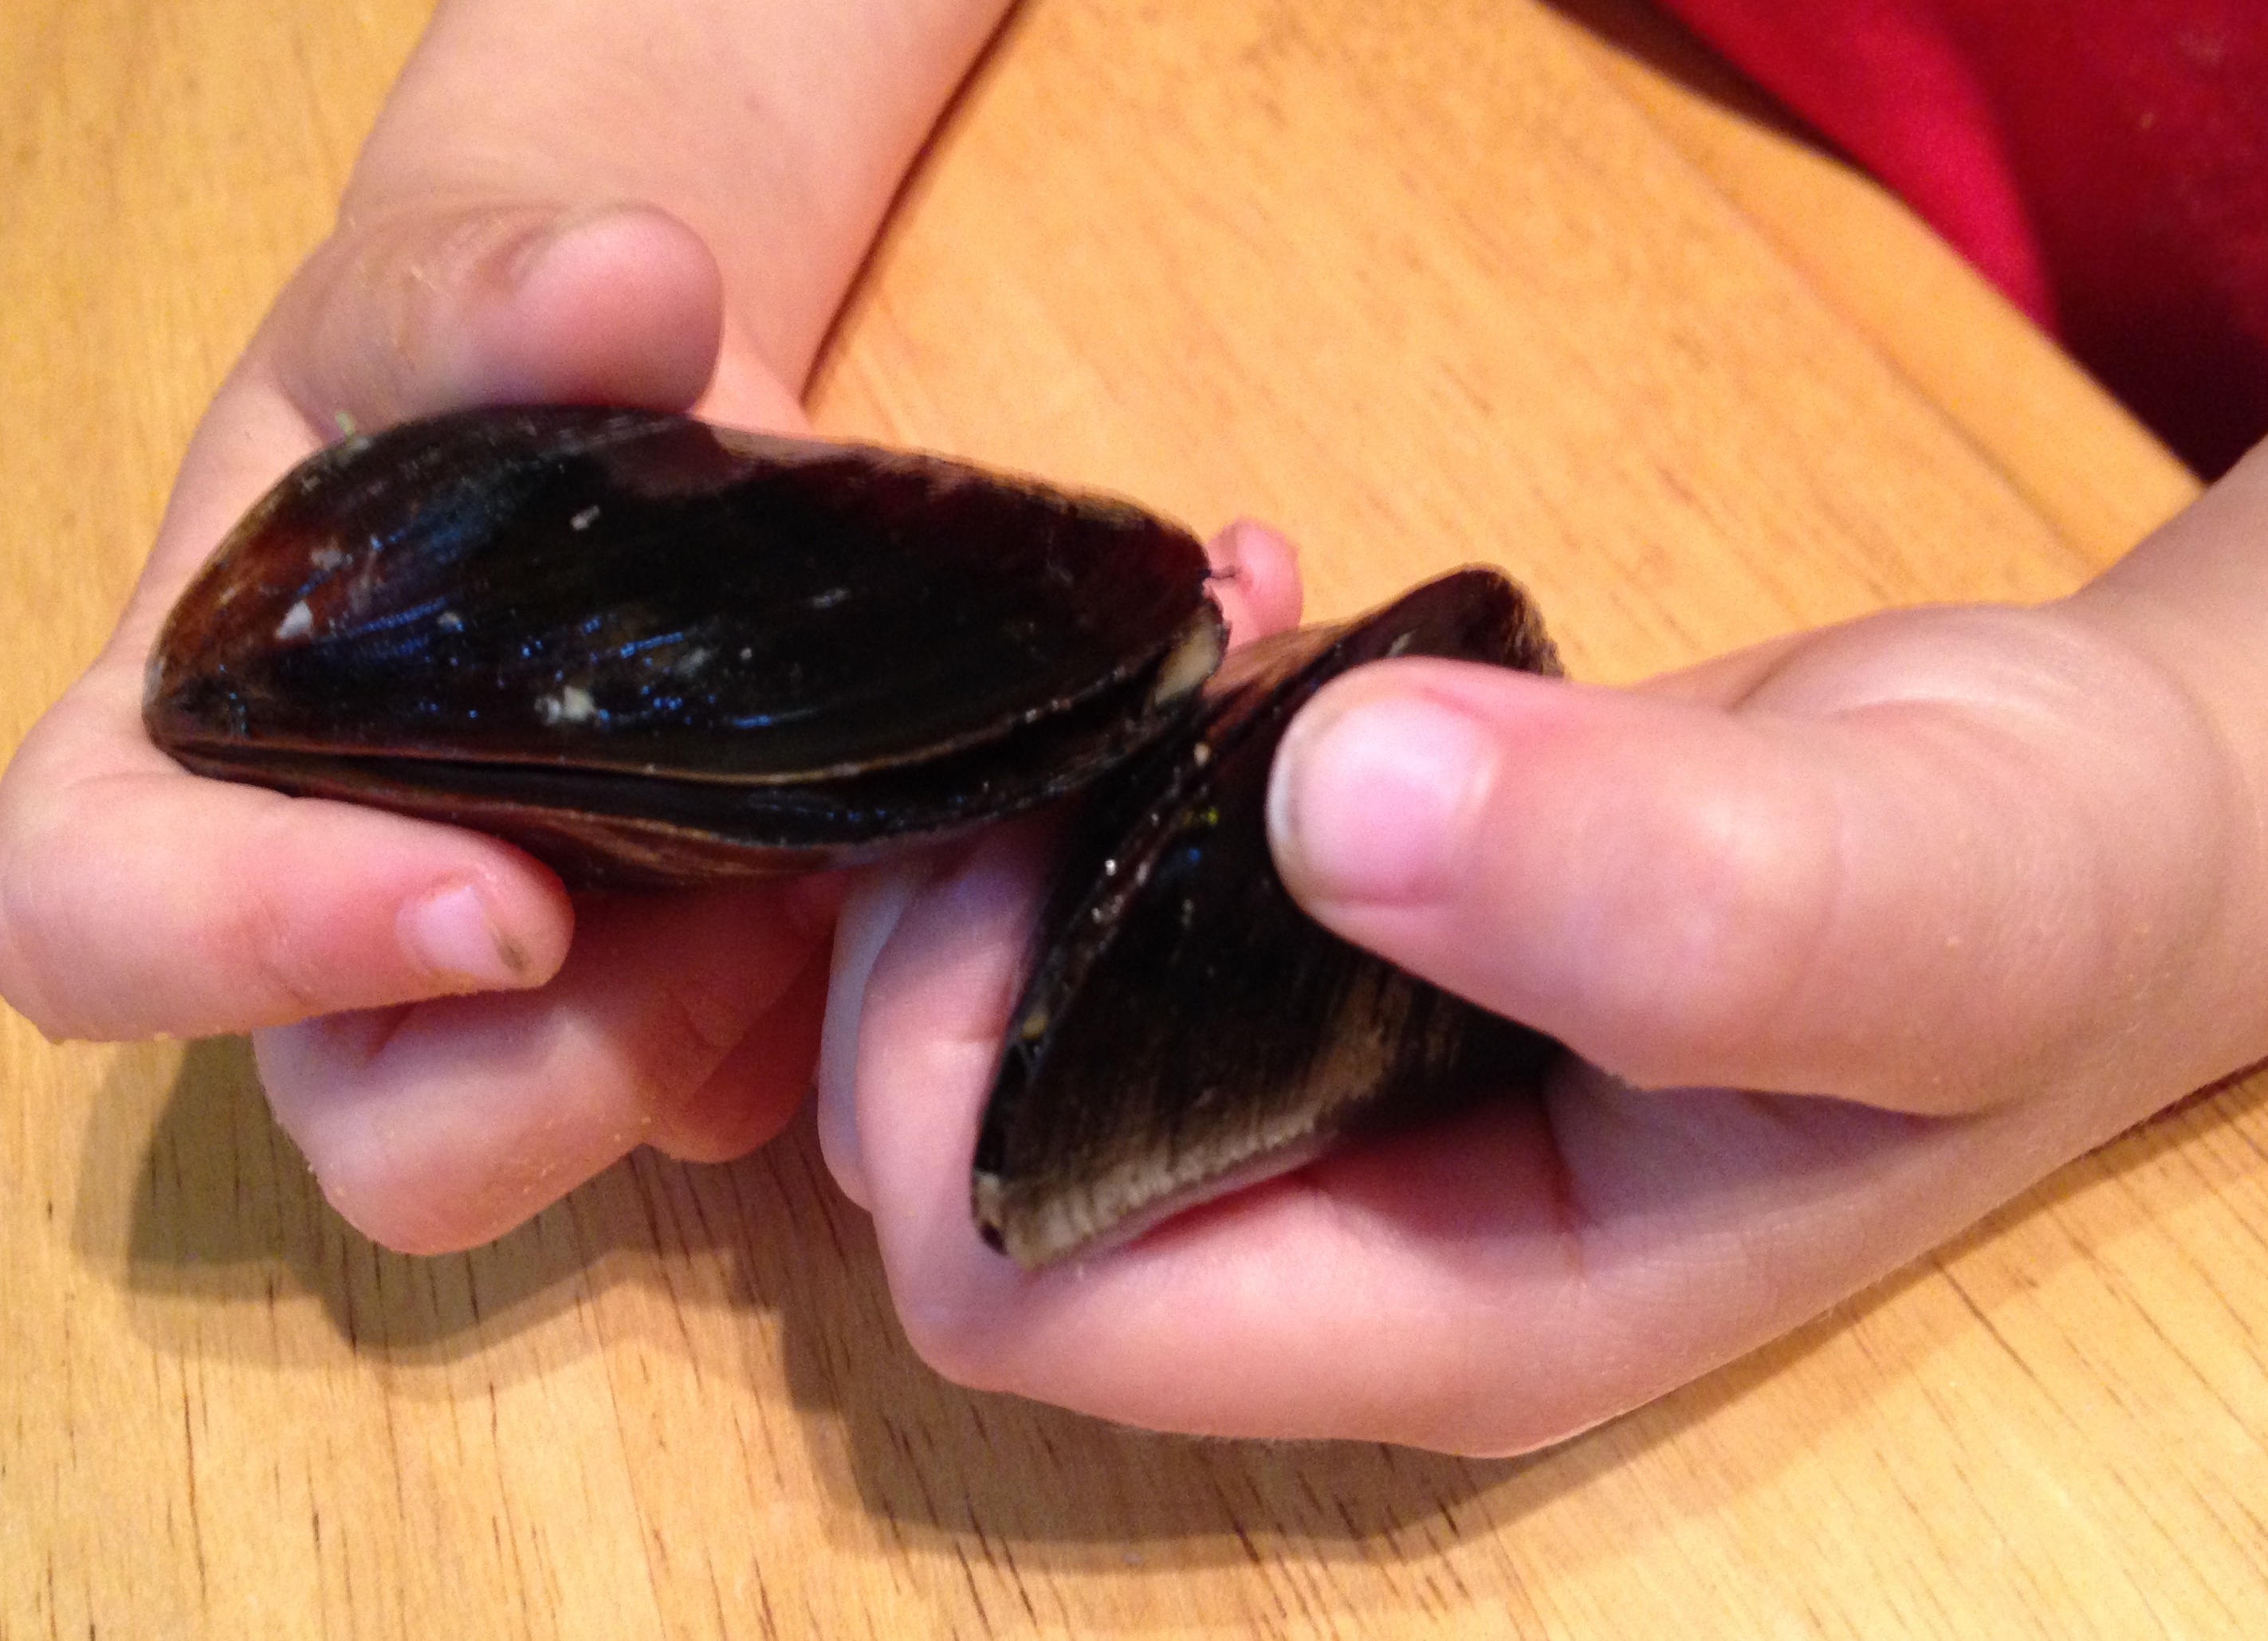
Mama brought home a bag of mussels, and she was very excited to show them to me. She tapped on an open one, and I watched as it slowly closed. They open and close! So we gently tapped a few more before Mama put them in the fridge while she prepared the rest of our dinner (including an appetizer of kale chips).
These mussels are closed tight, like clams!
Though we were having fun with the mussels closing, Mama told me it’s very important to pay attention to any mussels that don’t close because those mussels are dead and they could make us very sick. An easy way to “engage” them all at once is to gently dump them into a colander. The movement and the bit of knocking about should be enough to close them up. Give them a gentle rinse with tap water, looking them over for any that are still open or that have cracked shells.
The mussel on the left wouldn’t close, whereas the one on the right is slowly closing his lid.
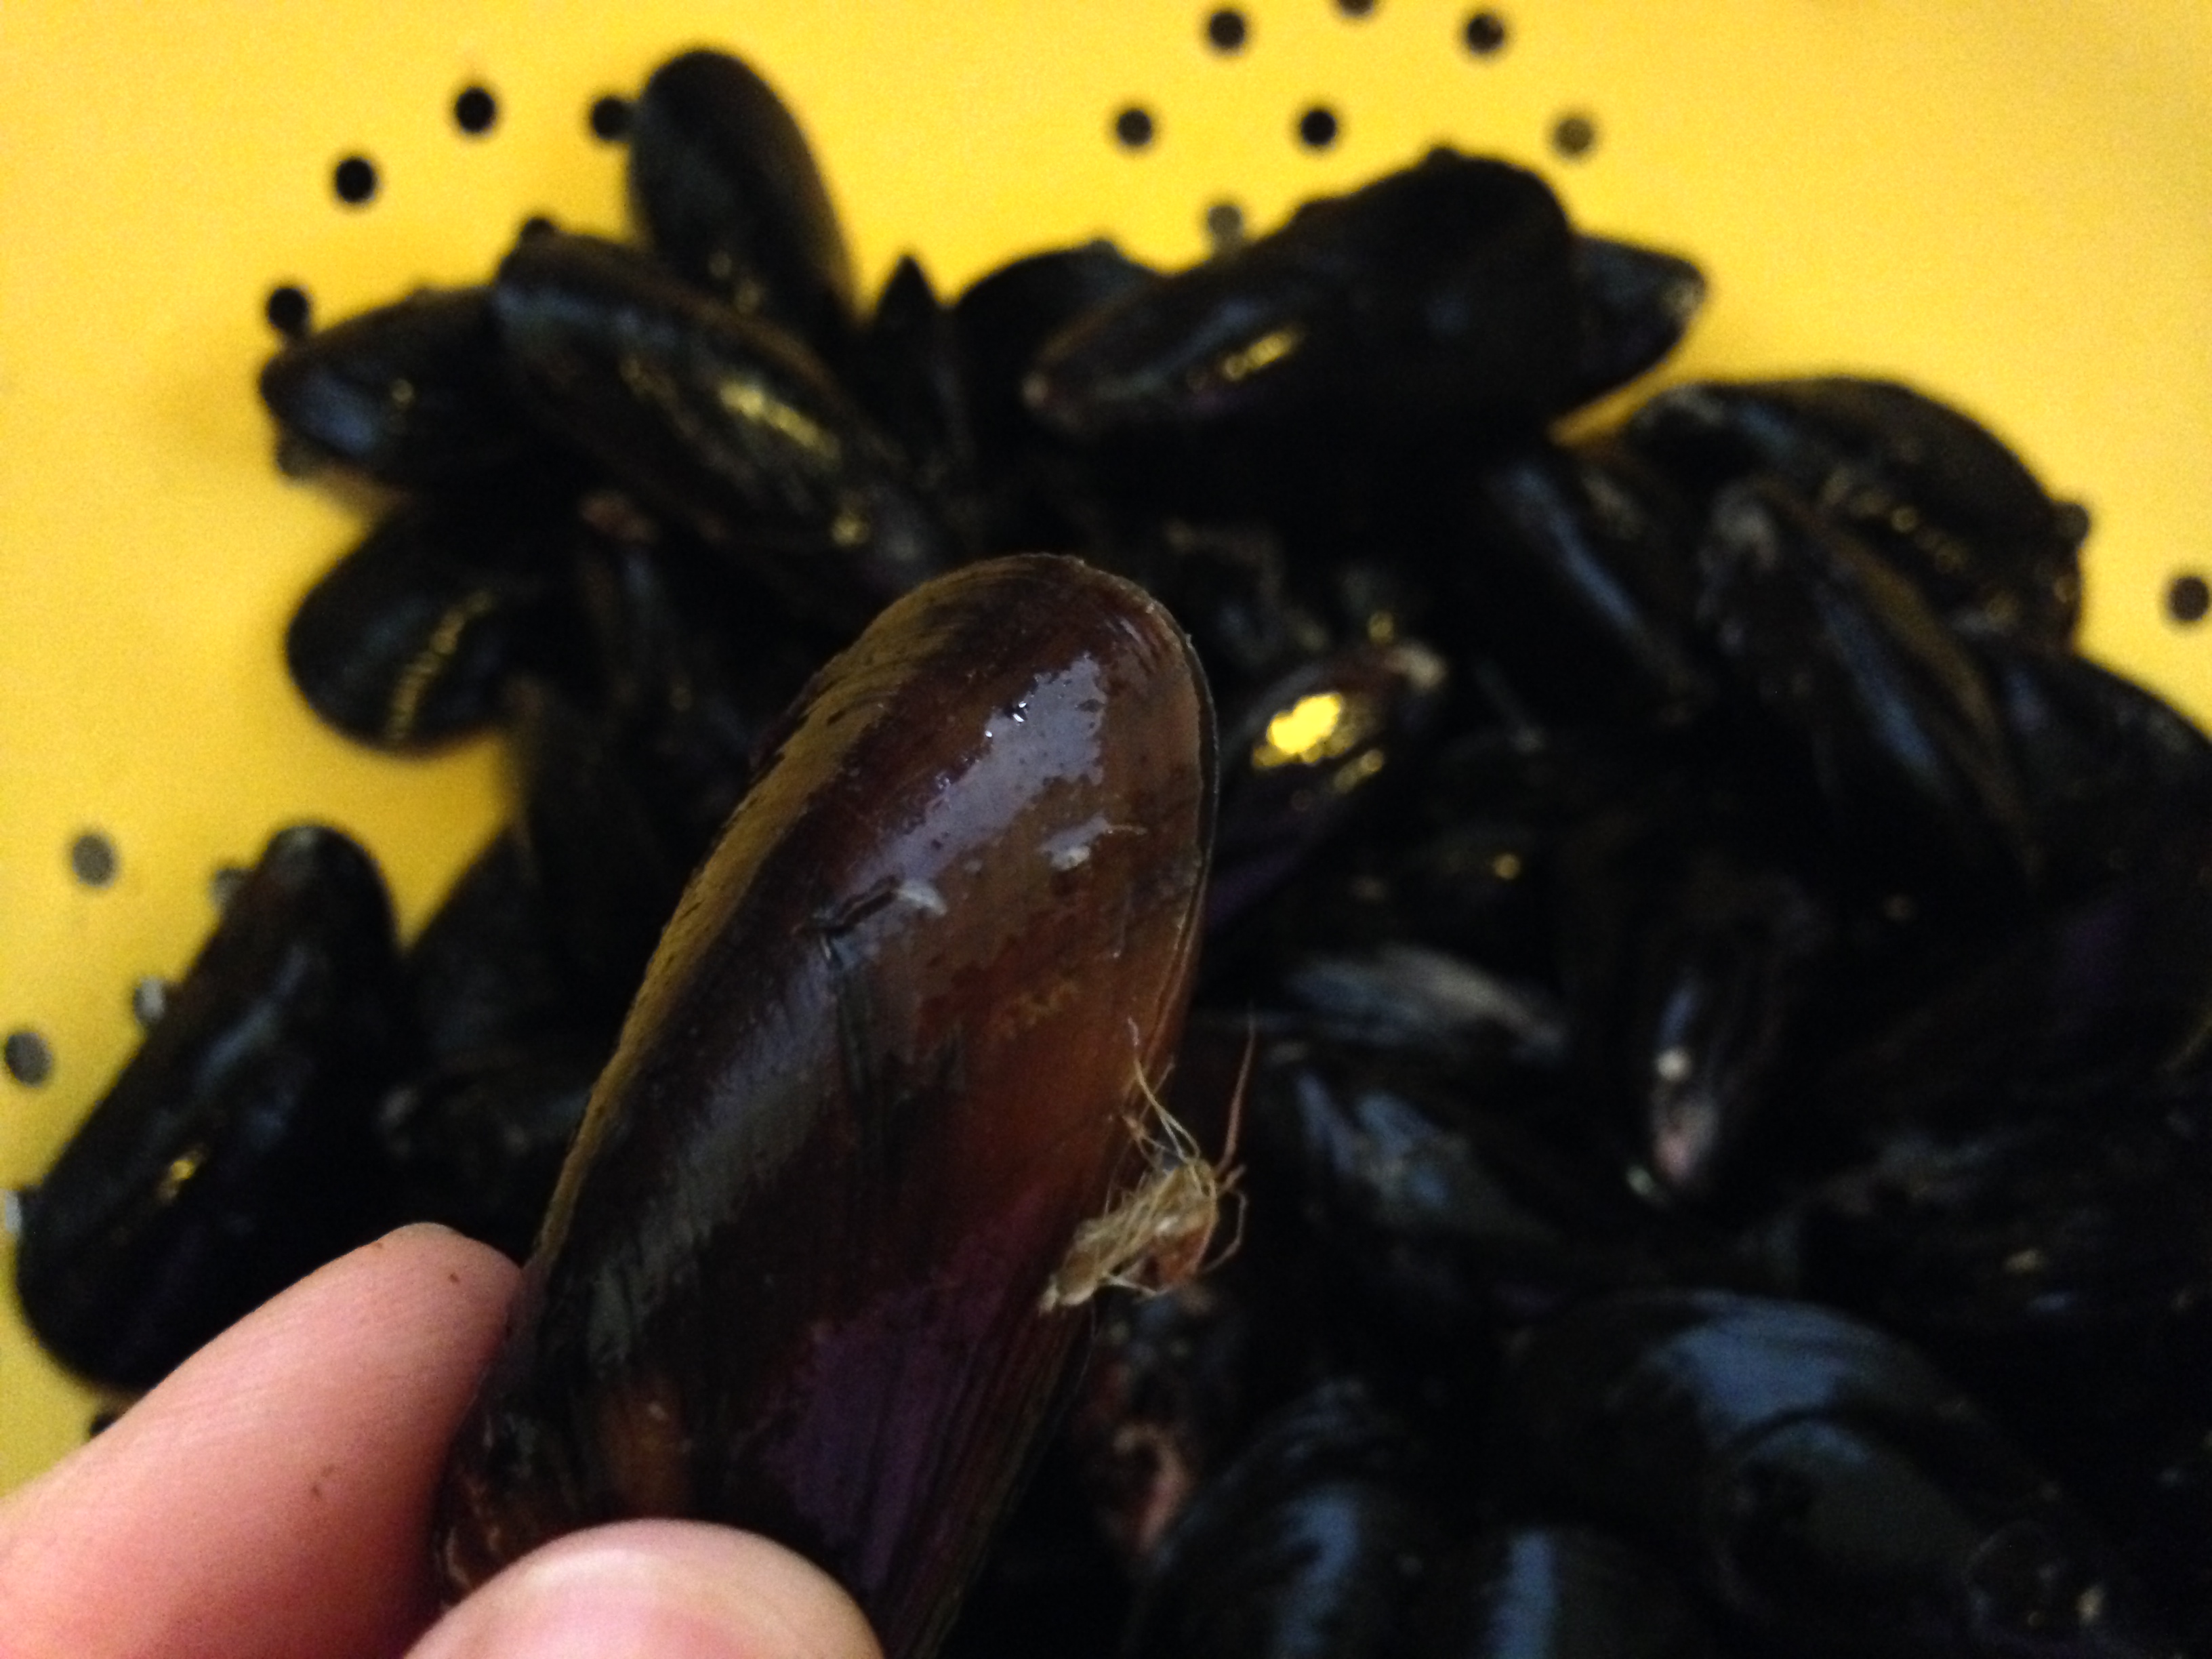
Now’s a good time to pull off any beards you find. That’s right, I said beards! This is the mossy-looking bit that hangs off the mussel where the two shells join. Not every mussel will have a beard, and all it takes is a little tug to pull it free. Tug down, toward the hinge of the mussel, and maybe give it a wiggle.
It’s just a tiny bit of mossy stuff, but you don’t want it in your dinner.
Jude on Food: When the mussels are raw, all the shells should be closed. When they’re cooked, they should all be open.
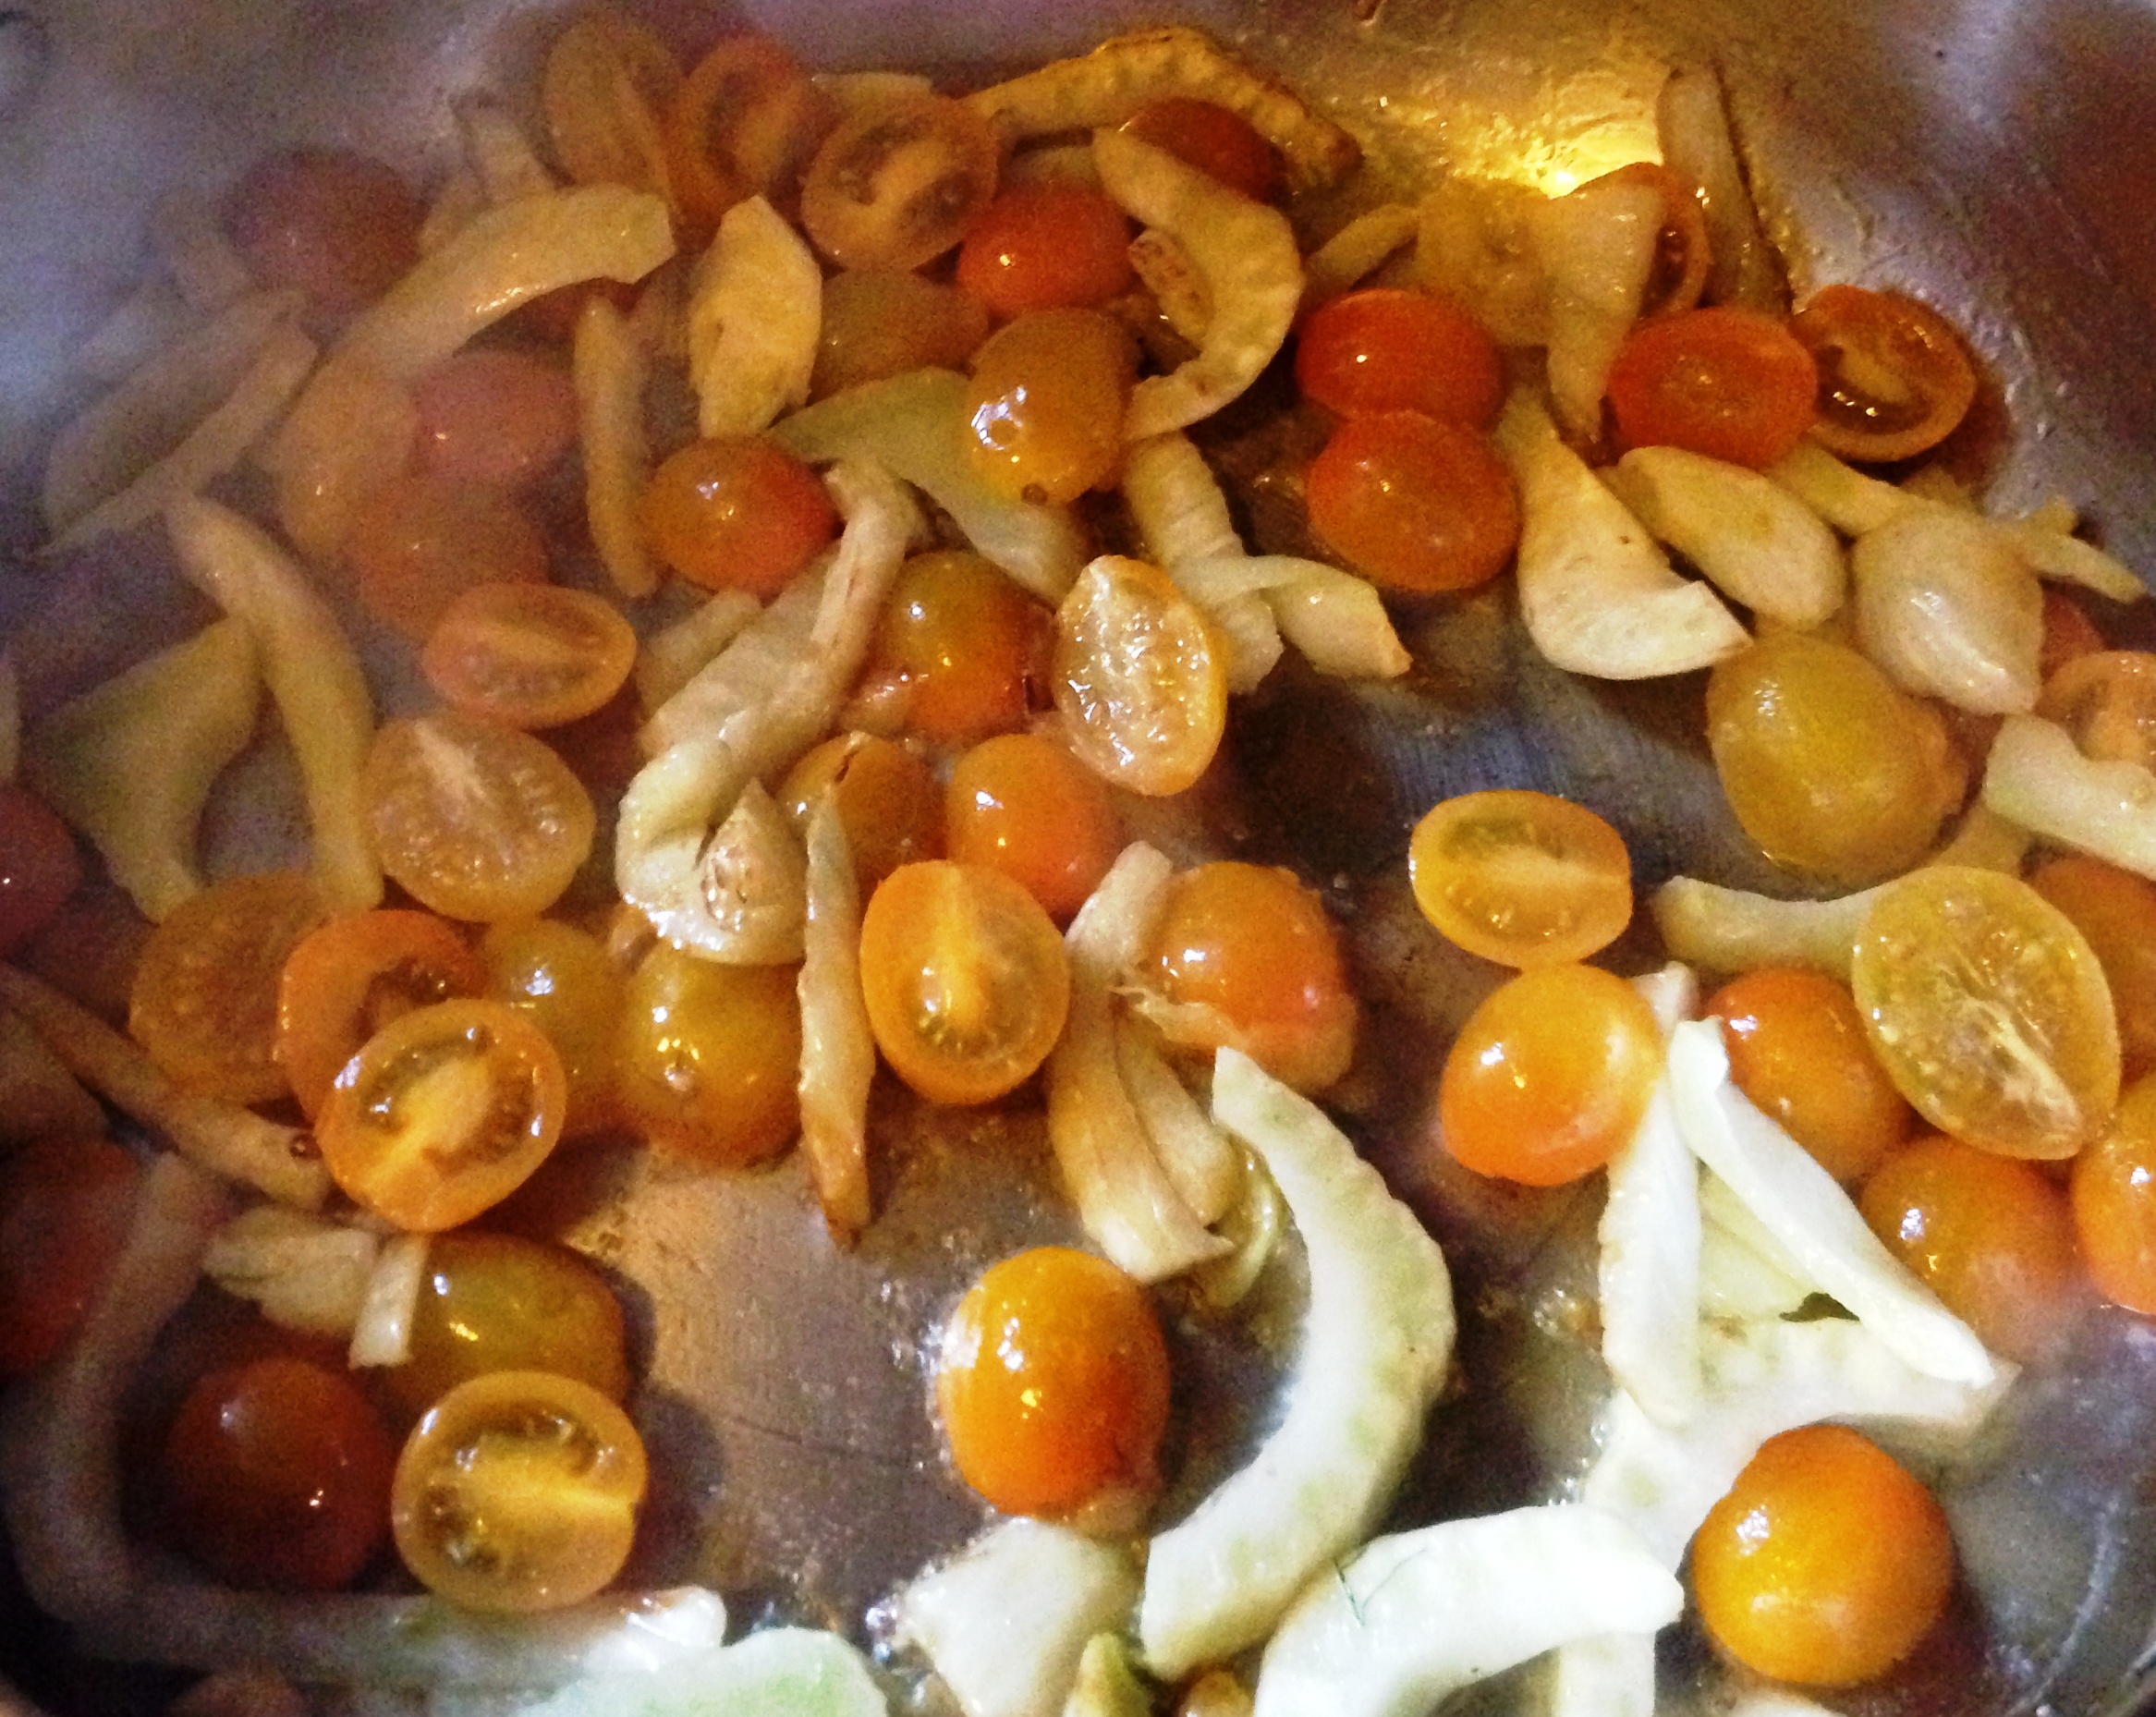
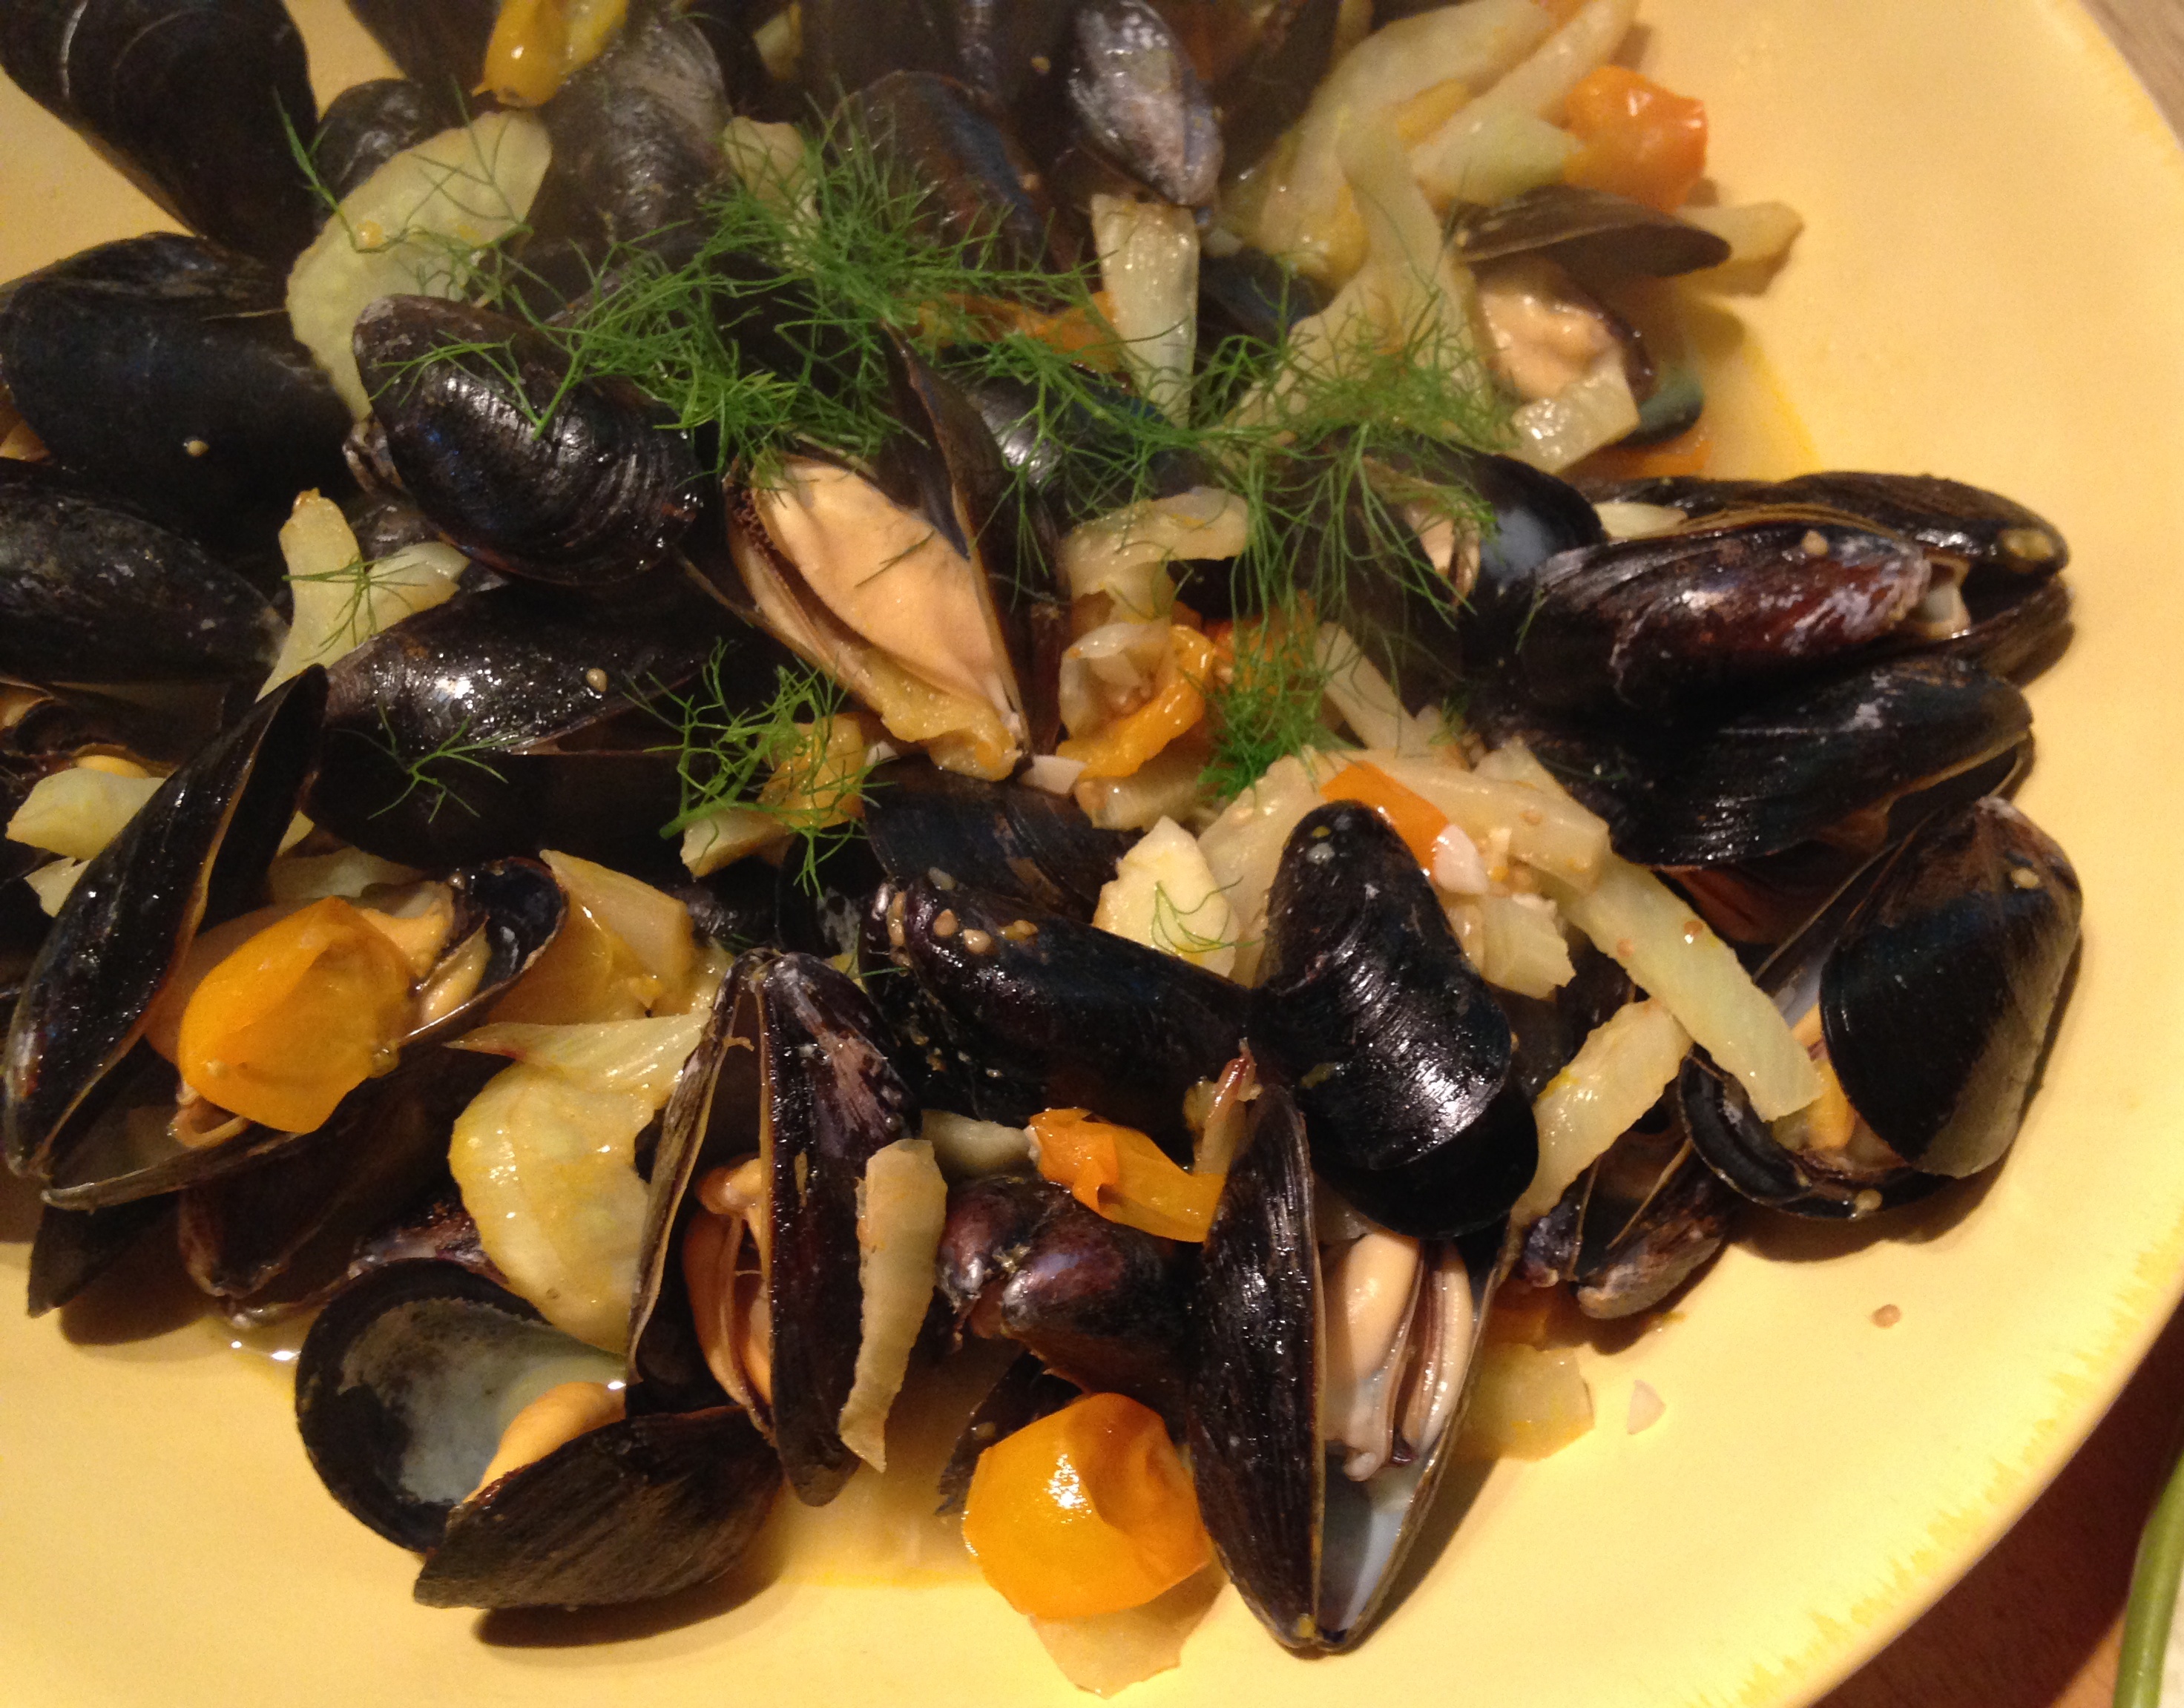
Part of what makes mussels an easy (and cheap) dinner to prepare is that the broth they’re steamed in becomes part of the finished dish. And this broth can be as fancy and flavorful as you like—or as simple as you can make it. Mama’s been on a tomato-and-fennel kick lately, which is appropriate since mussels enjoy an anise accompaniment. (Or so she says.) She sautéed fennel, tomatoes, and garlic in butter. (To simplify, sauté a shallot and a clove of garlic.)
You don’t really need a side dish of veggies when you cook them with your main dish.
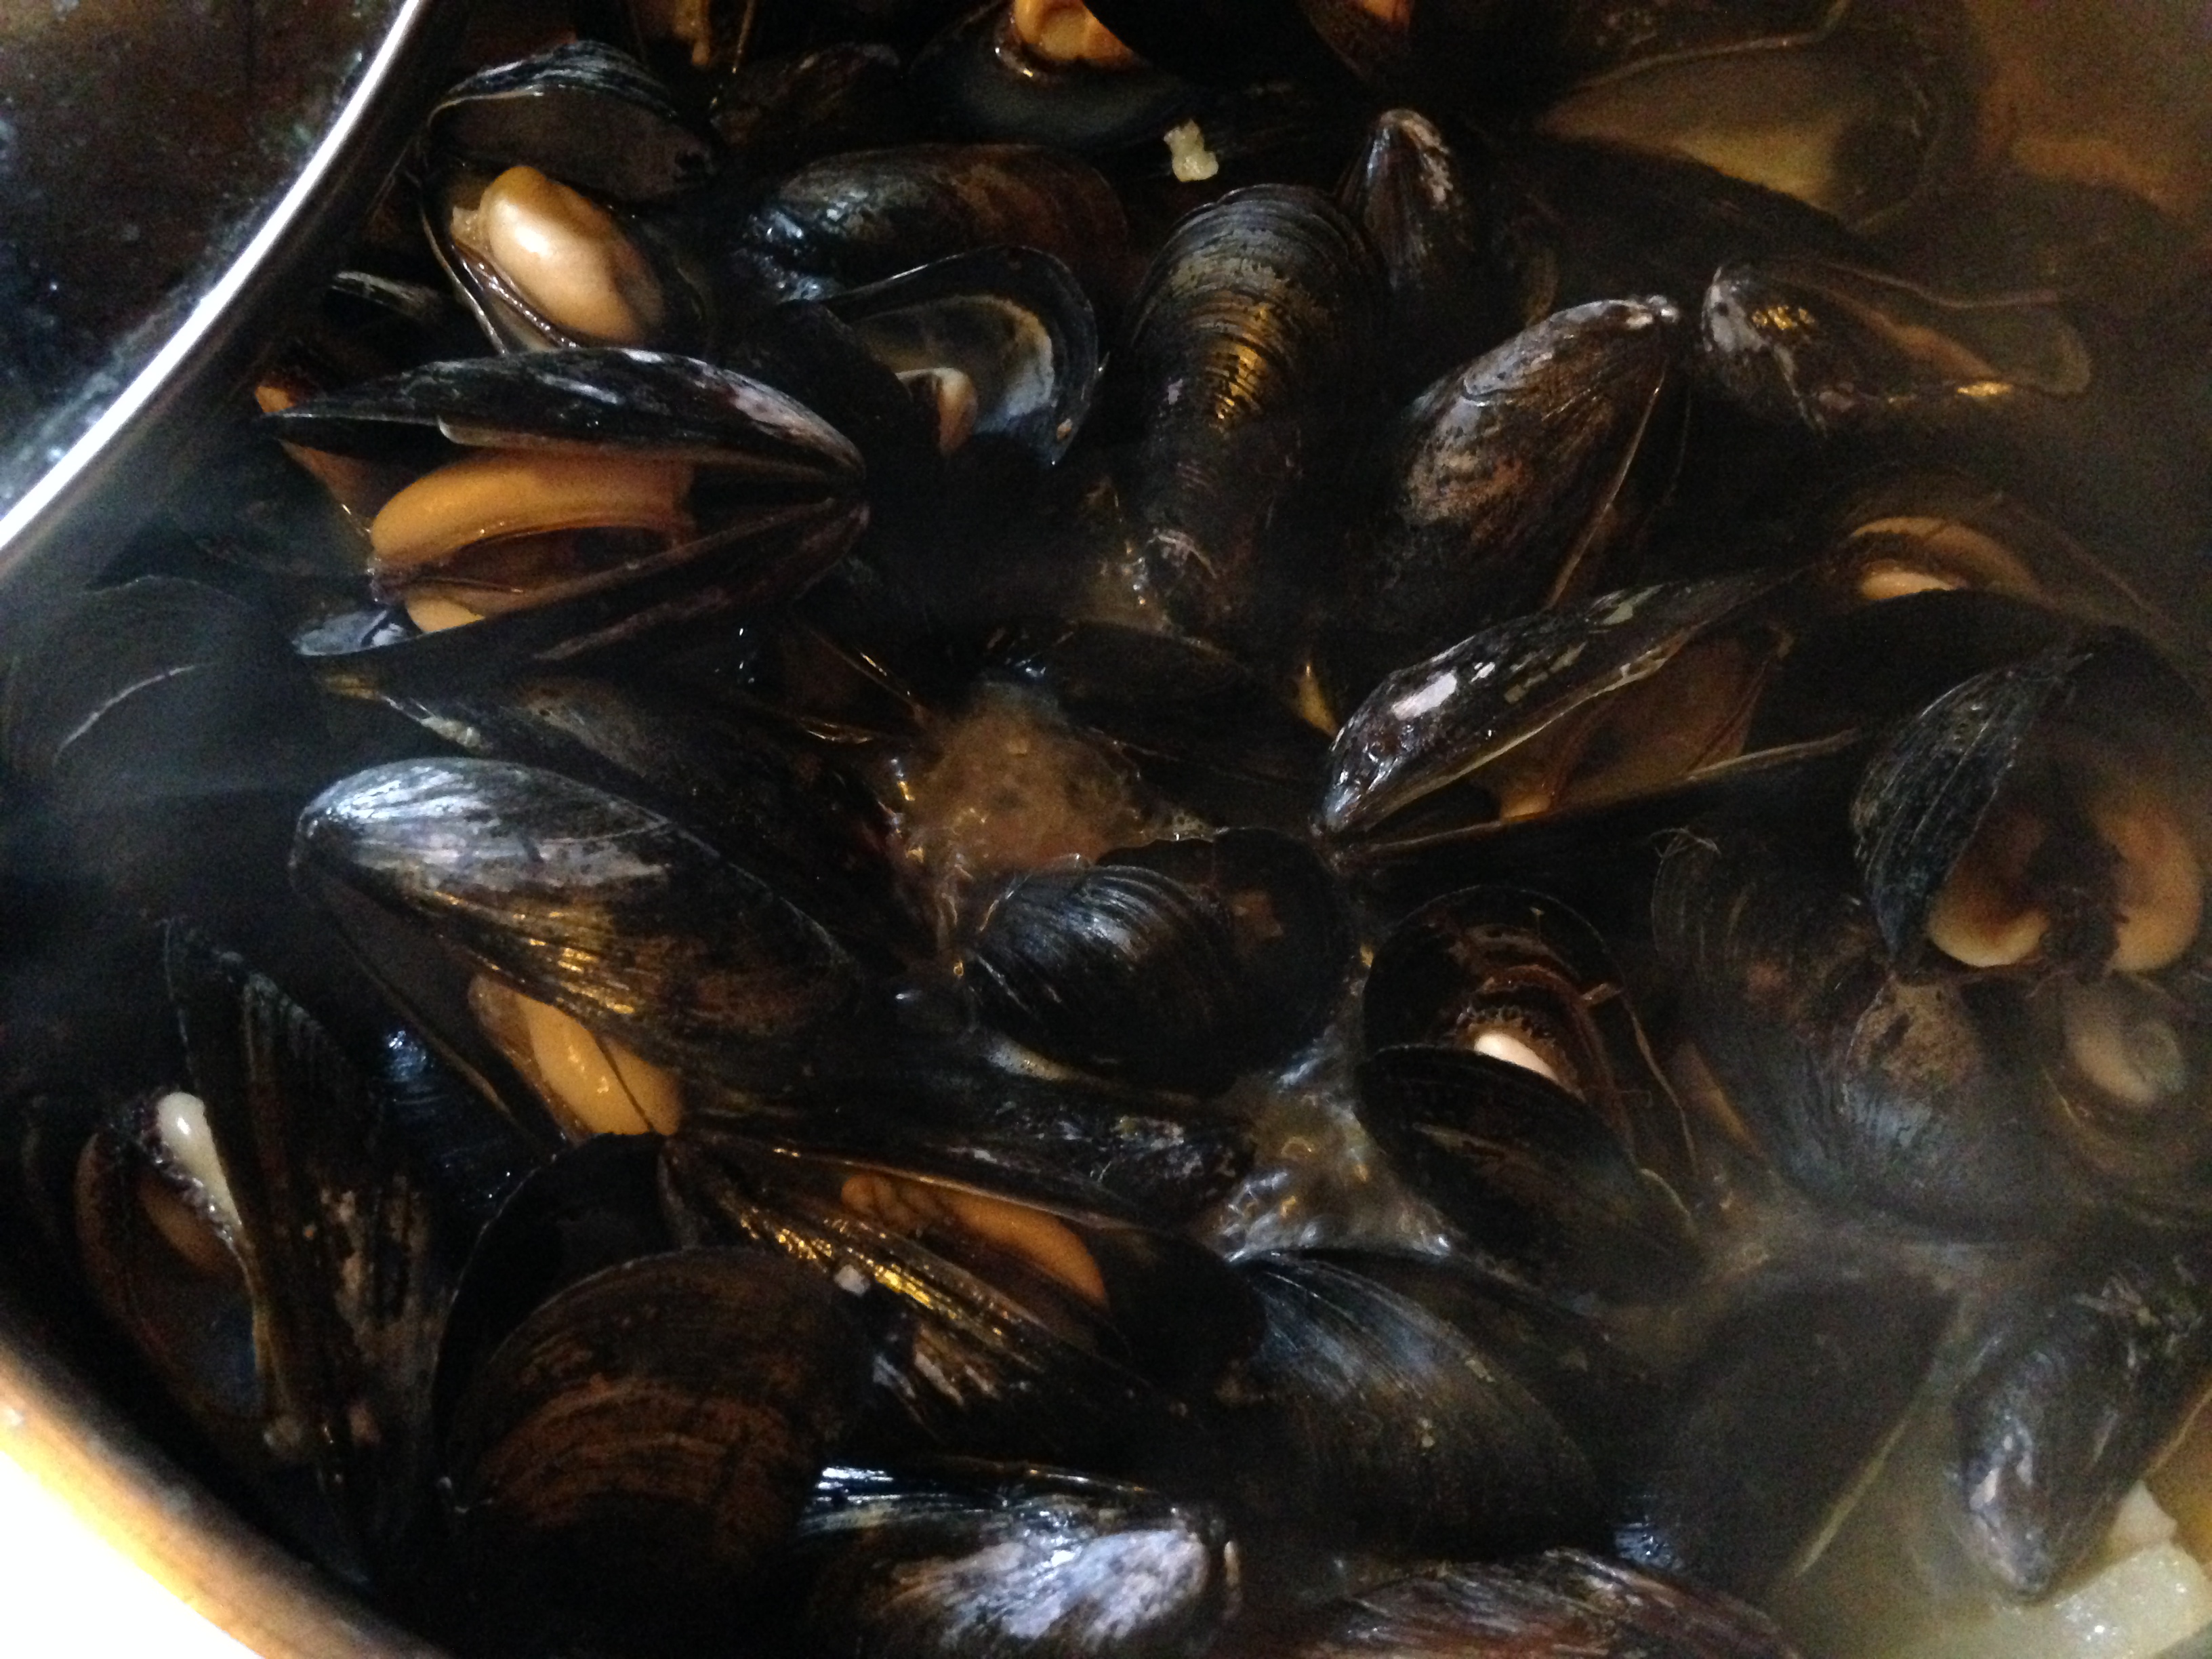
Then she added some vegetable broth, mainly because I’m eating it (in theory), but then she added a healthy splash of white wine. When the liquid got hot, she added the mussels and put on the lid. I told her I didn’t think they liked that very much. She kept the heat at medium, and allowed the mussels to steam until they opened up.
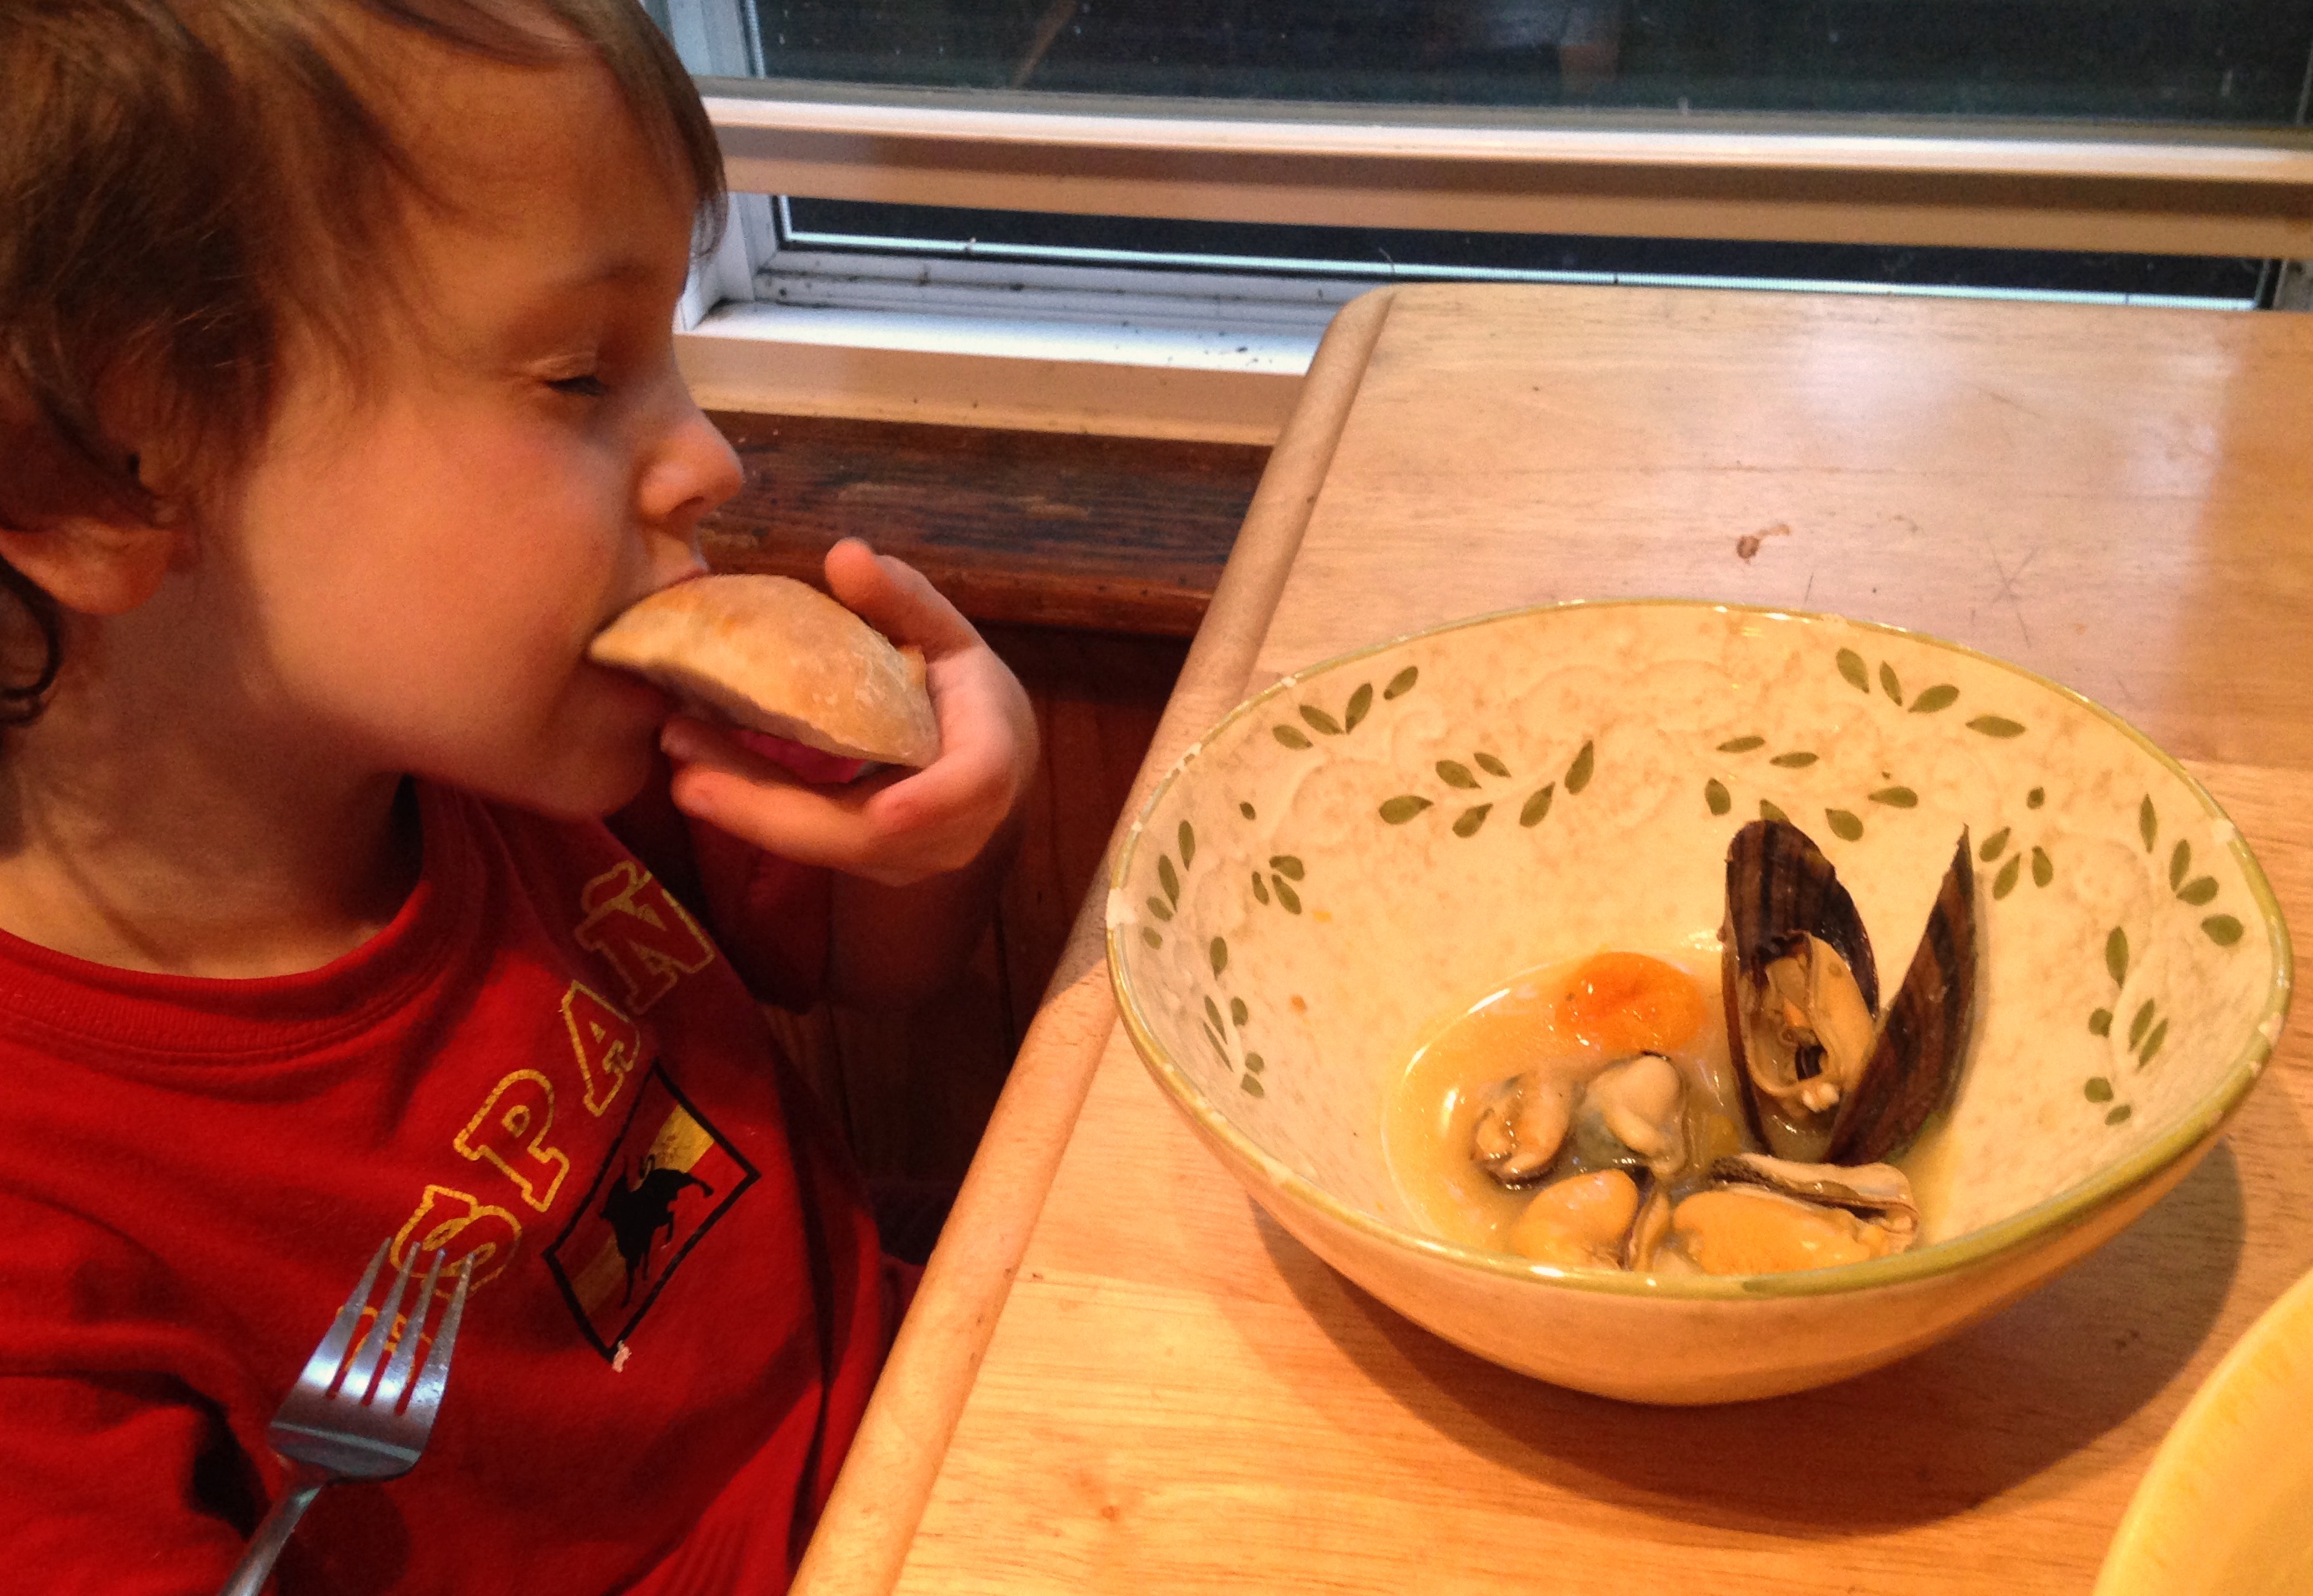
They’re all open and ready for their close-up.
I really think Mama thought I was going to try these because I was having fun getting them to close. But I didn’t like the look of them when they were all naked outside their shells. Forget the no-thank-you bite; it was a “bleh” bite. I thought the little tomato was an egg yolk at first, and I was going to eat it until Mama told me what it really was. I did finally dip my bread in the broth, to everyone’s satisfaction. It wasn’t bad, truth be told, but it was a good thing I ate all those kale chips before dinner.
Broth-dipped bread wasn’t so bad.
Love, Jude
Mussels with Fennel and Tomato Broth
2 Tbsp butter or olive oil
1 bulb fennel, sliced
1 cup (1/2 pint) grape, pear, or cherry tomatoes, halved
2 cloves garlic, minced
1/2 cup vegetable stock (optional)
1/2 cup white wine (or 1 cup, if not using broth)*
2 pounds mussels, rinsed & debearded, open shells discarded
Bread, for serving
Melt the butter or heat the olive oil over medium heat in a large pan with a lid. Add the fennel and cook until it starts to turn golden and becomes soft. Add the tomatoes and cook until melty, a couple minutes more. Add the garlic and stir until fragrant, 1–2 more minutes. Stir in the stock and/or wine and get it hot. Then pour in the mussels, scatter until they’re nestled in the stock, then cover. Steam for about 5 minutes, or until all the mussels open. (Discard any that do not.) Pour into a large bowl and serve with crusty bread or pommes frites. (Garnish with fennel fronds, if desired.)
Use a ladle to scoop up a number of mussels (with their shells) and broth.
Note: Instead of wine and/or broth, you may use a bottle of beer. Amount of liquid is approximate—you really just need enough to steam the mussels and create a lovely broth.