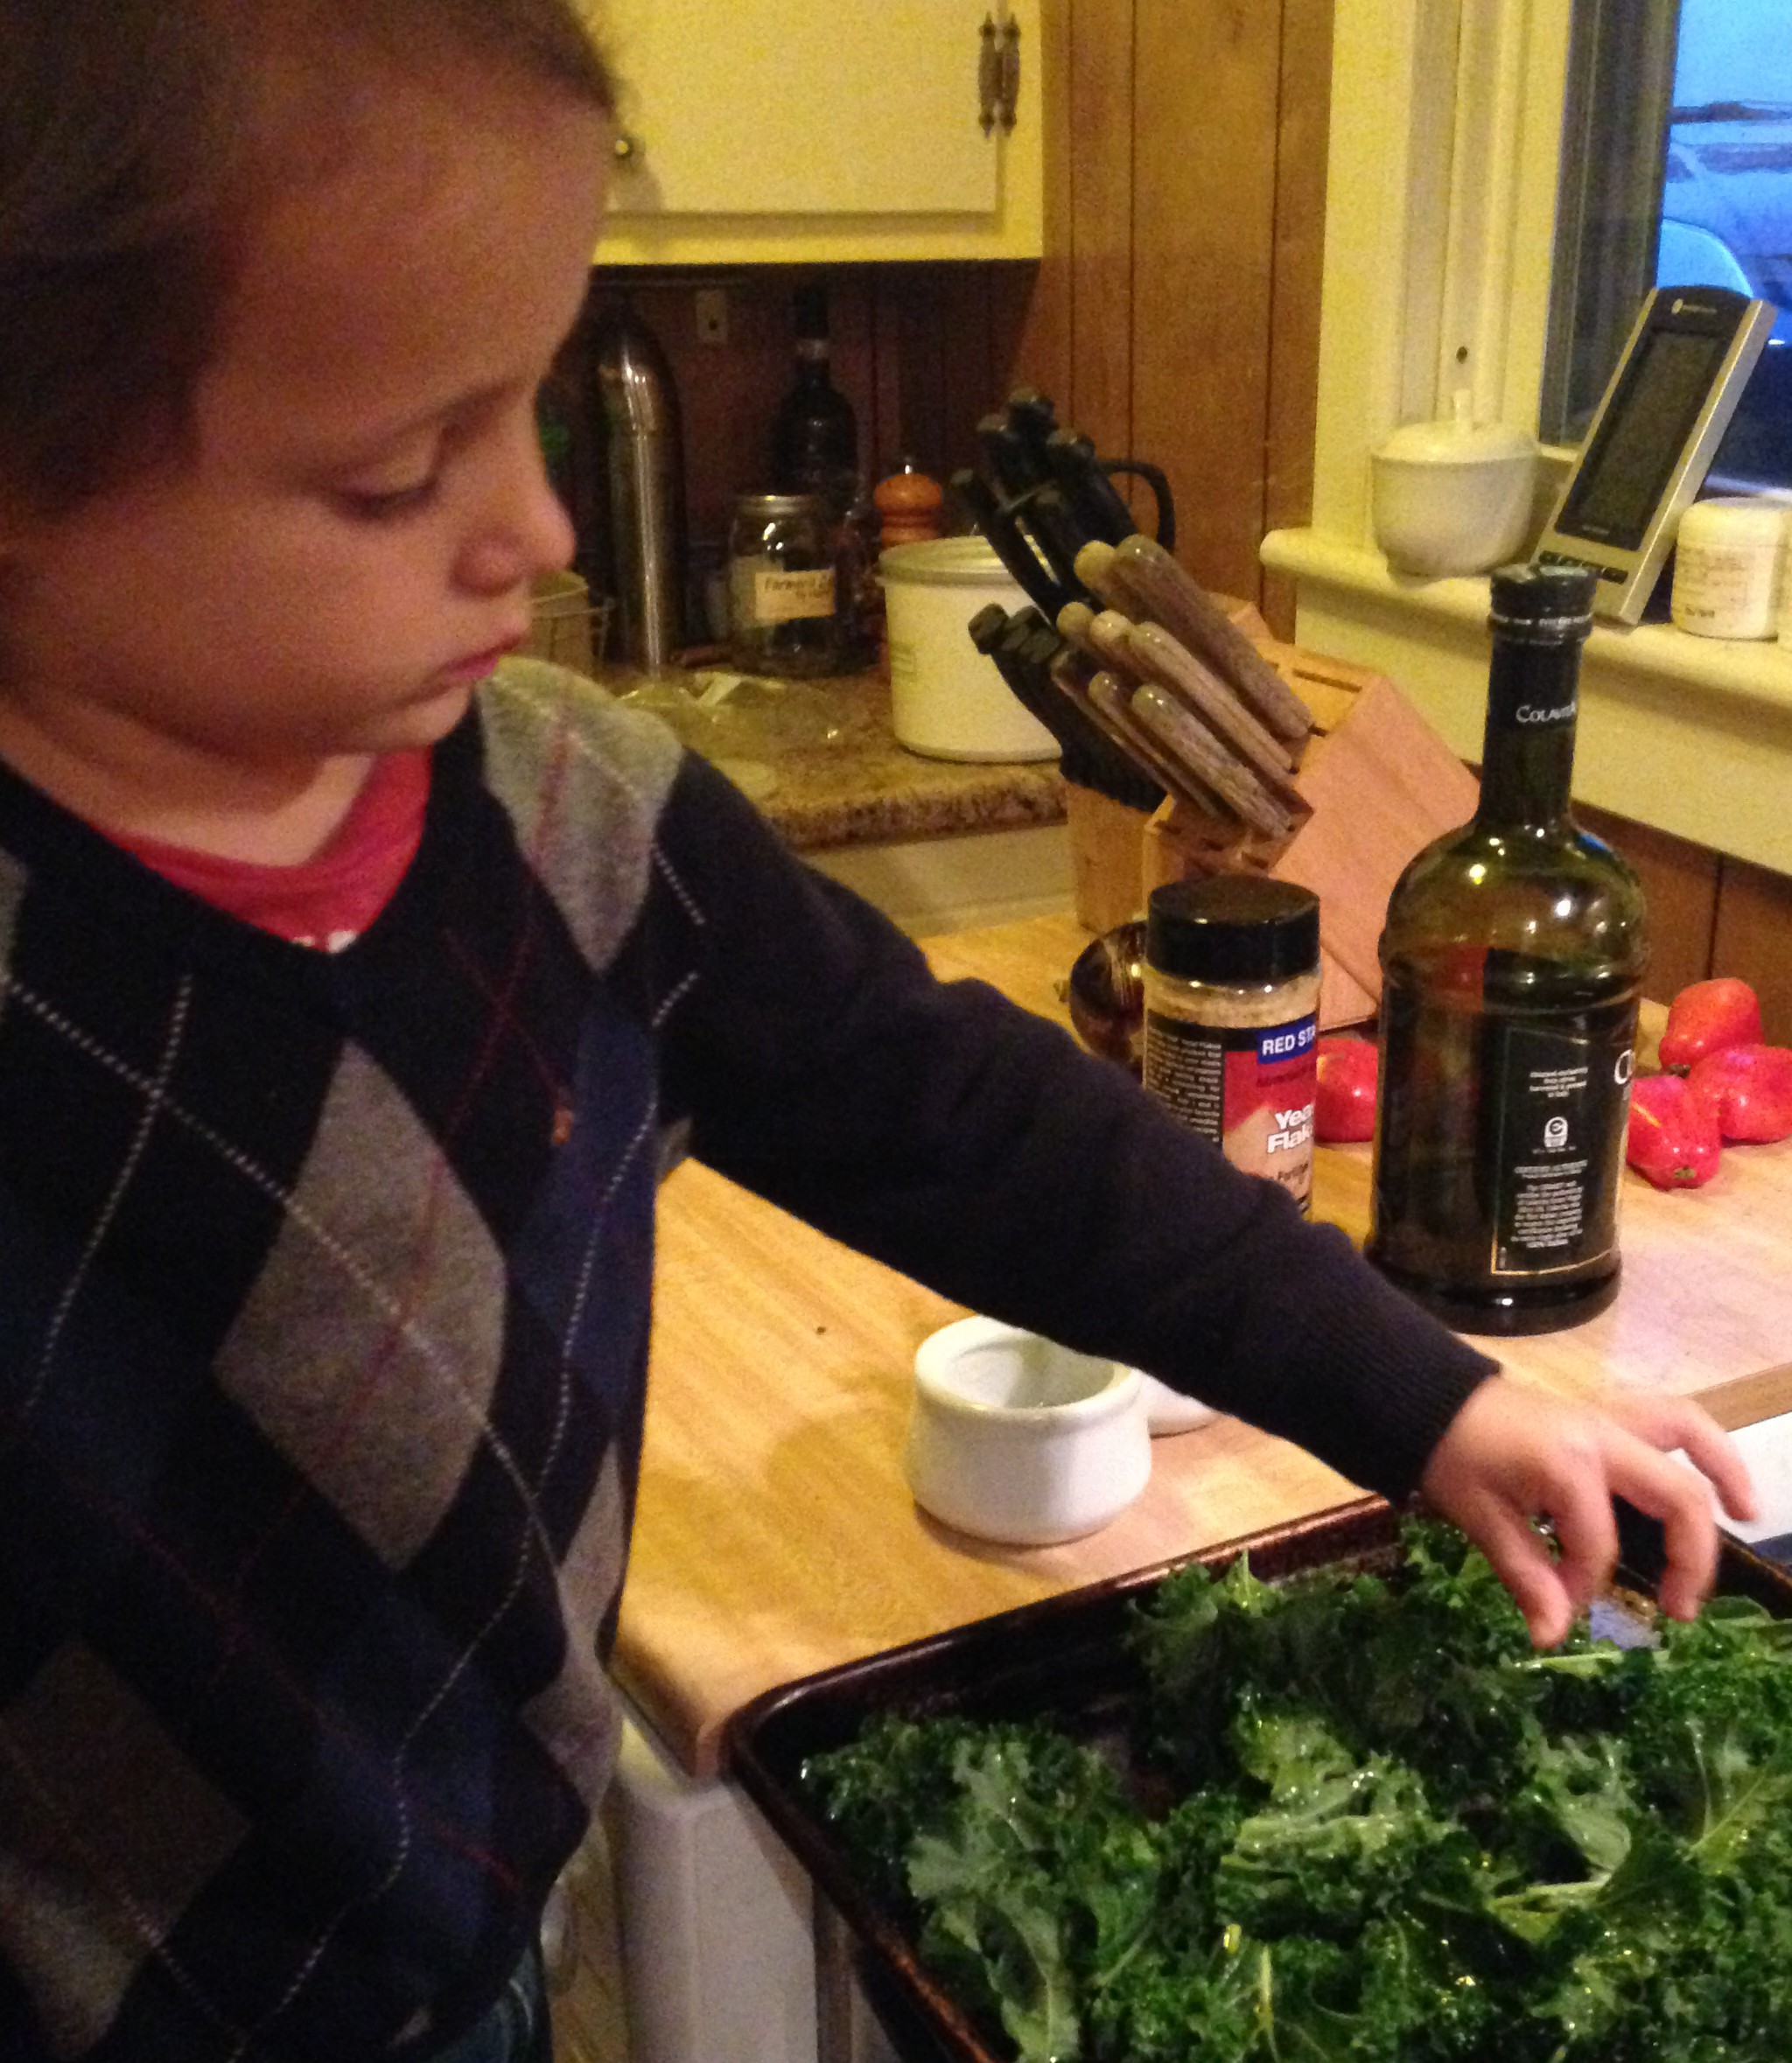
A little more than 2 years ago, I wrote about my love for kale chips. I’m happy to report that—unlike, say, pâté, beets, and orange foods—it’s a love I still embrace. Only now, because I’m such a big boy, I get to help make them. And clever Mama has upped the ante by introducing nutritional yeast into the mix.
What I can tell you about nutritional yeast can fit on a kale chip. Suffice it to say that it is different from the yeast we’ve used to make bread and is most definitely not brewer’s yeast (even though the label might tell you otherwise).

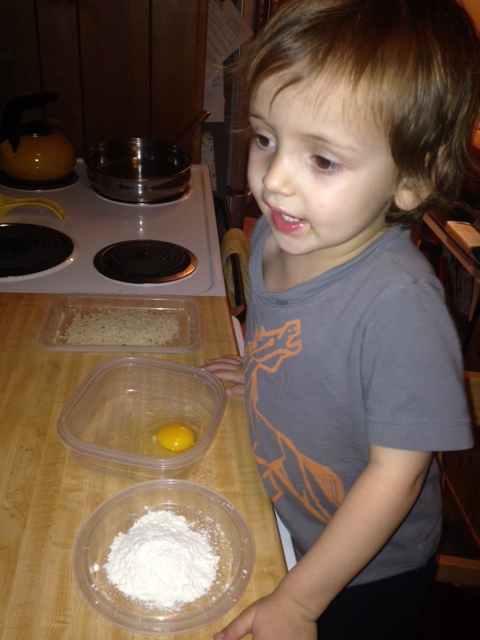
One of these is nutritional yeast, and one is not. (Psst… it’s the one on the right.)
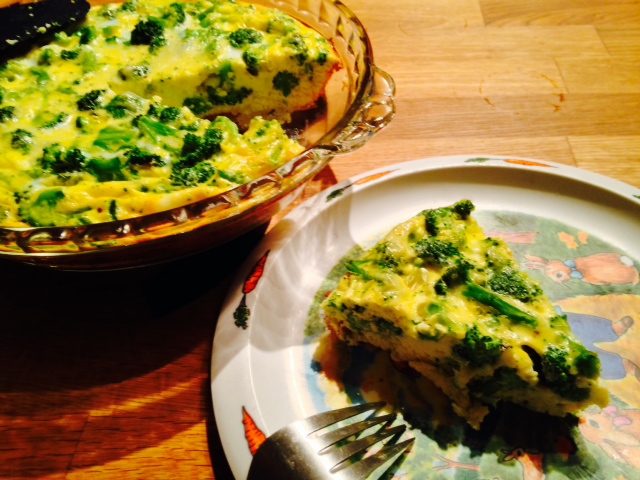
Nutritional yeast (often called “nooch” by those in the know) has a cheesy/nutty flavor (think: Parmesan), and what’s not to like about that? In addition to adding oomph to vegetarian dishes, it has a dose of B-vitamins as well as all the amino acids. Mama likes putting it on her eggs, but it’s similarly stellar in a tofu scramble or on popcorn.
But don’t let my 4-year-old limitations hold you back from experimenting with nooch. If you make something yummy with it, let me know!
Love, Jude
Supercheesy Kale Chips
1 bunch kale
Olive oil
Sea or kosher salt
Nutritional yeast flakes
Preheat oven to 300°F. Line a baking sheet with foil or just commit to cleaning your baking sheet when you’re done and go without. Rinse kale and rip the leaves from the center stalk. Mama suggested I pull the upward-growing leaves downward, so they tear off more easily, and it works! Try to make them of similar size because remember that the larger pieces won’t crisp up as much as the smaller ones.
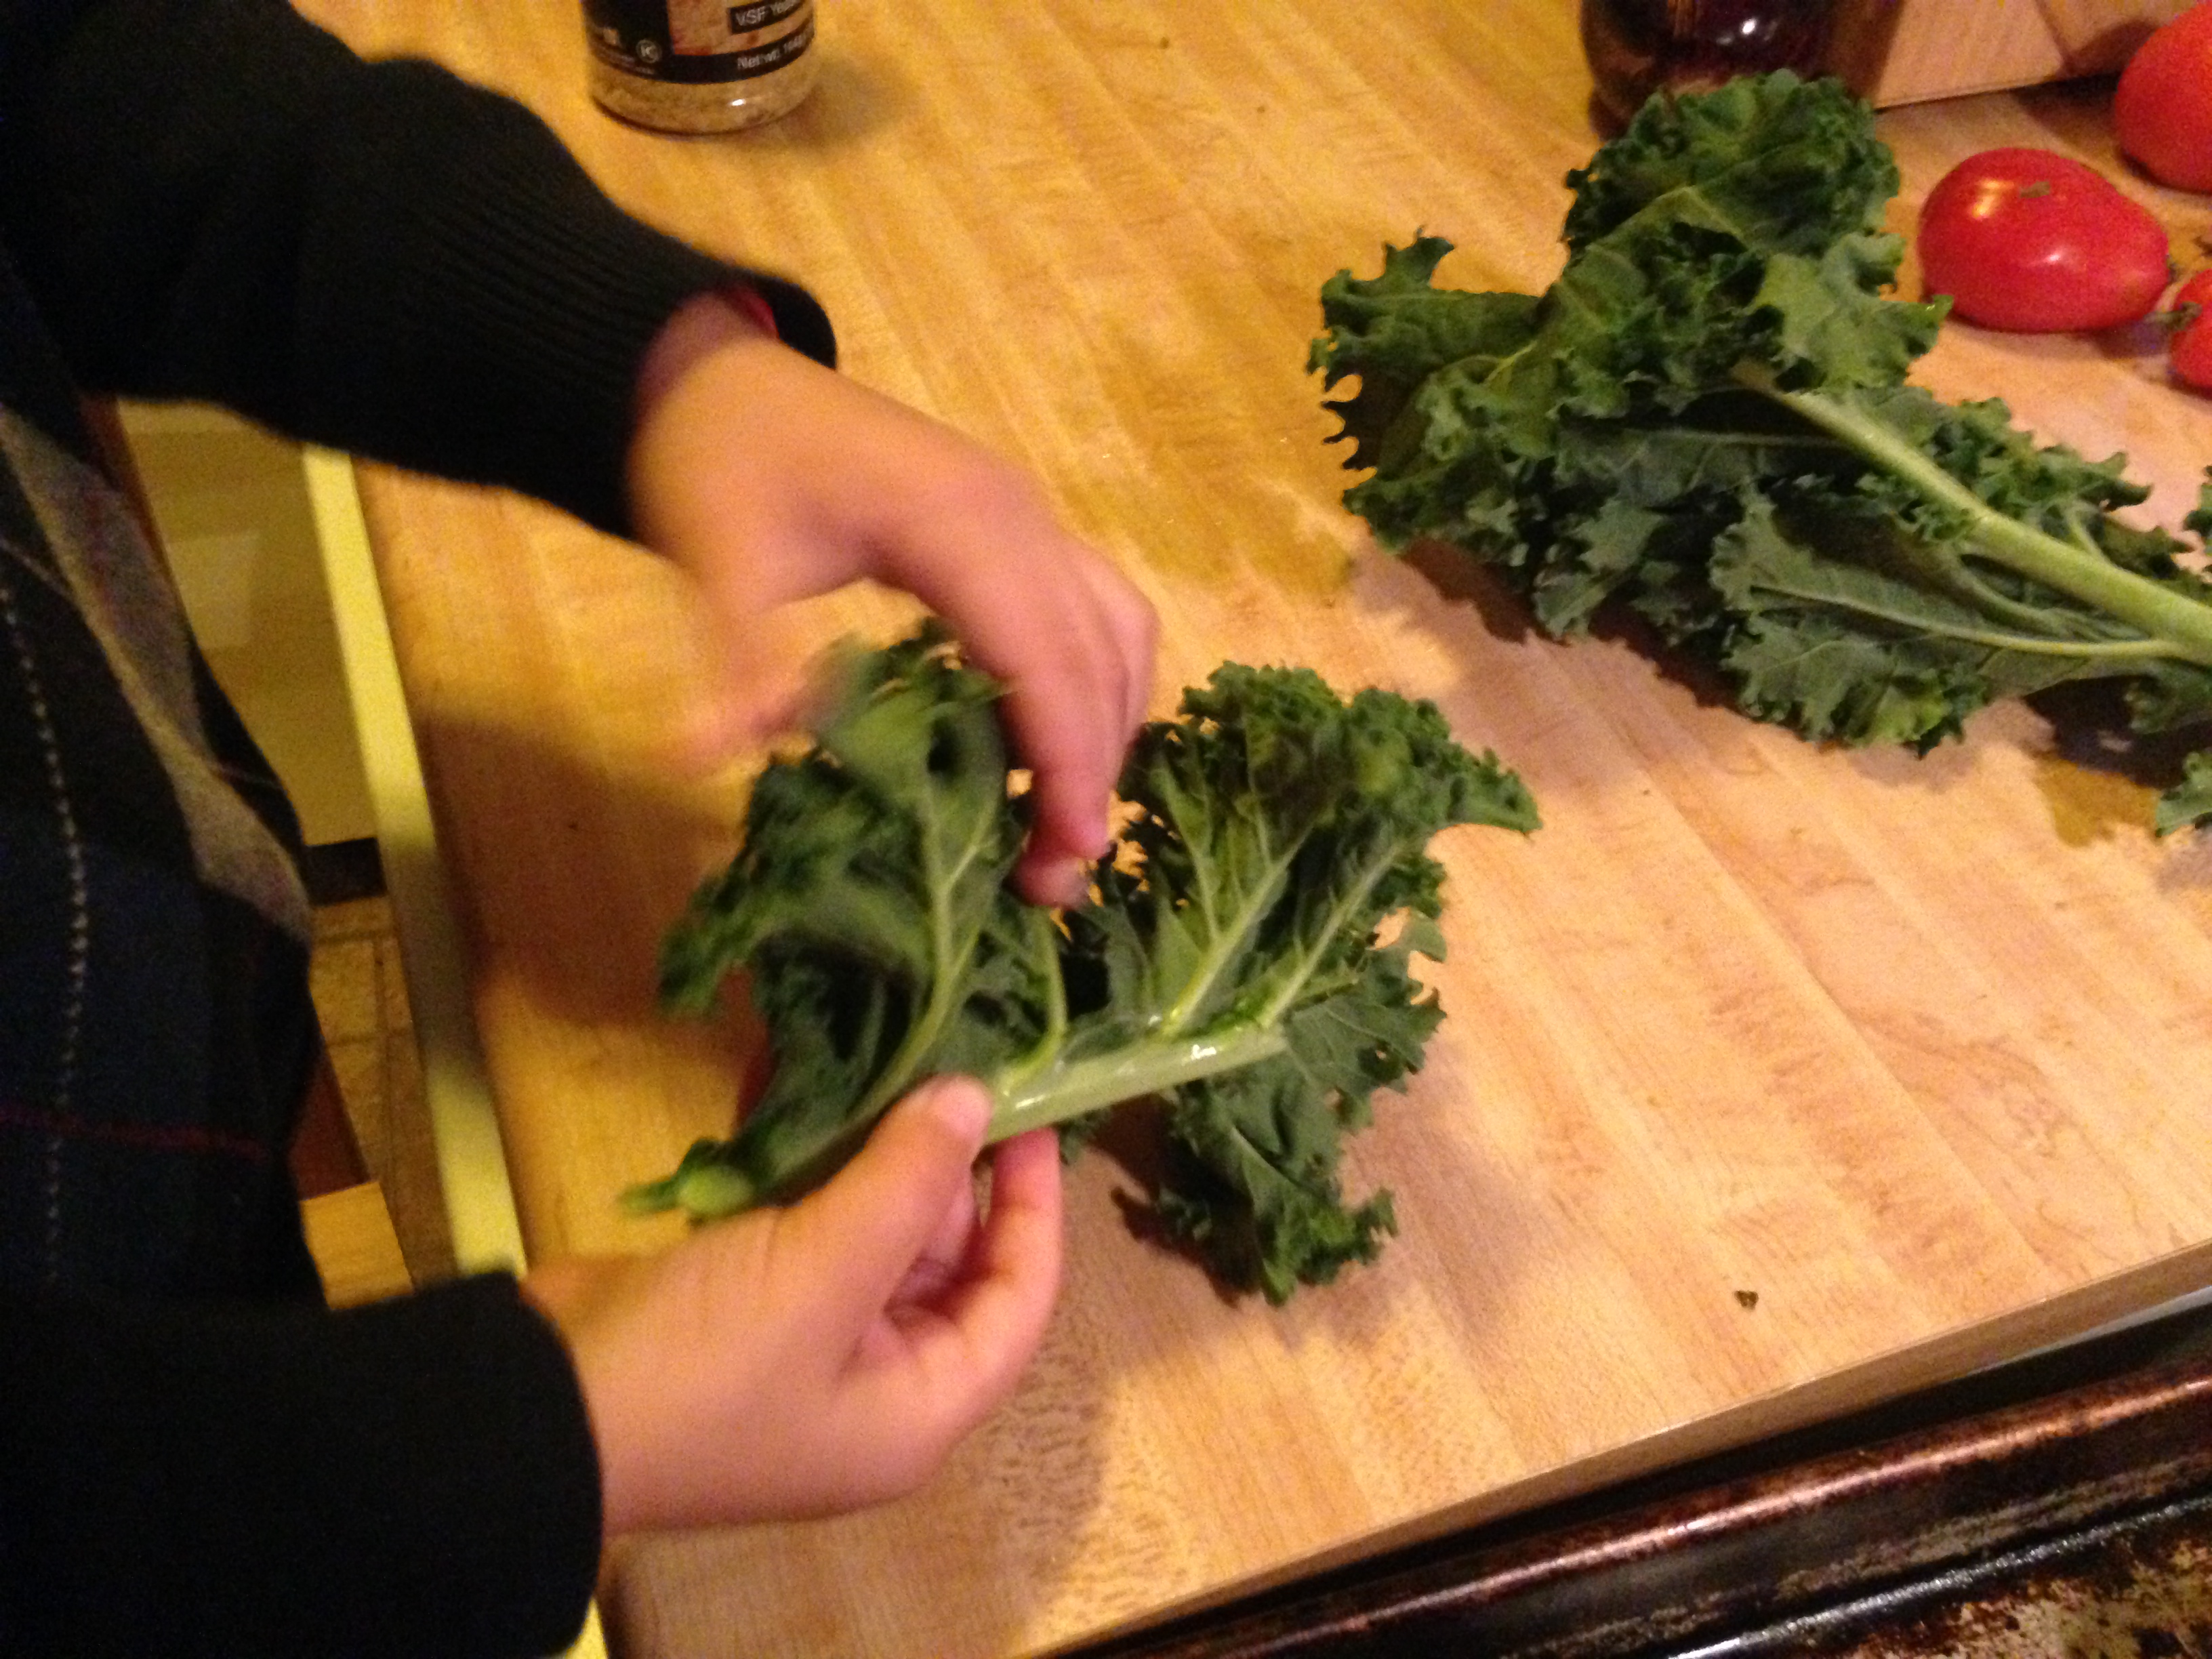
Tear the leaves downward away from the stalk.
Scatter kale on baking sheet, then toss with about 1 Tbsp oil. You really don’t need a lot—it’s just so the salt and nutritional yeast has something to adhere to.
We used kosher salt on our kale, but feel free to use sea salt, if that’s what you like.
Sprinkle with salt and as much nutritional yeast as you want—the more, the cheesier. Who am I to tell you how much you like? Experiment by spreading the kale leaves around the baking sheet then sprinkling different sections with different amounts. (After my little experiment here, I think we learned that “avalanche” is a little too much.)
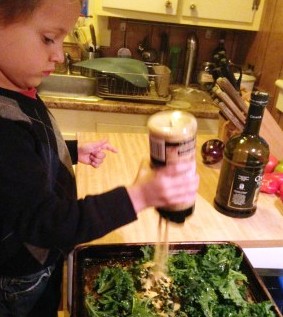
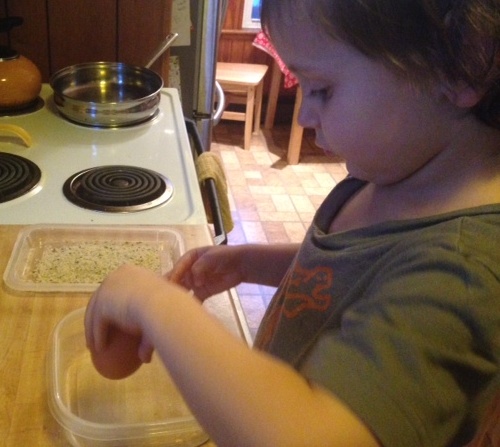
Maybe don’t let your kid pour on the nooch.
Bake for about 15 minutes, until desired crispness. You could toss them once during baking, but you don’t have to. Enjoy immediately!
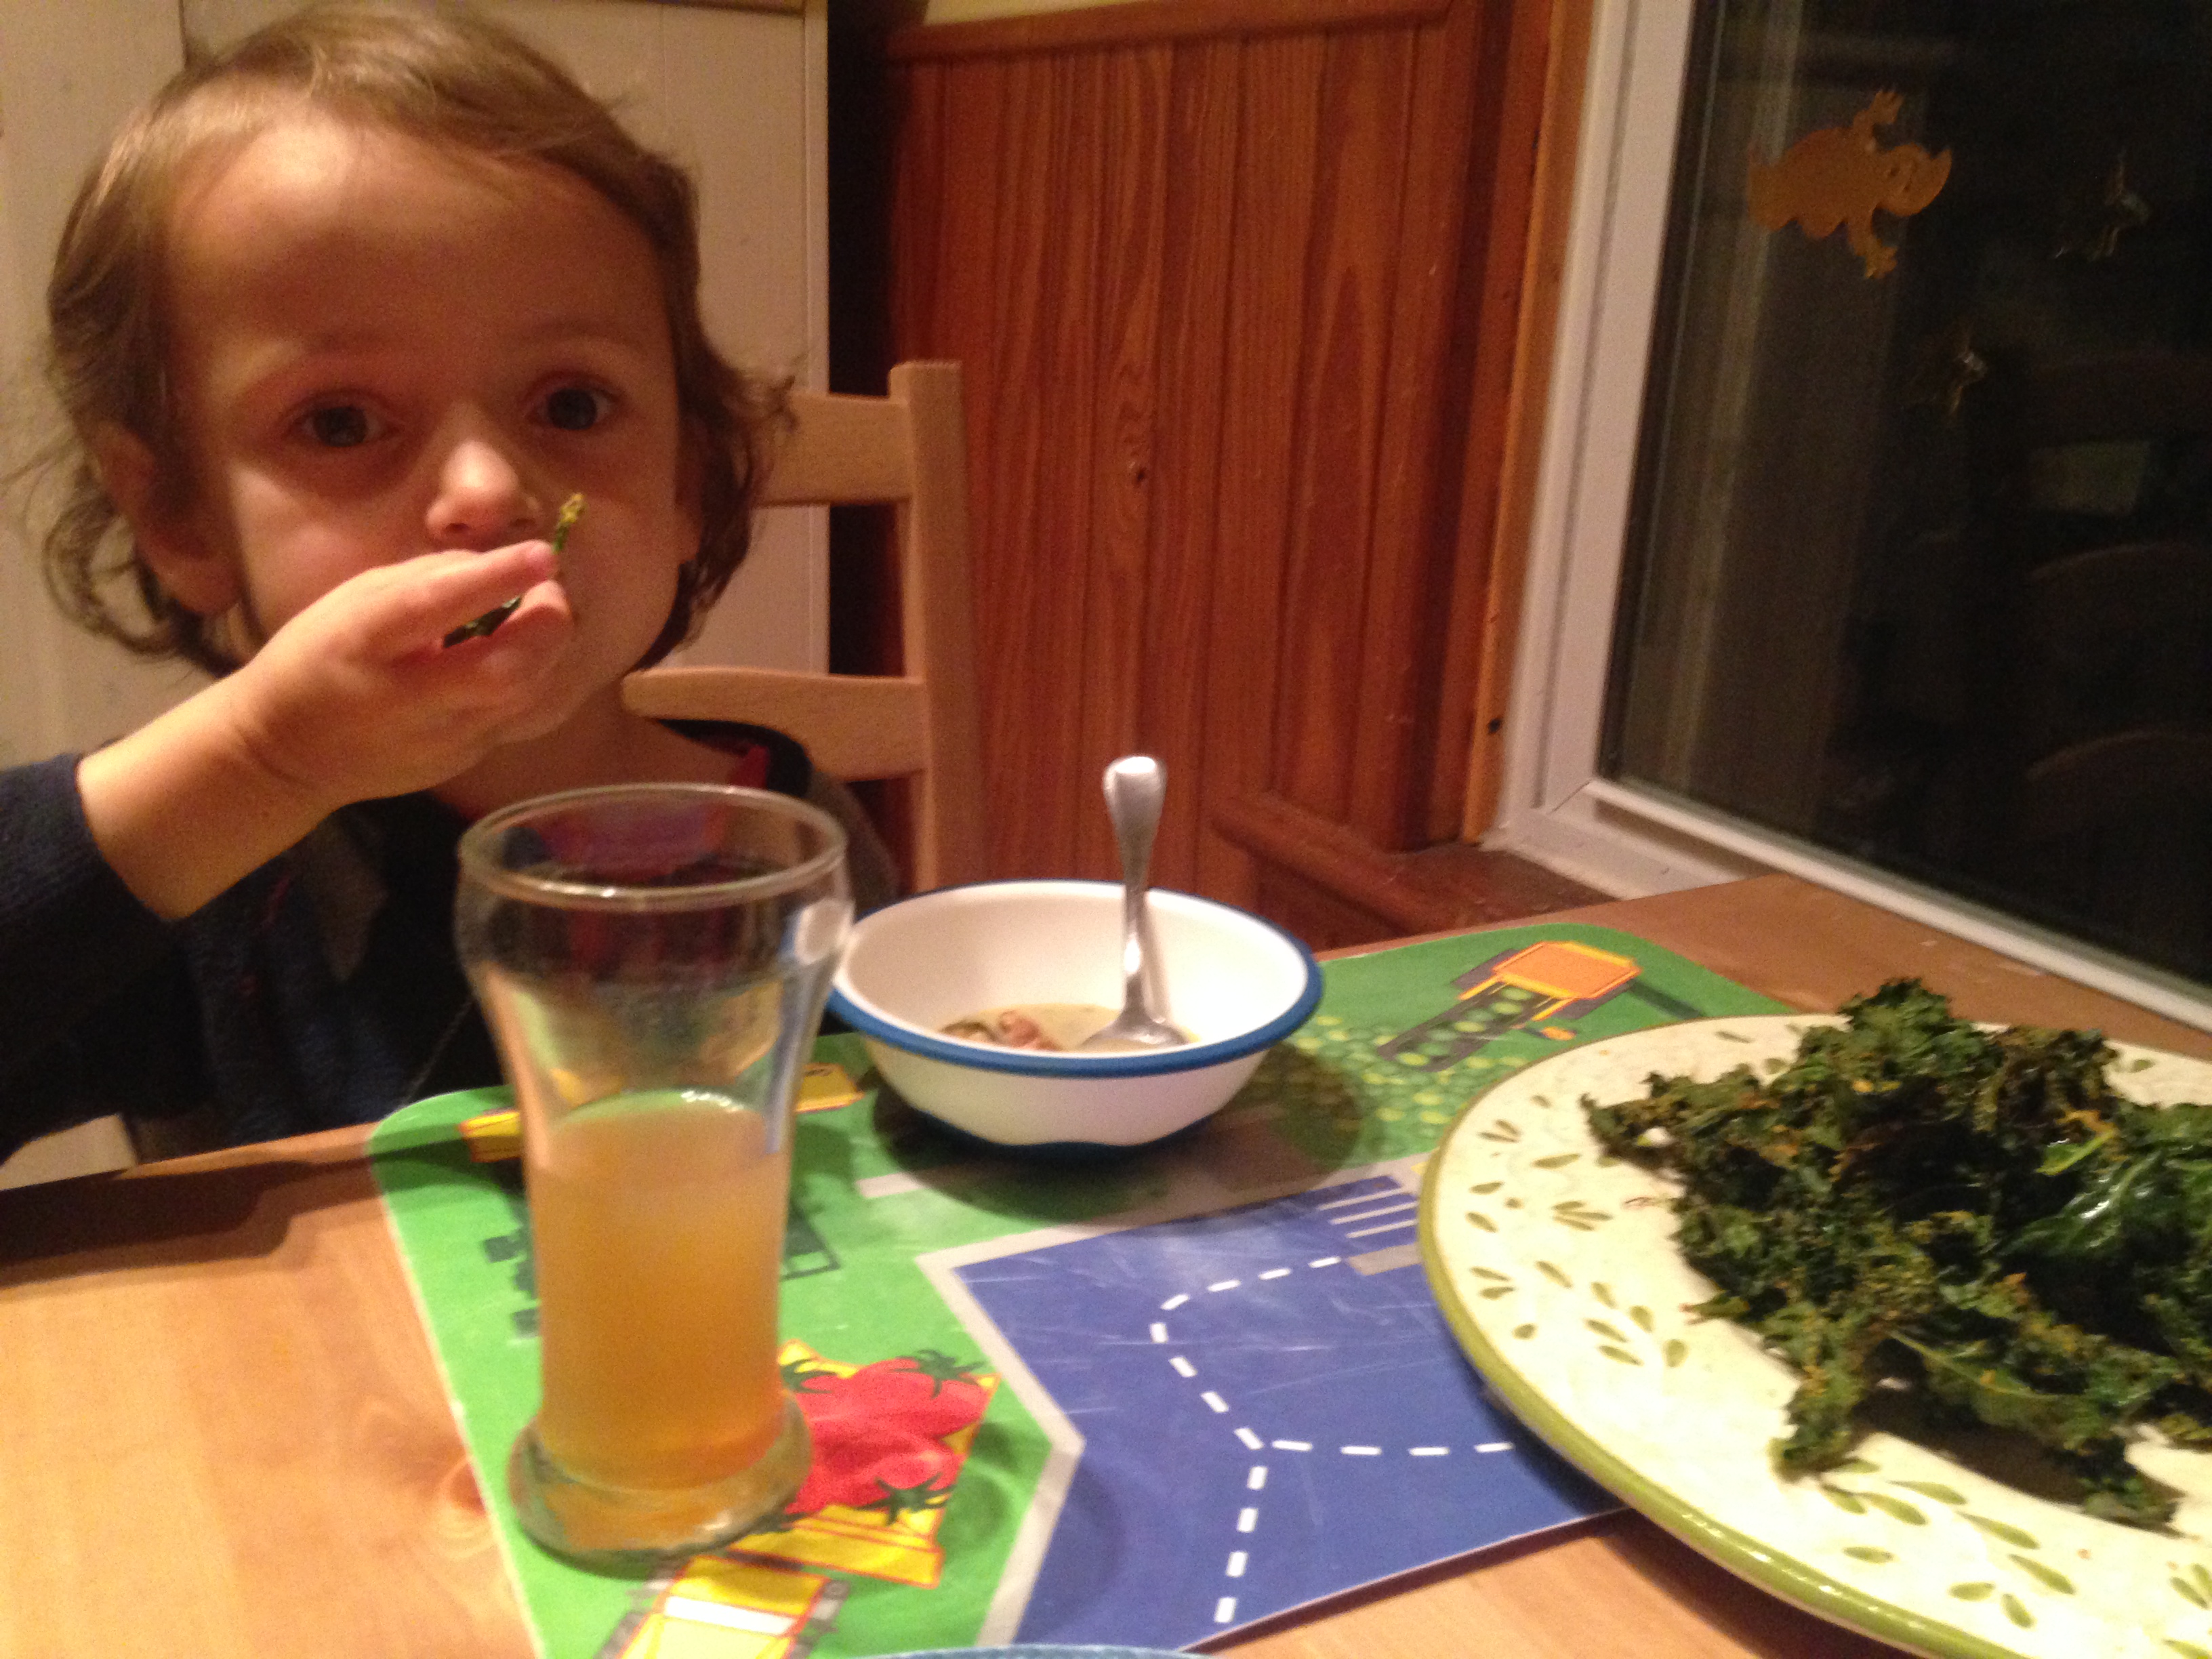
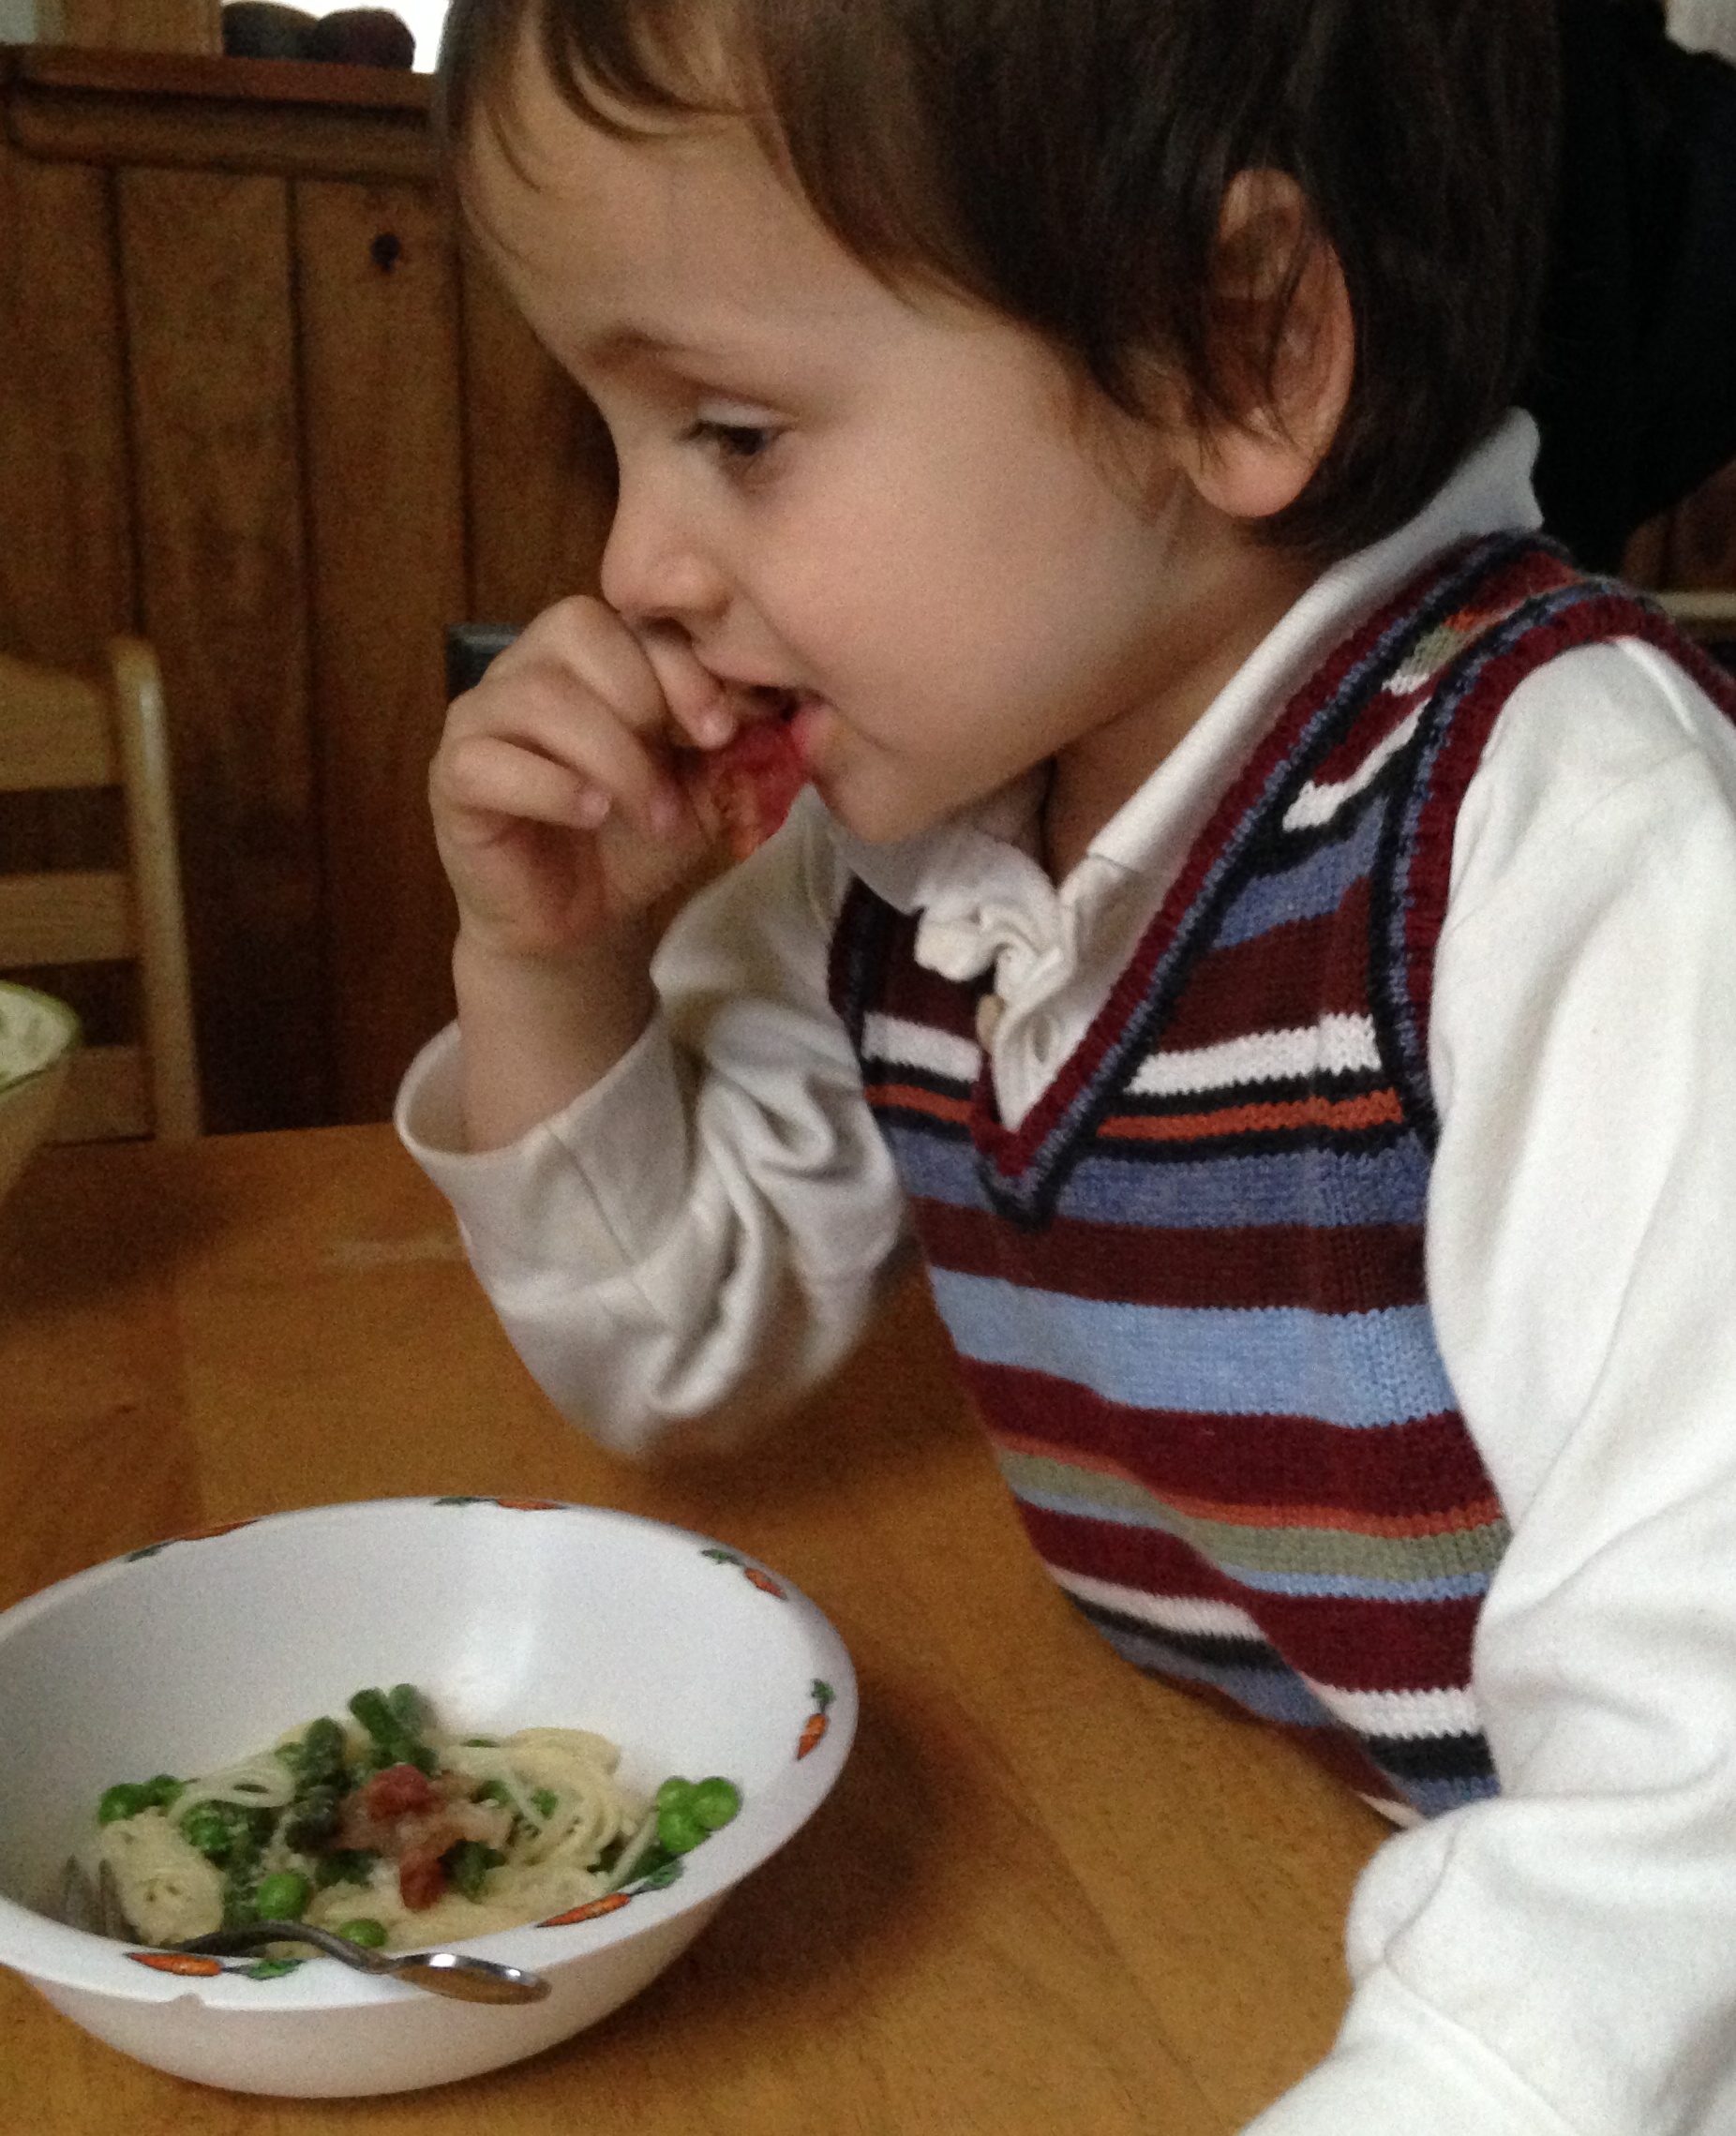
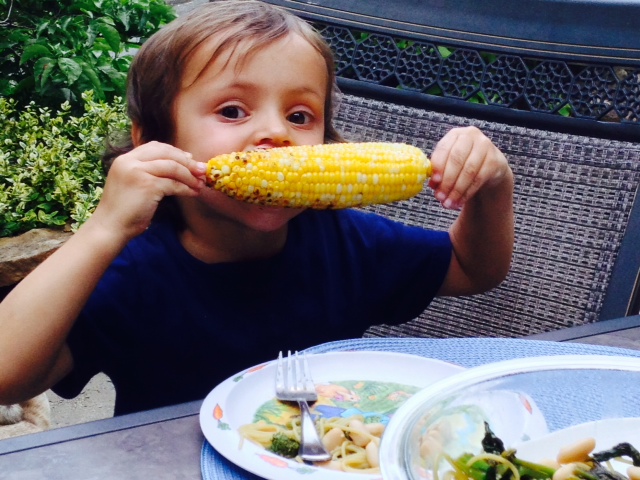
That’s a big plate of kale chips and a little bowl of soup.


![IMG_1762[1]](https://littlejudeonfood.com/wp-content/uploads/2014/03/img_17621-e1396306995915.jpg)