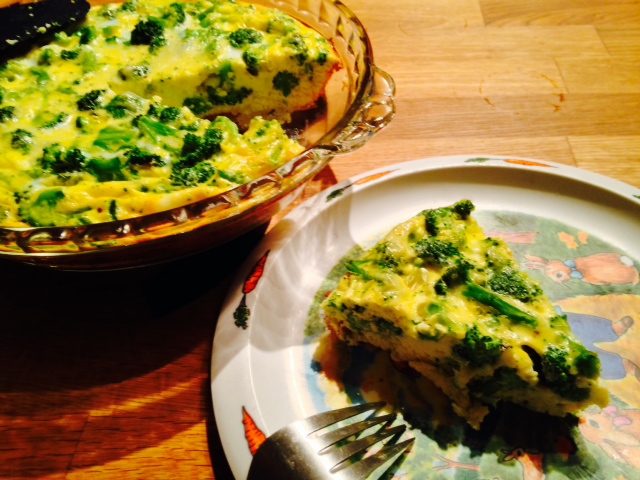
In honor of Bastille Day (and Papa’s return from Paris), Mama decided to make a quiche. She opted for crustless, as who has time to make and pre-bake a crust on a hot summer’s evening? Because I like broccoli (and because we had a bunch of it), she figured a broccoli and cheese quiche would be just the thing.
She figured wrong.
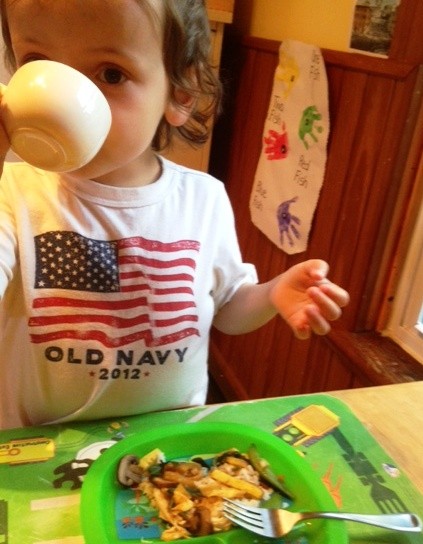
Of course she tried calling it an “egg pie” and a “broccoli pie,” which only made matters worse. After much cajoling, I finally tried a tentative bite. You can imagine what followed.
I knew from first sight that I wouldn’t like this.
Mama asked if I could tell her what I didn’t like about the quiche. I said, “I didn’t like the broccoli, and I didn’t like the egg.”
Well, there you have it. (Truth is, I might have liked it better had there been a crust, as who doesn’t love a flaky, buttery crust?)
Love, Jude
Broccoli & Cheese Quiche
A crown of broccoli, cut into small florets (our crowns were small, so Mama used 2)
6 organic eggs
½ cup cream or half-and-half
1/3 to ½ cup shredded cheese of choice (we used Gruyère, but you could use Cheddar, Asiago, Fontina…really, anything you have a hankering for)
Salt & pepper
Pinch of nutmeg (to make this a classic quiche)
Preheat oven to 350°F. Grease a 9” pie plate. (We used butter, as it’s a French dish, after all.) Boil or steam the broccoli until bright green and crisp tender, about 1 minute. Drain and set aside.
Jude on Food: All ingredients that go into a quiche should be cooked.
In a medium bowl, whisk the eggs until broken up and well combined. Add the cream or half-and-half and whisk to combine. Stir in the blanched broccoli and cheese. Season with salt, pepper, and nutmeg. Gently pour into prepared pie plate and bake until set & puffy, about 30 minutes.
Allow to cool about 5 minutes before cutting and serving.
…and you can put dinner together pretty quickly. Or so I’m told.
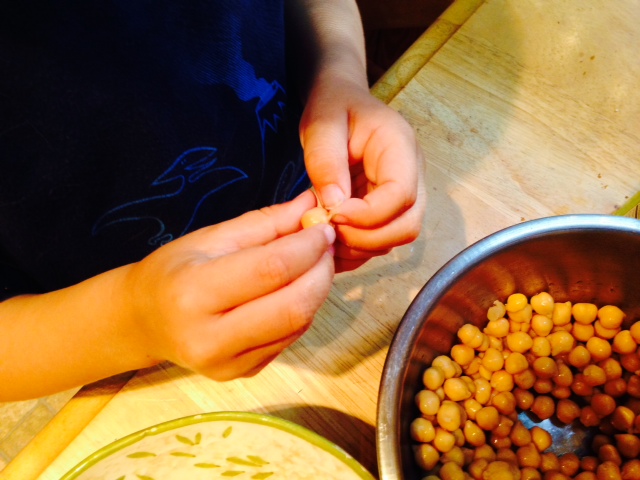
Mama occupied me with a can of chickpeas.
She showed me how to squeeze their little tails to pop them out of their skins. (I ate as many as I popped.)
Meanwhile, having been inspired by a recipe, she set to work on a dinner that involved rapini, or broccoli rabe. Not to be confused with broccolini (broccoli’s slender cousin), rapini is more leafy than broccolini. It also shares family lineage with turnips. Who knew?
But I’m getting ahead of myself.
What prompted the can of chickpeas was my reluctance to pull the silk off several ears of corn. Have you seen how much silk gets trapped between the kernels? I was in no mood to pluck more than a few strands, so Mama passed the task to Papa and set me up with chickpeas.
All the while, the grill was preheating. When the corn was clean, Mama slathered olive oil on her palms, then rubbed them all over the corn. These Papa placed directly on the grill grates. He sprinkled kosher salt over them, then closed the lid. Every few minutes, one of them went out to turn the ears. Mama said she wanted “a good char” on them. At one point, she called us out to hear them popping!
Meanwhile, back in the kitchen, Mama set some spaghetti to cooking while she prepared the rapini portion in another large pot. The house smelled good with the sizzling garlic and lemon. By the time I was done with the chickpeas (Papa helped near the end), everything was done. The corn was brought to the table, the rapini-lemon-cannellini bean mixture was tossed with the pasta, and we were ready to pig out.
Except, I had eaten all those chickpeas. Still, I tried a bean. And a rapini floret—it was bitter! I did eat my corn, though. What’s not to like about corn on the cob? Luckily, none of the kernels popped in my mouth.
As I declared, “Good dinner, Mama!” It was made so quickly, and we were done with it so early, that I was able to play a long time before I had my bath. No distraction required.
Love, Jude
Char-Grilled Corn on the Cob
Peeled ears of corn
Olive oil
Kosher or sea salt (and ground black pepper, if desired)
Butter and/or grated Parmesan cheese, to serve, if desired
Preheat the grill. (Mama set it to about medium heat, and the temp gauge said it was around 400°F.) Using tongs, smear a paper towel with oil, and rub the grates. Spread about a teaspoon of olive oil between your palms, then run them around the ears of corn. (They don’t need to be heavily coated, but use more oil if necessary.) Sprinkle with salt (and pepper, if desired). Set ears directly on grill grates then close the lid.
Every few minutes, turn the ears. A char is desirable. Grill for about 10 minutes (you’ll start to hear the kernels pop). Remove to a plate and serve as is, or with butter and Parmesan.
That’s what I am. Otherwise known as “Mama’s kitchen nemesis.” We haven’t been posting a lot lately because I’ve been such a culinary critic. Needless to say, we’re both frustrated. And while that might make for some entertaining reading on occasion, I think we’re both tired of the gastronomic deadlock. If only she would make more things like Papa’s erupting Vesuvius bagel …
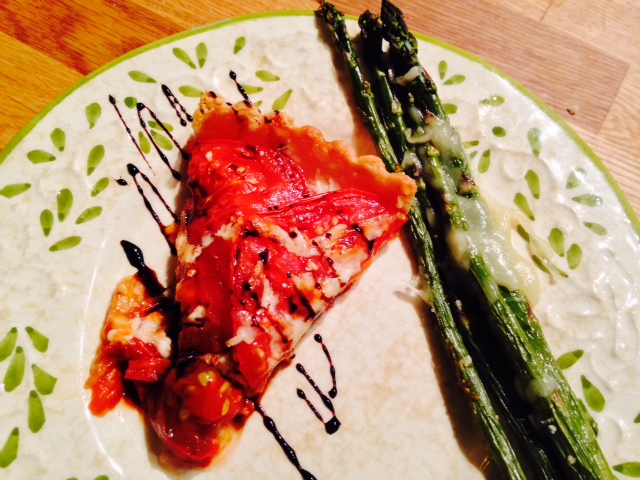
Now, what with summer around the corner, and with it all sorts of newly sprouting vegetables, Mama’s tart-making machine is in full swing. We’ve made many tartsbefore. Whether they’re called pies or tarts (or crumbles or crisps or galettes), my favorite involve fruit. And though I’ve learned that tomatoes are indeed a fruit, they don’t count. Witness, the tomato tart:
I wanted nothing to do with it. I didn’t even want to eat the asparagus because it was next to it on my plate:
The balsamic reduction didn’t help matters. And when Mama tried bribing me to try it with a piece of fruit pie (she had extra dough), I told her, “That’s okay. I had dessert last day [yesterday].”
That’s right. I passed on pie. This is getting serious.
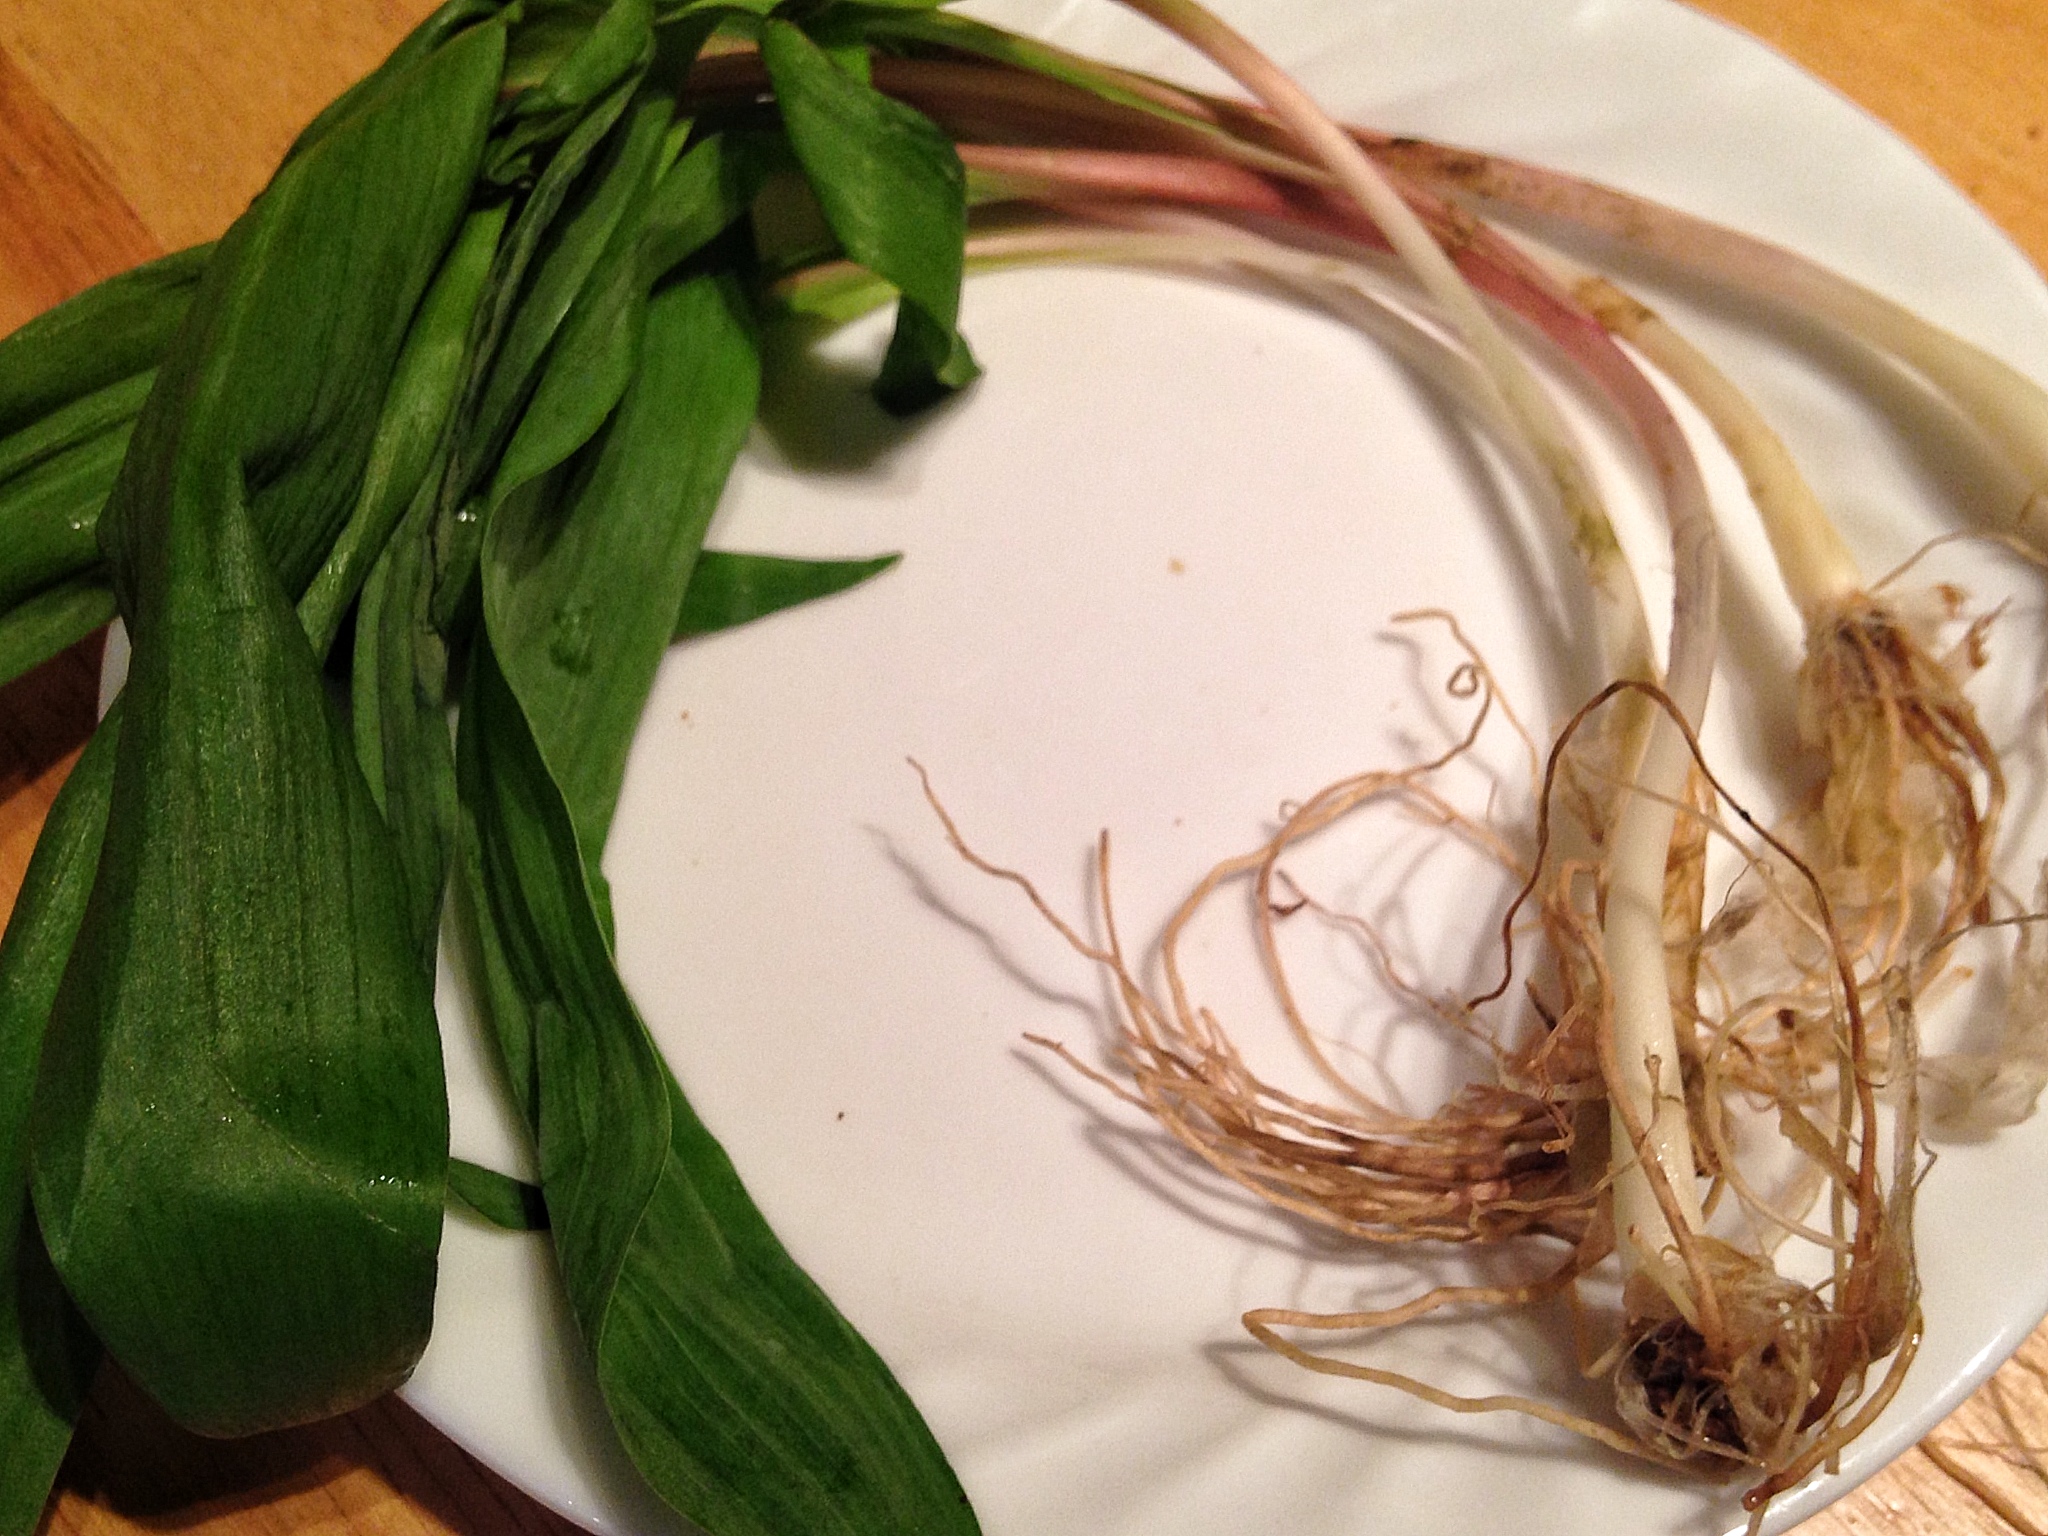
Mama decided a stir-fried rice bowl would not only be a fast dinner but also use up some veggies that had been lying dormant in the crisper. It also gave her an excuse to use the ramps she bought at the market today.
Ramps? Mama told me they’re generally considered a harbinger of spring, along with asparagus and rhubarb. You’ve probably seen them and not given them a second glance. They look sort of like a weak, skinny scallion, except with long leaves. Their main difference from scallions, however, is their strong oniony fragrance and flavor. Imagine eating a raw garlic clove and a scallion. And that’s just the leaves. (Or so I’m told, because I would not try them raw.)
These skinny little onions pack quick a punch.
Ramps’ flavor actually mellows as they cook, so don’t be afraid to try them in eggs, added into pesto, grilled to top meats, mixed into crab salad—or added to stir fries. Just trim the root ends and peel off the very outermost layer of skin from the bulb. Rinse them well. And ramps should have some purplish coloring to them, so don’t discard colorful stems.
For some reason, I didn’t get my rice bowl in a bowl, which made it easier for me to pick out what I wanted.
As it turned out, I didn’t know I was eating ramps. I ate the rice, the egg, the peas, and the leftover cooked chicken mama tossed in. There wasn’t an overly powerful garlic or onion taste. I took a tiny bite of squash but left the mushrooms. I don’t care how many times Mama says I have eaten mushrooms before; it doesn’t mean I’m going to eat them now. Mushrooms and squash aside, I declared this dinner “delicious”…although, I don’t know why I didn’t get mine in a bowl. (If you’d like to see what else I’ve helped Mama make along these lines, look here and here.)
Love, Jude
Veggie Rice Bowl with Ramps
Sesame oil (regular or toasted), or peanut oil
Seasoned rice vinegar (plain okay)
Tamari (or soy sauce)
Splash of orange juice (optional)
1 yellow squash, cut into matchsticks
6 oz cremini mushrooms (or mushroom of choice), sliced
2 handfuls sugar-snap peas
6 ramps, sliced (bulbs & leaves)
2–4 servings warmed cooked rice (any variety)
2 eggs, well whisked
In a large skillet or wok, heat a good swirl of sesame oil over medium-high heat. Add the squash and mushrooms and sauté a couple minutes, until they begin to soften. Add a few shakes of tamari, a few shakes of vinegar, and the o.j. (if using). Stir, then add the peas and ramps. Cook until peas are bright green and ramps are wilted.
Meanwhile (or beforehand), lightly coat a small skillet with oil over medium heat. Add the eggs and don’t stir; allow them to set, 2–3 minutes. If you can, flip it over and just sear the other side. (If not, don’t worry about it. The eggs are still cooked.) Remove to a plate or cutting board. When cool enough to handle, roll up the egg like a cigar, then slice cross-wise to make thin strips. (Cut these strips in half, if desired.) Toss into stir fry mixture to heat through.
Put rice in the bottom of a bowl, top with stir fry mixture.
Serves 2 adults and 1 kid
Note: If you’re cooking the rice from scratch, get it going before you even start chopping your vegetables. That way, it will be ready when you are. May also toss in some tofu or cooked pork or chicken, if you have it.
From what I can tell, I am too young to become embroiled in chili-making madness. Meaty or vegetarian, spicy or tame, saucy or dry? Any way you serve it, I’m pretty sure I’m not going to eat it. I was all about participating in the cooking of it—can openers are fascinating! But have you seen what chili looks like when it comes together? No thank you. I ate 1 bean so I could be excused from the table, and that’s the last I want to think about it.
Love, Jude
Mama’s Vegetarian Chili
Olive oil
½ sweet onion, chopped (if your onion is smallish, use the whole thing)
1 or 2 colorful bell peppers, chopped
1 or 2 cloves garlic, minced
1 ½ pounds sliced mushrooms (variety of choice)
1 quart home-canned tomatoes or 1 can (28 oz) fire-roasted diced tomatoes, both with juice (regular diced tomatoes work too)*
2 cans (15 oz) chili beans or red kidney beans, rinsed and drained*
1 can (15 oz) lentils, rinsed and drained
Oregano
Chili powder
Cumin
Salt and pepper
In a large pot, pour a generous swirl of olive oil and heat over medium heat. Add the onion and cook, stirring occasionally, until it begins to soften, about 5 minutes. Add the peppers, if you have them (Mama forgot them.), and cook another 5 minutes. Add the garlic and stir for another minute or so. Add the mushrooms and allow to cook until very soft and the moisture they let off is nearly evaporated, say 10 minutes. Add the tomatoes. Once it starts bubbling, reduce the heat a smidge and allow to simmer. Stir in the beans and lentils, then add the spices to taste.
You don’t need the oregano if you don’t like it, and you can certainly use fresh, if you have it. Toss in a bay leaf if you’ve got it, or chili pepper flakes or thyme. Chili powder and cumin are pretty sure bets, though, as are s&p. Simmer until you’re ready to eat it. If you’re looking for a long simmer, then hold off on adding the lentils until you’re almost ready to eat. They just need to be warmed through.
Serve with pasta, mac-n-cheese, or rice; sour cream; chives; shredded Cheddar, cornbread… you get the idea. You can also serve with meat, as Mama did for Papa and me. She used a grill pan and cooked up some country ribs while the chili simmered. (Now those were good.)
Makes about 3 quarts, which freeze well
Note: If using home-canned tomatoes that are whole, chop them, reserving their juice, or simply reach into the pot once you add them and gently squish them. Be prepared for some splatter, though. Look for beans in BPA-free cans (or cook your own from scratch).
…because then I will not want to eat them. Now, “rice balls,” on the other hand, is so much more appealing. After all, we enjoy the idea of a food before the first bite ever reaches our mouths. Or so I’m told.
Take the little rice ball, for example. What 3-year-old worth his salt wouldn’t want to make one of those? As the name implies, arancini (Italian for “little oranges”) are little balls of rice that are breaded then fried or baked. (Often they’re made with saffron, and that, coupled with their orangish hue once breaded & fried, lends them their name.)
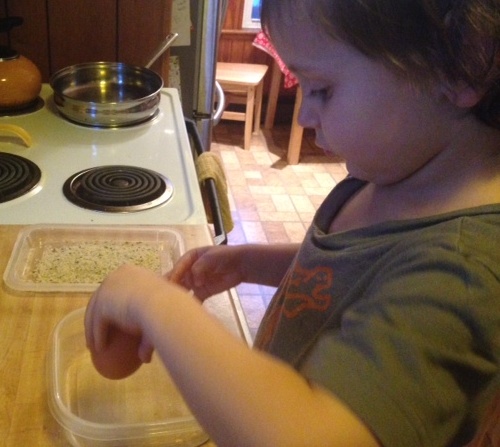
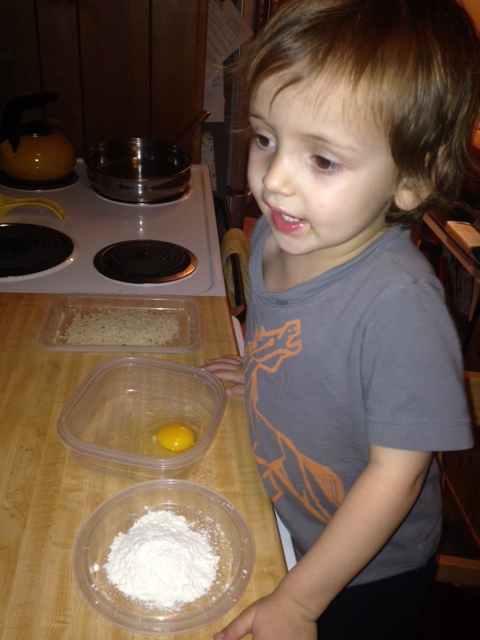
We happened to have leftover squash risotto, and Mama thought I might enjoy making the little balls with her. First, we set up our breading station, which includes a dish of flour, a beaten egg, and a dish of bread crumbs. I crack all the eggs in this house now.
“I didn’t even break the yolk.”
The flour helps the egg stick to the rice ball, and the egg helps the bread crumbs stay put.
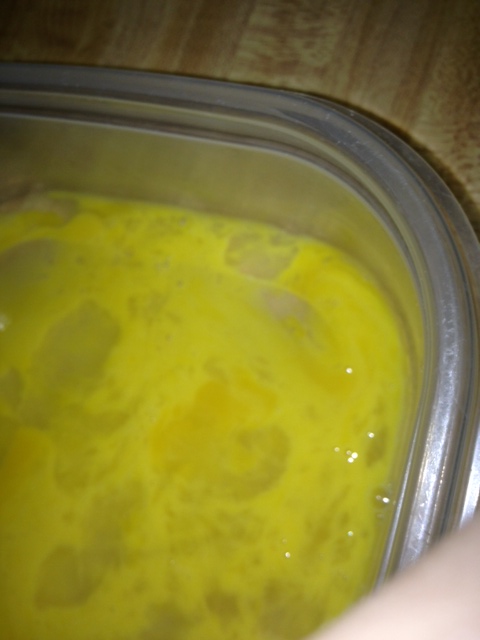
And I also insist on beating the egg with a fork.
I took this picture myself.
After this, I lost interest. I didn’t want to messy my hands in the cold risotto. Instead of helping, I raided the fridge.
Papa bought contraband strawberries out of season, much to my delight!
Mama said we have to get all the balls formed before we begin the breading process, because we’re just going to get our fingers even messier once that starts.
Now we’re set to start covering up those naked little rice balls with crispy bread crumbs.
To bread a ball, gently roll it in the flour, then roll it in the egg (allowing excess to drip off), then roll it in the bread crumbs. Set aside. (You don’t want to start putting them in the hot oil as you make them because they’ll cook unevenly.) Once Mama set the frying pan of oil over medium heat, she shooed me from the kitchen. But I could hear those rice balls sizzling, and the house smelled good.
That’s a side of balsamic-roasted asparagus and portabella mushrooms.
I was eager to try one of those little guys. I really was. But to Mama’s dismay, I did not love them. I took my “no thank you” bite, said, “They are not bad,” and passed on any more. They had a nice crunch with a warm, soft center, but what can I say? I told Mama to stop calling them arancini.
Love, Jude
Arancini (“Rice Balls”)
(You totally don’t need a recipe for this, but here’s something to get you started.)
Cold risotto (plain or with “stuff” in it; we had about 1 or 2 servings left over)
2 eggs, divided (1 optional)
Flour
Bread crumbs (we tend to use panko, but use whatever you have on hand)
Canola or olive oil
Make the arancini whatever size you like, from Ping-Pong to a bit larger than golf ball size. Press the mixture into your palms, and gently form a ball. (If you’re finding that your mixture isn’t holding together well enough, lightly beat an egg and thoroughly mix it in to the rice, then try again.) Set balls aside.
Prepare 3 bowls or shallow dishes for a breading station: 1 with flour, 1 with a lightly beaten egg, and 1 with bread crumbs. Season each with salt and pepper.
Roll a ball completely in the flour, then the egg (allowing excess to drip off), then the bread crumbs. Set aside and repeat until all balls are crumbed.
Heat enough oil to cover the bottom of a large skillet over medium heat. Toss a few flecks of flour into it—if they sizzle, it’s ready. Carefully add the arancini. Do not overcrowd. (Work in batches, if necessary.) Fry until golden, then turn until golden on all sides (just a couple minutes). If they’re getting overly dark, lower the heat slightly. Remove to a plate lined with paper towel. They’re hot, so be careful!
Note: Mama says some people press a tiny bit of filling inside the little ball, whether that’s ham or cooked sausage or chopped mushrooms. Experiment and have fun. (On this Mardi Gras Tuesday, maybe you can make a play on king cake and hide a petite plastic baby in one. That would be so silly!)
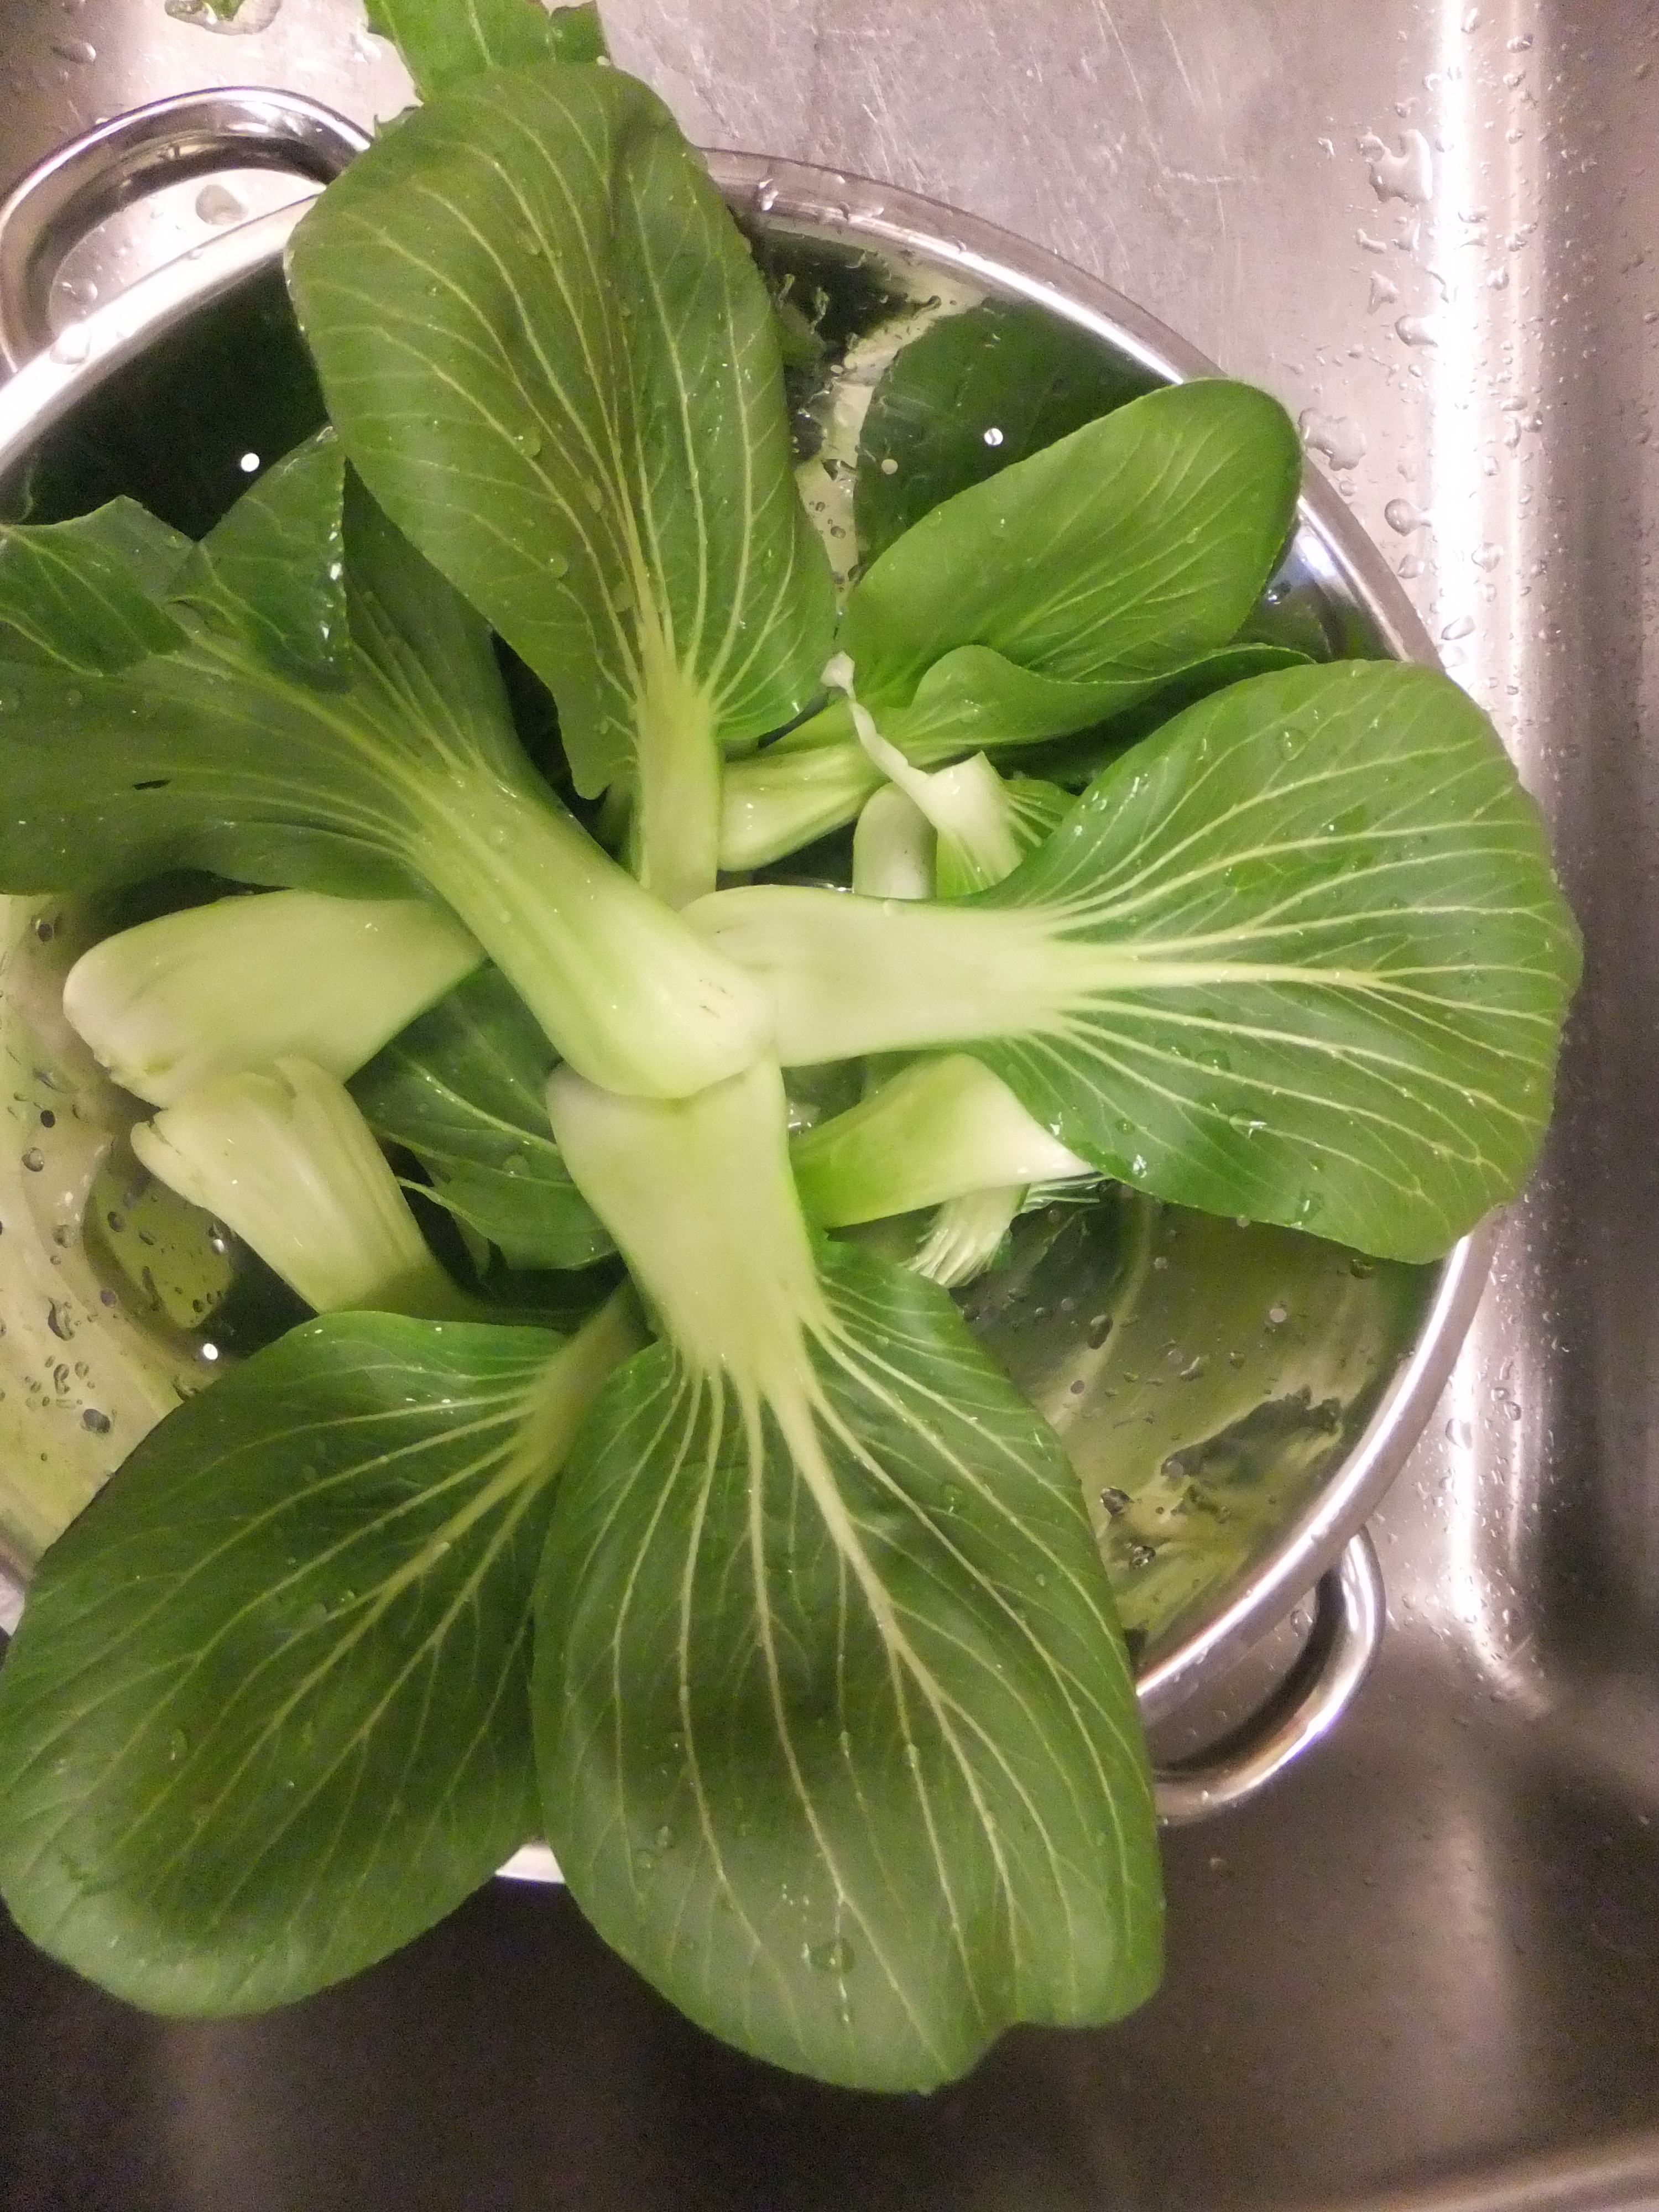
Mama picked the last of the bok choy from her garden at work and thought it would be a good time to make a batch of kimchi. She had always been a little intimidated by it because it’s often so spicy, and traditional kimchi is buried right in the jar and left to basically rot (or rather, ferment). But then she took a class on how to make it from a nice lady named Robyn who was traveling the country promoting her book, Home Sweet Homegrown.
Kimchi is a spicy/sour Korean dish, made of vegetables (often cabbage). It’s eaten as both a side dish and a component of main dishes such as soups, scallion pancakes, fish tacos, or even eggs. Mama says that what makes it extra special is that, as a fermented food, it actually has certain health benefits, particularly in your belly. I don’t know about all that, but Mama seems to know what she’s talking about sometimes, so I’m going to go with her on this one. But you’ll forgive me for not reporting on my like or dislike of it because I don’t plan on getting anywhere near the stuff. No, thank you! (Mama thought I would eat the kimchi pancakes, but I would not.)
Love, Jude
P.S., Happy Christmas!
Kimchi
1 head bok choy, chopped into 1” pieces
1 daikon radish (about 4 ounces), sliced [Mama used watermelon radishes because that’s what was in the garden]
Kosher salt
3 cloves garlic
One 2-inch knob ginger, peeled
1/2 cup Korean red pepper powder (kochukaru/gochugaru*)
2 tablespoons sugar
Behold the beautiful bok choy:
Be sure to rinse the bok choy really well to remove all the dirt.
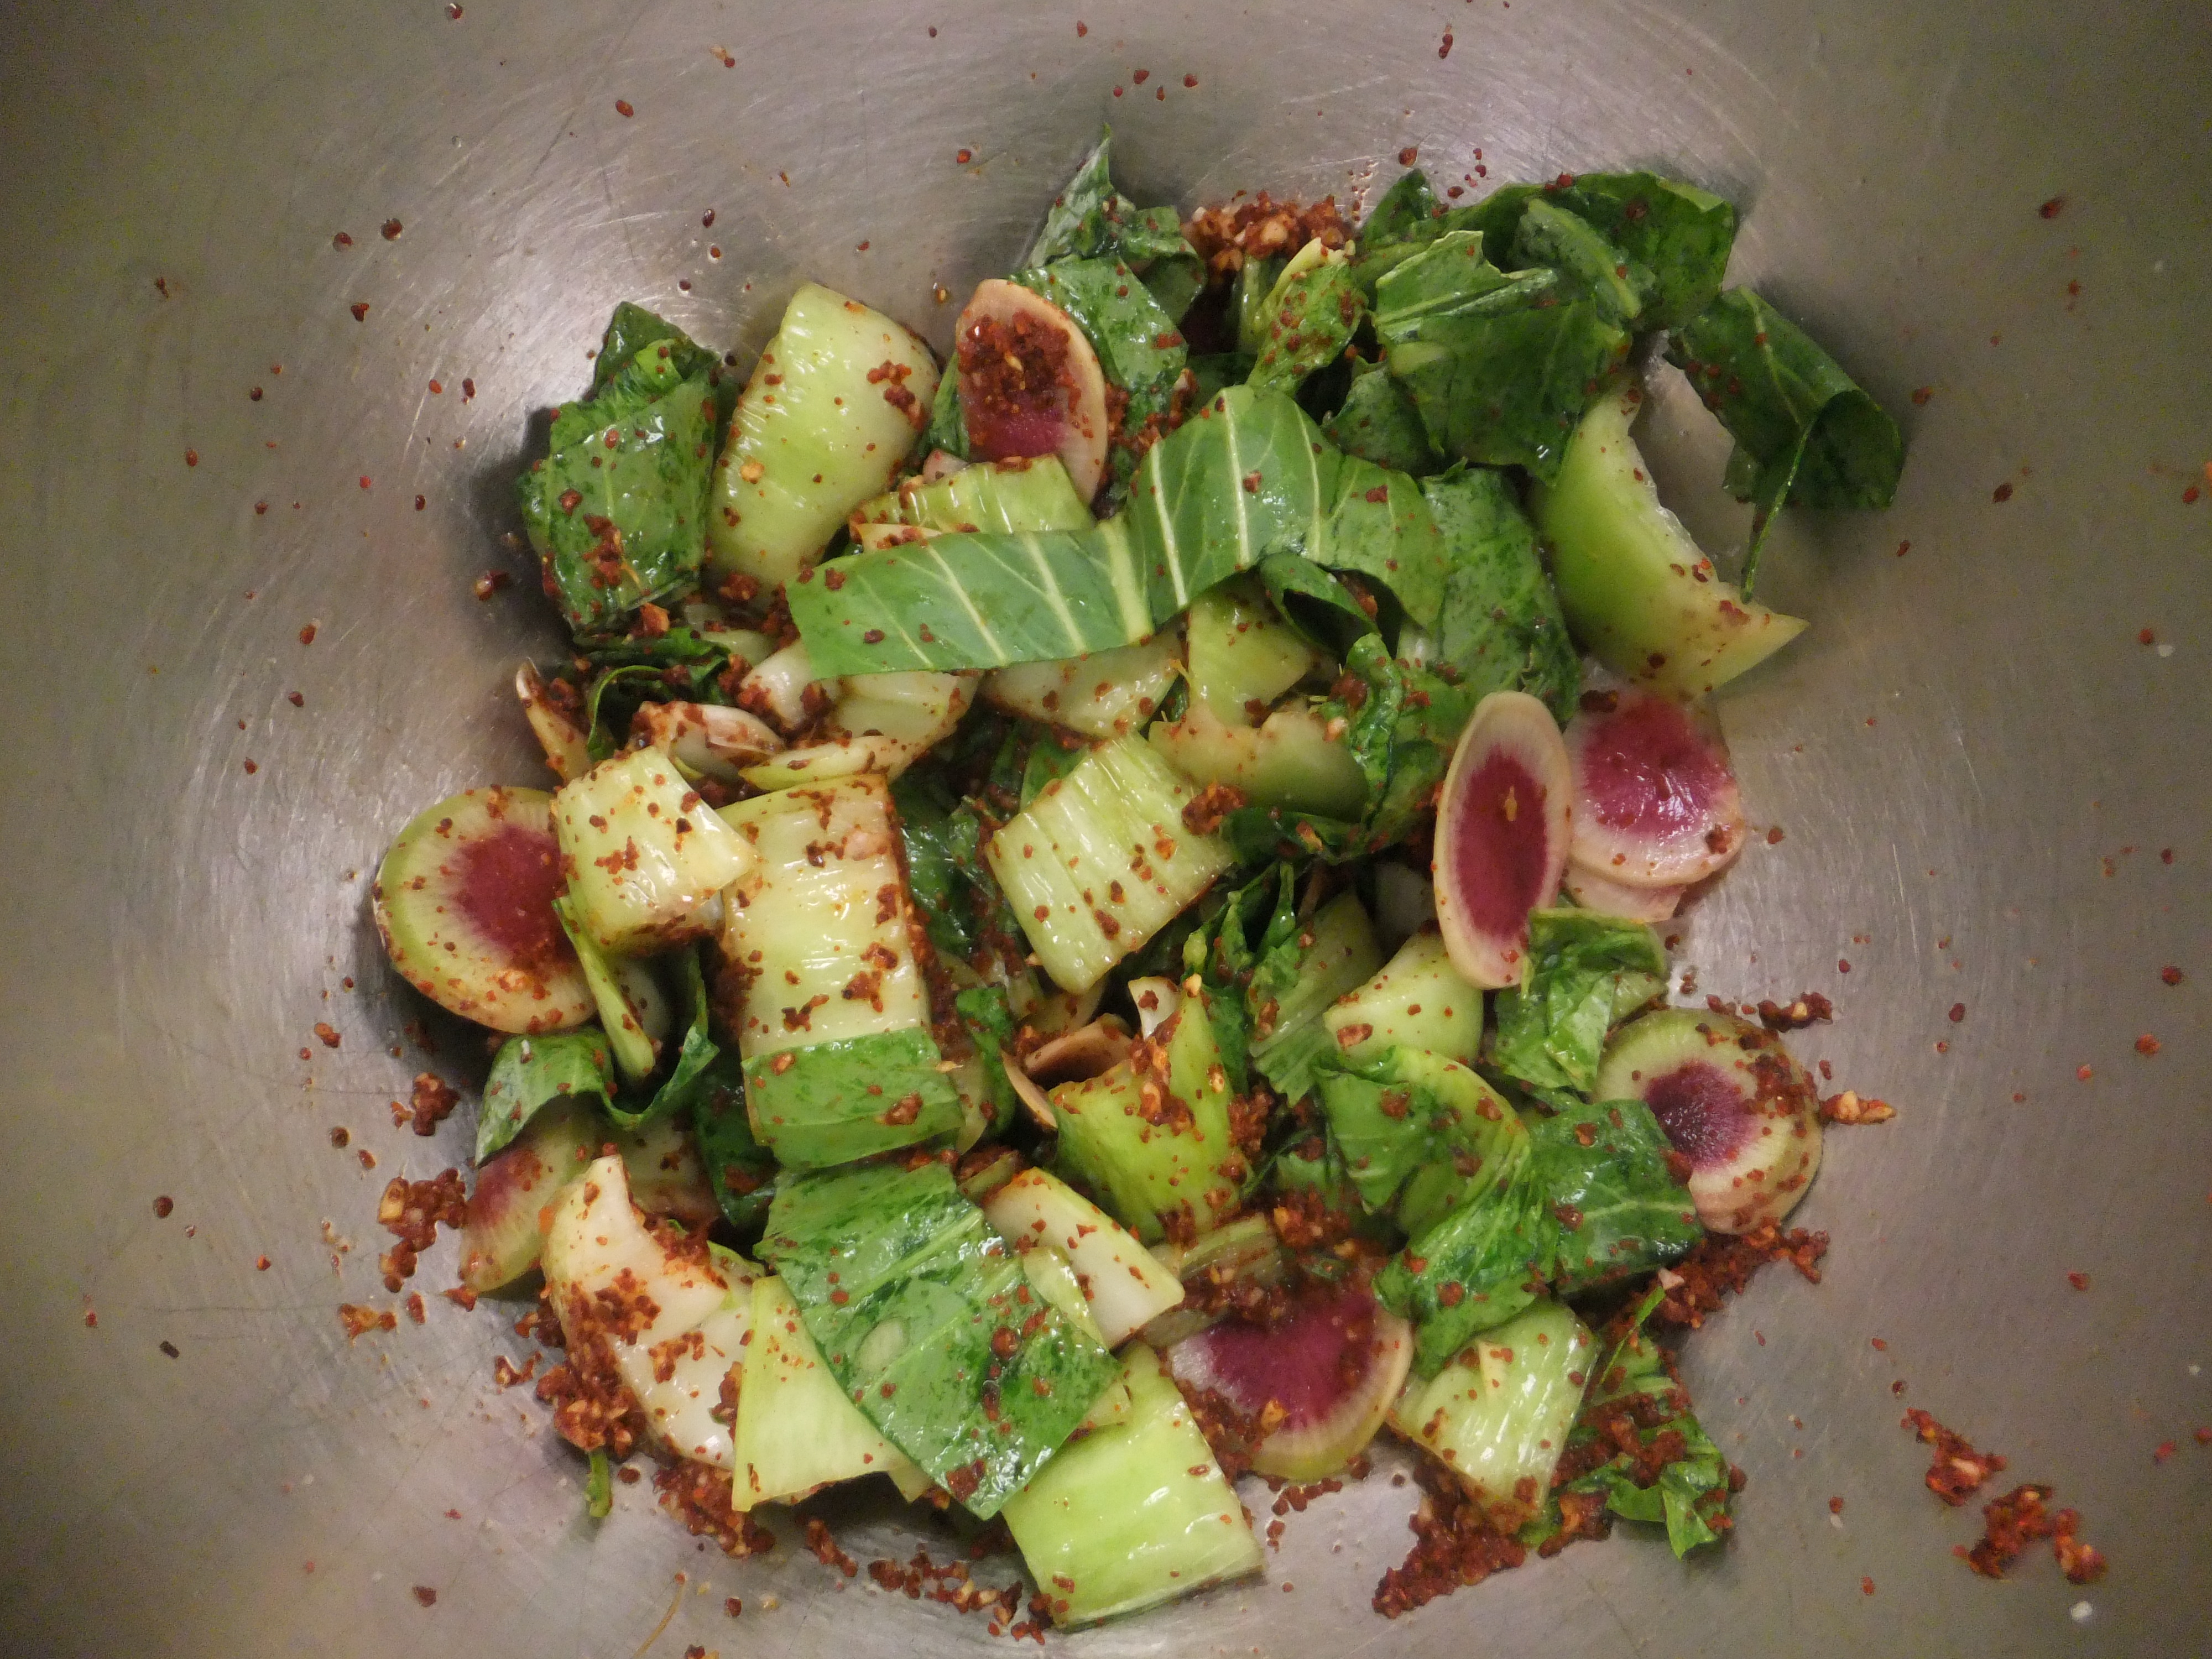
Place bok choy leaves and daikon in a large bowl and sprinkle with 1–2 tablespoons kosher salt. Toss to combine, cover, then let sit at room temperature until cabbage is wilted, at least 1 hour and up to 12. It should release about 1/4 to 1/2 cup liquid.
The bok choy and watermelon radish lie in their little blanket of salt. Aren’t they pretty?
Meanwhile, combine the garlic, ginger, and red pepper powder in the bowl of a food processor or blender. Process until a rough paste is formed, about 30 seconds total, scraping down sides as necessary.
Once the bok choy is wilted, add the chili mixture and turn to coat.
Wear gloves or use a spoon to mix in the spice.
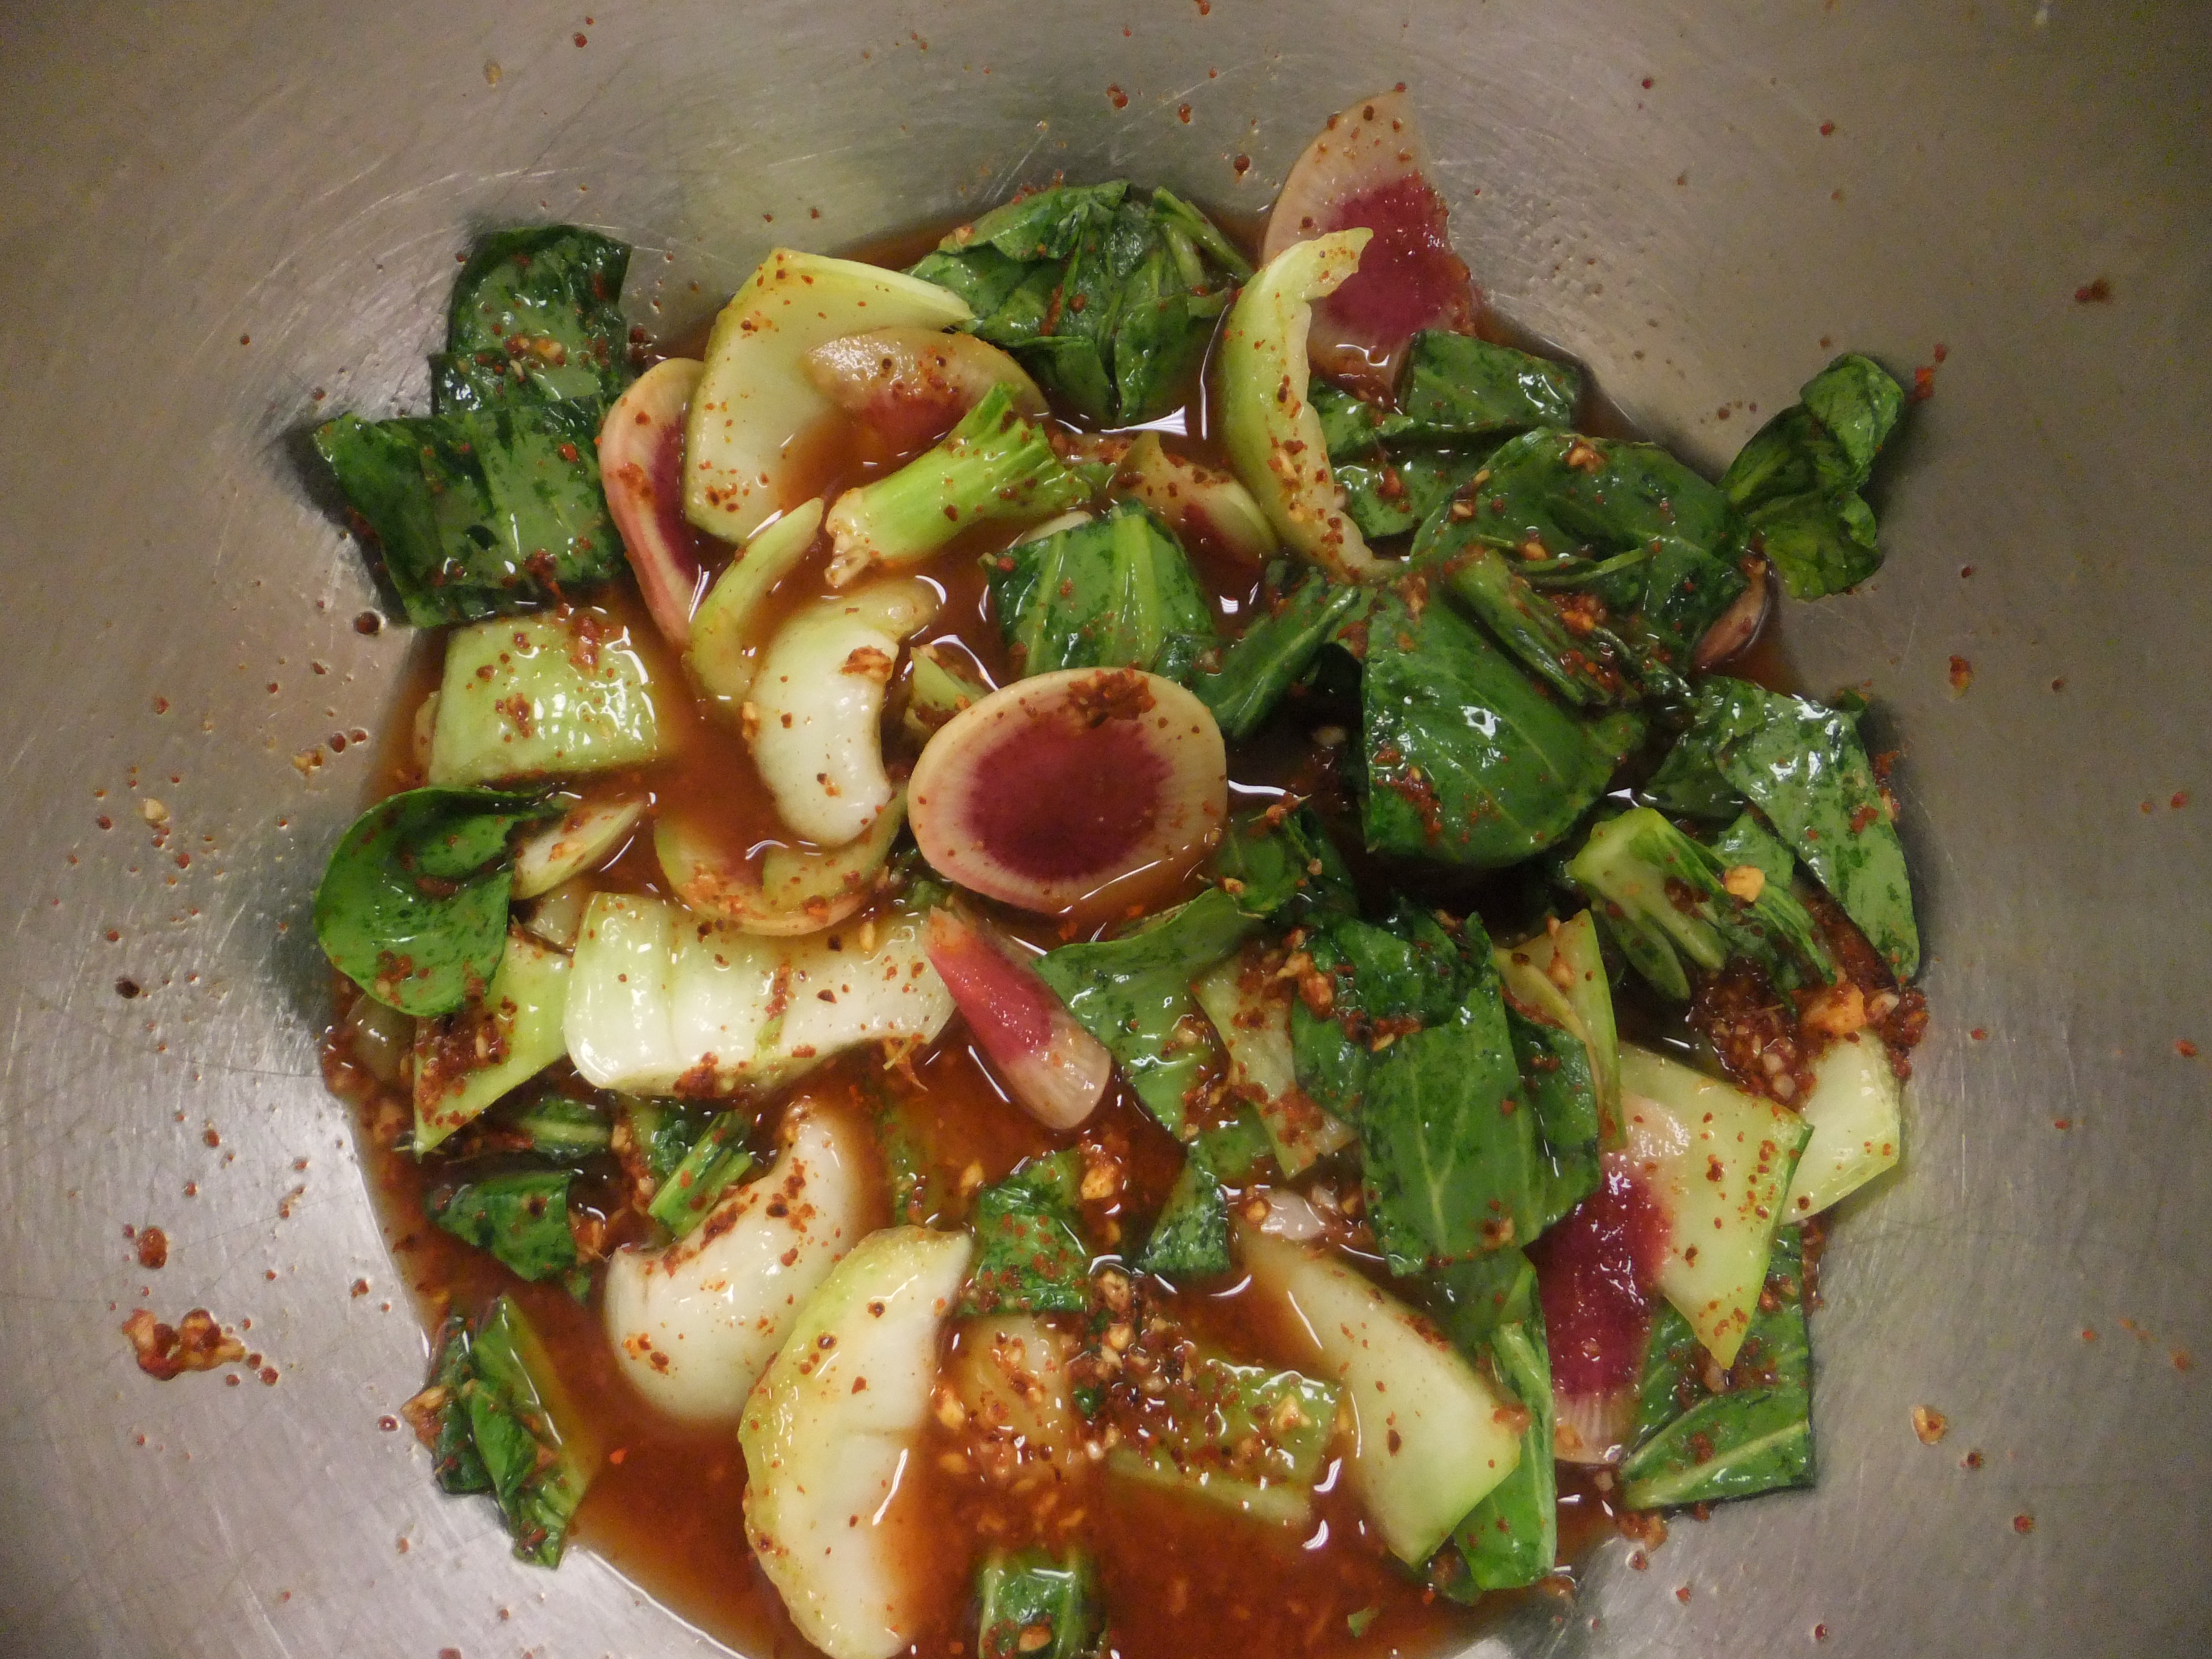
Add 1 cup purified water to the mixture. Taste the liquid and add more salt as necessary (it should have the saltiness of sea water).
This is what kimchi looks like before it goes into the jar.
Pack kimchi into a quart-size sterilized mason jar, pressing down firmly to pack tightly and using a wooden spoon to release any air bubbles trapped in the bottom of the jar. This is important as your kimchi will be releasing its own amount of air bubbles as it ferments, so try to get as much excess air out as possible beforehand. Cover the kimchi entirely with its liquid, as the liquid is what protects the vegetables from succumbing to bad bacteria.
Jarred and ready to ferment.
If there’s not enough liquid to completely cover the veggies, lay a clean leaf of lettuce or cabbage on top of them to help push them down.
Seal the jars tightly and allow them to sit at cool room temperature for 24 hours, then transfer to the refrigerator. Allow to ferment at least 1 week before eating. Kimchi will last for up to 1 month after opening. Alternatively, place directly in fridge after packing and taste daily starting after the first week until it’s as sour as you like it. (At this point, you can drain excess brine from your kimchi. A little liquid is good, but no one wants soggy kimchi.)
*Note: Korean red pepper powder is easily found in Asian markets. It comes in a bag larger than you think you’ll ever use, but it doesn’t cost a lot. Any errors in this recipe are Mama’s and not the nice lady’s who gave the workshop.
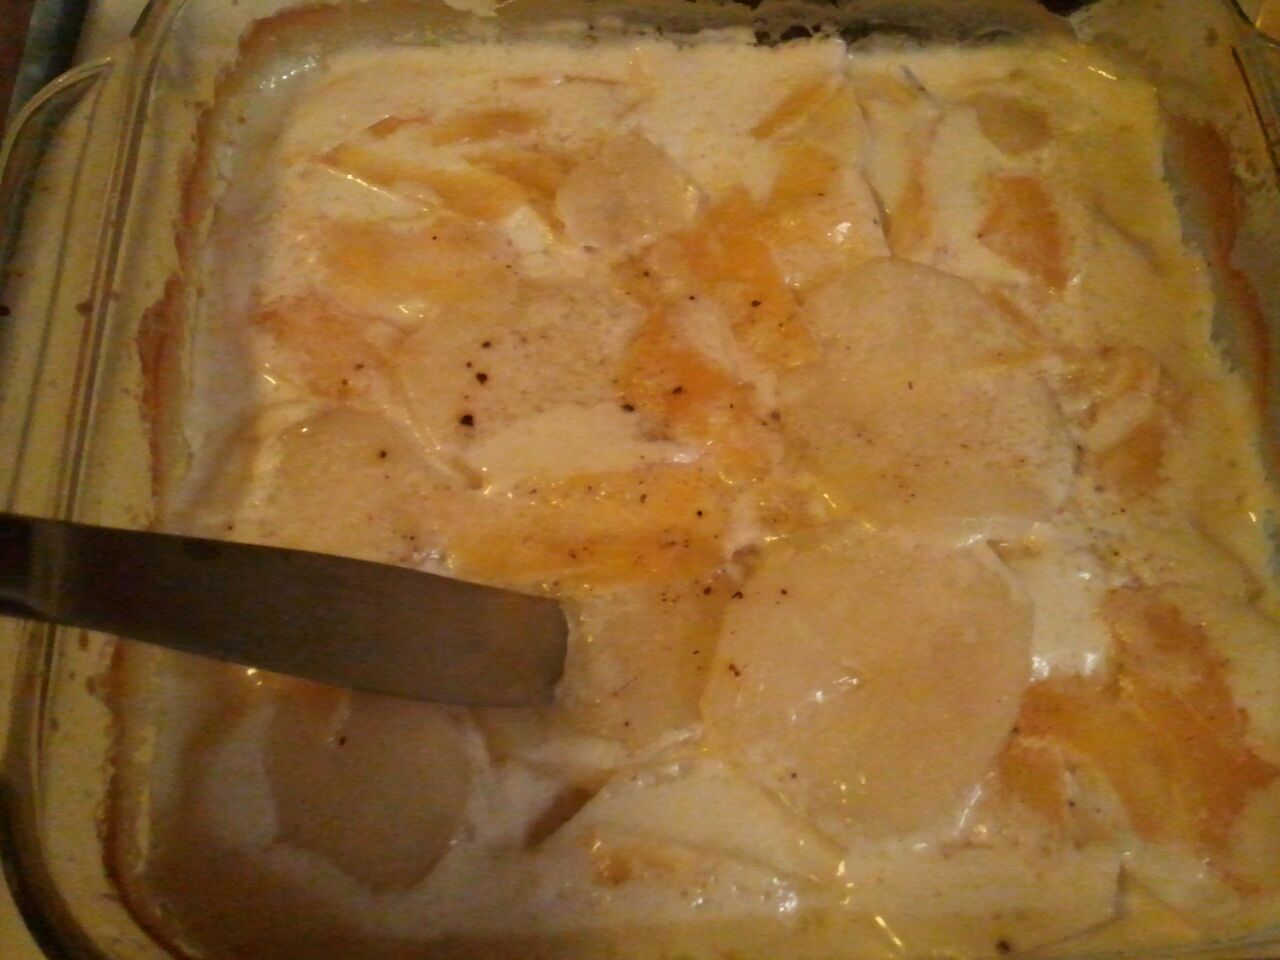
Mama didn’t feel like cooking dinner after a long weekend of chasing me around (don’t forget the 60 pounds of apples we picked). And she didn’t want to go to the store, either. She thought about what we had on hand, and voilà: a gratin was born.
Mama explained that gratins can be made out of pretty much any hardy vegetable: turnips, potatoes, fennel, squash, beets, even carrots. What makes them into a gratin is that they are layered with cream (and cheese, if desired) and then—this is the crucial step—topped with breadcrumbs, cheese, and butter to make it crunchy. Think of a gratin as savory crème brûlée: crispy on the top, creamy on the bottom. Each bite should have a bit of both, which is why gratin dishes are often shallow and oval, to provide more surface area for that wonderful crunch.
We’ve had a giant butternut squash sitting around for a while. Every couple of days, Mama hacks a hunk off its neck, peels it, and proceeds with dinner. For the gratin, she sliced it thinly (about ¼” thick) on the mandolin because the thinner the veggies, the quicker they’ll soften in the oven. We also had a couple organic russet potatoes on hand, which Mama also peeled and ran over the mandolin. (She said a food processor’s slicing blade would likely do a fine job, as well as a good ol’ sharp knife.)
As we don’t have a gratin dish, Mama opted for a regular 8” x 8” baking dish. (I promised I wouldn’t tell anyone.) She layered the squash, overlapping it slightly, and then sprinkled it with salt, pepper, and a few raspy shavings of Pecorino (because we had more of that than we did Parmesan). She drizzled it with heavy cream that was left over from a dish Papa made earlier in the week. She could’ve used her half-and-half or even my milk, but if you’re going for creamy, why not go whole hog?
We were starting to get down to the bulb portion of the squash, so there are a few funny pieces in there. It doesn’t matter, so long as there’s a full layer.
She did the same thing with the potatoes, then repeated each layer once more.
Little potatoes all nice in a row.
She used 2 potatoes and maybe a pound of squash (she’s estimating). The cream was whatever was left in the pint—about a cup, maybe a splash more. And the cheese was as much as we liked (but certainly enough to give a good covering to the veggies). Mama said she could have put some chopped sage in there, or steeped it in the cream, but she wasn’t feeling ambitious enough to walk outside to get some. (Sundays are like that sometimes.)
Jude on Food: If you run out of one vegetable, substitute something else. No one will notice that the layers aren’t exactly the same because they’ll be too busy eating. That’s why this dinner is so easy!
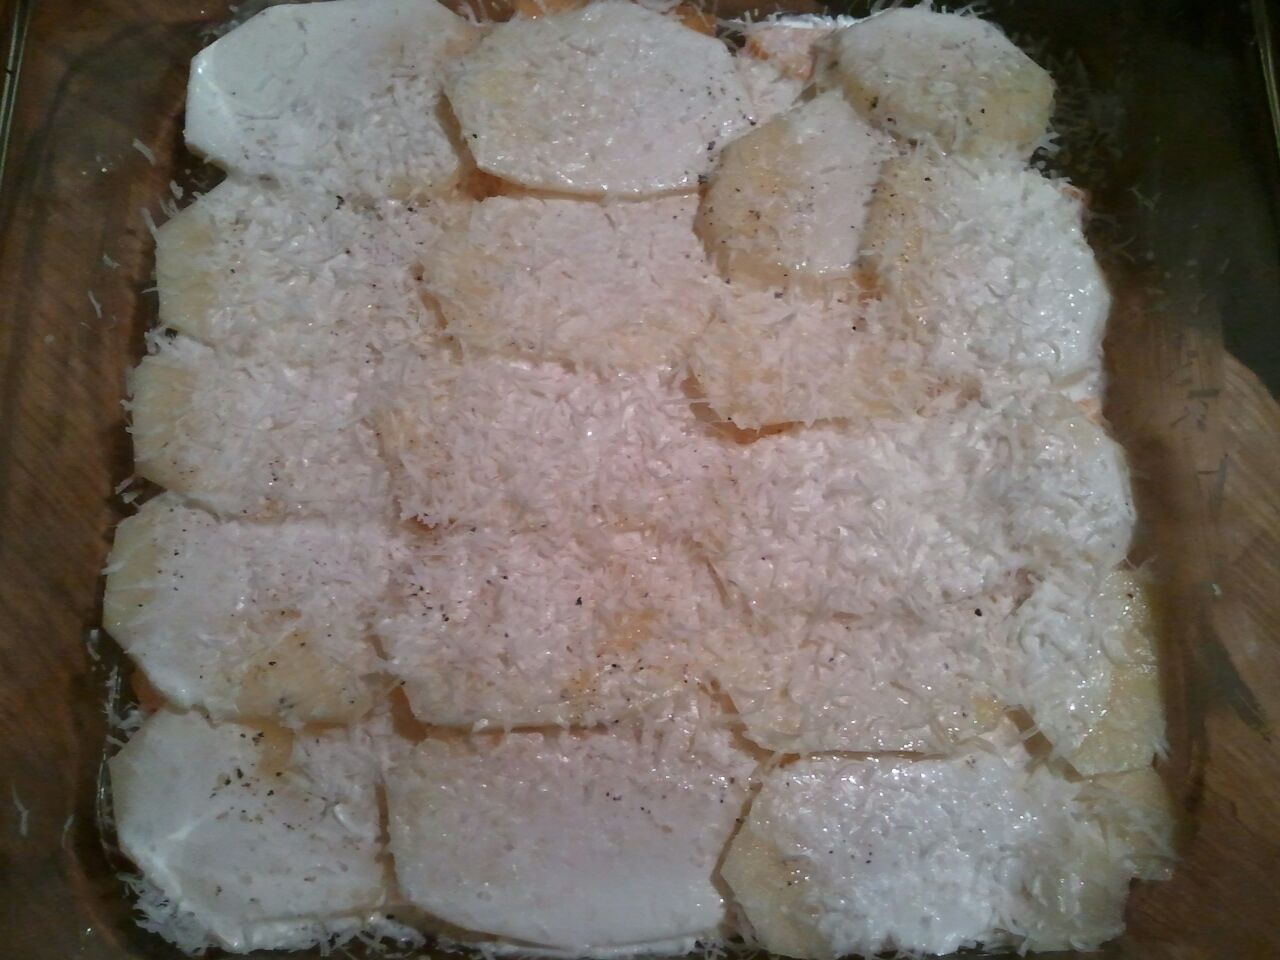
Before shaving cheese on the top layer, Mama gently pressed everything down. She said that making sure the layers are flat will help with the baking, and it will also help distribute the cream. She ended up adding a bit more cream because she said you want to be sure the top-most pieces are in moisture (though not swimming in it).
Then she shaved more cheese on top, covered it with foil, and put it in the oven, where it sat for a good hour. Remember what I said about gratins being creamy? Well, keep it in the oven until the vegetables are so soft, you could cut even the center ones with a butter knife or spoon. The cream will be bubbling too (and very hot!).
This butter knife went into the veggies as if they were…well, butter.
Now comes the pièce de résistance. In a small bowl, Mama combined a couple spoonfuls of panko breadcrumbs (because that’s what had; we’ve used them before) with an equal amount of finely chopped nuts that she pulled from the freezer. She thought they might have been hazelnuts, but she said pecans or walnuts would have been equally good, so she wasn’t too concerned about it. She mixed in a couple pats of melted butter, sprinkled this on top of the gratin, then put it back in the oven until it turned golden, about 10 minutes.
Golden and delicious!
To be honest, I really did find this gratin to be delicious. It was silky and flavorful, and I liked the added texture. It reminded me of my morning granola. But I was in a mood, so I decided I wouldn’t eat any until I was promised a ghost story with firefighters.
Love, Jude
Winter Squash-Potato Gratin
1 pound peeled and seeded butternut squash, thinly sliced
2 russet potatoes, peeled and thinly sliced (about 2 pounds)
1 cup heavy cream, half-and-half, or milk
1/3 cup grated or shredded Pecorino or Parmesan cheese (Mama used a rasp, or Microplane)
Salt & pepper
2–3 Tbsp breadcrumbs or panko
2–3 Tbsp finely chopped nuts (hazelnuts, walnuts, pecans)
1–2 Tbsp butter, melted
Preheat the oven to 350°F.
Arrange the sliced squash on the bottom of a 2-quart glass baking dish (square, oval, or round), slightly overlapping. Season with salt and pepper, then sprinkle cheese over. Drizzle heavy cream so that most of the squash slices have some moisture on them.
Repeat the layer using the potatoes. Then repeat each layer one more time. (If you don’t want your hands to be all cheesy, don’t add the cheese until after you do the next step.) Press down on the top layer to ensure the slices are flat and are touching cream. Add more cream if necessary. Sprinkle with a final bit of cheese.
Cover with foil and bake until the innermost vegetables are perfectly soft, 50–60 minutes. Meanwhile, combine the breadcrumbs, nuts, and melted butter. Sprinkle on top of the vegetables, then return to the oven, uncovered, until golden, about 10 minutes.
Allow to rest 15 minutes or so to allow the dish to come together a bit.
Note: You may certainly start with the potatoes and end with the squash. If you don’t want to add nuts to the topping, replace them with more cheese! Finally, the amounts of everything are approximate. Use enough veggies to cover 1 layer and enough cheese & cream to cover that. Finally, you can make this the night before, keep it in the fridge, then bake it the next day.
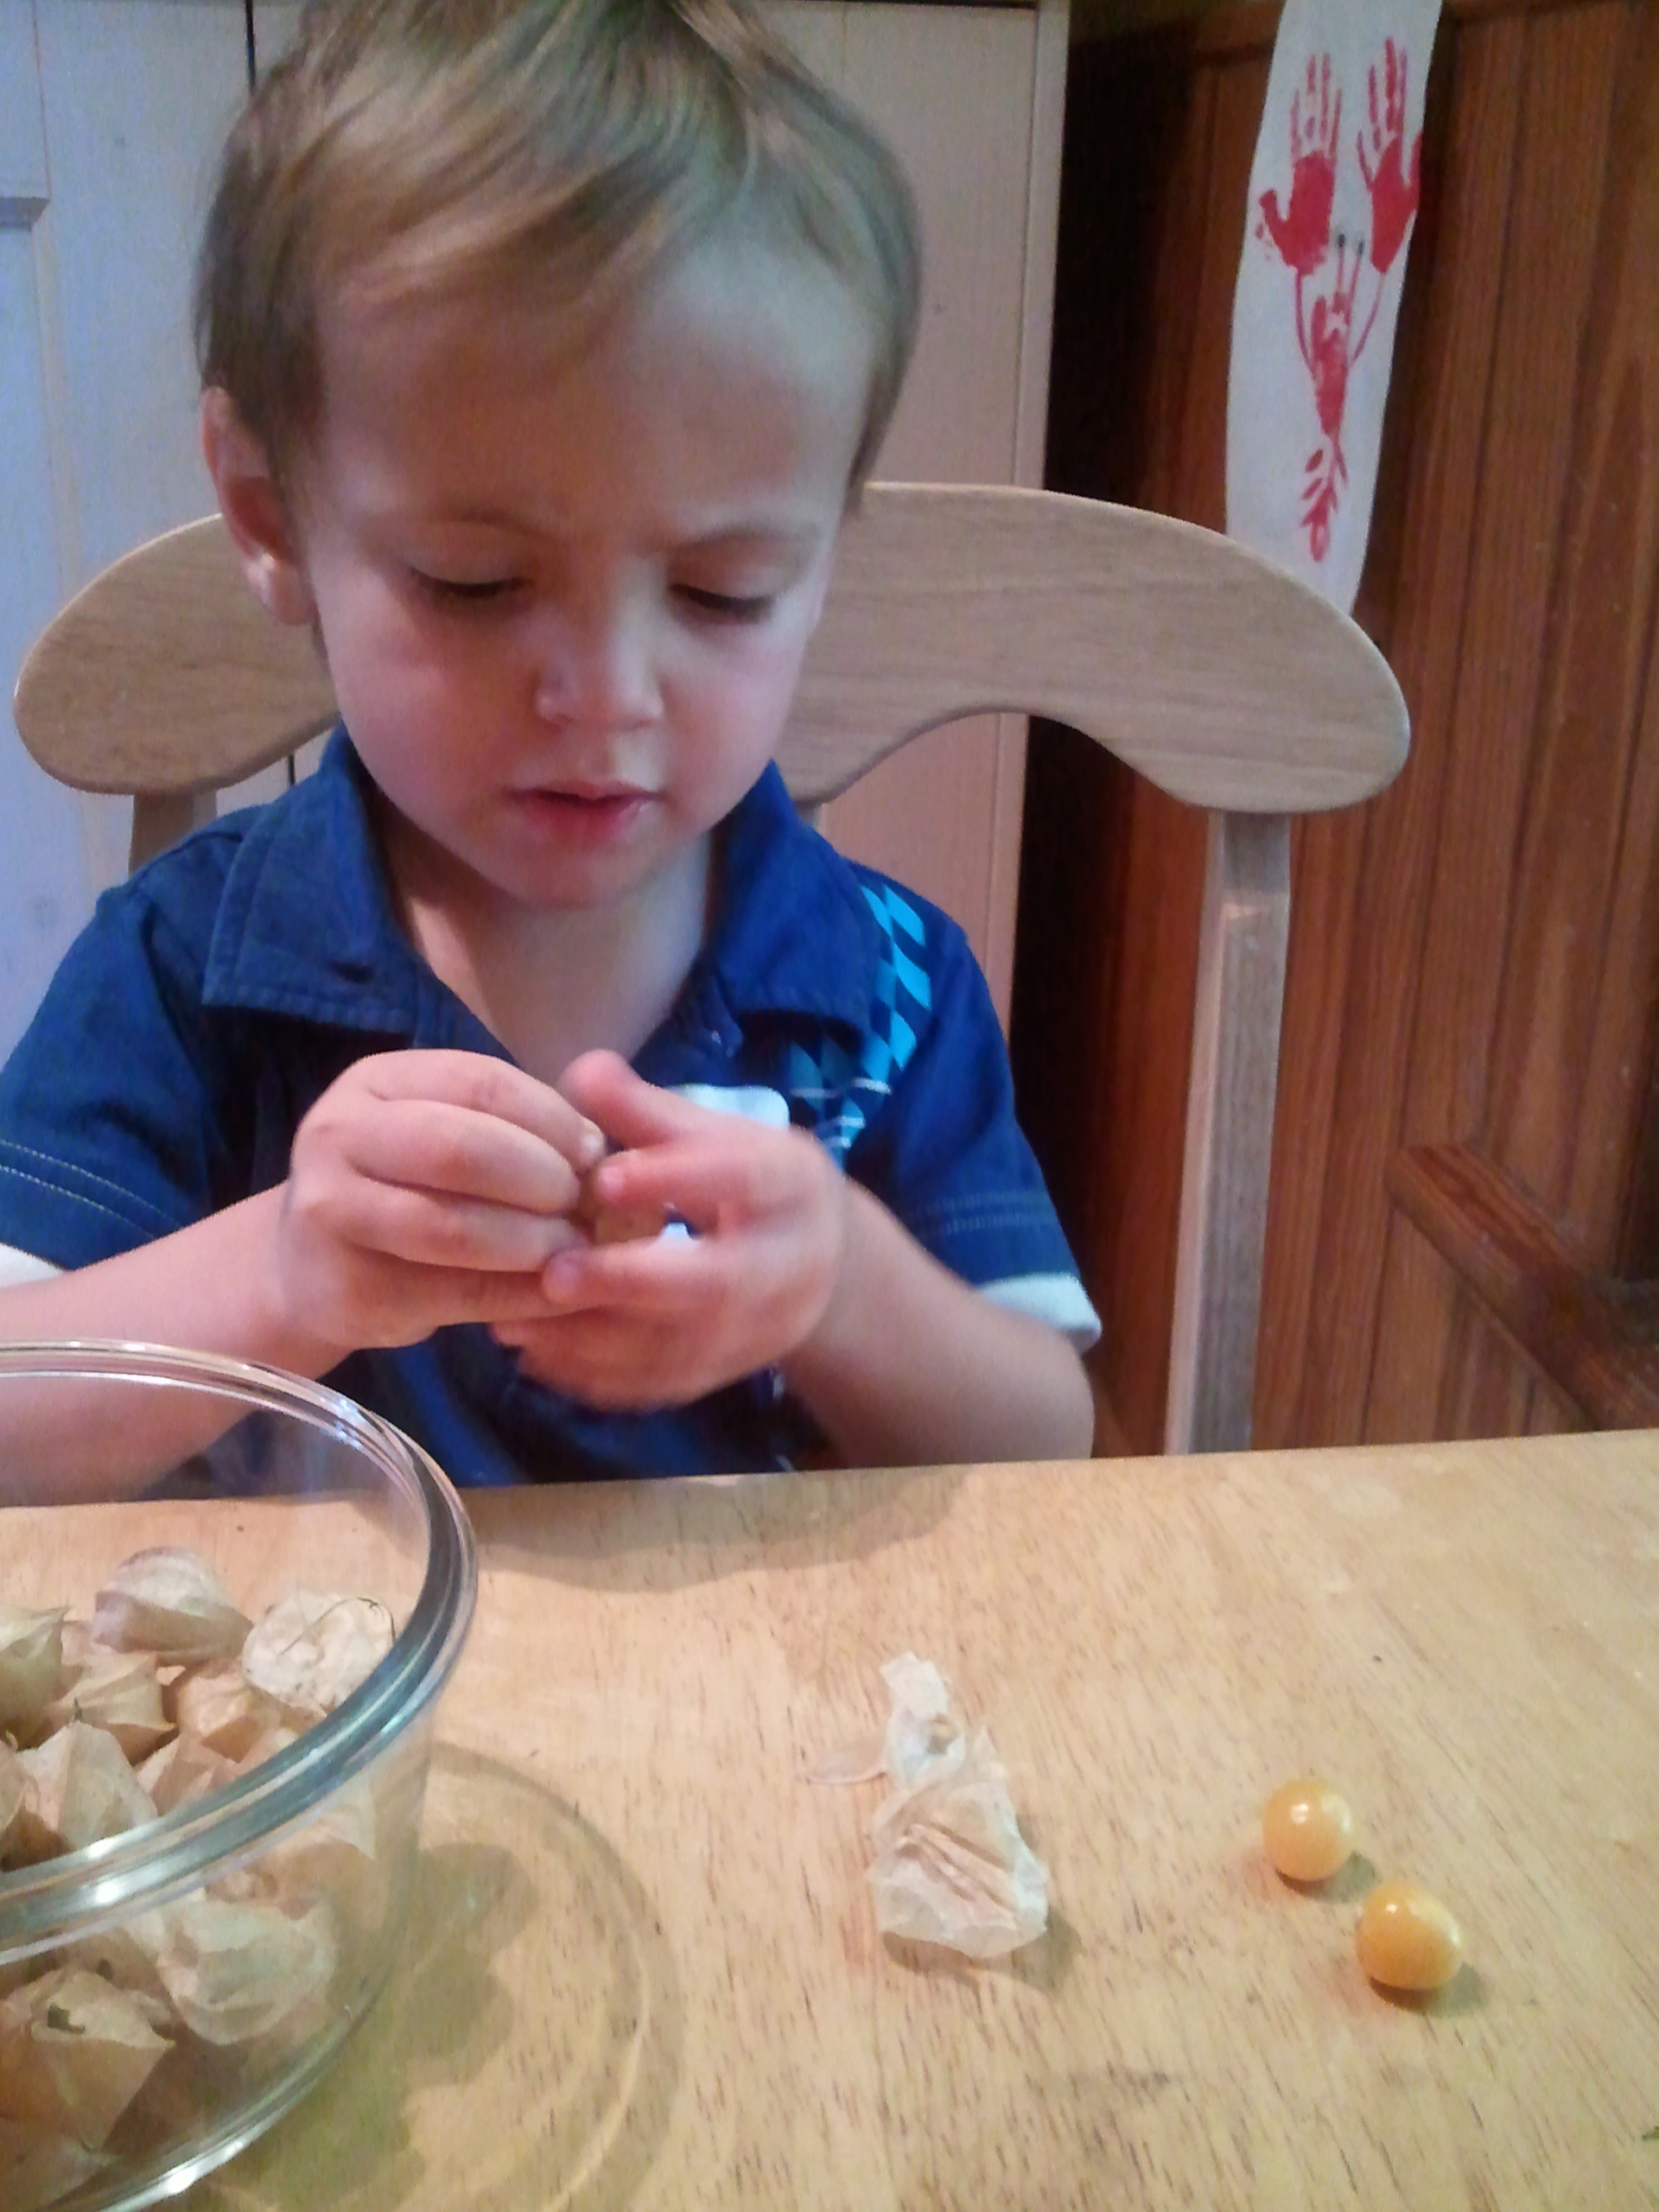
I think you know how we feel about cherries in my household, but have you ever heard of ground cherries? I hadn’t, until Mama brought some home last summer. She had intended to make jam with them, as they’re naturally high in pectin (which is what makes jams and fruit pies gel), but I had so much fun unwrapping them and eating them that she never had a chance.
This summer, however, Mama is growing ground cherries with a garden club where she works. Each week, she brings home tons of them! (They’re about as prolific as a cherry tomato plant, if that gives you any idea of their abundance.) I visited her and saw that the bush is shrubby with lots of strong vines that you have to pick up in order to harvest the cherries. As they’ve been ripening over the past couple months, Mama had again intended to make a double-cherry jam with regular cherries and these, but, as I noted, I really like to eat them on their own.
This is a photo from last year. Look how little I was!
A ground cherry looks a lot like a tomatillo in that it grows in a papery husk. Unlike a tomatillo, however, you don’t want to eat a ground cherry when it’s green. Wait until it turns a nice golden orange, and you’ll taste a tiny bit of sunshine when you pop it in your mouth. They’re sort of sweet and sort of tart and sort of buttery.
Peeling them is half the fun.
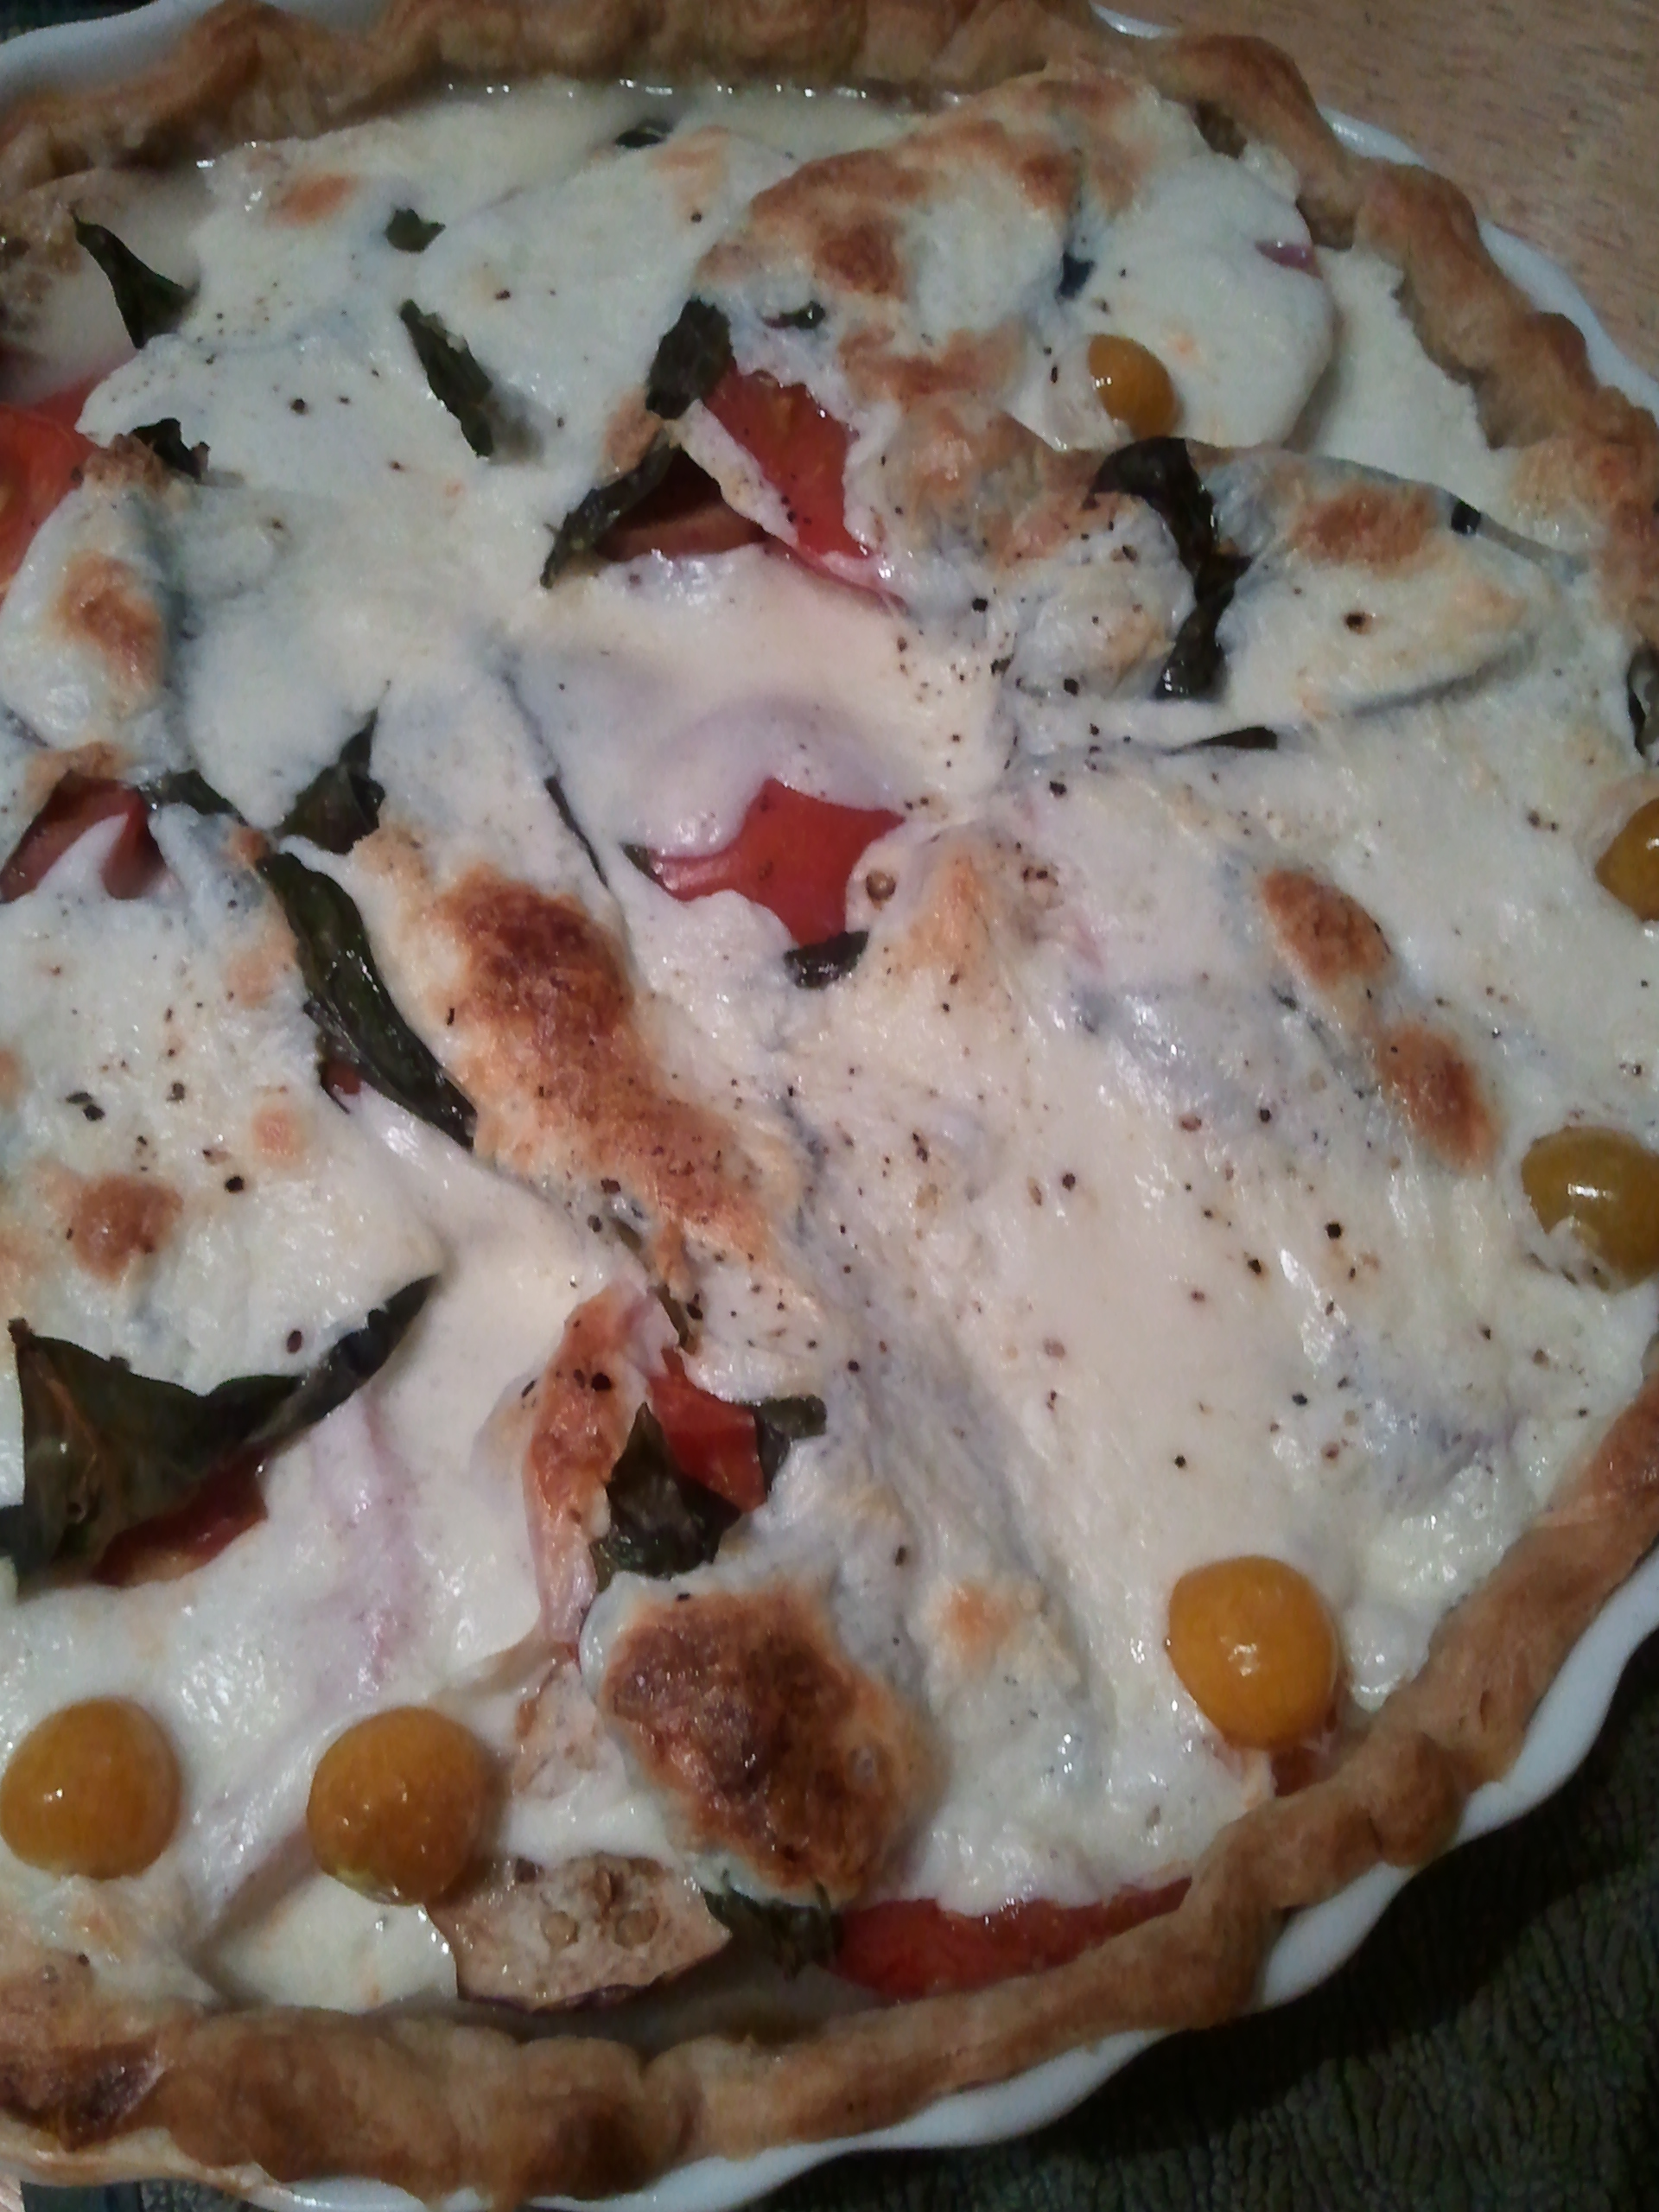
If all this is new to you, there’s still time to get a quart from your local farmers’ market. Mama adds them to fruit salads and tops green salads with them. Maybe she’ll get around to adding them to a tomato pie this week…but not if I get to them first.
Papa ended up putting a few ground cherries in this tomato pie. I did all the work peeling them, though.
Love, Jude
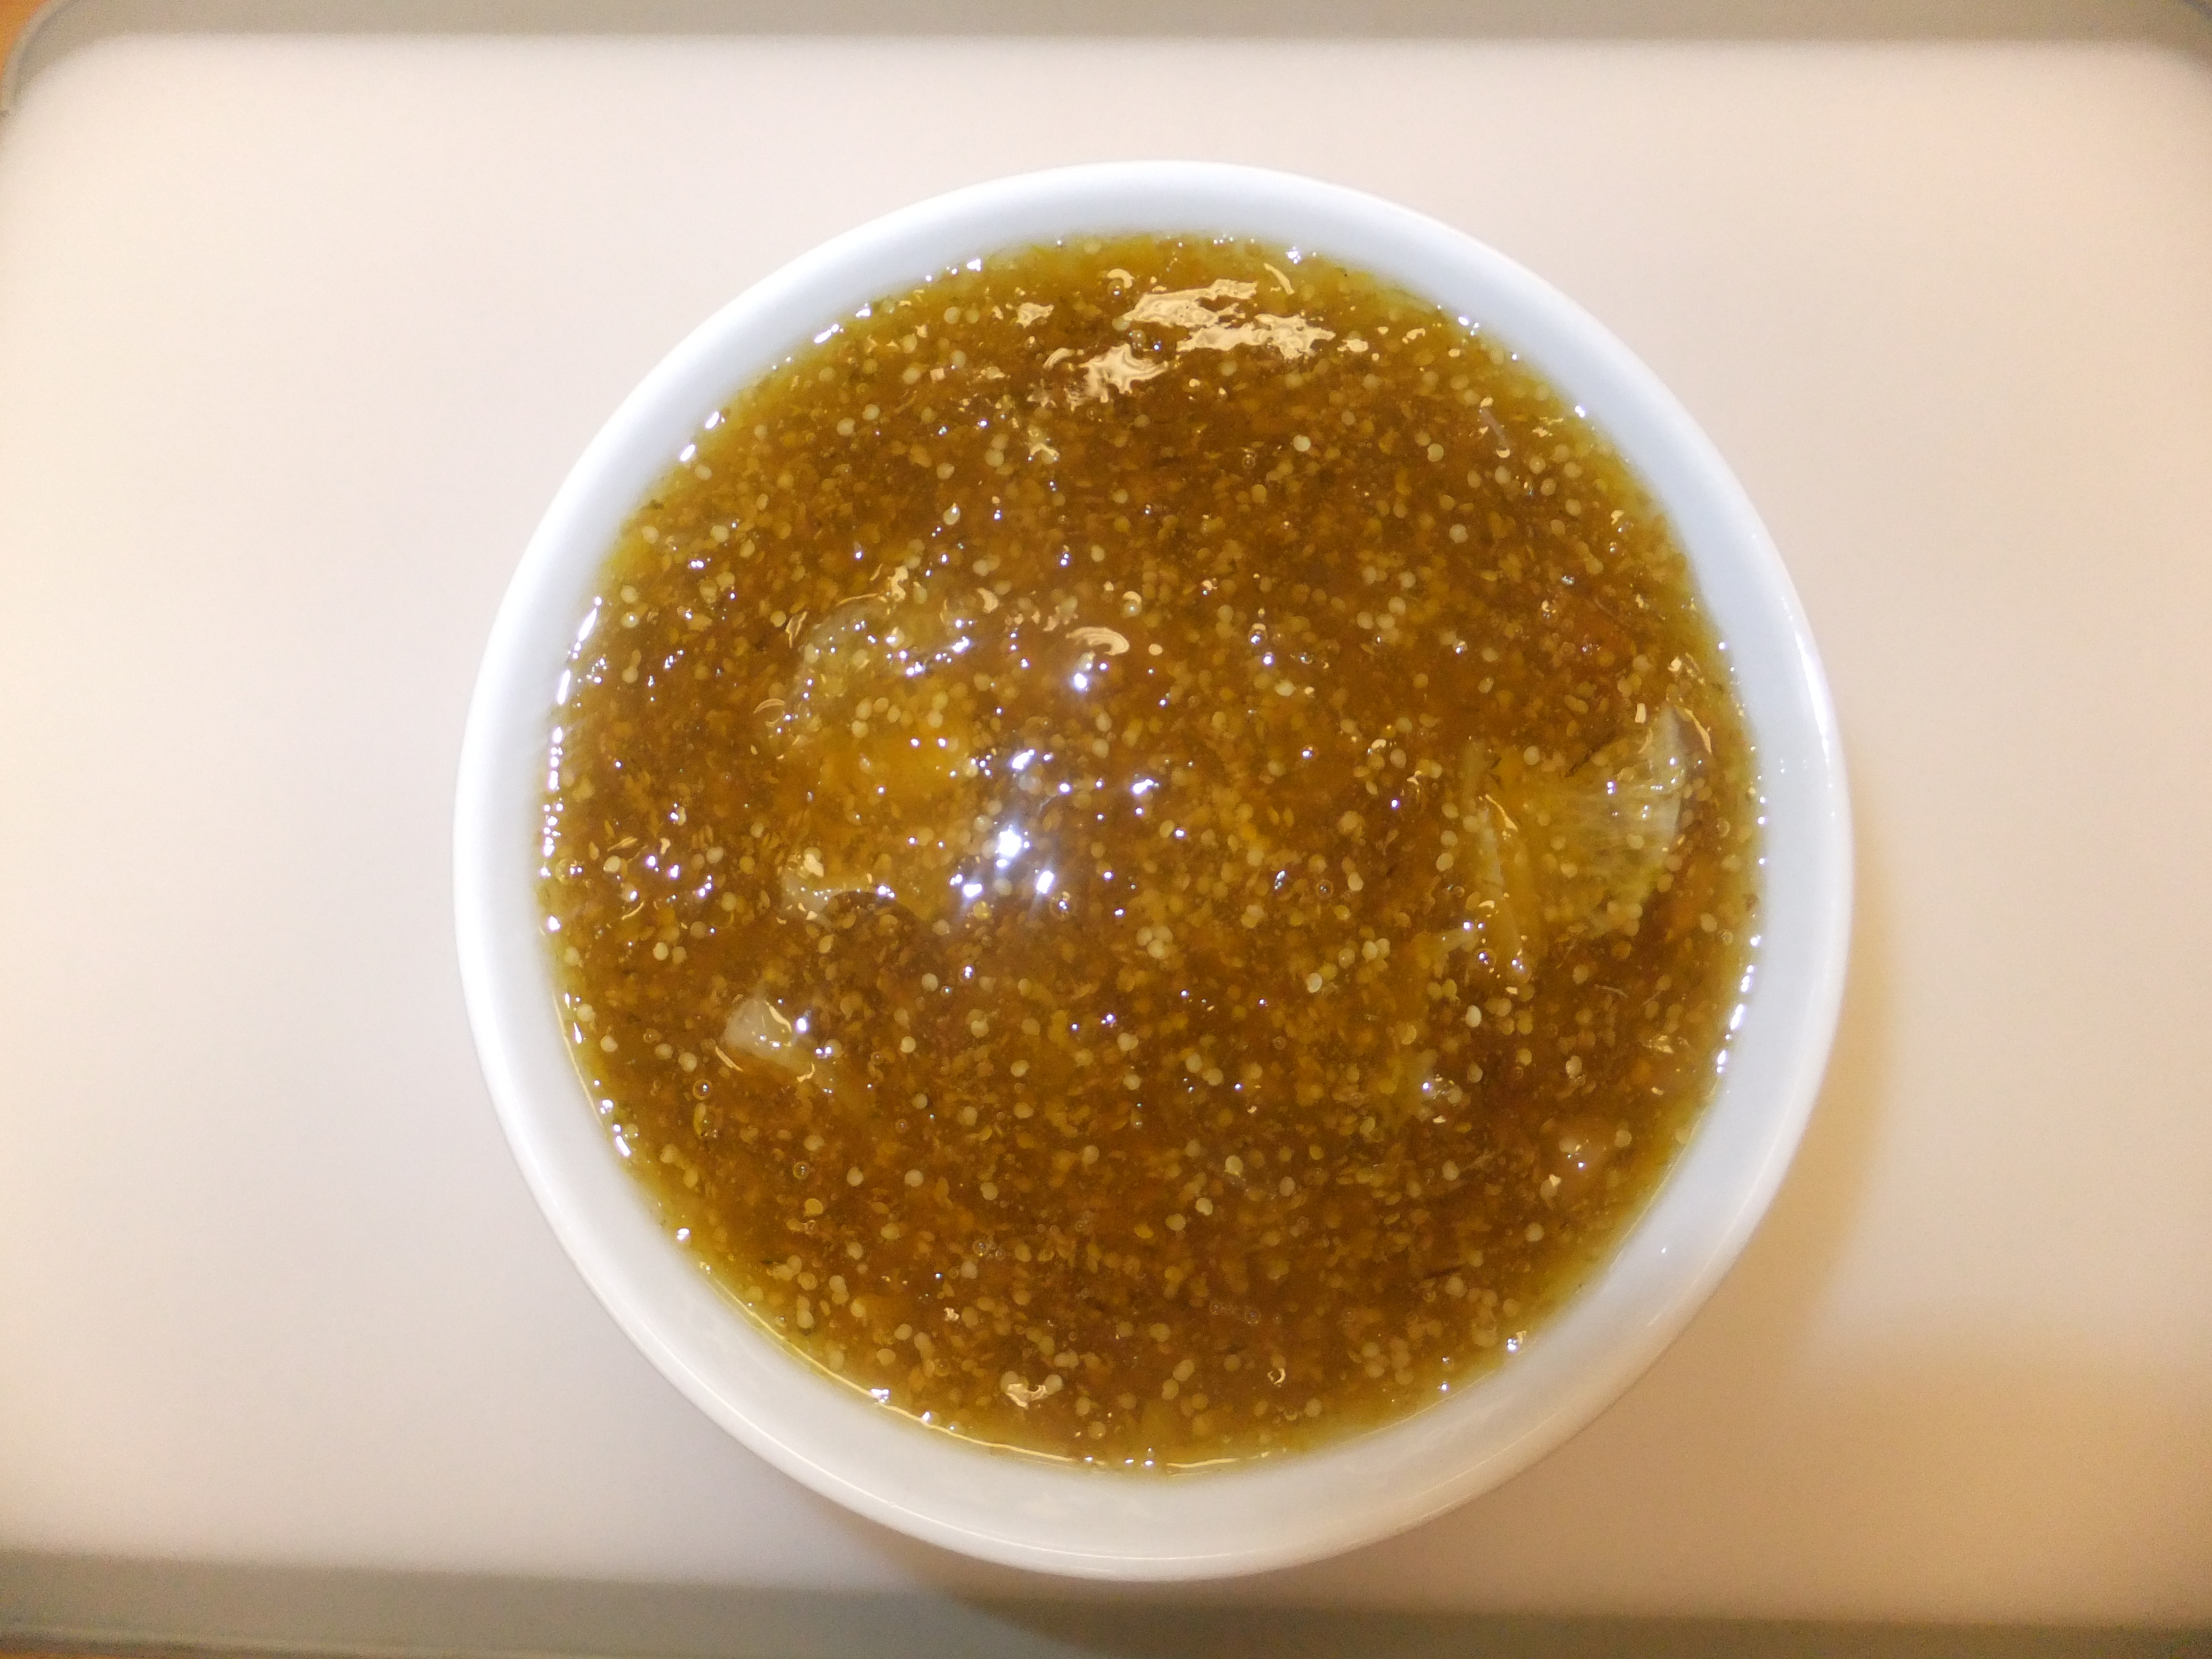
Mama eventually DID get around to making some marmalade!
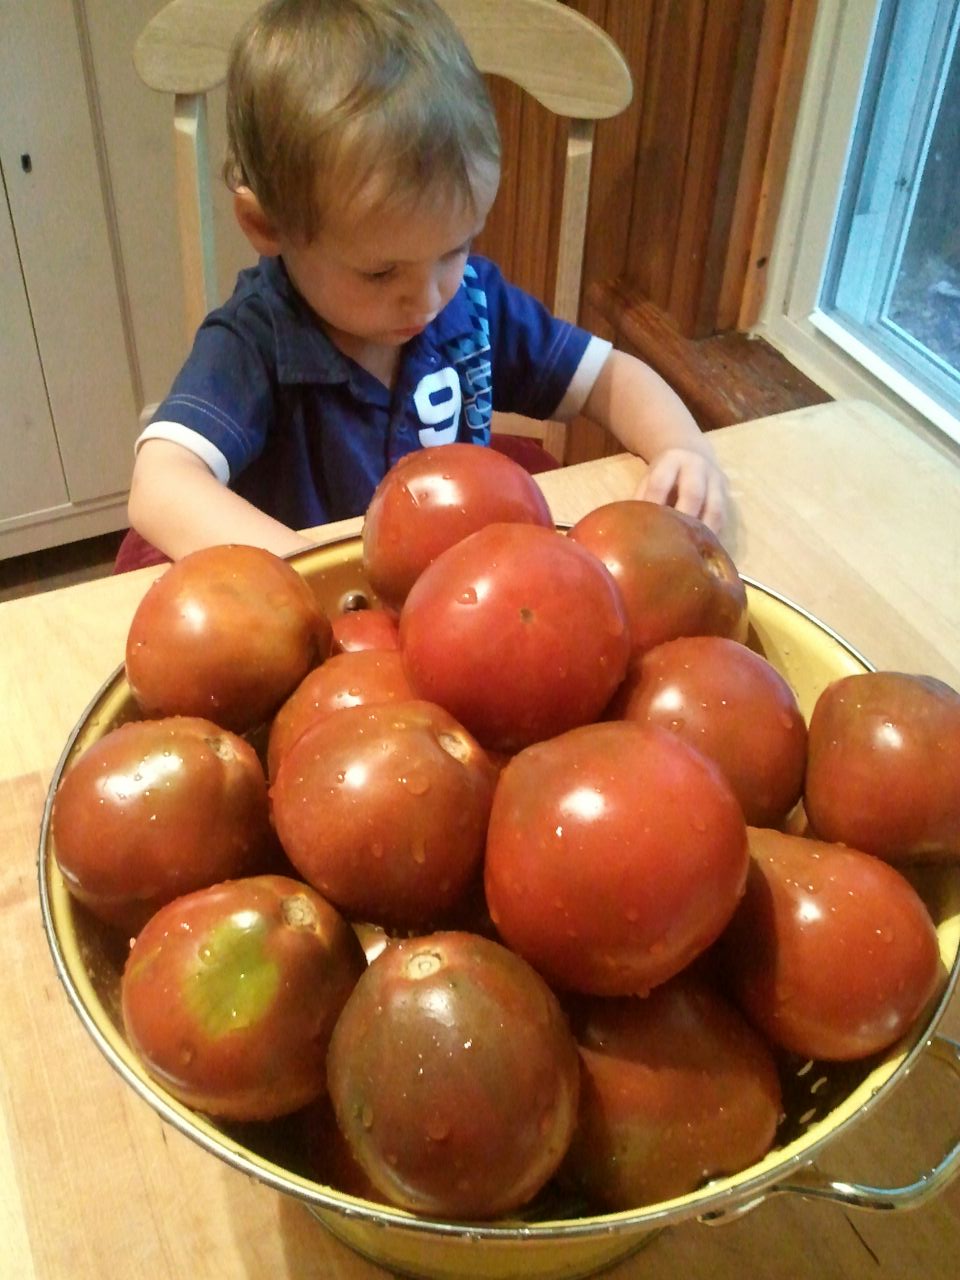
Mama says it’s funny that we pine 10 months out of the year for vine-ripened tomatoes only to bemoan their abundance come August and September. Since we don’t grow them at home (as I tend to pick them too early… I just can’t help myself!), Mama brought home a nice big box of organic heirlooms. In it were Rutgers, Moscovich, Brandywines, Cherokee purples, and Japanese Trifles, which are apparently a hot commodity in Russia. Mama roasted a few dozen, and then she made sauce.
Mama tells me that you’re going to find as many variations of tomato, or marinara, sauce as there are tomatoes. There are quick tomato sauces and slow tomato sauces. Some stay on the stove, while others are tucked into the oven. Some rely on fresh garden produce, while others punch up the flavor by adding sugar or balsamic vinegar. Because she was asked, here’s how Mama does a quick, fresh tomato sauce:
Finely chop 1 yellow or sweet onion and sauté it in olive oil until soft. Add 1–2 minced garlic cloves and sauté 1 minute. Add 2, 3, 4, or 5 chopped tomatoes and cook until tomatoes break down and are heated through. Add salt and pepper, to taste, and stir in chopped fresh herbs (basil or oregano, but whatever you like). Done. Use immediately.
If you have more time, however, why not cook a little bit of summer in a pot that you can freeze for delectable dining come December?
This isn’t even remotely close to half of what Mama brought home. Sheesh.
Regarding peels: They’re fine in a fresh sauce, but you don’t want them in your long-cooked sauce. Peel ripe tomatoes by hand, or try this method: core them (or lop off the top), cut a small X in the bottom, dunk in boiling water for 20–30 seconds, then plunge into ice water. Alternatively, you can run your finished sauce through a food mill, which will remove the seeds and skins. (While some folks feel the seeds turn bitter with prolonged cooking, Mama doesn’t mind them, so she doesn’t use a food mill.)
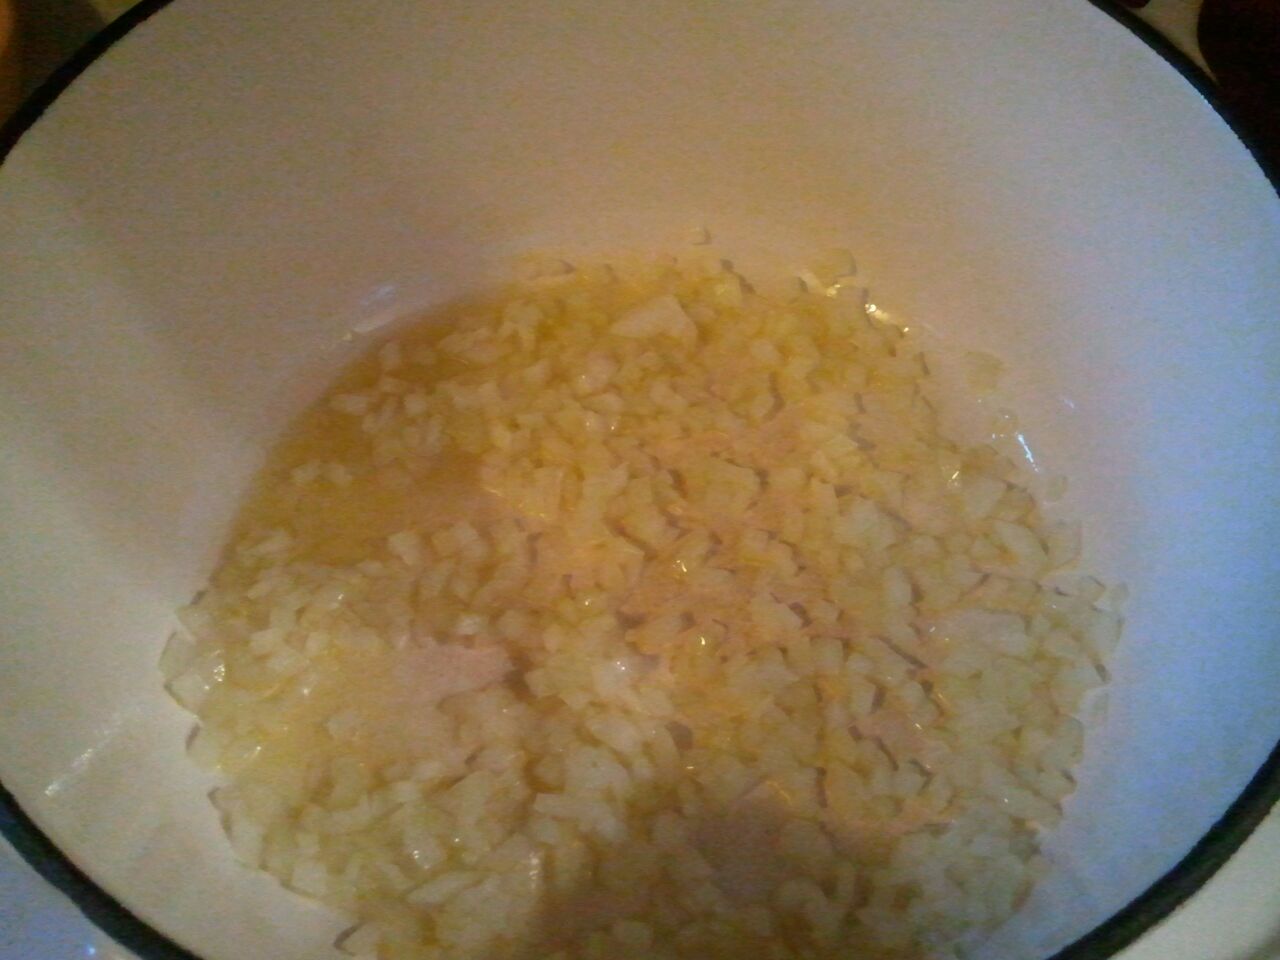
As with most things delicious, Mama insists on starting with a good base of sautéed onions and garlic in olive oil. Depending on personal preference, you can keep the heat low and cook them until tender, or you can raise the heat a bit and cook them until soft and caramelized (that’s when they turn brown). In either case, start with a big pot, and don’t add the garlic until the onions are where you want them (otherwise it’ll burn).
Even if you don’t like to eat onions, you would notice their absent flavor if you skipped them.
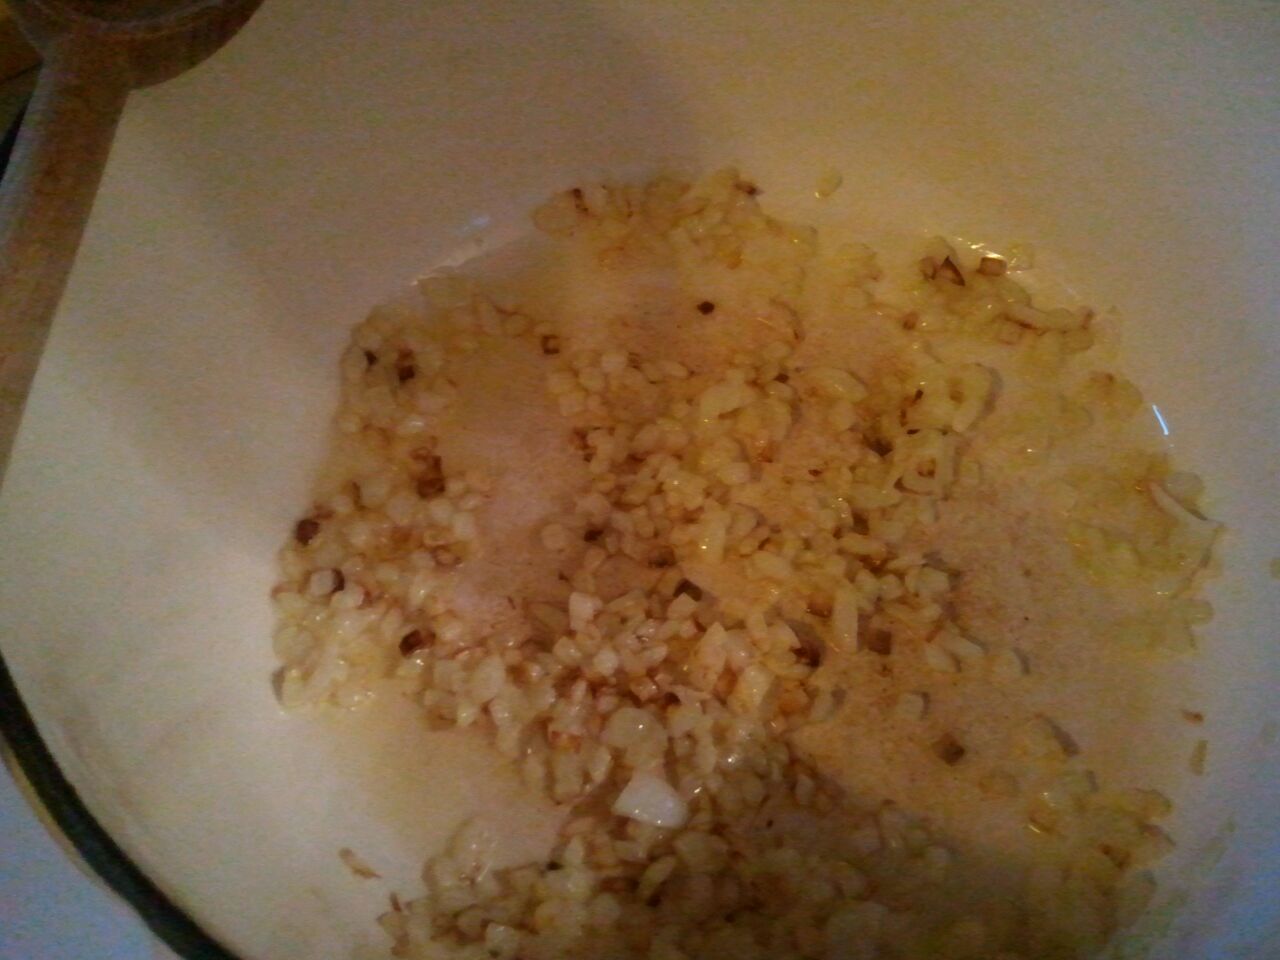
The darker you brown the onions, the more flavor they’ll have.
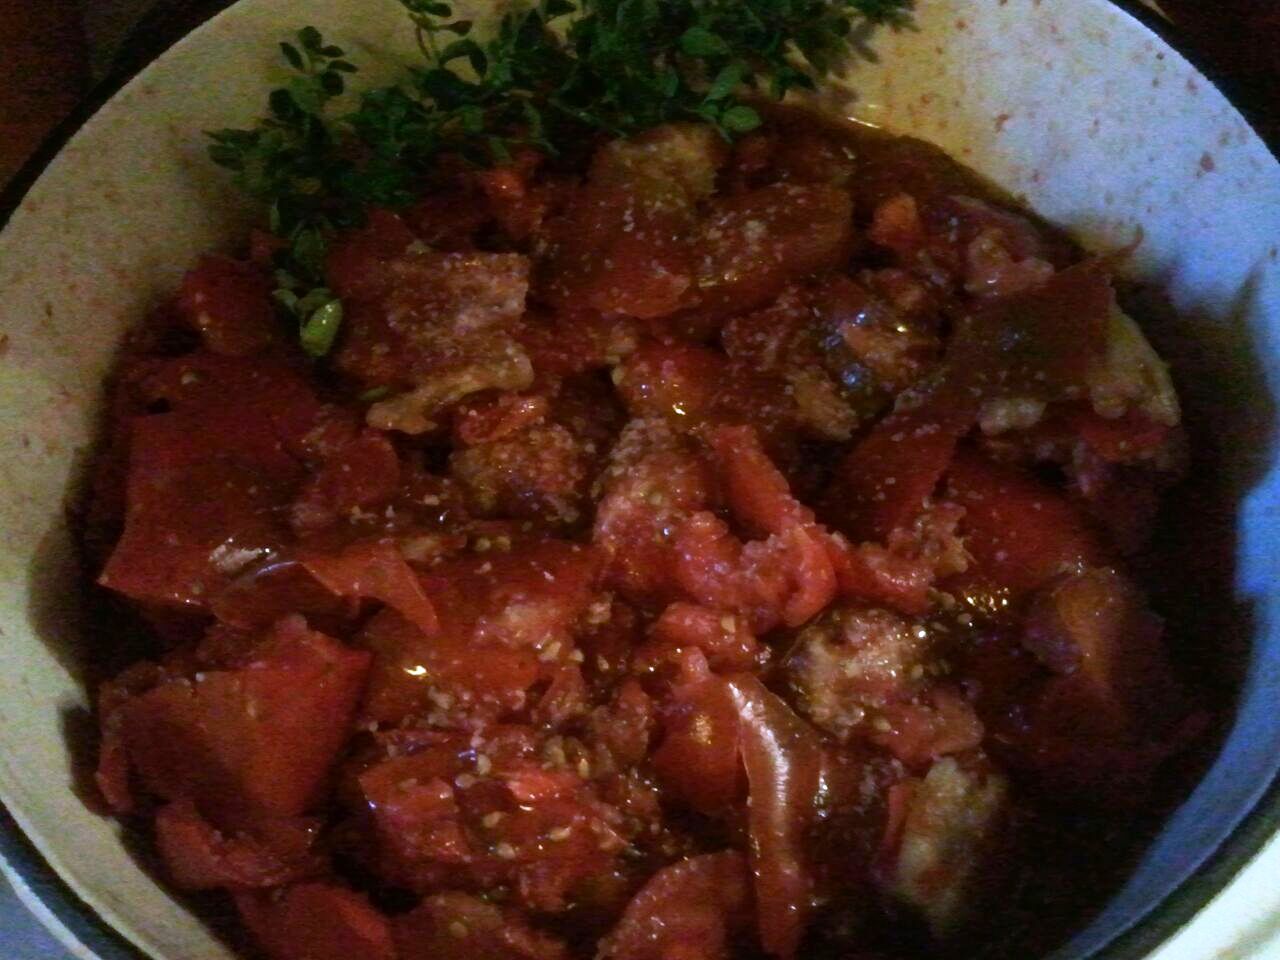
Mama chose to deglaze the pot with some red wine since she happened to have some on hand. No red wine? No problem. Just add the roughly halved tomatoes. But here’s the catch: You have to squish them. This is a great thing for a kid like me to do! Lower the heat, and begin simmering. Give them a good dose of kosher or sea salt and toss in sprigs of fresh herbs.
Mama clipped some oregano from the garden. (She’ll add the basil later, since it’s more delicate.) You should’ve seen the mess these tomatoes made on the walls!
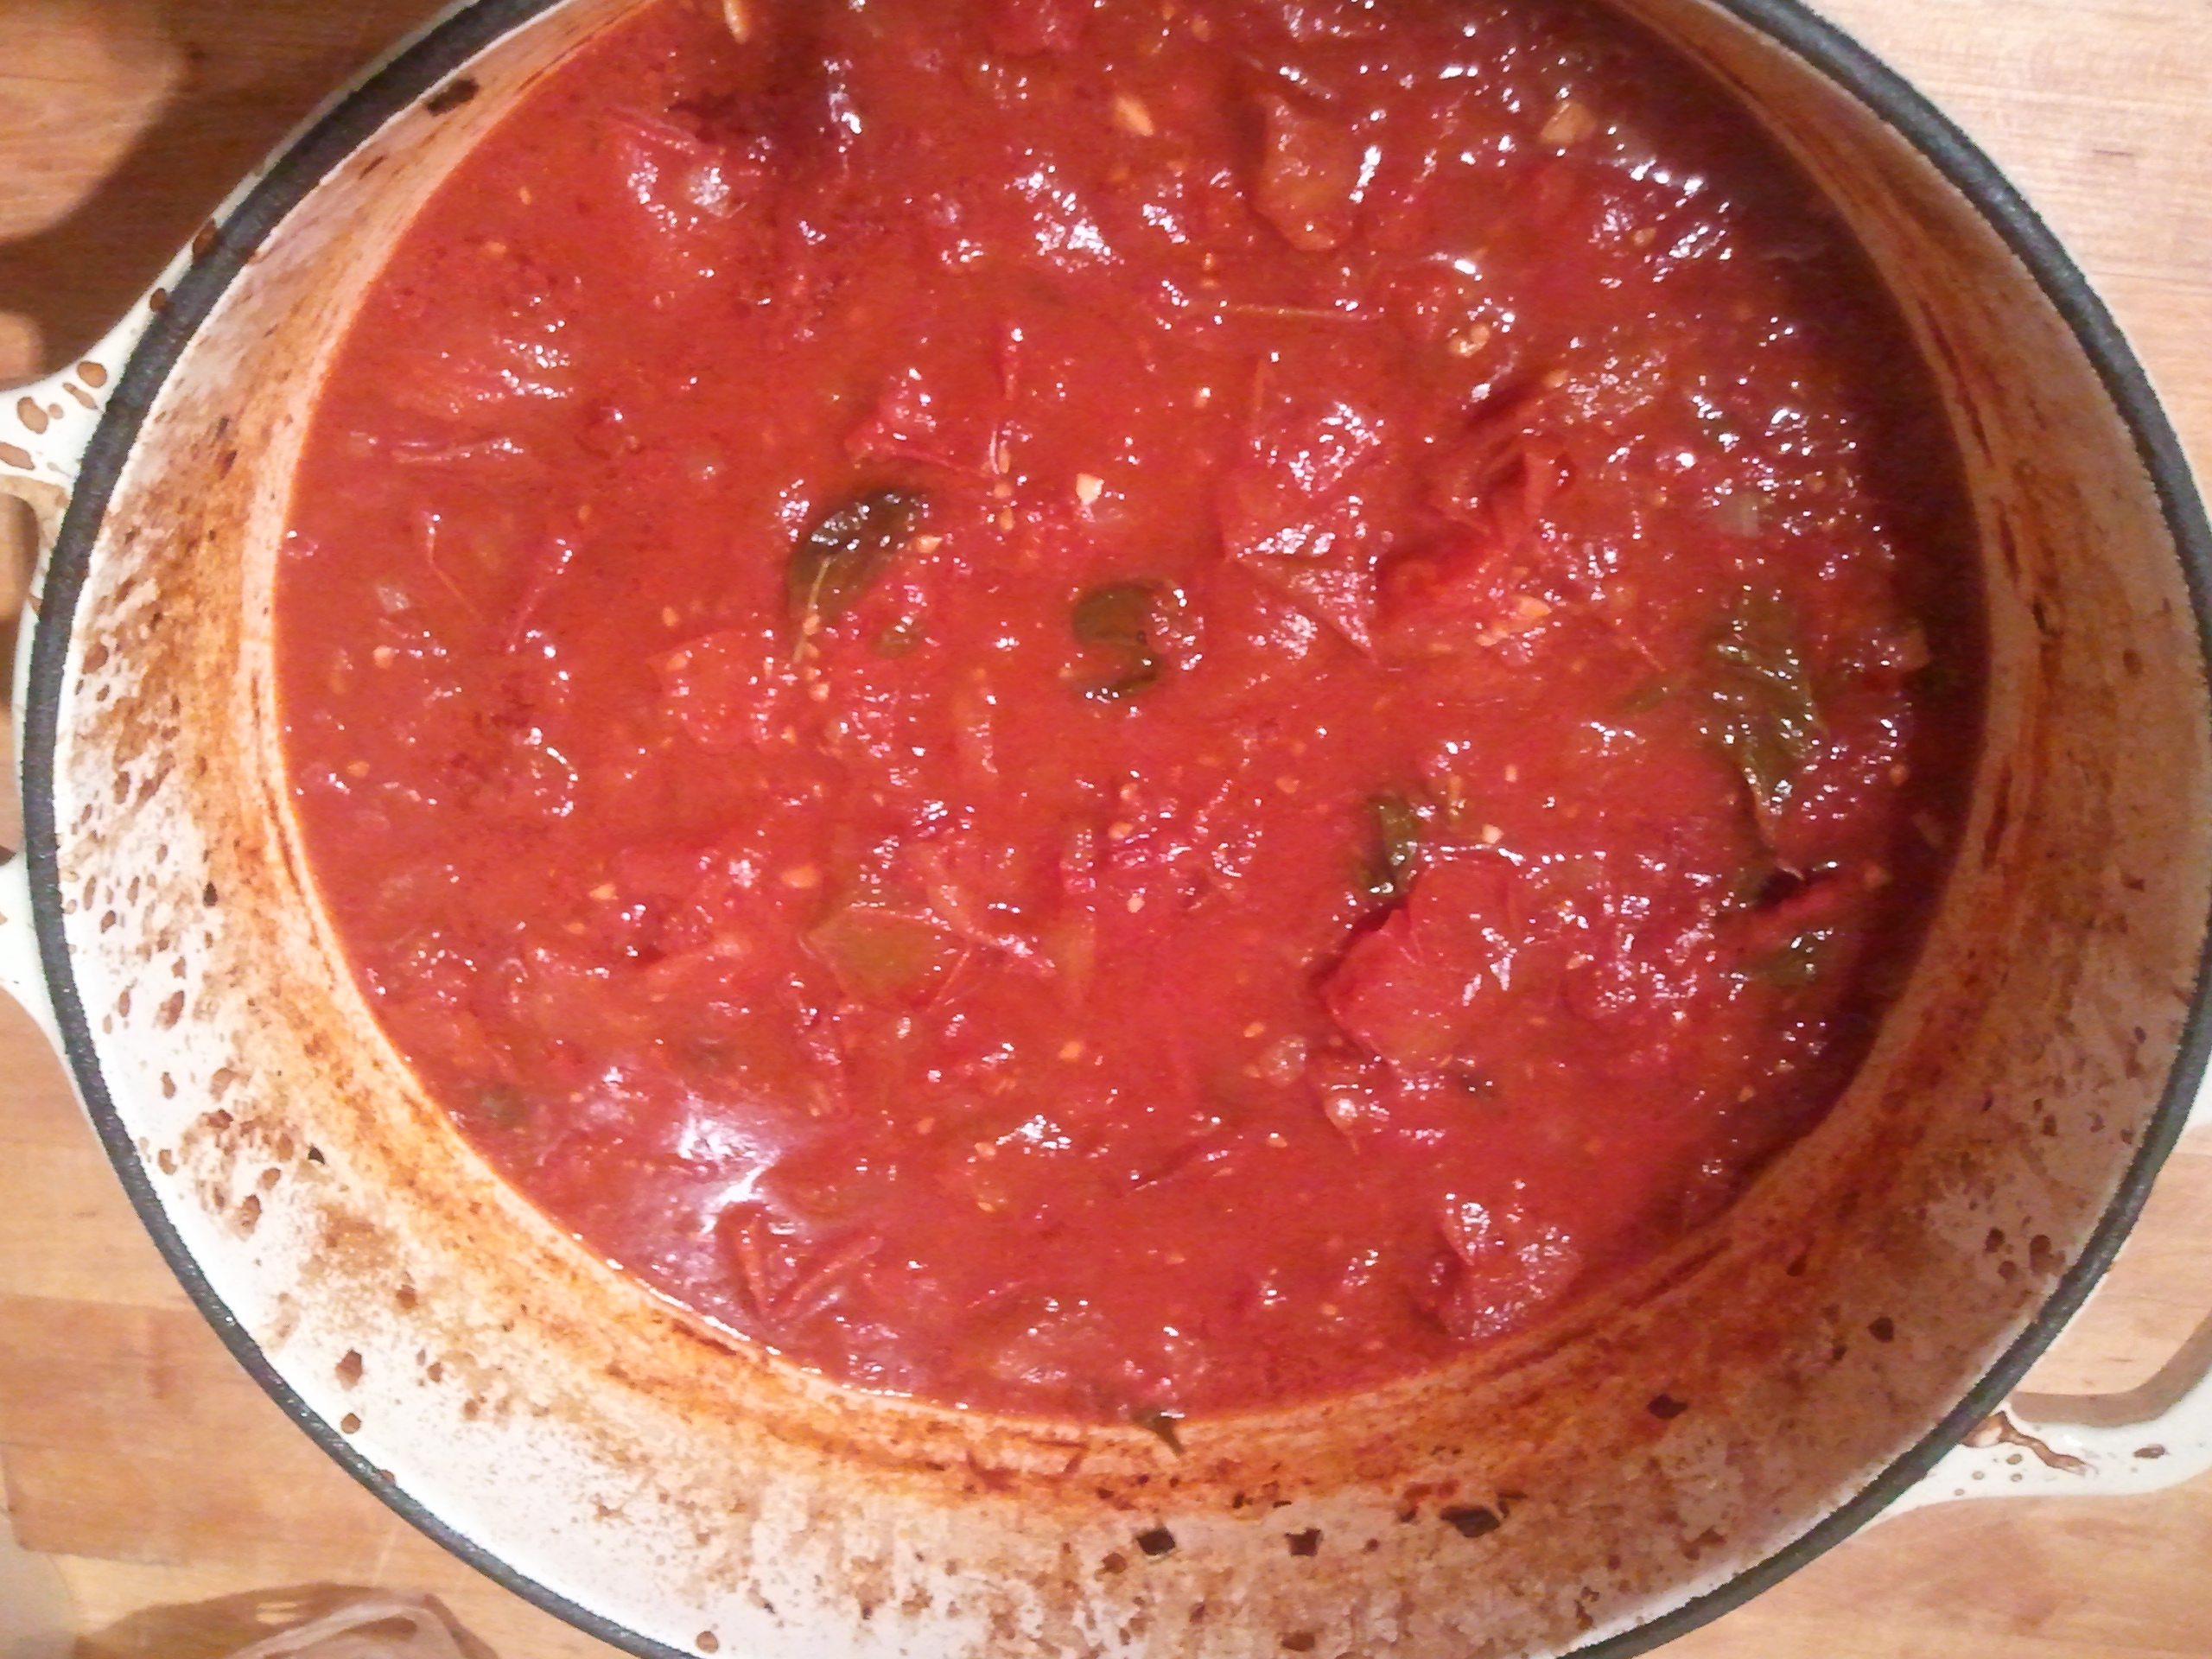
Once the tomatoes cook down, they’re going to release all their delicious juices. To add a bit of body (and to give the sauce a fighting chance of sticking to pasta), Mama did add a small can of organic tomato paste. When everything was good and bubbly, she put the whole pot, lid and all, in the oven on a lowish heat, about 300°F, and forgot about it. Well, not really. Every now and then she left me to play on the porch while she stirred the sauce, and the heavenly sweet smell would waft through the windows to where I sat. She cooked it until it reduced to a thickness she liked and the flavor was concentrated enough to be considered “awesome.”
What do you think was for dinner?
If you prefer a smoother sauce, run it through a food mill, or take an immersion blender to it. We happen to prefer a little heft to our sauce. Set some aside for dinner, then allow the rest of the sauce to cool before portioning it into jars or zip-top freezer bags.
Poor Papa. He wanted to take a bag out of the freezer a few days after Mama made it, and she said he wasn’t allowed! It doesn’t matter that she froze several quarts. She doesn’t want to run out before the end of the year. Which is a shame, since I could see eating this every day.
Love, Jude
Oven-Roasted Tomato Sauce
Extra-virgin olive oil
1 (or 2) yellow or sweet onion, finely chopped (depending on how many tomatoes you have)
2–4 cloves garlic, minced (depending on how garlicky you like it)
Red wine (optional)
12–15 pounds fresh tomatoes, peeled* and roughly halved (crosswise preferred)
Kosher or sea salt
6 ounces tomato paste
Several sprigs fresh herbs, as desired
Preheat oven to 300°F.
Coat the bottom of a large, oven-safe pot or Dutch with olive oil and heat it over medium heat. Add the onion and sauté, stirring occasionally, until very soft and beginning to caramelize, about 10 minutes. Add the garlic and sauté 1 minute more. If desired, deglaze the pot with a healthy splash of red wine. Carefully add the tomatoes in batches, squishing them with your hands as you go. Mama supposes you could skip the squishing step, but it gets the juices released a bit quicker. Alternatively, you could give them a few pulses in a food processor to speed things up. But we’re not talking fast here, are we?
Get the tomatoes going at a low simmer. Add a generous helping of salt and stir in the tomato paste. Toss in a few sprigs of hearty herbs like oregano. Just put the whole thing in; you can fish it out later or catch it in the food mill. Cover and put in the oven for a couple hours, stirring occasionally. Towards the end, add more delicate herbs, like basil.
*May also reserve peeling for after the sauce is cooked, either by hand (tedious!) or with a food mill.