Yesterday, Mama and I went blueberry picking.
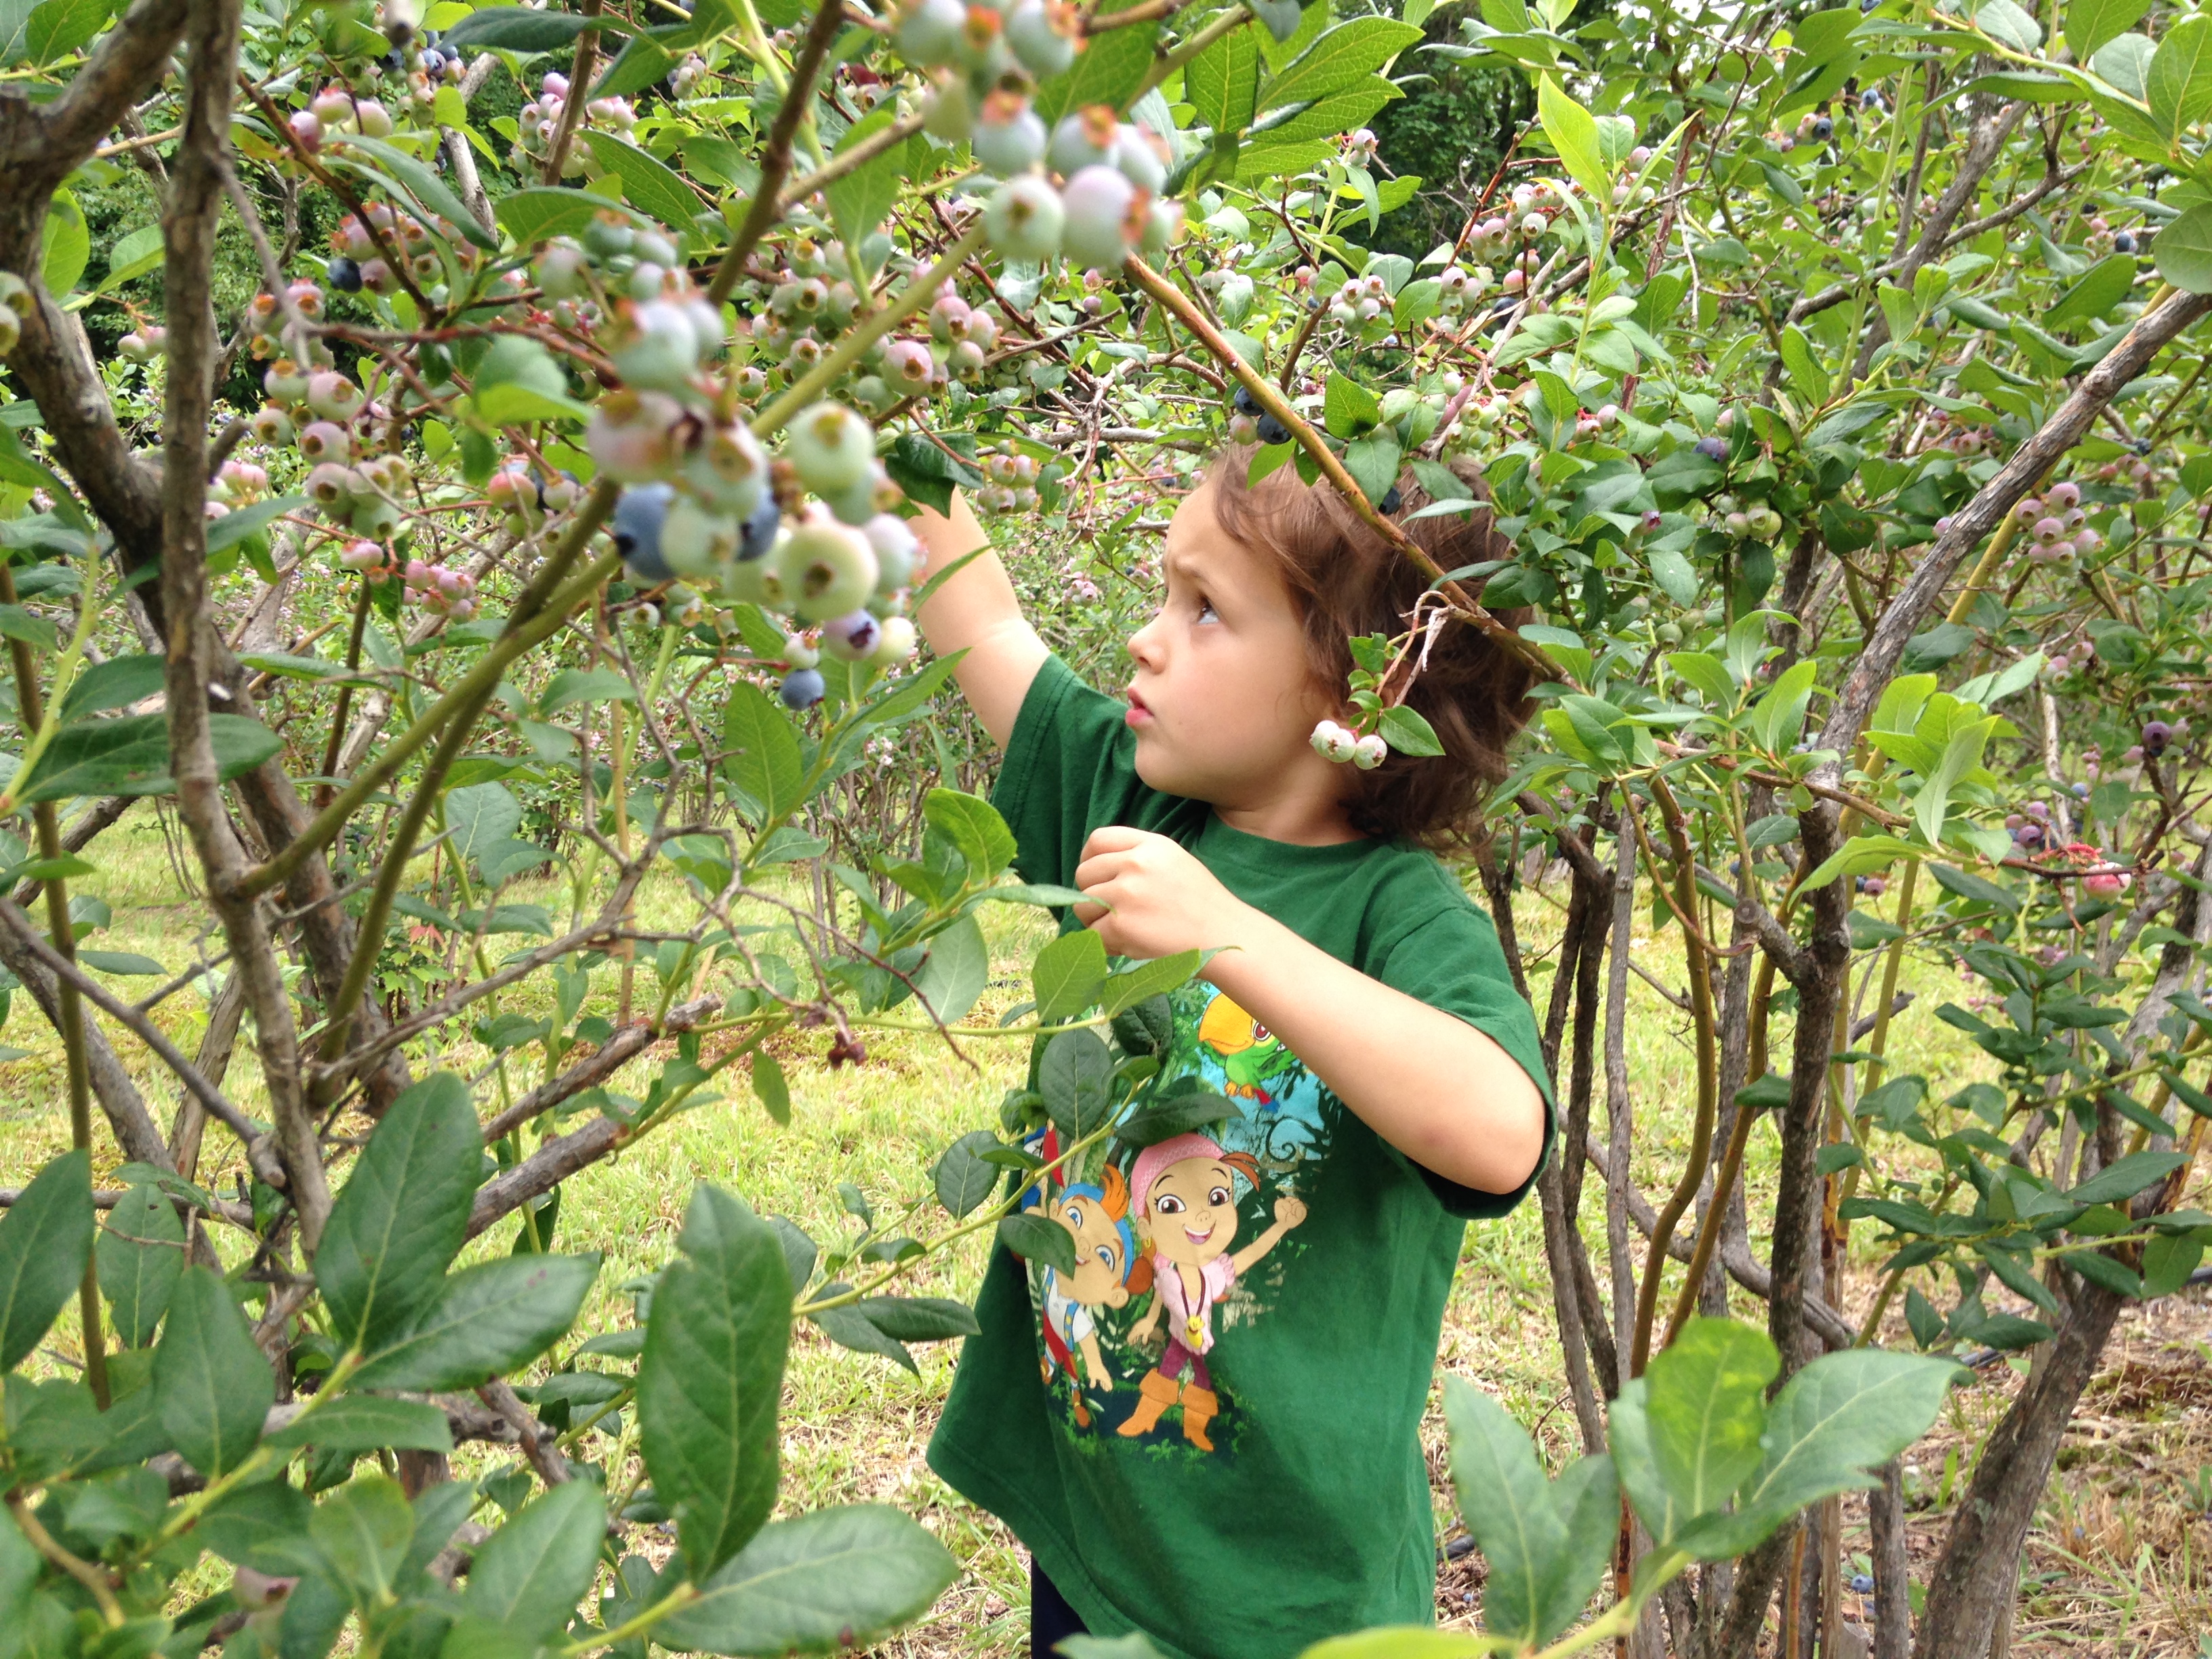
We’ve done this many times before, and I told Mama, “I have good memories of picking blueberries with you.”
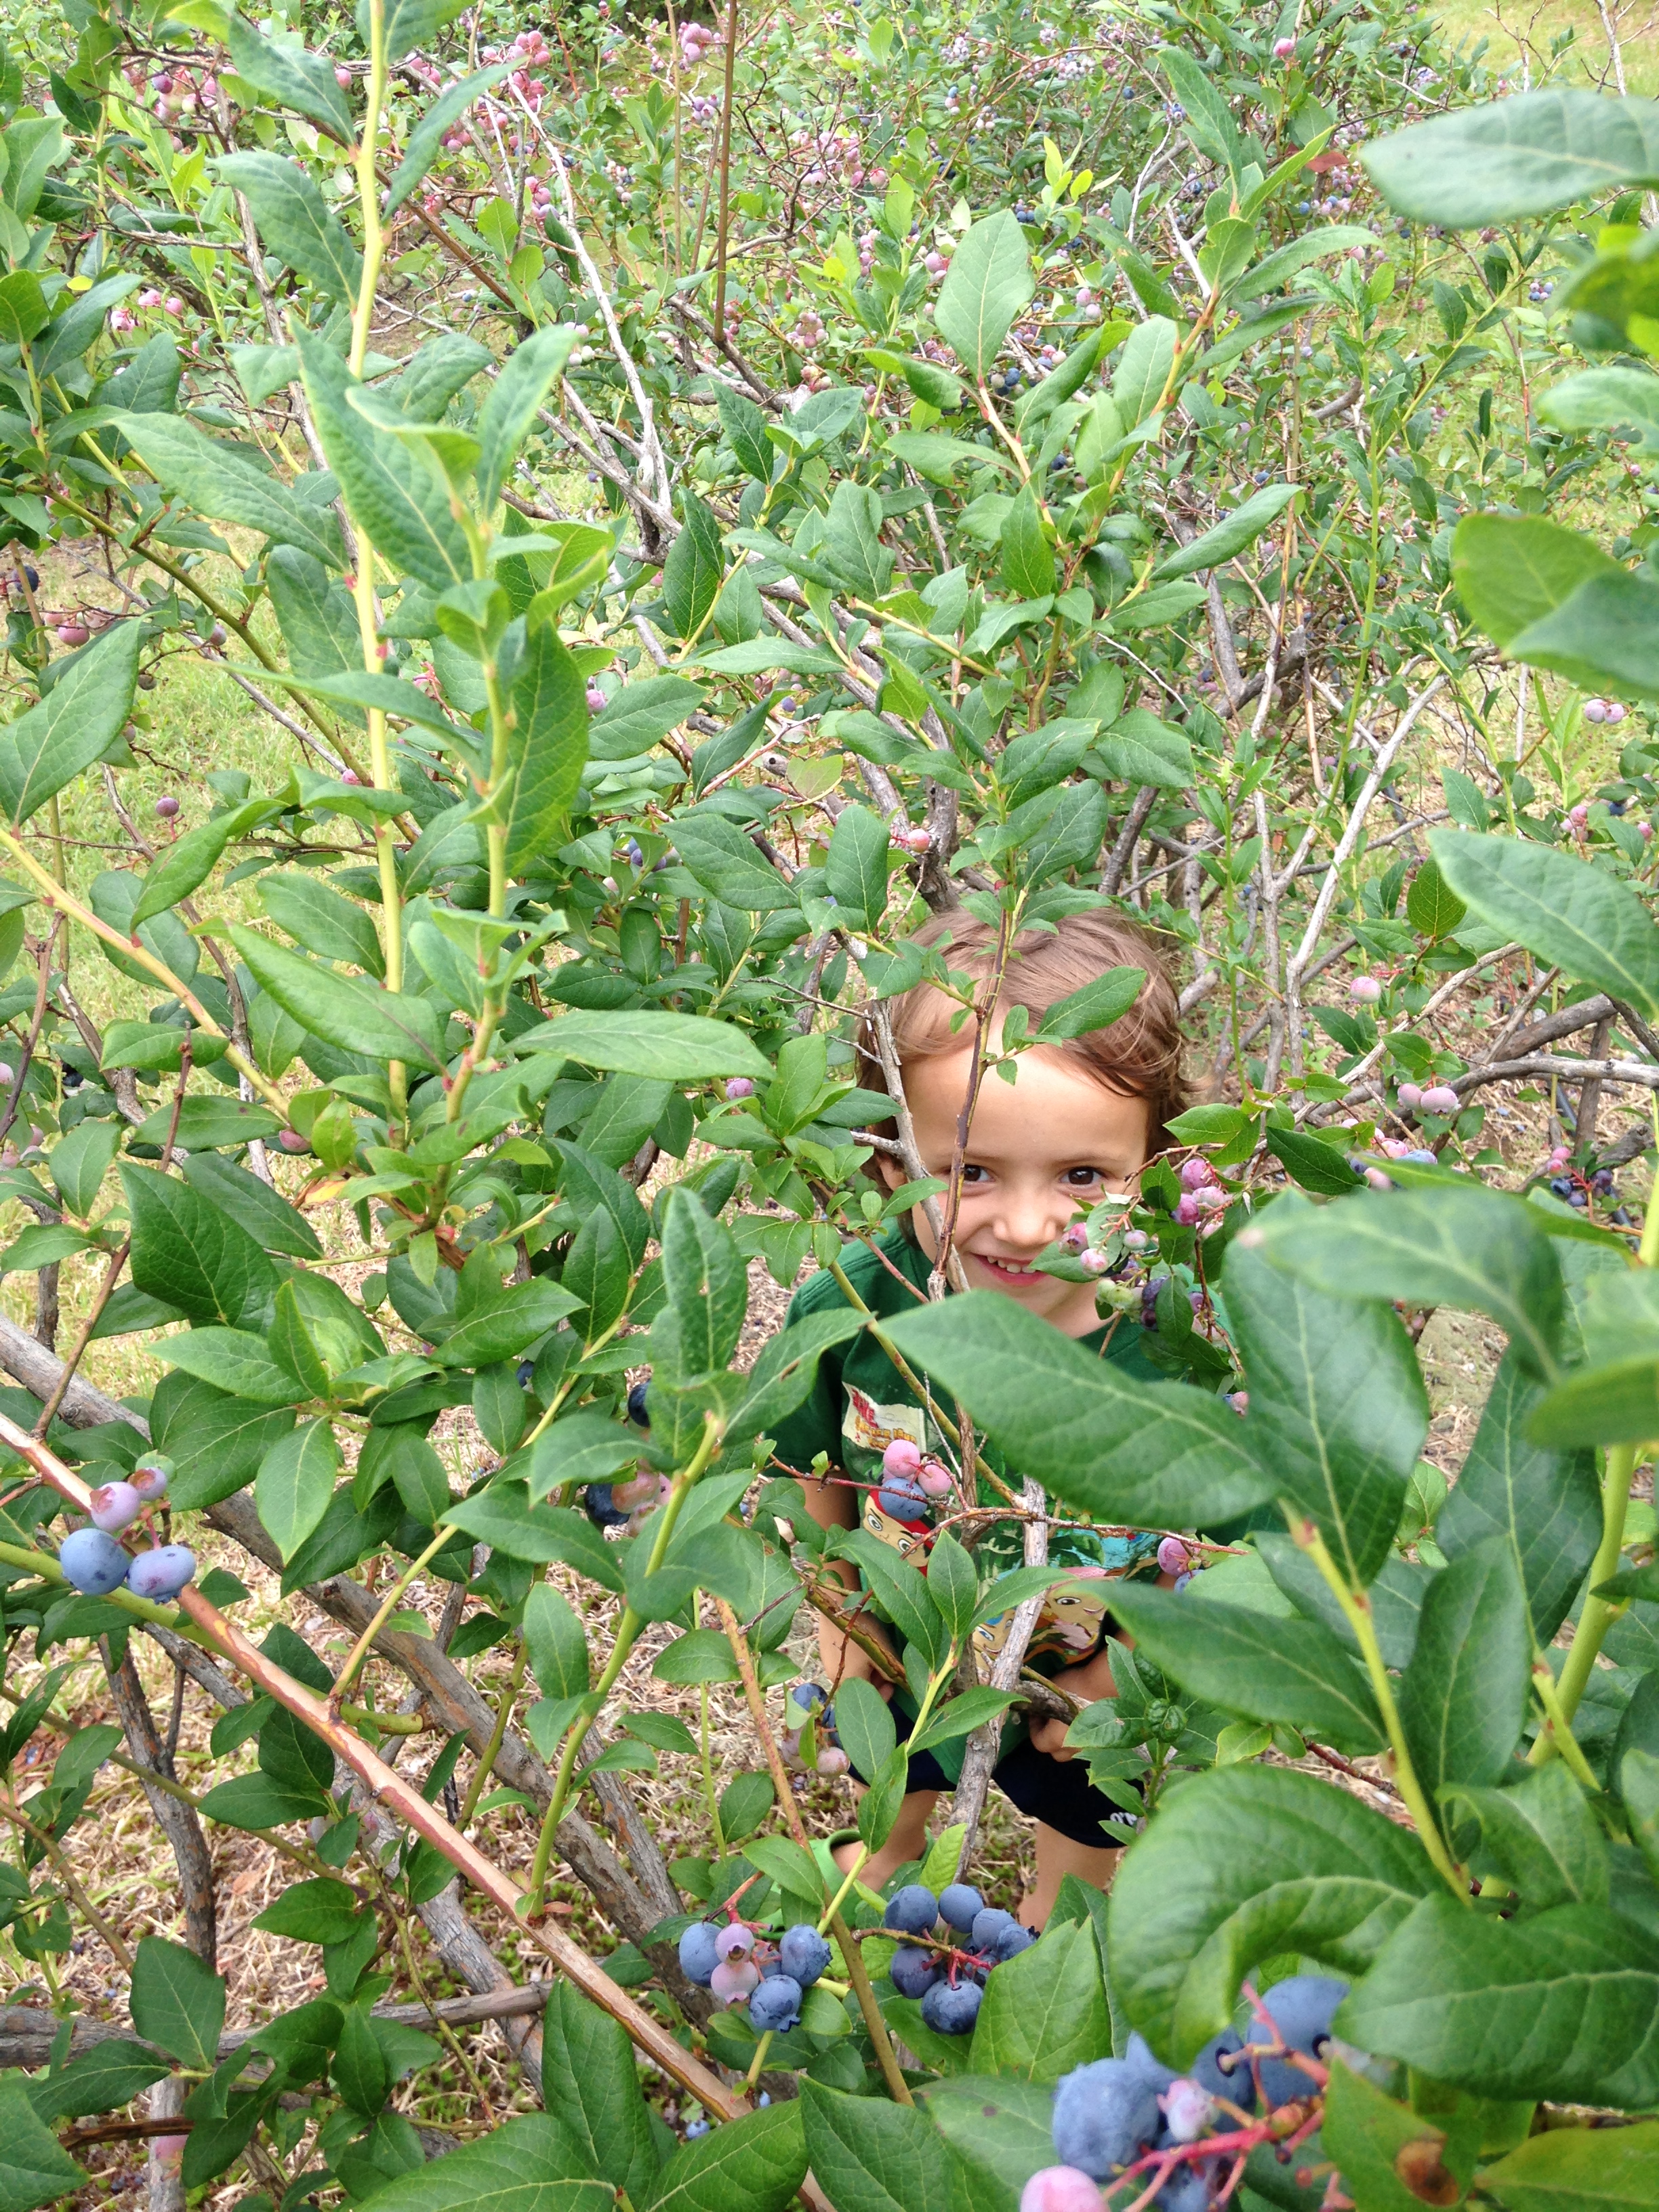
I told everyone we met that we were going to make blueberry pie and blueberry jam.
Soon after Mama stuck a bunch in the freezer (remember to freeze on a tray before putting them into bags!), we set to work on making that pie. We’ve made all kinds of pies before, and I thought we might make a Bluecherry Pie or a crumble, but Mama wanted to show me how to make a pie that’s both fast and doesn’t require an oven.
Here’s what we needed to get started:
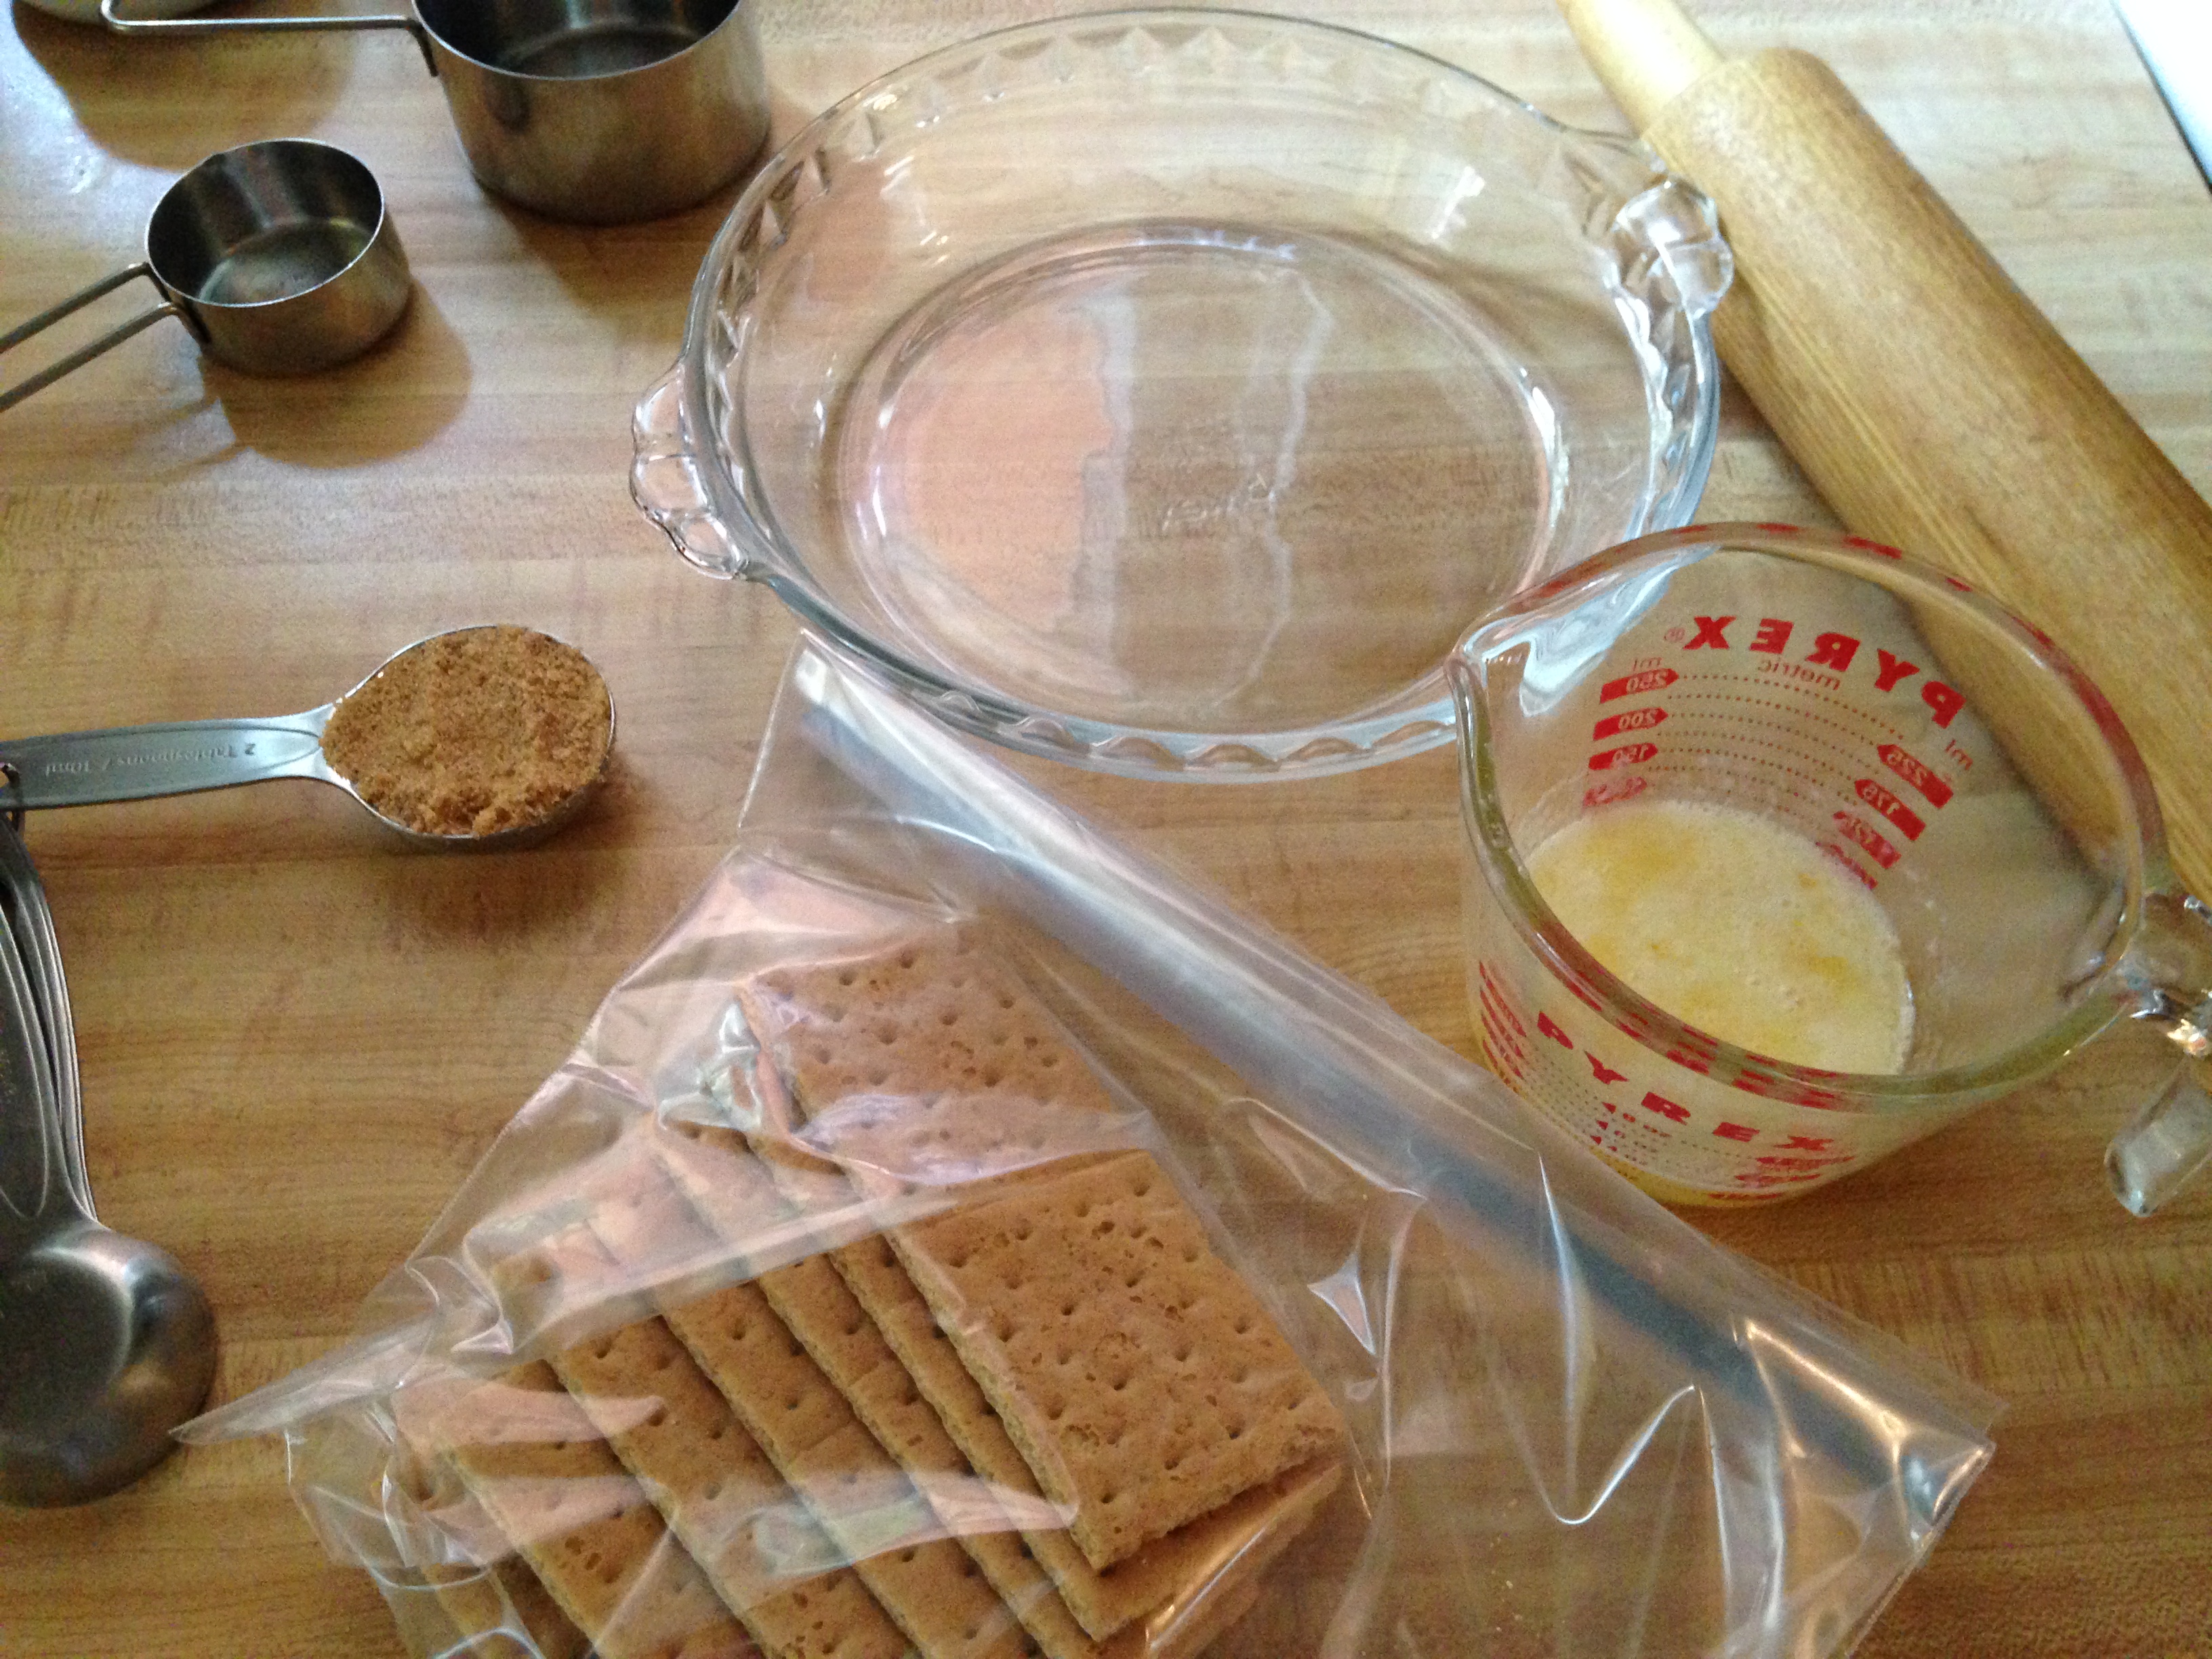
Just graham crackers, melted butter, and a bit of brown sugar is all you need to put together a crust.
Then Mama let me pound the graham crackers into crumbs:
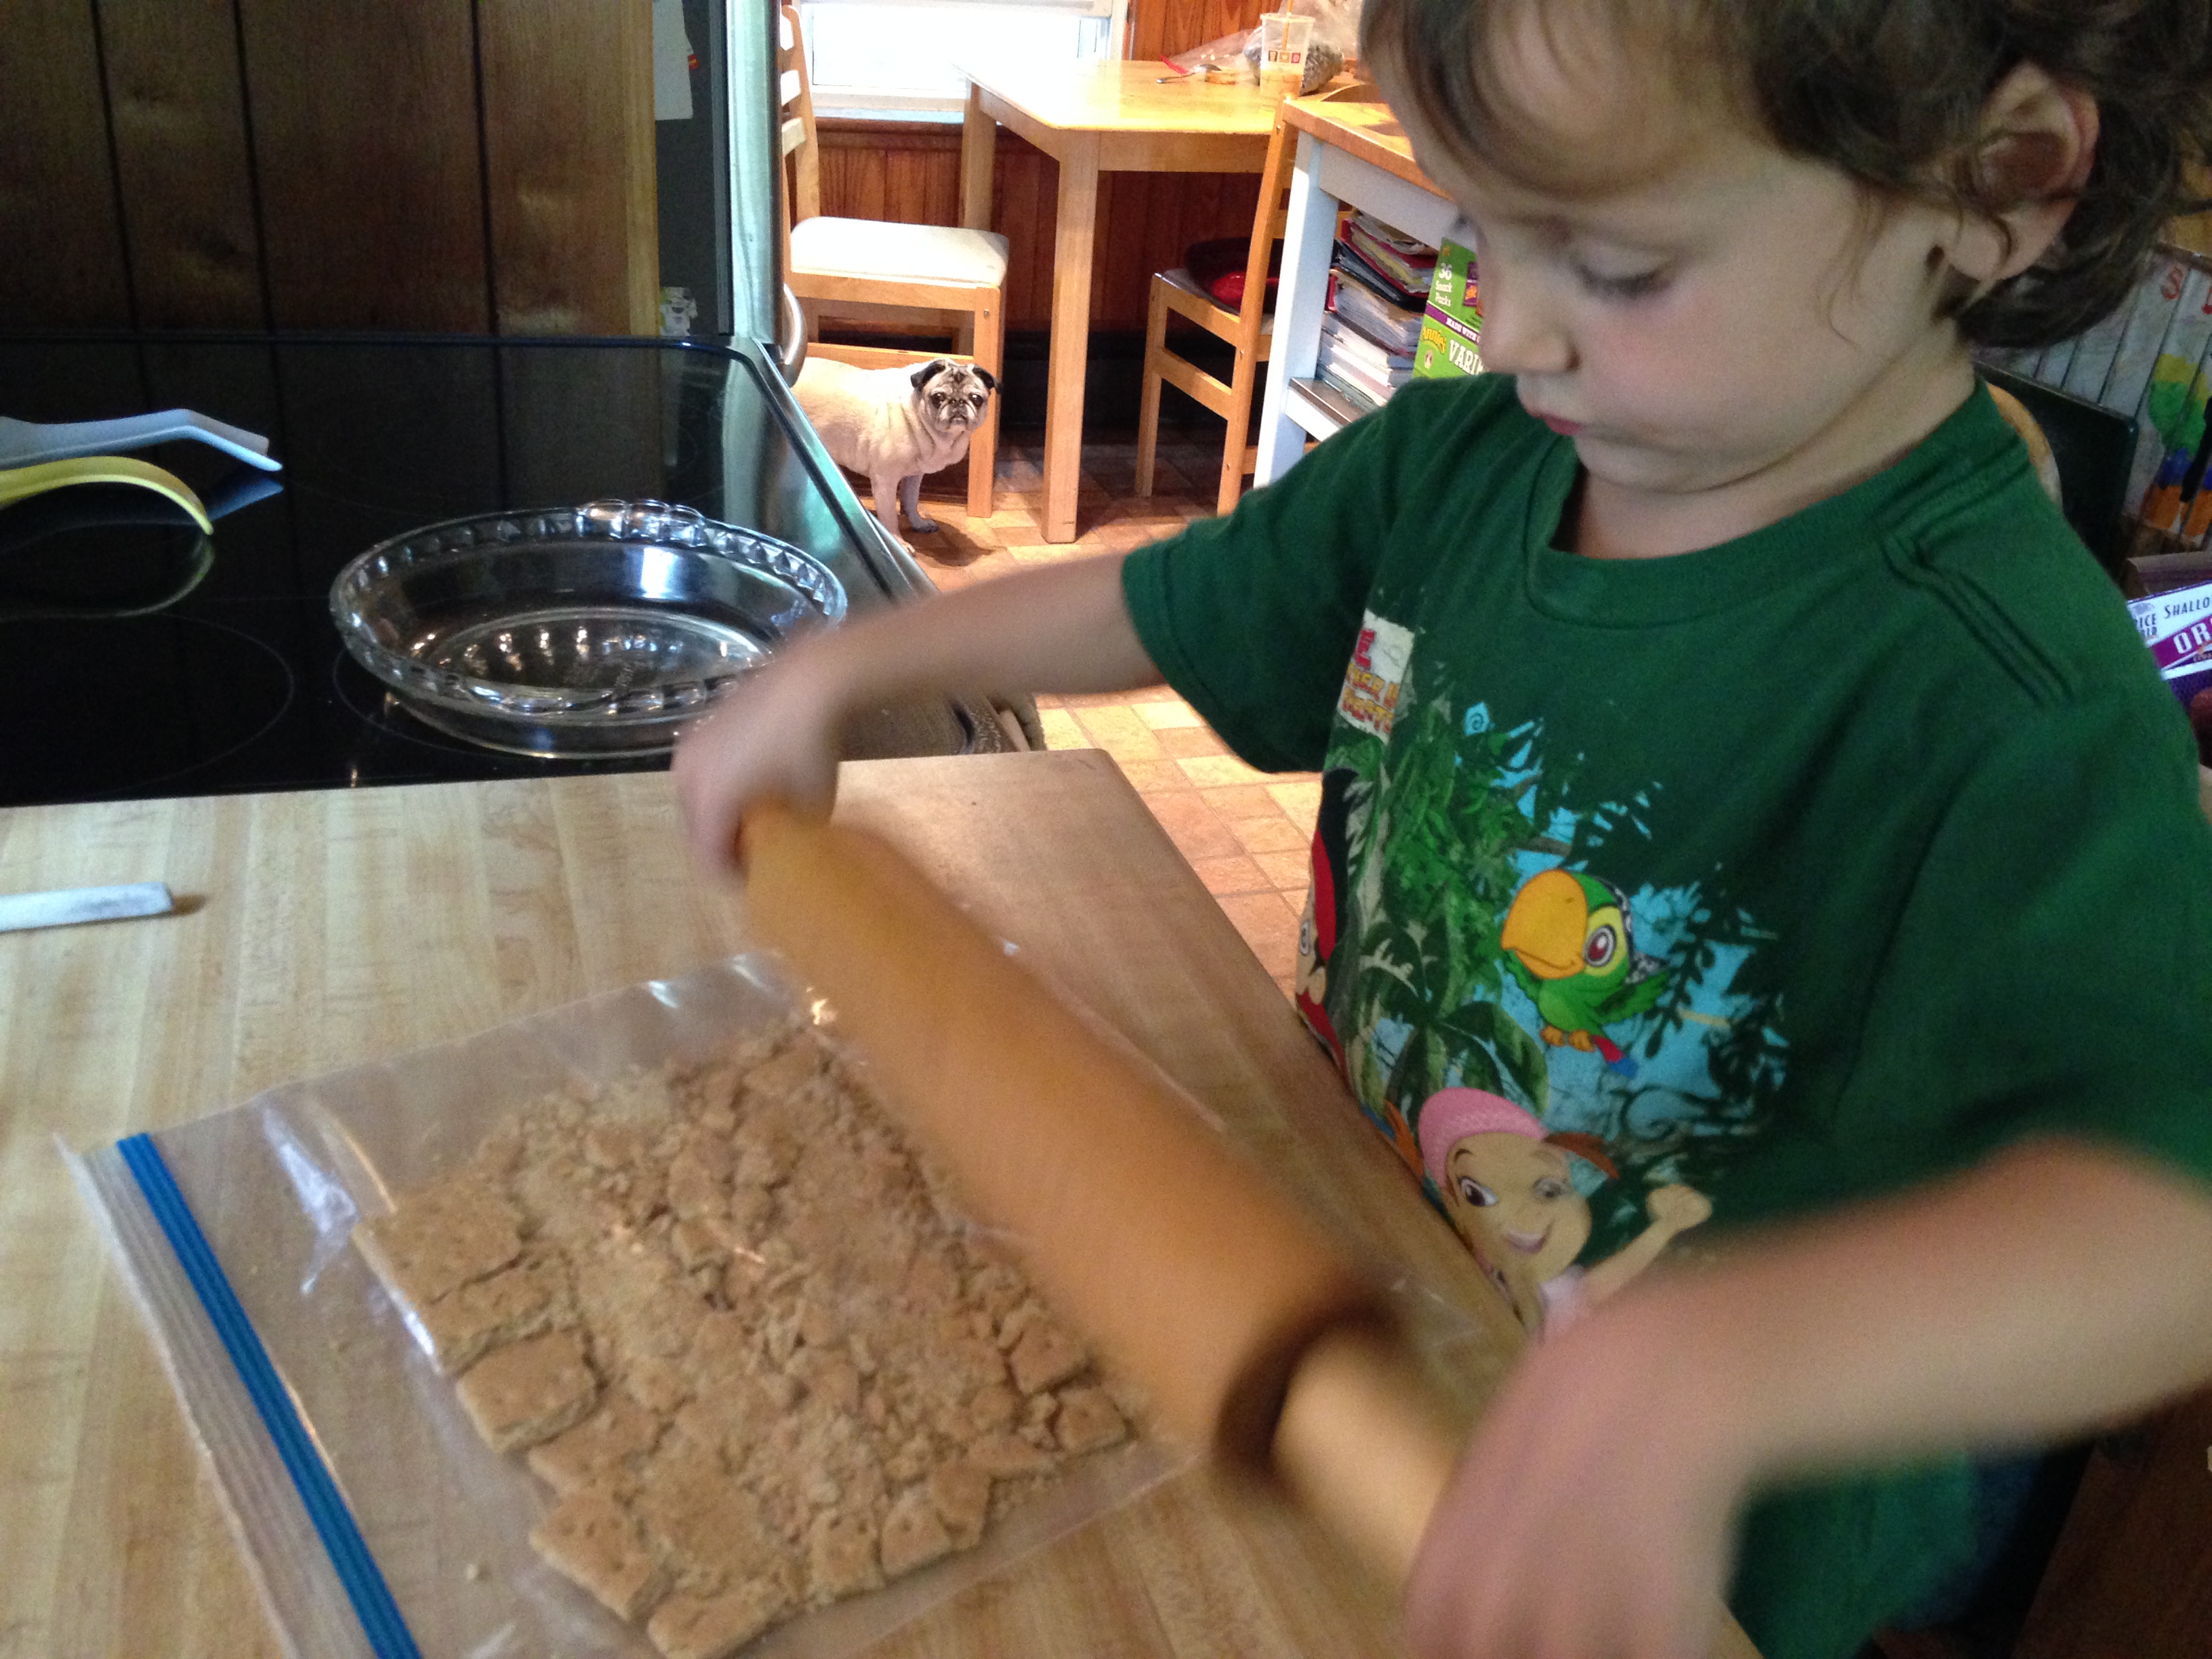
This is a GREAT activity for a kid like me.
Then we added the melted butter and brown sugar:
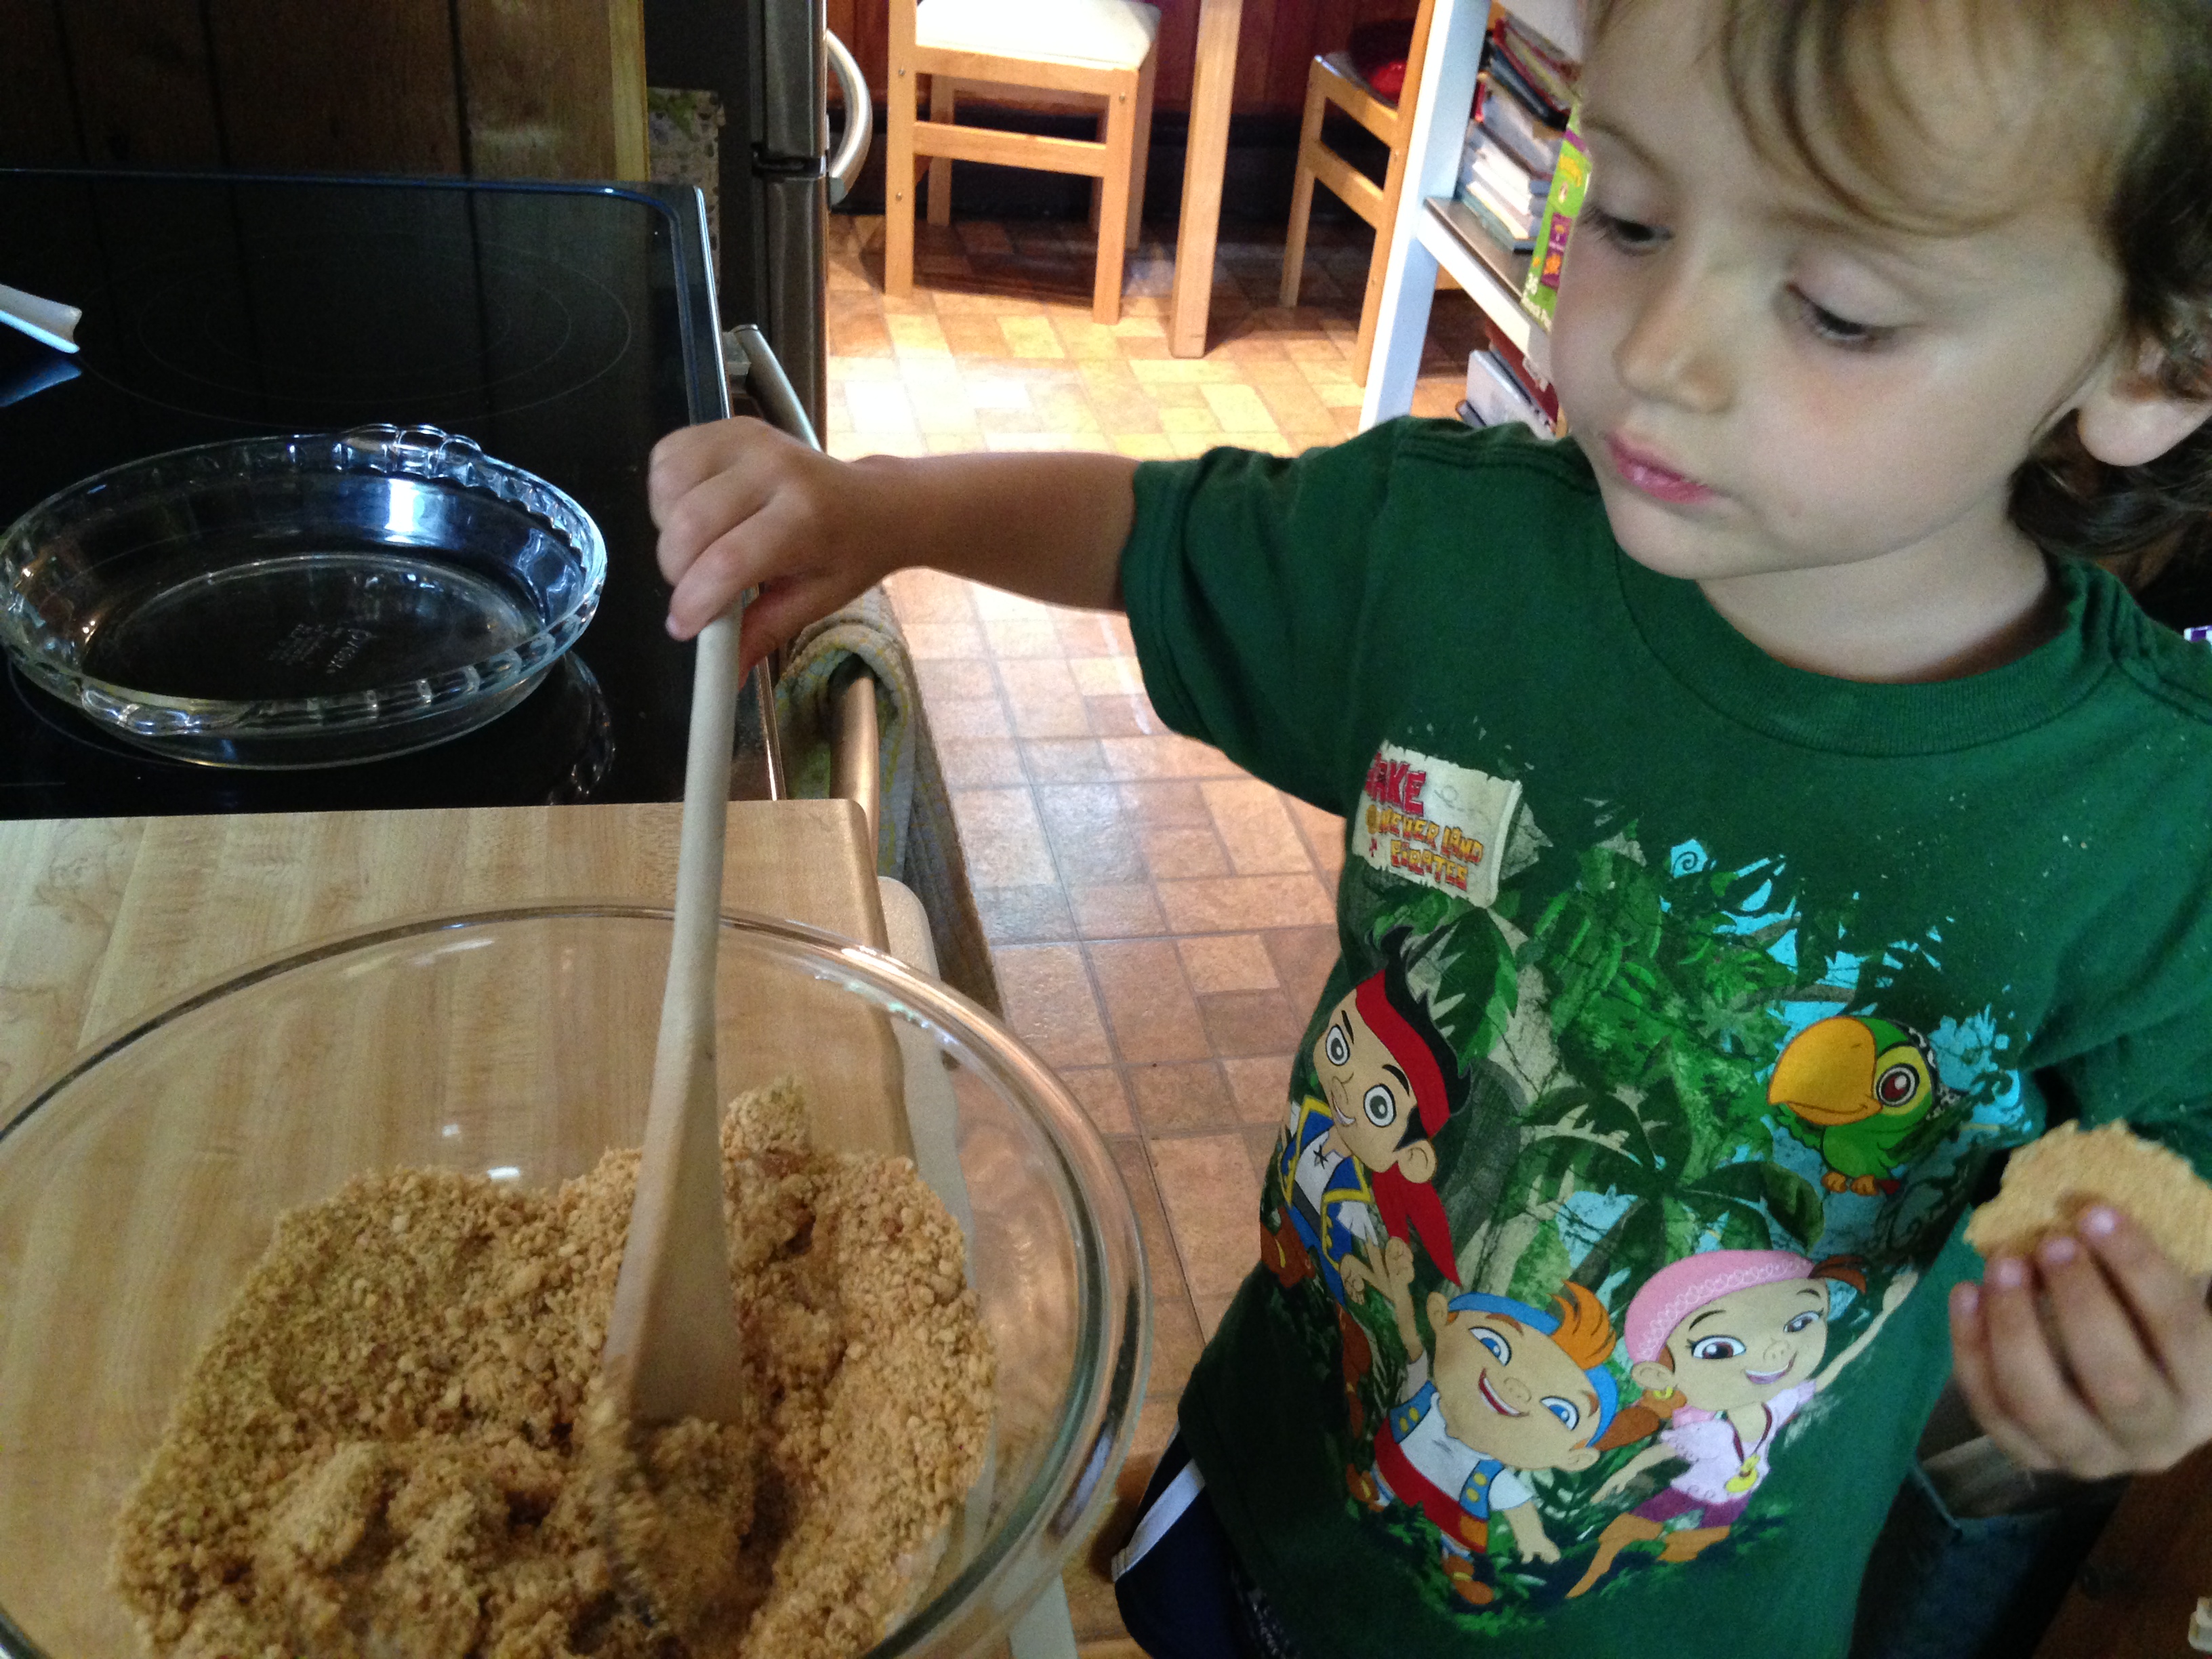
I got to eat the extra graham cracker.
This is what it should look like when it’s all mixed:
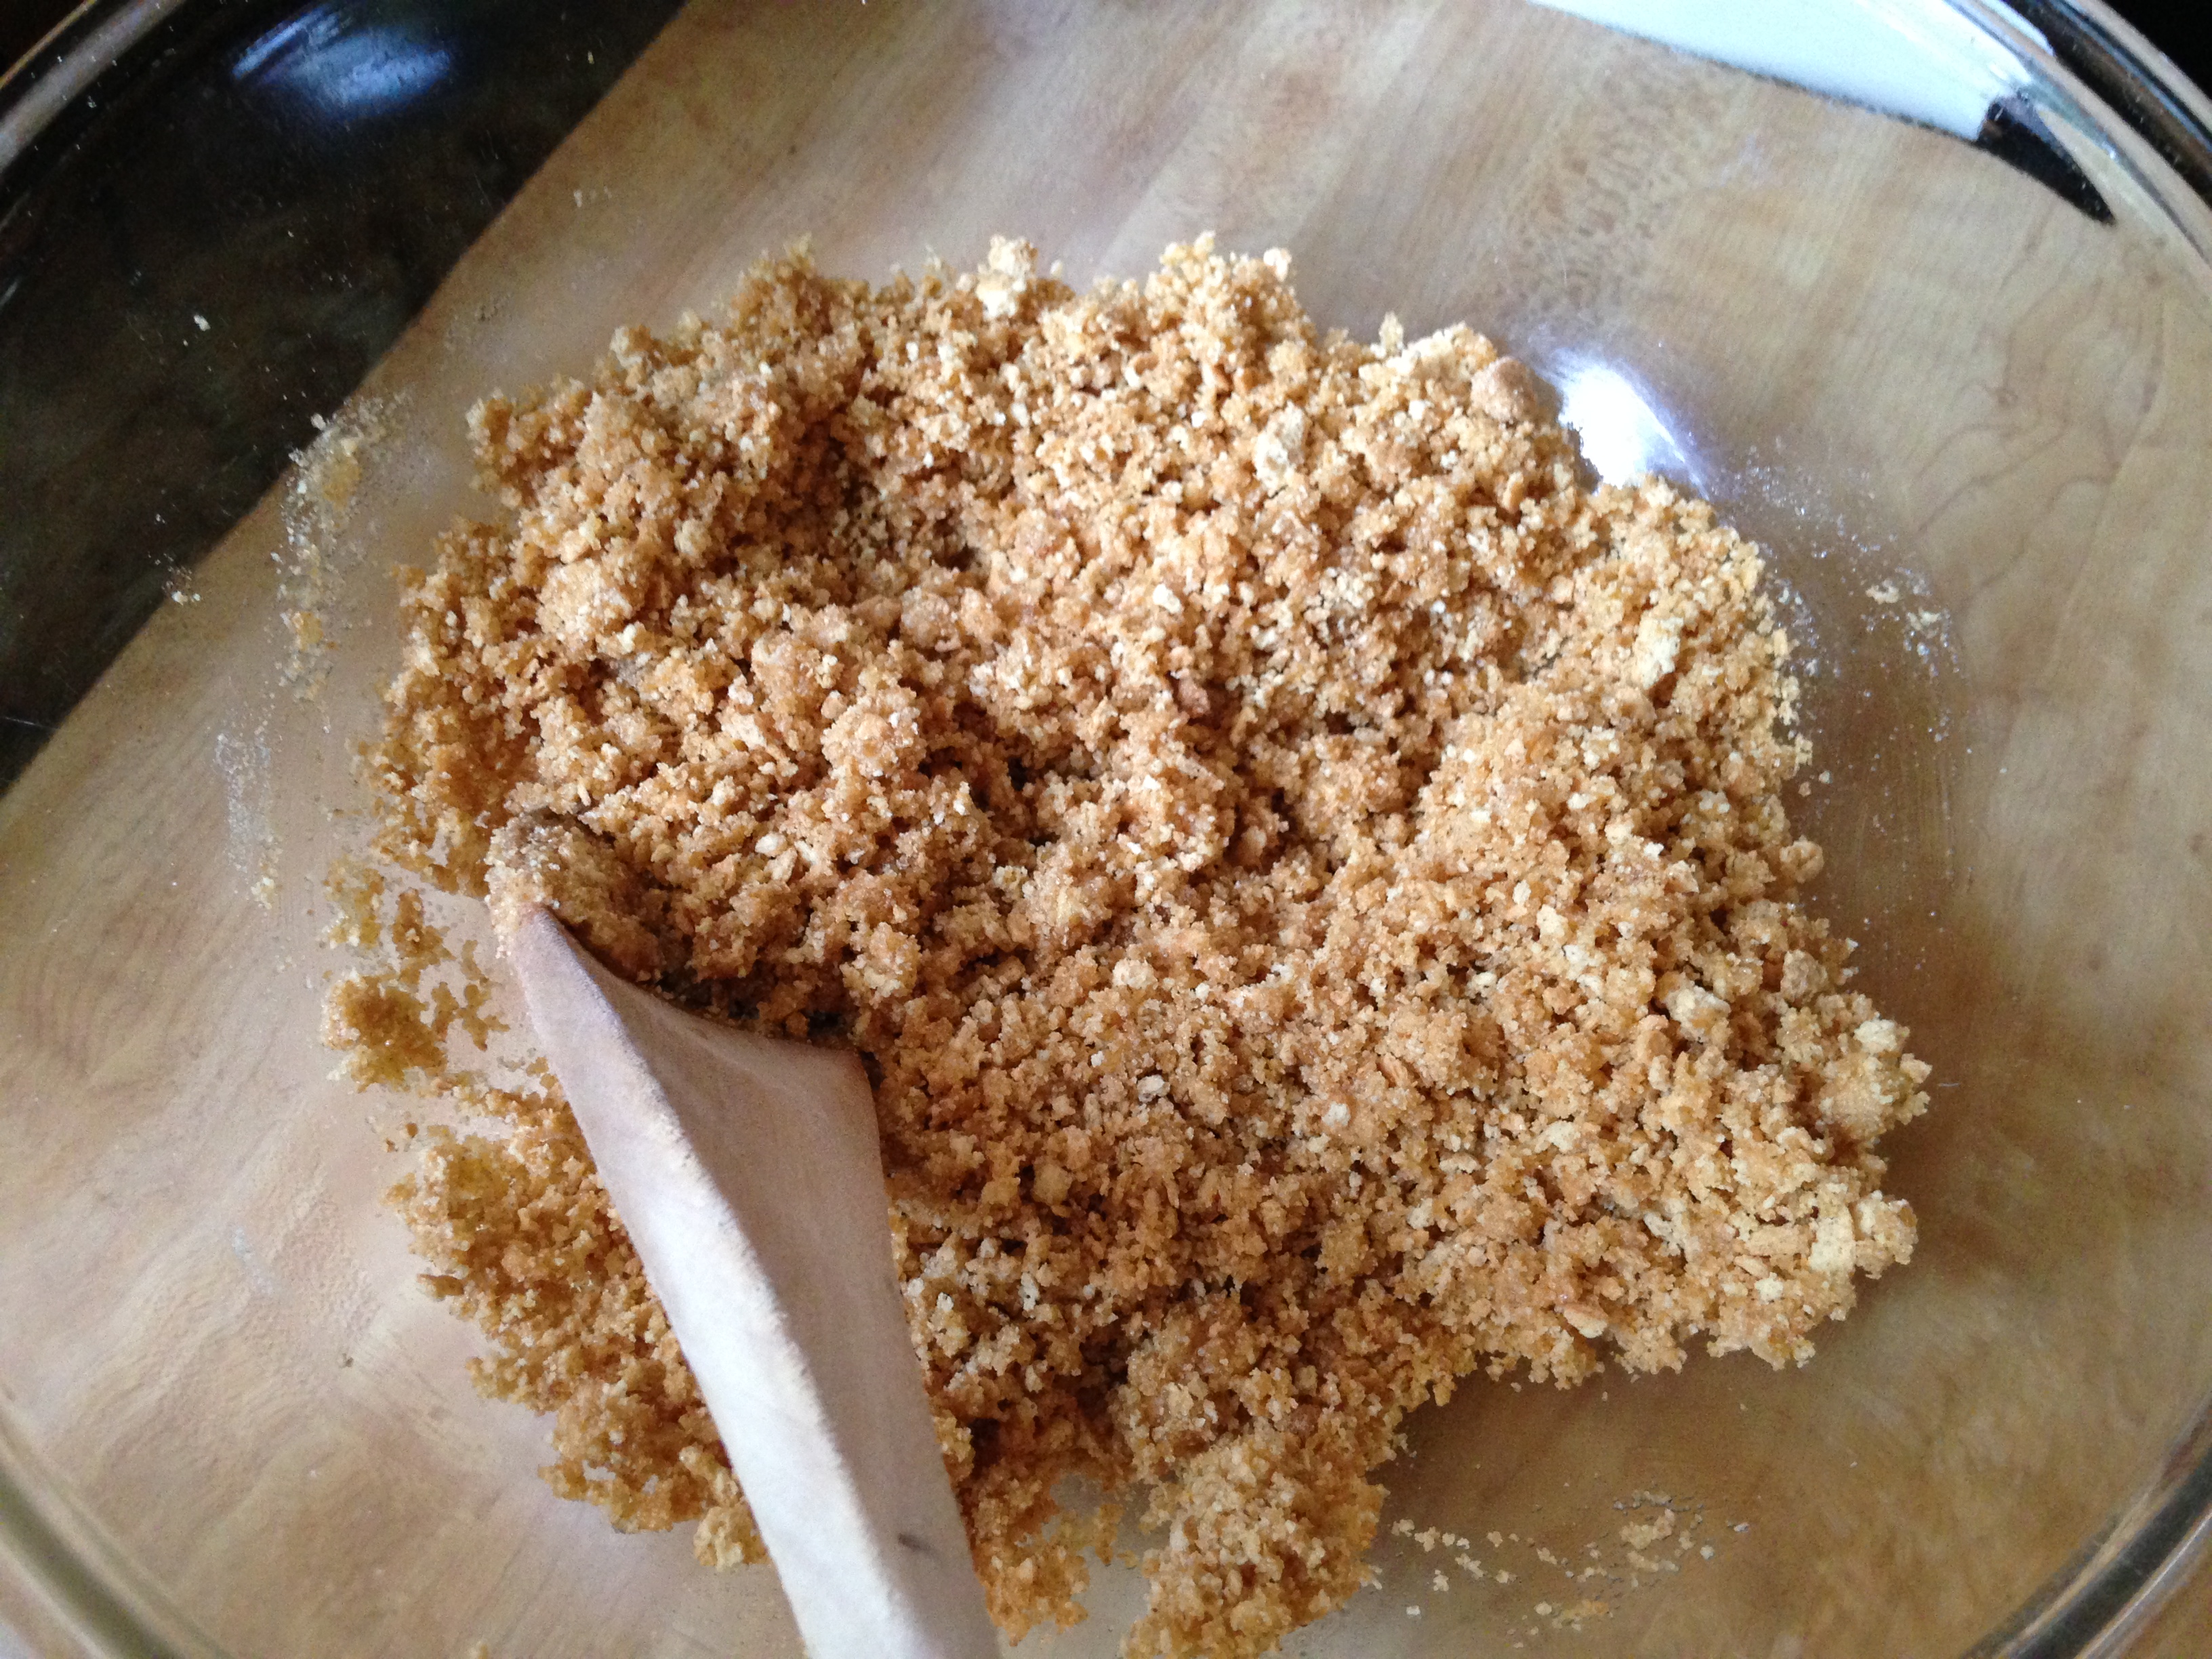
It doesn’t look like it will hold together, but trust me: It will. Mama explained that if you use too much butter, your crust will be greasy and not hold its shape. (Too little, and it will fall apart.)
Mama pressed the crumbs into the pie plate. (I didn’t want to touch it.) You should use your hands, but to help press it firmly into the edges and up the sides, use a measuring cup or glass.

From this point, you can chill the crust before filling it, or bake it (cool before using). Either way, you’ve just made yourself a pie crust that will hold together. (Shortcut: Buy a graham cracker, Oreo, or Nilla Wafer crust.)
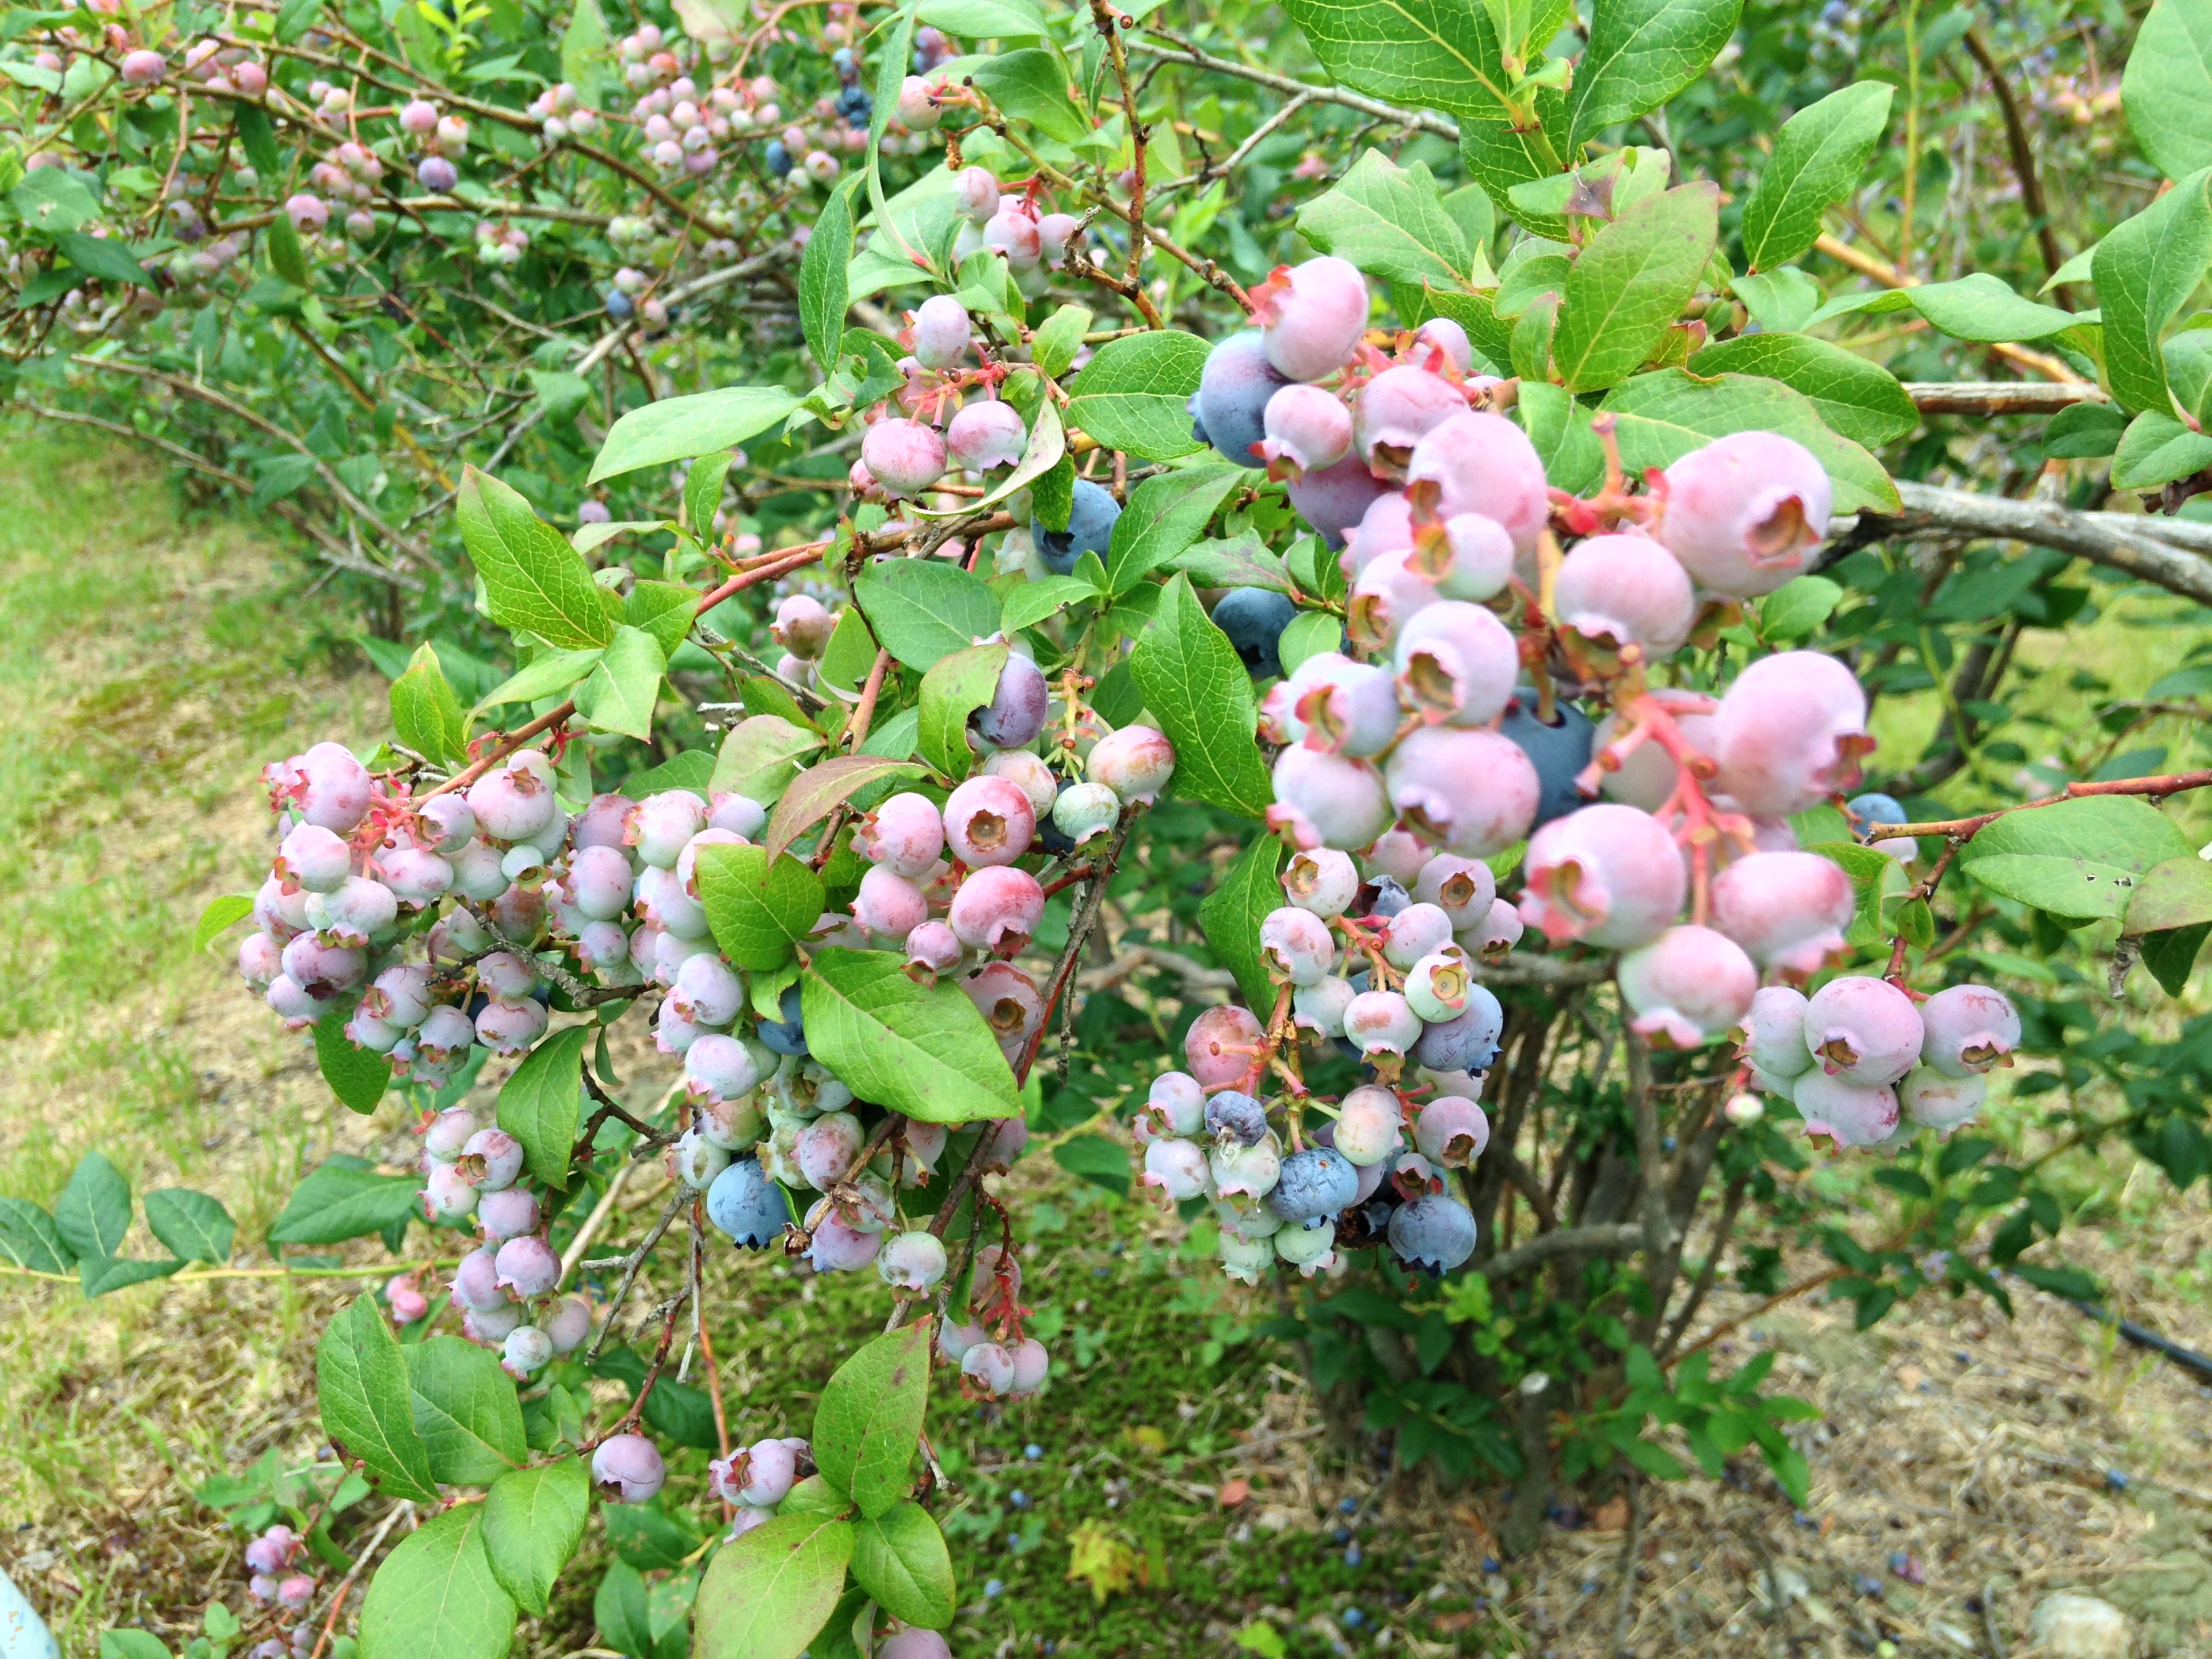
Scatter blueberries around the set crust. (You may use any kind of berry you like.)
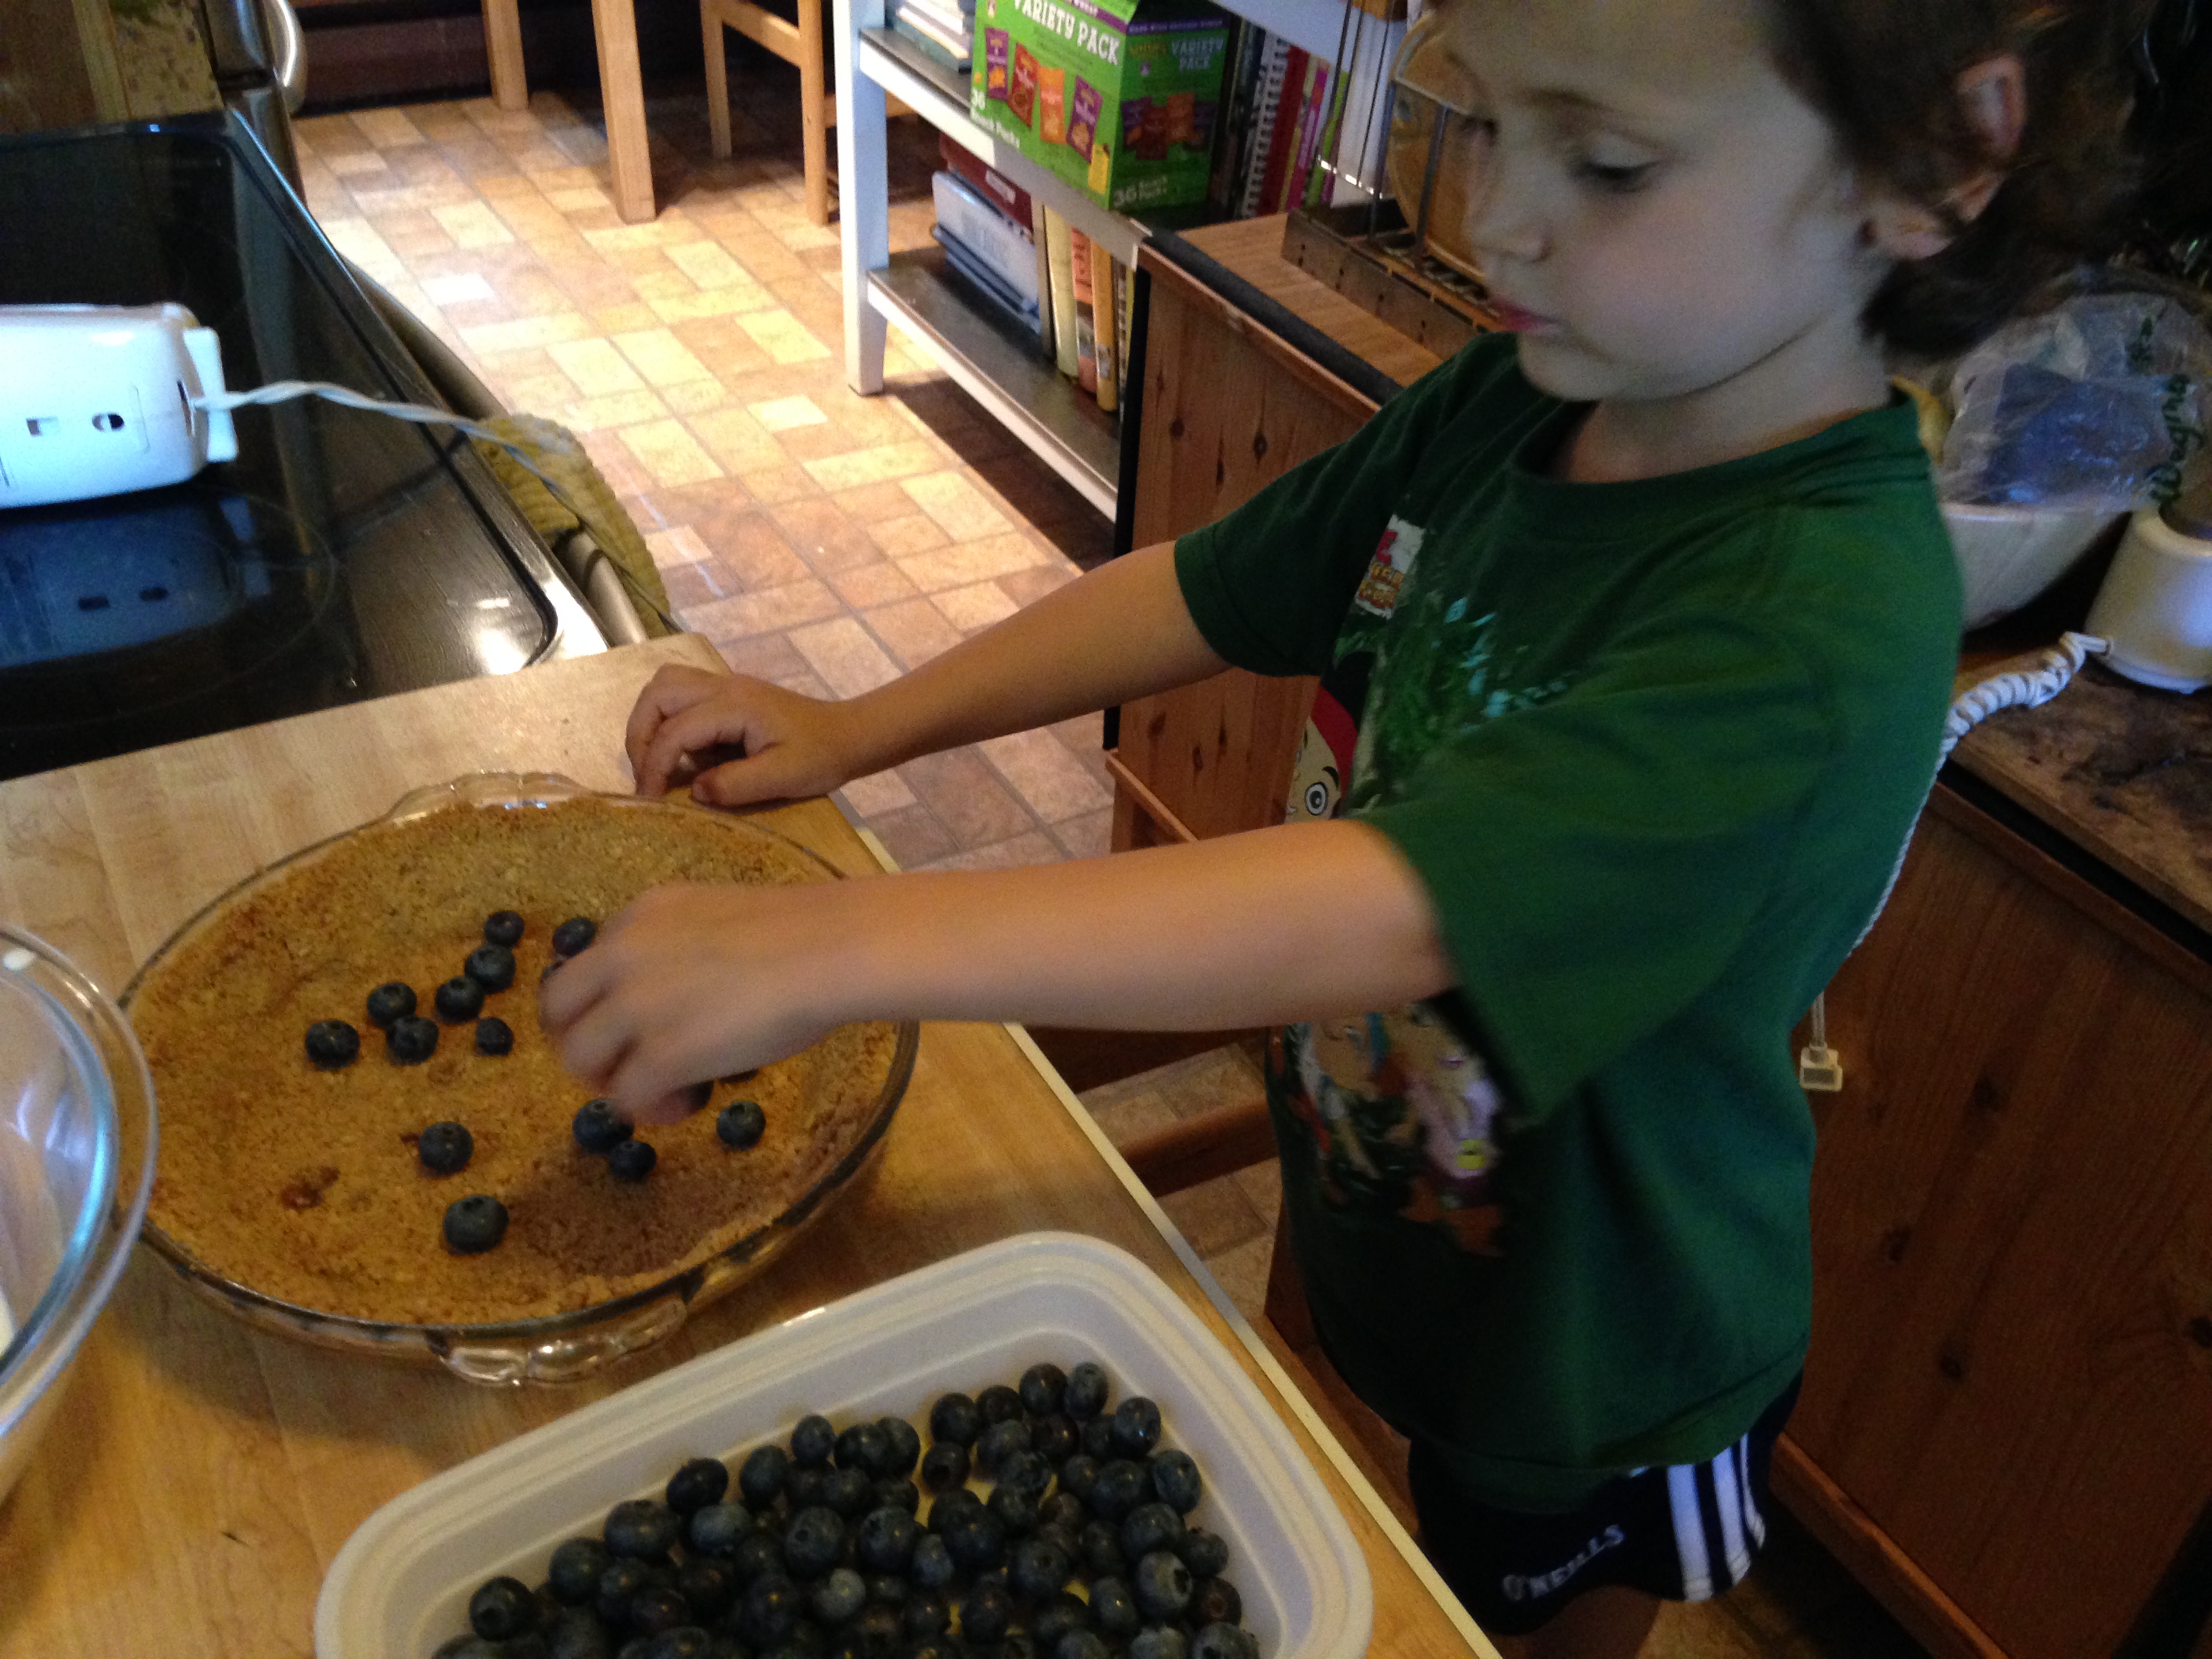
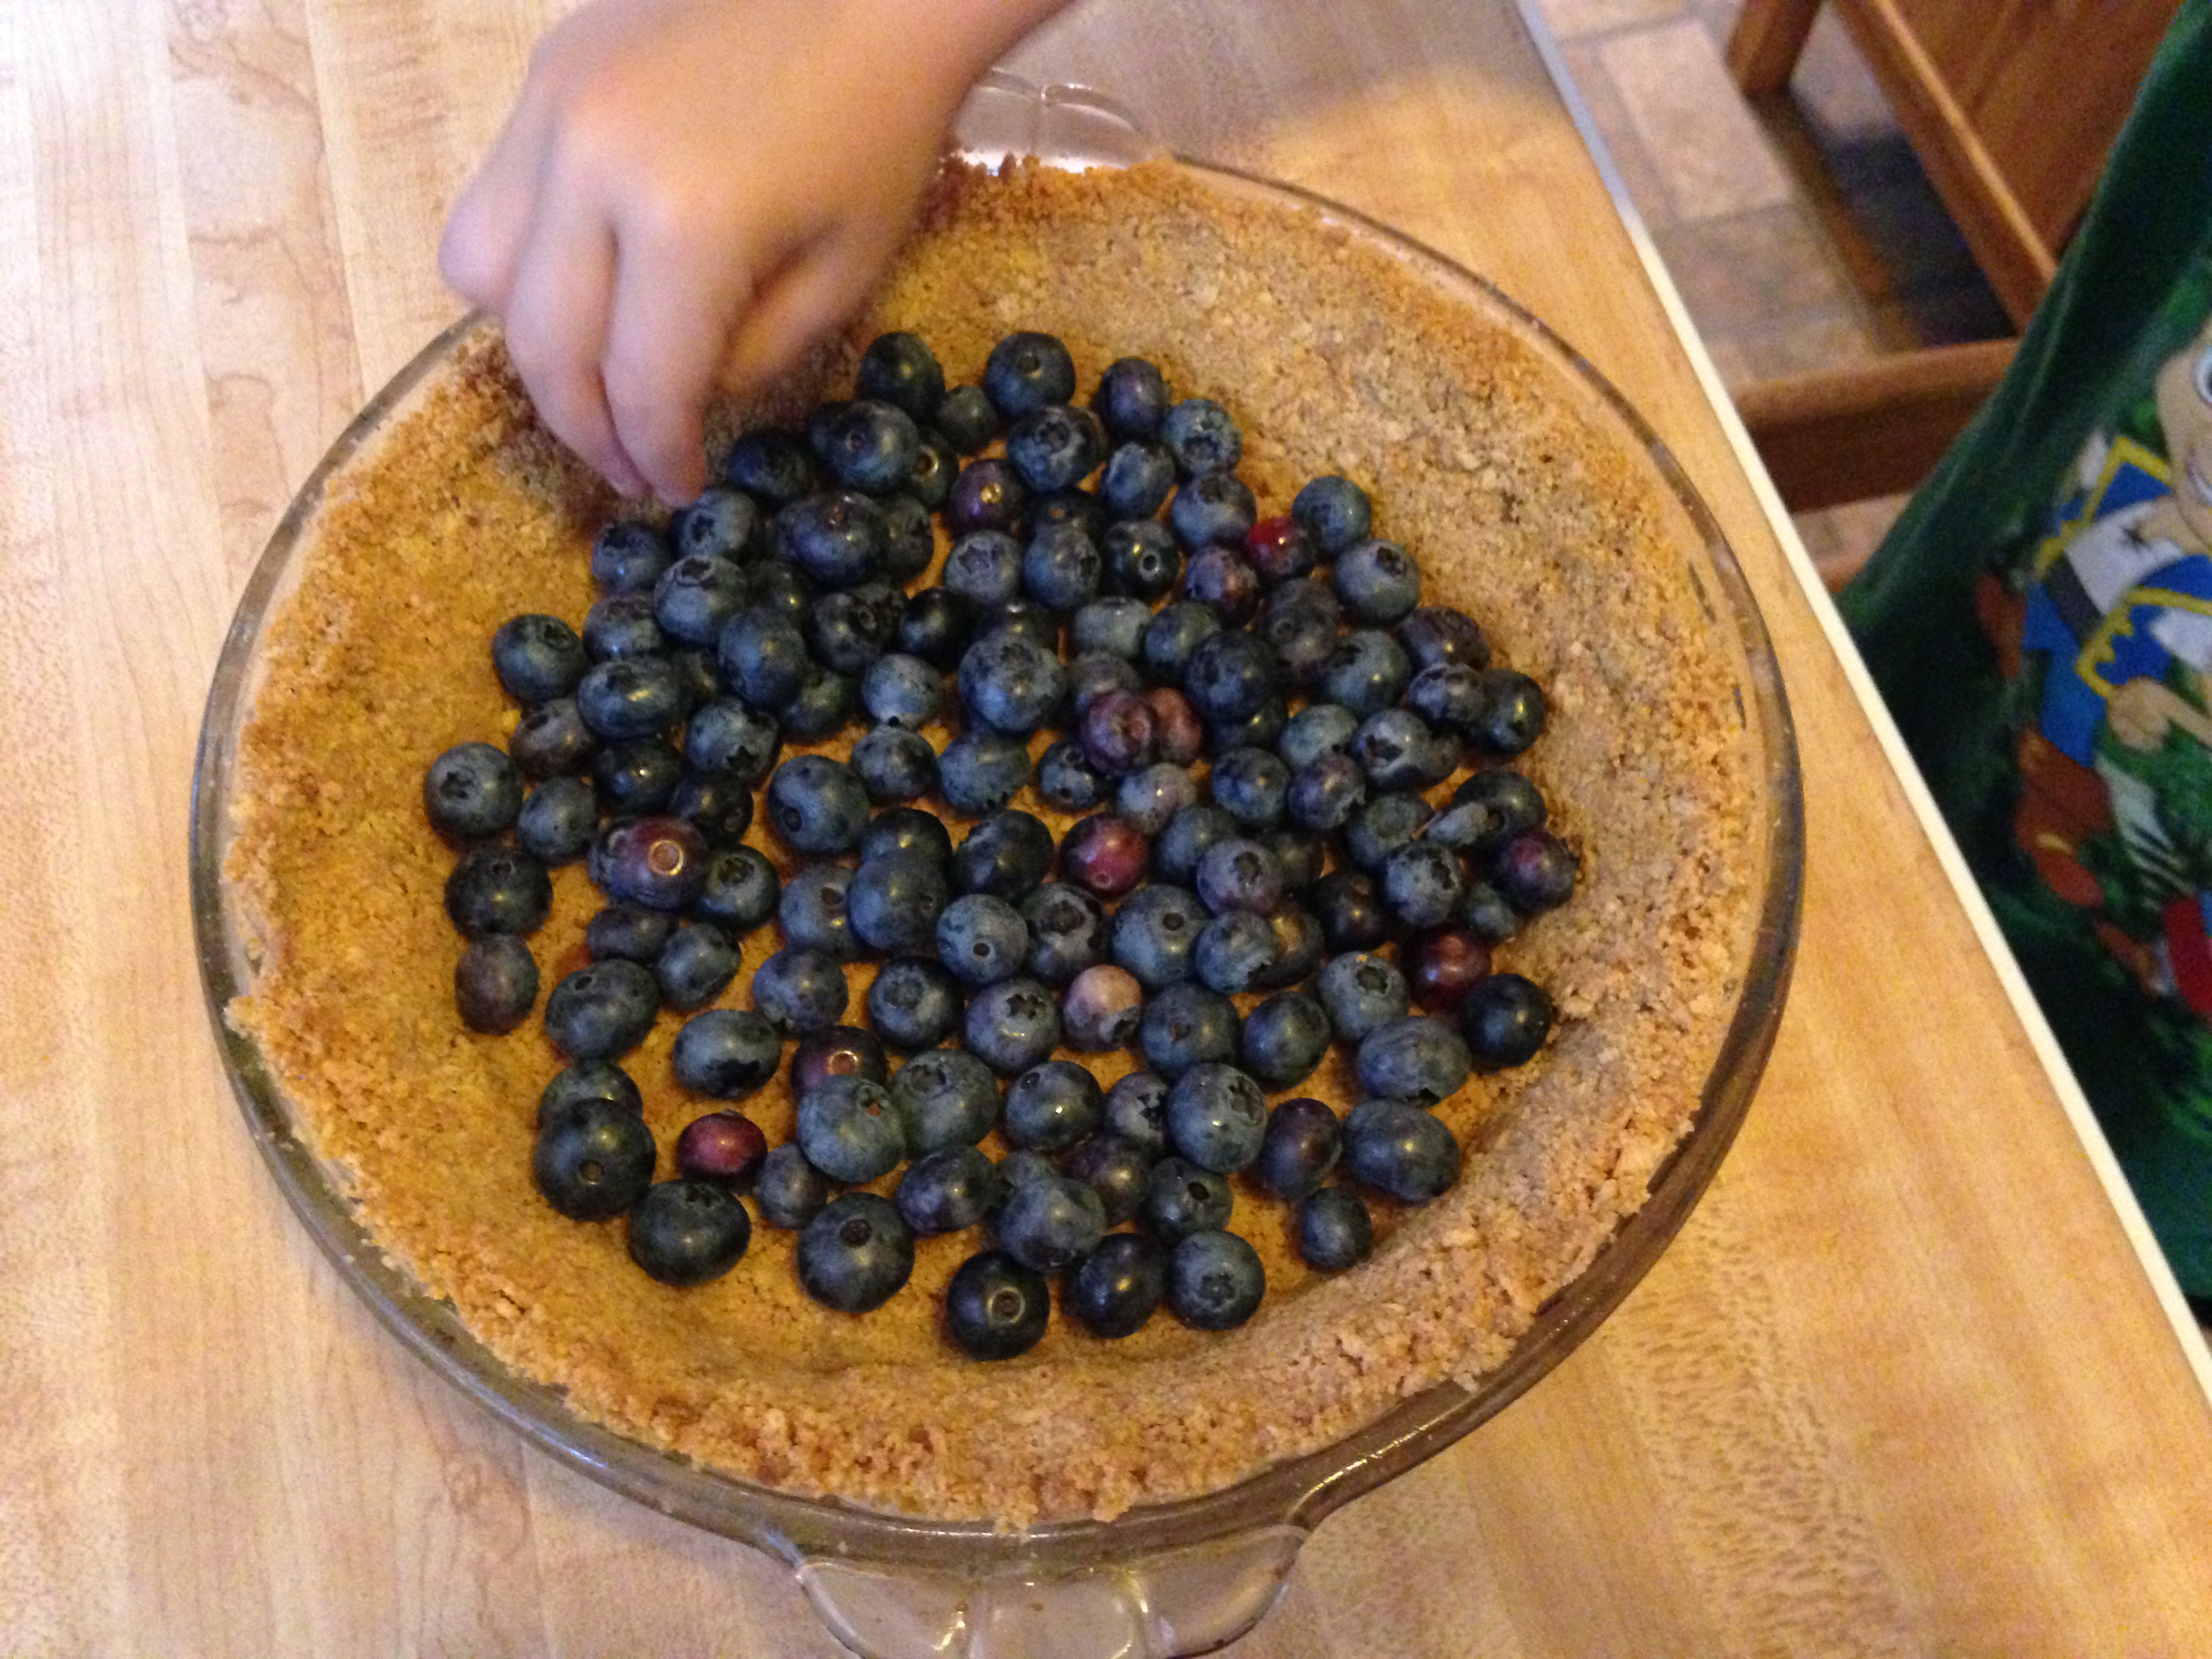
Use just enough to cover the bottom. (I put a little more in than that, and it was extra yummy.)
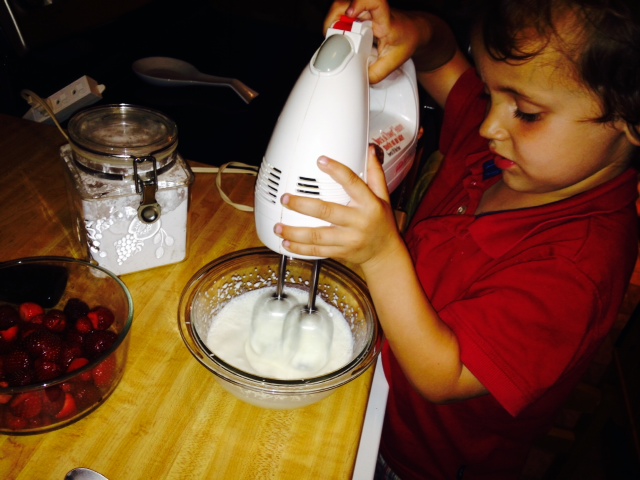
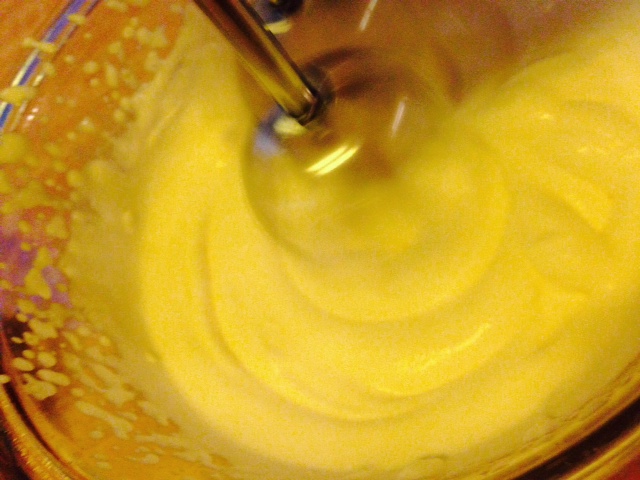
For the filling, Mama let me whip the cream. (Remember how to make chantilly?) Then she made sort of the same thing, but with cream cheese.
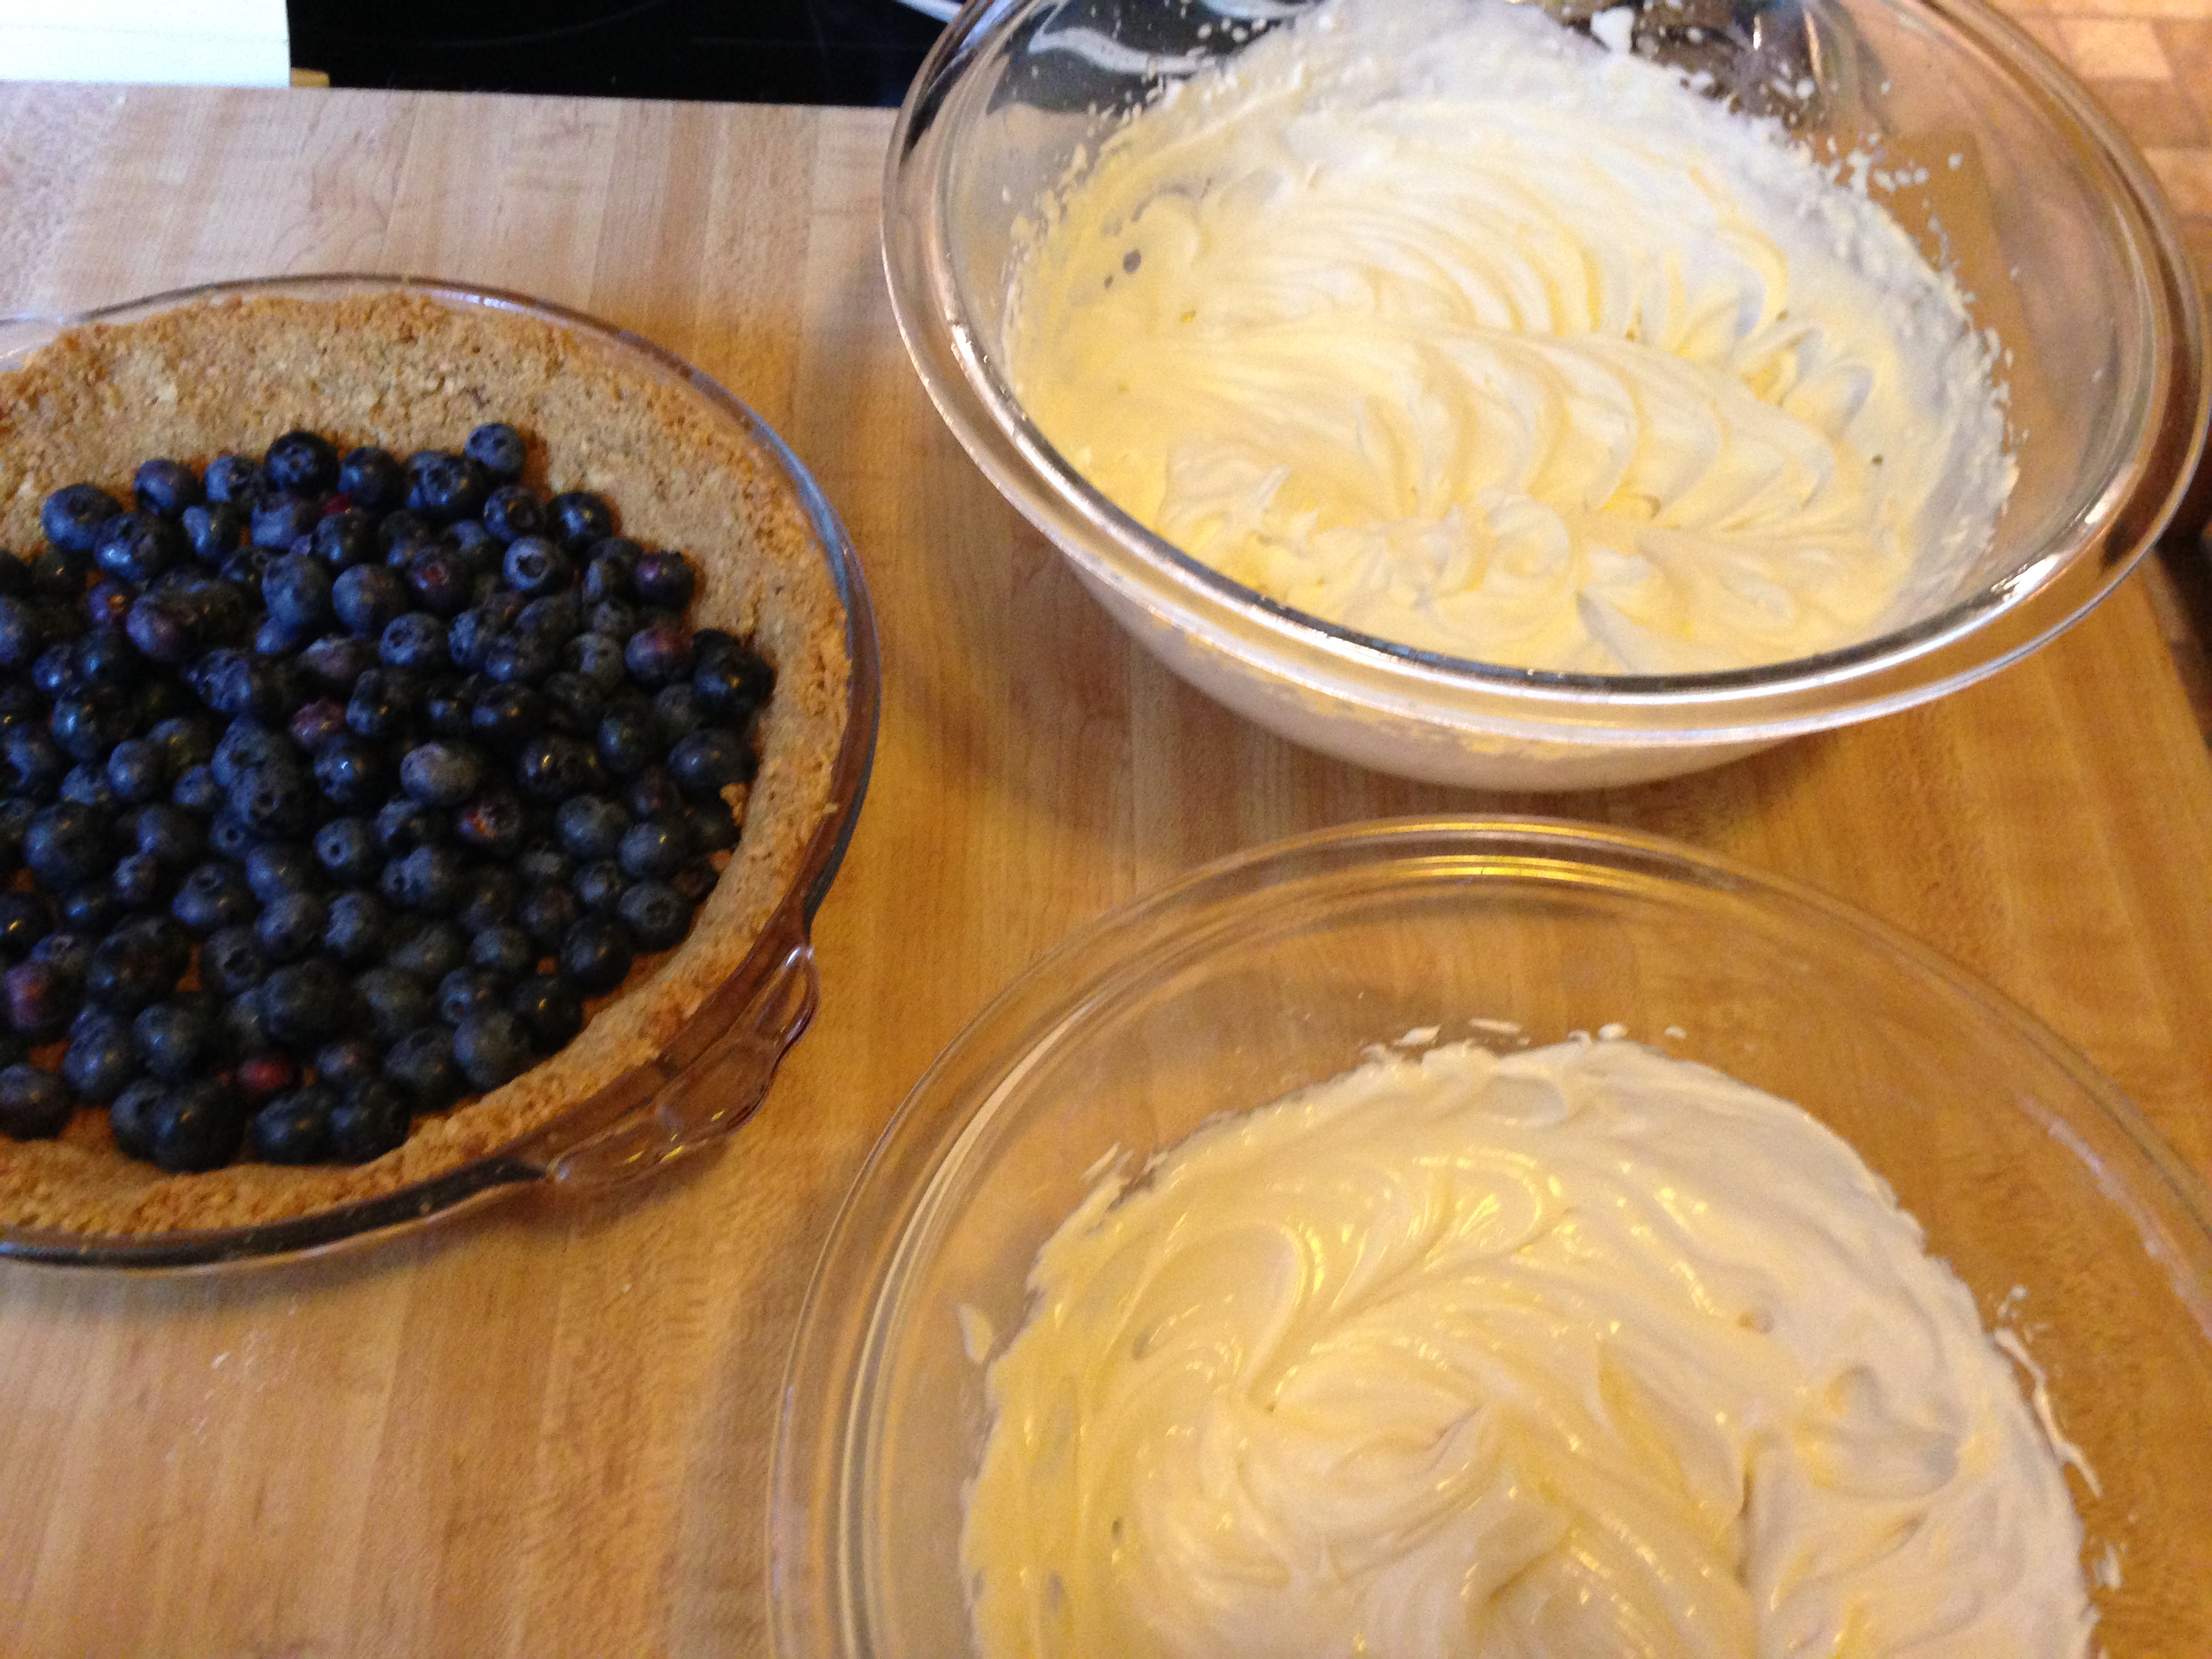
She said to do the whipped cream part first because you can use the same beaters for the cream cheese without having to wash them first. (If you did the cream cheese first, any fat left over from the cream cheese would inhibit the heavy cream from whipping.)
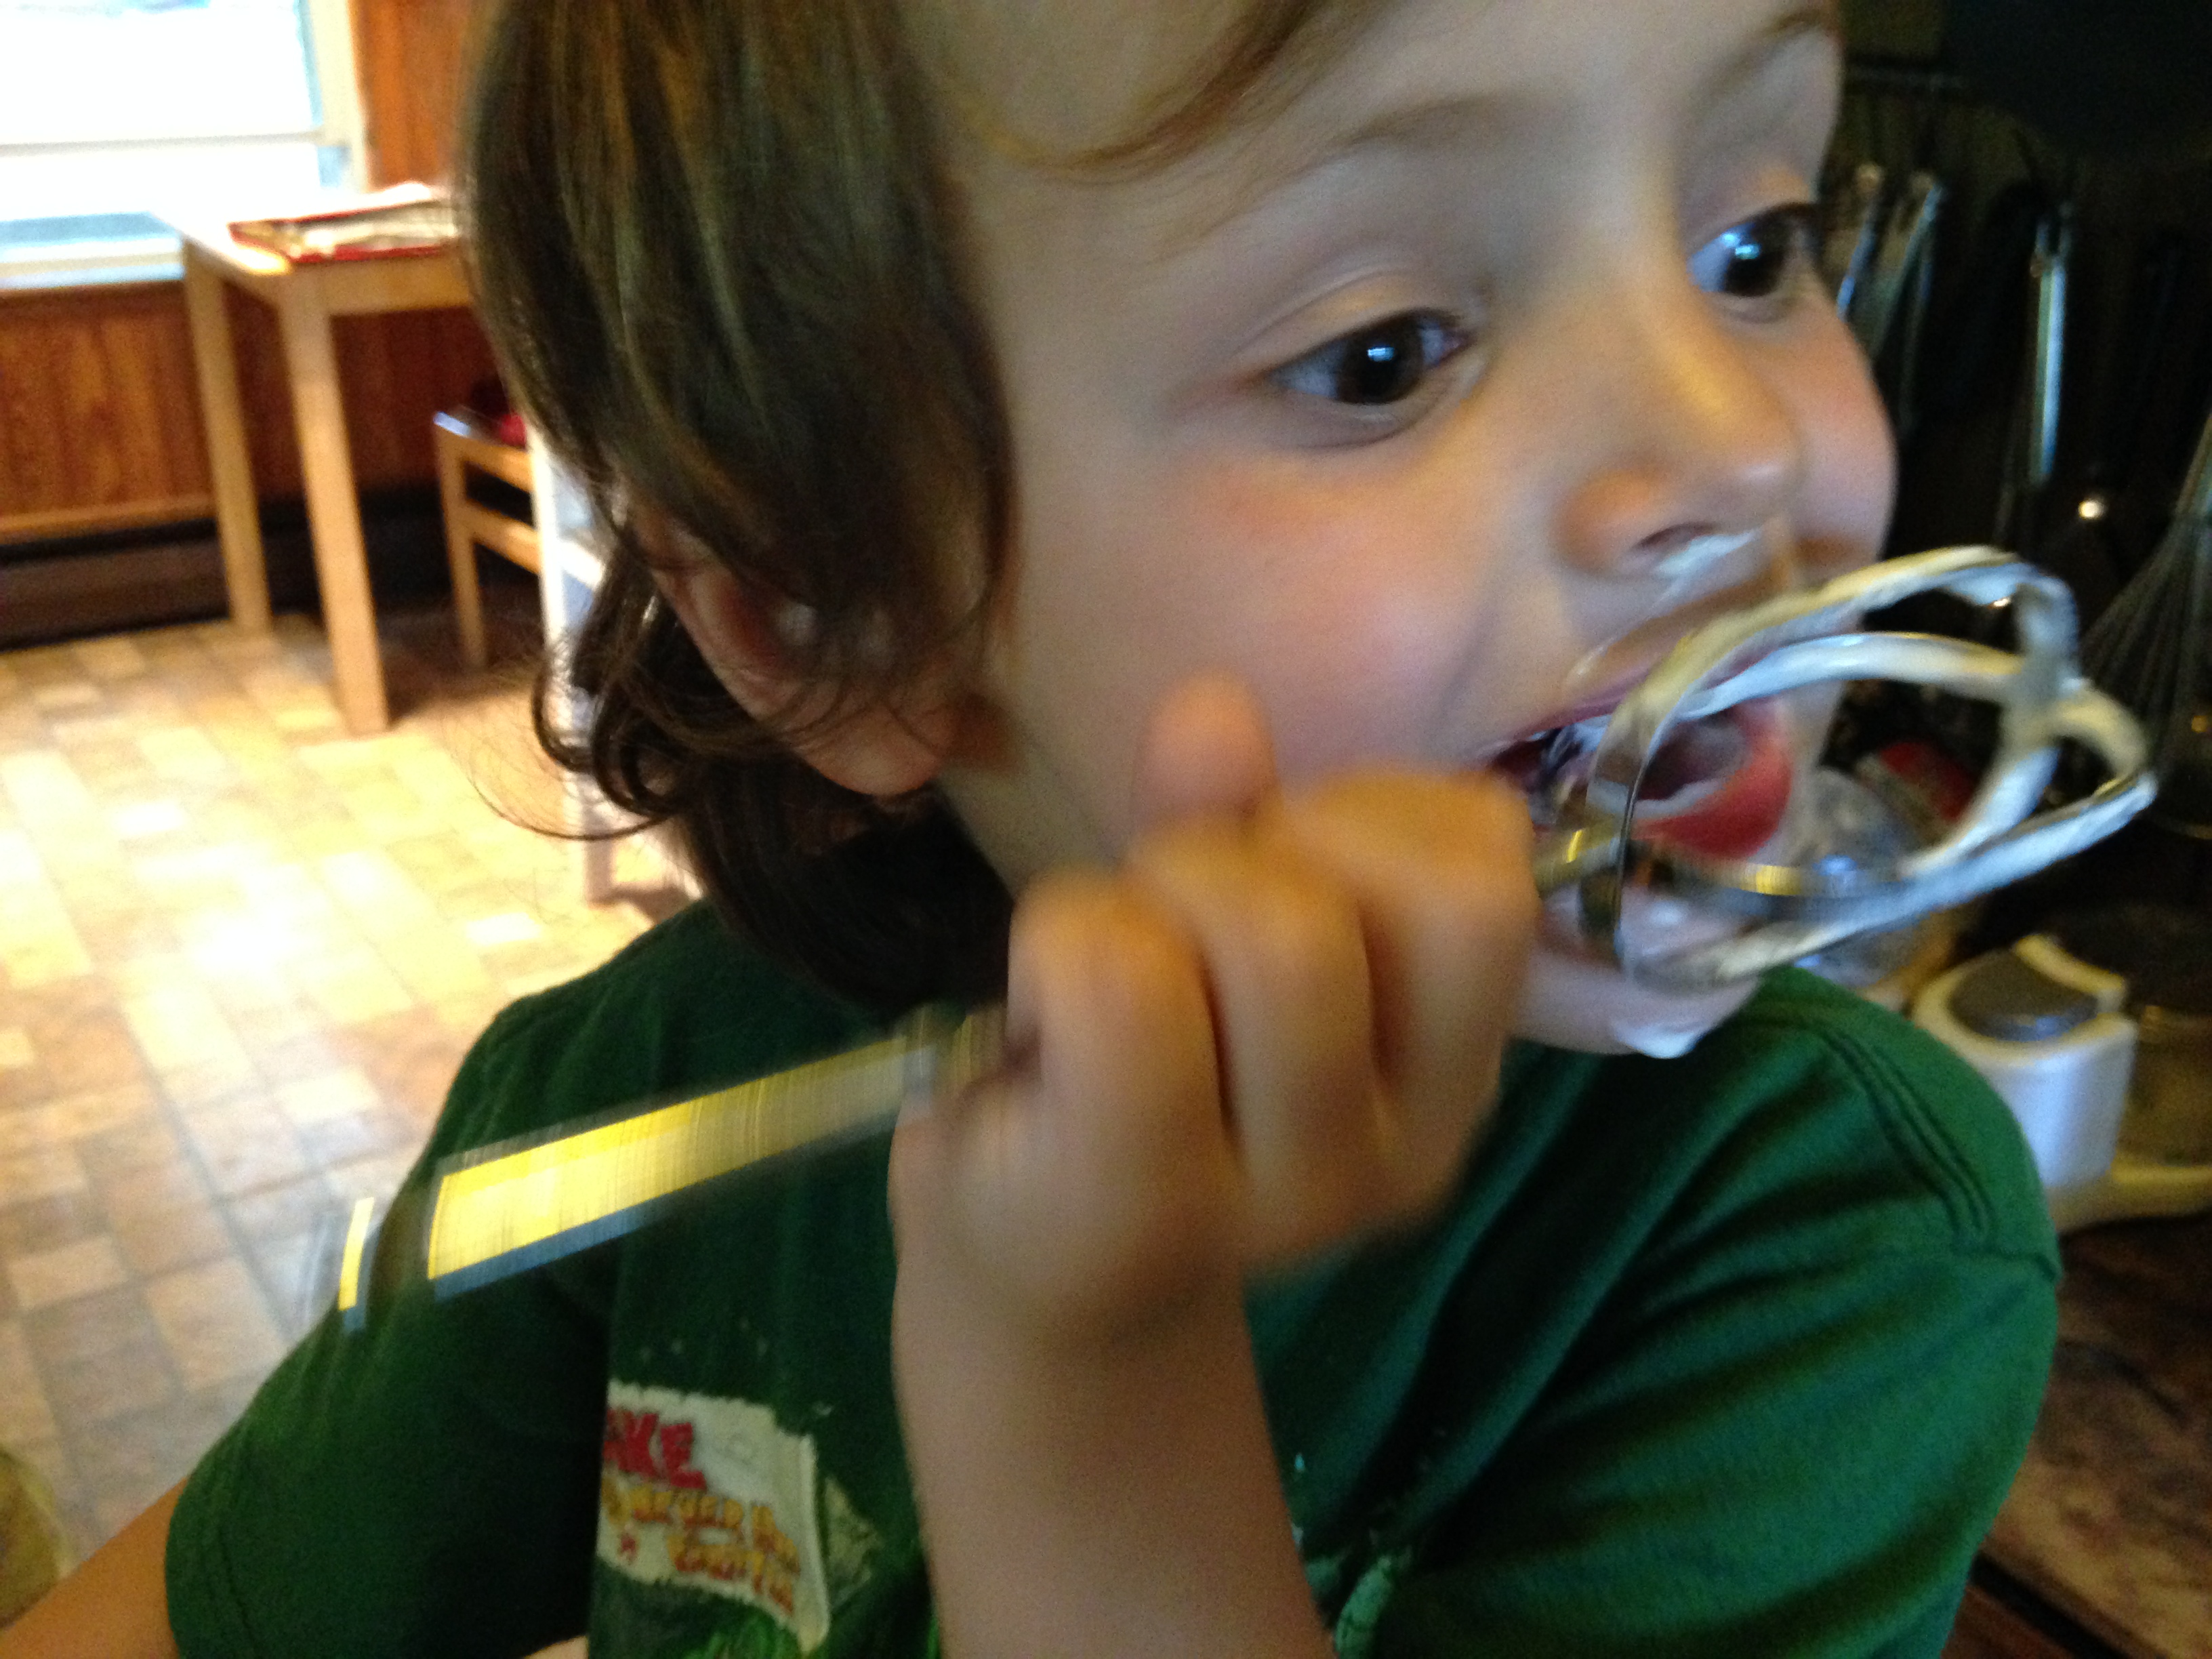
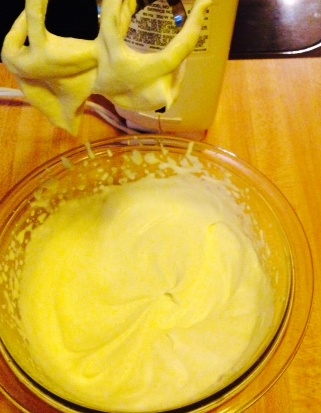
This is my preferred method of cleaning beaters.
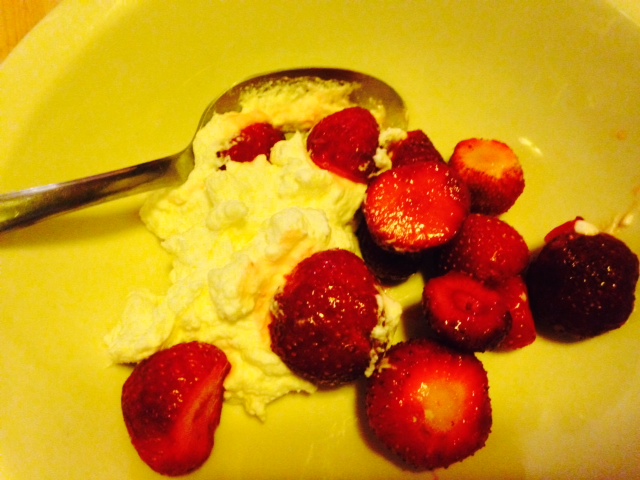
Fold the two together, add some lemon zest, and you have your filling. Carefully spoon the creamy mixture over the berries, and now you have pie!
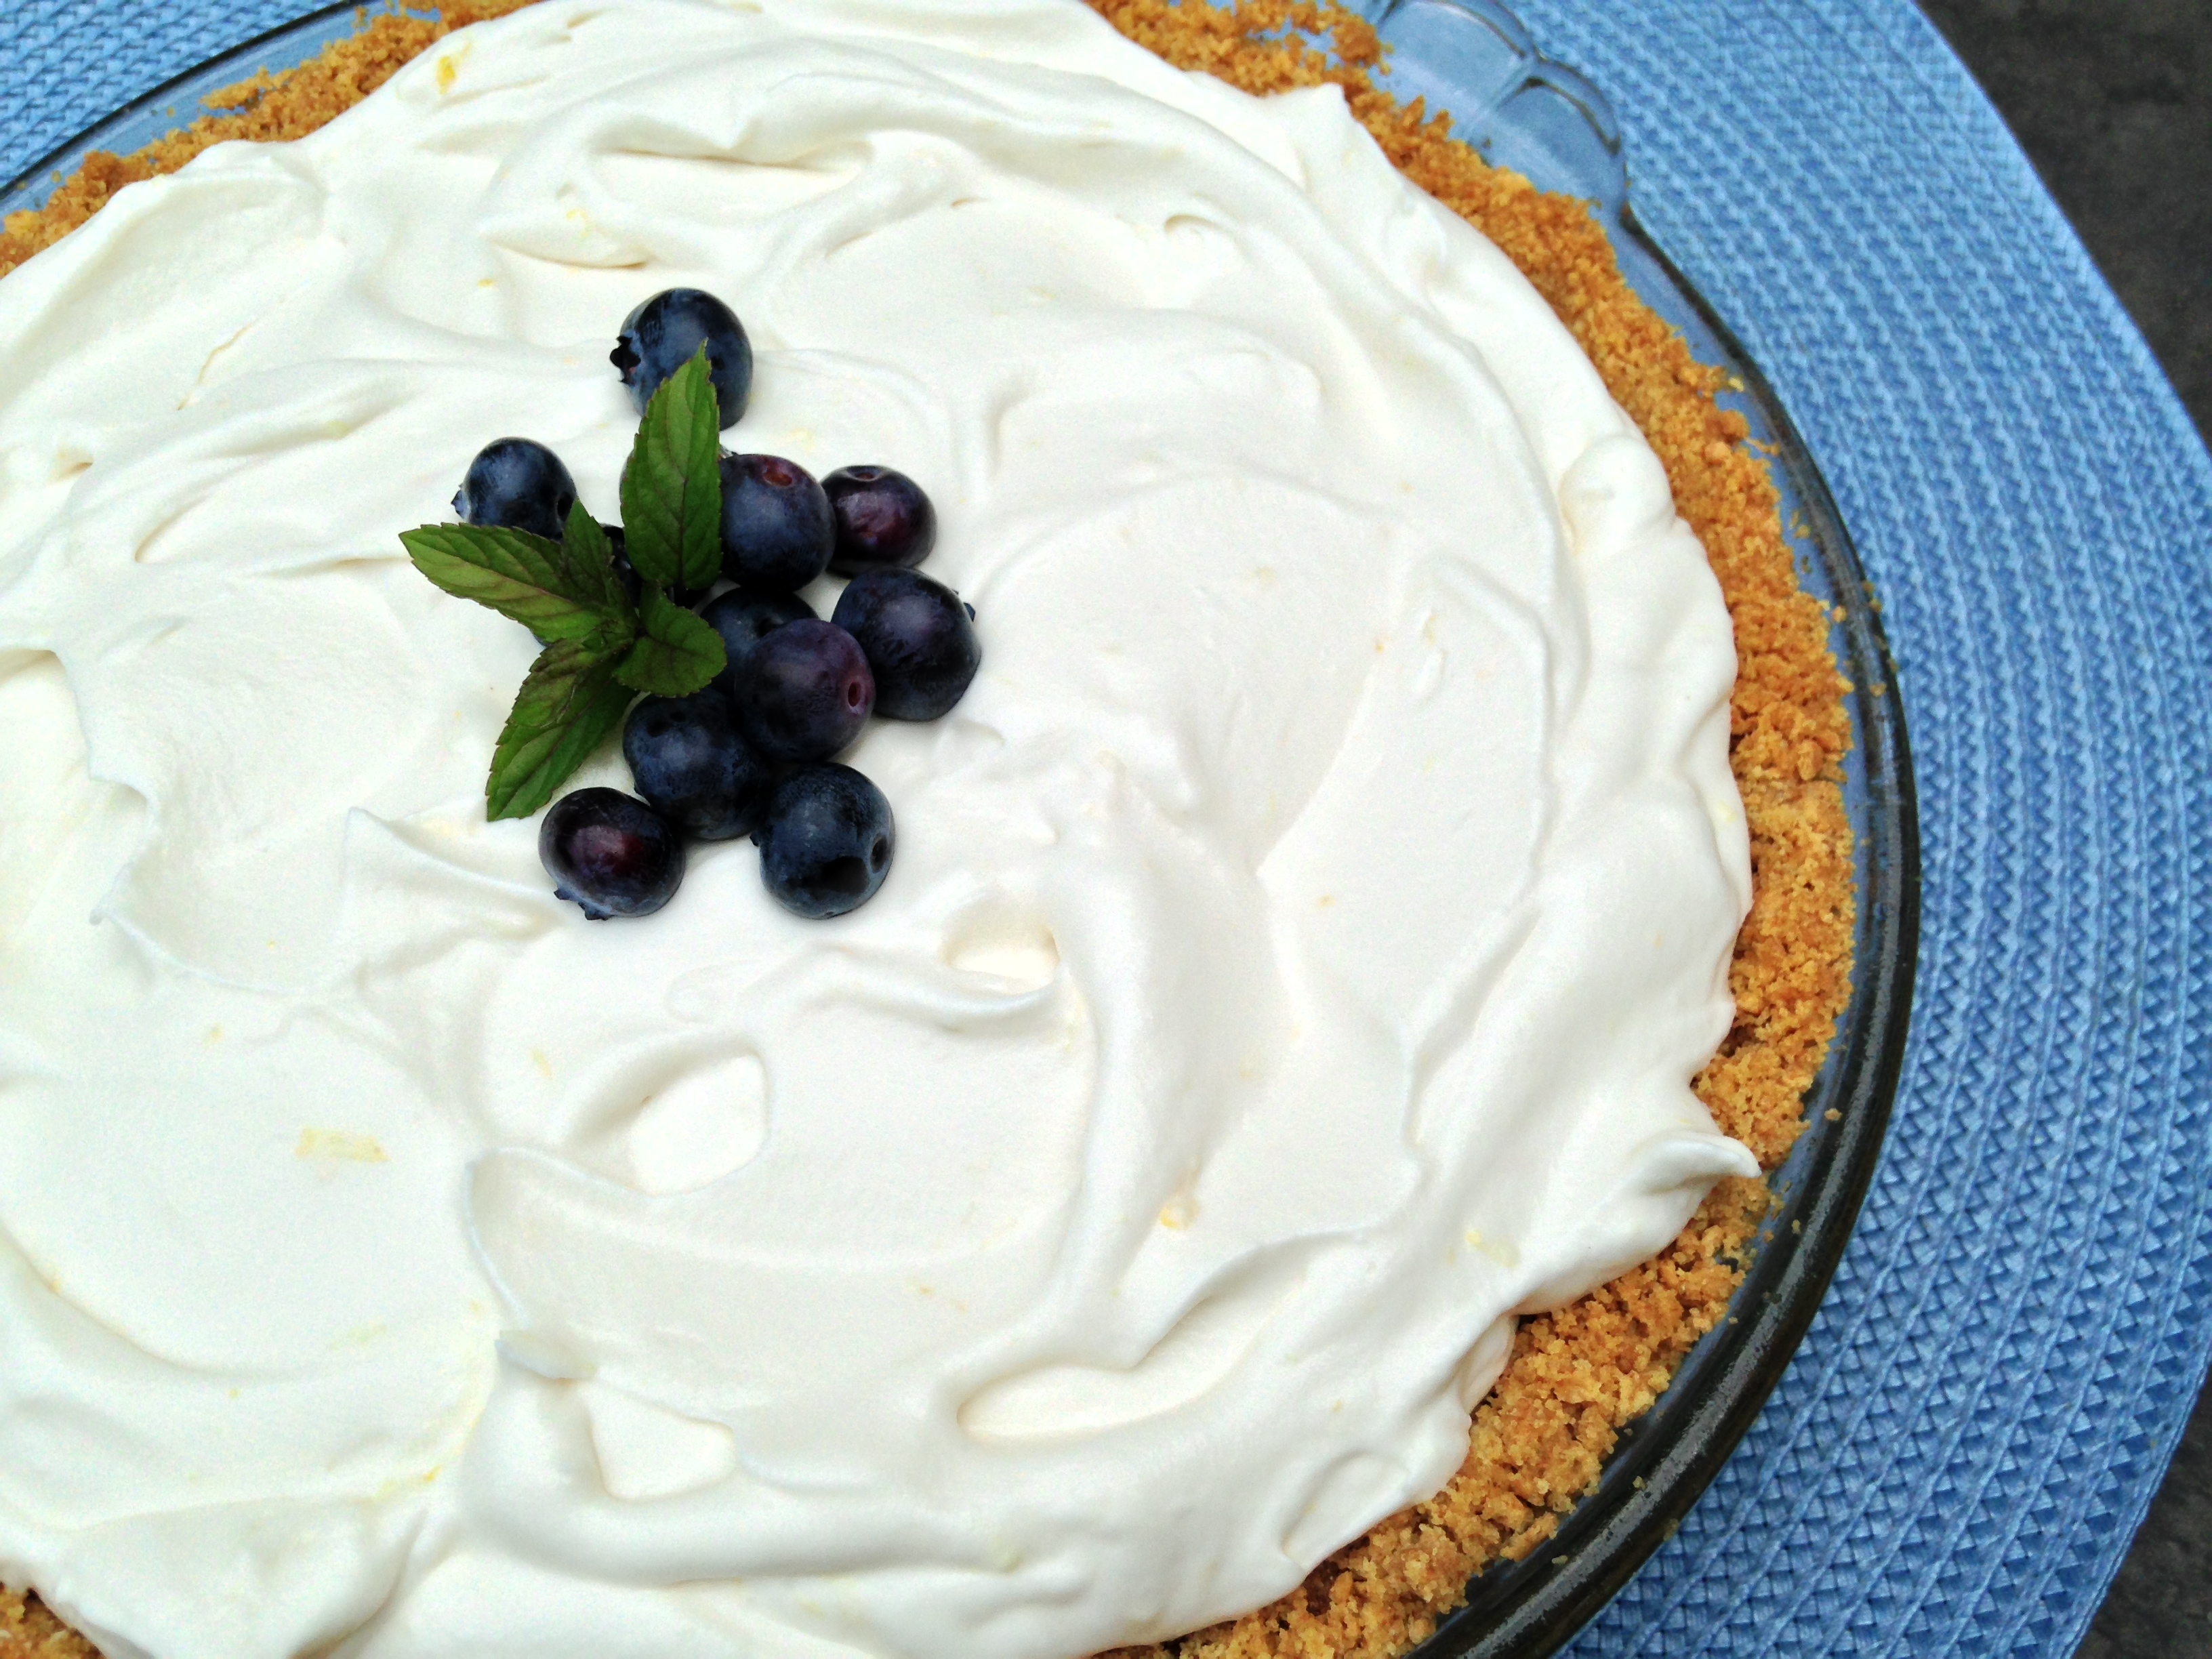
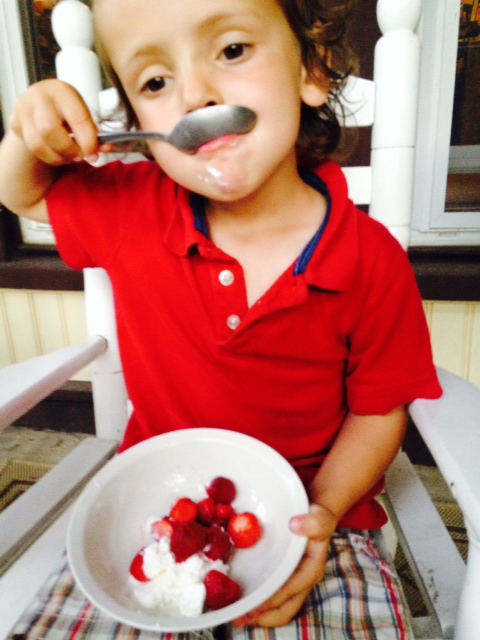
I have to say that this is the easiest pie I’ve made. And Mama let me have a small piece for breakfast today…just before we had our blueberry pancakes. I love blueberry season!
Love, Jude
No-Bake Blueberries & Cream Pie
1 1/4 cup graham cracker crumbs (about 7 1/2 full-size crackers; may also buy pre-crushed)
1/3 cup melted butter (we used salted)
2 tablespoons brown sugar
1 cup heavy whipping cream
1.5-2 tablespoons + 1/2 cup powdered sugar, divided
2 splashes vanilla
8 oz cream cheese, softened
Zest of 1 organic lemon
About 2 cups organic blueberries
Mix together the crumbs, butter, and brown sugar until uniformly moist. Firmly press into a 9″ pie plate. Chill for 1 hour or bake at 325°F for 10 minutes; cool before proceeding.
Use a hand mixer to beat the heavy cream, 1.5-2 tbsp powdered sugar, and a splash of vanilla until stiff peaks. Taste and adjust flavorings, if desired. In a separate bowl, beat the cream cheese, 1/2 cup powdered sugar, and a healthy splash of vanilla until smooth. Stir in the lemon zest, then fold the whipped cream into the cream cheese.
Scatter the blueberries over the bottom of the chilled or baked-and-cooled crust. Carefully spoon the cream mixture over top. Garnish with berries, lemon curls, mint, etc. Keep refrigerated until ready to serve.