
Because Papa just came home from two weeks abroad, Mama decided to treat him to one of his favorite pies—the sour cherry. And because she recently picked blueberries, she figured she’d toss a few of those in there as well. Behold: the “bluecherry” pie.
Pie recipes abound, particularly in the summer months, and they all seem to have their own recipe for what goes on the bottom. Whether you call it pâte brisée, pâte sucrée, pie crust, or pastry dough, Mama suggests finding a pie dough recipe that works for you and sticking with it. That way, you’ll always have it in your back pocket if you’re in the mood to make a pie. (I don’t know why you’d keep a recipe in your back pocket all the time; I’m just telling you what she said.)
A basic recipe is 3 parts flour, 2 parts fat, and 1 part cold water by weight. There’s no magic in the fat you use (butter, cream cheese, coconut oil, lard); it’s really just a personal preference. Mama likes the idea of an all-butter crust for its flavor and flakiness (and its naturalness, of course), but a 50-50 butter-shortening crust is a little easier to work with. Whatever you choose, keep your fat cold. Cube it then put it back in the refrigerator while you assemble the rest of your ingredients. Same with your water. You want that to be cold-cold-cold. Mama says this is because you don’t want your fat to melt before it goes into the oven. If it melts beforehand, it won’t have a chance to release steam as it melts—and the steam is what causes those heavenly layers of flakiness in any good crust. Do you think your croissant would be so light and airy if the baker used warm butter? Think again!
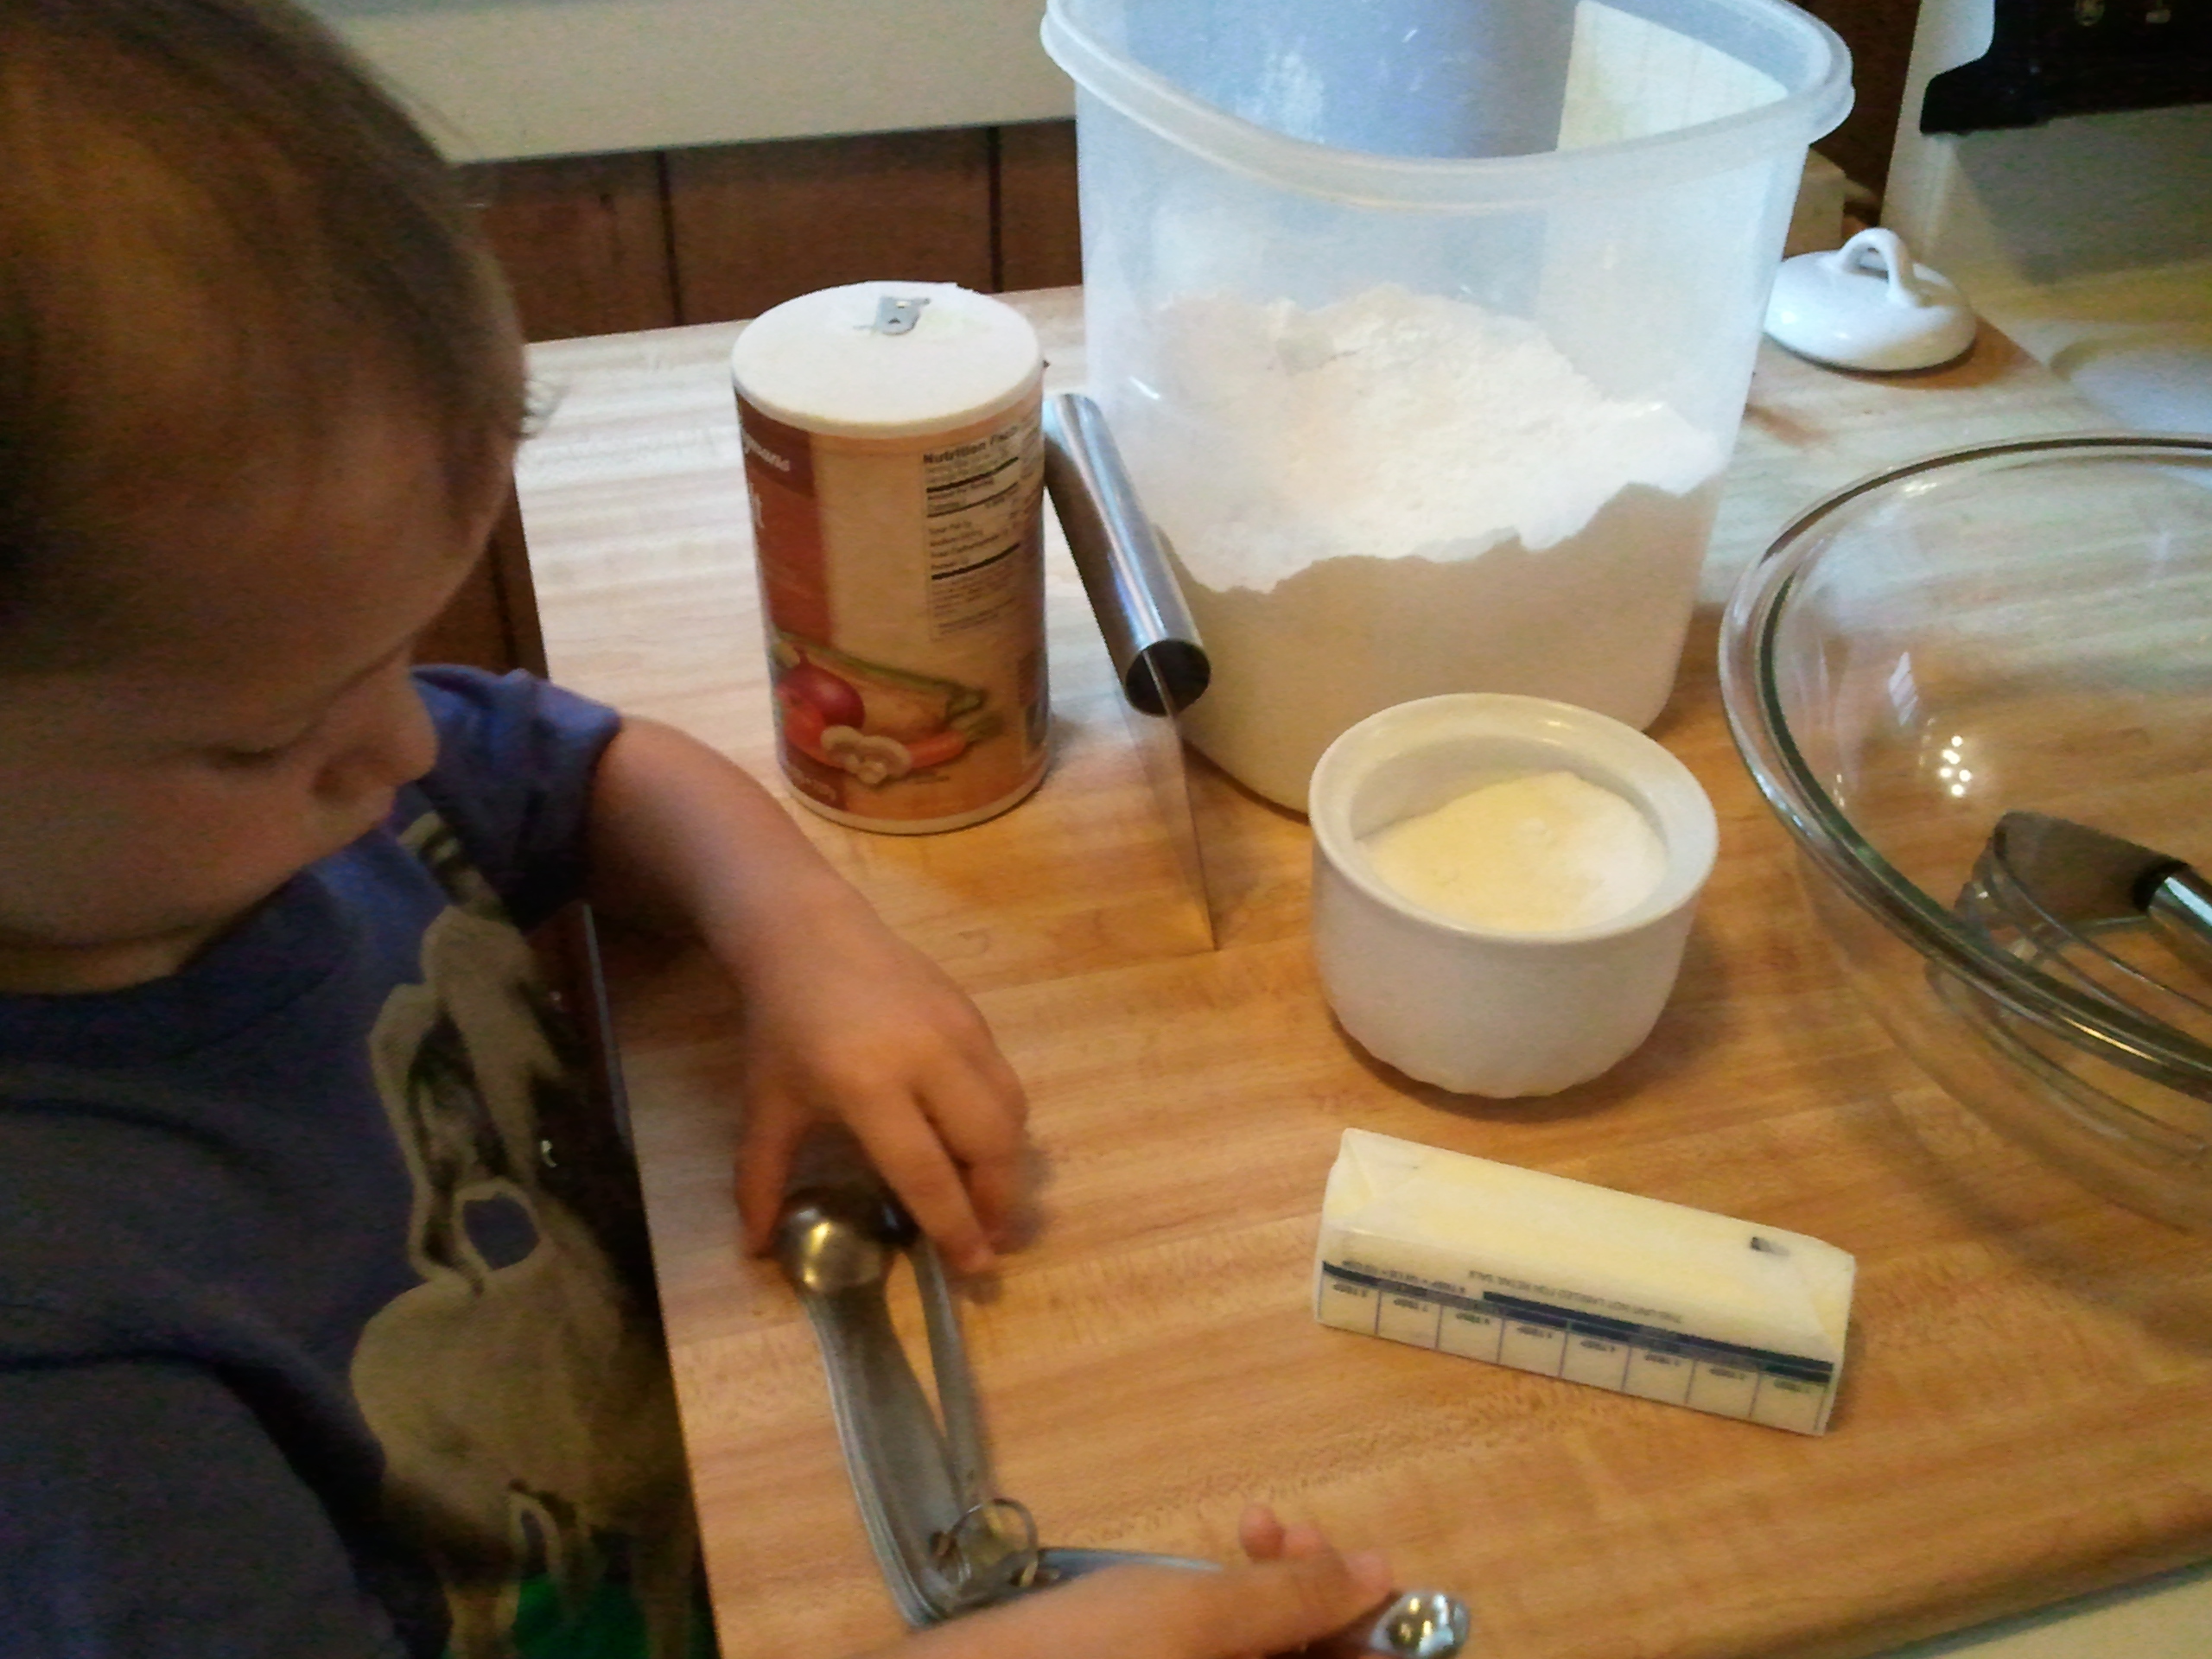
Before making your dough, gather your flour, sugar, salt, and butter–but get that butter back into the fridge as soon as you dice it.
You can make your crust by hand or in a food processor, which is easier, but then you have to clean it. Mama tends to make it by hand because she has better control over it. If you use the food processor, only ever pulse it—don’t run it! Combine your dry ingredients first. At its simplest, this would be just flour (or a combination of flours), but you really ought to add a pinch of salt for flavor, as well as a bit of sugar. If you’re making a savory crust, omit the sugar and experiment with some herbs.
Add the fat (butter in this case) and cut it into the flour. You can use forks, two butter knives, or this handy pastry blender.
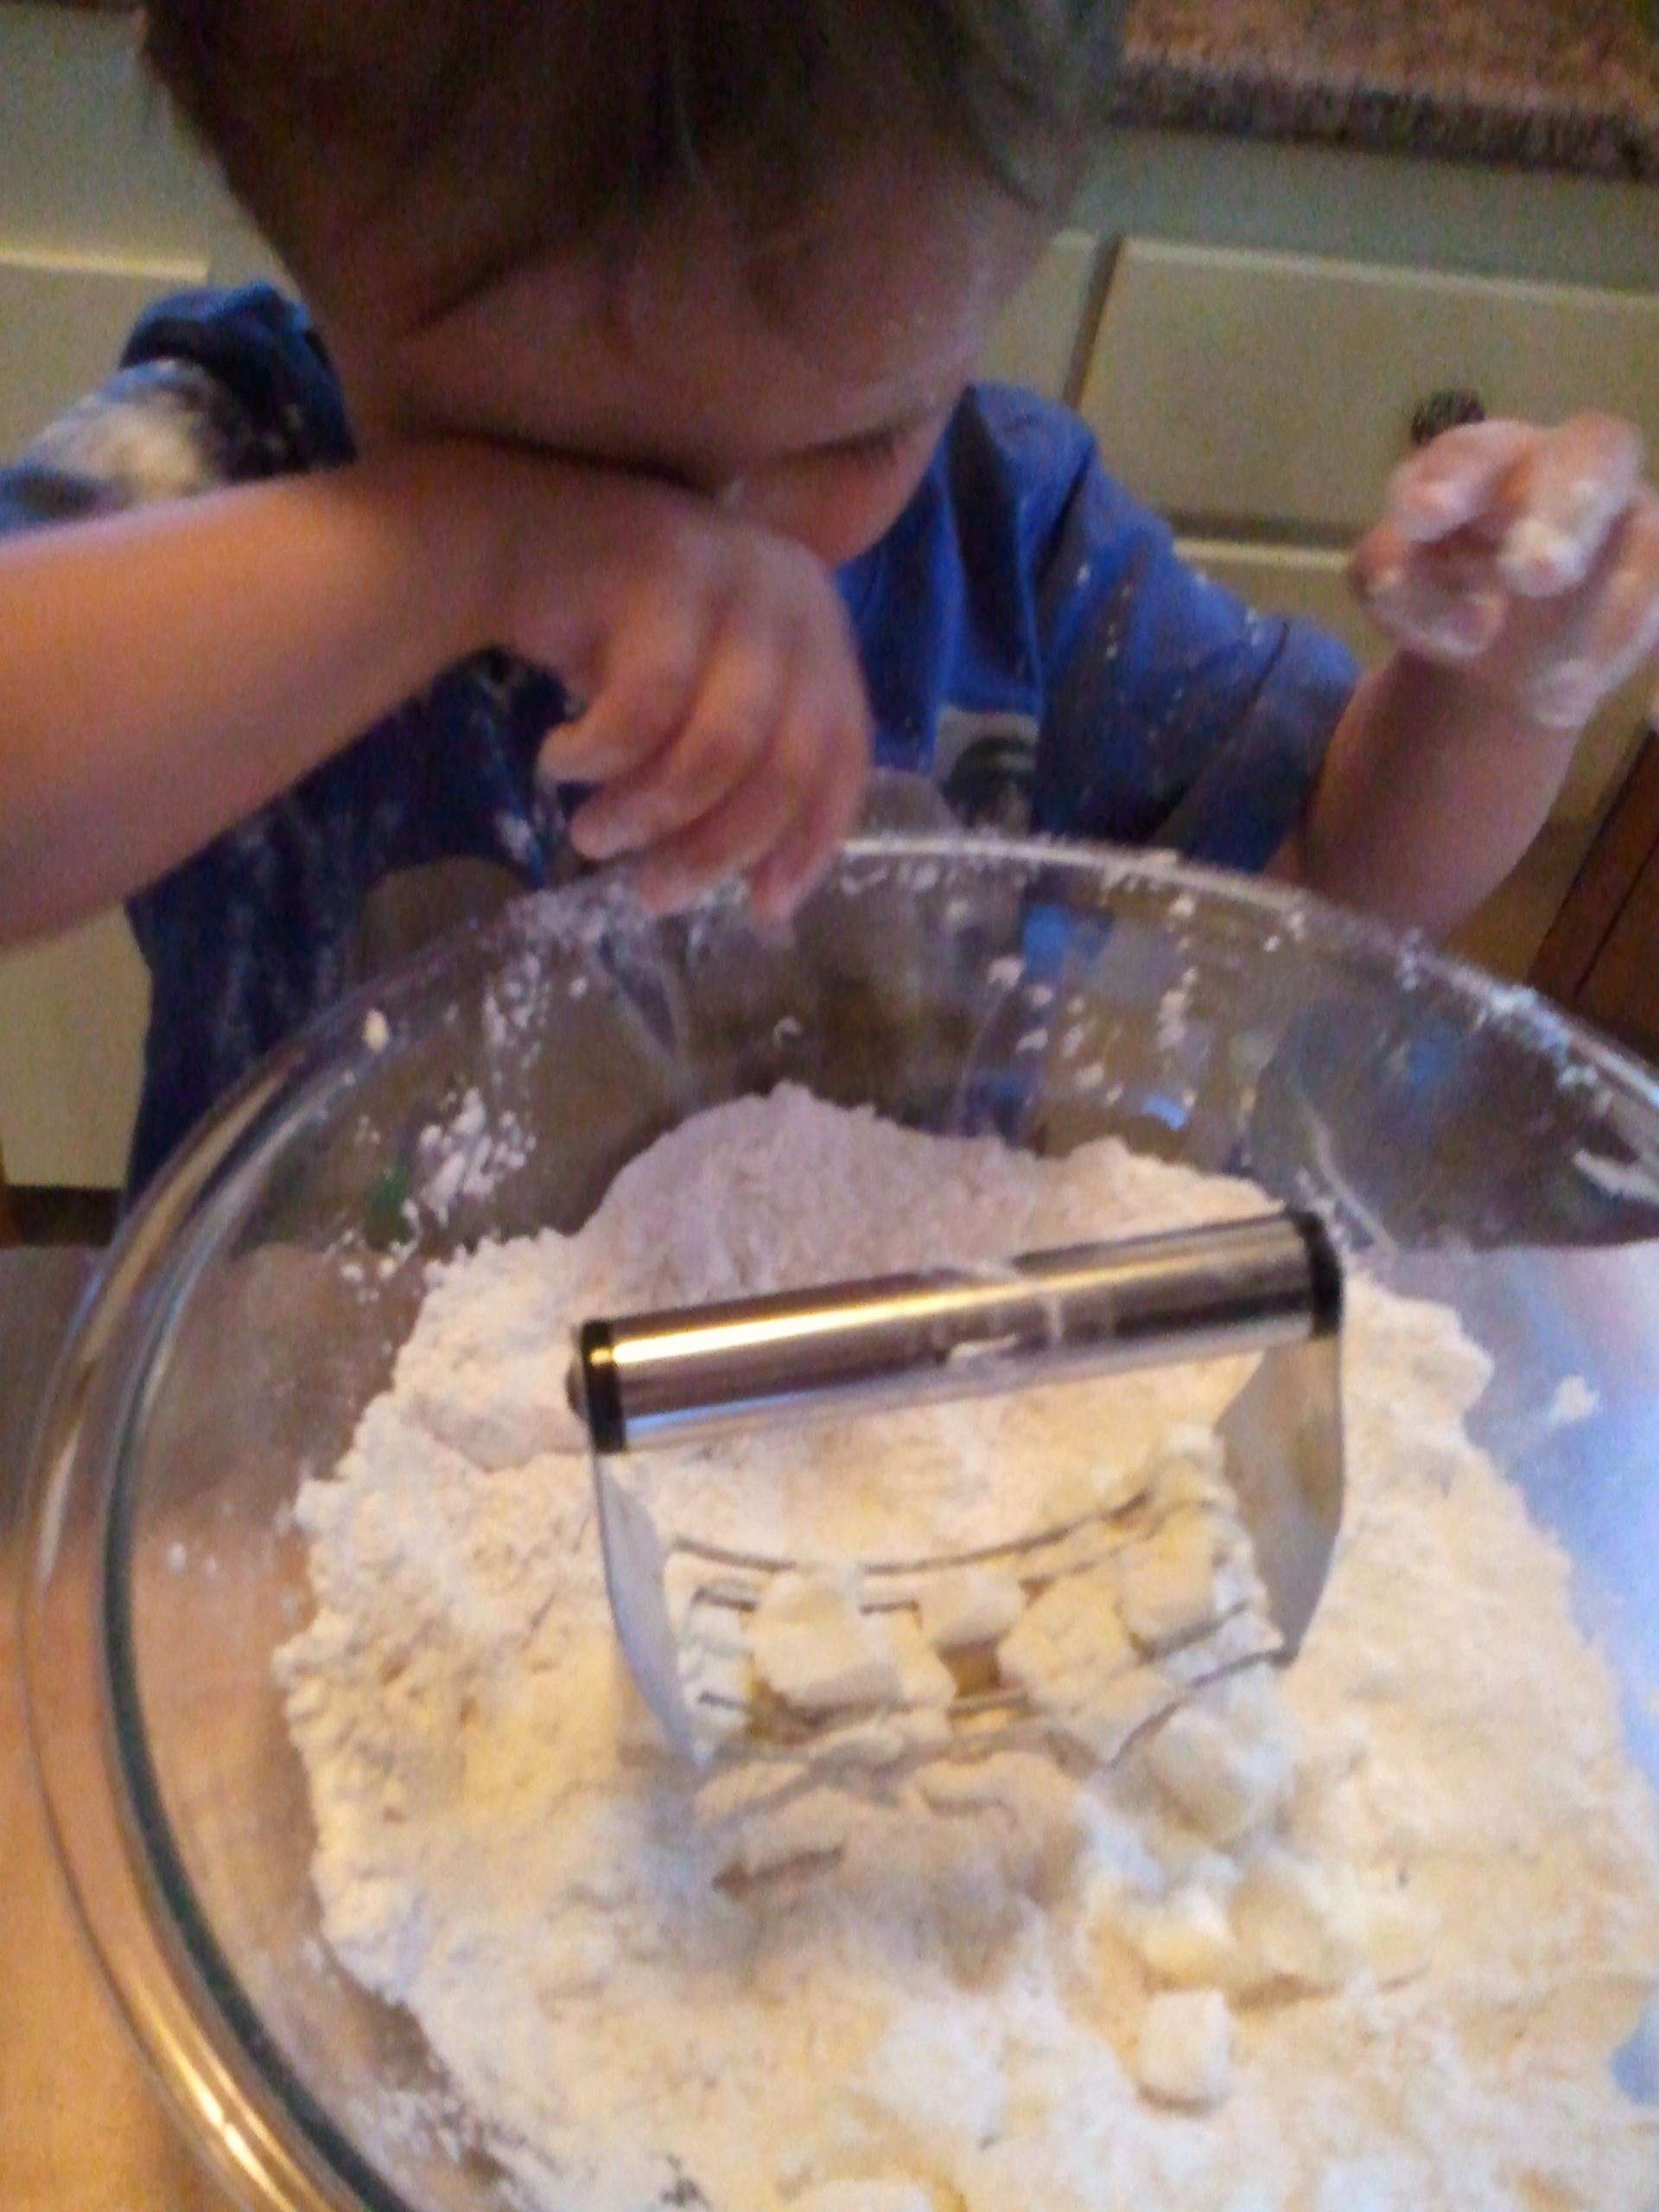
I was overzealous in cutting in the butter, and flour landed in my eye.
You want to break up the butter into smaller pieces while coating those pieces in flour. Some folks say it should resemble peas, but peas are green, and I just don’t see how this looks like peas.
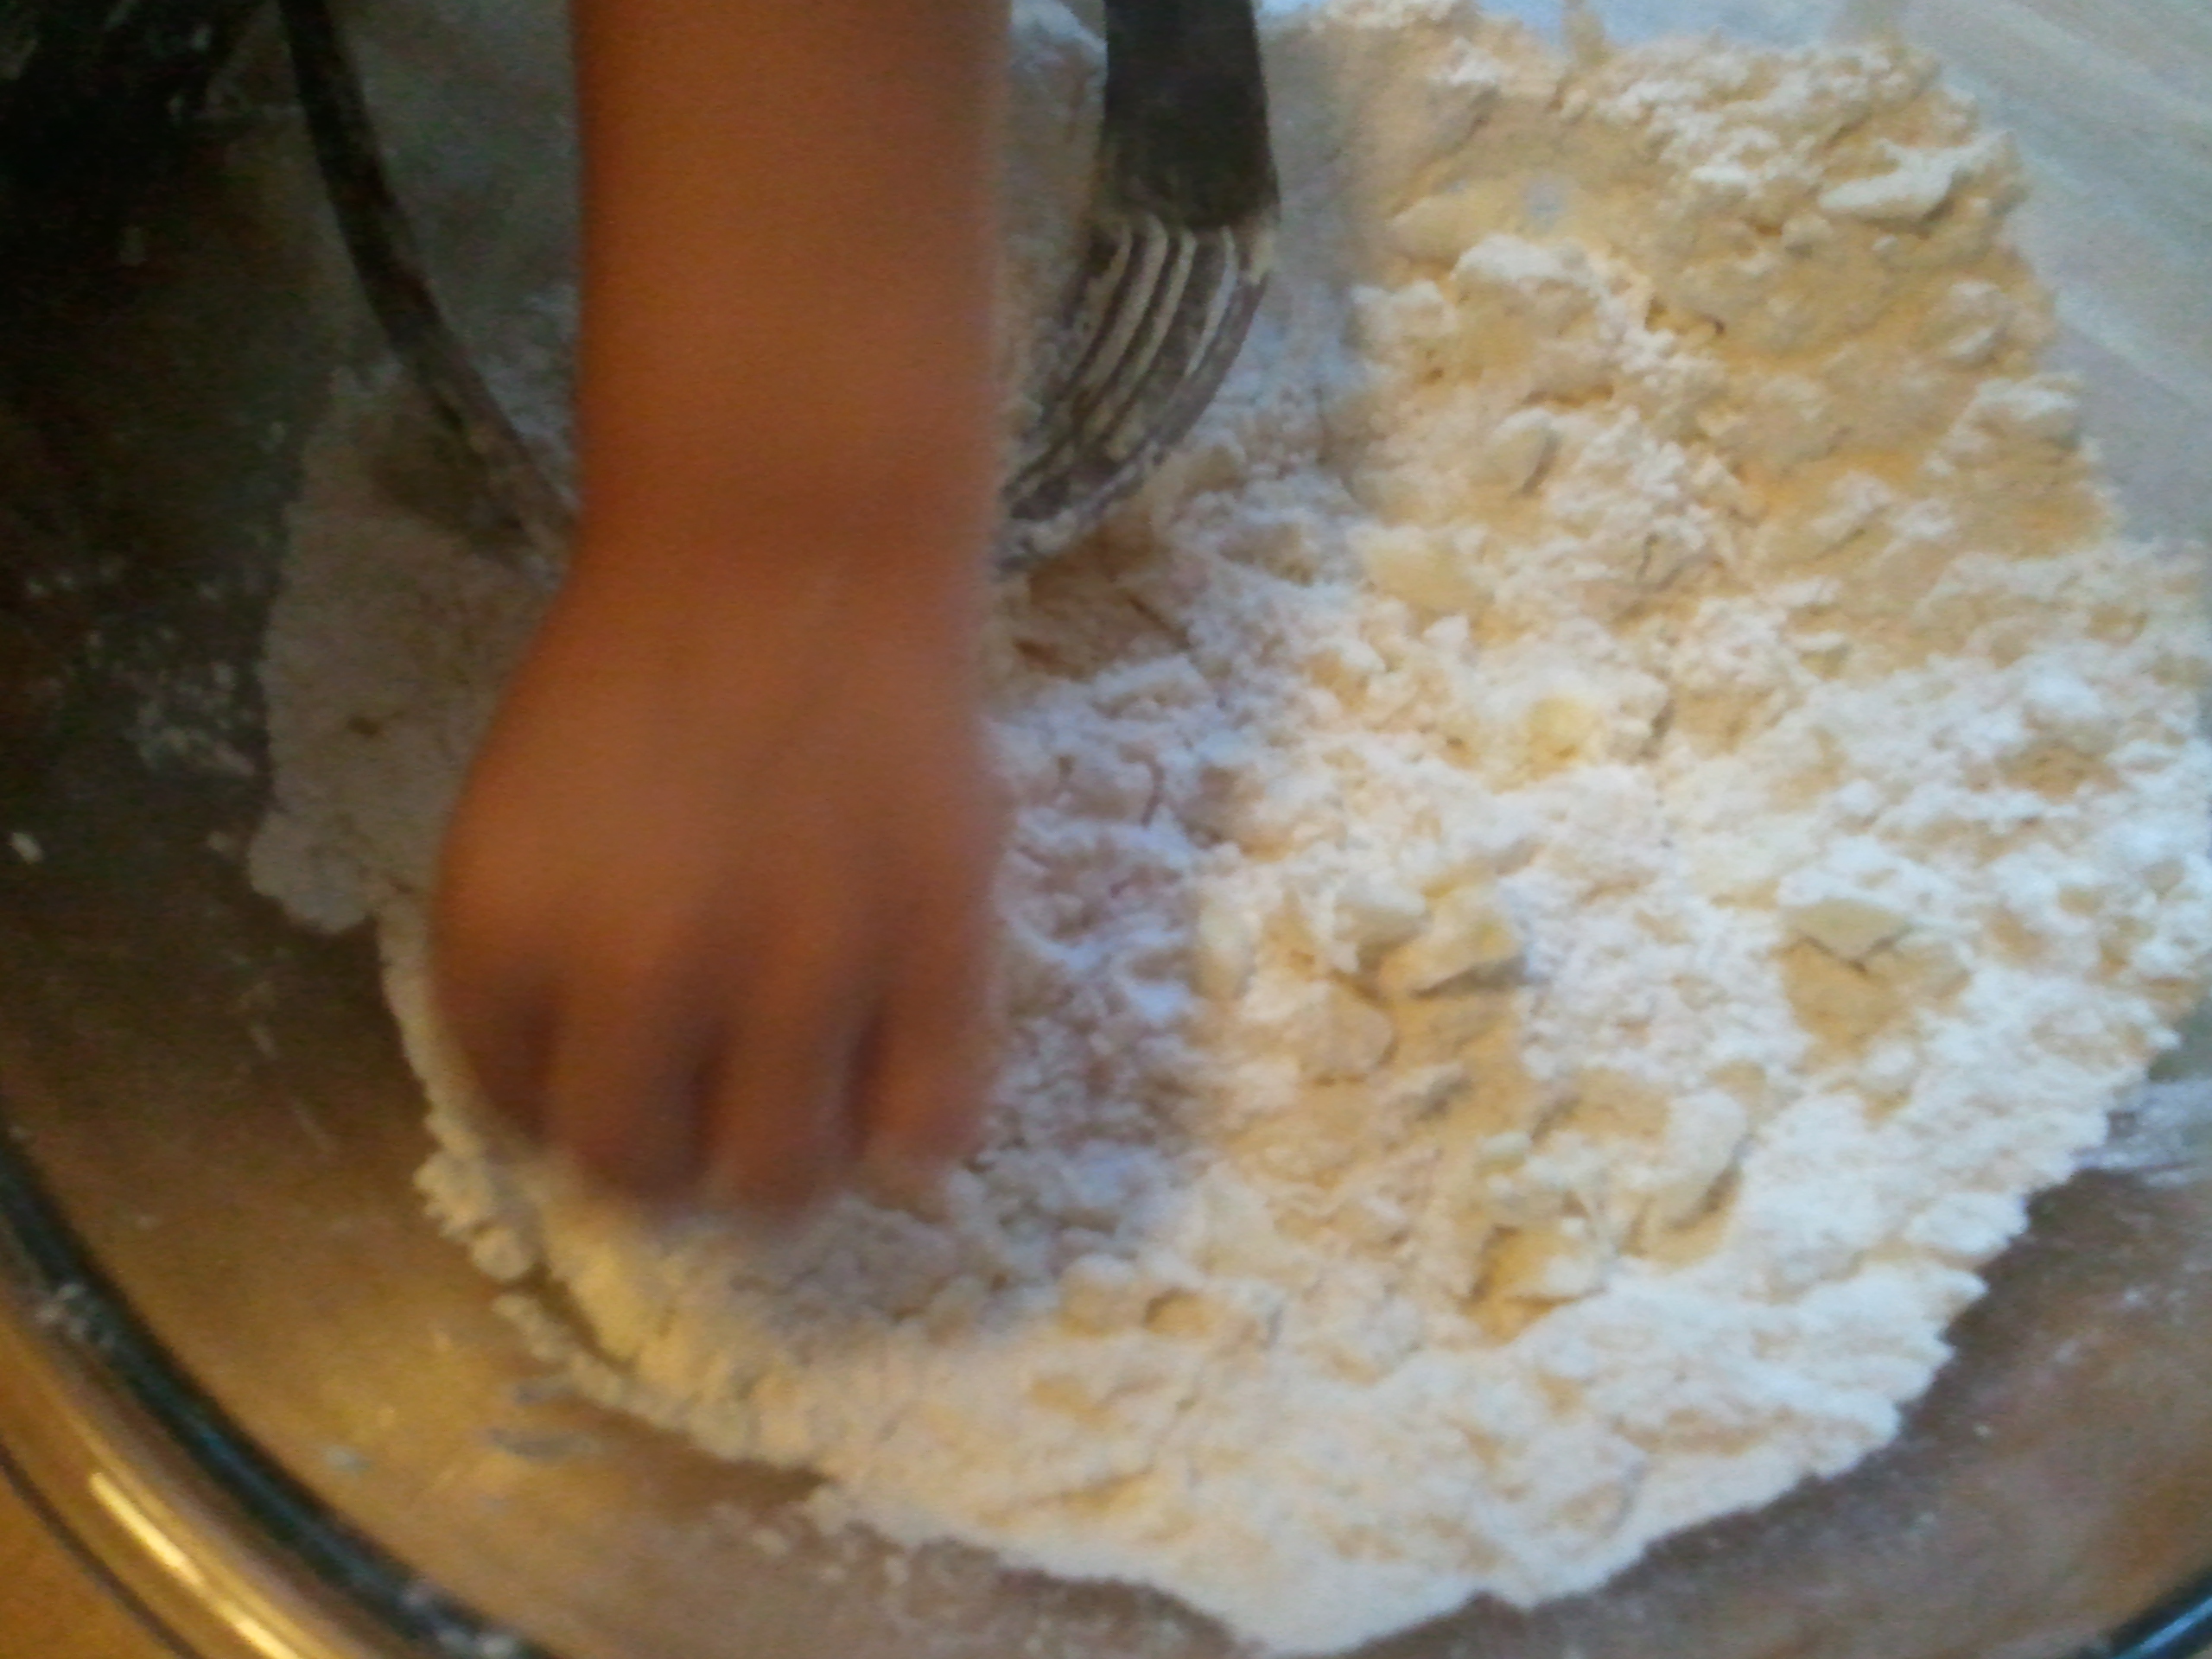
This is what your dough should look like before you add the water. Do YOU see any peas in there?
Now you add your water. Drizzle it over the dough (or run it through the feed tube of the food processor while pulsing), then stir with a fork. You can start with about ¼ cup water, then add about 1 tablespoon at a time to get it to the consistency you want. Mama says there’s never a precise measure for this, as a lot of factors are variable: if your kitchen is warm, if your butter is starting to melt, if your water isn’t supercold (I did tell you to put it in the fridge), if you’re using a combination of flours other than all-purpose, etc. What you don’t want is to make a smooth ball of dough. If you end up with this (easy to do in a food processor), you’ve overworked the dough, and it’s going to be tough, rather than flaky. Test it by clumping a bit of the mixture in your hand—if it holds together, it’s wet enough.
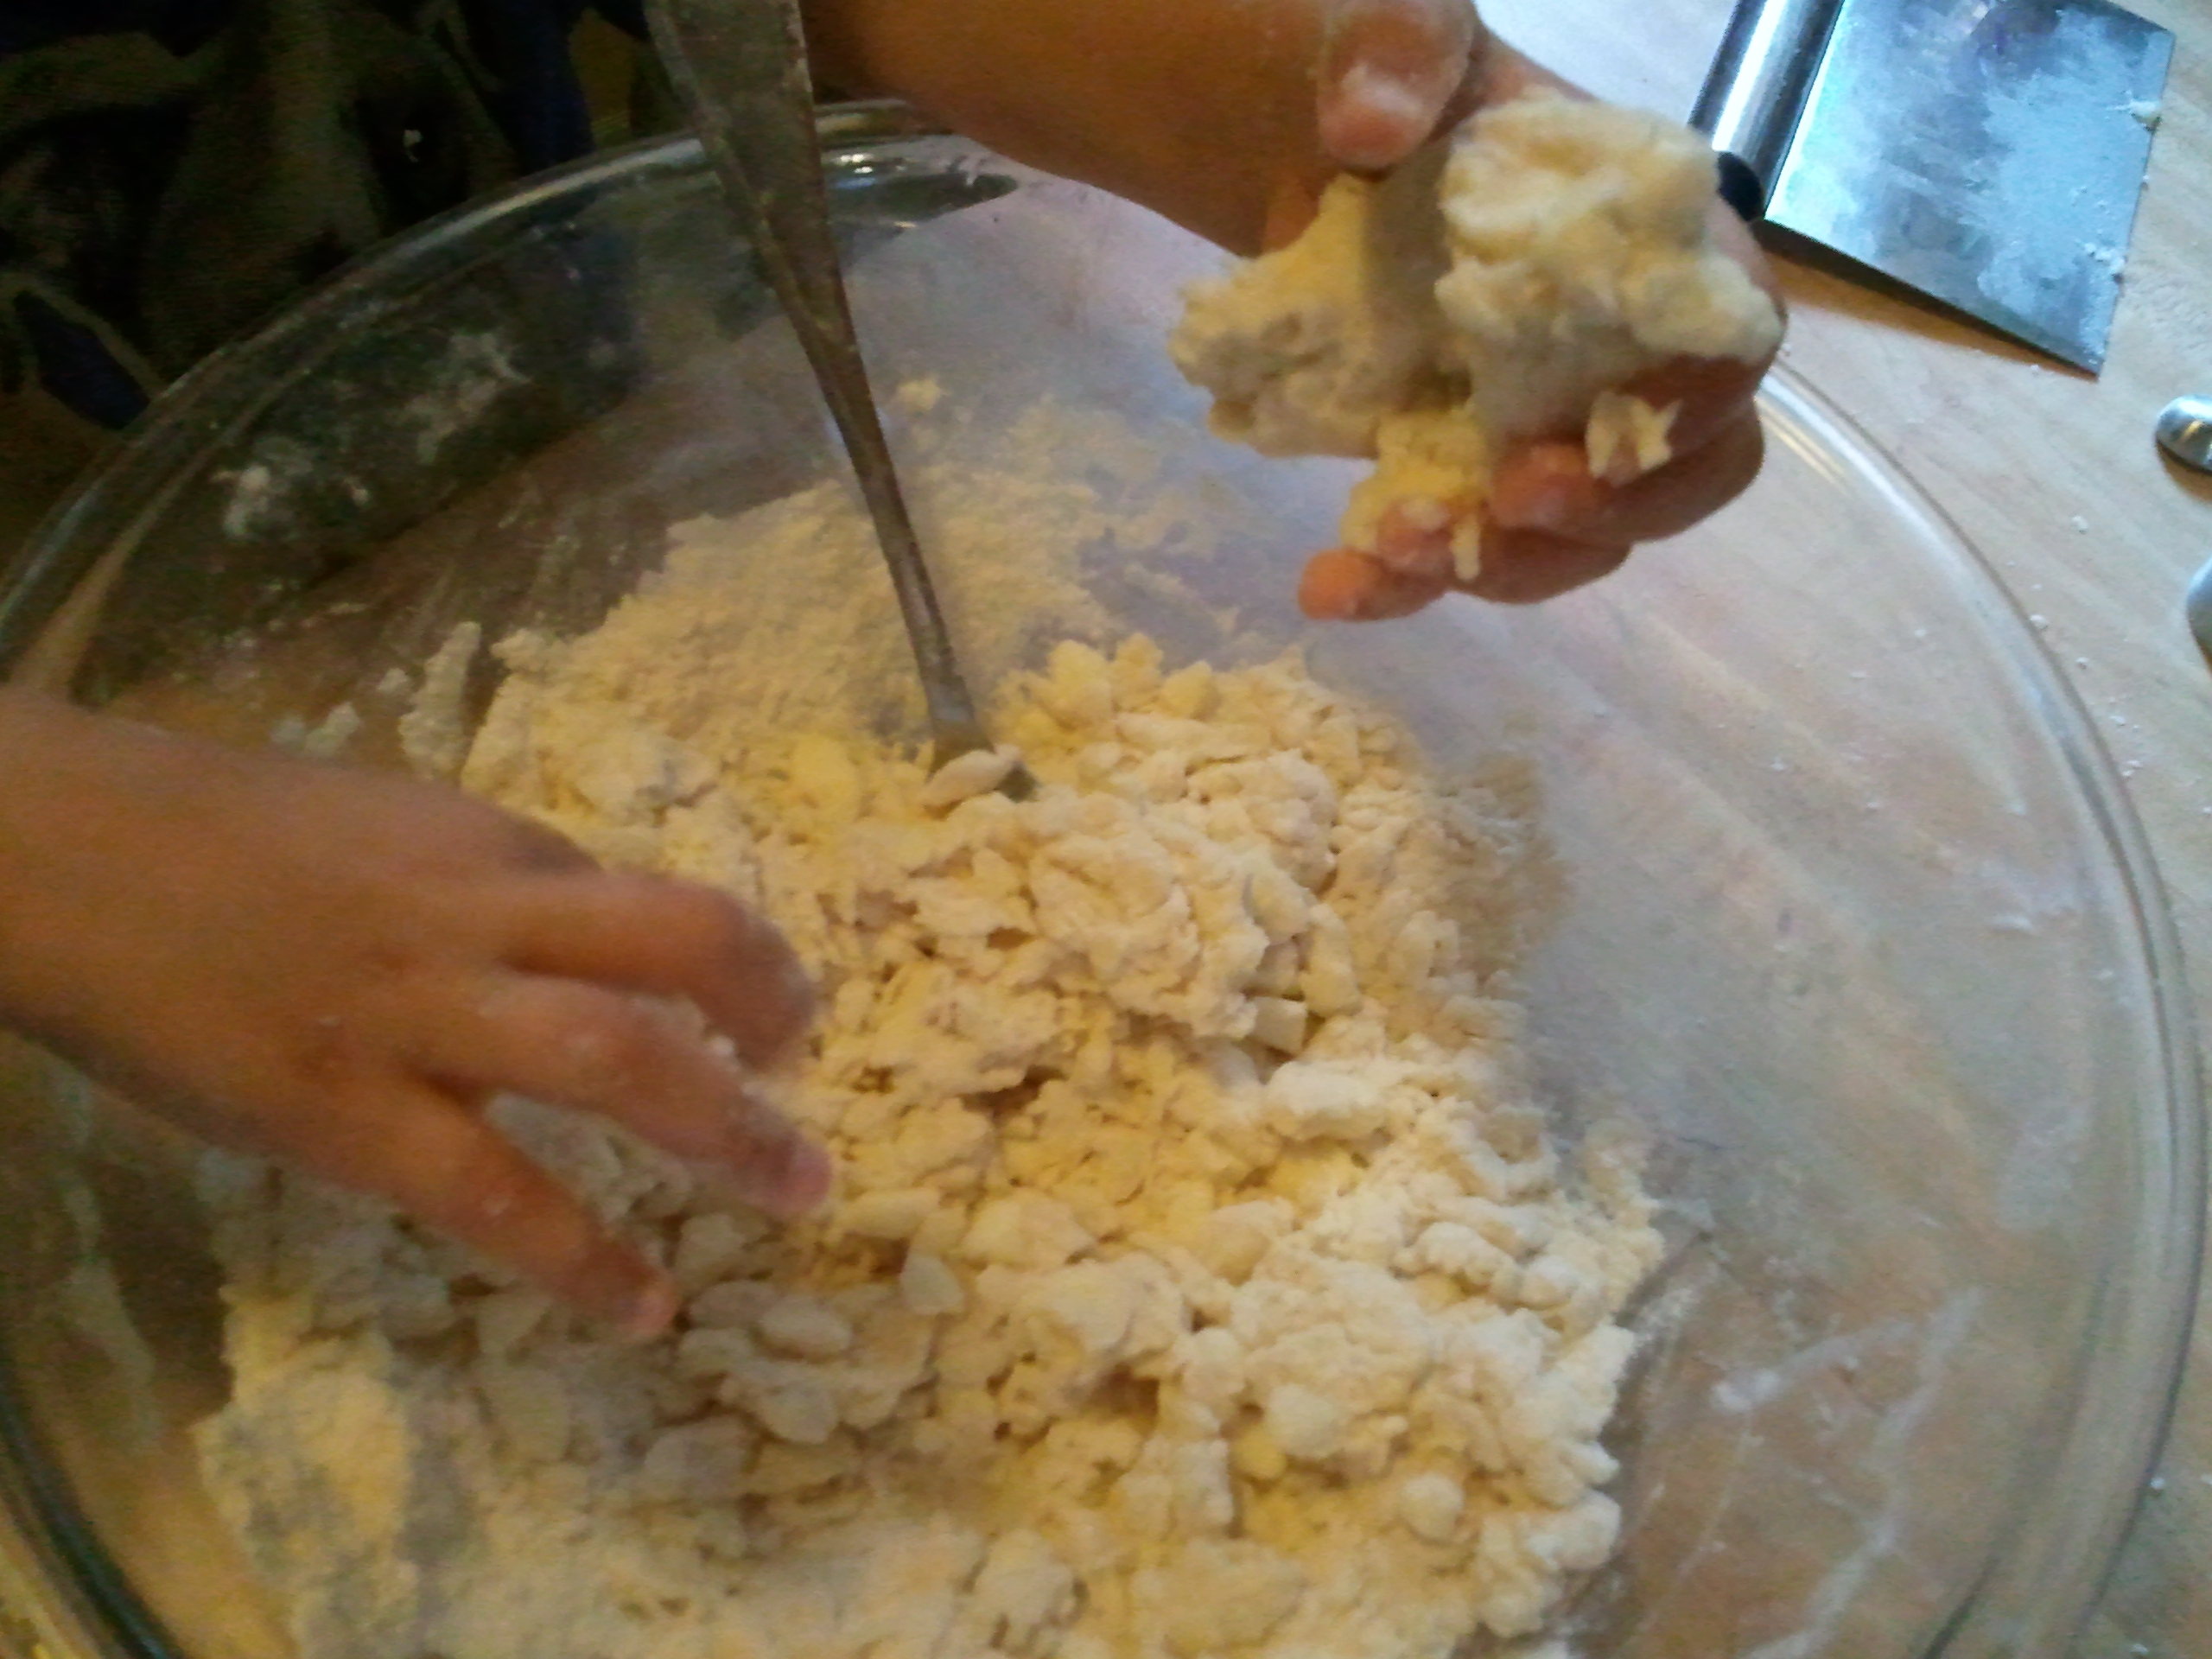
See how the dough in the bowl doesn’t look like dough at all? But look what’s squished in my hand. Perfection.
Turn it out onto a counter then gather it all together. Again, don’t overwork it. If it’s sort of shaggy at this stage, that’s alright. Don’t manhandle your dough, and you’ll get a tender crust in return. Form it into a disk (or 2, if you’re making a pie with a top crust—but make one disk slightly larger than the other), wrap it well in plastic wrap, then refrigerate for a minimum of 30–60 minutes. This gives the gluten time to relax. Gluten is the protein in flour that holds the crust together and gives bread dough its structure. But like a toddler without a nap, it’s a little temperamental and needs some time to chill out.
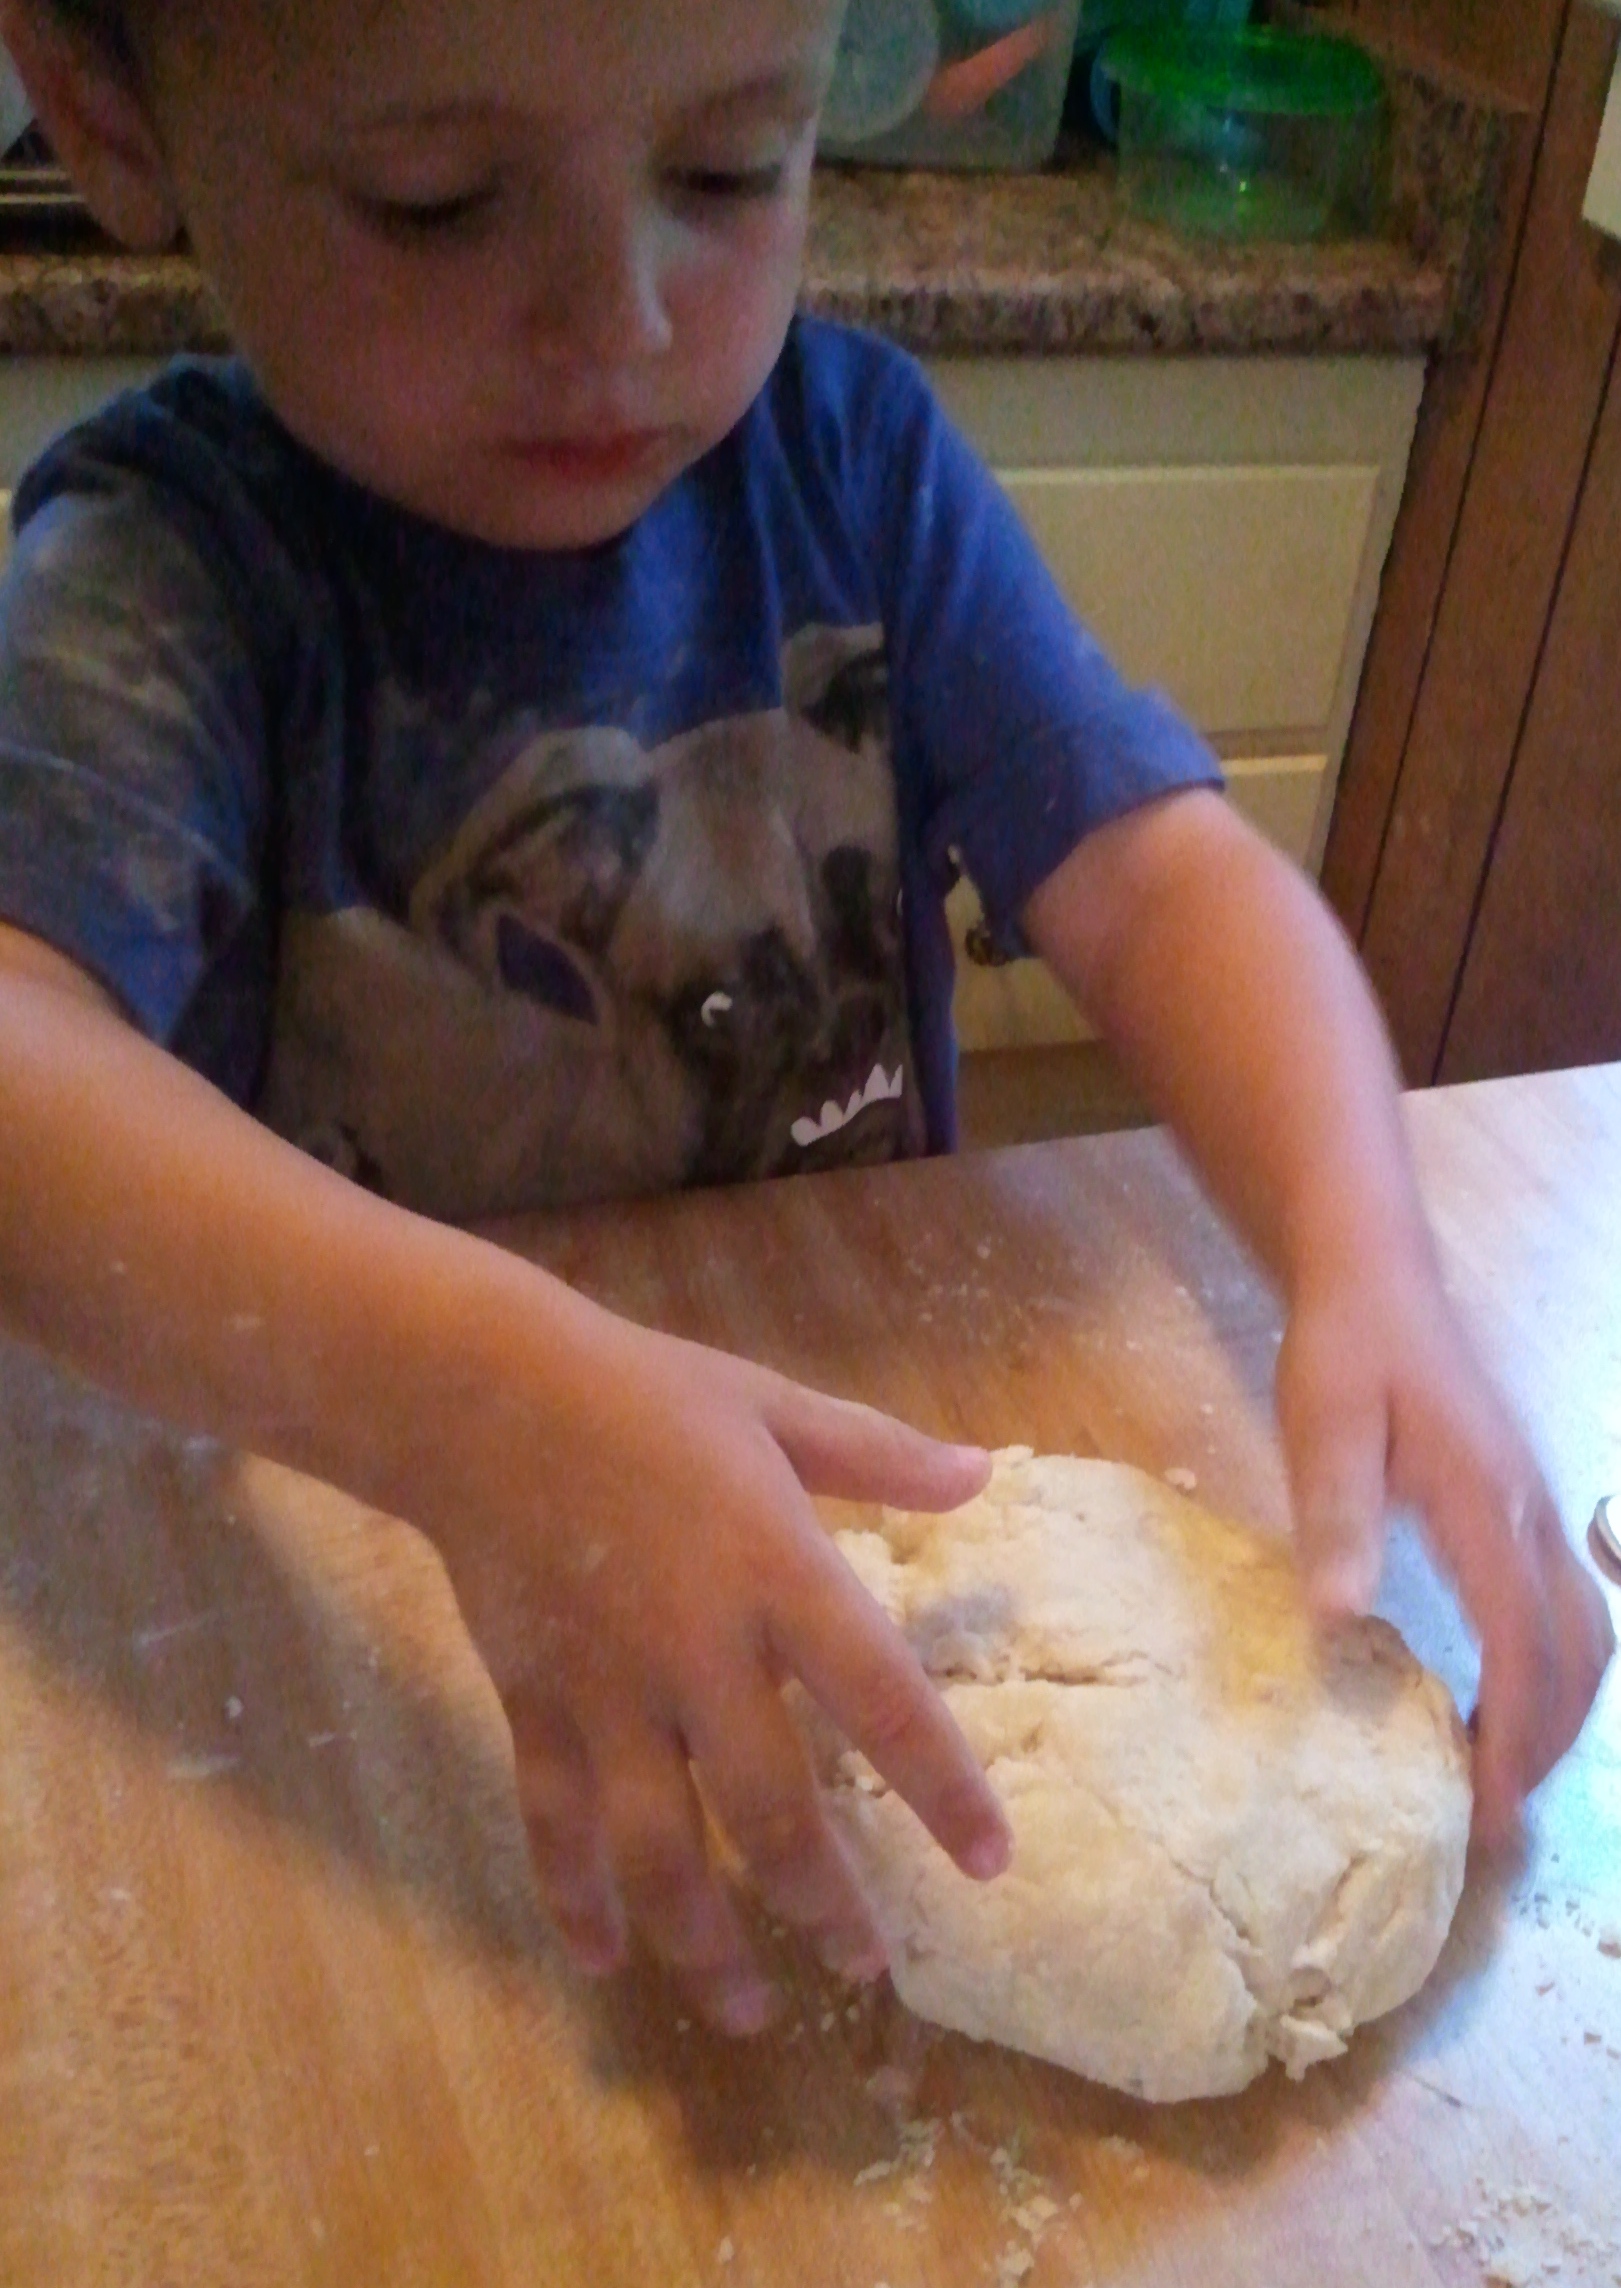
You don’t need a perfectly smooth ball of dough right now. Remember that you’re going to take a rolling pin to it after it chills. (Do you like my shirt? Grrr.)
When you’re ready to assemble your pie, lightly flour your work surface and your rolling pin. Roll the dough in all directions (rotate the dough, not your body), taking care not to roll your rolling pin off the edge of the dough—just go to the edge. Keep rotating, so you know the dough’s not sticking to your counter and so that you roll a relatively even shape.
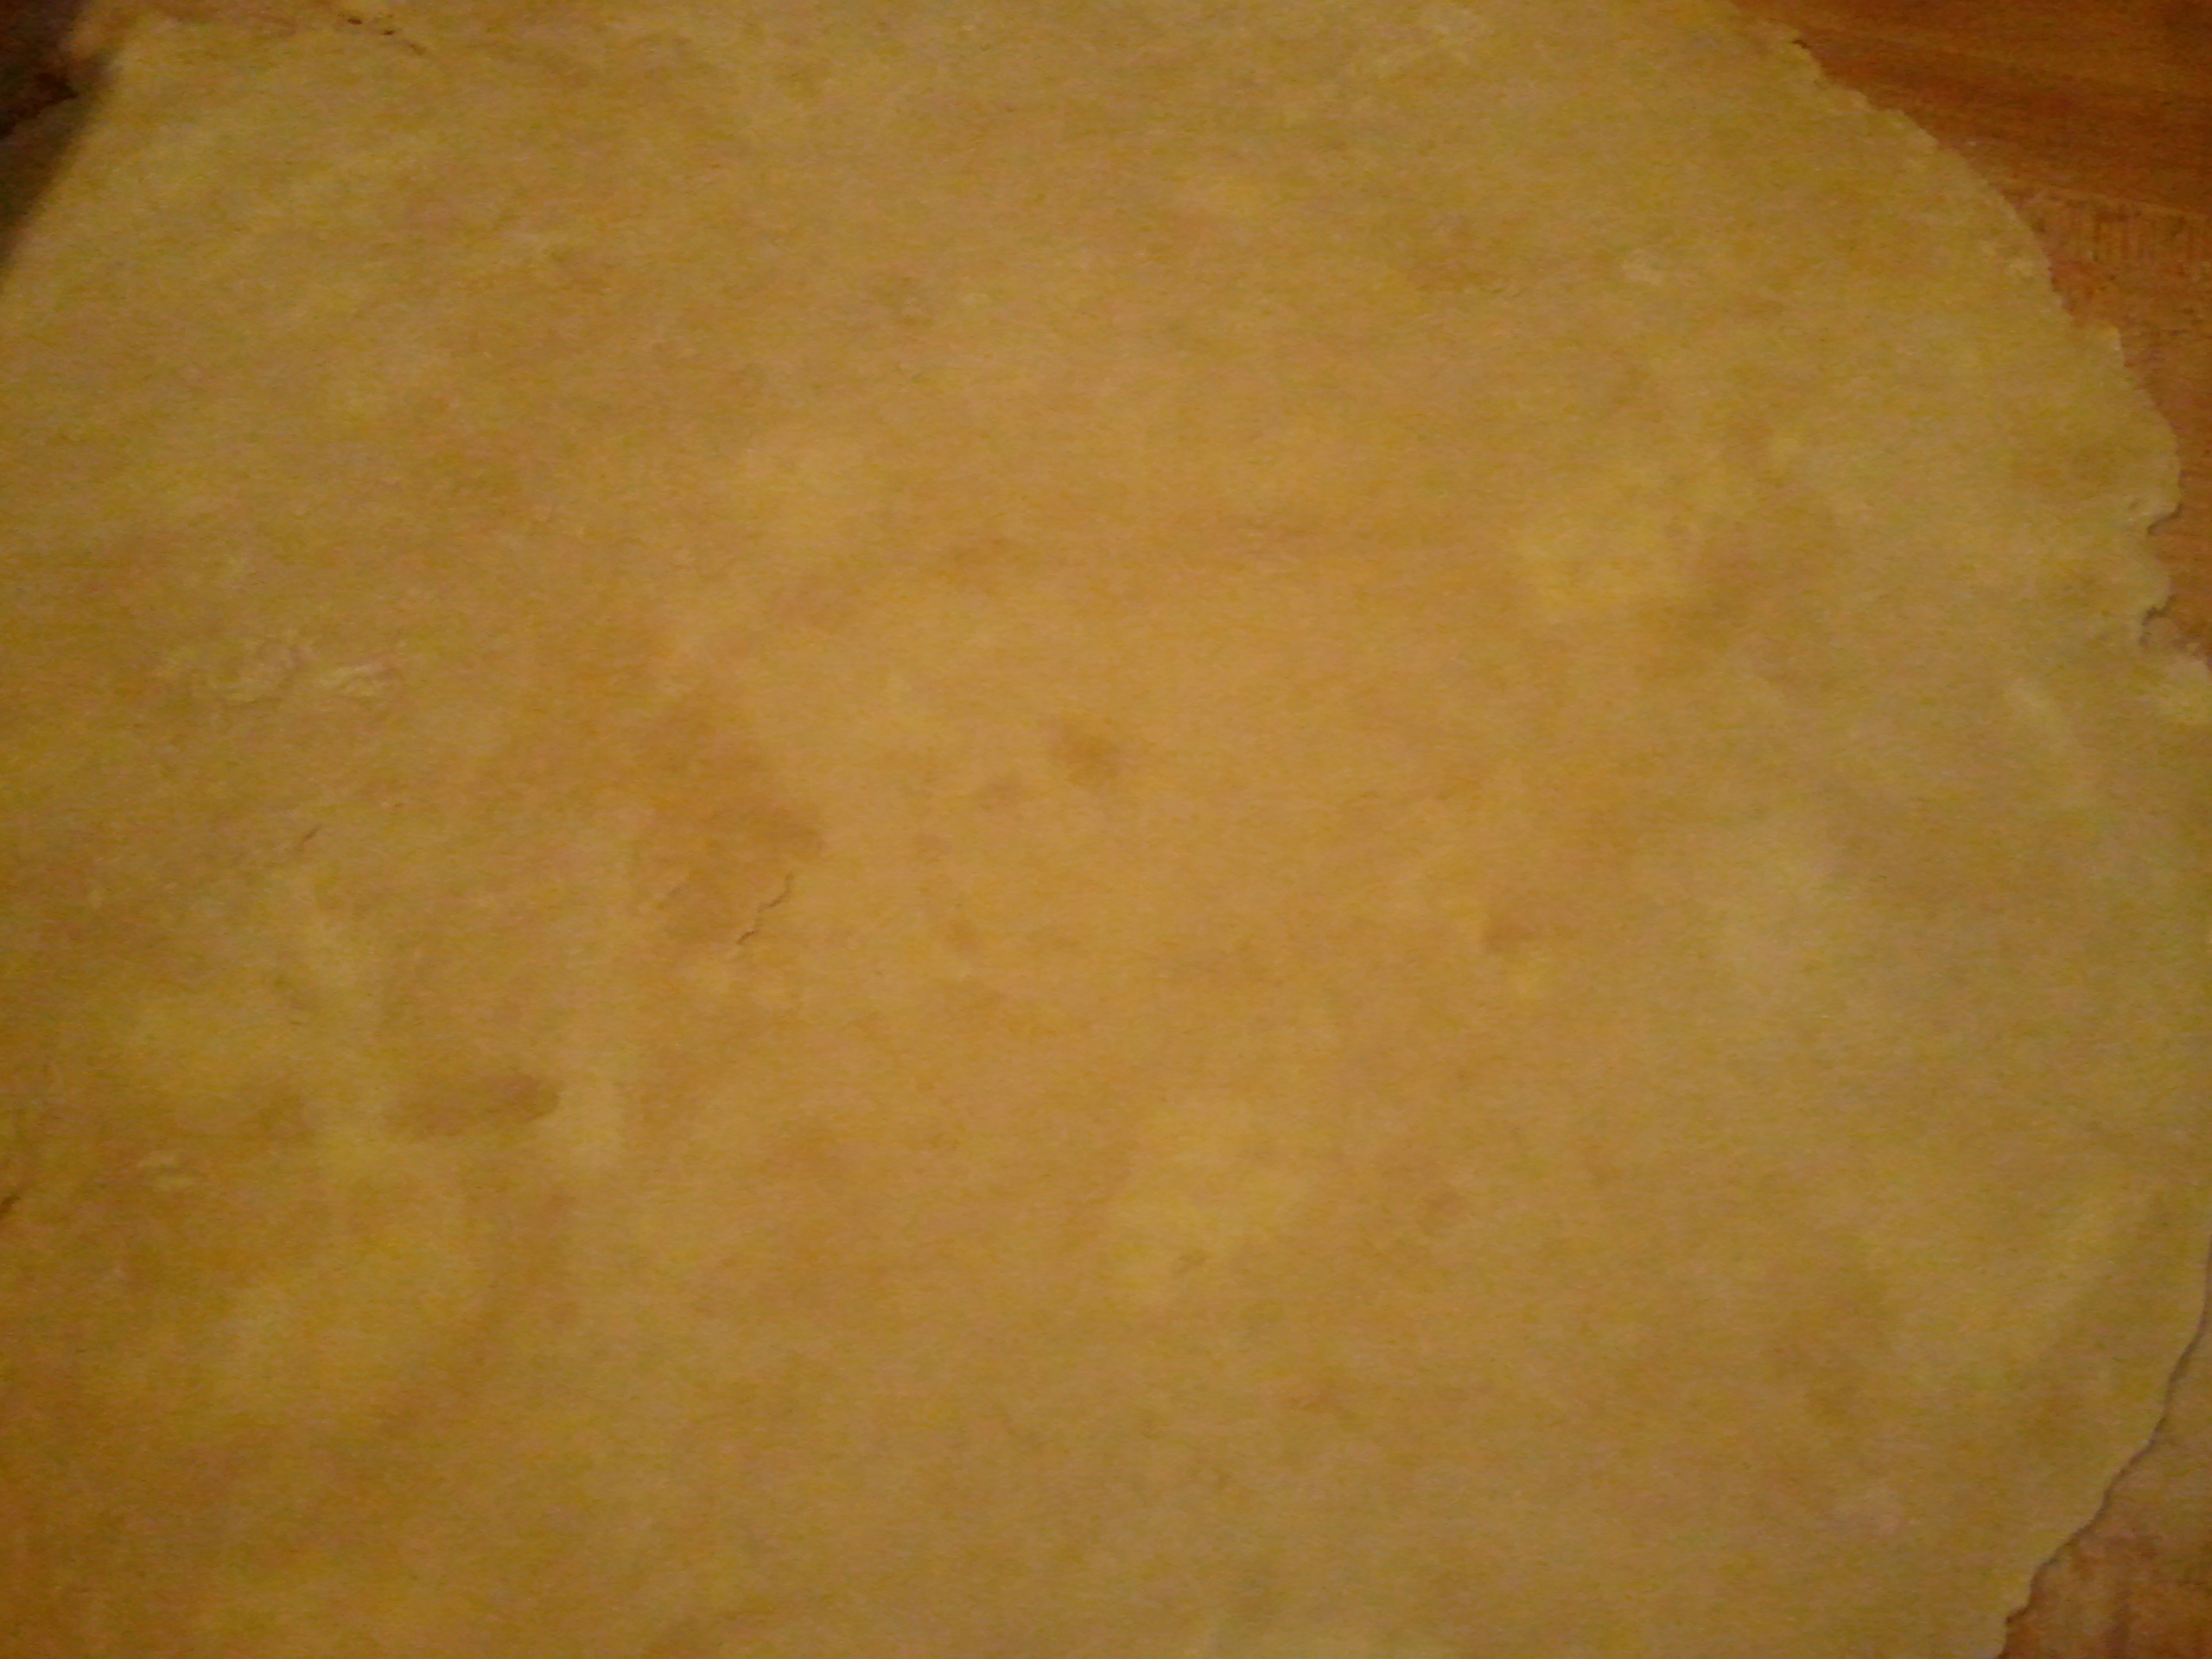
If you look closely, you can see butter smooshed into the dough–they’re the lighter colored splotches. That’s what you want!
Transfer the dough into the pie plate (wrap it over your rolling pin to keep it from stretching).
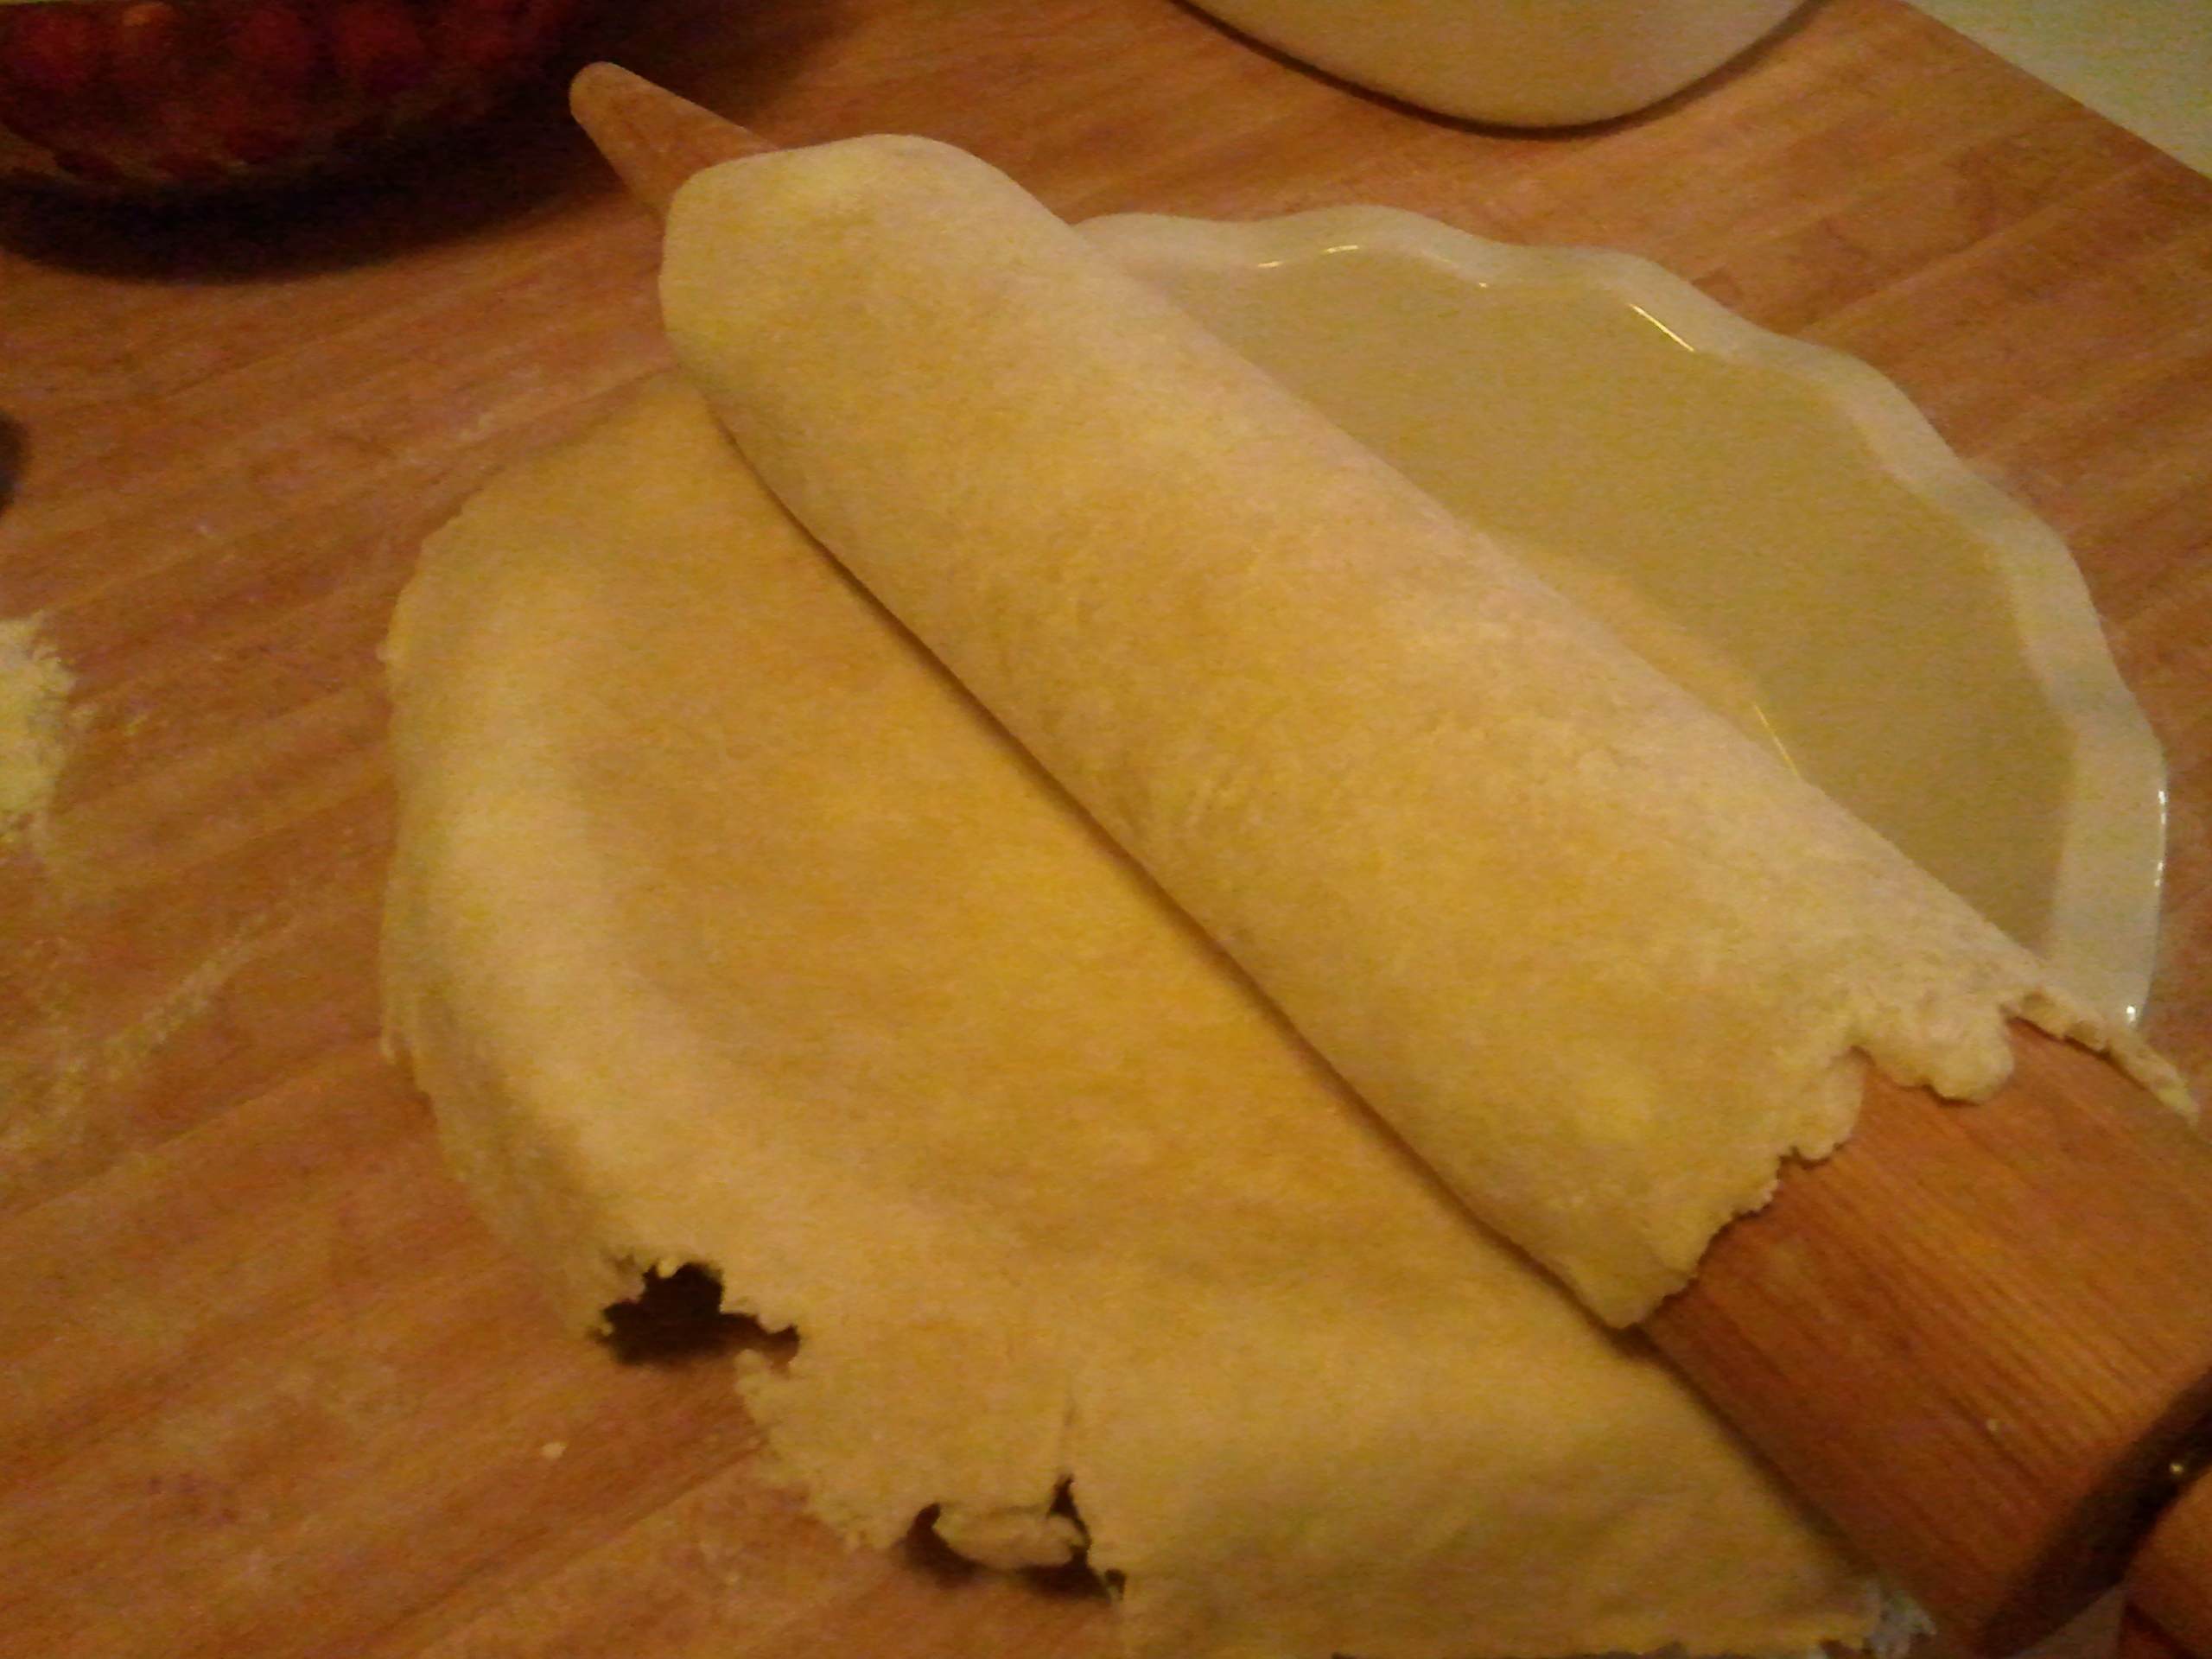
Gently roll the dough around the rolling pin, bring it to the pie plate, then unroll the dough.
Some folks put the bottom dough back into the fridge for 15 minutes. If you have yet to prepare your filling, then go ahead and put the crust in the fridge in the meantime. If you’re blind-baking your crust (that is, baking it without any filling), it can go right in the oven. Either way, when you’re ready, fill your pie and top it with the other disk of rolled-out dough, if using. And don’t forget to save your dough scraps. Wrap them well and store them in the freezer, as they make for a very easy last-minute dinner or even a lazy-day pie.
Mama does this very simply—some might call her work “rustic.” Have fun with various types of topping. You can roll it out, tear it into pieces, then lay a patchwork of dough on top. (You could also just tear small chunks of dough off the dough ball and flatten them with your hands and skip the rolling altogether.) You can roll it out smaller than the size of the pie and lay it on top, without touching the edge of the bottom crust, making a “floating” crust. You can lay it on top and flute the edges or press them together with the tines of a fork. Or, you can make a lattice.
Like everything else, there are a couple ways to make a lattice crust, but here’s one that’s just as easy as…pie. (Come on, you knew that was coming.)
Roll out your top crust, then use a pastry wheel, pizza cutter, or sharp knife to cut strips. Try to keep them as uniform as you can (but you can always call it rustic!). You should have 3 or 4 that are about 10” long, if you’re making a 9” pie. The rest can be shorter. You’ll need 8 strips total. Lightly moisten the edges of your pie crust that’s already in the pie plate; this will help the top crust adhere.
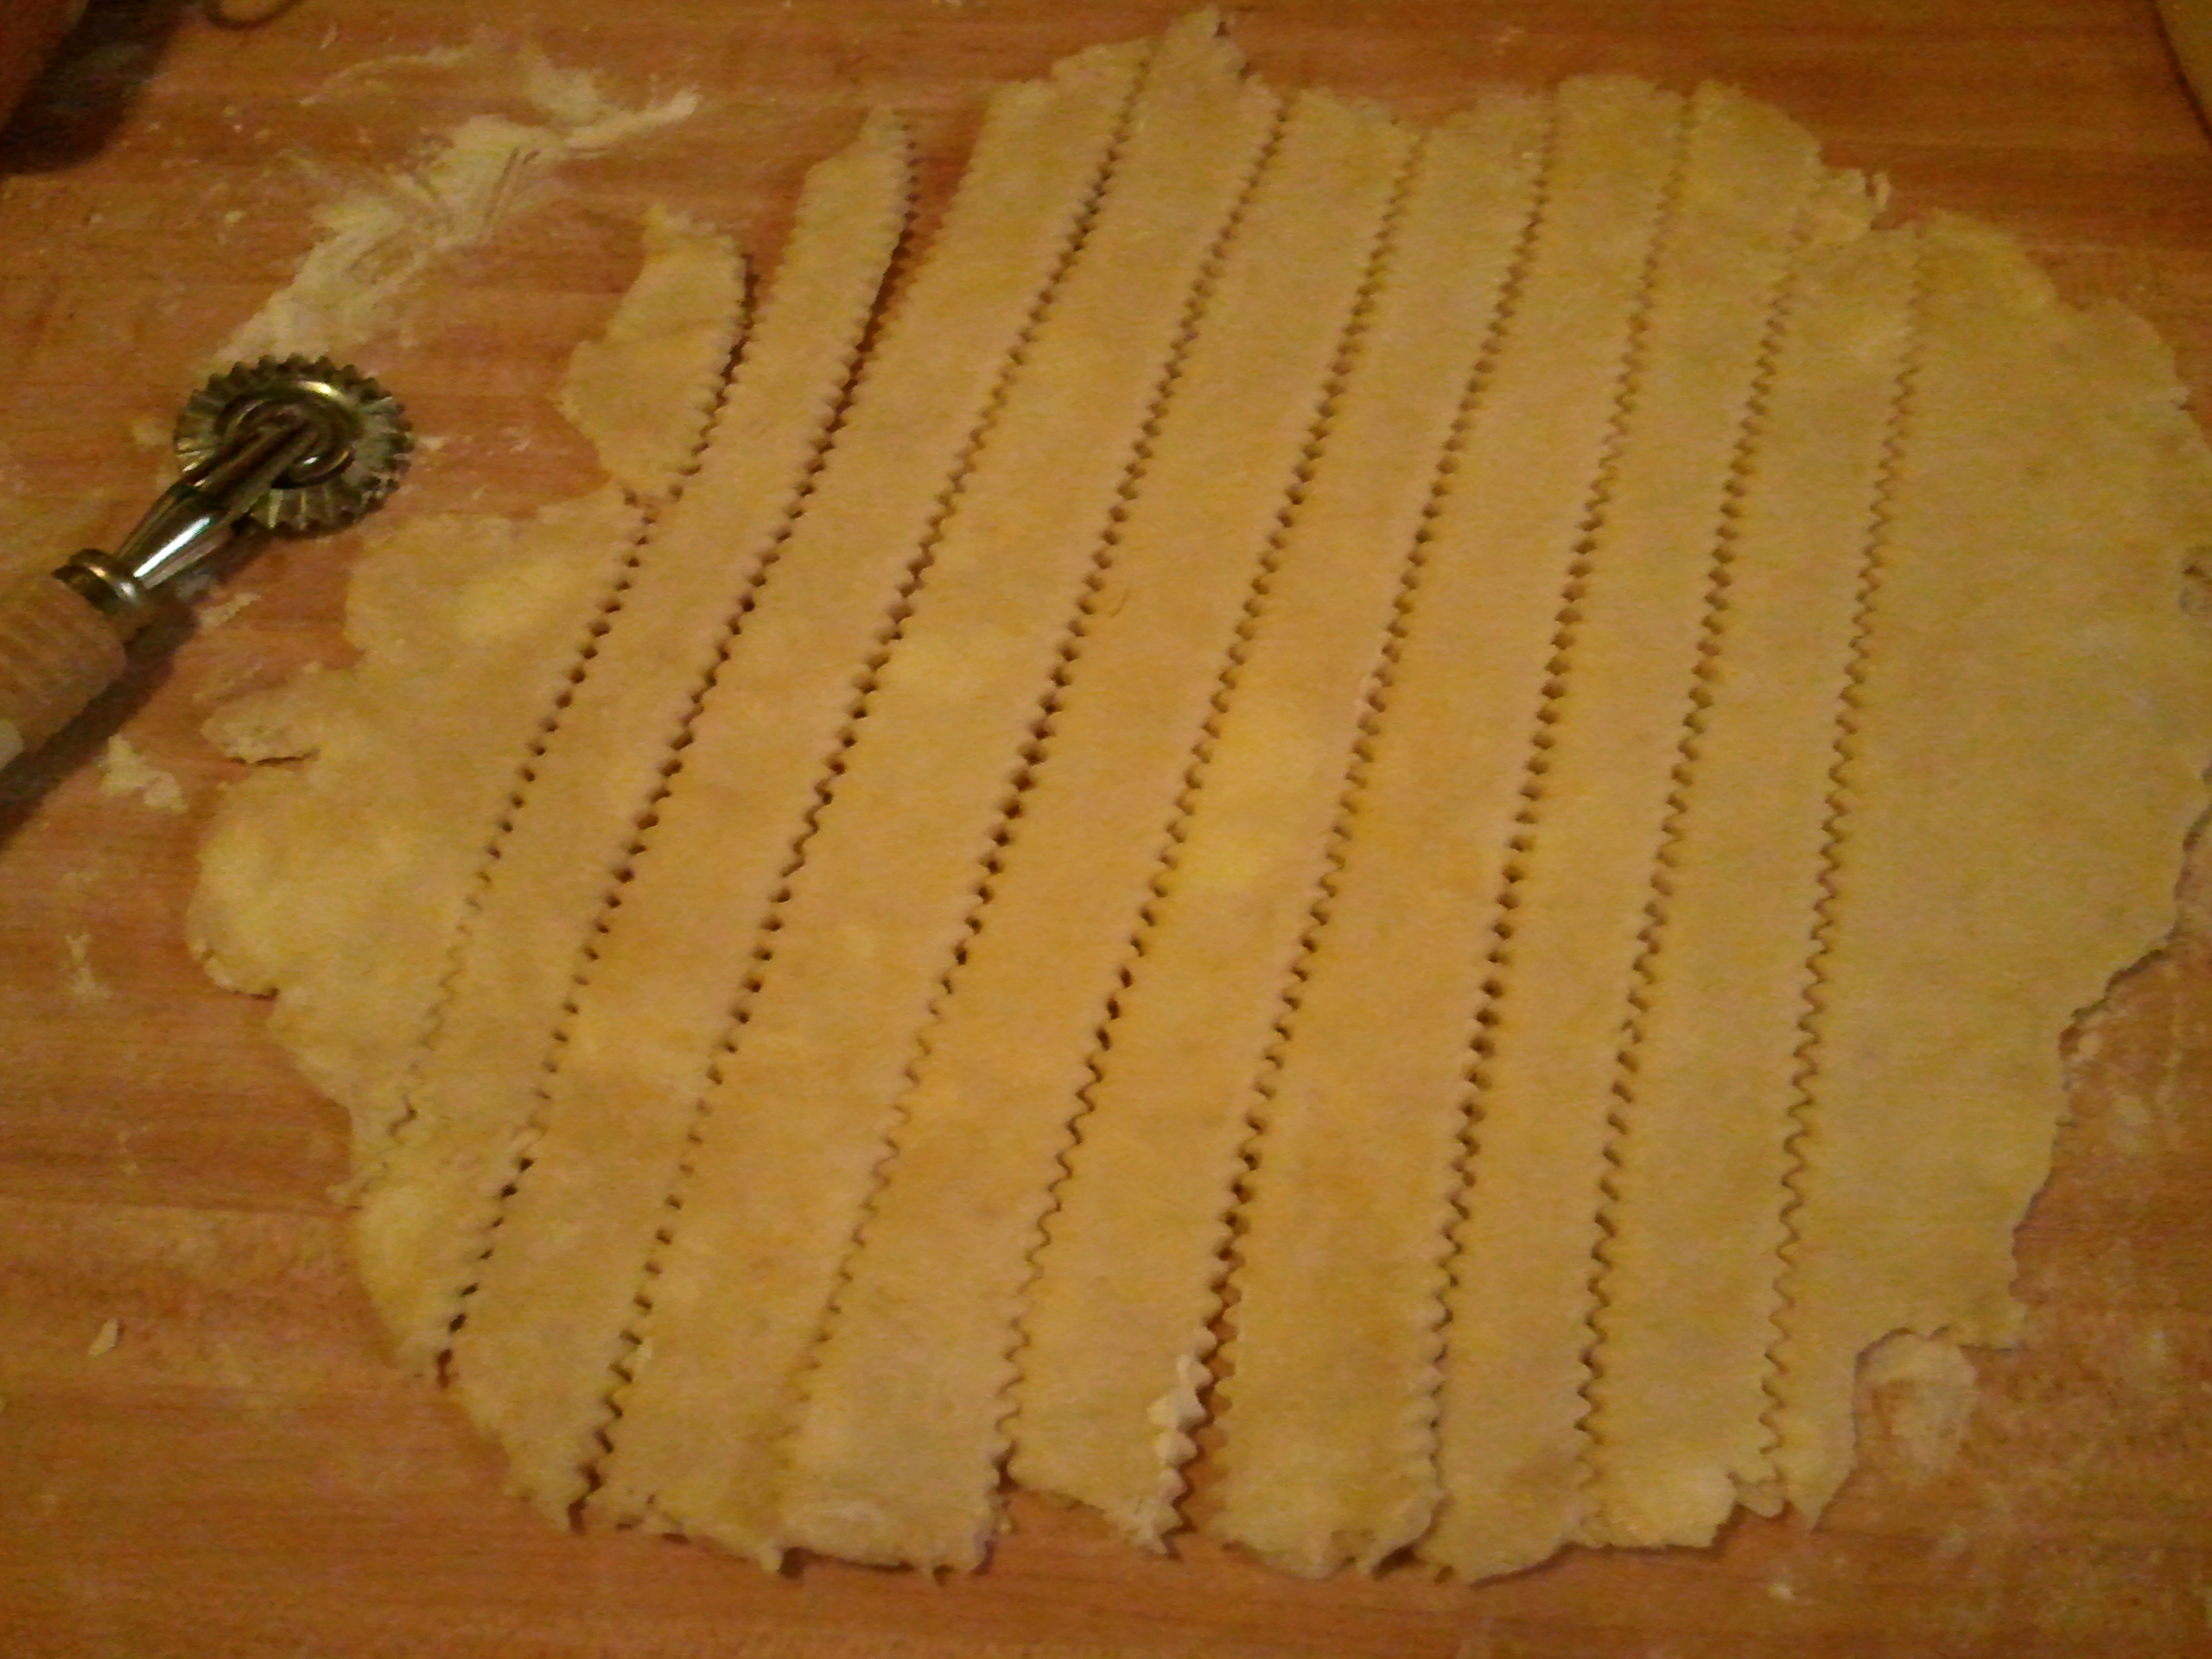
Your strips don’t have to have crinkly edges…but their flaws are hidden a bit better.
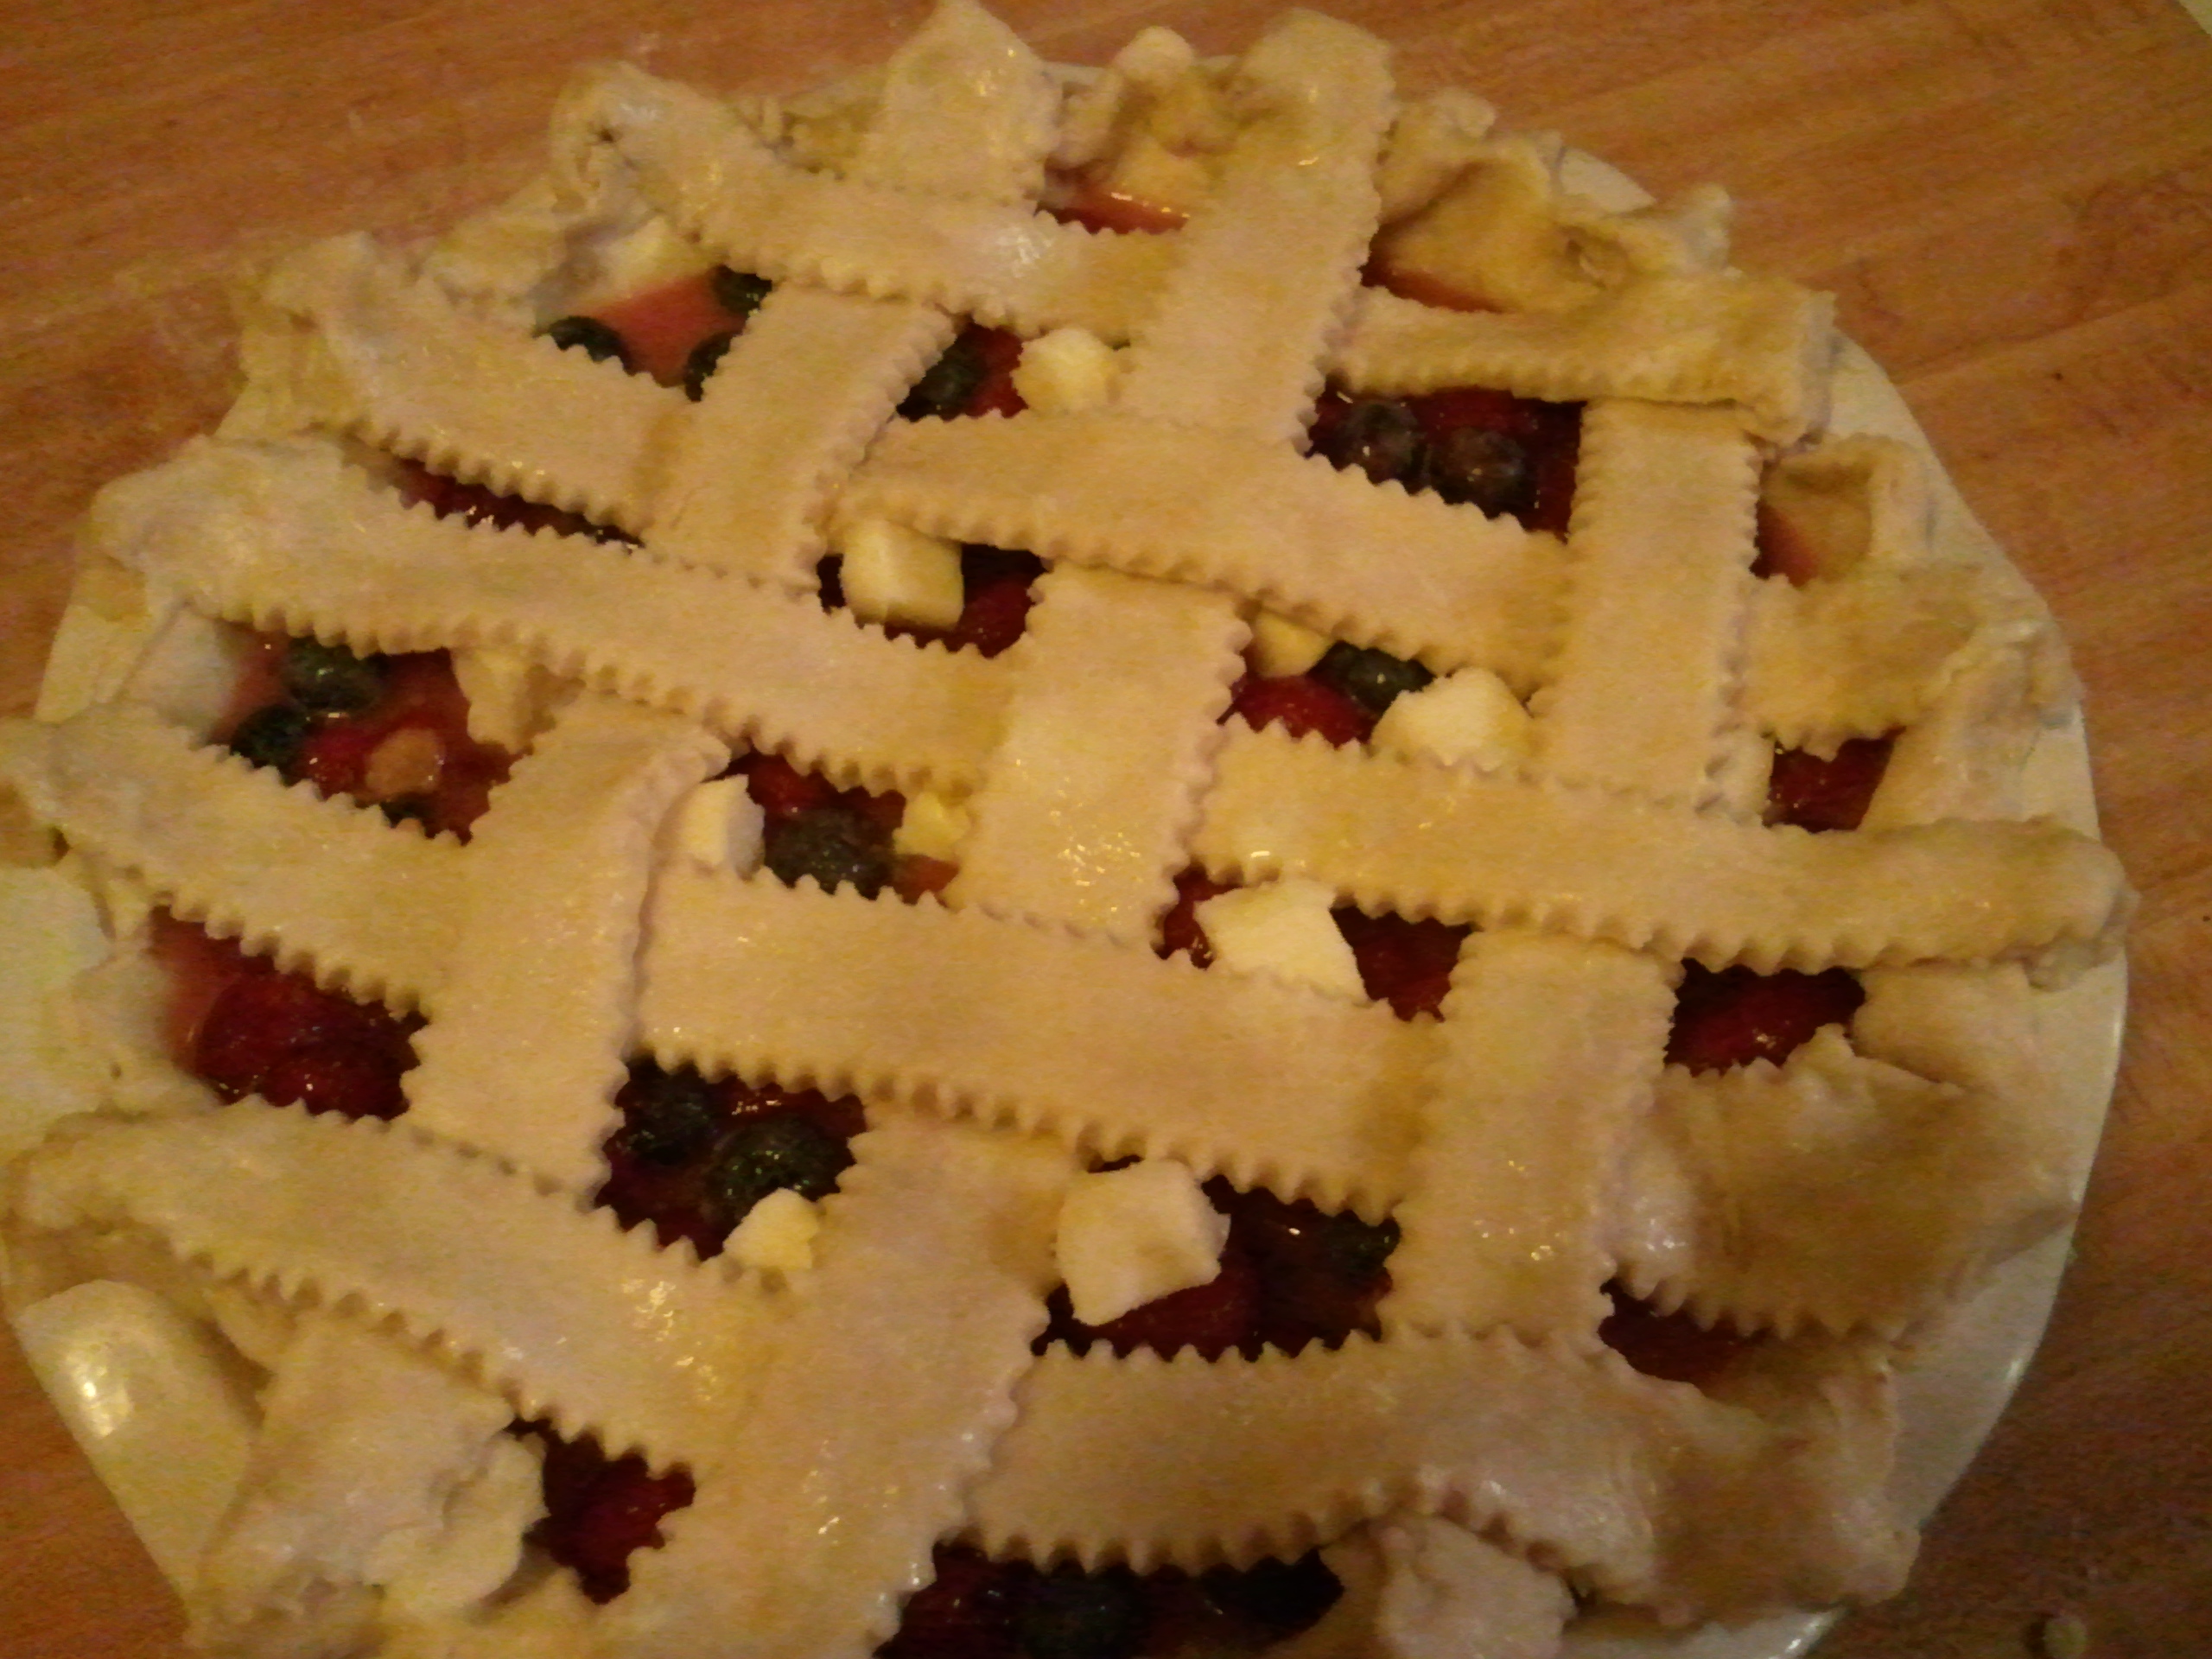
Lay 5 strips vertically across your pie, evenly spaced apart.
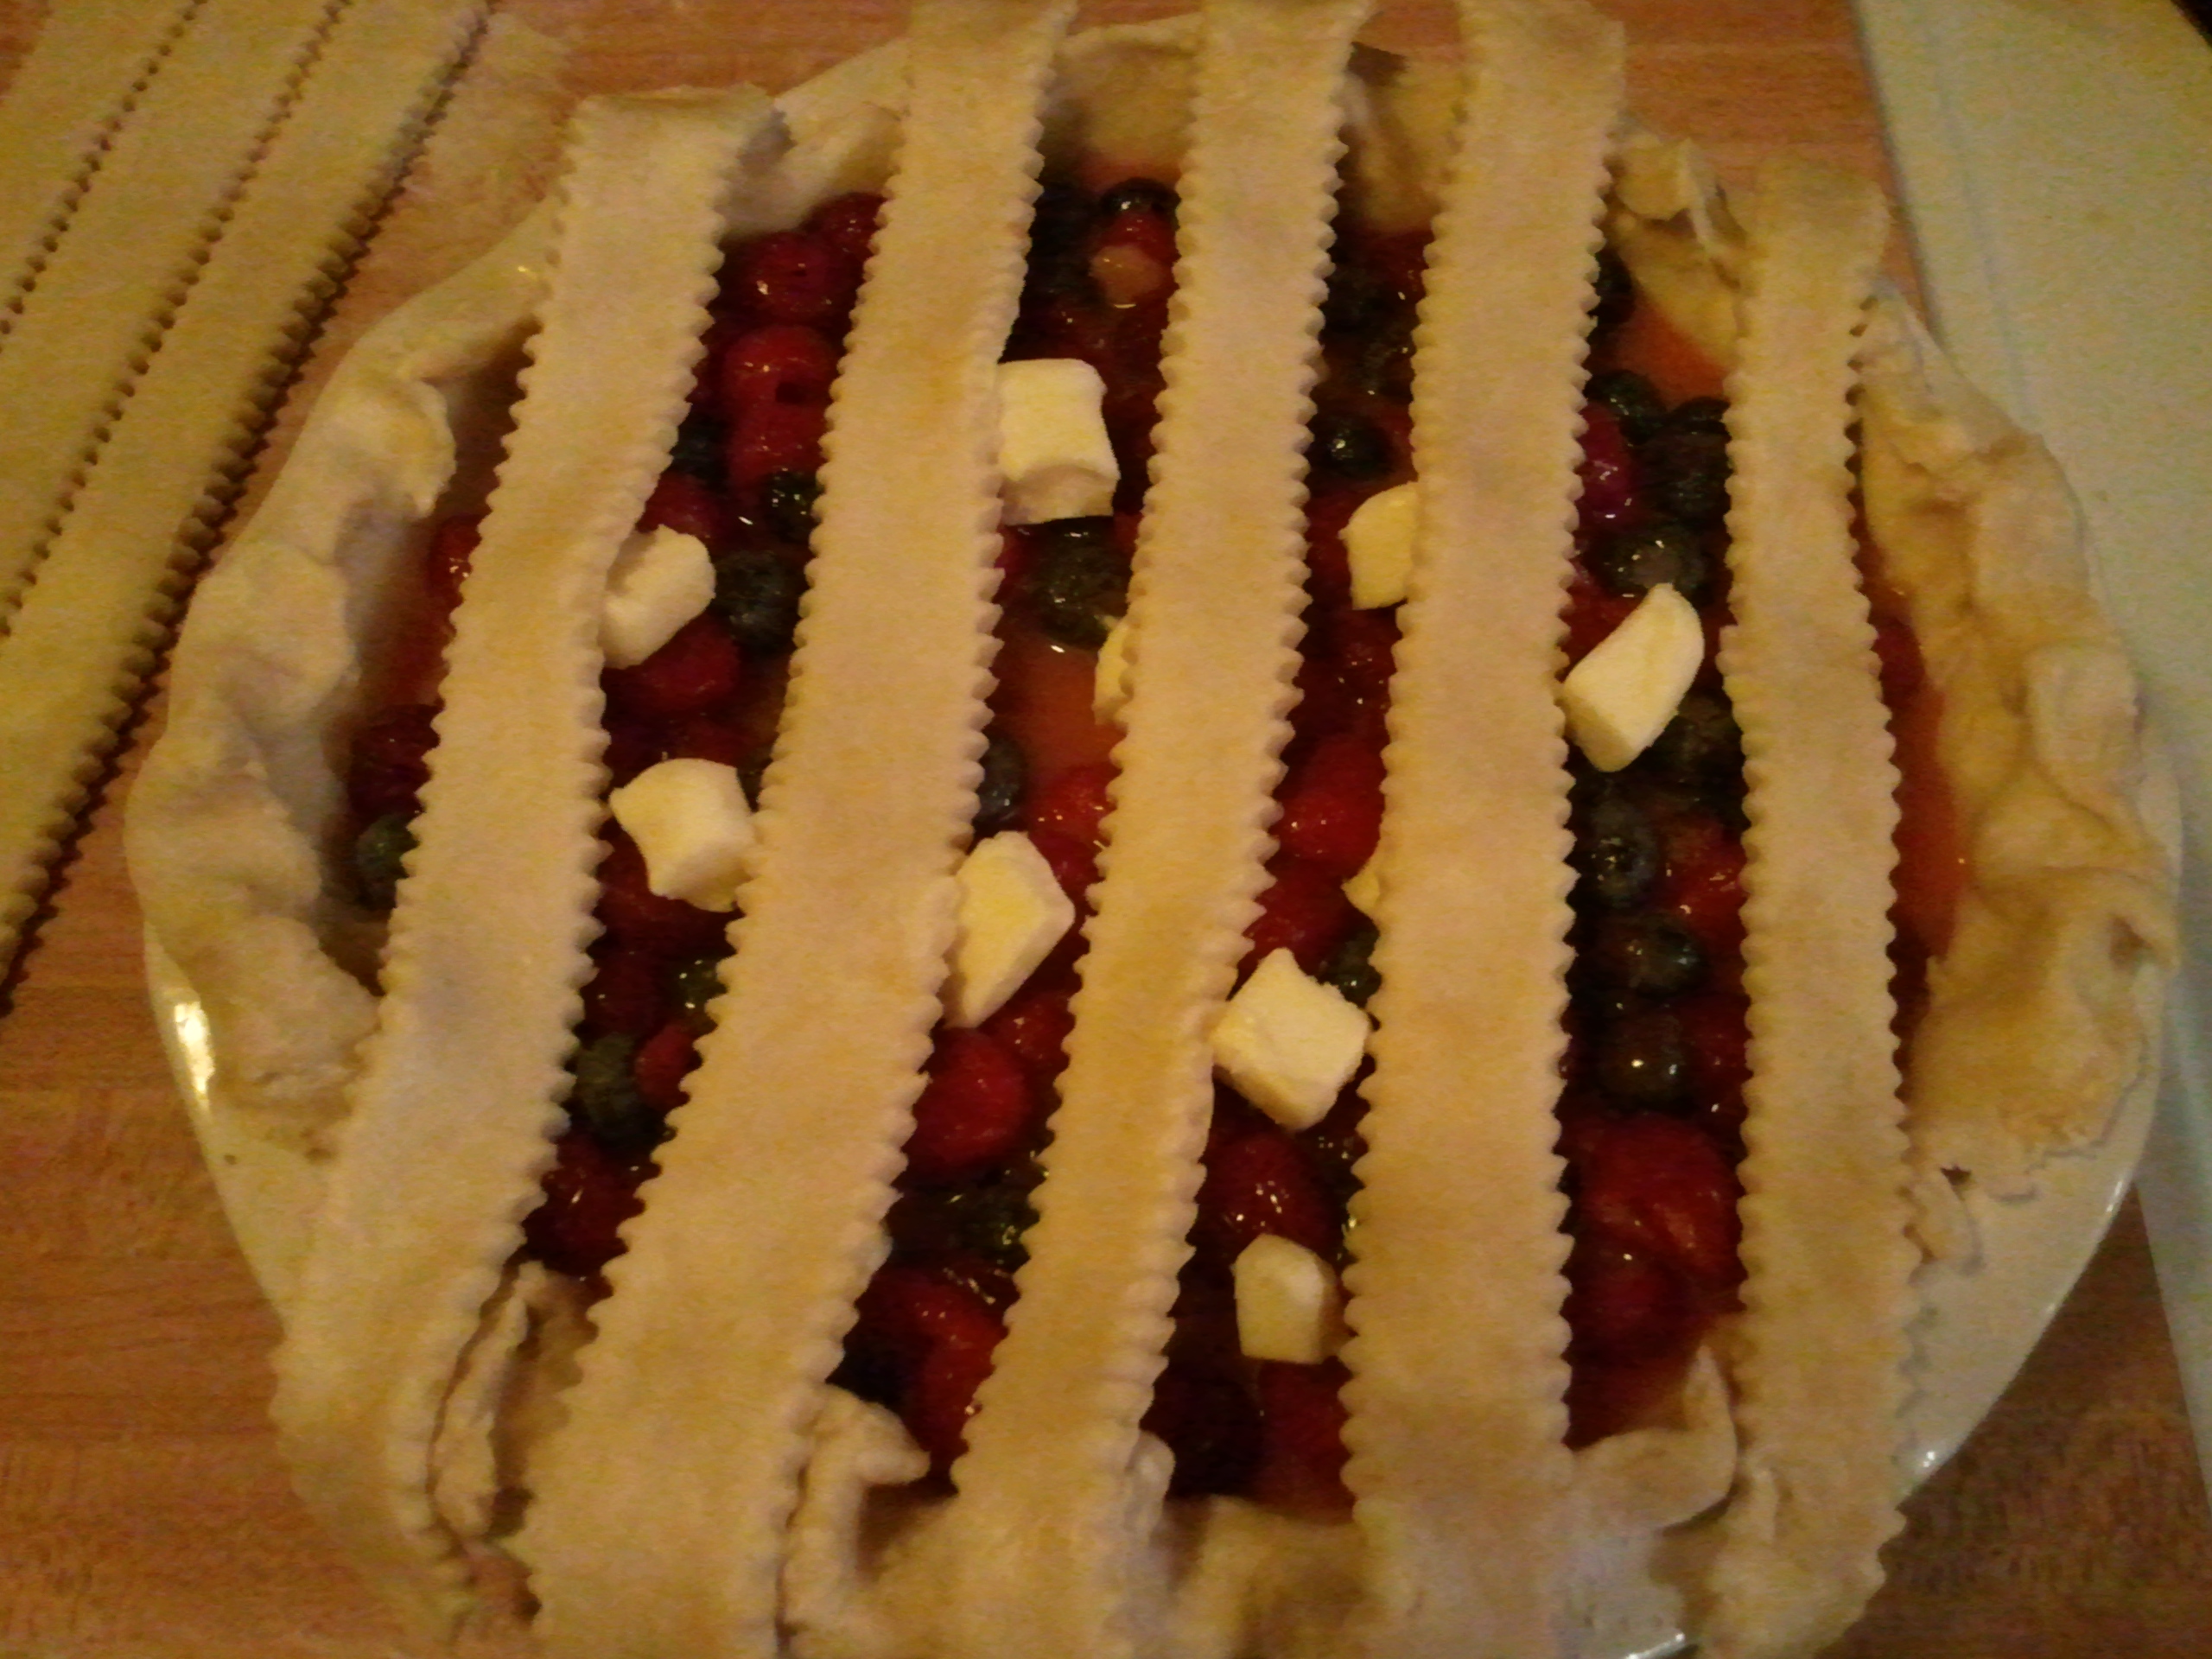
You can see the blueberries and cherries and cubes of butter peeking out like they’re behind the bars of a crib.
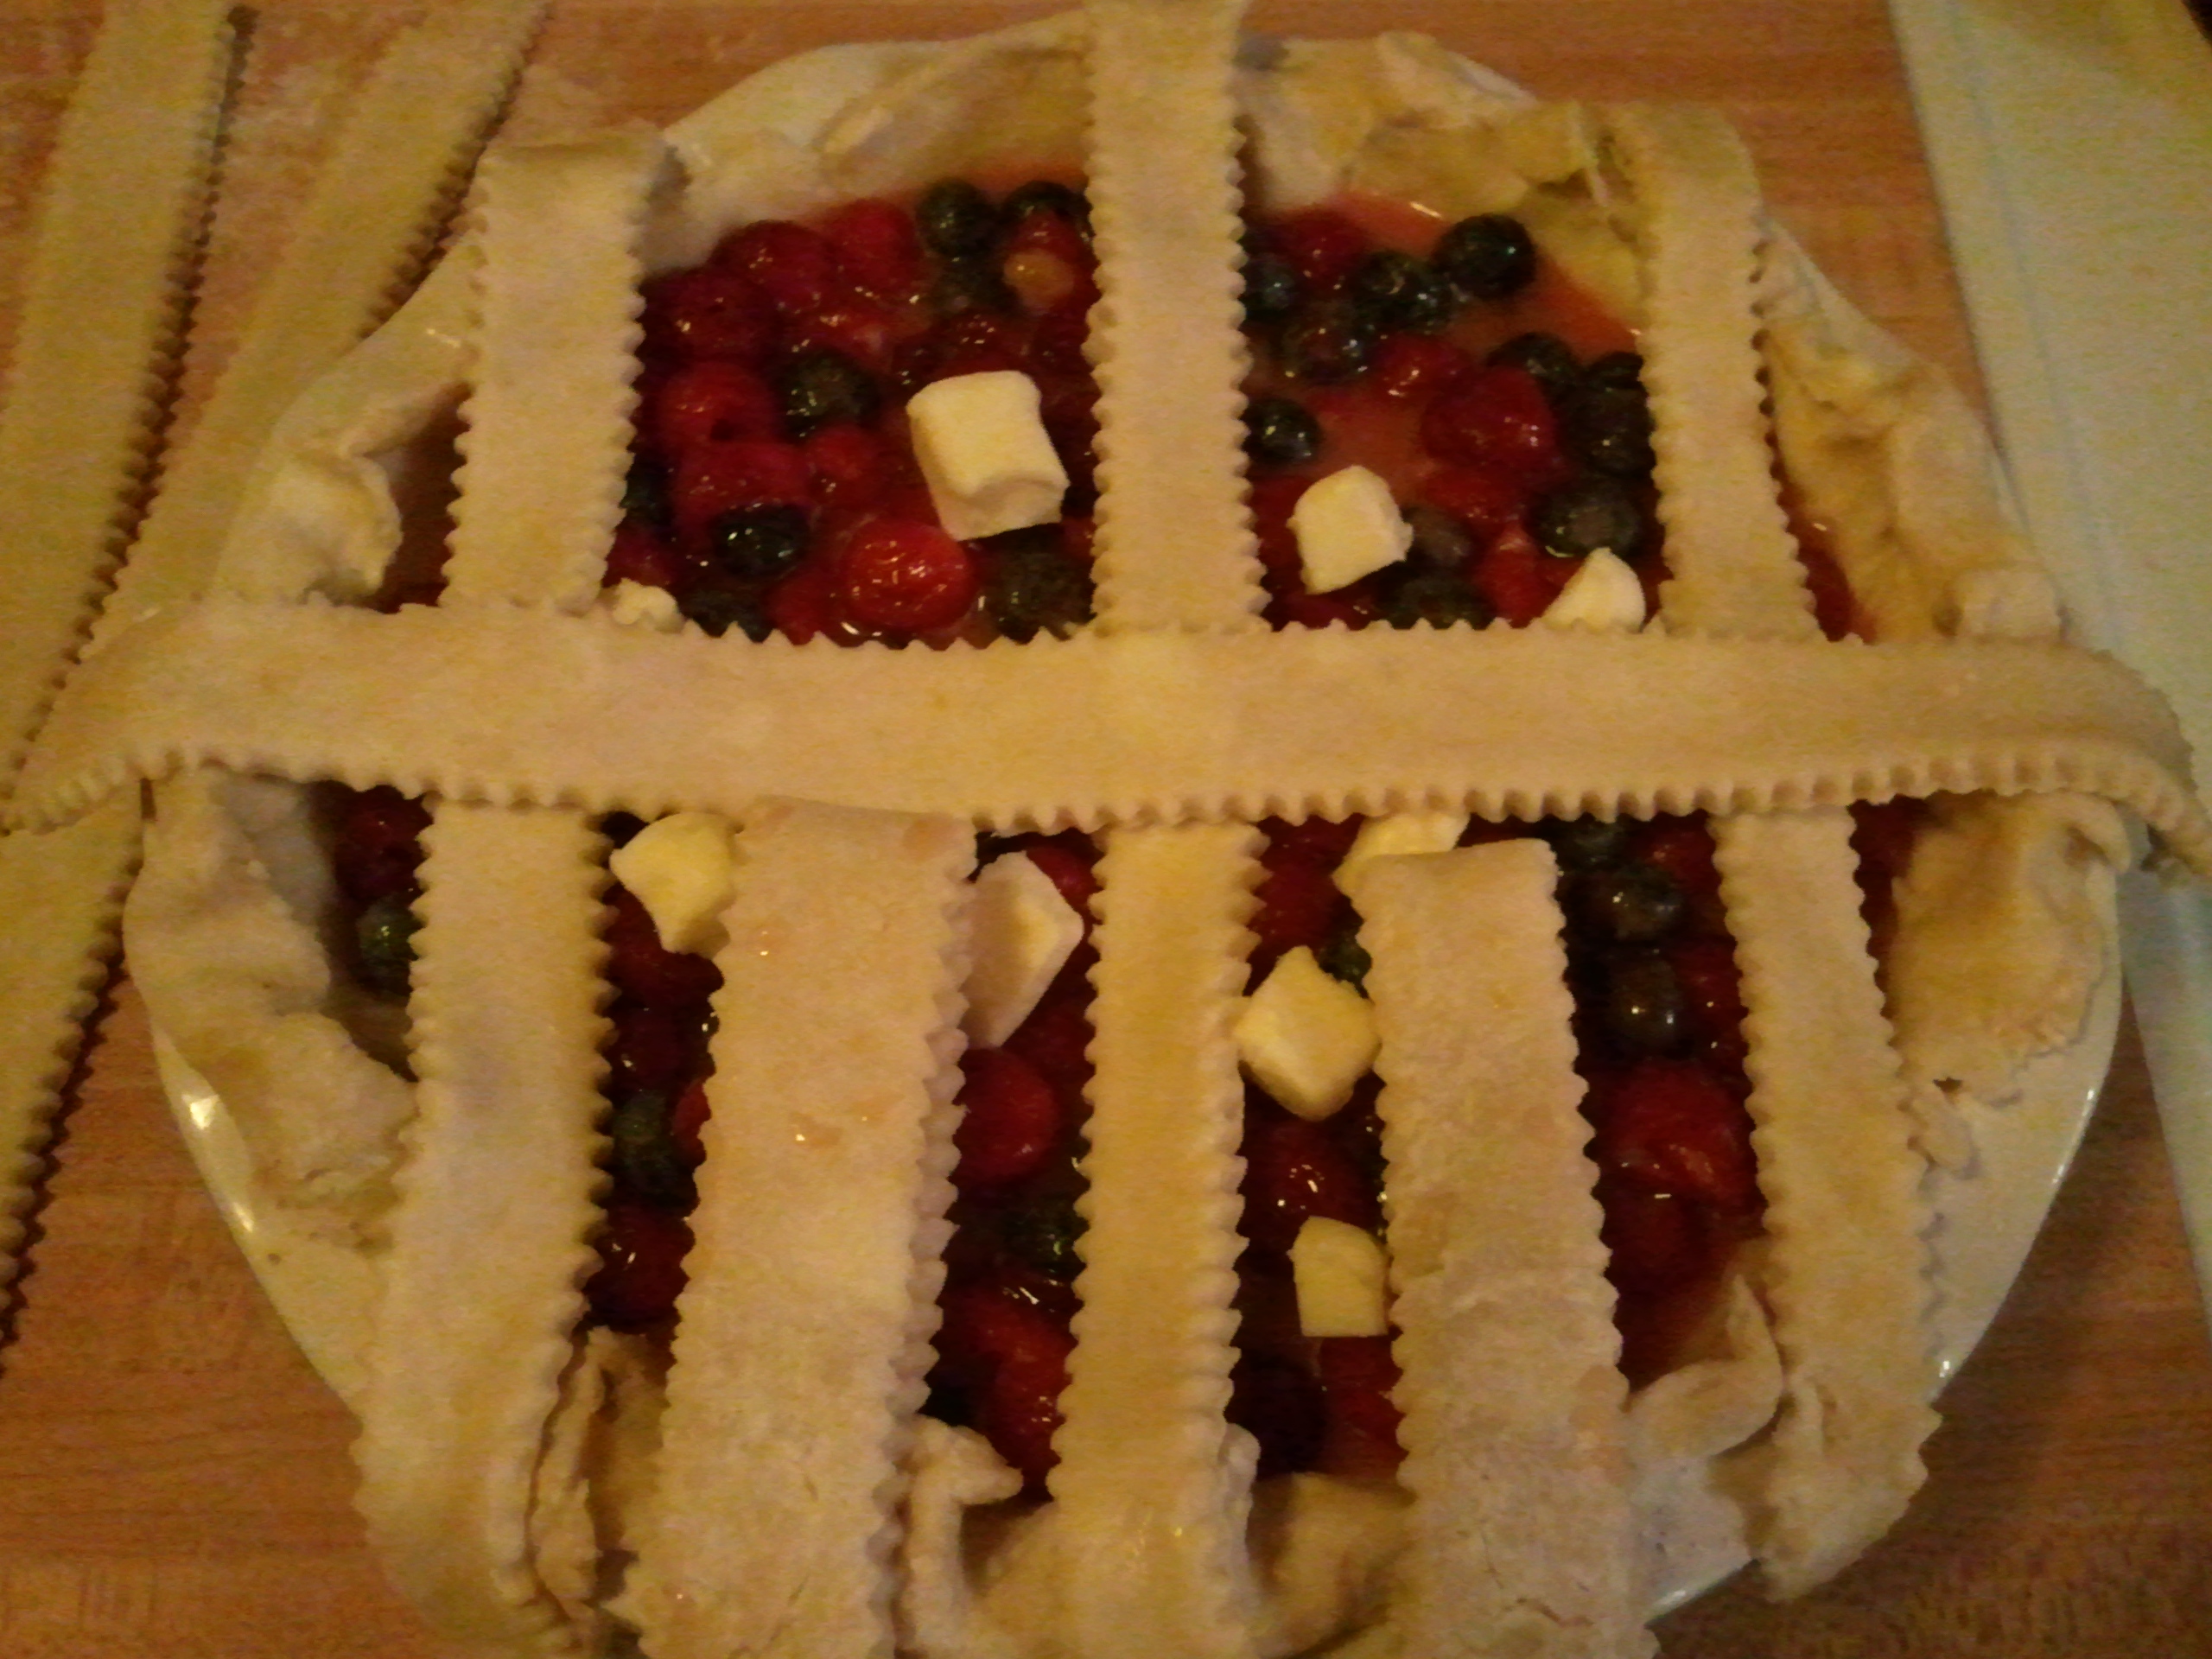
Fold down vertical strips 2 & 4, about halfway down. Then lay 1 horizontal strip across the middle, over vertical strips 1, 3, & 5. Then unfold 2 & 4.
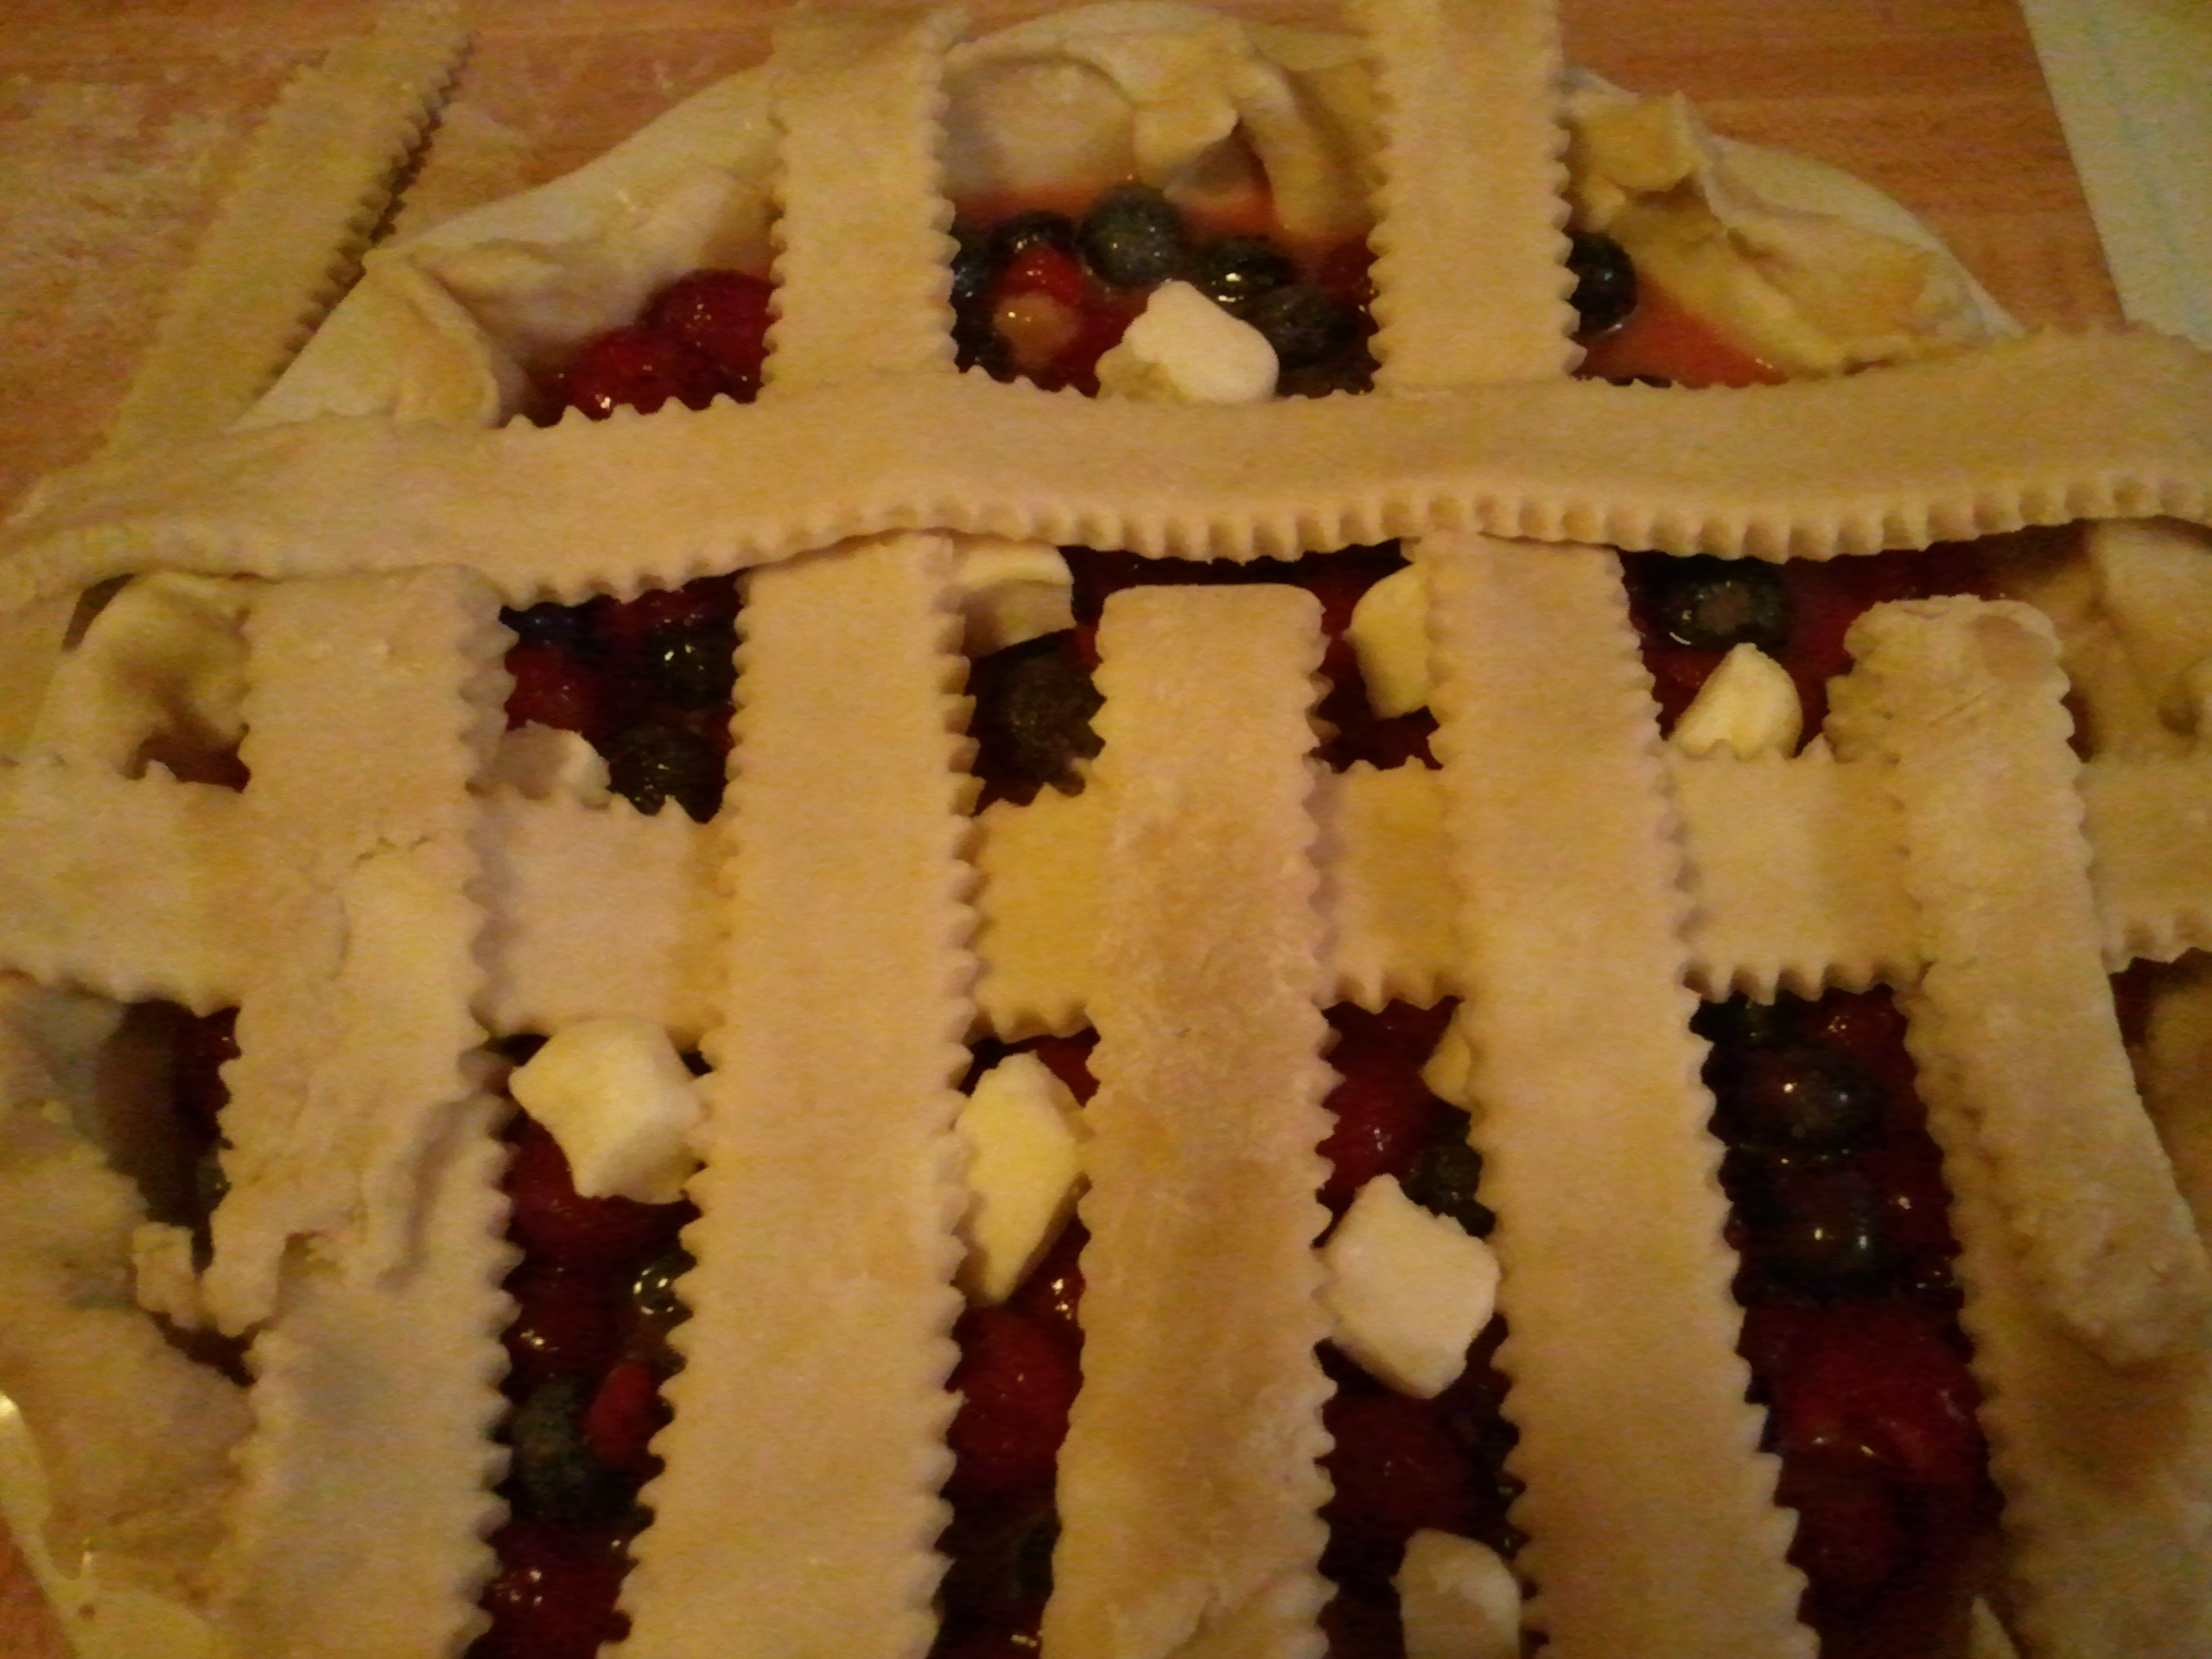
Then fold down strips 1, 3, & 5. Lay 1 horizontal strip above the first horizontal strip, over vertical strips 2 & 4. Then unfold 1, 3, & 5.
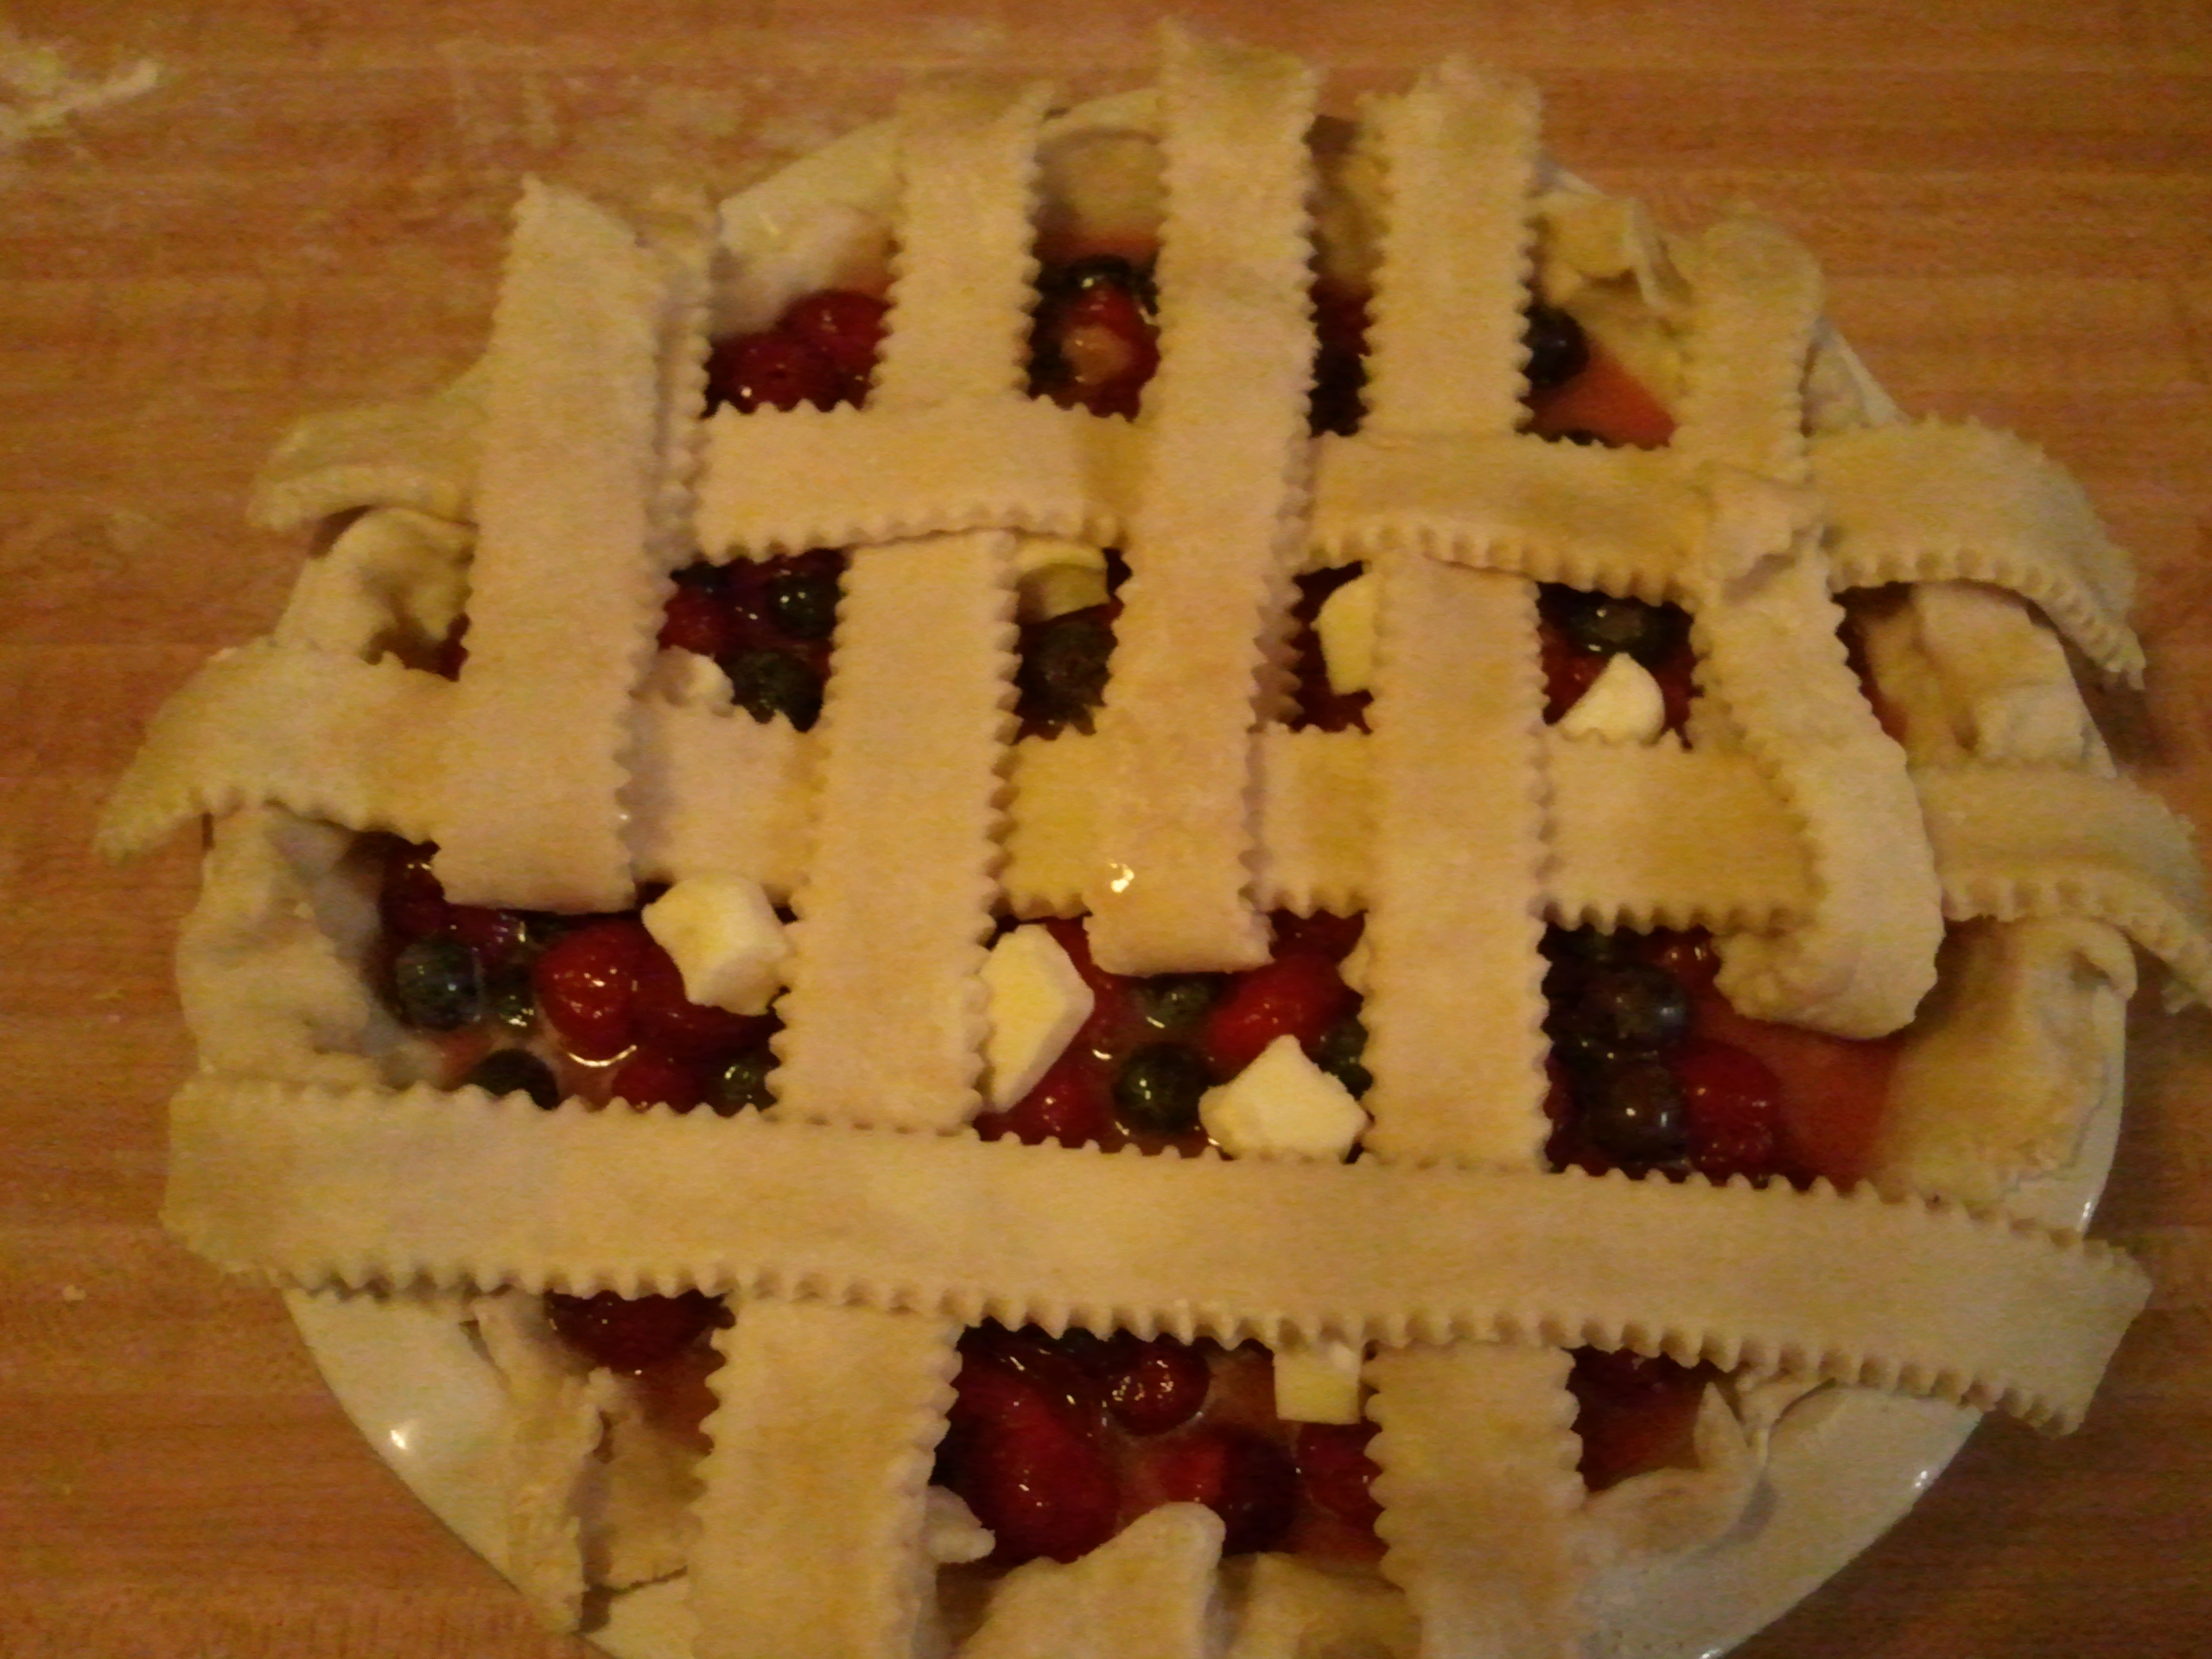
Either turn your pie 180° so the bottom is now the top, and repeat the previous step. Or fold up (from the bottom) vertical strips 1, 3, & 5. Lay 1 horizontal strip, over vertical strips 2 & 4, beneath the middle strip. Then unfold 1, 3, & 5.
Now crimp the edges of the 2 crusts together. Brush with milk or egg wash (1 egg mixed with 1 Tbsp milk or water) and sprinkle with sugar, if desired.
When you make fruit pies, it’s always a good idea to put a foil-lined baking sheet on a rack beneath the pie to catch the inevitable spillover when the fruit juices start bubbling. About halfway through baking, you should rotate your pie too, for even browning.
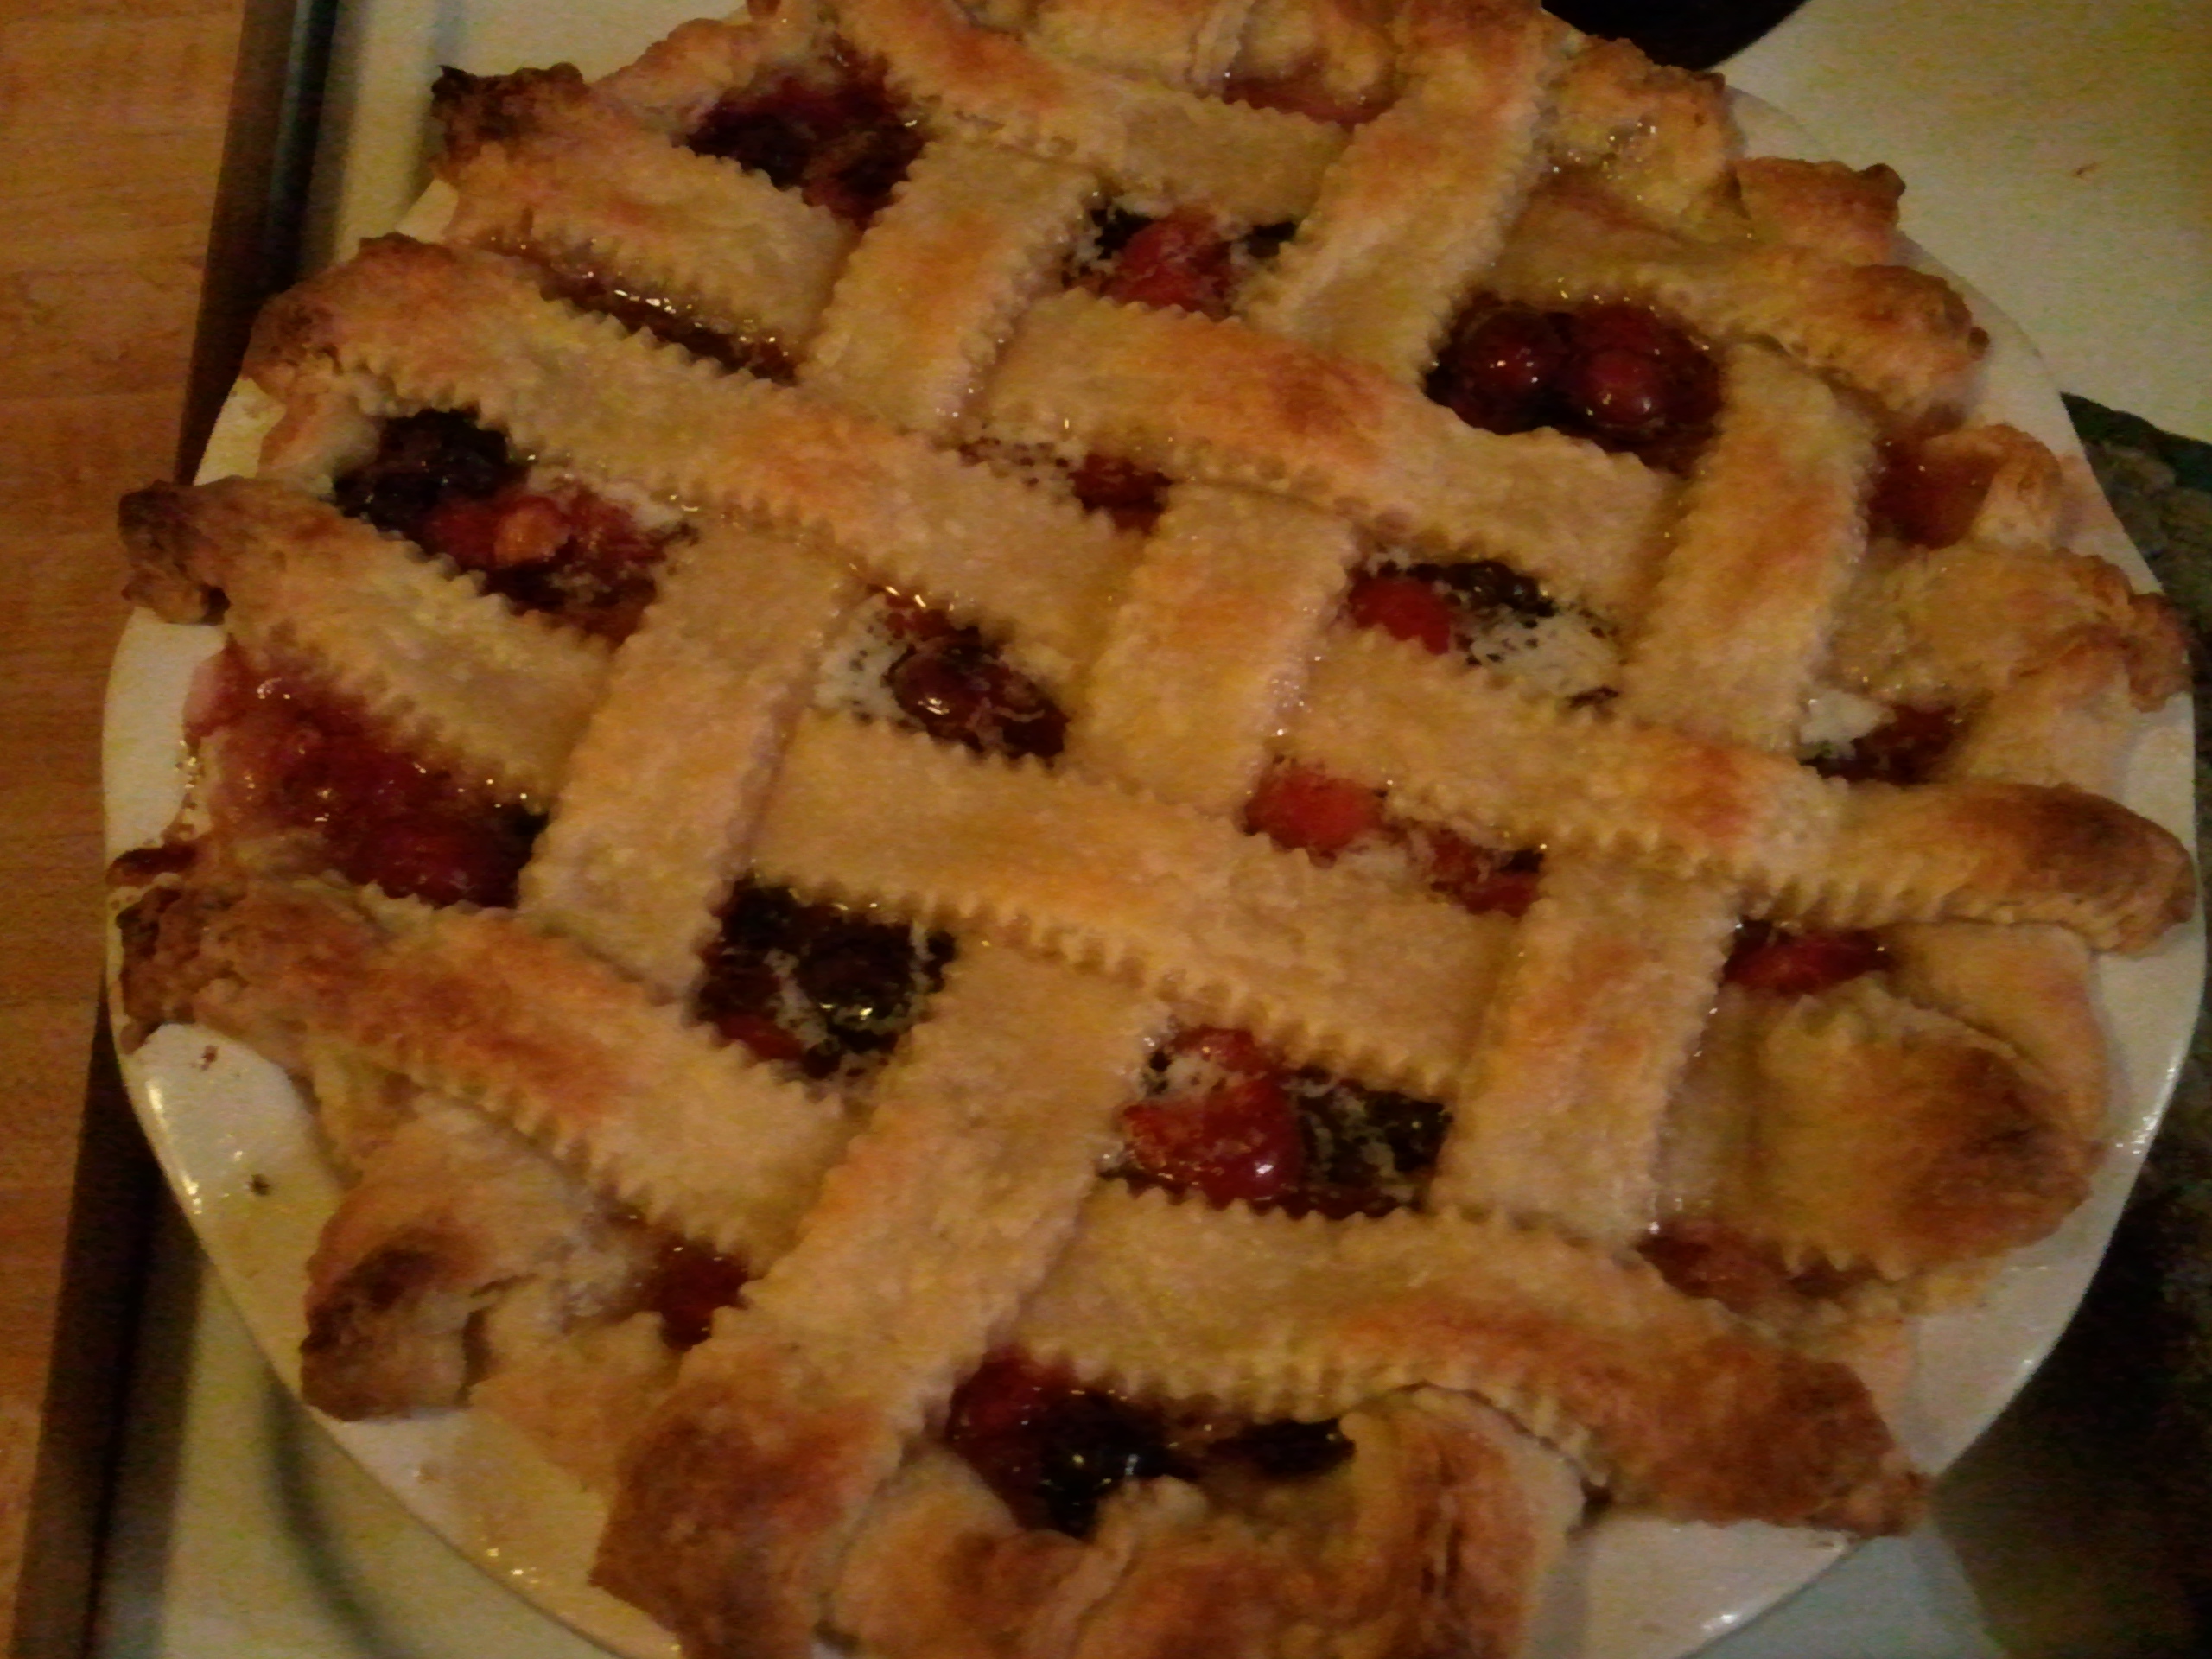
You can see that the crust is starting to get good and golden, but the edges are turning a bit dark.
It’s also a good time to put pie crust shields or foil around the edge if it’s starting to brown too quickly.
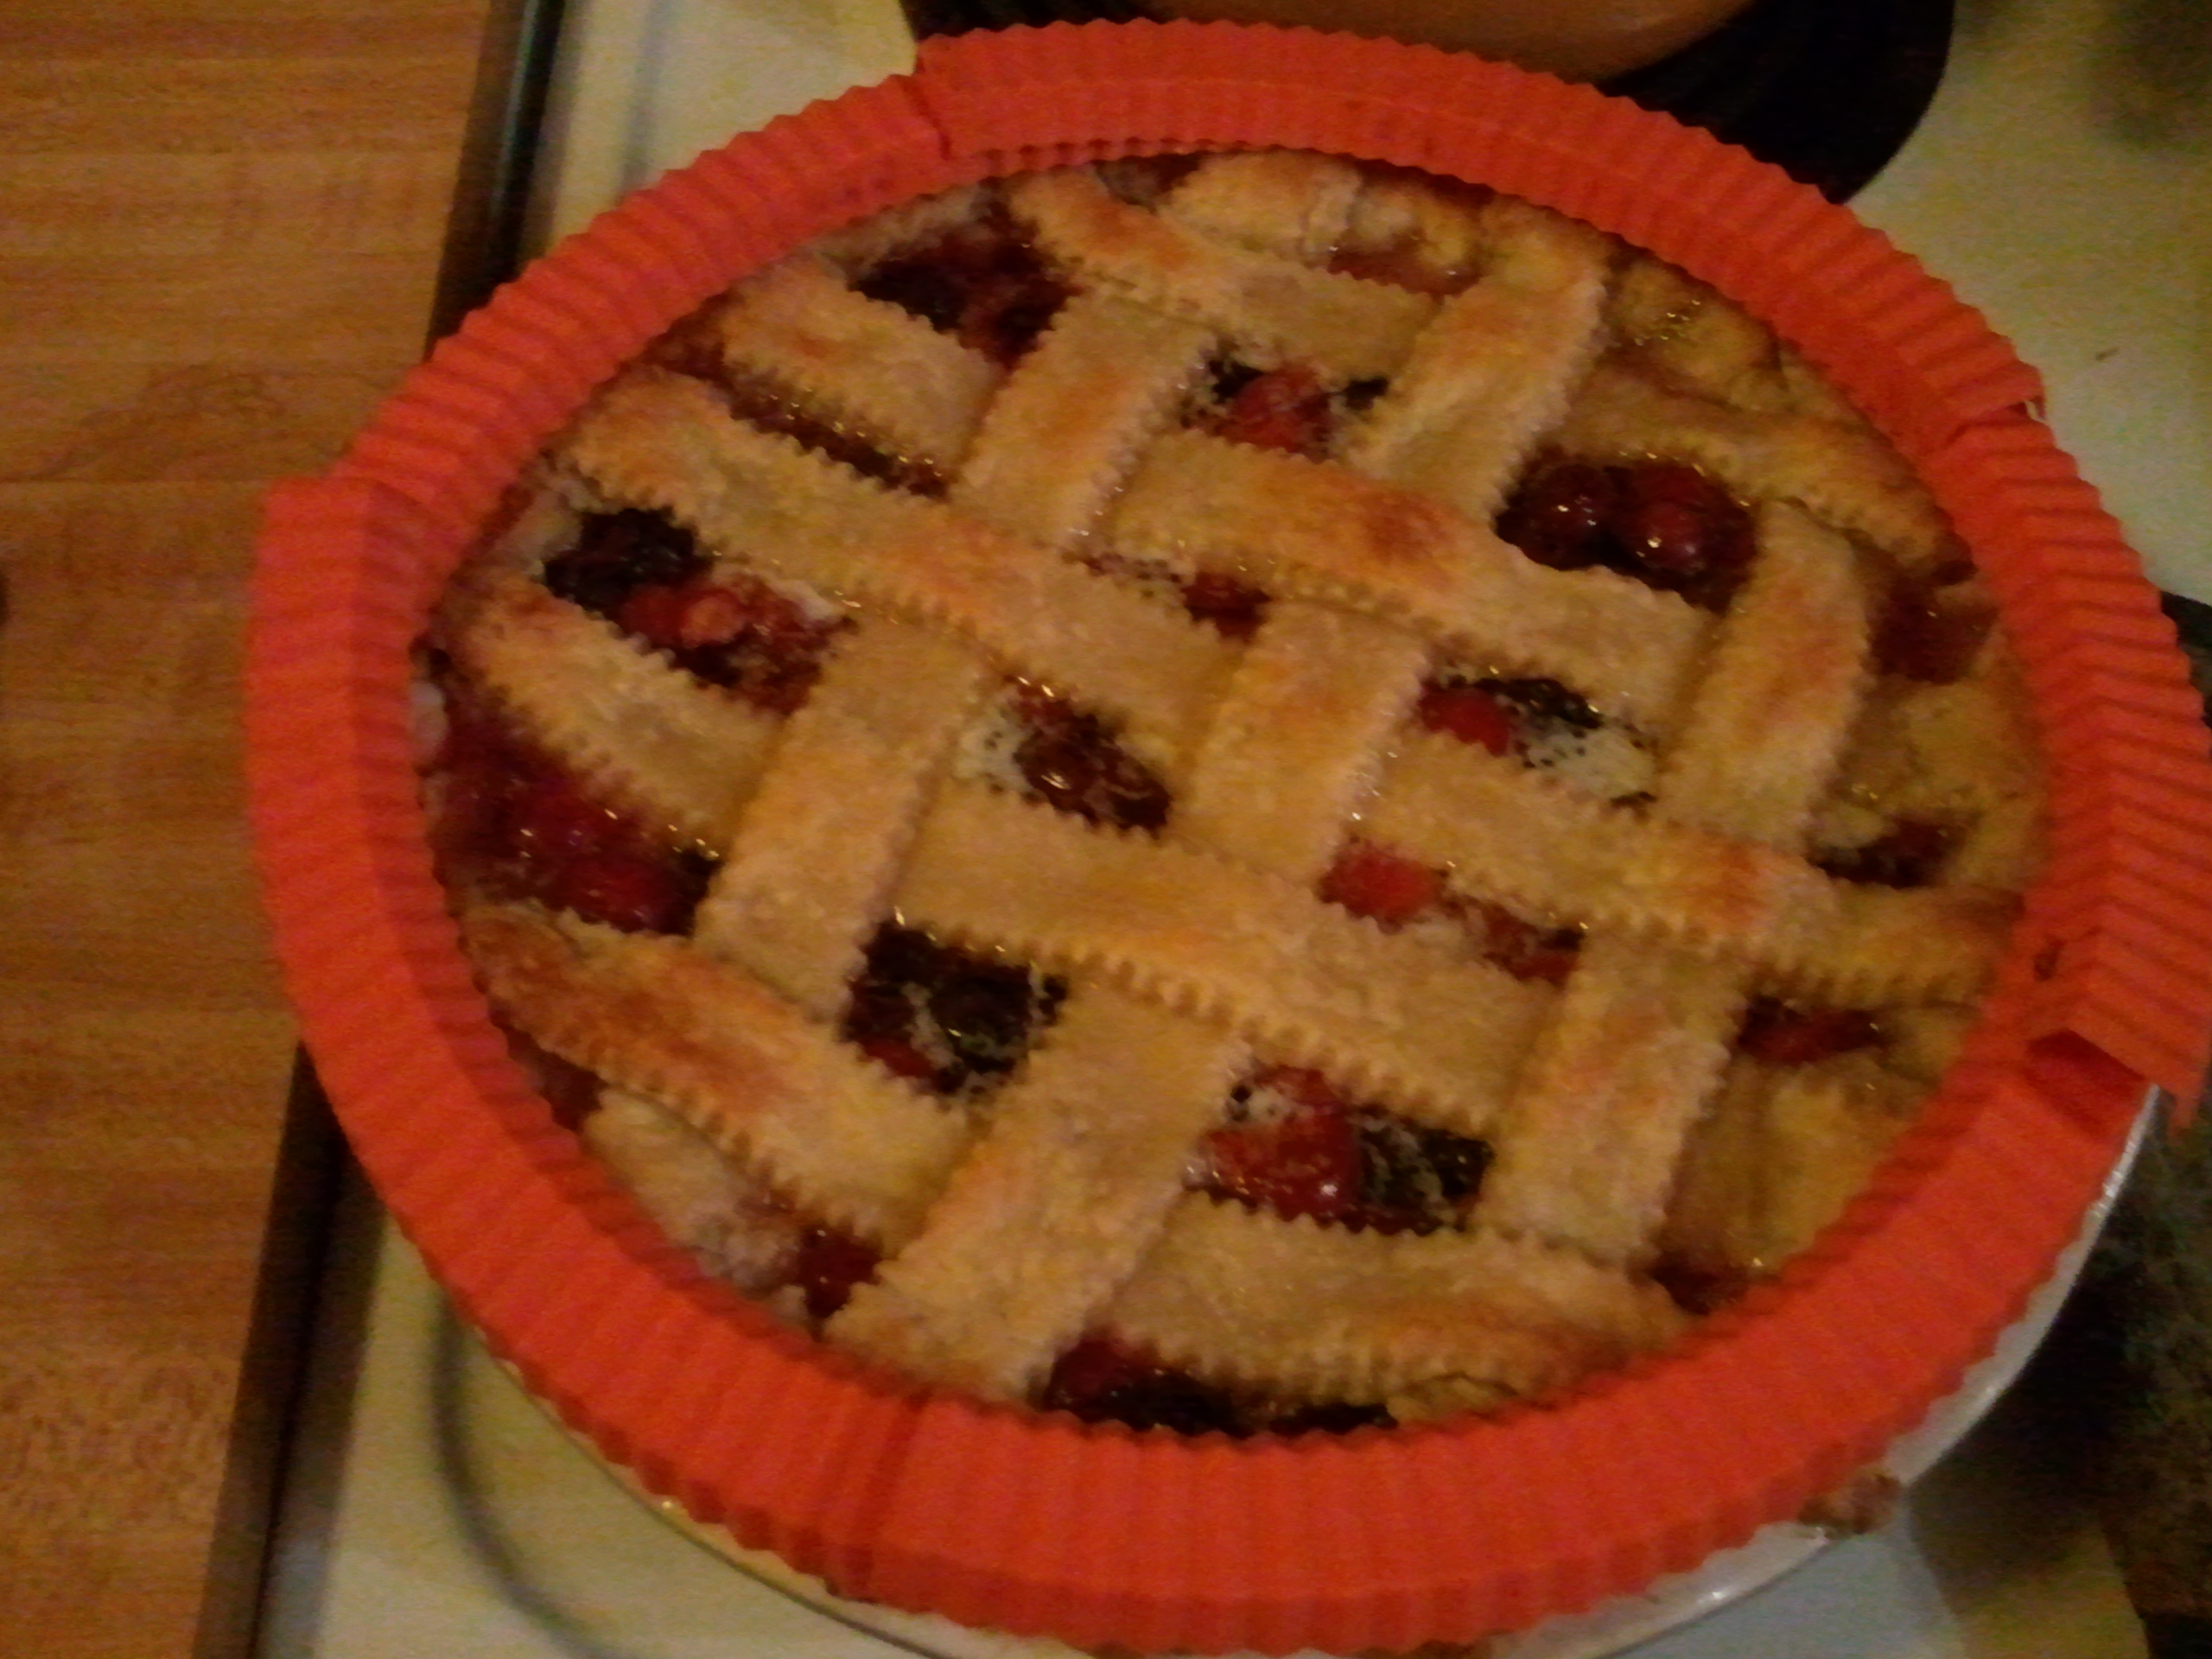
You can use silicone pie crust shields like these, or create your own by tenting foil around the edges.
As always, allow for the pie to cool, overnight if you can stand it, before cutting into it. This will give the juices time to set, so you’re not eating berry soup over a soggy crust.
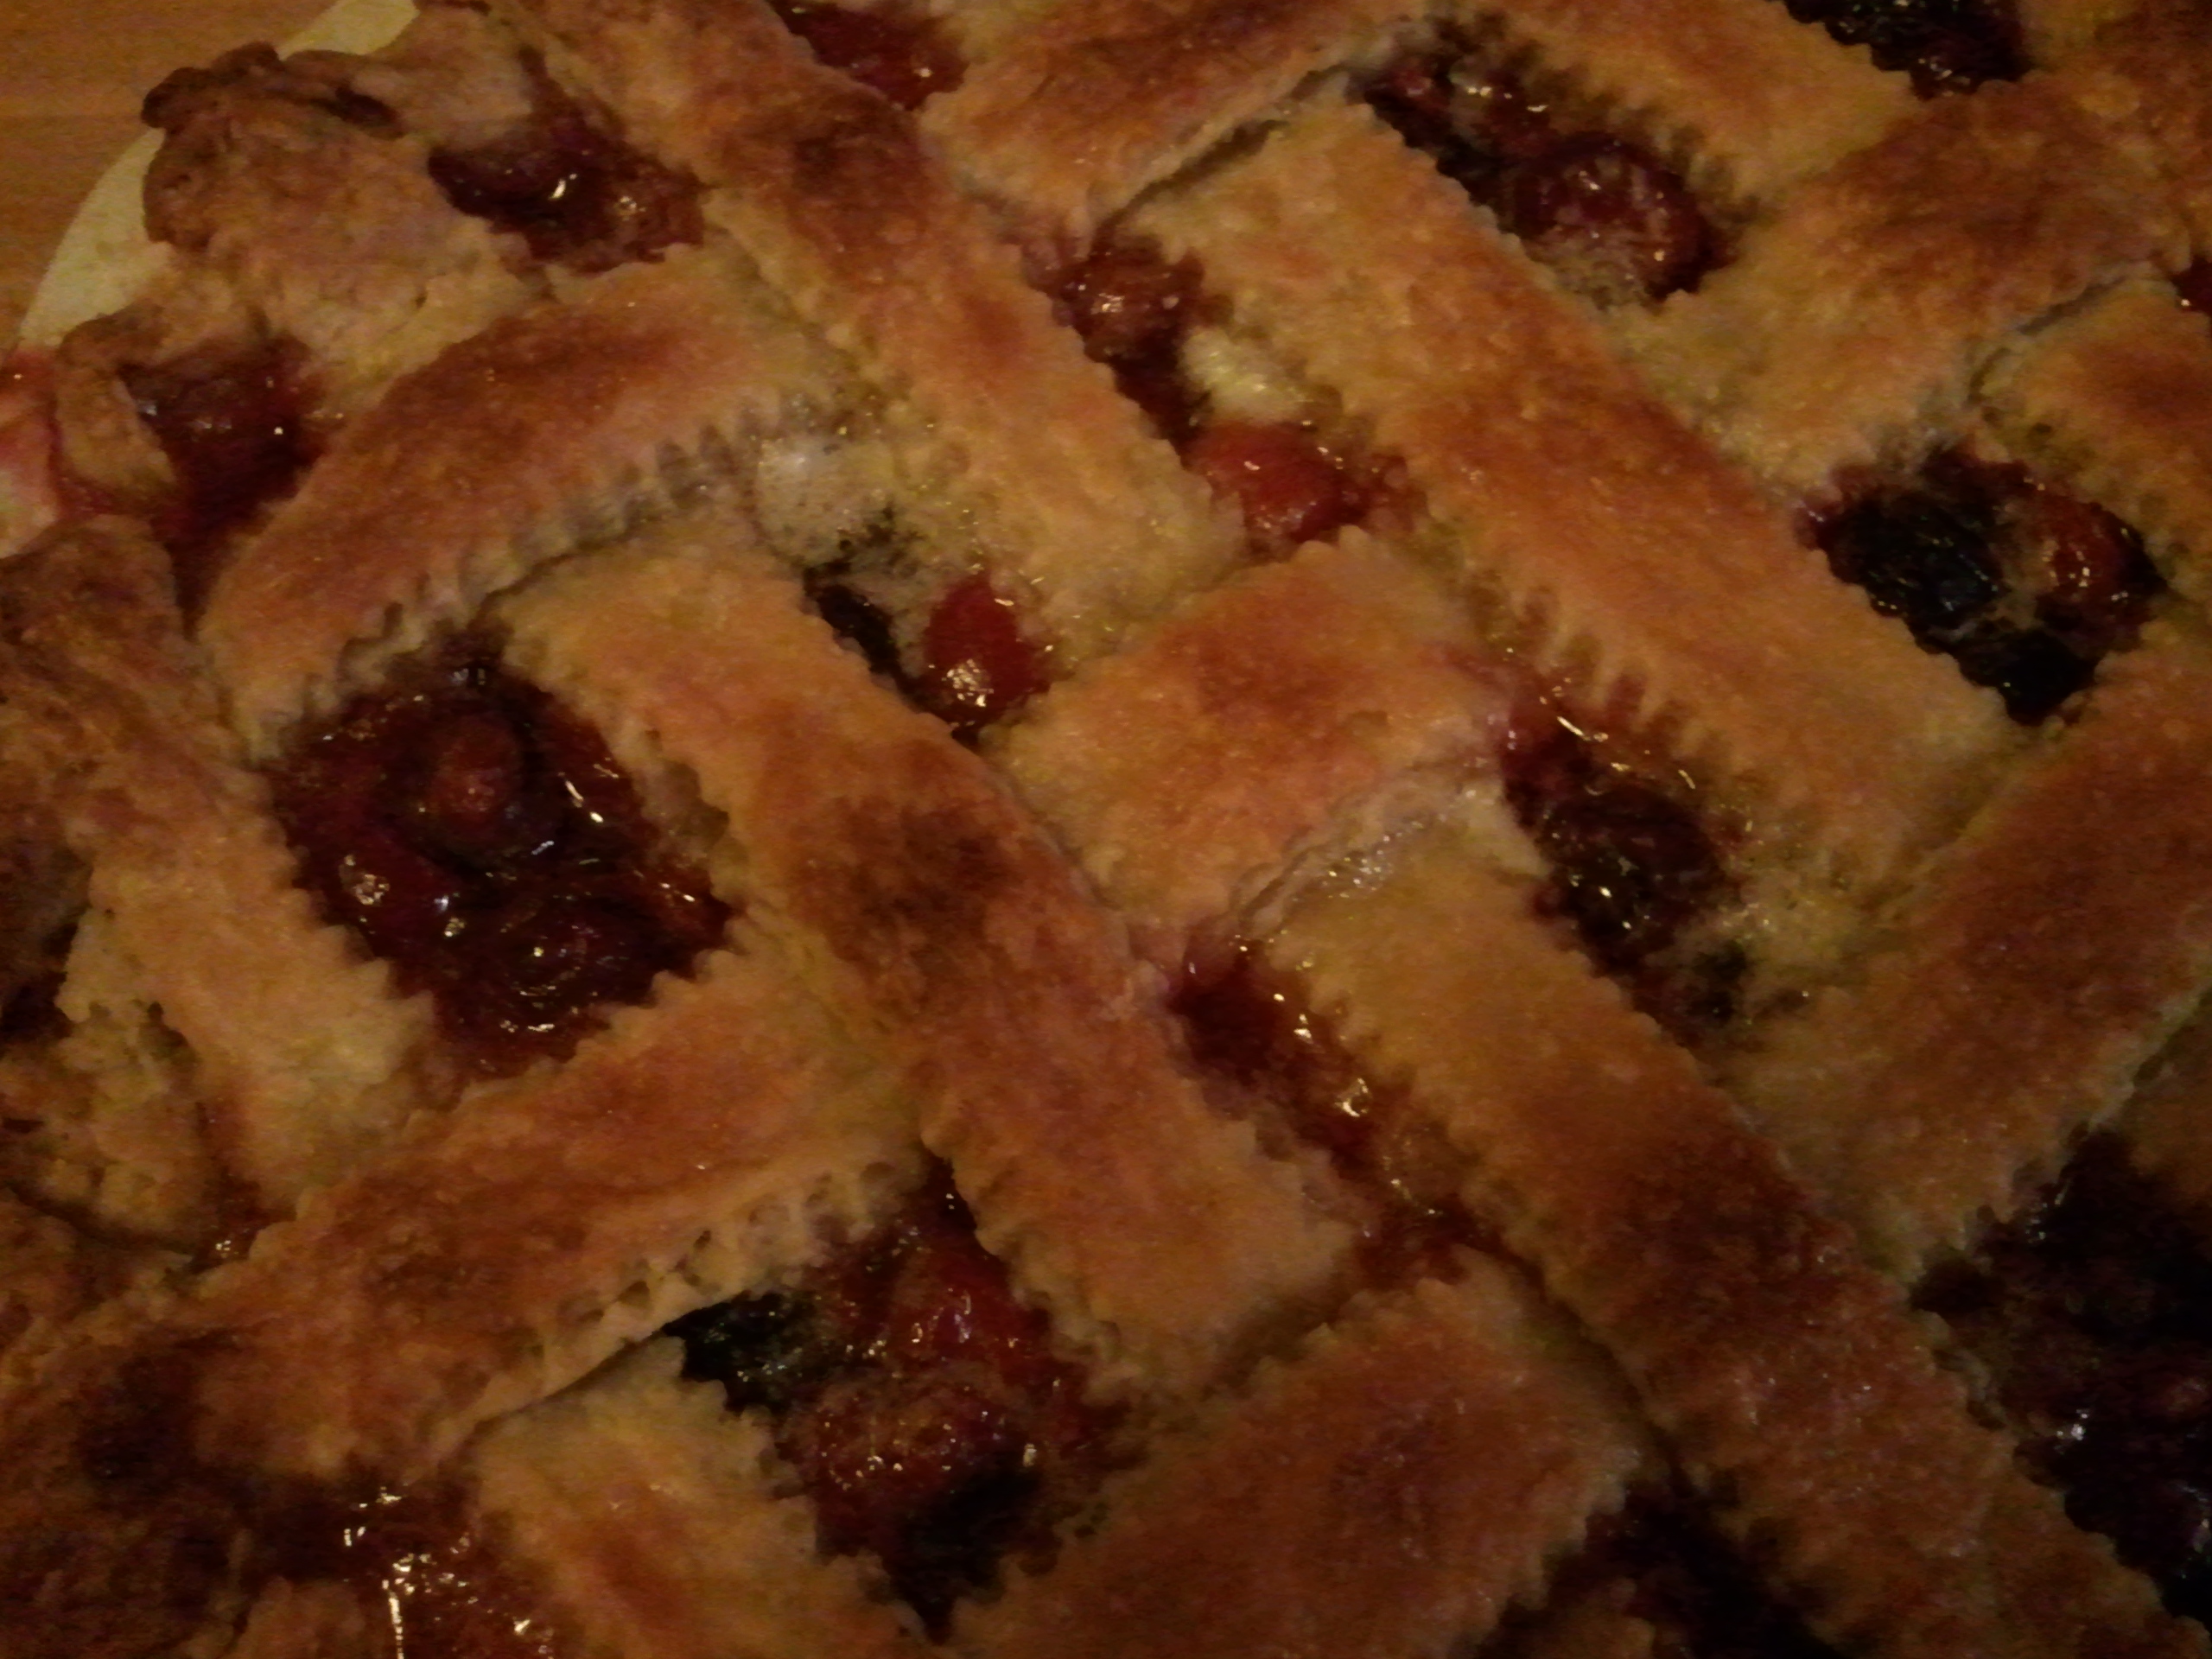
Flaky crust of deliciousness…I’m guessing.
I wish I could tell you what bluecherry pie tastes like, but I didn’t eat my dinner (grilled skirt steak with chimichurri), so I didn’t get any. Maybe tonight. Wish me luck.
Love, Jude

Pingback: Dessert on the grill? | LittleJudeonFood
Pingback: Happy Pi Day! | LittleJudeonFood