Because it was so warm and sunny outside when Mama picked me up from daycare, she took me to the river so I could throw rocks in it. (I like to pick up the biggest rocks I can carry.) Needless to say, it was already past dinnertime by the time we walked in the door, wet feet and all. Mama chose to make a dinner that practically cooked itself.
First, she put a pot of salty water on the stove to boil and set the oven to 400°. Then she rinsed and prepped the veggies: snapped the bottom ends off the asparagus, cut the broccoli into florets, cut some basil into ribbons, and sliced the colorful little tomatoes in half (I helped). She put the tomatoes and basil in a large bowl and the broccoli and asparagus on a baking sheet and tossed them with olive oil and salt & pepper.
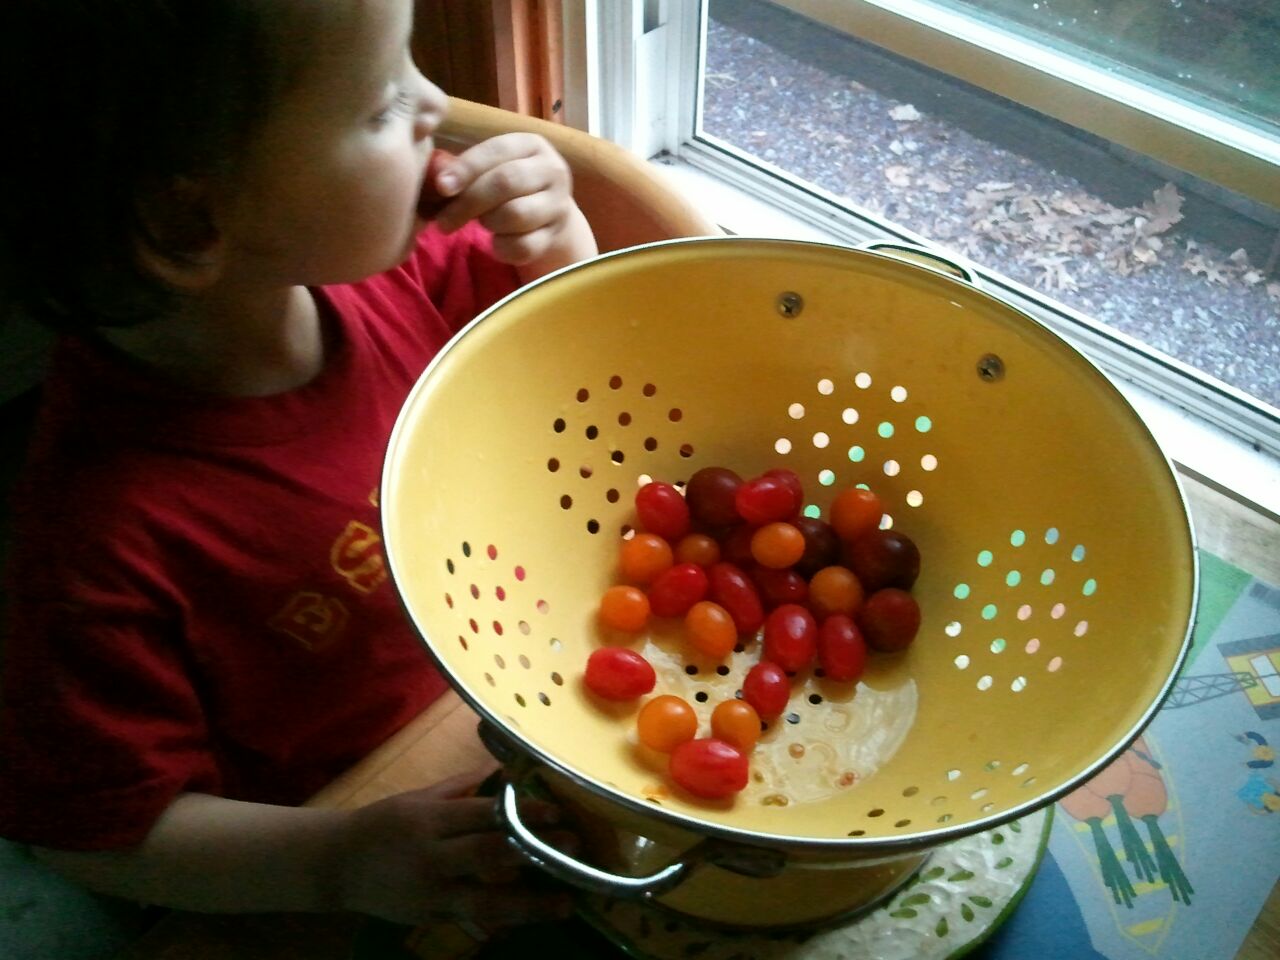
I sure love teeny tomatoes.
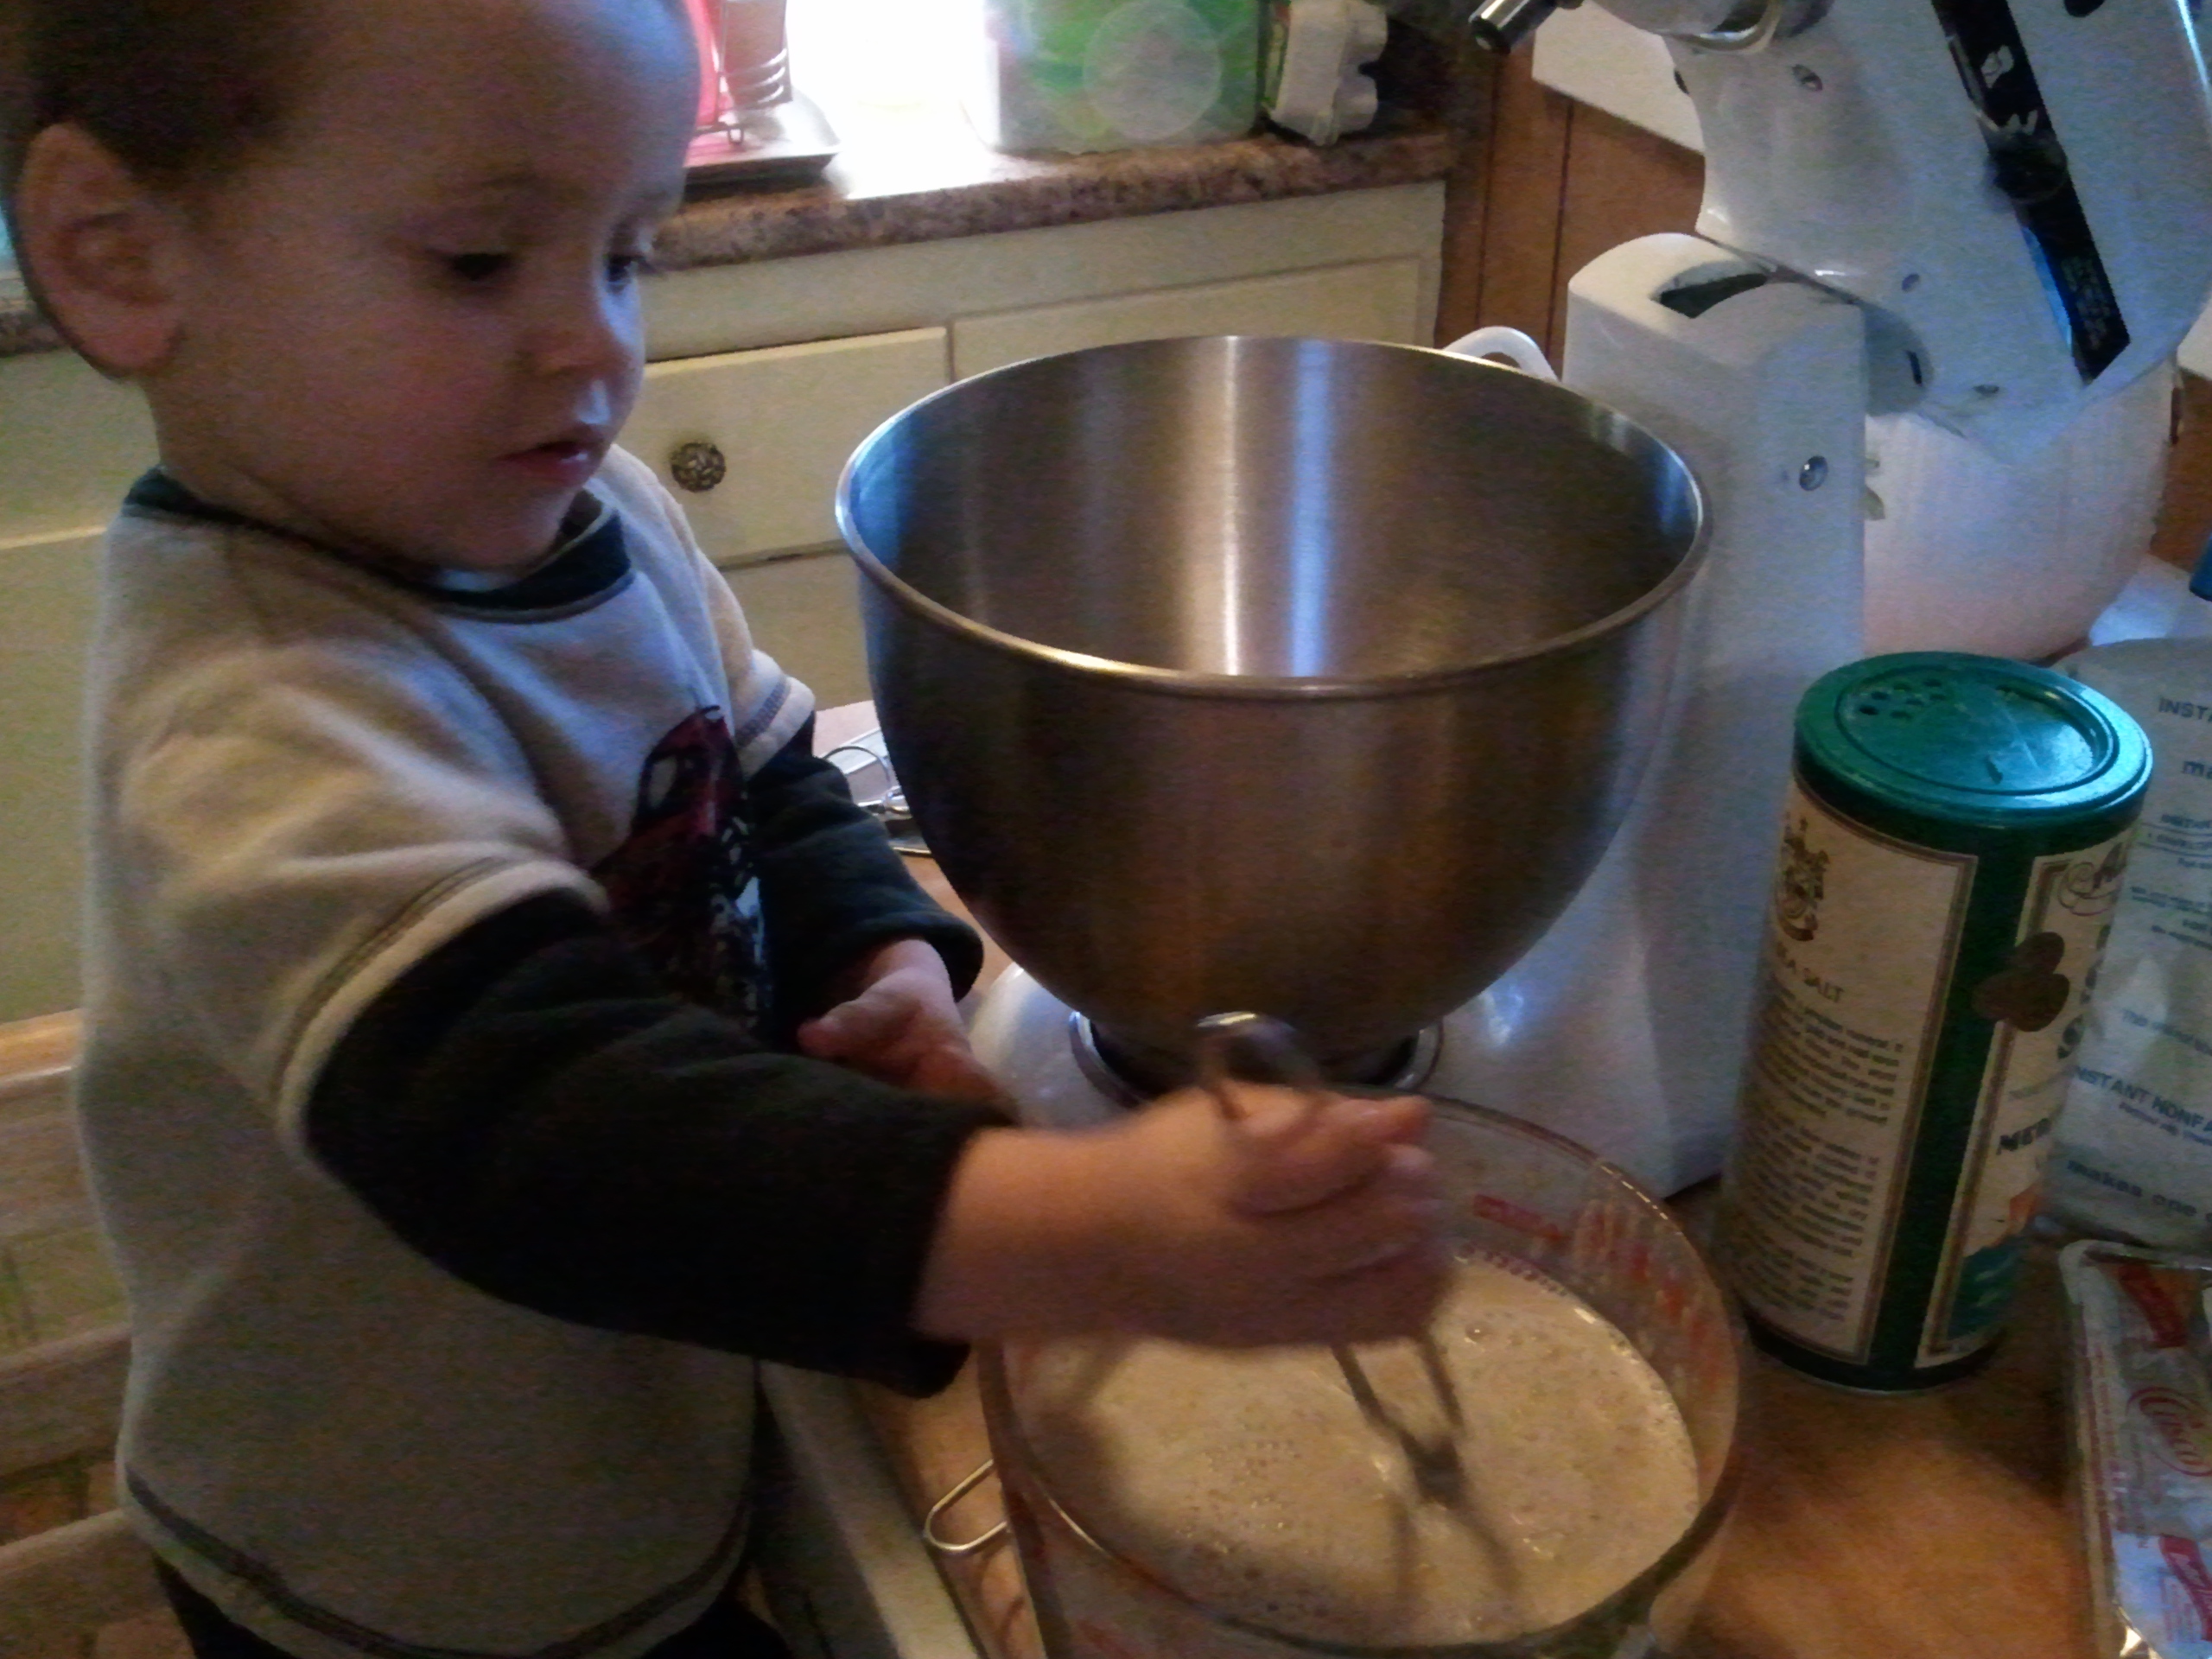
Then she showed me the funny little pasta we would be eating, called Israeli couscous. It looks like couscous that grew up to be big and strong. Mama said that even though it looks like a grain, it’s really just a pasta. I ate a few of them raw—crunchy! Once the water came to a rolling boil, Mama poured in the couscous and gave it a good stir. Did you know that the proper way to cook pasta involves plenty of boiling water for the pasta to move around in? She also put the asparagus & broccoli in the oven, on the lower rack.
You would think Mama would’ve stopped there, but instead she took out a pound of beautiful Pacific salmon. She gave it a quick rinse, then set it on a baking sheet, skin-side down, and patted the flesh dry. She drizzled olive oil on it then sprinkled it with salt and pepper, and into the oven it went, on the upper rack. While dinner cooked, we had time to wash our feet in the tub. Do you have any idea what a river does to kid feet?

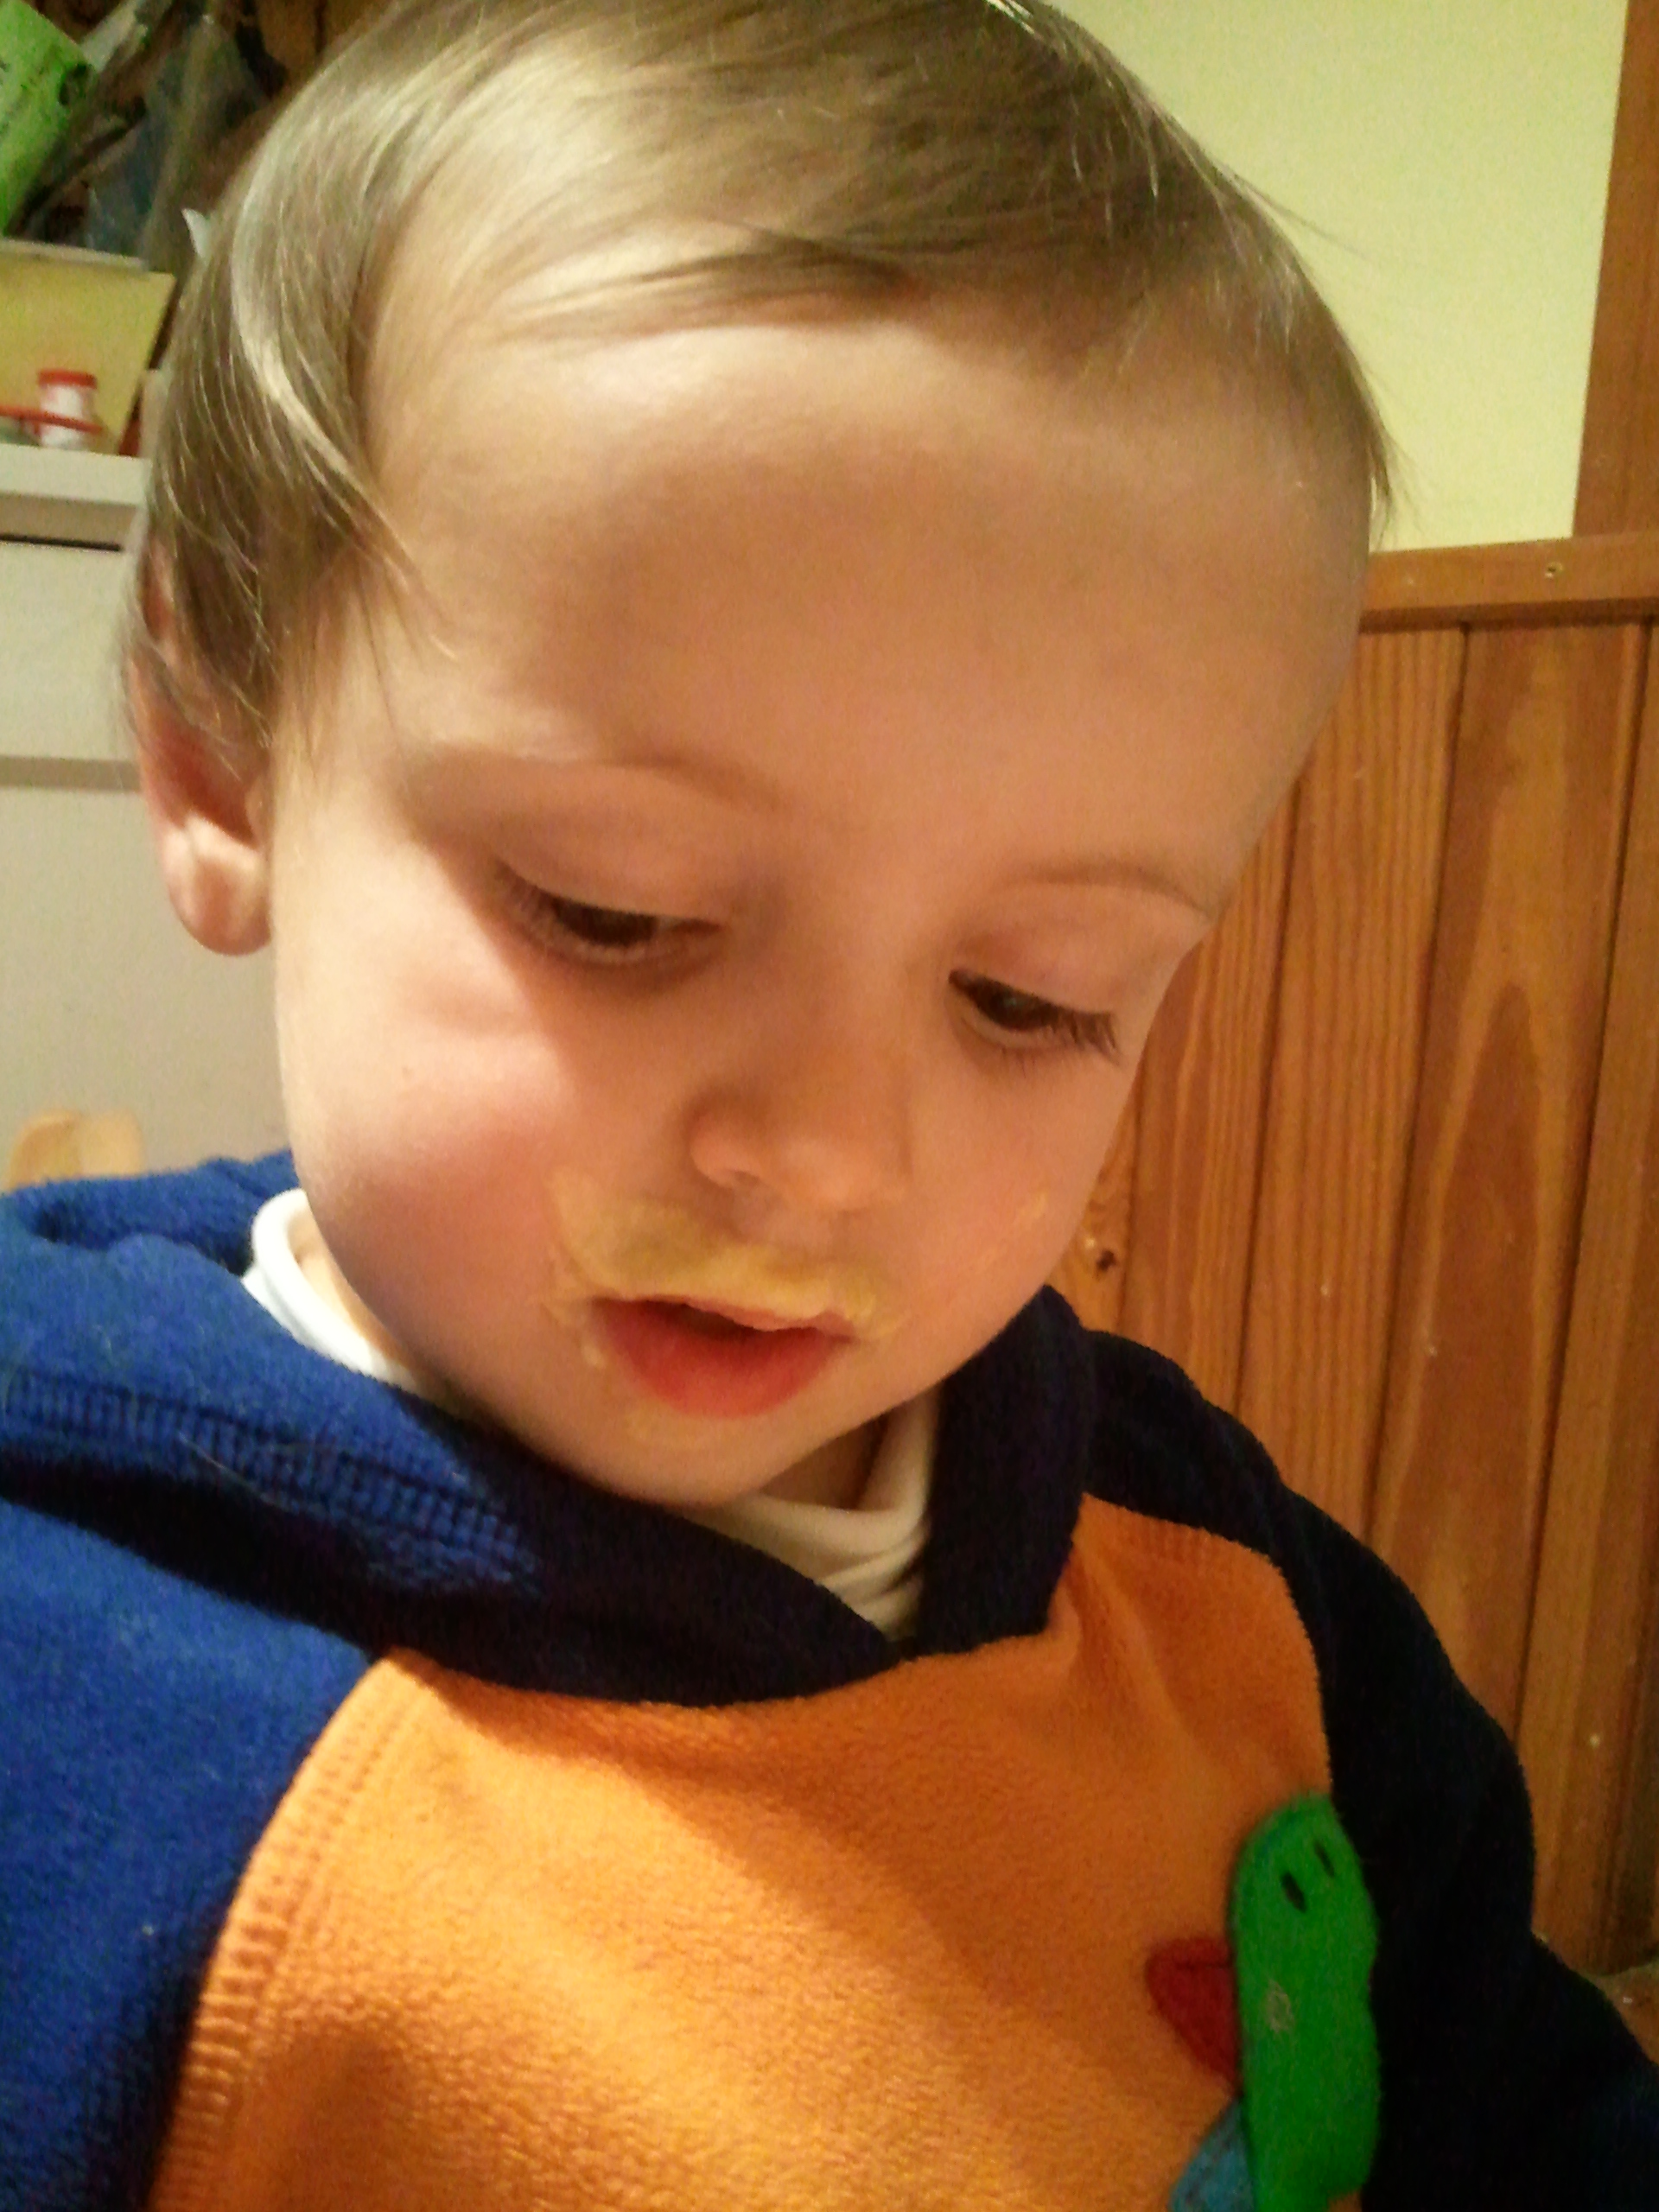
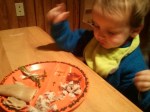
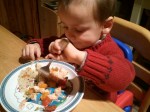
I’m trying to eat around the basil.
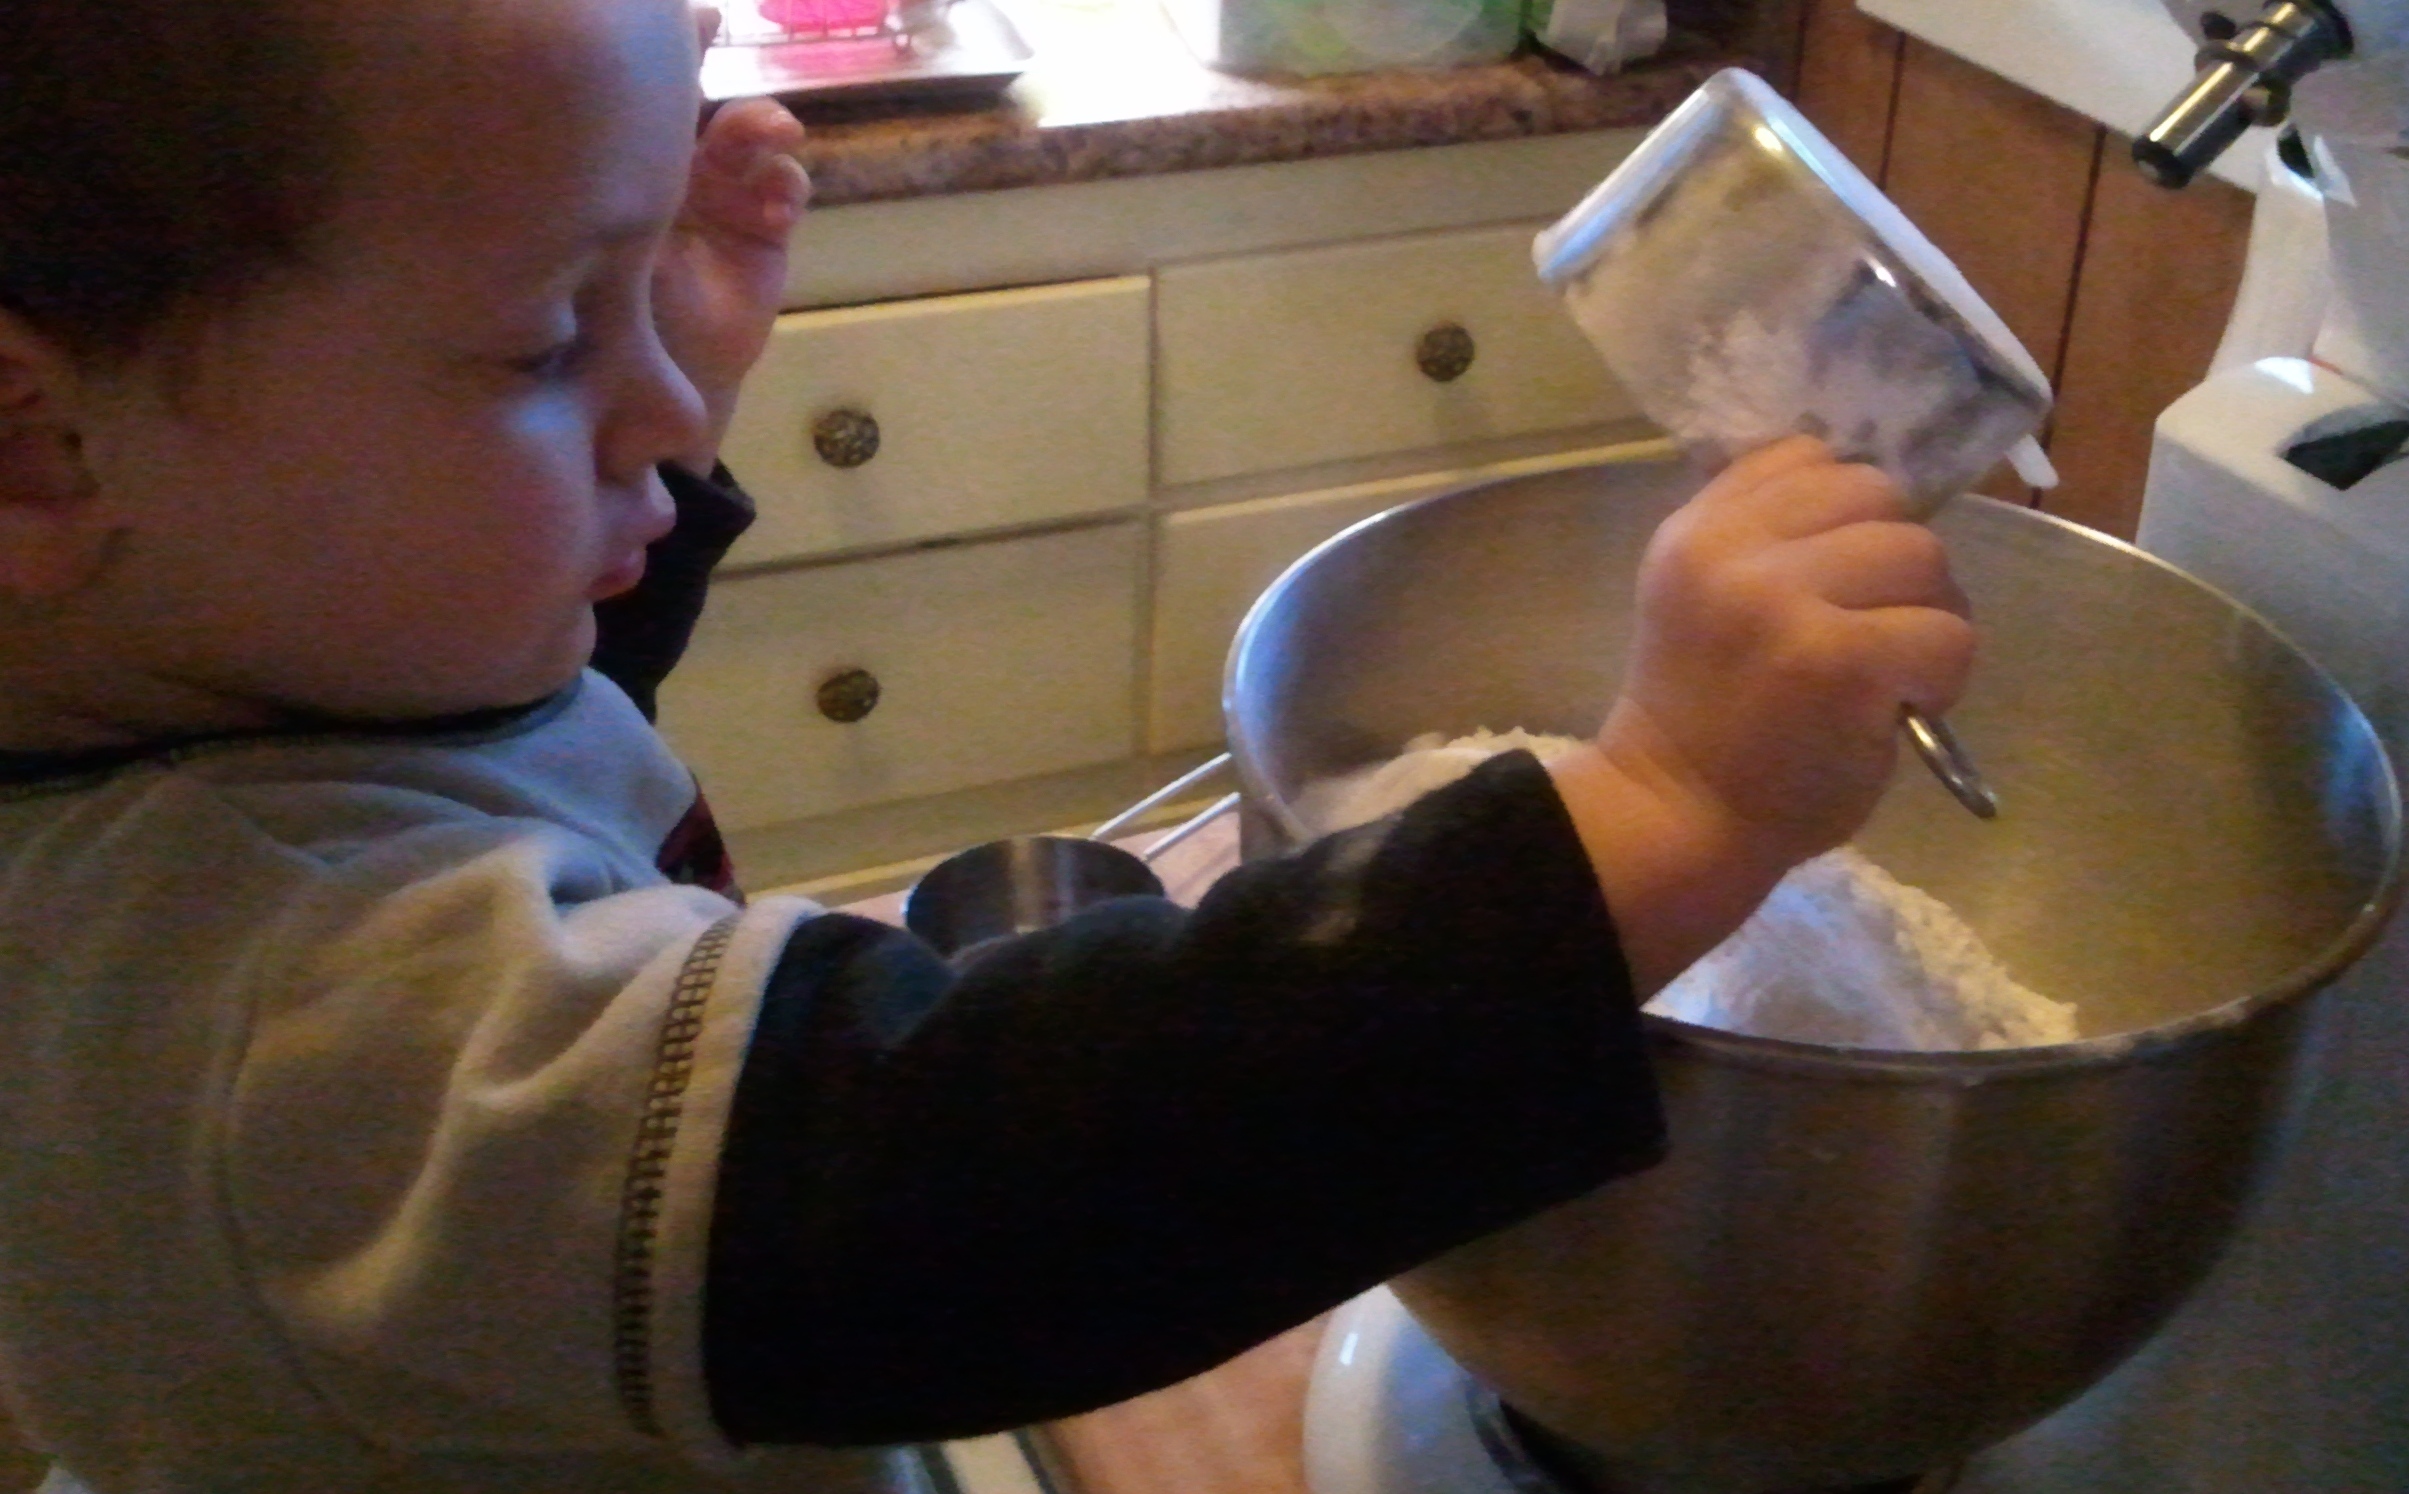
Israeli couscous cooks quicker than regular pasta (it’s really small), so when that was tender, Mama drained it and added it to the bowl with the tomatoes. She added—you guessed it—olive oil, salt, pepper, lemon juice, a bunch of freshly grated Parmesan (I helped), and some leftover roasted garlic. (This is even easier to make: Cut off the top of an entire garlic bulb, drizzle about 1/2 tsp olive oil over it, wrap it in foil, then bake at 375°F for about 45 minutes, or until very soft and oh-so-yummy.) Gently, she mixed it all up and set it out for yours truly to devour. I loved those little baby balls of pasta, but I had to pick around the basil, which slowed me down. The fish and veggies were done at about the same time (veggies starting to brown, fish just opaque in the center), about 10 minutes all told.

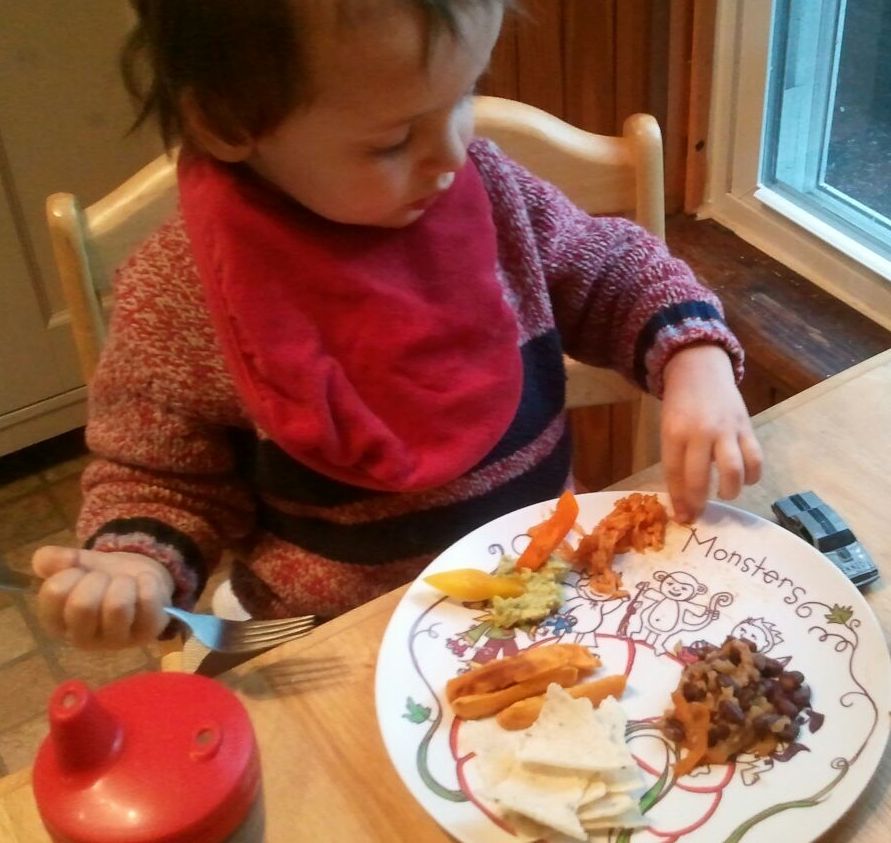
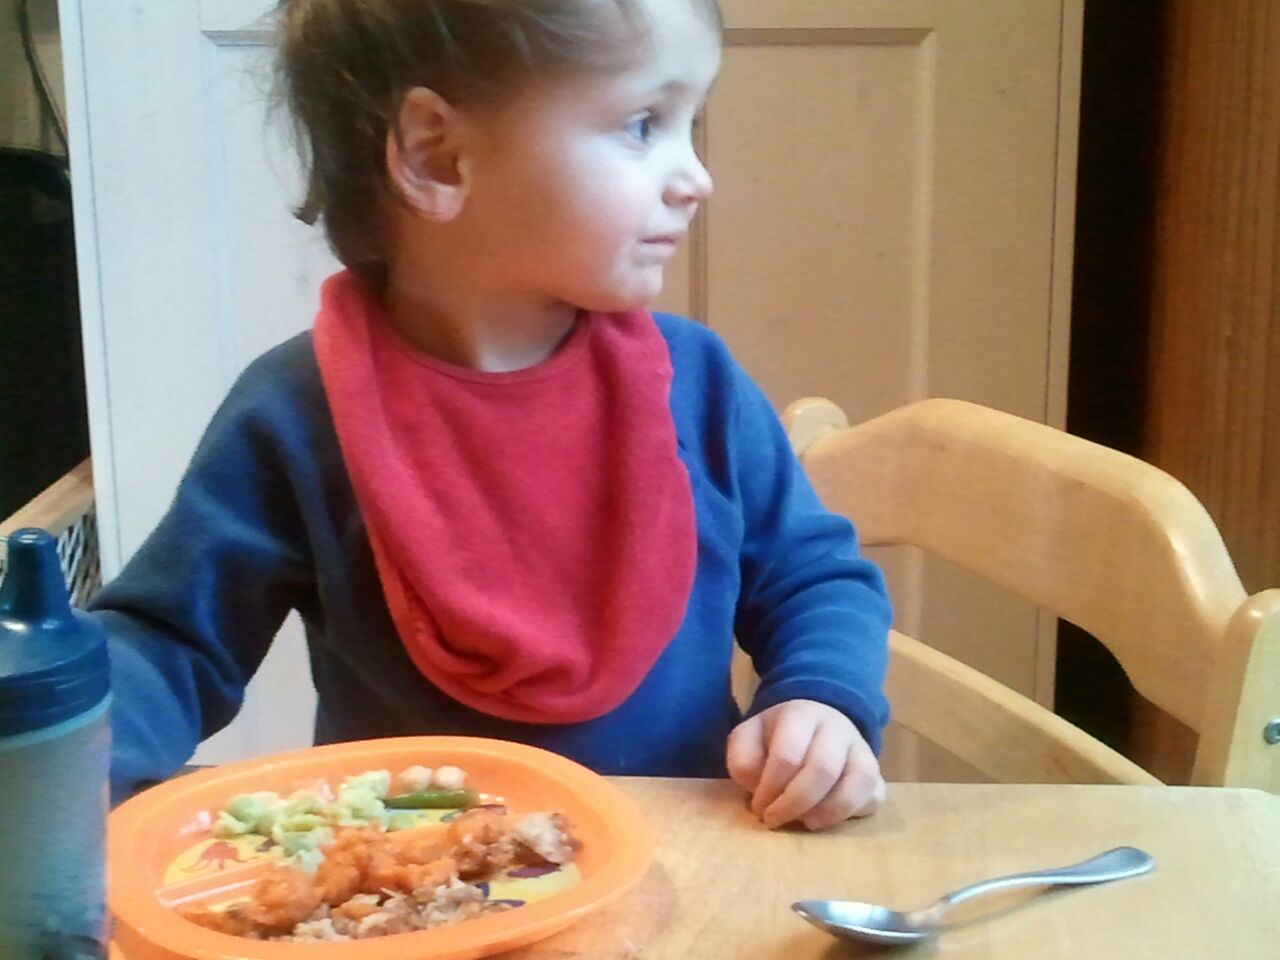
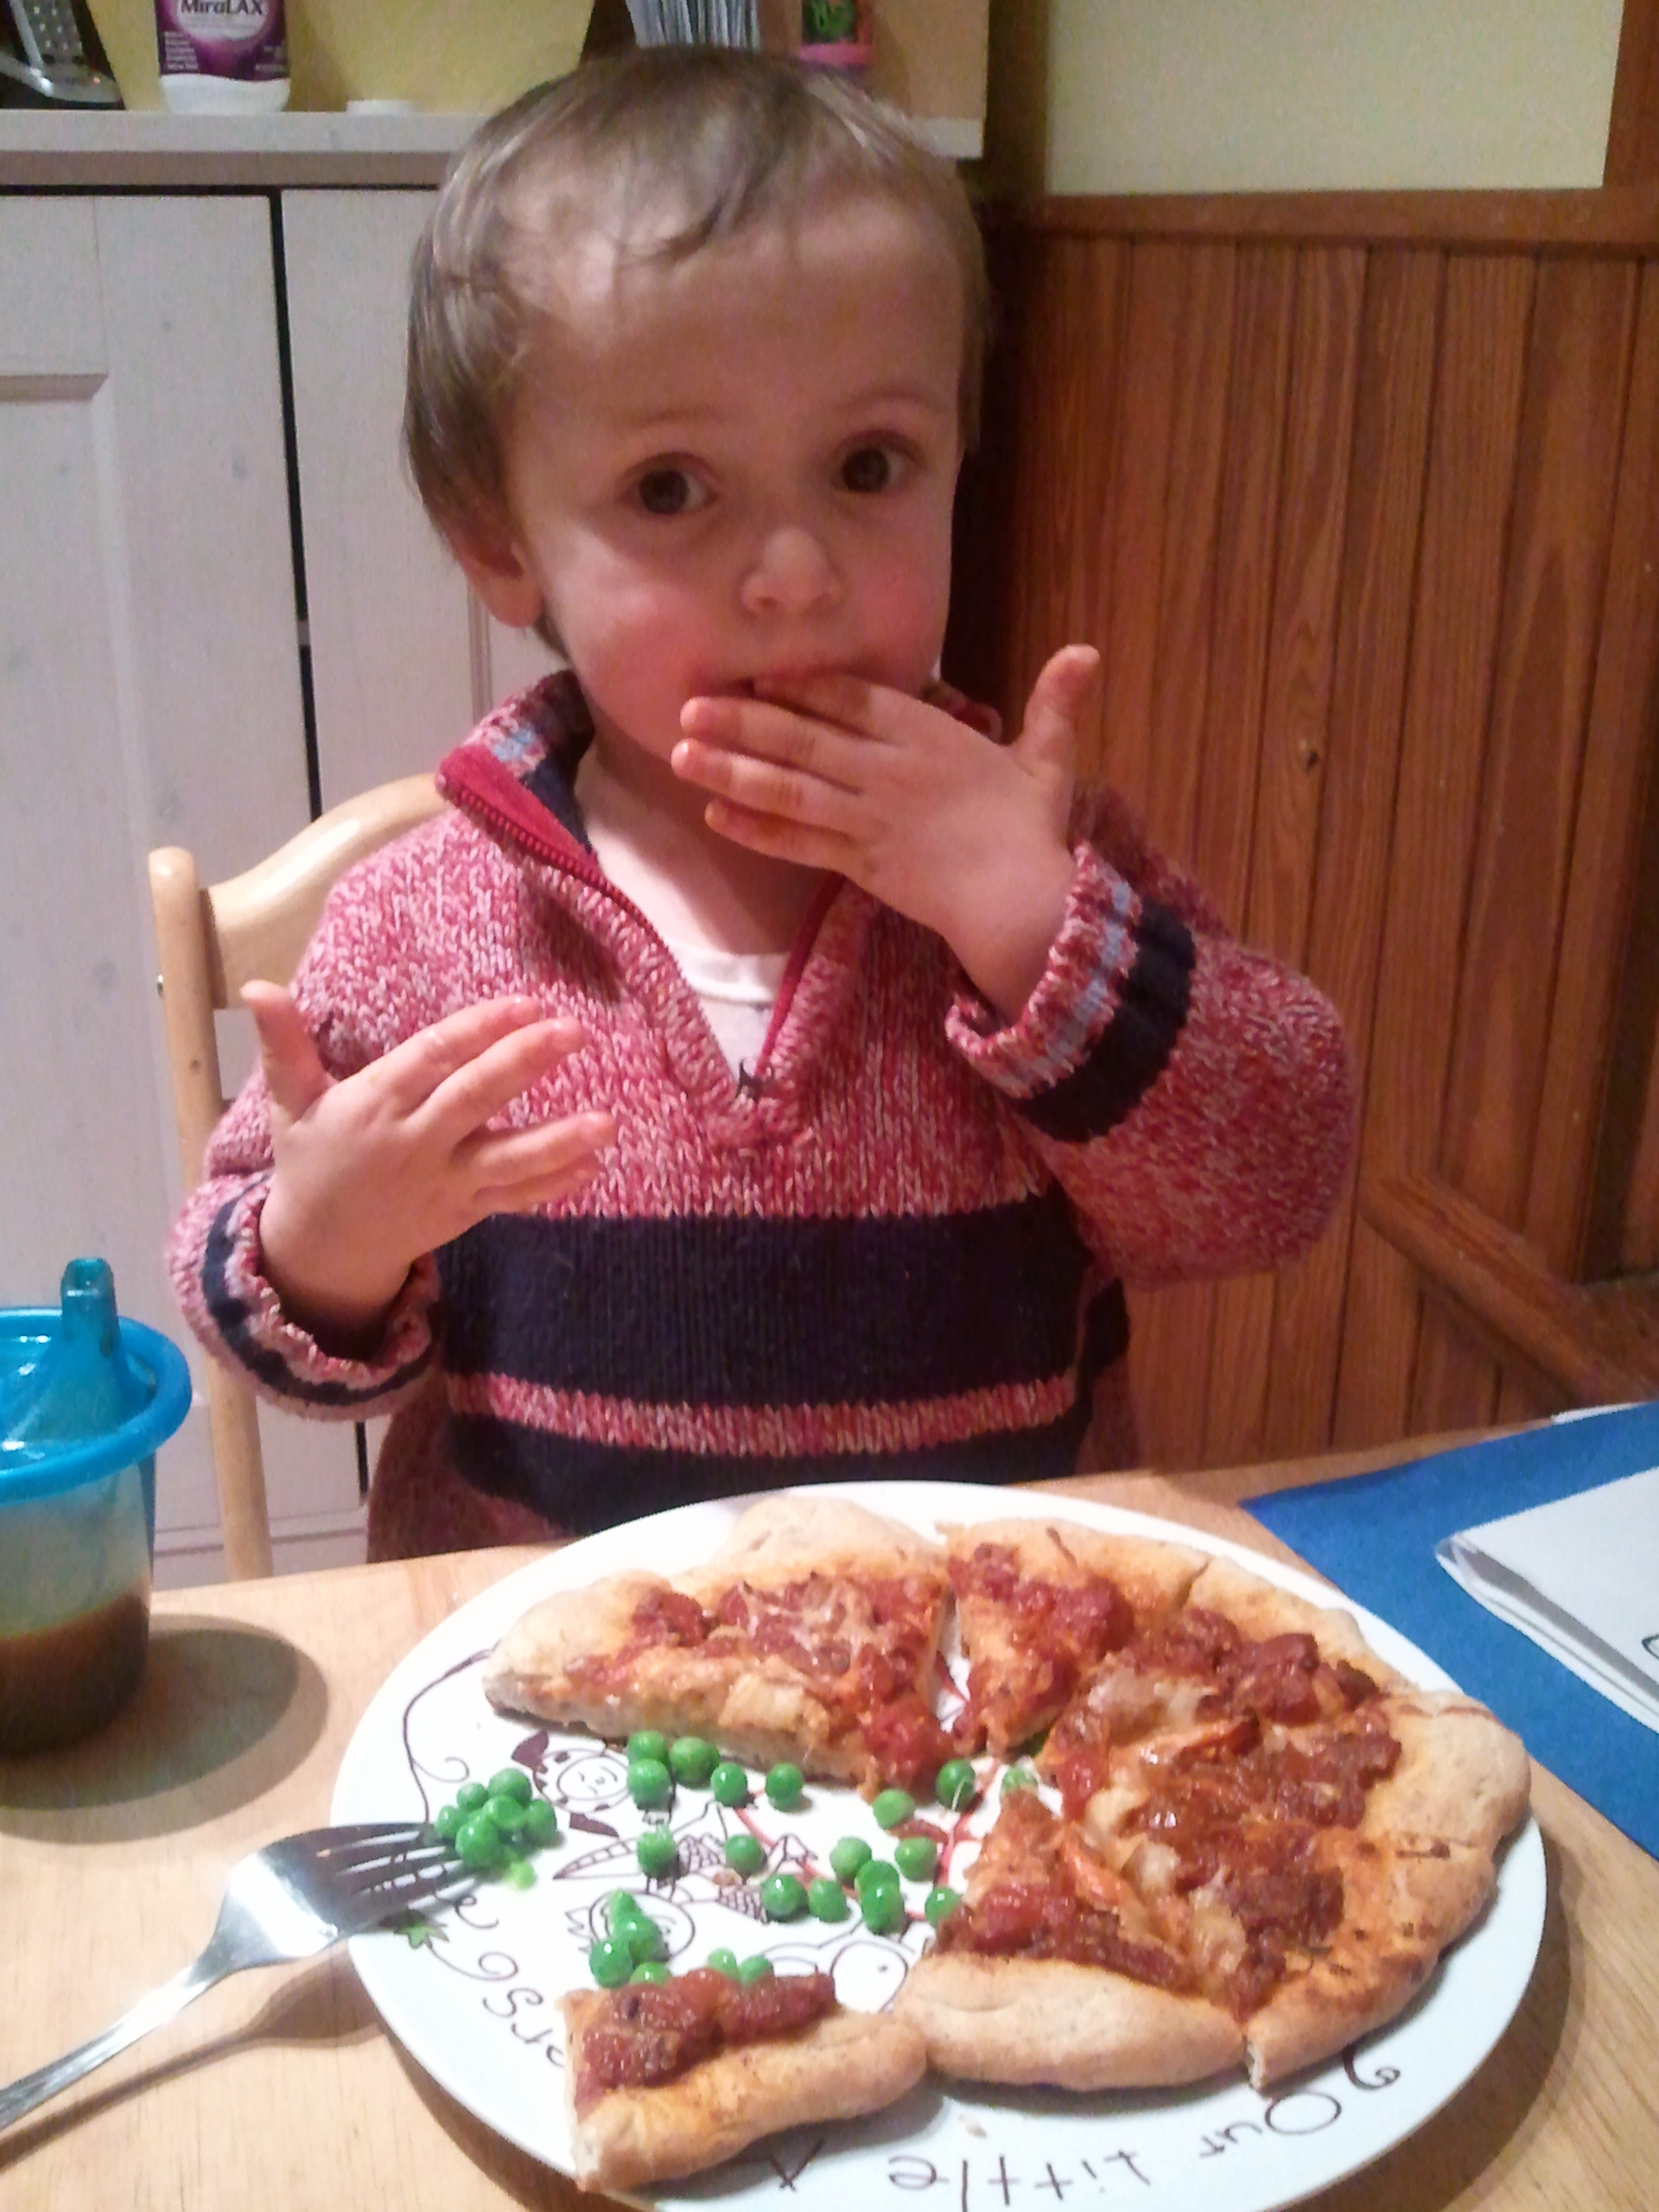
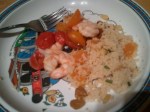
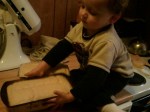
This was my plate! (Just kidding.)
Do you think I tried everything on my plate? You bet I did. The fish was succulent, almost creamy. The veggies were toasty and fragrant and full of flavor (and Mama grated some more cheese on them). Then I discovered how fun it was to toss the Israeli couscous….and that was the end of my dinner.
Love, Jude
Israeli Couscous with Tiny Tomatoes
1 cup Israeli couscous
1 pint cherry or grape tomatoes, halved
4 or 5 cloves roasted garlic (or 1 or 2 cloves fresh, minced)
5 or 6 basil leaves, chiffonade (cut into ribbons)
Juice of 1/2 lemon
Salt & pepper to taste
Olive oil
Parmesan cheese
Cook the pasta according to package directions. Drain and add to a bowl, along with the tomatoes, garlic, basil, and lemon juice. Add salt and pepper to taste, along with a healthy drizzle of olive oil. (Mama says you don’t want to drown your pasta, you just want to moisten it.) Top it with freshly grated Parmesan cheese, if desired. Serve warm or cold.