LittleJudeonFood

One kid's adventures in gastronomy


Leave a comment

Just don’t call them “arancini”

…because then I will not want to eat them. Now, “rice balls,” on the other hand, is so much more appealing. After all, we enjoy the idea of a food before the first bite ever reaches our mouths. Or so I’m told.

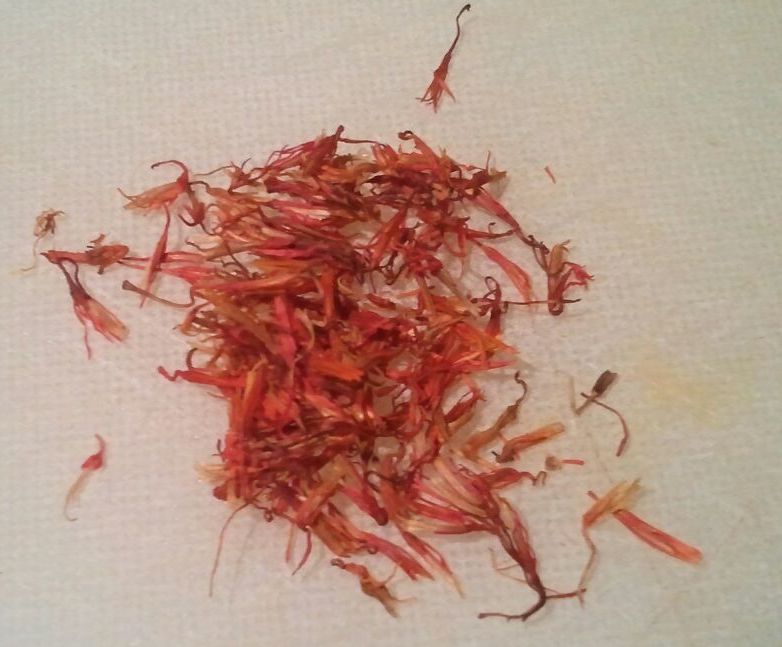
Take the little rice ball, for example. What 3-year-old worth his salt wouldn’t want to make one of those? As the name implies, arancini (Italian for “little oranges”) are little balls of rice that are breaded then fried or baked. (Often they’re made with saffron, and that, coupled with their orangish hue once breaded & fried, lends them their name.)

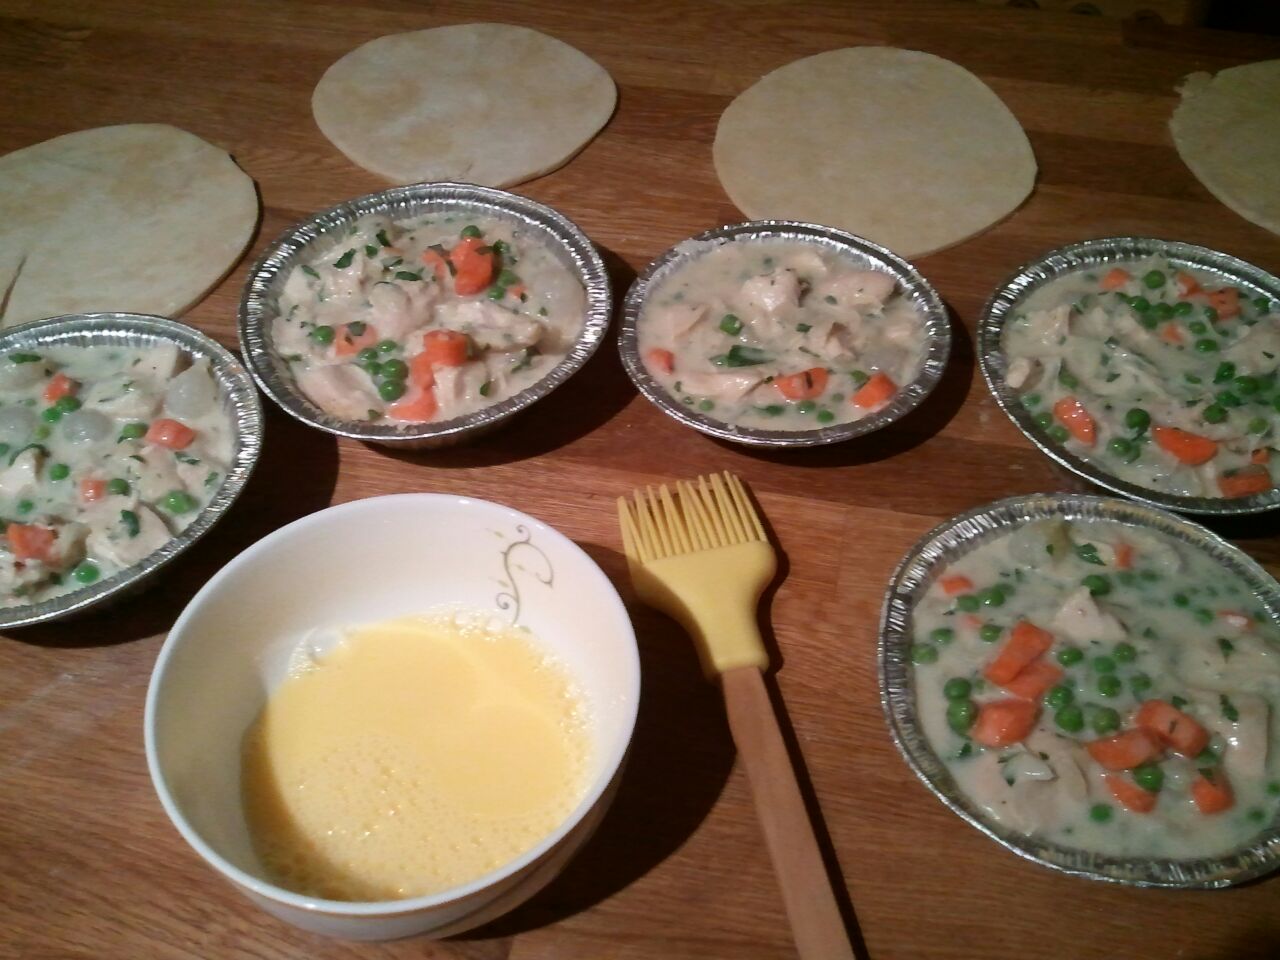
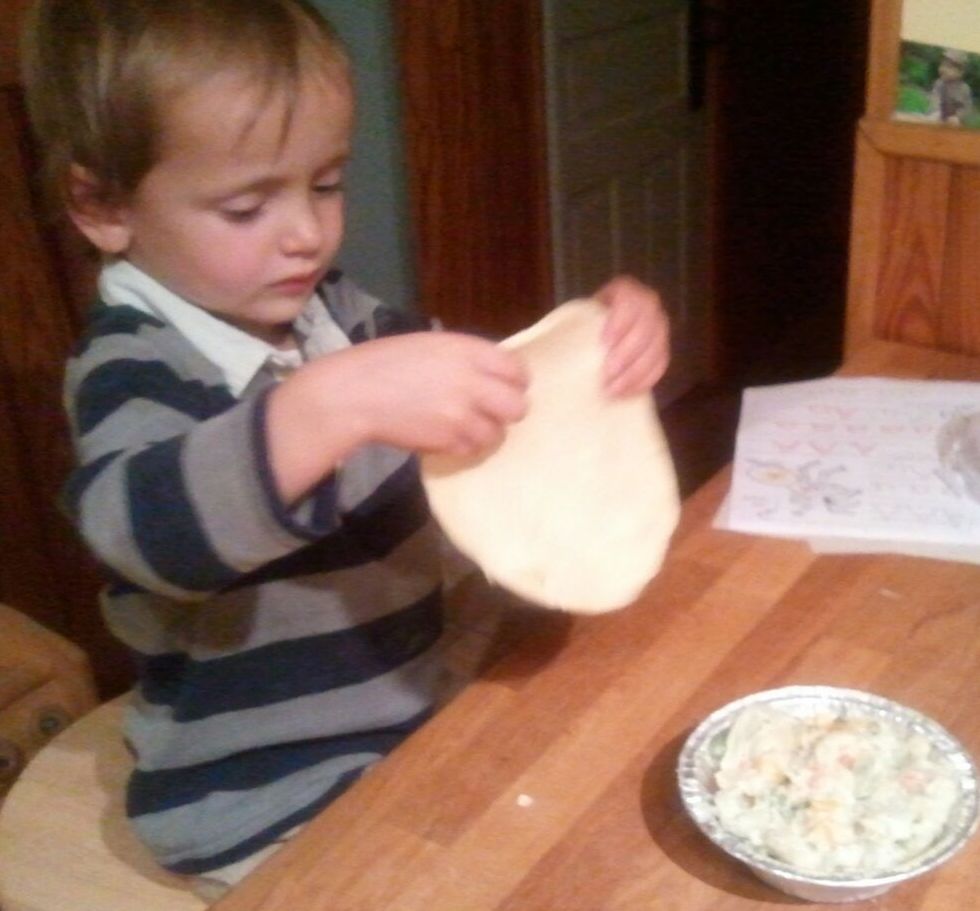
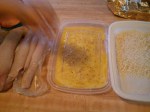
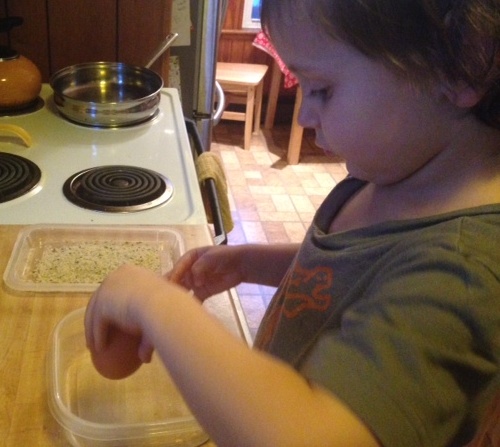
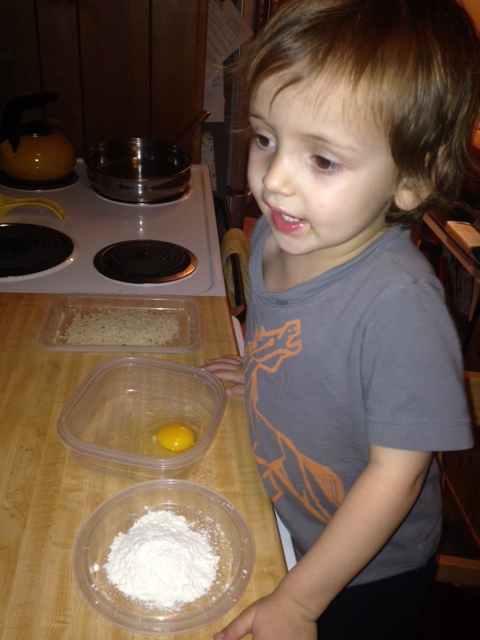
We happened to have leftover squash risotto, and Mama thought I might enjoy making the little balls with her. First, we set up our breading station, which includes a dish of flour, a beaten egg, and a dish of bread crumbs. I crack all the eggs in this house now.

"I didn't even break the yolk."

“I didn’t even break the yolk.”

The flour helps the egg stick to the rice ball, and the egg helps the bread crumbs stay put.

The flour helps the egg stick to the rice ball, and the egg helps the bread crumbs stay put.

And I also insist on beating the egg with a fork.

I took this photo myself.

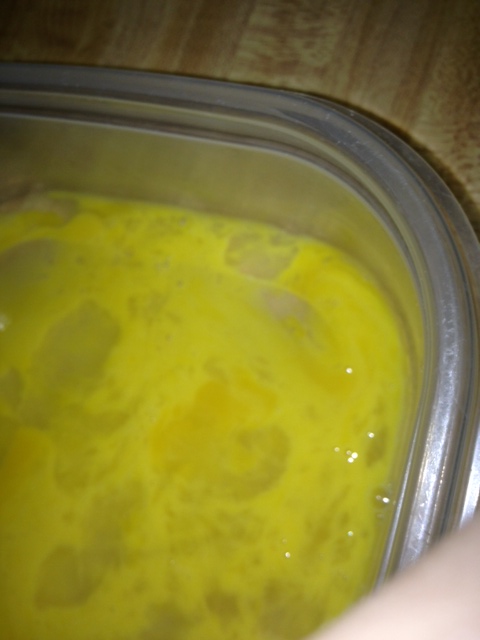
I took this picture myself.

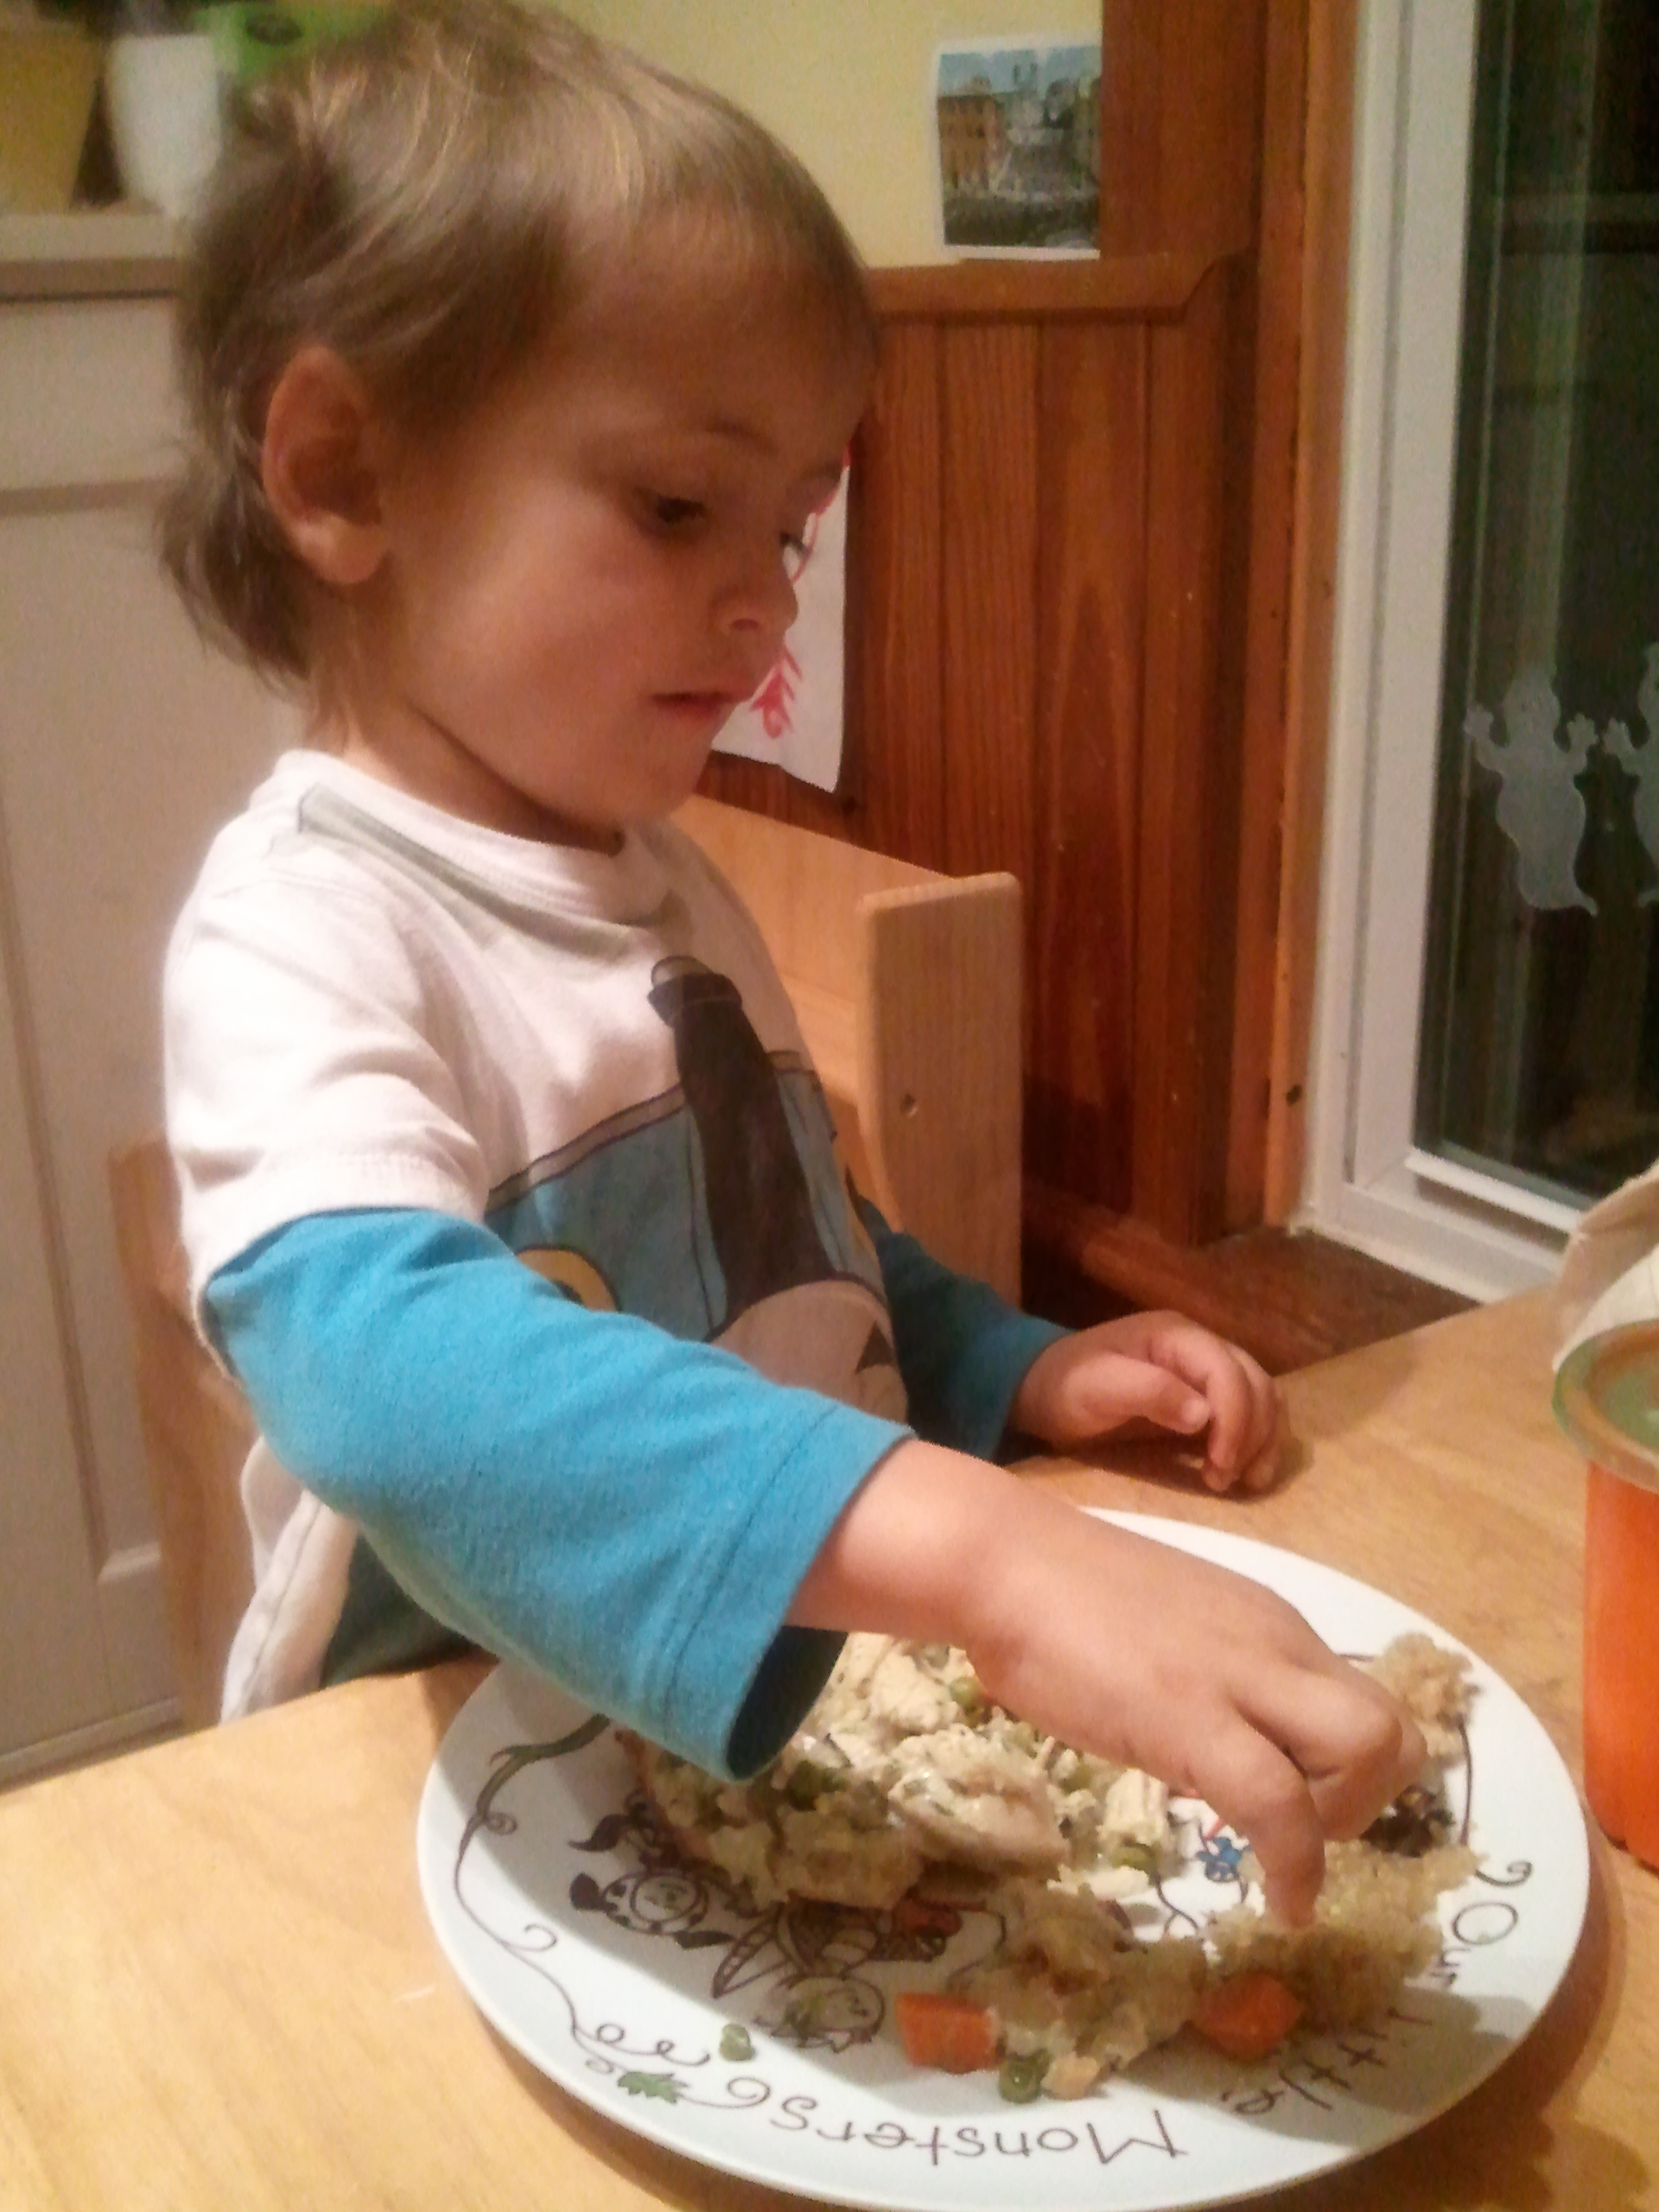
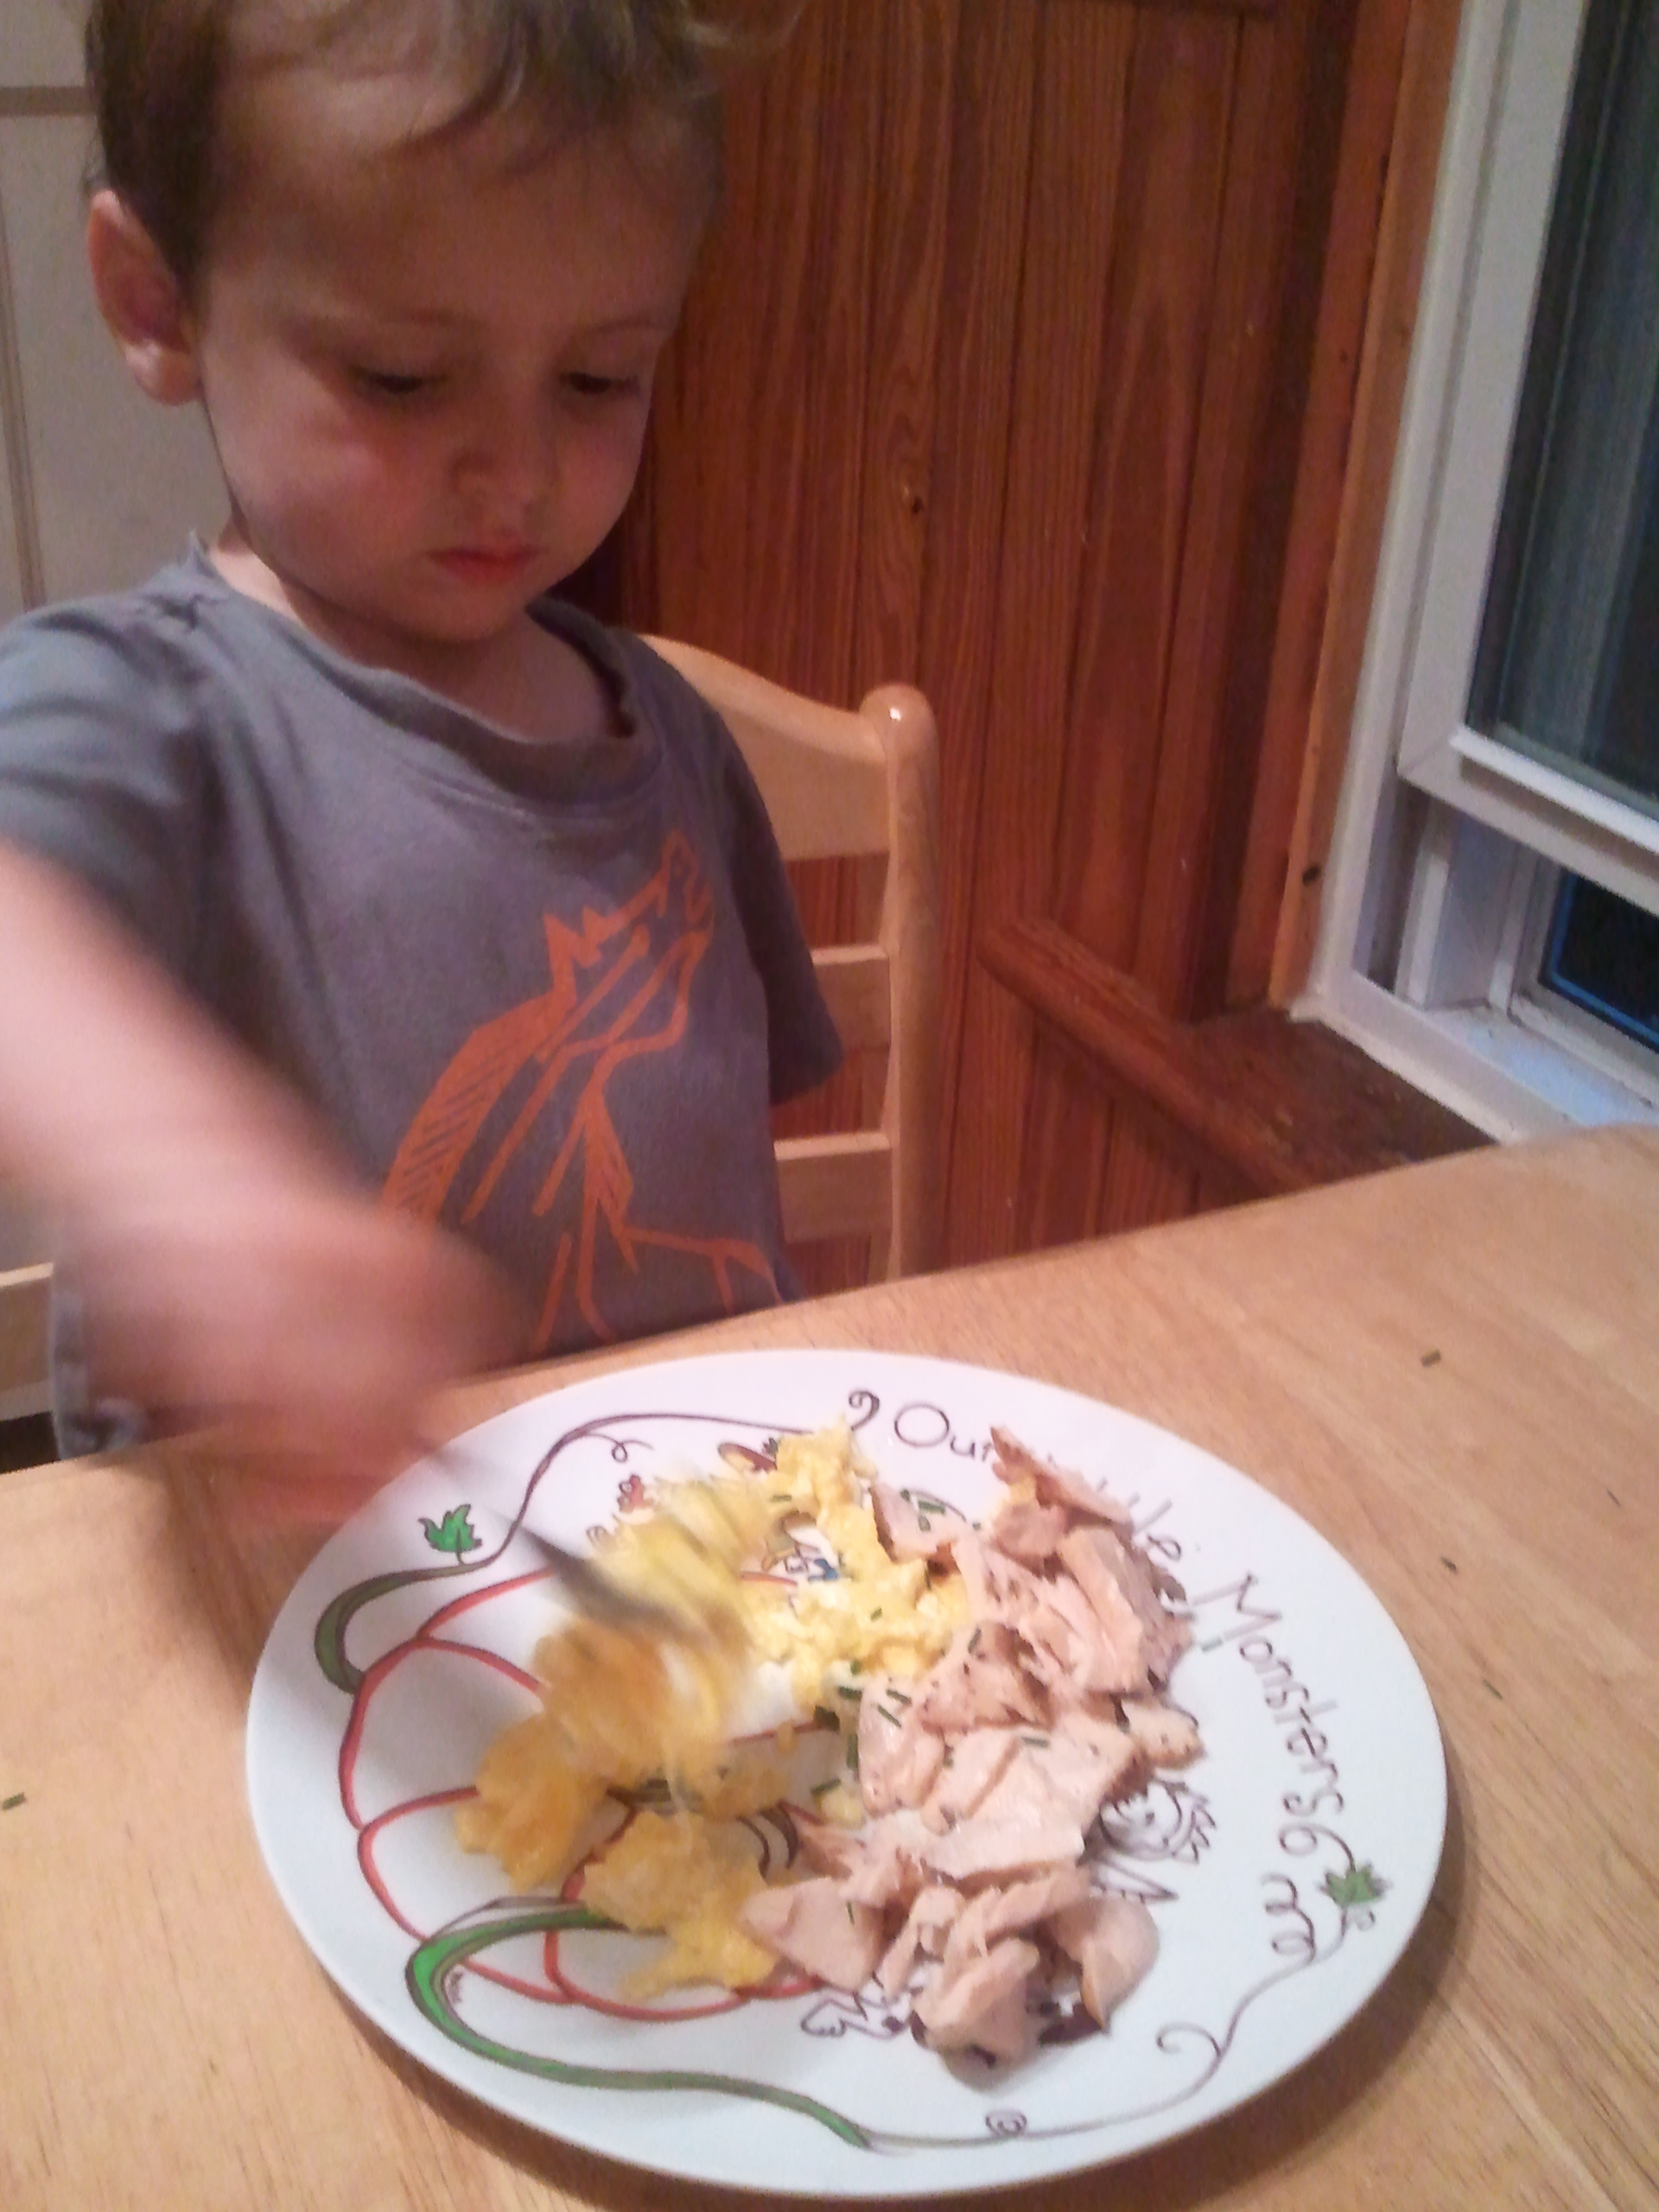
After this, I lost interest. I didn’t want to messy my hands in the cold risotto. Instead of helping, I raided the fridge.

Papa bough contraband strawberries out of season, much to my delight!

Papa bought contraband strawberries out of season, much to my delight!

Mama said we have to get all the balls formed before we begin the breading process, because we’re just going to get our fingers even messier once that starts.

Now we're set to start covering up those naked little rice balls with crunchy bread crumbs.

Now we’re set to start covering up those naked little rice balls with crispy bread crumbs.

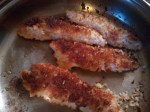
To bread a ball, gently roll it in the flour, then roll it in the egg (allowing excess to drip off), then roll it in the bread crumbs. Set aside. (You don’t want to start putting them in the hot oil as you make them because they’ll cook unevenly.) Once Mama set the frying pan of oil over medium heat, she shooed me from the kitchen. But I could hear those rice balls sizzling, and the house smelled good.

Incidentally, that little scarecrow on the plate is me!

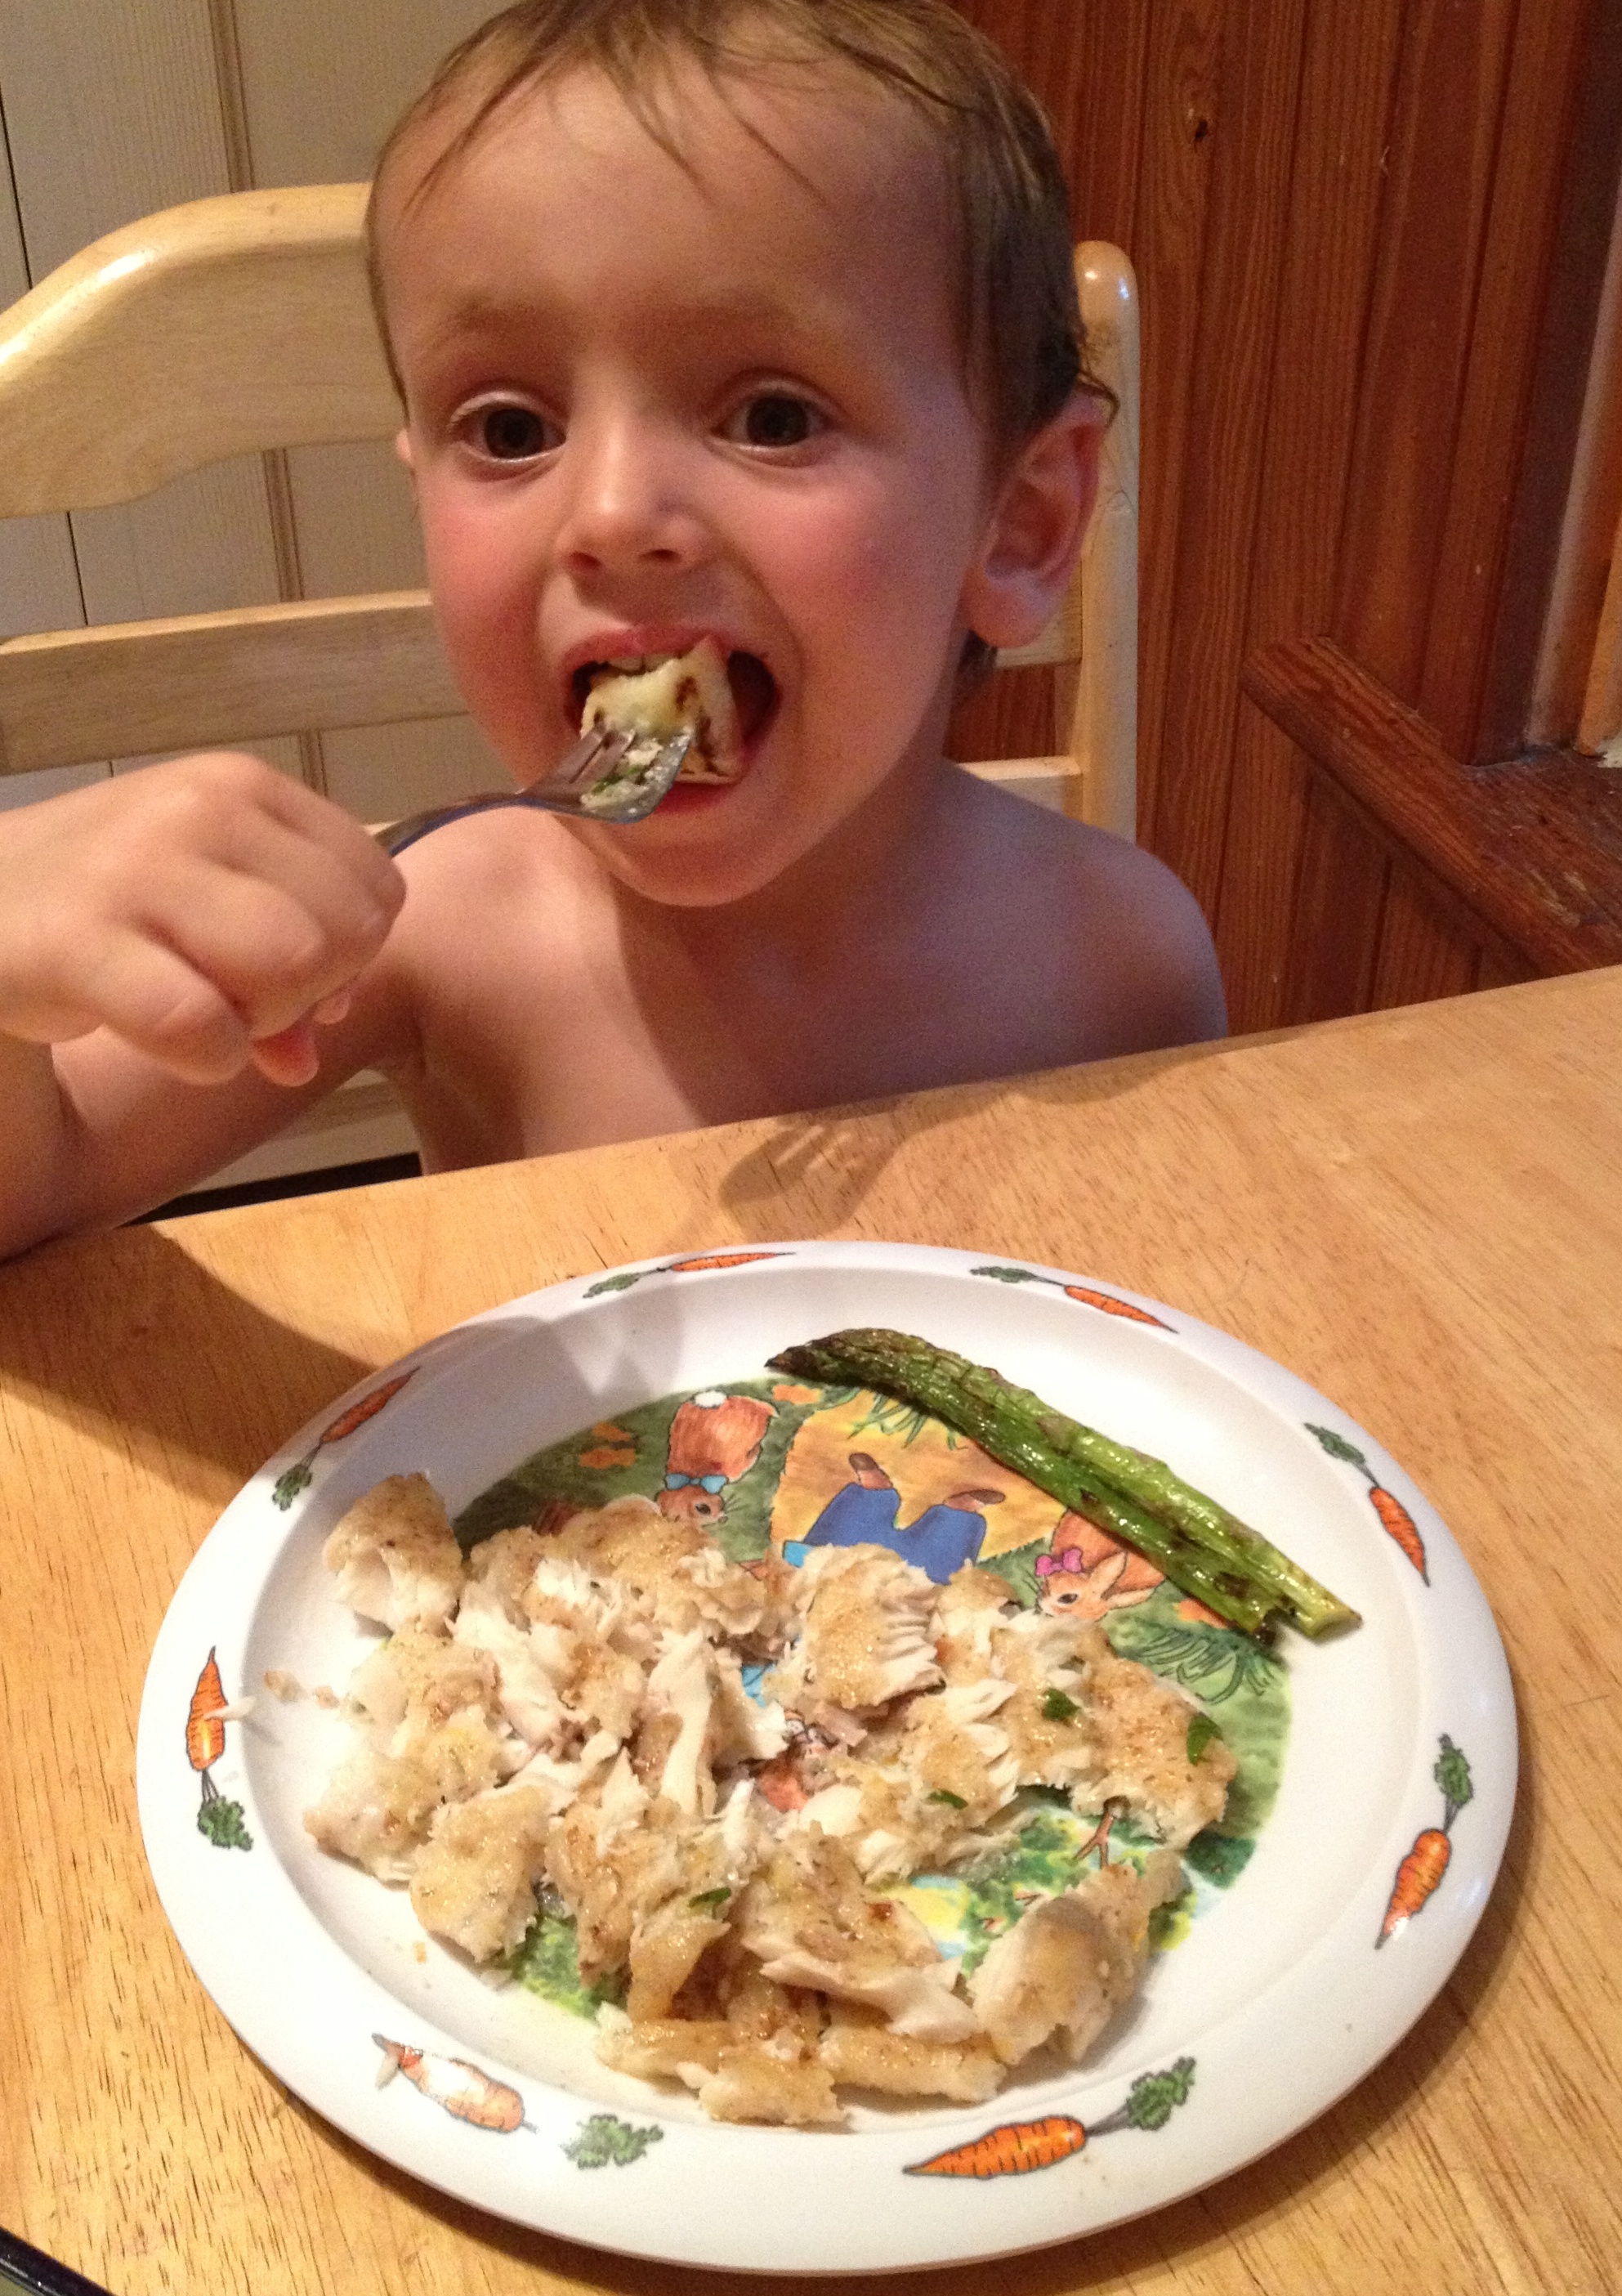
That’s a side of balsamic-roasted asparagus and portabella mushrooms.

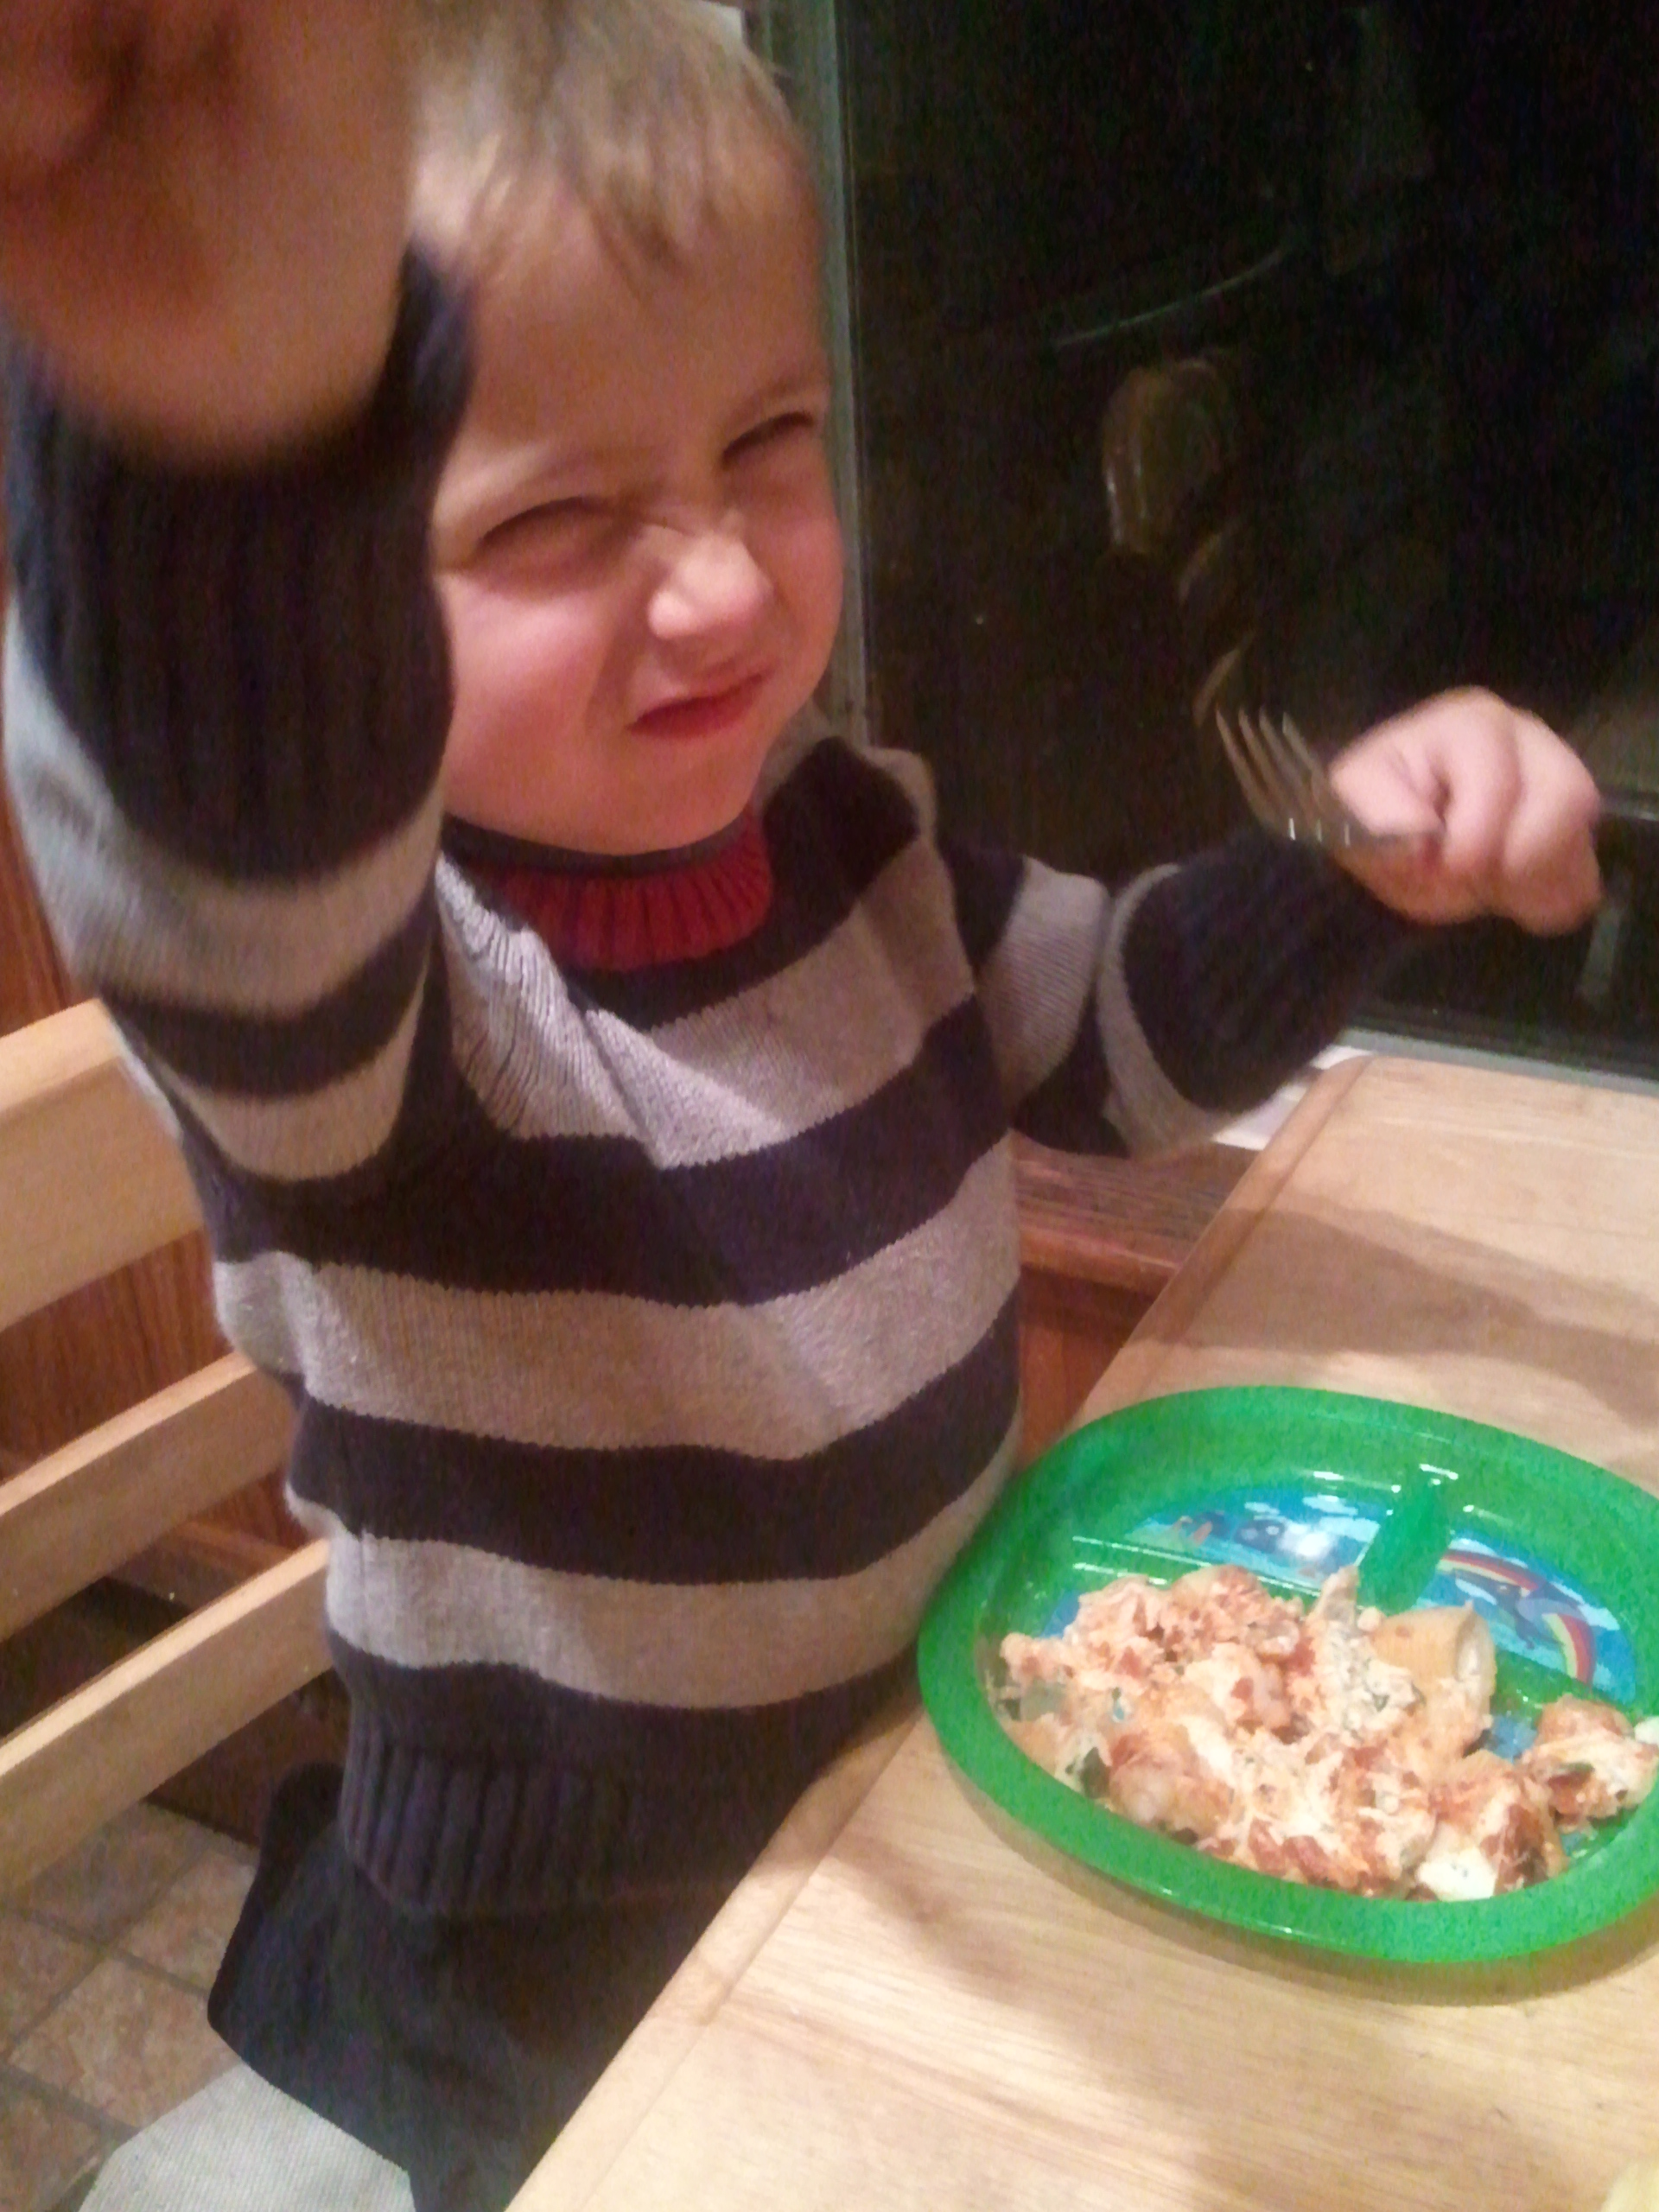
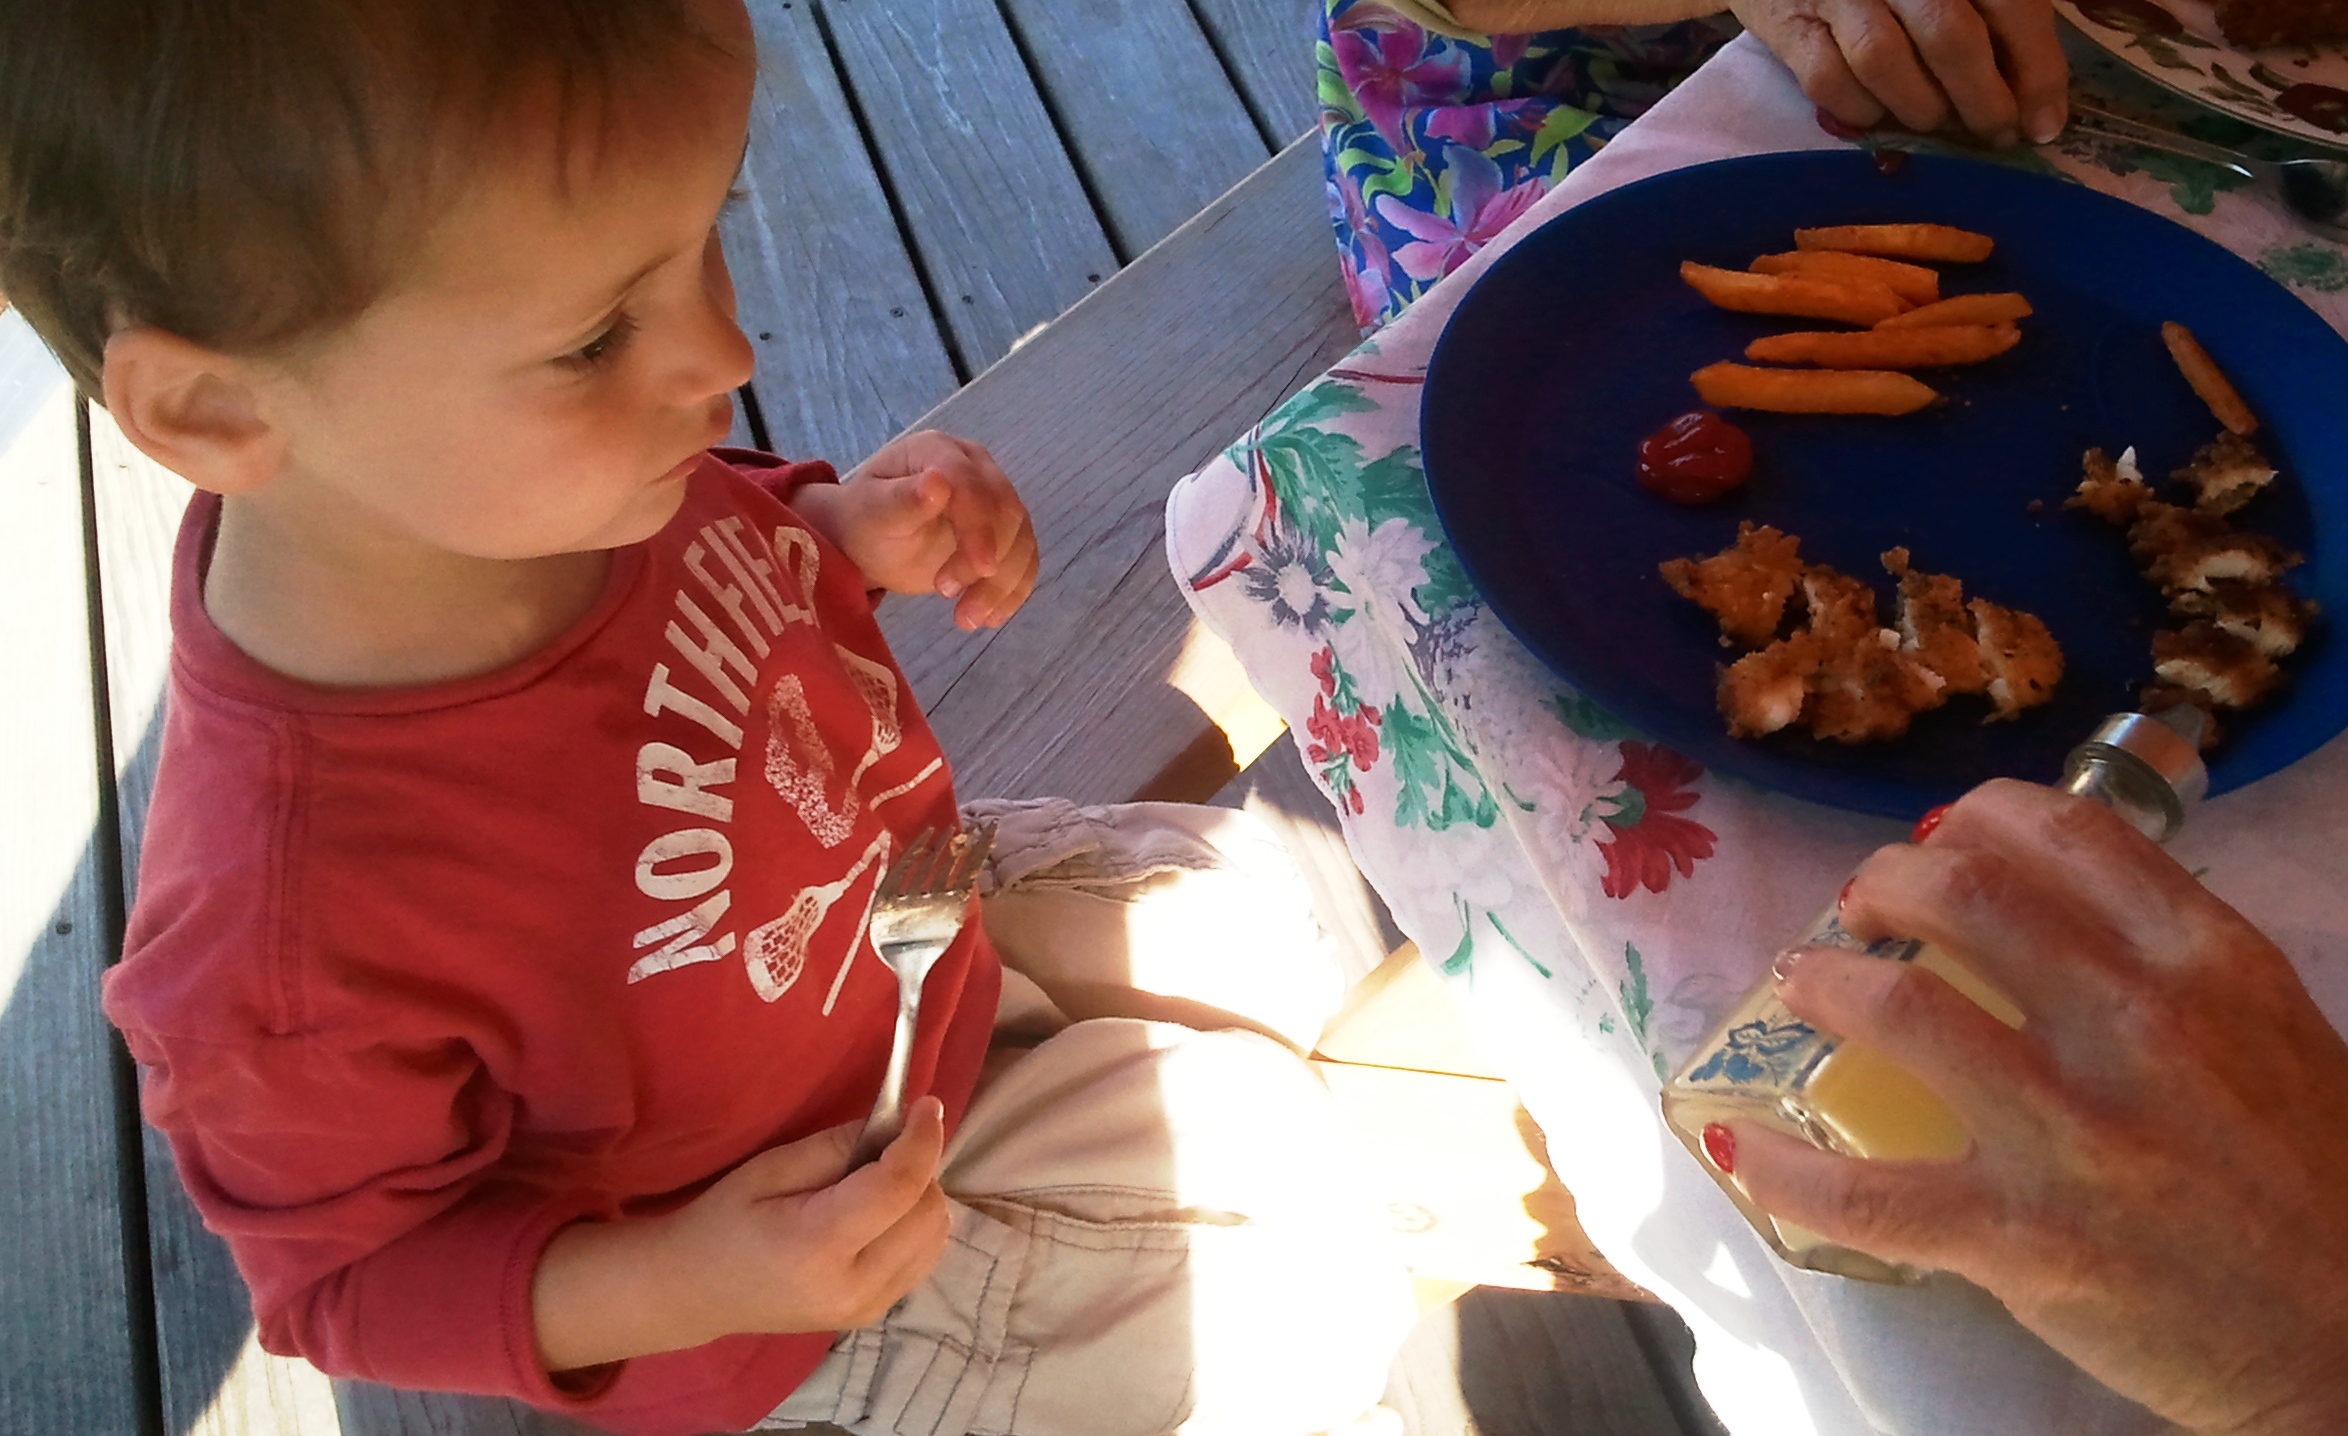
I was eager to try one of those little guys. I really was. But to Mama’s dismay, I did not love them. I took my “no thank you” bite, said, “They are not bad,” and passed on any more. They had a nice crunch with a warm, soft center, but what can I say? I told Mama to stop calling them arancini.

Love, Jude

Arancini (“Rice Balls”)
(You totally don’t need a recipe for this, but here’s something to get you started.)

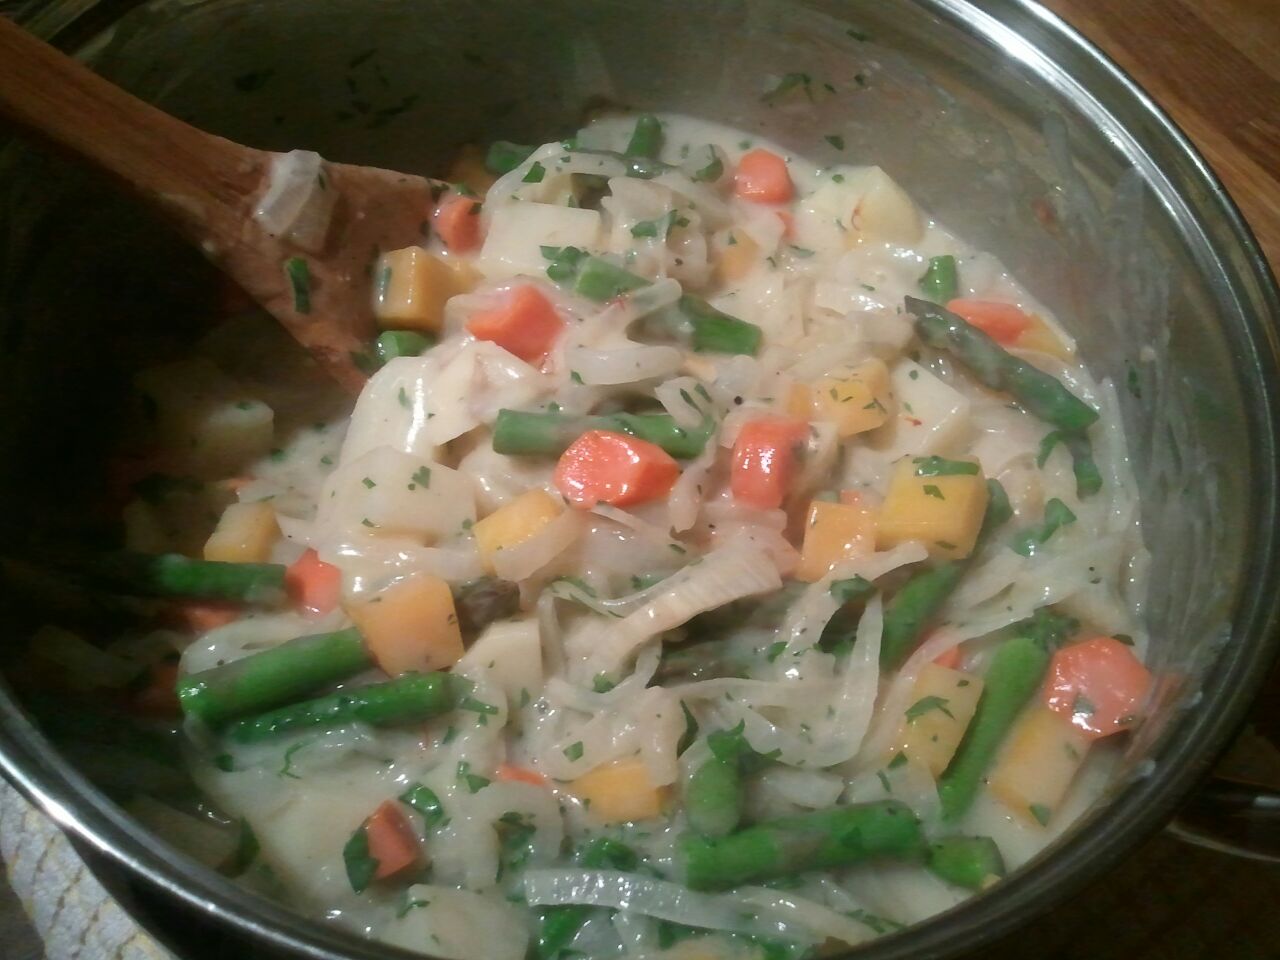
Cold risotto (plain or with “stuff” in it; we had about 1 or 2 servings left over)
2 eggs, divided (1 optional)
Flour
Bread crumbs (we tend to use panko, but use whatever you have on hand)
Canola or olive oil

Make the arancini whatever size you like, from Ping-Pong to a bit larger than golf ball size. Press the mixture into your palms, and gently form a ball. (If you’re finding that your mixture isn’t holding together well enough, lightly beat an egg and thoroughly mix it in to the rice, then try again.) Set balls aside.

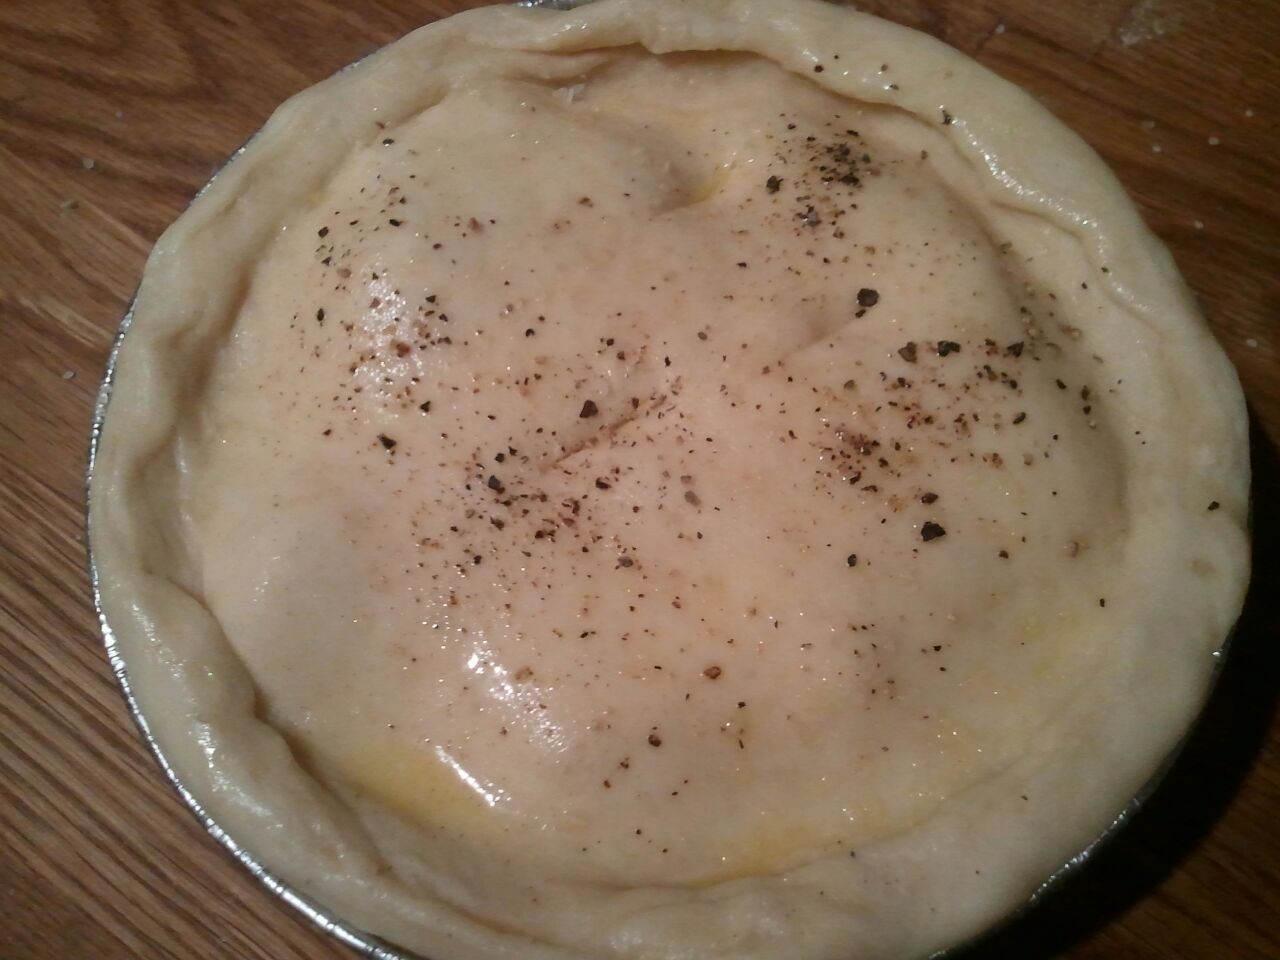
Prepare 3 bowls or shallow dishes for a breading station: 1 with flour, 1 with a lightly beaten egg, and 1 with bread crumbs. Season each with salt and pepper.

Roll a ball completely in the flour, then the egg (allowing excess to drip off), then the bread crumbs. Set aside and repeat until all balls are crumbed.

Heat enough oil to cover the bottom of a large skillet over medium heat. Toss a few flecks of flour into it—if they sizzle, it’s ready. Carefully add the arancini. Do not overcrowd. (Work in batches, if necessary.) Fry until golden, then turn until golden on all sides (just a couple minutes). If they’re getting overly dark, lower the heat slightly. Remove to a plate lined with paper towel. They’re hot, so be careful!

Note: Mama says some people press a tiny bit of filling inside the little ball, whether that’s ham or cooked sausage or chopped mushrooms. Experiment and have fun. (On this Mardi Gras Tuesday, maybe you can make a play on king cake and hide a petite plastic baby in one. That would be so silly!)


Leave a comment

“They look like sea shells!”

I helped Mama make stuffed shells. They’re really easy. Basically, I took a cooked pasta shell and, before handing it to her to stuff, I took a bite out of it.

Usually Mama makes a double batch of shells, bakes ones, and freezes the other in a disposable pan. But then you have a large “brick” (so she says) taking up freezer space, which’ll take longer to bake, and you’re left with acidic tomato sauce sitting in aluminum—and they don’t like each other very much.

Tonight, Mama tried a new approach: freeze the stuffed shells like she would berries. That is, spread them out on a baking sheet, freeze them until they’re solid, then bag them together in dinner-size groups. Then, when it’s time to use them, just take out a bag and arrange them in the baking pan with fresh sauce for dinner in no time at all.

A nice side of veggies made this a meal fit for a kid like me.

A nice side of veggies made its way on the plate shortly after this was taken.

I like the shells very much. They’re cheesy and noodle-y, and they have lots of good sauce. And they really do look like sea shells.

Love, Jude

Stuffed Shells
(this makes a double batch, or enough for a few freezer-size portions)

2 boxes (12 oz each) jumbo shells
2 large containers ricotta cheese (we used part-skim)
3 cups grated Parmesan cheese
8 eggs
Chopped fresh herbs, if desired (we used parsley, chives, and oregano from the garden)
Salt and pepper
Chili flakes, if desired for heat
1 quart tomato sauce (we used homemade, but make this easy on yourself and used jarred if desired)
1 cup shredded mozzarella cheese (or more, as desired)

Preheat oven to 350°F.

In salted boiling water, par-cook the shells (you’ll probably need to do this in 2 batches). This means to cook them just until they become pliable, 5 or 6 minutes. Drain, quickly rinse to help cool them down, and toss with a little bit of olive oil. Set aside on a baking sheet.

Meanwhile, in a large bowl, mix together the ricotta, Parmesan, eggs, herbs, salt and pepper, and chili flakes if using. When the shells have cooled enough to handle, spoon the filling into them. Fill them as much or as little as you like. They’re your shells. Mama stuffs them enough to keep them open without too much filling piling out. (She used a large table spoon.)

Spread 1 cup tomato sauce around the bottom of an 8 x 8” baking dish. Arrange 12 stuffed shells in it. (It’s okay that they touch.)

If you can fit a few more in there, go for it.

If you can fit a few more in there, go for it.

Pour the remaining sauce over the shells, making sure all the shells are completely covered, as they’ll need the moisture to finish cooking in the oven.

Don't be shy about the sauce.

Don’t be shy about the sauce.

Sprinkle with mozzarella to cover.

Ready to be baked.

Ready to be baked.

Bake, uncovered, for about 30 minutes. The mozzarella should be bubbling and golden, and the center should be hot. Let sit for 10 minutes to allow the cheeses to congeal.

Mama took out a couple right away for me so they could cool. It's a little runny in that corner as a result. Resist the urge to dig in right away!

Mama took out a few for me so they could cool. It’s a little runny in that corner as a result. Resist the urge to dig in right away!

To freeze the remainder of the stuffed shells, arrange them on the lightly oiled baking sheet. Try to keep them from touching (but it’s okay if a couple do). Set in the freezer until frozen solid, at least 1 hour.

They really do look like sea shells.

They really do look like sea shells.

Remove from the freezer and bag in desired portions. Mama did baker’s dozens because that’s what fit in the bags; she got 4 bags (+ dinner). May also make a second assembled batch, with sauce, and freeze the whole thing. It can go right into the oven, but you should decrease the oven temp to 325°F, and bake until the center is hot.

Serves 3–4

Note: Feel free to bake off more than 12 in a larger size baking dish. You’ll need to increase the amount of sauce and mozzarella accordingly. If using jarred tomato sauce, consider livening it up by sautéing half an onion in olive oil until soft and golden; then add a clove or two of minced garlic a minute before adding the sauce to heat through.


Leave a comment

A Gratin so Easy You Can Do It In Your Sleep

Mama didn’t feel like cooking dinner after a long weekend of chasing me around (don’t forget the 60 pounds of apples we picked). And she didn’t want to go to the store, either. She thought about what we had on hand, and voilà: a gratin was born.

Mama explained that gratins can be made out of pretty much any hardy vegetable: turnips, potatoes, fennel, squash, beets, even carrots. What makes them into a gratin is that they are layered with cream (and cheese, if desired) and then—this is the crucial step—topped with breadcrumbs, cheese, and butter to make it crunchy. Think of a gratin as savory crème brûlée: crispy on the top, creamy on the bottom. Each bite should have a bit of both, which is why gratin dishes are often shallow and oval, to provide more surface area for that wonderful crunch.

We’ve had a giant butternut squash sitting around for a while. Every couple of days, Mama hacks a hunk off its neck, peels it, and proceeds with dinner. For the gratin, she sliced it thinly (about ¼” thick) on the mandolin because the thinner the veggies, the quicker they’ll soften in the oven. We also had a couple organic russet potatoes on hand, which Mama also peeled and ran over the mandolin. (She said a food processor’s slicing blade would likely do a fine job, as well as a good ol’ sharp knife.)

As we don’t have a gratin dish, Mama opted for a regular 8” x 8” baking dish. (I promised I wouldn’t tell anyone.) She layered the squash, overlapping it slightly, and then sprinkled it with salt, pepper, and a few raspy shavings of Pecorino (because we had more of that than we did Parmesan). She drizzled it with heavy cream that was left over from a dish Papa made earlier in the week. She could’ve used her half-and-half or even my milk, but if you’re going for creamy, why not go whole hog?

We were starting to get down to the bulb portion of the squash, so there are a few funny pieces in there. It doesn't matter, so long as there's a full layer.

We were starting to get down to the bulb portion of the squash, so there are a few funny pieces in there. It doesn’t matter, so long as there’s a full layer.

She did the same thing with the potatoes, then repeated each layer once more.

Little potatoes all nice in a row.

Little potatoes all nice in a row.

She used 2 potatoes and maybe a pound of squash (she’s estimating). The cream was whatever was left in the pint—about a cup, maybe a splash more. And the cheese was as much as we liked (but certainly enough to give a good covering to the veggies). Mama said she could have put some chopped sage in there, or steeped it in the cream, but she wasn’t feeling ambitious enough to walk outside to get some. (Sundays are like that sometimes.)

Jude on Food: If you run out of one vegetable, substitute something else. No one will notice that the layers aren’t exactly the same because they’ll be too busy eating. That’s why this dinner is so easy!

Before shaving cheese on the top layer, Mama gently pressed everything down. She said that making sure the layers are flat will help with the baking, and it will also help distribute the cream. She ended up adding a bit more cream because she said you want to be sure the top-most pieces are in moisture (though not swimming in it).

Then she shaved more cheese on top, covered it with foil, and put it in the oven, where it sat for a good hour. Remember what I said about gratins being creamy? Well, keep it in the oven until the vegetables are so soft, you could cut even the center ones with a butter knife or spoon. The cream will be bubbling too (and very hot!).

This butter knife went into the veggies as if they were...well, butter.

This butter knife went into the veggies as if they were…well, butter.

Now comes the pièce de résistance. In a small bowl, Mama combined a couple spoonfuls of panko breadcrumbs (because that’s what had; we’ve used them before) with an equal amount of finely chopped nuts that she pulled from the freezer. She thought they might have been hazelnuts, but she said pecans or walnuts would have been equally good, so she wasn’t too concerned about it. She mixed in a couple pats of melted butter, sprinkled this on top of the gratin, then put it back in the oven until it turned golden, about 10 minutes.

Golden and delicious!

Golden and delicious!

To be honest, I really did find this gratin to be delicious. It was silky and flavorful, and I liked the added texture. It reminded me of my morning granola. But I was in a mood, so I decided I wouldn’t eat any until I was promised a ghost story with firefighters.

Love, Jude

Winter Squash-Potato Gratin

1 pound peeled and seeded butternut squash, thinly sliced
2 russet potatoes, peeled and thinly sliced (about 2 pounds)
1 cup heavy cream, half-and-half, or milk
1/3 cup grated or shredded Pecorino or Parmesan cheese (Mama used a rasp, or Microplane)
Salt & pepper
2–3 Tbsp breadcrumbs or panko
2–3 Tbsp finely chopped nuts (hazelnuts, walnuts, pecans)
1–2 Tbsp butter, melted

Preheat the oven to 350°F.

Arrange the sliced squash on the bottom of a 2-quart glass baking dish (square, oval, or round), slightly overlapping. Season with salt and pepper, then sprinkle  cheese over. Drizzle heavy cream so that most of the squash slices have some moisture on them.

Repeat the layer using the potatoes. Then repeat each layer one more time. (If you don’t want your hands to be all cheesy, don’t add the cheese until after you do the next step.) Press down on the top layer to ensure the slices are flat and are touching cream. Add more cream if necessary. Sprinkle with a final bit of cheese.

Cover with foil and bake until the innermost vegetables are perfectly soft, 50–60 minutes. Meanwhile, combine the breadcrumbs, nuts, and melted butter. Sprinkle on top of the vegetables, then return to the oven, uncovered, until golden, about 10 minutes.

Allow to rest 15 minutes or so to allow the dish to come together a bit.

Note: You may certainly start with the potatoes and end with the squash. If you don’t want to add nuts to the topping, replace them with more cheese! Finally, the amounts of everything are approximate. Use enough veggies to cover 1 layer and enough cheese & cream to cover that. Finally, you can make this the night before, keep it in the fridge, then bake it the next day.


1 Comment

Tomatoes’ Last Hurrah

Mama says it’s funny that we pine 10 months out of the year for vine-ripened tomatoes only to bemoan their abundance come August and September. Since we don’t grow them at home (as I tend to pick them too early… I just can’t help myself!), Mama brought home a nice big box of organic heirlooms. In it were Rutgers, Moscovich, Brandywines, Cherokee purples, and Japanese Trifles, which are apparently a hot commodity in Russia. Mama roasted a few dozen, and then she made sauce.

Mama tells me that you’re going to find as many variations of tomato, or marinara, sauce as there are tomatoes. There are quick tomato sauces and slow tomato sauces. Some stay on the stove, while others are tucked into the oven. Some rely on fresh garden produce, while others punch up the flavor by adding sugar or balsamic vinegar. Because she was asked, here’s how Mama does a quick, fresh tomato sauce:

Finely chop 1 yellow or sweet onion and sauté it in olive oil until soft. Add 1–2 minced garlic cloves and sauté 1 minute. Add 2, 3, 4, or 5 chopped tomatoes and cook until tomatoes break down and are heated through. Add salt and pepper, to taste, and stir in chopped fresh herbs (basil or oregano, but whatever you like). Done. Use immediately.

If you have more time, however, why not cook a little bit of summer in a pot that you can freeze for delectable dining come December?

This isn’t even remotely close to half of what Mama brought home. Sheesh.

This isn’t even remotely close to half of what Mama brought home. Sheesh.

Regarding peels: They’re fine in a fresh sauce, but you don’t want them in your long-cooked sauce. Peel ripe tomatoes by hand, or try this method: core them (or lop off the top), cut a small X in the bottom, dunk in boiling water for 20–30 seconds, then plunge into ice water. Alternatively, you can run your finished sauce through a food mill, which will remove the seeds and skins. (While some folks feel the seeds turn bitter with prolonged cooking, Mama doesn’t mind them, so she doesn’t use a food mill.)

As with most things delicious, Mama insists on starting with a good base of sautéed onions and garlic in olive oil. Depending on personal preference, you can keep the heat low and cook them until tender, or you can raise the heat a bit and cook them until soft and caramelized (that’s when they turn brown). In either case, start with a big pot, and don’t add the garlic until the onions are where you want them (otherwise it’ll burn).

Even if you don’t like to eat onions, you would notice they’re missing if you skip them.

Even if you don’t like to eat onions, you would notice their absent flavor if you skipped them.

The darker you brown the onions, the more flavor they’ll have.

The darker you brown the onions, the more flavor they’ll have.

Mama chose to deglaze the pot with some red wine since she happened to have some on hand. No red wine? No problem. Just add the roughly halved tomatoes. But here’s the catch: You have to squish them. This is a great thing for a kid like me to do! Lower the heat, and begin simmering. Give them a good dose of kosher or sea salt and toss in sprigs of fresh herbs.

Mama clipped some oregano from the garden. (She’ll add the basil later, since it’s more delicate.)

Mama clipped some oregano from the garden. (She’ll add the basil later, since it’s more delicate.) You should’ve seen the mess these tomatoes made on the walls!

Once the tomatoes cook down, they’re going to release all their delicious juices. To add a bit of body (and to give the sauce a fighting chance of sticking to pasta), Mama did add a small can of organic tomato paste. When everything was good and bubbly, she put the whole pot, lid and all, in the oven on a lowish heat, about 300°F, and forgot about it. Well, not really. Every now and then she left me to play on the porch while she stirred the sauce, and the heavenly sweet smell would waft through the windows to where I sat. She cooked it until it reduced to a thickness she liked and the flavor was concentrated enough to be considered “awesome.”

What do you think was for dinner?

What do you think was for dinner?

If you prefer a smoother sauce, run it through a food mill, or take an immersion blender to it. We happen to prefer a little heft to our sauce. Set some aside for dinner, then allow the rest of the sauce to cool before portioning it into jars or zip-top freezer bags.

Poor Papa. He wanted to take a bag out of the freezer a few days after Mama made it, and she said he wasn’t allowed! It doesn’t matter that she froze several quarts. She doesn’t want to run out before the end of the year. Which is a shame, since I could see eating this every day.

Love, Jude

Oven-Roasted Tomato Sauce

Extra-virgin olive oil
1 (or 2) yellow or sweet onion, finely chopped (depending on how many tomatoes you have)
2–4 cloves garlic, minced (depending on how garlicky you like it)
Red wine (optional)
12–15 pounds fresh tomatoes, peeled* and roughly halved (crosswise preferred)
Kosher or sea salt
6 ounces tomato paste
Several sprigs fresh herbs, as desired

Preheat oven to 300°F.

Coat the bottom of a large, oven-safe pot or Dutch with olive oil and heat it over medium heat. Add the onion and sauté, stirring occasionally, until very soft and beginning to caramelize, about 10 minutes. Add the garlic and sauté 1 minute more. If desired, deglaze the pot with a healthy splash of red wine. Carefully add the tomatoes in batches, squishing them with your hands as you go. Mama supposes you could skip the squishing step, but it gets the juices released a bit quicker. Alternatively, you could give them a few pulses in a food processor to speed things up. But we’re not talking fast here, are we?

Get the tomatoes going at a low simmer. Add a generous helping of salt and stir in the tomato paste. Toss in a few sprigs of hearty herbs like oregano. Just put the whole thing in; you can fish it out later or catch it in the food mill. Cover and put in the oven for a couple hours, stirring occasionally. Towards the end, add more delicate herbs, like basil.

*May also reserve peeling for after the sauce is cooked, either by hand (tedious!) or with a food mill.


4 Comments

A pie for all seasons

Mama likes to add the word “pie” to certain things. She thinks this will get me to eat them…and she’s often right. There’s tomato pie, for instance. And now I’ve been introduced to the “pot pie.” Specifically, a tiny little Jude-size pie filled with all kinds of savory yumminess.

Don't you just want to dig in?

Don’t you just want to dig in?

When Mama decides to make pot pies, she makes single-serving ones, and she makes two versions: a veggie one for herself and a chicken one for Papa (and I suppose me). While it seems like a lot of work—and it does take a few hours, or in our case, two nights after work—once the pot pies are done, they freeze well, and you’ll have 8 dinners on tap. Mama makes a few alterations to the recipes, and she has a couple tips for making both recipes at the same time.

First, make the dough for both. It’s easy enough to make one batch, then the next. The bits of dough left on the blade of the food processor after batch 1 aren’t going to affect batch 2, so don’t even bother cleaning it. (You could also make both batches together, if your food processor can handle the volume.) Wrap the dough disks and let them chill in the fridge. Mama says that’s so they can relax before we roll them. She also uses all butter, rather than half shortening.

Second, chop all your vegetables together. Even though you need chopped onions for the chicken pie and sliced onions for the veggie one, you can still prepare the onions all at once. Get your crying out of the way, Mama says. (Whatever that means.) Look over the recipes to see what can go together, and set out the appropriate bowls or containers. For example, for the veggie pie, the fennel and the onions go into the pot together, so Mama sliced them and set them aside in one bowl. Ditto the carrots, asparagus, and squash.

This is the veggie filling. Papa nicked some for a snack before Mama could finish making her pies.

This is the veggie filling. Papa nicked some for a snack before Mama could finish making her pies.

Third, both recipes make 8 larger pies, or about a dozen of the smaller ones. When you roll the dough, you probably won’t be able to get all 8 out of the first roll.

Turn a pie tin over onto the dough and cut the circles a little larger than that.

Turn a pie tin over onto the dough and cut the circles a little larger than that.

Gather the scraps, gently smoosh them together, and set the wad aside. Prepare as many pies as you have crusts for while the dough relaxes again. (Mama showed me how it just springs back to a little circle when you try to roll it again right away.)

This is a freshly rested disk of dough. It’s such a lovely, stretchy dough that even I could roll it fairly easily (though Mama did help).

This is a freshly rested disk of dough. It’s such a lovely, stretchy dough that even I could roll it fairly easily (though Mama did help).

As for the recipes, Mama skipped the Pernod in the veggie recipe, and it goes without saying that she used homemade veggie stock instead of chicken. And instead of par-cooking the veggies in water, she does it in the stock. You not only get extra-flavorful veggies, she says, but the stock gets an added boost, as well. Start with about 3 cups stock for the veggie version.

Don’t scrimp on the saffron. It’s a pricier spice, but Mama suggests going to an ethnic market, where items like this are often more reasonably priced.

Don’t scrimp on the saffron. It’s a pricier spice, but Mama suggests going to an ethnic market, where items like this are often more reasonably priced.

For the chicken pie, Mama didn’t pour in all 5 cups stock at once when she finished the sauce. It can get a little soupy, so she started with a quart and gauged what the thickness was like before proceeding.

This is the chicken filling. Fill one pie to see how much you want it filled, then stick with that amount for each pie. While the dough rests before its second re-roll, go ahead and egg-wash the rims of the pie plates and finish the pies.

This is the chicken filling. Fill one pie to see how much you want it filled, then stick with that amount for each pie. While the dough rests before its second re-roll, go ahead and egg-wash the rims of the pie plates and finish the pies.

The dough stretches a little bit, but not too much. It fits nicely over the bitty pot pie. Once the rims are egg-washed, it’s a matter of laying the dough on top and crimping the edges shut.

The dough stretches a little bit, but not too much. It fits nicely over the bitty pot pie. Once the rims are egg-washed, it’s a matter of laying the dough on top and crimping the edges shut.

Don’t forget to egg-wash the top, cut steam vents in the dough, and sprinkle with salt and pepper. Mama says that’s the best part.

Don’t forget to egg-wash the top, cut steam vents in the dough, and sprinkle with salt and pepper. Mama says that’s the best part.

To freeze, Mama covers the pies in both plastic wrap and foil. She sets them on a baking sheet and places them in the freezer that way. Once frozen, then she puts them in a ziptop plastic bag for storage. To bake, she puts them on a baking sheet in a 375°F oven, with the foil on, for half an hour to get the insides heated, then uncovers them for the final 45 to 60 minutes, to get the crust golden and flaky. To serve, Mama cooks brown rice or quinoa, but she says any grain would be a lovely addition. She likes to flip the pie over into a bowl of quinoa and mix it up that way. That sounds kind of yucky, though. And I don’t really like quinoa. But I do like these little pot pies.

I like it!

I like it!

Love, Jude


Leave a comment

More than one way to skin a fish

Last night, Papa made pecan-crusted rainbow trout with citrus butter from one of his and Mama’s favorite restaurants. (It was really yummy. You could taste the citrus, and the fish had a delicate crust.) Mama brought home fillets with the skin on, and I thought I’d show you how simple it is to remove, in case that sort of thing makes you squeamish. You can always ask the fishmonger (isn’t that a funny word?) to do it for you, or choose skinless varieties, but don’t let a little skin on a fish keep you from trying it!

Start with a cutting board and a sharp knife—not a serrated one. A boning knife is ideal, but Mama likes using her chef’s knife for most things. If your fillet is really thick, like from a fat old salmon, lay an edge of the fillet flush with the edge of the cutting board closest to you. This is less important if you have a skinny fillet, but Mama still likes to line them up. Position the tail (narrow) end toward your non-dominant hand. Mama’s left handed, so the tail is toward her right.

About ½” from the tail, take your knife and put a little notch in the tail, in the direction of the tail’s tip. Mama’s cutting a wee tab, heading toward the right, or the tip.

making a notch/littlejudeonfood.com

Now pivot your knife so it’s headed in the opposite direction. Keep it in that notch you just made. You made it just for this purpose! Because fish are slippery, use a paper towel (or kitchen towel if you don’t mind) and grip the tail (the tip on the other side of your freshly made notch) between your thumb and first finger. Mama uses the side of her knuckle, but do whatever feels most comfortable. You need to get a good grip. Her knife is now facing left, toward the body of the fillet.

preparing to cut/littlejudeonfood.com

Now comes the amazing part. With the tail gripped in your non-dominant hand, and your knife’s blade at an angle (think of a shovel moving snow), pull the tail in one direction while pushing your knife in the other.

starting to skin fish/littlejudeonfood

For Mama, she’s pulling the tail toward her right and pushing her knife toward her left, while skimming her knife along the inside of the skin. She’s basically scraping the flesh off the skin, but really, it’s the pulling of the tail that’s doing most of the work.

skin be gone/littlejudeonfood.com

And that’s it! It took longer to take these pictures than it did to skin the remaining fillets. Those bits of silver don’t amount to much and will essentially cook off. (They’re not hunks of scales, if that’s what you’re worried about.)

skinned fillet/littlejudeonfood.com

This method works on any size fillet. If you try this technique and you find that it’s just not working, Mama suggests a sawing, back-and-forth motion with your knife instead of pulling. This is where you’ll want your fillet and cutting board edges lined up so you can see where your knife is going—you want it to remain as parallel to the cutting board as possible so you’re not leaving unfortunate chunks of fish on the skin.

Incidentally, Mama grilled asparagus (love it!), sweet peppers (yucky!), and fresh peaches picked from a local farm (wow!) to serve with the buttery fish. I liked this dinner very much.

eating a grilled peach/littlejudeonfood.com

Love, Jude


1 Comment

The Apple Doesn’t Fall Very Far…

There are many food preferences I have in common with my folks. On the Mama side, I like olives (even as Papa cries, “Yucky!”), yogurt, and eggs. On the Papa side, I like hot dogs, chicken piccata, sausage pizza, and pork chops. (I once told Papa, “JuJu like pork chop.”) And all three of us love fish.

Other than pasta, fish nights are the one dinner we can all eat together. You might remember that Mama is vegetarian, but she does eat some sustainable, wild-caught fish. (She feels they have a fighting chance, but also, she grew up eating it a few times a week, and you can’t just turn your back on history.) Probably the best fish we eat, however, is the kind my GeeGee catches. He lives near the ocean! (Mama says it’s really a Great Lake, but to me, it may as well be the ocean.)

See what I mean? That sure looks like an ocean.

See what I mean? That sure looks like an ocean.

When we visit GeeGee and Grandma Rita, like we did last week, we eat almost as much salmon, walleye, rainbow or brown trout, perch, crappie (“crah-pee”), whitefish, and bluegills as can fit in our bellies. (But not every night because poor Grandma doesn’t like it.) I could spend the next few weeks telling you all the different ways we eat it, but our favorite way is breaded and panfried. I didn’t watch Grandma make it, but Mama makes it quite often (and I can tell you it’s not as good).

Jude on Food: Some fish contain dangerous levels of mercury and other toxins. Some fish take years and years to reach maturity. And some are simply overfished. I can’t read yet, but you can easily learn about which seafood are your best options.

The key is in the breading. Grandma’s always favored Saltine cracker crumbs, but Mama says you can use anything you prefer. And the way to get that yummy breading to stick to your fish is to coat the fish with a beaten egg. You would think that slimy egg would slip right off the fish, but it doesn’t. You can even coat your fish in flour first (Mama says this is called “standard breading procedure.”) When you bread your fish, Mama suggests using one hand to do the “dirty work,” rather than using one hand for the egg and one hand for the cracker. Why dirty two hands?

When you cook fish this way, the coating gets crispy and the fish doesn’t dry out. It also doesn’t mask the fish’s flavor. It’s win-win.

Love, Jude

I'm about to dig in to my fish (but I'm waiting for my Auntie to put lemon juice on it). Sweet potato fries are waiting in the wings.

I’m about to dig in to my fish (but I’m pausing for my Auntie to put lemon juice on it). Sweet potato fries are waiting in the wings.

Grandma Rita’s Butter-Fried Crappie

1 egg
1 cup Saltine or Ritz cracker crumbs (or panko breadcrumbs) + more as needed
A few hefty pats of butter
1 pound crappie fillets (or other small lake fish), patted dry if necessary
Salt and pepper
A few shakes of bottled lemon juice (or lemon wedges) and/or white vinegar

In a pie plate or bowl, lightly beat the egg with a fork. Grandma doesn’t season the egg, but Mama tosses in some salt & pepper. (She also seasons her fish, but Grandma waits until it’s all in the pan.) Set cracker crumbs on a plate. In a large skillet, over medium-low to medium heat, melt the butter. (Grandma uses a large electric frying pan so she can do it all at once, and she doesn’t have to clean the stove afterward.)

Dip the fillets in the egg, shake off the excess, then dredge in the cracker crumbs. Lay the coated fillets in the pan of melted butter. Repeat until all the fillets are in the pan, or the pan is full. (Mama warns not to overcrowd, but Grandma puts them pretty close without touching.) Season liberally. Fry the fish until they’re tantalizingly golden brown, then flip. Add more butter, if needed, and watch your heat. If they’re overbrowning or browning too quickly, lower it a tad. These aren’t done quickly, so take your time. Trust me, they’re worth it.

Serve with a sprinkle of lemon juice and/or vinegar. Grandma and GeeGee usually serve these with homemade coleslaw and/or oven fries. And if you happen to have any leftover (because maybe Grandma made a lot), these little fillets are great in a bun for lunch the next day.

Note: Mama says it’s easy to make cracker crumbs—just put a few crackers in a ziptop plastic bag, seal it, then roll a rolling pin over it a few times. You can also use a meat mallet to crush them. They don’t have to be powder-fine, but they should be crumb-y enough to give an even, thorough coating.


Leave a comment

Salmon and Eggs, Anyone?

So, even though I ate a whole bunch, we had some leftover salmon. (No, not that Leftover Salmon.) Tonight, Mama pulled together an even faster dinner: She soft scrambled some eggs from my friend Walter’s farm, flaked and heated the salmon, then sprinkled on some chives from our garden. She considered making a salmon omelette, but when you have a 2-year-old saying, “I want dinner now,” over and over (and over), I think you’d opt for scrambled, too. And boy, was it good. You know how much I like eggs, so that’s saying something. Mama said this would have made for a fine breakfast over toast, but I was just as happy to eat it for dinner.

Love, Jude

I couldn't wait to dig in to my dinner.

I couldn’t wait to dig in to my dinner.

Soft-Scrambled Eggs

Melt a healthy pat of butter in a skillet over medium heat. Crack a few eggs (up to 6) into a bowl and vigorously break them up with a fork. When the butter’s melted, pour in the eggs and with a wooden spoon or fork begin pulling them in from the edge of the skillet to the center, dragging the utensil along the bottom of the skillet. Work around the skillet, pulling the eggs in and allowing the remaining runny parts to fill in. (At some point here, give them a good sprinkle of salt and pepper, if desired.) When almost all the eggs are gathered in the center and look like a soft pile of silky pajamas, remove from heat. (They will continue to cook once they’re out of the pan, and then they’ll be perfect!) Top with snipped chives. Serve to kid (that’s me!).


1 Comment

“Nice dinner, daddy!”

You might have noticed two things about this post’s title: 1) I actually came right out and complimented a parent on dinner, and 2) I’ve started calling Papa “daddy.”  We’re not really sure when that second thing happened, but let me tell you how the first one came about.

Papa and I had a busy day. We were ultimately chased from the pool by an approaching thunderstorm, and because we were going to beat Mama home from work, Papa decided he wanted dinner done pronto. Lucky for us, Mama had made tabbouleh yesterday–that’s a Middle Eastern salad made of bulgur and parsley (we’ll show you how to make it another time). All Papa had to do was pick a protein, and he decided on Alaskan salmon, which is currently in season.

Jude on food: Mama says it’s better to choose Pacific (or Alaskan) salmon, as it’s wild caught, versus Atlantic salmon, which is always farmed.

Due to the rain, Papa chose not to grill it and instead opted for the broiler. He lightly oiled the fish with olive oil, laid it on a sheet tray lined with aluminum foil (to minimize cleanup), sprinkled on some lemon pepper seasoning, then sent it into the oven for just under 10 minutes. Mama said the fish should just barely be firm to the touch (if you gave it a squeeze–but be careful! it’s hot!) and opaque nearly through to the center.

I'm about to dig in to my 2nd piece of salmon.

I’m about to dig in to my 2nd piece of salmon.

I ate all my tabbouleh while the salmon cooked, but I wasn’t too full to have 2 pieces of fish. It was really yummy, and I told Papa so. The lemon pepper cut through the richness of the salmon, and it had its own kick, which I like. The broiler added a bit of a crisp crust, as well. And you can’t get much faster than 10 minutes, now can you?

Love, Jude

Easy Oven-Broiled* Salmon

1 pound salmon fillets (skin off), cut into 2″-wide portions
Olive oil (about a tablespoon)
Lemon pepper seasoning (about a teaspoon)

Preheat the broiler, setting the rack 6″ from the heat source. Lin a sheet tray with aluminum foil. Set the fish on the tray, brush lightly with olive oil. Sprinkle with the lemon pepper, or any other seasoning you prefer. Place under the broiler for 7-10 minutes. Check it at 7 by giving the fillet a gentle squeeze or flaking a tiny portion with a fork. It should feel firm (not mushy), flake easily, and be just cooked through (opaque).

*Note: Mama says you can just as easily cook this fish on the grill.


1 Comment

You can have your fun and eat your dinner too

Because it was so warm and sunny outside when Mama picked me up from daycare, she took me to the river so I could throw rocks in it. (I like to pick up the biggest rocks I can carry.) Needless to say, it was already past dinnertime by the time we walked in the door, wet feet and all. Mama chose to make a dinner that practically cooked itself.

First, she put a pot of salty water on the stove to boil and set the oven to 400°. Then she rinsed and prepped the veggies: snapped the bottom ends off the asparagus, cut the broccoli into florets, cut some basil into ribbons, and sliced the colorful little tomatoes in half (I helped). She put the tomatoes and basil in a large bowl and the broccoli and asparagus on a baking sheet and tossed them with olive oil and salt & pepper.

I sure love teeny tomatoes.

I sure love teeny tomatoes.

Then she showed me the funny little pasta we would be eating, called Israeli couscous. It looks like couscous that grew up to be big and strong. Mama said that even though it looks like a grain, it’s really just a pasta. I ate a few of them raw—crunchy! Once the water came to a rolling boil, Mama poured in the couscous and gave it a good stir. Did you know that the proper way to cook pasta involves plenty of boiling water for the pasta to move around in? She also put the asparagus & broccoli in the oven, on the lower rack.

You would think Mama would’ve stopped there, but instead she took out a pound of beautiful Pacific salmon. She gave it a quick rinse, then set it on a baking sheet, skin-side down, and patted the flesh dry. She drizzled olive oil on it then sprinkled it with salt and pepper, and into the oven it went, on the upper rack. While dinner cooked, we had time to wash our feet in the tub. Do you have any idea what a river does to kid feet?

I'm trying to eat around the basil.

I’m trying to eat around the basil.

Israeli couscous cooks quicker than regular pasta (it’s really small), so when that was tender, Mama drained it and added it to the bowl with the tomatoes. She added—you guessed it—olive oil, salt, pepper, lemon juice, a bunch of freshly grated Parmesan (I helped), and some leftover roasted garlic. (This is even easier to make: Cut off the top of an entire garlic bulb, drizzle about 1/2 tsp olive oil over it, wrap it in foil, then bake at 375°F for about 45 minutes, or until very soft and oh-so-yummy.) Gently, she mixed it all up and set it out for yours truly to devour. I loved those little baby balls of pasta, but I had to pick around the basil, which slowed me down. The fish and veggies were done at about the same time (veggies starting to brown, fish just opaque in the center), about 10 minutes all told.

This was my plate! (Just kidding.)

This was my plate! (Just kidding.)

Do you think I tried everything on my plate? You bet I did. The fish was succulent, almost creamy. The veggies were toasty and fragrant and full of flavor (and Mama grated some more cheese on them). Then I discovered how fun it was to toss the Israeli couscous….and that was the end of my dinner.

Love, Jude

Israeli Couscous with Tiny Tomatoes

1 cup Israeli couscous
1 pint cherry or grape tomatoes, halved
4 or 5 cloves roasted garlic (or 1 or 2 cloves fresh, minced)
5 or 6 basil leaves, chiffonade (cut into ribbons)
Juice of 1/2 lemon
Salt & pepper to taste
Olive oil
Parmesan cheese

Cook the pasta according to package directions. Drain and add to a bowl, along with the tomatoes, garlic, basil, and lemon juice. Add salt and pepper to taste, along with a healthy drizzle of olive oil. (Mama says you don’t want to drown your pasta, you just want to moisten it.) Top it with freshly grated Parmesan cheese, if desired. Serve warm or cold.