LittleJudeonFood

One kid's adventures in gastronomy


11 Comments

It’s all about the bluebies

The other day, Mama took me blueberry picking. By now you realize that she keeps a pretty close eye on what I eat, and I think you know she tries to purchase foods that are local and organic—when they make sense. Blueberries are consistently among the Environmental Working Group’s “dirty dozen” of fruits and veggies with the most pesticides, but because Mama doesn’t always want to pay $6 for a pint of organic berries, we often skip them. For this reason, she was overjoyed to find the organic fruit farm just a short drive from our house. And it turned out to be a fun afternoon activity with yours truly.

I enjoyed picking the bluebies…

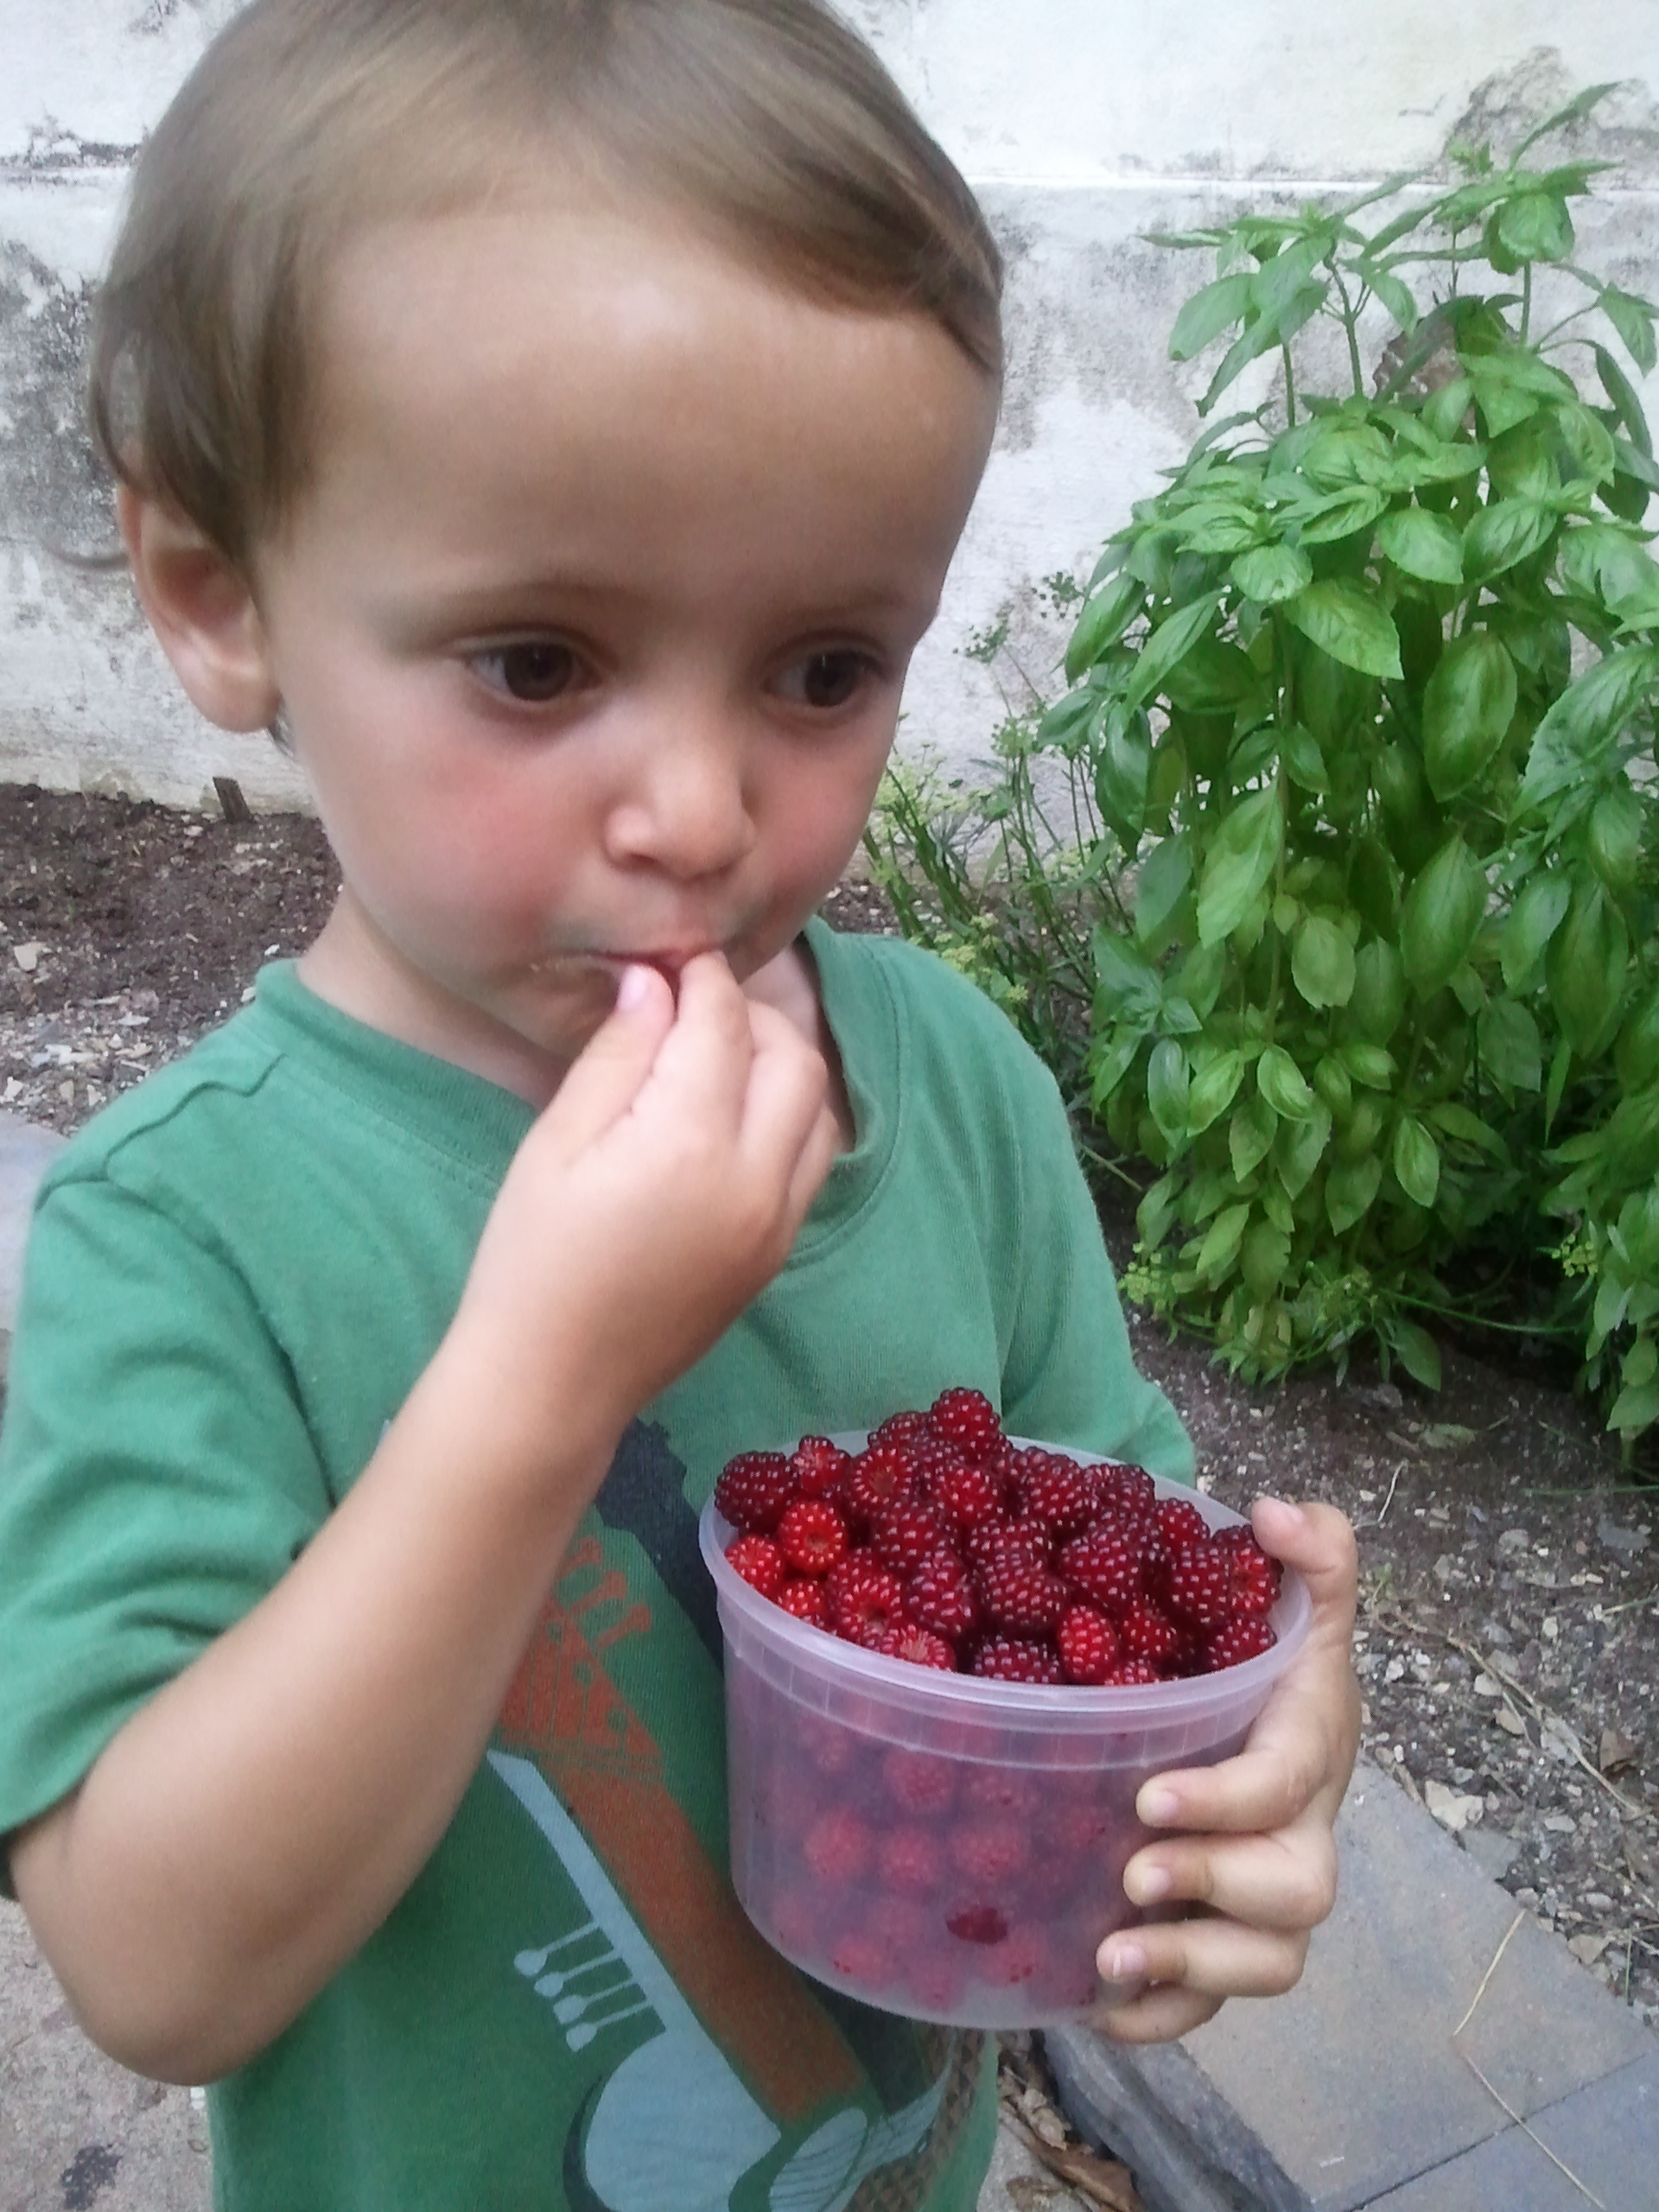
I couldn’t believe how little the bushes were! I walked right up to them, bucket in hand, and just started picking (and eating). It was like when we picked the wild raspberries: from the bush and into my mouth.

…almost as much as I enjoyed eating them.

The berries were warm from the sun. Mama reminded me, often, to pick just the blue ones—not the purple ones, and not the green ones. We saw all kinds of big caterpillars on the leaves. The farmer, when he came over to snack from a bush, told us they sure love blueberries. Much like Sal in that famed story, I did wander off from time to time, and Mama had to chase me up and down the rows. But we managed to fill her bucket (for some reason, mine remained empty), and I played with the two farm dogs roaming the property. We picked nearly 5 pounds (but they didn’t weigh me!), all for $12.

Er, this is my bucket. That’s Mama’s in the background.

When we got home, Mama spent a lot of time washing the berries and fending me off from eating them by the handfuls. They had a lot of grass clippings—and bugs!—on them. I helped her de-stem them, too. (That’s a very good task to give someone my age…until said someone starts snacking on them, stems and all.) Because most of our haul was intended for the freezer, Mama spread the berries on a towel-lined cookie sheet so they could dry. (This is why you can buy frozen berries that are separate and perfect, rather than in clumps—they’re individually quick frozen.) You spread them out on a sheet, make sure they’re relatively dry, then pop the sheet in the freezer. Once frozen, you can put them in storage bags or containers. We got 3 sheets of bluebies.

This is how you dry the washed bluebies before freezing them.

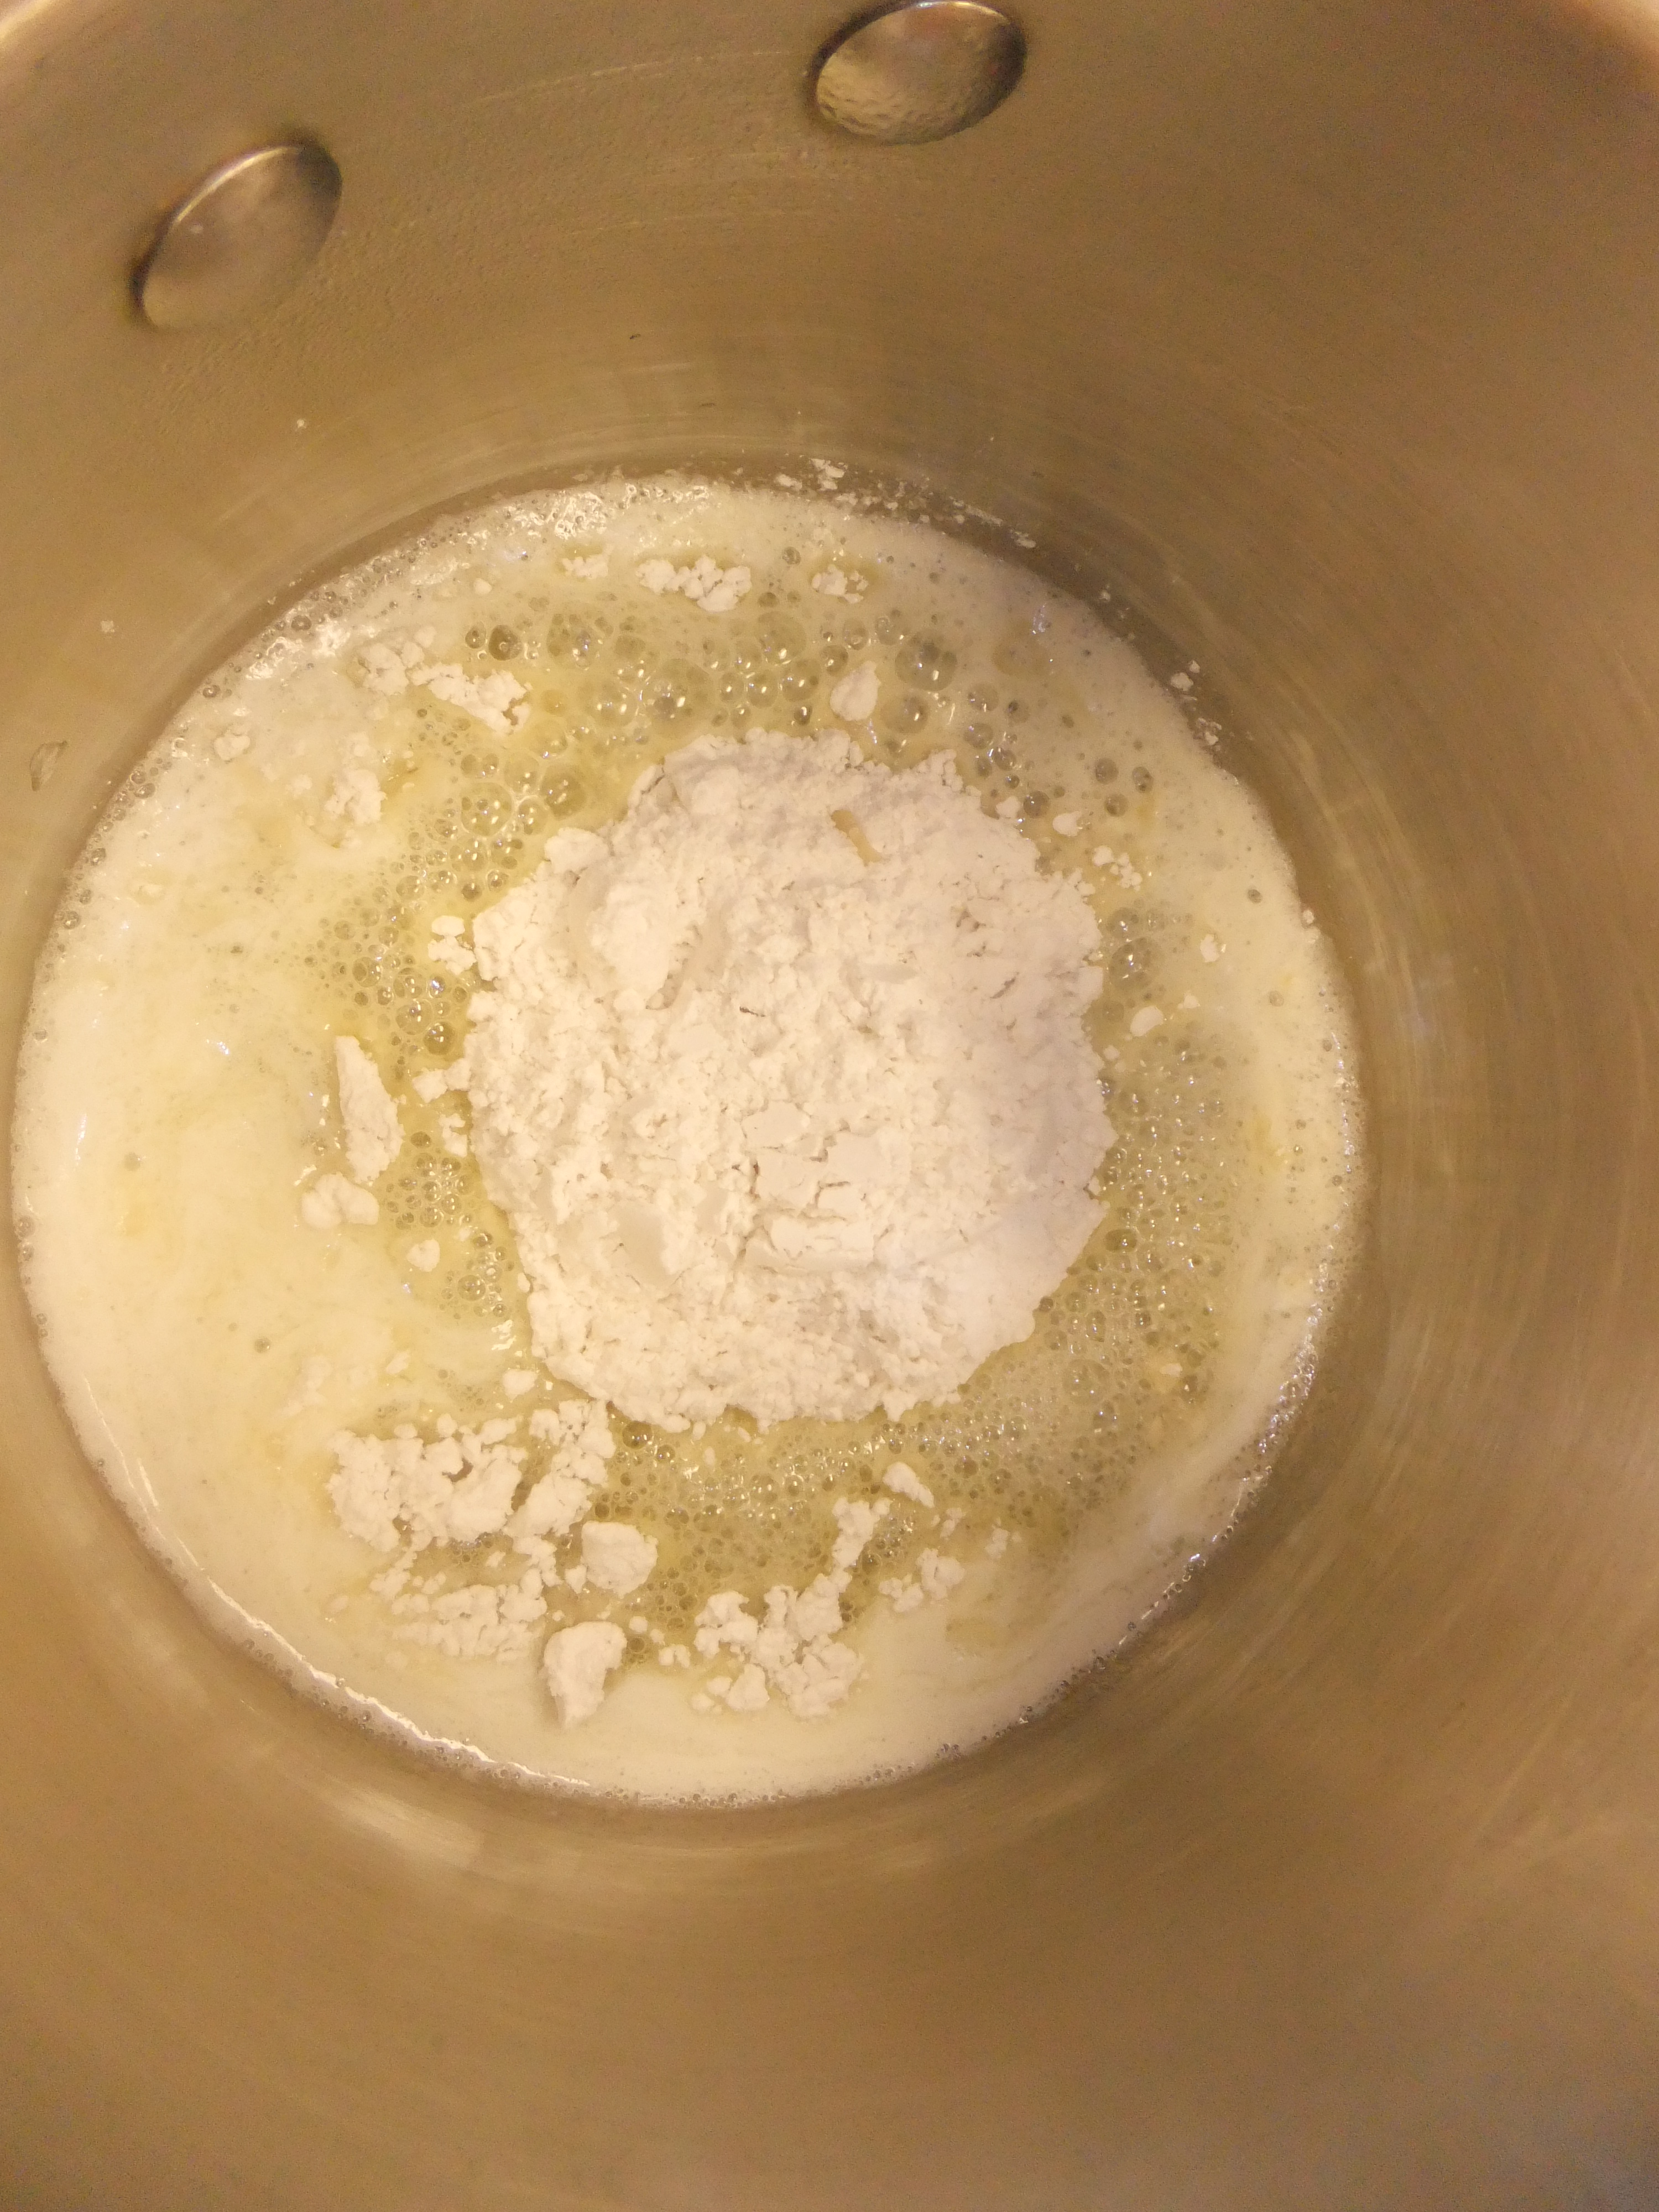
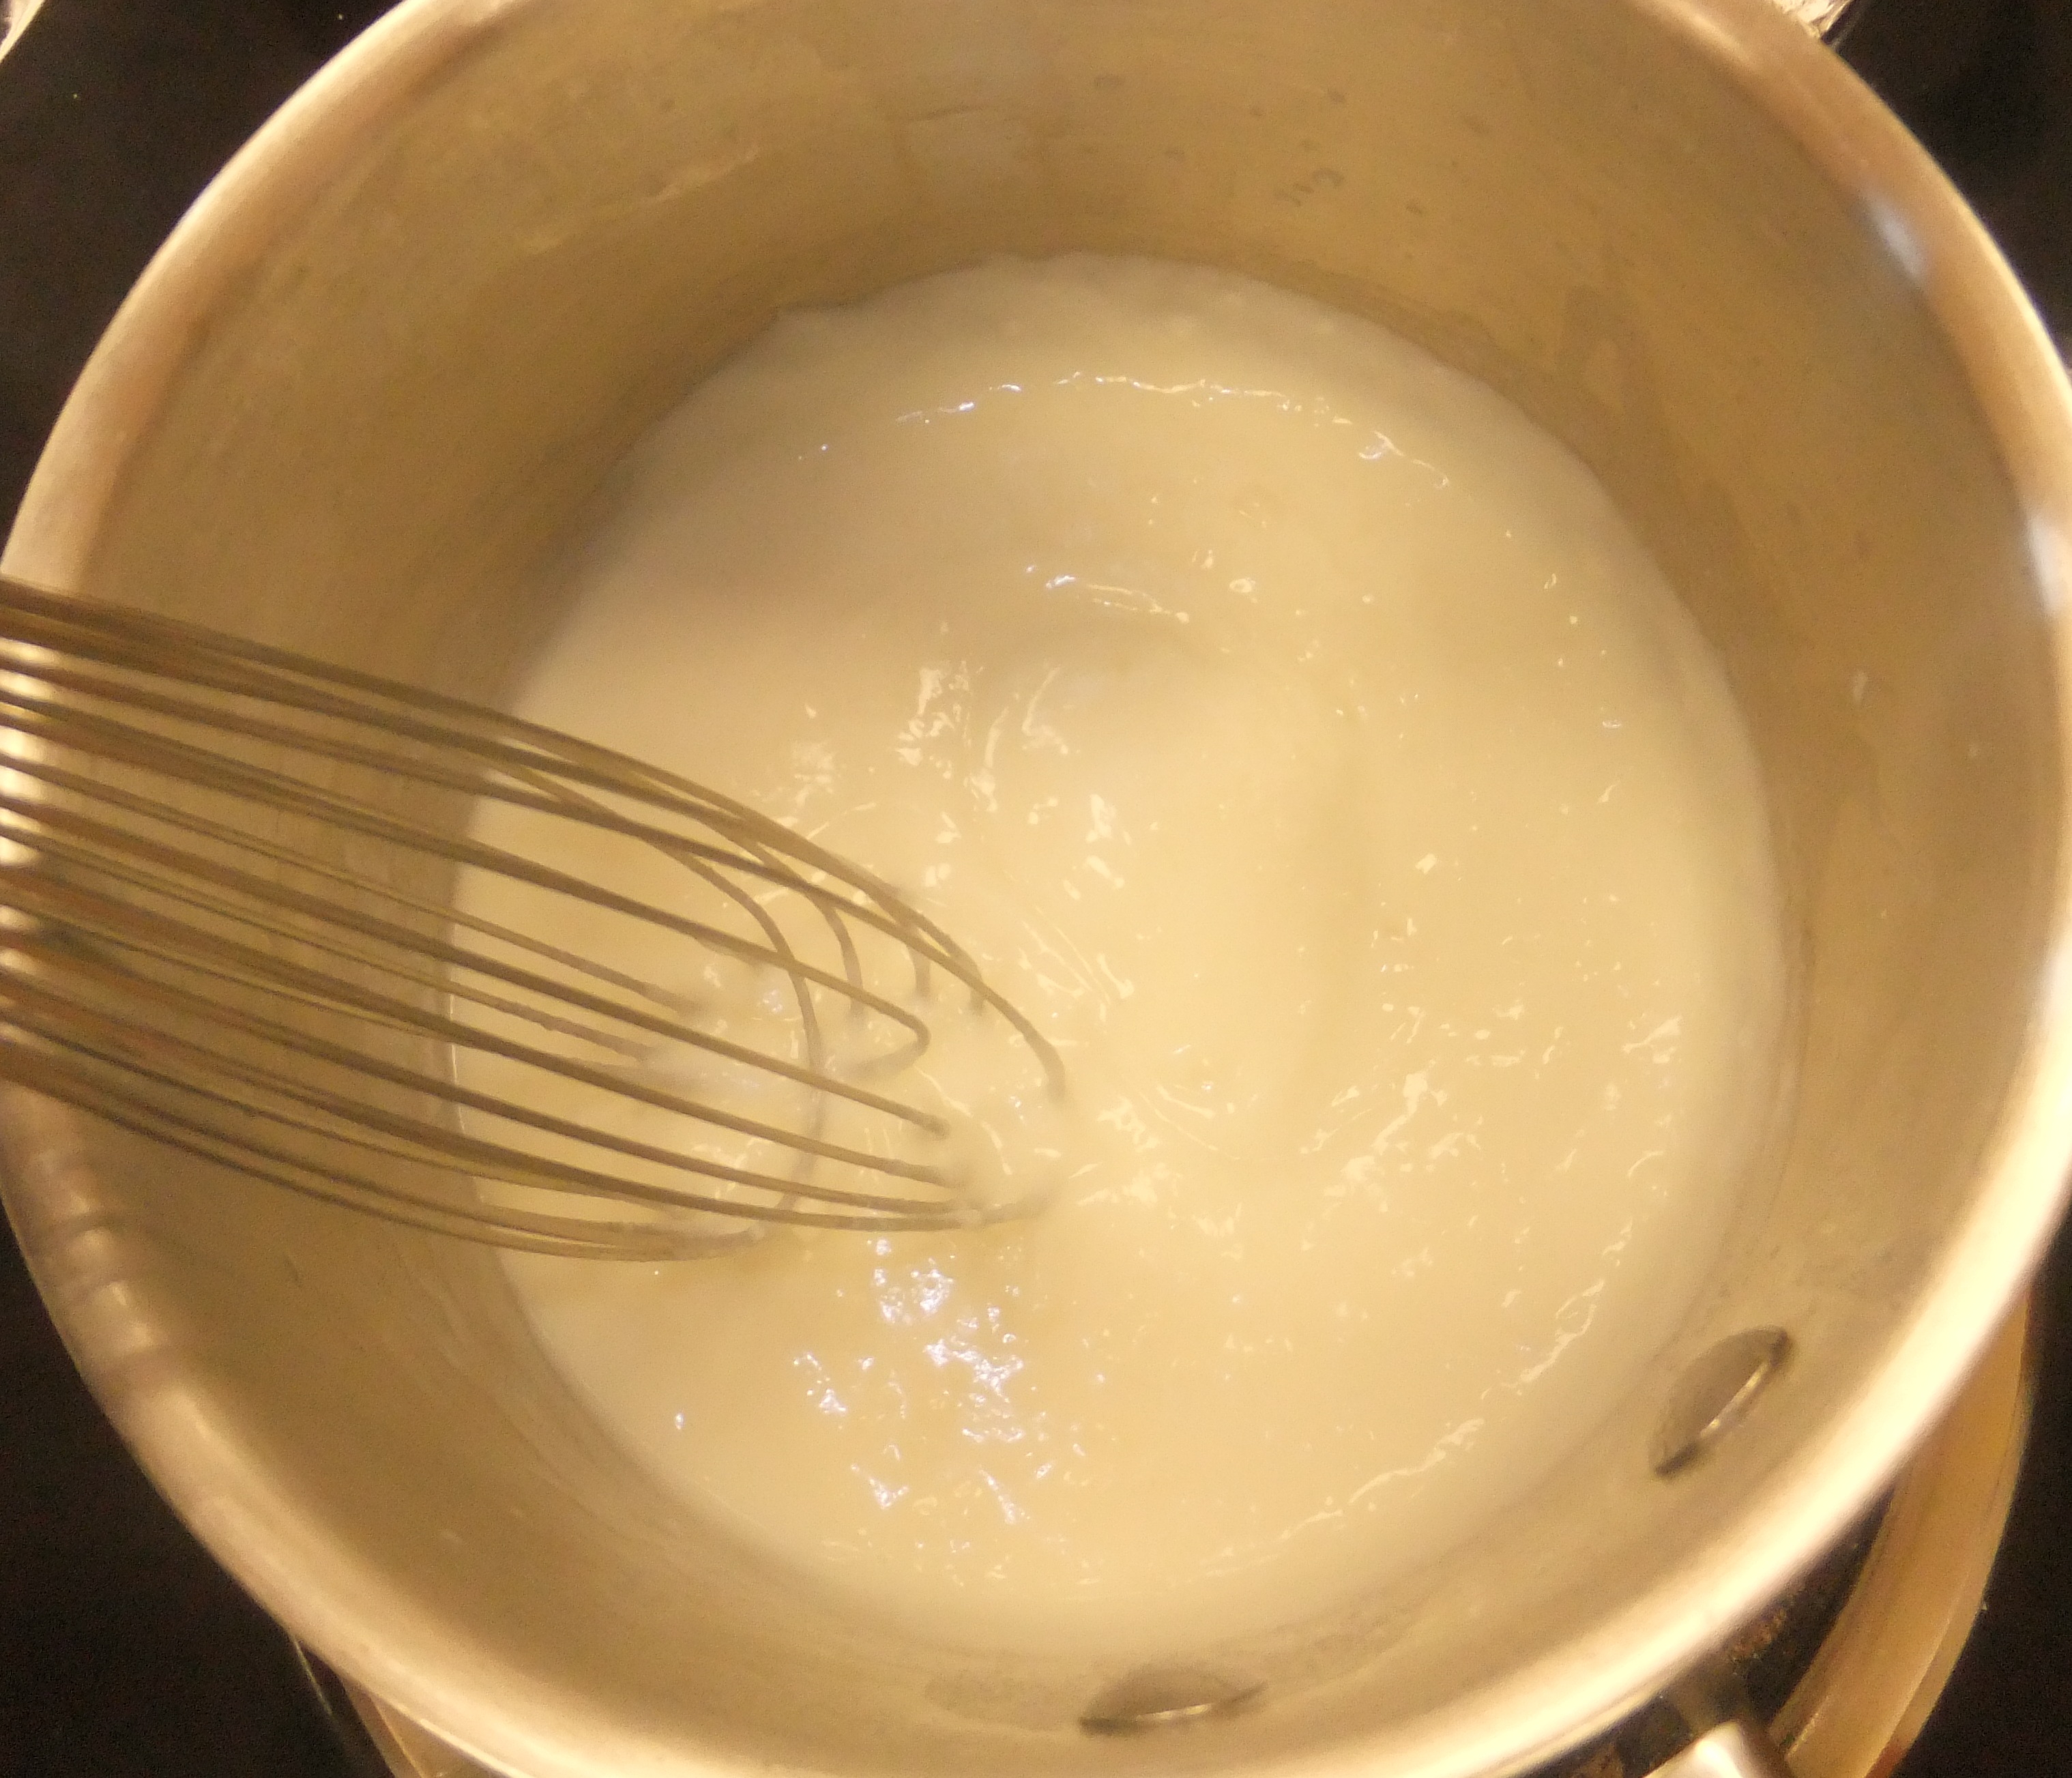
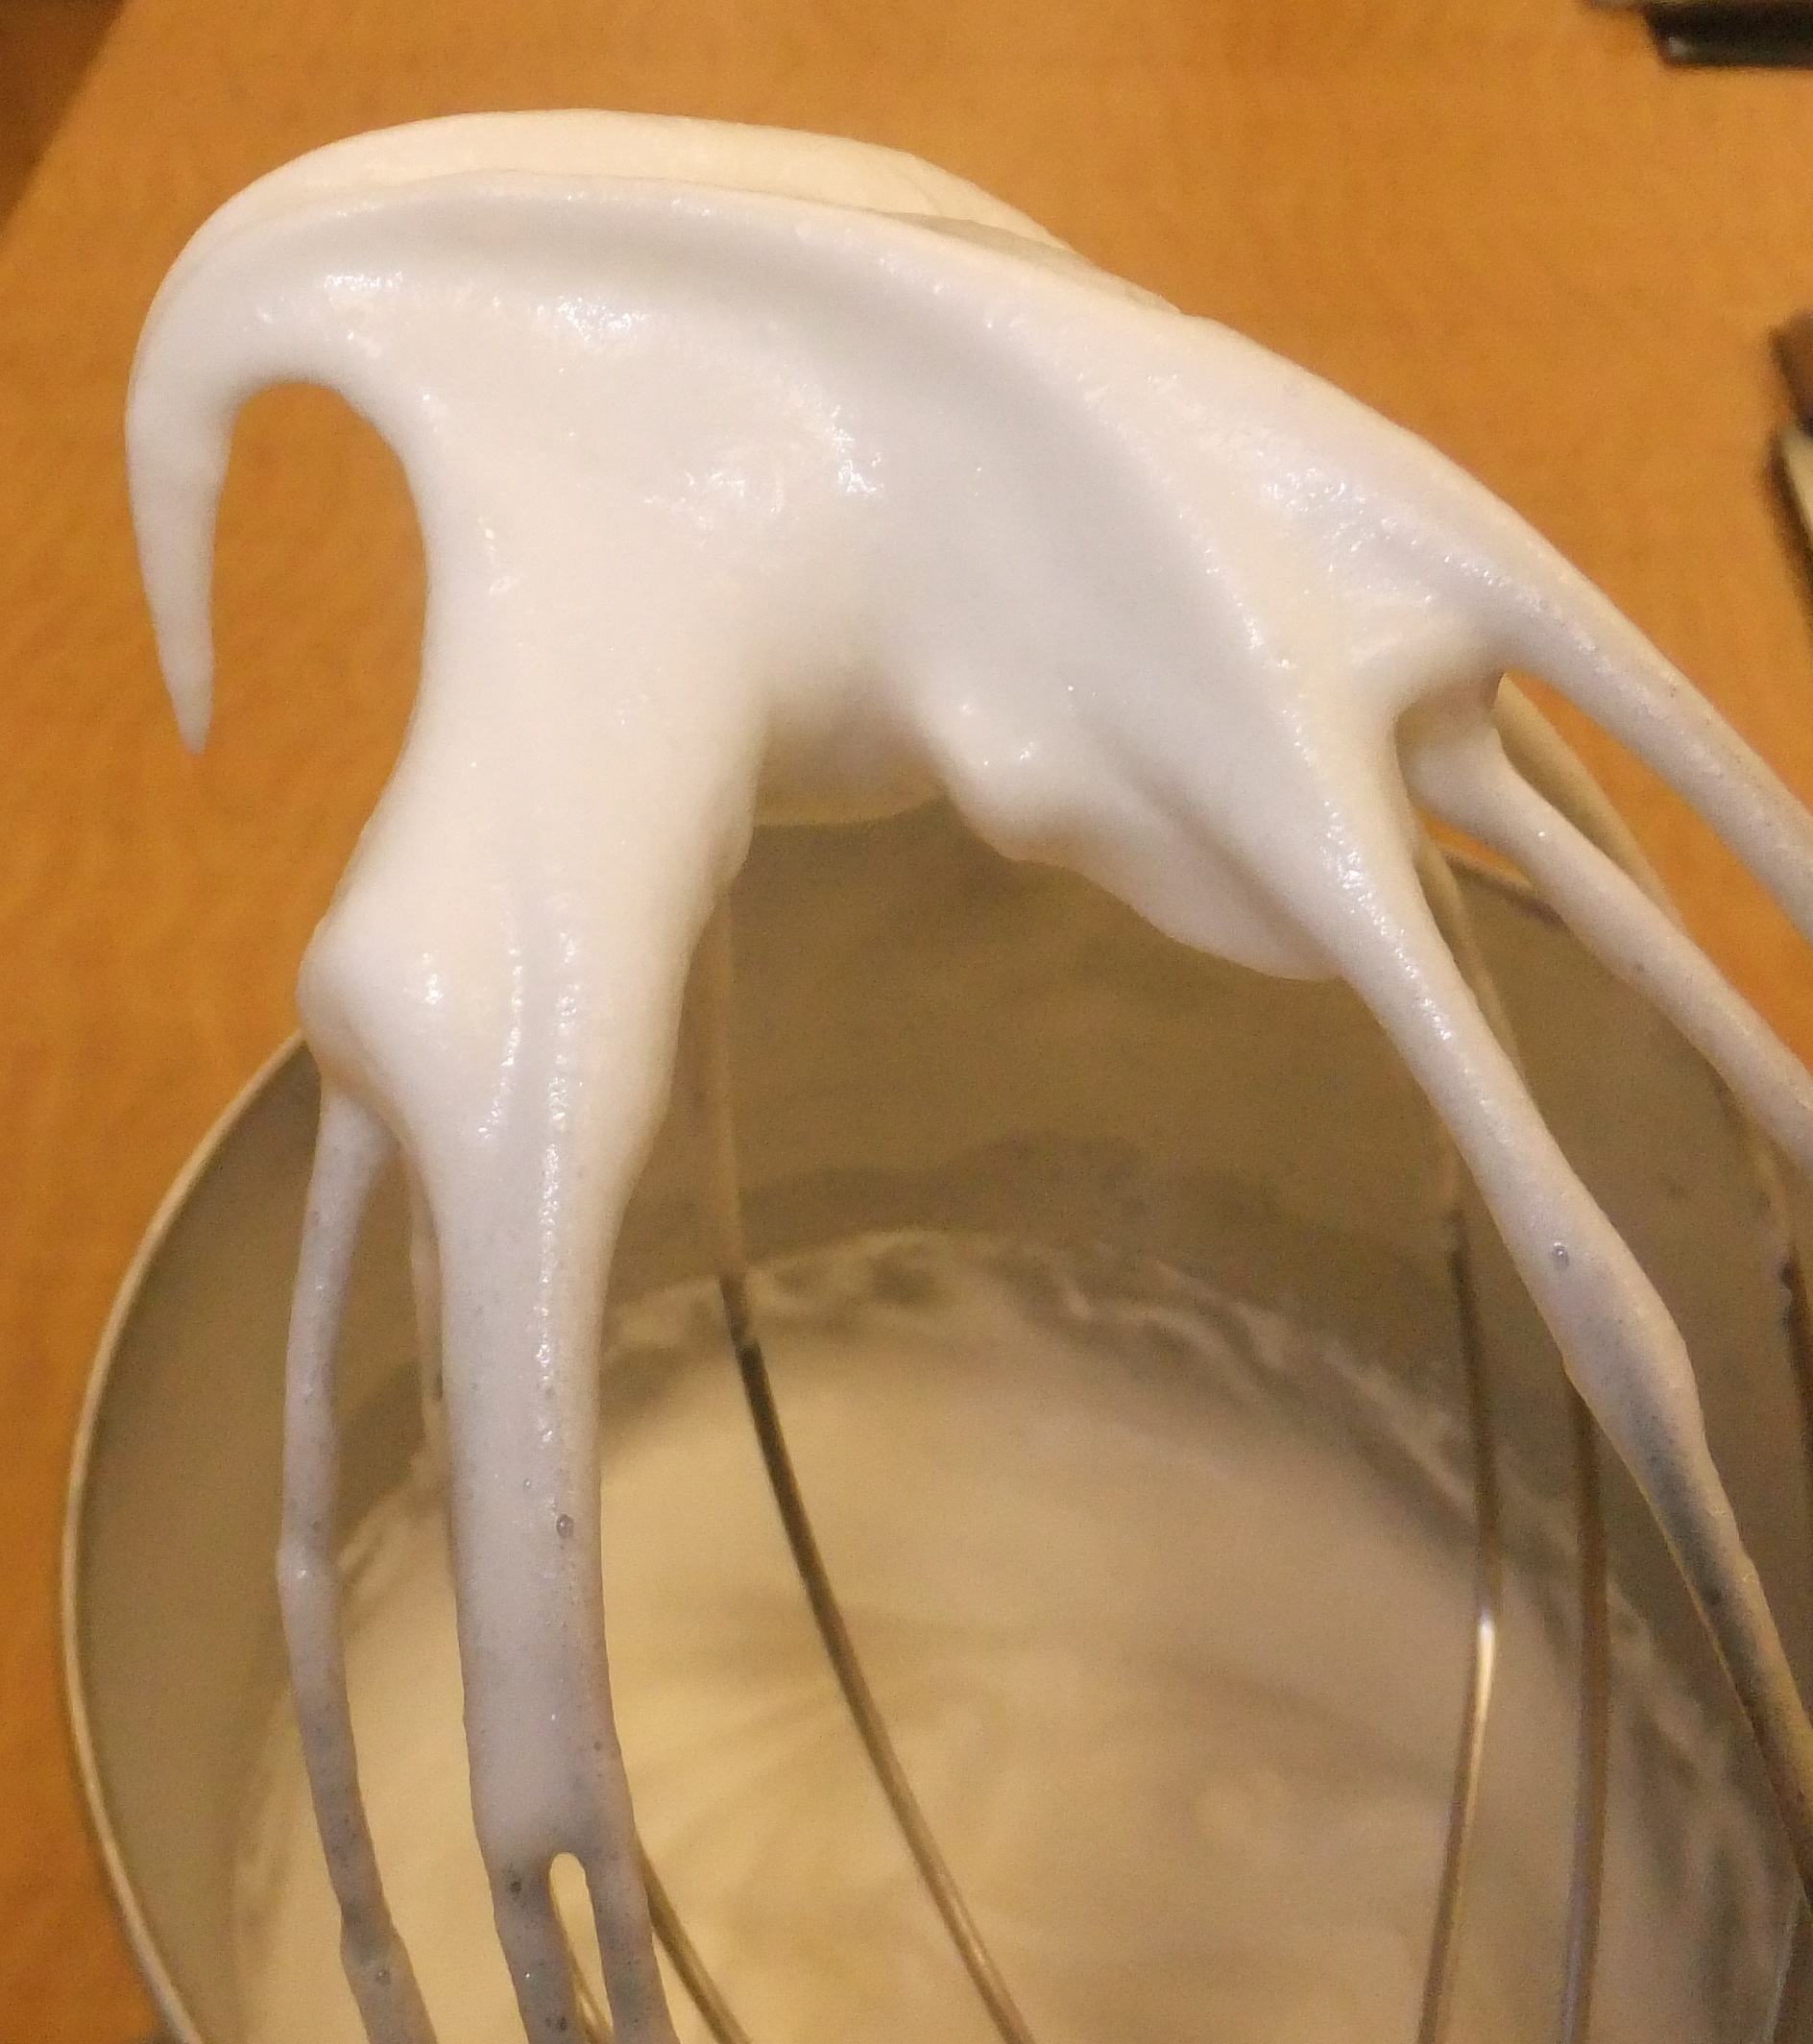
As they were drying, Mama asked what we should make, and I agreed that muffins sounded good. I’ve never made a recipe quite like this one before. Mama melted the butter in a saucepan and added the other wet ingredients to it before adding them to the dry. Weird, huh? Usually, you’d use oil in a two-stage recipe, she told me, but we like butter! It’s been a while since I’ve baked anything, and Mama was impressed with how far I’ve come. I poured all the dry ingredients into the bowl without spilling—the mess came later when I whisked it like a dervish.

You can’t see it here, but my belly is COVERED in flour!

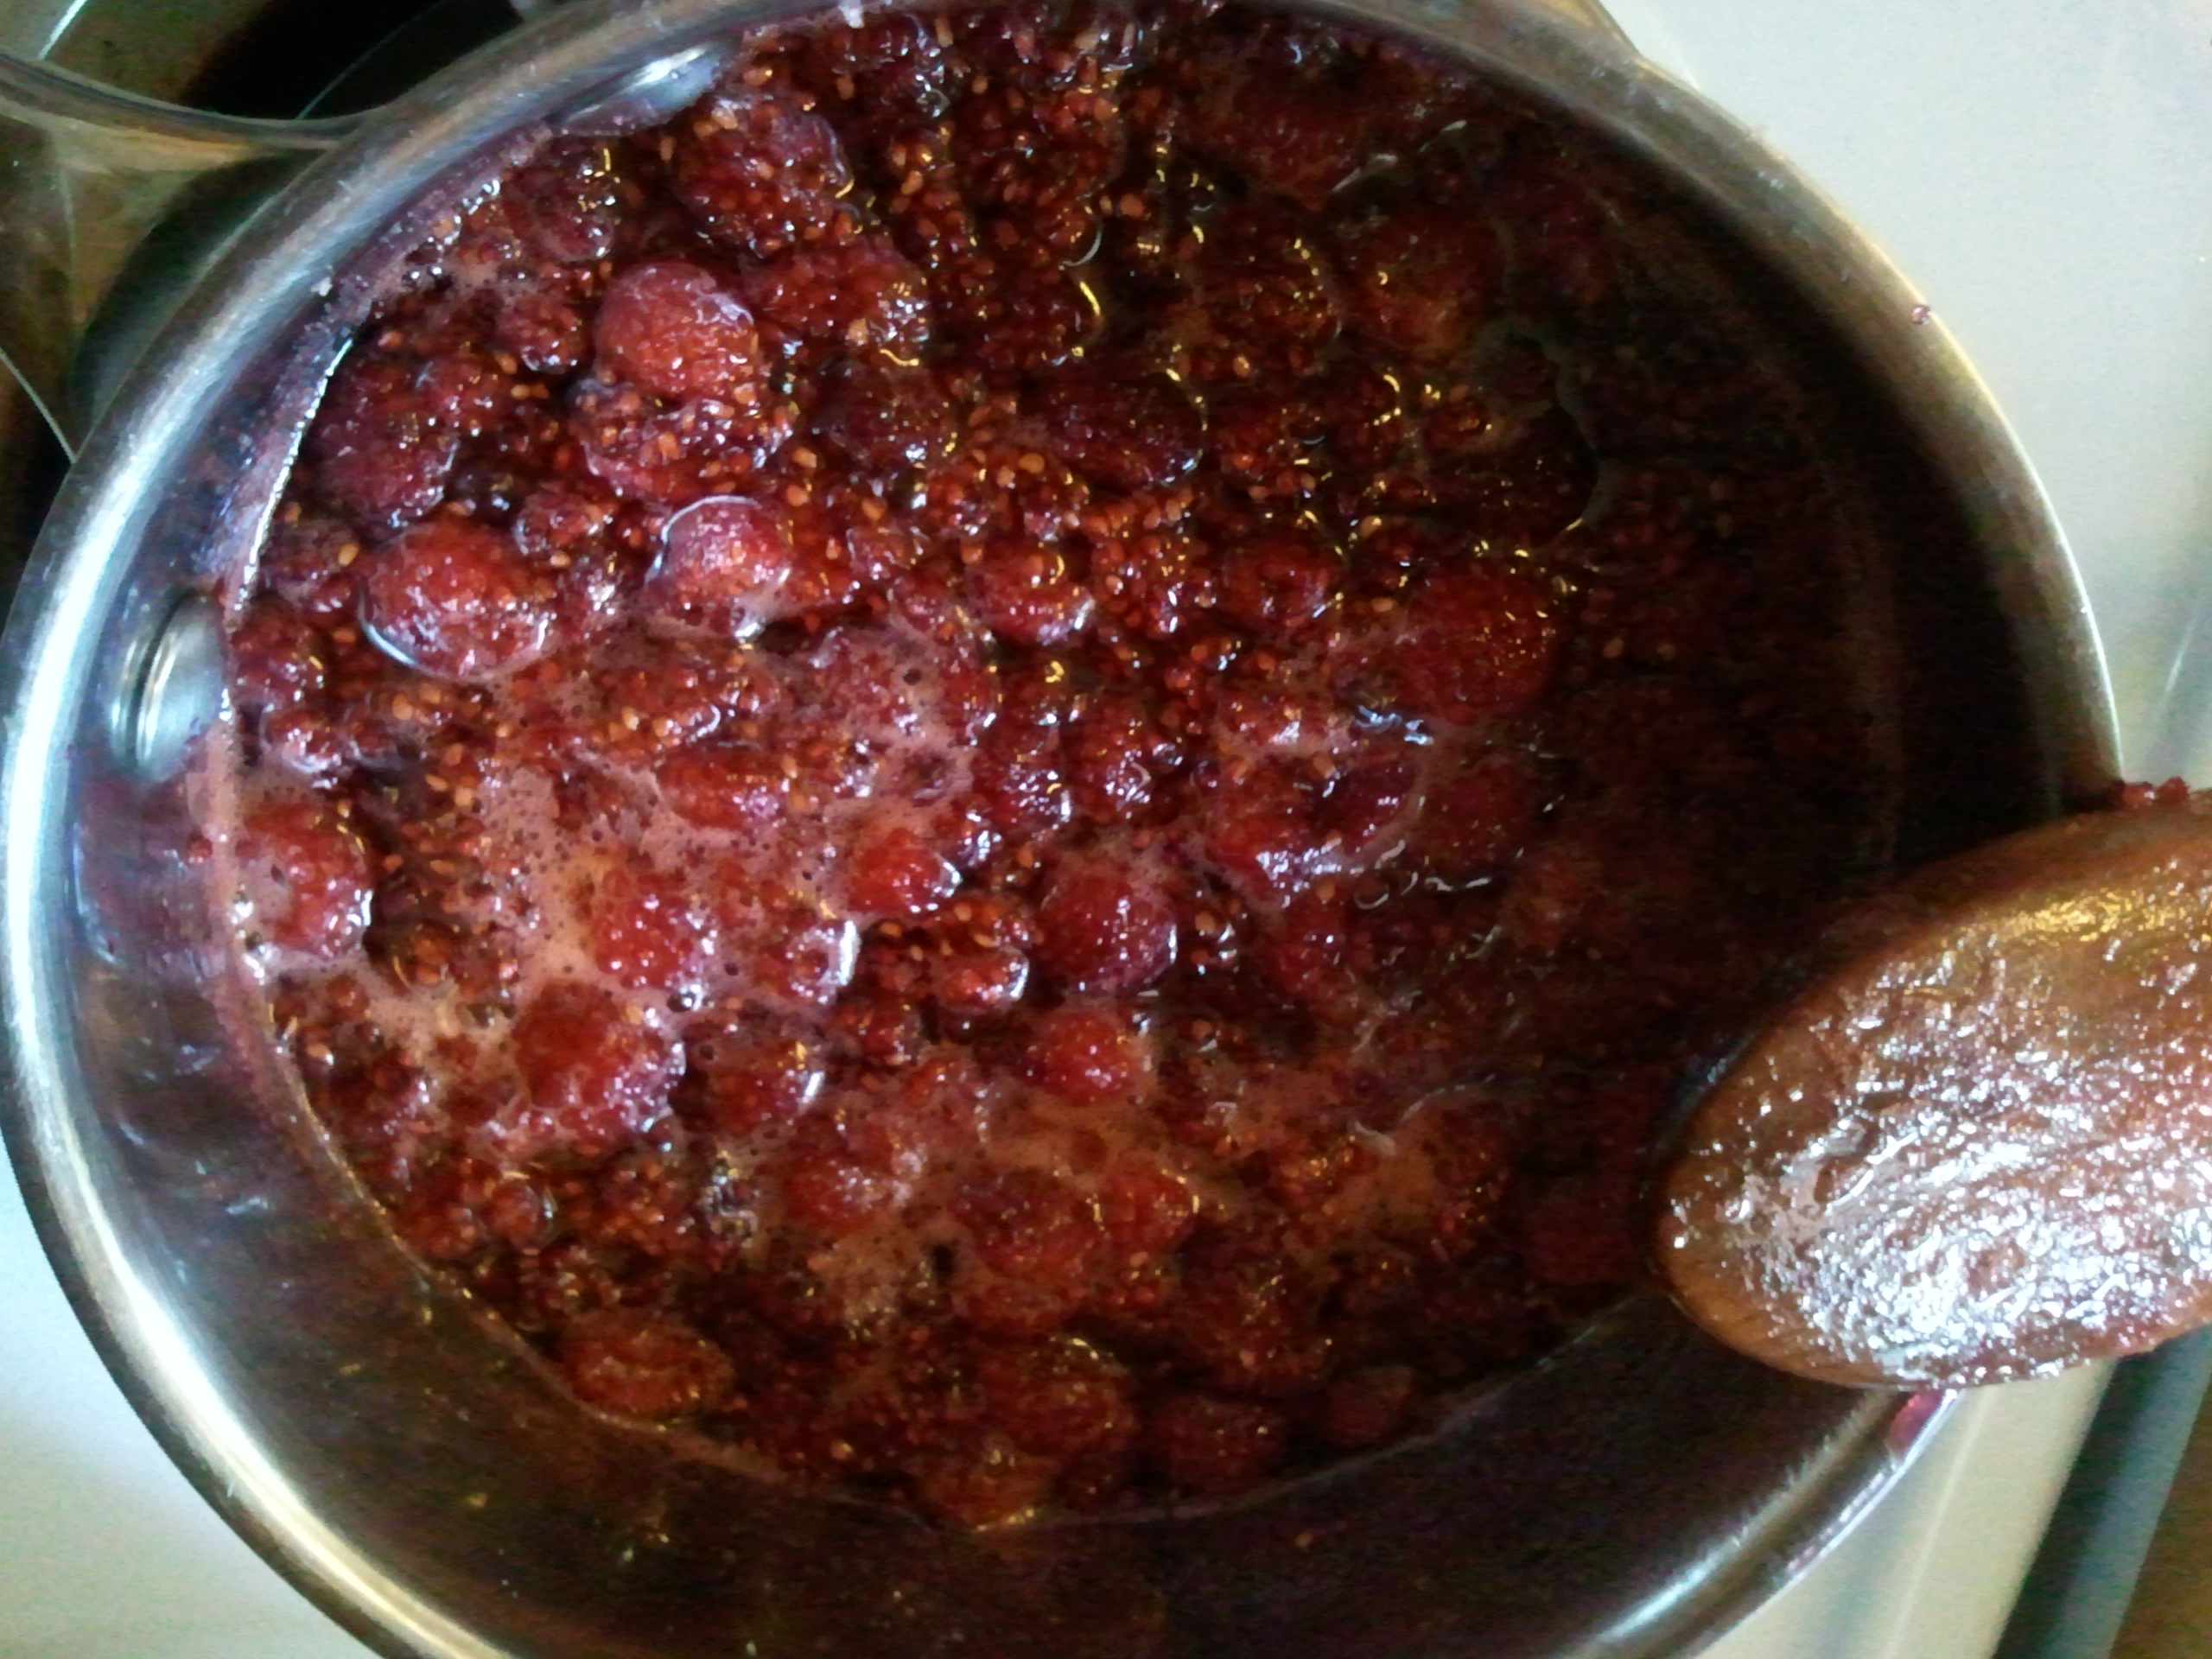
Once everything was combined, I added the bluebies to the batter, then helped Mama fold them in. She explained that if we stirred them too vigorously, they would crush and stain the batter blue. Not that it would affect the taste any, but we wouldn’t have those lovely whole berries to sink our teeth into later on.

This was my last chance to eat bluebies before they were mixed in.

She showed me how quickly you can make a crumb topping, and I helped sprinkle it on top of each muffin. Into the oven they went, and off I went to play. I was experiencing some sort of natural berry high and had a lot of energy.

Check me out!

But not too much to keep Mama from giving me half a muffin once it cooled a bit. (She thinks I didn’t notice she ate the other half.)

YOU try eating just half of one.

Regardless, there were so many bluebies in it! The muffin itself wasn’t very sweet, but the bluebies made up for that. And they were good and crumbly in my hand.

After a long day of picking the bluebies and washing the bluebies and making the bluebie muffins, I finally get to eat one!

Mama said she wants to go picking again next weekend to stock up for the winter. I hope we do!

Love, Jude

Bursting Bluebie Muffins with Crumb Topping

6 Tbsp unsalted butter (or canola oil, then skip the saucepan direction)
1/3 cup buttermilk (or milk)
2 eggs (or 4–5 Tbsp unsweetened applesauce)
1 tsp vanilla extract
1 cup whole-wheat flour
1/2 cup all-purpose flour (or 1 1/2 cups all-purpose total)
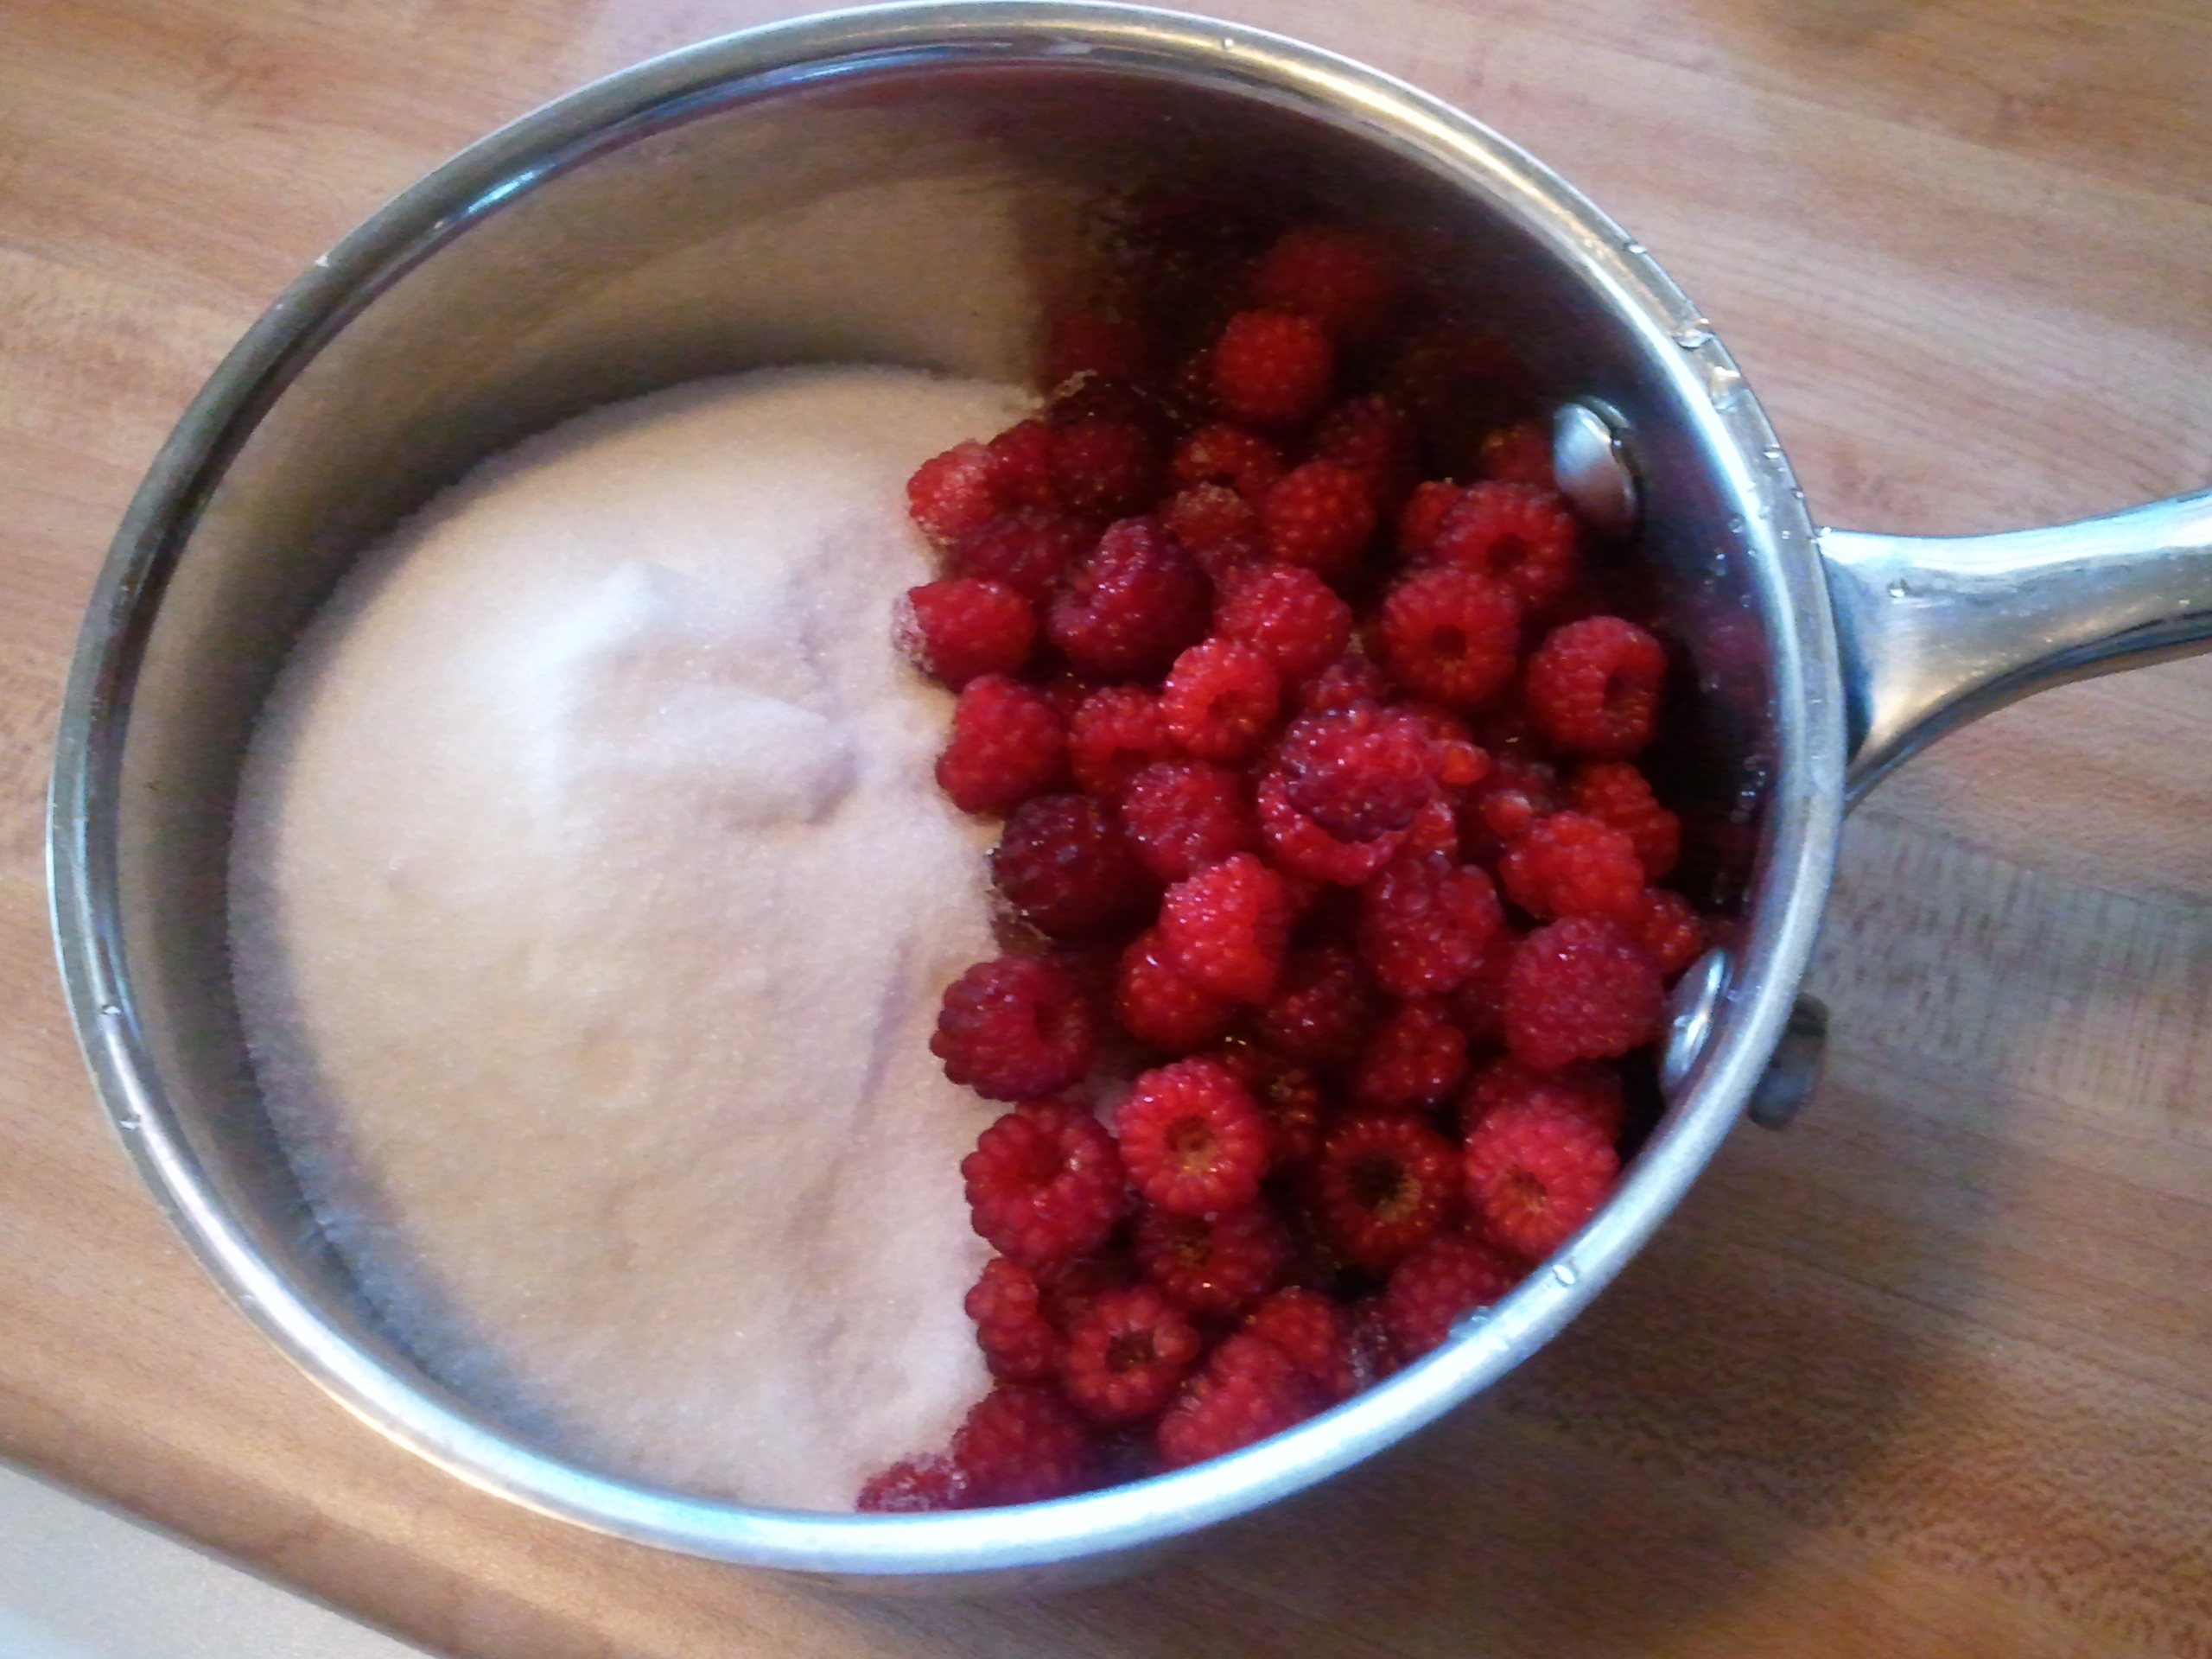
1/2 cup sugar (or brown)
1 1/2 tsp baking powder
3/4 tsp salt
1 1/2 cup blueberries

For topping:

handful of whole-wheat flour
spoonful of brown sugar
spoonful of finely chopped walnuts (optional)
a few pats of butter

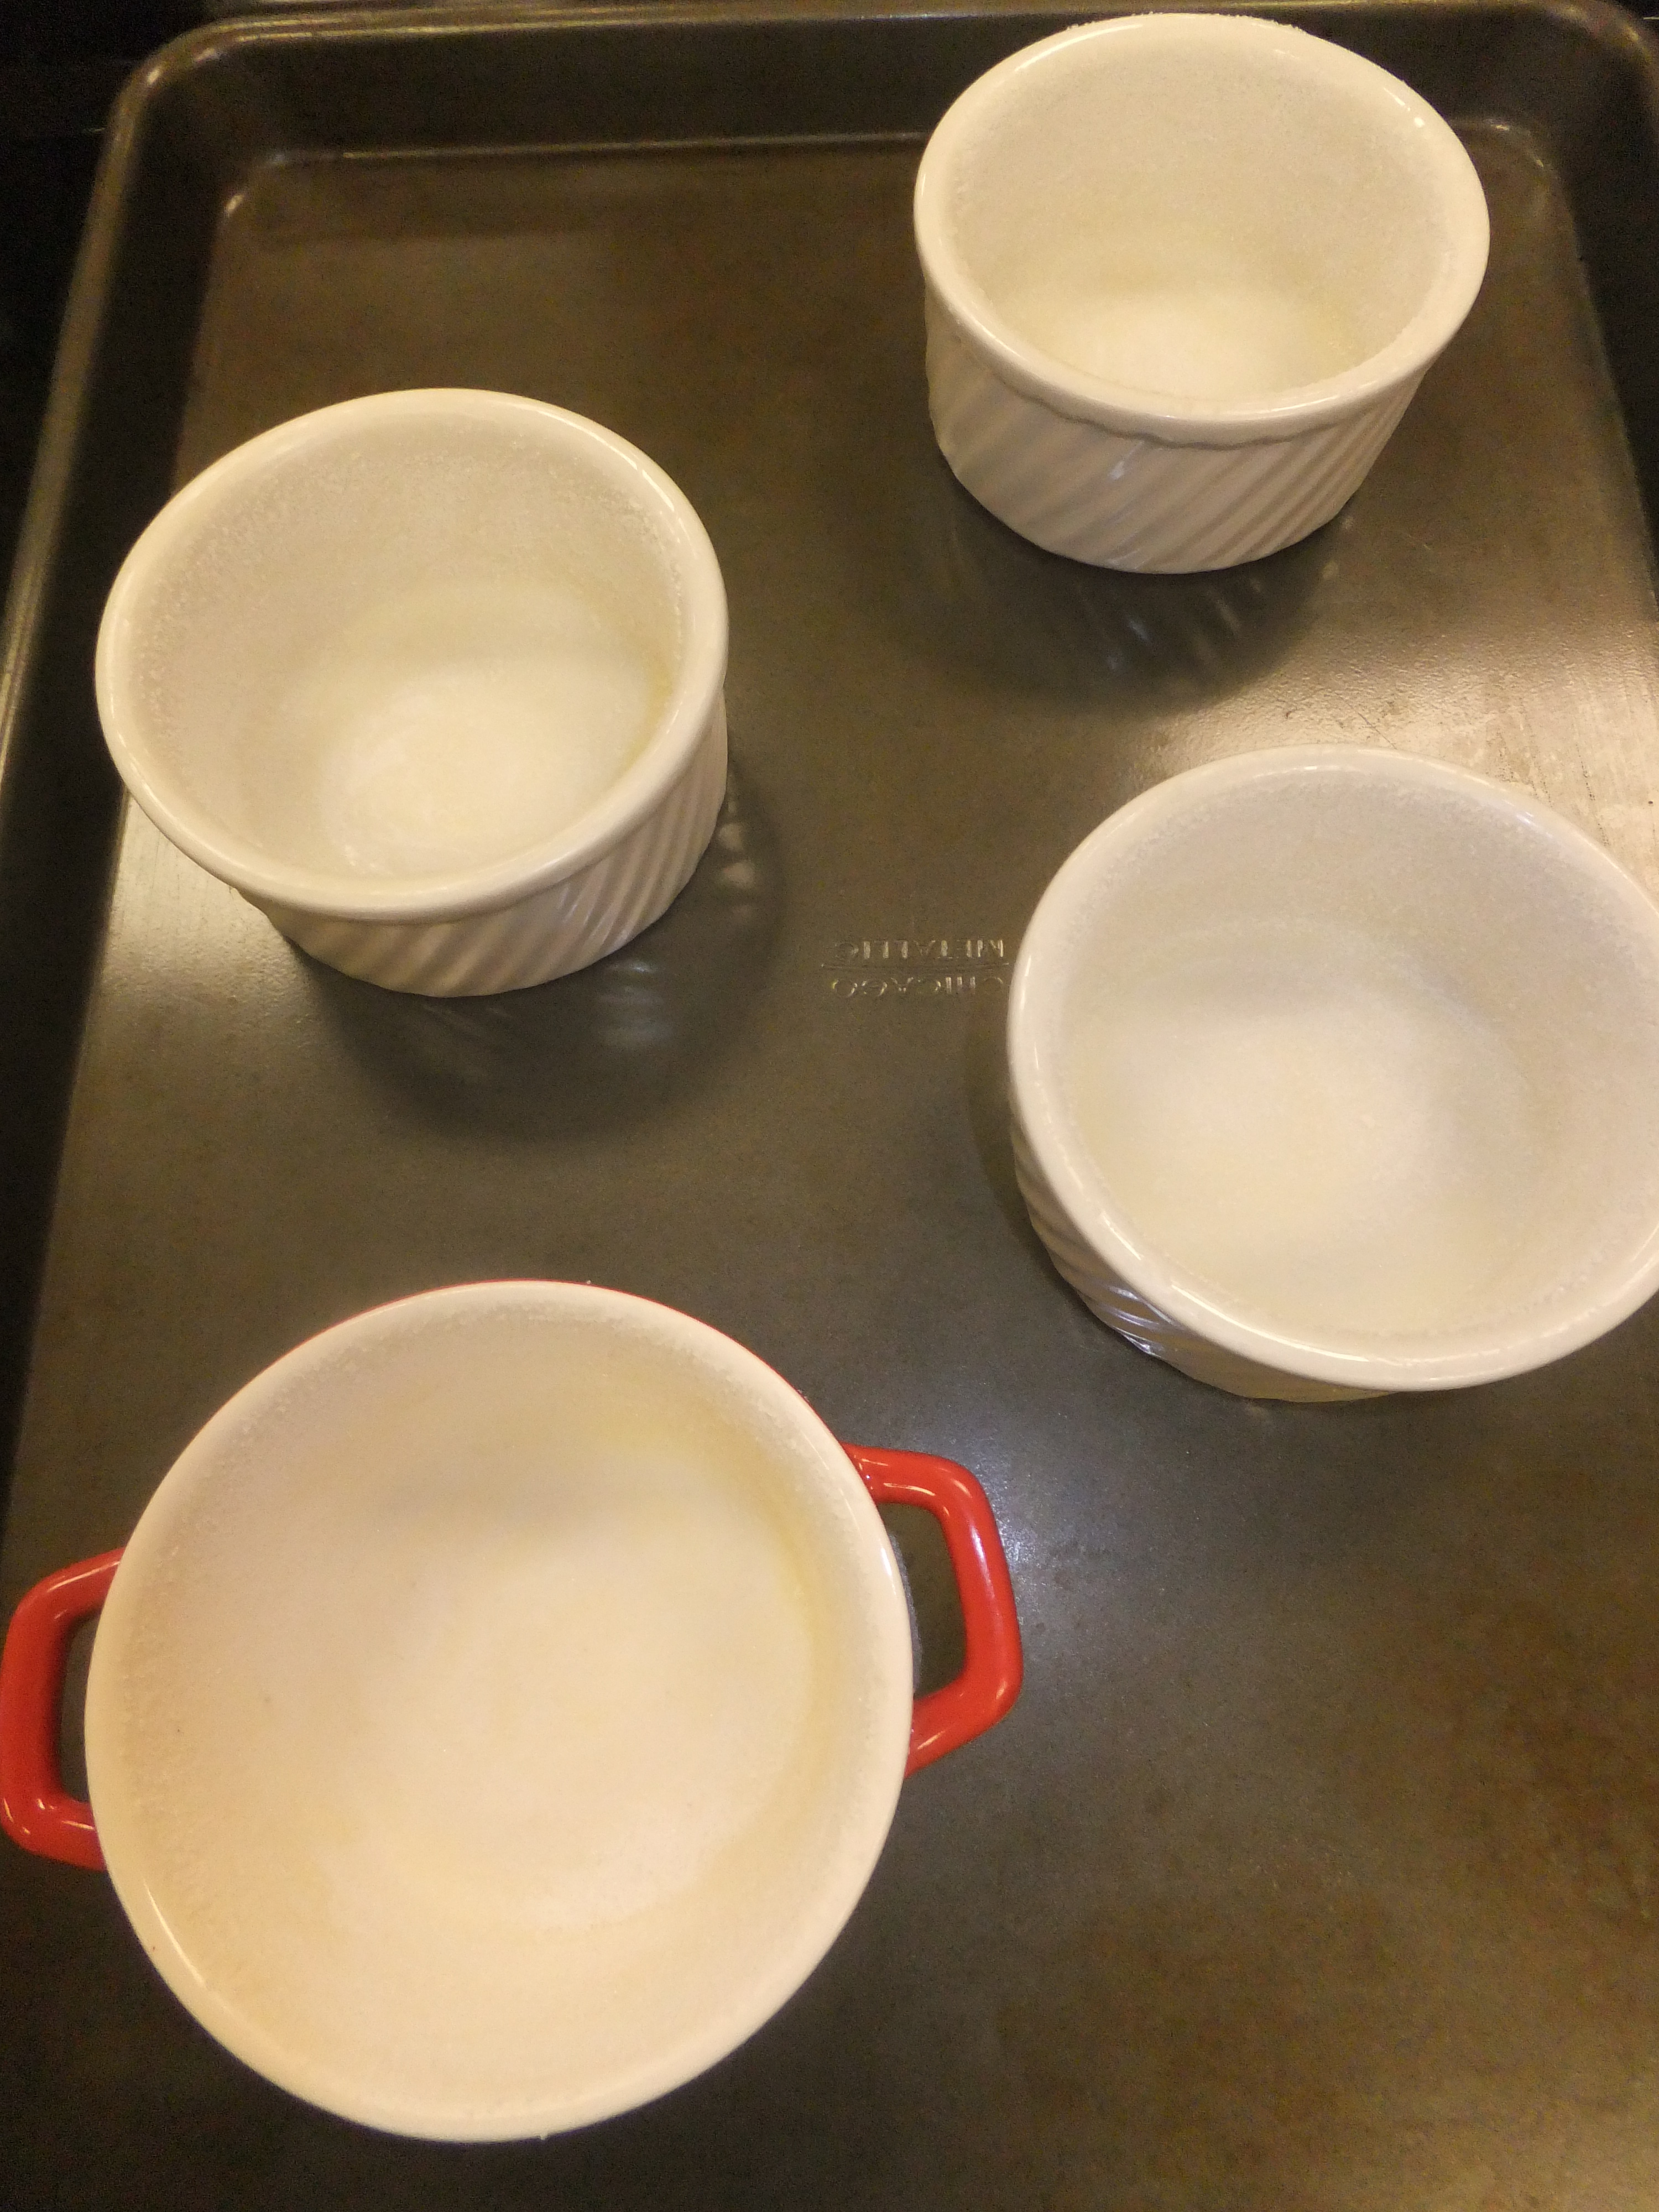
Preheat the oven to 375°F. Butter or spray 12 muffin cups (or use paper liners, if that’s your thing). Melt the butter over low heat, then whisk in the milk, eggs, and vanilla. In a separate bowl, combine the dry ingredients (minus the blueberries), whisking to incorporate. Add the wet to the dry, stir until just combined, then gently fold in the blueberries. Top with the topping ingredients, mashed to combine. Bake for 17-20 minutes, until a wooden pick inserted in the center of one muffin comes out clean. Cool in the pan for 5 minutes, then, if you didn’t use papers, run a knife around the edges to loosen. Transfer to a rack to cool or eat!


7 Comments

This is how Mama procrastinates

Mama had a mess of heirloom tomatoes ripening on the counter and more kale in the fridge than she knew what to do with. Even I can’t eat that many kale chips. So she decided to make a tomato tart with kale pesto.

You can use beefsteaks or romas…but why would you want to?

The first thing she did was lop off the top of a head of garlic. She laid it in foil, drizzled it with olive oil, scrunched it all up, then put it in the oven for about half an hour. Just until the garlic softened and started becoming golden. She told me this is a really yummy thing to spread over crostini, which she said I’ve actually eaten before, but my baby memory isn’t recalling that.

A drizzle of oil transforms garlic into something YUM.

Meanwhile, Mama made the crust. She explained to me that she doesn’t generally like making crust in the food processor because then she has to clean the darn thing, but since she would be making pesto with it anyway, she figured why not? To the processor, she added her flour, oats, and salt. Then she added her butter and processed it just until little clumps formed.

This is how you want your butter cut in to the flour, whether it’s by hand or machine.

She said you don’t want to process the butter so much that it melts–the cold butter is what makes for a flakey crust. Then she added the ice-cold water and processed it again just until large clumps formed and began pulling from the side. She tested the dough by squeezing a bit in her hand, and she saw that it held together. You don’t want to process it into a smooth ball, otherwise you’ve overdeveloped something called gluten, and your crust will be tough.

This is how you your dough should look when it’s ready. See the squished clump in the top left?

Once she had the crust chilling in the fridge, Mama moved on to the pesto. Ordinarily, Mama makes a pretty traditional pesto, which she first ate, ironically enough, at a friend’s mother’s house in Bad Bramstedt, Germany, back in the ’90s. When you use basil or other fresh green like arugula, you can make the pesto fresh from the garden. When you use something hardier, like kale, it’s better to first blanch the greens. Mama generously salted her boiling water (and I stayed far away from the burner) and blanched the kale for a minute or two, in batches. She then ran the cooked kale under cold water (she said she’s cheating because she really should be putting it in an ice bath…but there are only so many dishes she wants out of the cupboards at any given time). The kale went into the food processor, to which she added olive oil, more salt, pepper, fresh lemon juice, toasted pine nuts (you don’t have to toast them–they just develop a nicer flavor), some freshly grated Parmesan cheese, and the roasted garlic. When the cloves were cool enough to handle, a gentle squeeze popped them right out of their papery skins! She whirred the ingredients in the processor and stopped to taste. I reached in and grabbed a chunk of the pesto to try for myself. I was not happy with it. But neither was Mama! She added more lemon and more salt.

A tart is so pretty and sophisticated (like myself), but Mama had so many tomatoes that she decided to turn this into a deep-dish pie. I sampled many of the tomatoes to be sure of their ripeness, which is rather strange considering that I rarely eat raw tomatoes.

If I see something sitting on the counter, I’m going to eat it!

Then Mama rolled out the dough. I took my bitten tomatoes and stamped them on the dough to make pretty patterns. She showed me how to wrap the dough around the rolling pin to lay it into the pie pan easier. There was really a lot of dough, so Mama trimmed the edges and was sure to have leftovers. Then she spread some pesto along the bottom of the pie. She neatly layered some sliced tomatoes, then sprinkled some mozzarella on top.

I like the pretty colors of the heirloom tomatoes.

She explained that if this were a shallow tart, she’d be done, but she continued with two more layers in the same manner. (The leftover pesto she put in the fridge for pasta, but it would also freeze fine.) She put the whole thing in the oven until the top was brown, about 30 minutes, then grated some asiago cheese on top. She could’ve put it back in the oven for another minute or so, but she didn’t.

I had a few bites, which tricksy Mama was trading off for bites of the crust, which I really enjoyed. She kept telling me that if it were horrible she wouldn’t be bartering, but I’m not so sure. I hear this pie tastes good cold, too. Guess  I’ll find out for lunch tomorrow.

Love, Jude

Heirloom Tomato & Kale–Roasted Garlic Pesto Tart

Roasted Garlic

1 head garlic
1 Tbsp extra-virgin olive oil

Pastry Crust (or, Pâte Brisée if you’re really interested)

2 1/2 cups all-purpose flour (you can substitute whole-wheat, if you like)
1/3–1/2 cup ground rolled oats (optional)
1 tsp sea salt
2 sticks cold unsalted butter, cubed
1/3 cup ice water

Pesto

1 large bunch kale, ribs removed and torn into rough pieces
Extra-virgin olive oil (about 2 swirls around the food processor)
Juice of a lemon (or more, to taste)
Kosher salt (to taste)
Freshly ground black pepper (a few grinds)
2 Tbsp toasted pine nuts (toasting optional)
3 Tbsp freshly grated Parmesan cheese

Tart

1–2 pounds ripe heirloom tomatoes (however many you need, depending on size & variety)
1–1½ cups shredded mozzarella
Freshly grated asiago cheese

To roast the garlic: Preheat the oven to 350°F. Trim the tops off the garlic bulb, place it (cut side up) in the center of a square of foil, drizzle with the olive oil, seal the top of the foil, then place the bundle in the center of the oven. Roast until the garlic is soft and fragrant, and slightly brown, about 30 minutes. (You can certainly make the pesto with regular ol’ garlic, too, without the roasting.)

For the pastry crust: Combine the dry ingredients in a food processor. (Mama already had ground oats, but if you don’t have them, grind them in the processor first.) Give it a few pulses to distribute. Add the butter and pulse about 10 times, just until the butter and flour begins to form pea-sized lumps throughout. With the machine running, add the water in a stream and process just until the dough starts to clump. Turn it out onto your counter, give it a few quick kneads to bring it all together, flatten it into a disk, and wrap it in plastic. Refrigerate for half an hour.

For the pesto: To blanch the kale, bring a large pot of salted water to a boil. Working in batches, if necessary, add the kale to the water and stir to submerge. Boil for 1–2 minutes, until the kale is bright green. Transfer with a slotted spoon or tongs to a bowl of ice water (or to a colander that you’ll then run under cold water in the sink). If using toasted pine nuts, toast them in a dry pan over medium heat for a few minutes, shaking every so often, just until fragrant. You can also put them on a piece of foil or on a baking sheet and stick them in the oven, since it’s on. As soon as you smell them, they’re done! Place all the ingredients in a food processor and blend until pasty. You might need to add a little more oil—you can even add some of the blanching water. Taste and adjust seasonings. (Mama notes that all these amounts are approximate.)

To finish the tart: Slice the tomatoes—about as thick as you would a sandwich tomato. Set aside. Take the pastry crust out of the fridge and remove the wrap. Generously flour a surface, then gently roll the dough. Lay into pie or tart pan, then trim the edges, fluting if desired. Spread a layer of pesto along the bottom. Arrange slices of tomato to cover, then sprinkle with mozzarella. Repeat layers, if desired, ending with cheese. Bake until golden, about 30 minutes. Shave additional cheese on top, then pop back in the oven until melted and browned, a few minutes more.


3 Comments

I’ve been promoted…

…to “Kale Chip.” You might recall that last summer my cousins began calling me “Kale Puff,” in reference to my snack of choice (in lieu of sugary, o-shaped, or fake-cheese snacks). While I’ve been a bit turned off to green foods of late, I feel the need to come clean on something. This morning, I climbed up onto the counter (I have been getting taller and stronger!), took down the container of freshly made kale chips, and proceeded to eat them. For breakfast. Go past “moo-moo milk” and yogurt, and head directly to greens.

I’m holding a chip in one hand, eating one with the other, and getting ready to feed my fleet of trucks.

I can’t explain it. Perhaps it’s their slight crunch. Perhaps it’s their saltiness (Mama can be a bit heavy handed with the stuff). Perhaps it’s because I can munch and munch until I stuff a pretty big leaf in my mouth. Perhaps it’s because these chips were made with kale from my friend Walter’s organic farm. (In fact, he helps his mama harvest the kale; she tells us it just keeps growing and growing.) Or maybe I just really like kale. There are worse things for a kid to like, you know.

Love, Jude

Supereasy Kale Chips

1 bunch of kale, torn from the ribs into manageable pieces
Olive oil spray (not the kind that comes in an aerosol can)
Sea or kosher salt

There are tons of places you can look to find a recipe that suits you, but this just happens to be how Mama made the chips last night. Preheat your oven to 300°F. Lay a sheet of foil, if desired, onto a baking sheet and spread out the torn kale. It’s okay if the pieces overlap—they’ll still dry out. Spray the leaves with the olive oil, then sprinkle liberally with the salt. Bake, checking on them periodically, until crispy, about 10–15 minutes. Store in an airtight container at room temperature until gone.

Note: Mama said to tear your kale into uniform pieces, as bigger pieces won’t dry out as much as smaller pieces. I should also point out that I didn’t like the pieces with even the small veins in them—I kept chewing and chewing, and eventually I had to spit out a little kale blob. If that sounds gross to you, think of how Mama felt when I put it in her hand!


3 Comments

What’s with all the green?

You might recall that I used to eat a lot of spinach, in the form of something we called “gruel.” But now that I’m beyond all that baby food, Mama serves me sautéed spinach and kale, and I notice she puts herbs in everything. I am no longer such a fan.

Mama had some leftover halibut from fish tacos, so she decided fish cakes would make for a good dinner. Papa peeled and boiled the potatoes, and Mama raided the garden for the mint and parsley. The cakes came together pretty quickly, so Mama decided on her favorite chickpea salad as an accompaniment.

While Mama’s a proponent of cooking beans, she feels this is only something a person who has her act together can do, and Mama is not one of those people. She doesn’t have various pots of beans and grains cooking and all her vegetables cut for the week ahead on a Sunday. She just doesn’t. So when it comes to a superfast side dish (or sometimes, in Mama’s case, a main dish), she likes being able to reach into her cupboard and pull out a can of beans. Just drain, rinse, and serve. Now, I’ve been slow to come to chickpeas (though I like to say “chick-pea”), but I very recently ate half a can all on my own. So Mama felt pretty confident I’d share her gusto for garbanzo salad.

Not so much. I couldn’t find one that was just a plain old chickpea. All that basil and parsley. Doesn’t she get that toddlers have a clinical aversion to green showing up on non-green foods? As for the fish cakes, I took my obligatory one bite, but that was enough for me. I liked the crispy fried part okay, but it still tasted fishy—and there was all that greenery. I ended up sharing it with the dog. The green I didn’t mind was the avocado I ended up eating for dinner.

Love, Jude

Herbed Chickpea Salad

1 can chickpeas, drained & rinsed
Handful of fresh parsley, minced
Handful of fresh basil, minced
1–2 cloves garlic, minced
Juice of ½ lemon (or more, to taste)
Kosher salt & freshly ground black pepper
Drizzle of olive oil
Freshly grated Parmesan cheese

As you can see, this is a pretty loose recipe. Mama just does it all to taste. Start with a little of an ingredient and add more. Remember, you can always add more, but you can’t take it away!


2 Comments

Popsicles, popsicles!

When I was in Italy, I had something I’d never eaten before: gelato. Mama and I had it every day (I think she had it twice a couple times, too, which she thinks I don’t know about). We ate gelato with pears and Nutella, gelato with basil and cantaloupe, gelato in cones, gelato in cups… I can’t even tell you all the kinds of gelato we had!

Look how well I can hold a cone of gelati.


But now that we’re home, and it’s awfully hot outside, Mama’s kept it simple and made me popsicles. They’re so easy, even I could do it…but then again, I’m pretty handy in the kitchen. The only part I needed help with was making the simple syrup (hot!) and cutting the honeydew (knife!). After that, we pureed it in the blender, Mama poured the mixture into the popsicle molds, and then she put them in the freezer. Waiting until they were frozen would have been the toughest part, if I hadn’t had to go to bed.

What I like about these popsicles is that I can bite them. They’re just a little bit crystally and not too hard. They’re sweet, but they mostly taste like the green melon. And I see that Mama snuck a little raspberry into each one that I have to munch may way down to. I also like that I can hold it by myself, which just means that I can offer it up to Mama (or Papa) for a taste. Just a taste, Mama.

See the raspberry Mama hid in my popsicle?

Love, Jude

Fruit Popsicles

½ cup sugar
½ cup water
Fresh fruit (about 3 cups), cleaned & prepped

Bring the sugar and water to a simmer in a small saucepan, stirring occasionally, until the sugar dissolves. Set aside and cool completely. (This is called simple syrup. You can adjust the sweetness as you prefer, but Mama likes the one-to-one ratio here. This makes a little under 1 cup.)

If you’re using a large fruit, like a honeydew or cantaloupe, peel, seed, and chop it into cubes. Smaller fruit, like berries, can be tossed in whole after being destemmed. If you’re using something like peaches, it’s really up to you if you want to peel them. Put the fruit into the blender and add the simple syrup. Puree until there are no more chunks of fruit, a minute or two. Again, if you want your popsicles less sweet, start with half the syrup, puree, then taste it. Mama says you need to have some sugar in it, though, otherwise the popsicles will freeze solid.

Pour the puree into popsicle molds—but don’t fill them all the way. If you want, drop a tiny berry in at the bottom—it looks pretty, and it’s fun to get to! Seal up the pops and freeze until set, a few hours. We got exactly 18 pops from this mixture, and I’m working my way through them.


11 Comments

Cooking lessons first, morality lessons later

When Mama was growing up, she told me she had an Italian plum tree and a sour cherry tree in her yard; later, there were apple trees. One by one, though, they began to die, but the plums and “sours” (as she calls them) continue to be among her favorite fruits. It’s probably how she came to pinch the cherries from the tree down the street from her, in the yard of an old woman whose tiny house was all that stood guard over the coveted summer crop.

It’s a wonder, then, that it took three summers before Mama noticed the wild raspberry bush in our neighbor’s yard…especially since the house has been vacant since before I was born. When she noticed the red gems glowing in the sunlight, she darted across our semi-private mountain road with me (after looking both ways, of course) and pointed out the very reddest ones, showing me how to pick them and either pop them right into my mouth or put them in a dish. (Sometimes I pick the orange ones and throw them because that’s fun too.) She only let me get the berries closest to the edge of the bush because, as she soon discovered, the vines and leaves were positively covered in thorns of all sizes that made her skin itch.

Mama explained I can only ever pick berries when I’m with her or Papa, and only then, just the berries they say are okay to eat. (Papa later pointed out that she failed to explain that we shouldn’t be picking someone else’s berries without their permission. Mama replied, “Who’s there to ask?”) Luckily, there’s a small vine of berries on our side of the road, in front of the whistlepig’s hole, so maybe next year it will have enough fruit for us.

This is a photo from this year. We get about this many berries every other day.

This is photo was taken a year after the original post. We get about this many berries every other day.

Until then, Mama goes on a raspberry raid almost every day, though she sadly reports that they’re coming to an end. I get to eat them with my yogurt in the morning or as a snack throughout the day. They’re yummy and very sweet. I like that they’re so tiny, and Mama likes that they keep in the fridge for a couple days without spoiling. When she started picking more than we could eat, though, she decided to make a small batch of freezer jam. Because it gets very hot and can splatter, she didn’t let me near the stove when she made it. But I did get to taste the result when she spread it on a homemade flatbread that Papa grilled, then topped with arugula and dollops of ricotta. Wherever the fruit comes from, I could get used to this kind of eating.

Love, Jude

Purloined Wild Raspberry Freezer Jam 

2 cups wild raspberries (or any other berry, or a mixture)
2 cups sugar
Juice of half a lemon (or to taste, but you need some acid to make this all work)

Wash and prep your berries (hull and halve strawberries, destem blueberries, etc.). Add them to a small saucepan with the sugar and lemon juice.

Equal parts fruit and sugar... I like this already.

Equal parts fruit and sugar… I like this already.

Bring it all to a gentle boil, and lightly smash your fruit. You can leave a few whole chunks, but you need to smoosh the fruit to release its pectin. Boil, stirring frequently, until the jam begins to thicken. This could take about 10 minutes—the riper and sweeter your fruit, the longer it will take.

See how it's getting all gooey and jammy?

See how it’s getting all gooey and jammy?

If you think it’s jammy enough, you can test it by spooning a bit onto a plate and sticking it in the freezer. Once it’s cool, you can tell whether it’s ready by tilting the plate—if the jam runs right off, it’s not done; if it sort of goozes the way jam should, then you’ve got yourself jam. Carefully pour the hot jam into very clean jars—this recipe makes less than 1 pint. Mama uses a Ball jar and waits to see if the seal pops shut (a time-honored tradition in my grandma’s kitchen, she tells me). Regardless of whether they seal, Mama waits until the jars are cool to the touch then puts them in the freezer. No special canning equipment or know-how required. Unfrozen, the jam will last in the fridge at least a month, but really, could you wait that long?

Note: Some people use pectin when they make jam. Mama says it’s a natural ingredient in fruit anyway, so she doesn’t add it to hers. Even though it ensures your jam will “gel” every time, she likes the simplicity of measuring sugar and fruit in equal proportions. And her jam is usually thick enough to spread between cake layers. Usually. If you decide to use pectin, she suggests buying the no-sugar-added kind, following the package directions for the amount to use, and decreasing the amount of sugar you use in this recipe. (You’ll still want to add sugar, even with this kind of pectin.) Be sure to boil your jam to activate the pectin—but not too long, or the pectin will start to break down!


4 Comments

Lavender’s Not Just for Bath Soap

It’s for cooking, too. Mama helped me make a new kind of scone today, using dried lavender flowers. As in other recipes, we first mixed the dry ingredients. I poured flour and sugar in the big bowl and then dug my hands in there. I felt the difference between how the silky, powdery flour coated my fingers and how the grainy, shimmery sugar slid through them. Mama added the other dry ingredients, and I tried to pick out the lavender flowers. (We got them from my friend Milo’s mama, who ordered them online, but you can get them at stores if you know where to look.) She let me whisk all of it together, but sometimes I used my hands to stir it up.

Sometimes it's helpful to put the measuring cup into whatever it is you're mixing.

Then Mama thought it might be better if she mixed the wet ingredients. Because we didn’t have buttermilk, she showed me how to make “sour milk.” She first zested the lemon, since we needed it, then squeezed one-half of it into the cup of milk. That’s it! Then she showed me how to easily dice a stick of butter by using a bench scraper (a knife would work too). Then she gave me the butter cubes to put into the bowl, and I had to taste each one to be sure they were wholesome enough to go into these scones. (Mama tried getting a picture of me licking the butter wrapper, but I was too quick for her!)

After all the butter was in the dough—another new word I can say!—Mama showed me how to work the pastry cutter, a funny looking tool that has a handle. It was a lot of work, so I let her do most of it. (She told me scones can be done in the big mixer, then you don’t have to work as hard.) Then we played with the dough, smooshing the flour into the butter. Mama then poured in the sour milk and let me stir it all.

This is called "cutting in" butter, but I liked it better when we just squished the butter with our fingers.

Then she took a handful of flour and threw it on the counter! It was wonderful. I spread it all over, and then some. Mama turned the bowl over, pulling the broken dough out onto the flour. She and I then squished and patted and pounded it until it formed one solid mass. Then we patted it some more.

Smack it! Next to eating the butter, this was probably my favorite part.

Mama said we really shouldn’t be handling the dough so much because it’s the cold butter that makes scones rise and get all flaky, but we were having fun. (And buttery dough is quite tasty.) She cut the scones with the bench scraper (being careful not to get my fingers as I kept sampling the dough) and put them on baking sheets—not too close together, she warned, because they’re going to spread. She showed me how to brush the tops of the scones with more milk before dusting them with a little bit of sugar.

The dough was so tasty, I couldn't wait for the scones to be baked.

Into the oven they went. After 7 minutes, she rotated the trays so the one on top was now on the bottom, and she turned them around too, so the backs were now in the front. But silly Mama forgot a basic rule of cooking and baking, which is to trust all your senses. She was so busy making lemon curd (which she decided to do at the last minute since she had an extra lemon), that she didn’t keep an eye (or a nose) on the scones as they baked. When the timer went again after 7 more minutes, she took one look at the scones and knew they were overdone. Not inedible-overdone, just not the perfect level of golden she prefers. All that mattered to me was that I couldn’t wait to eat them. She placed a frittata in front of me for breakfast, but all I could think of were those scones sitting on the counter, cooling. They were right there!

Finally, the moment arrived. I took a sample nibble, and yes, they were good. But I’ve had enough scones in my 20 months to know that these were a wee bit overbaked. They should be fluffier in the center and less crispy on the outside. Still, I enjoyed dipping them in the lemon curd. They work just fine for that. Mama thought the scones were on the salty side, so she’d cut back to ¾ teaspoon, if not ½, next time. And the lavender flavor was very subtle—she thinks the dough could tolerate up to another ½ teaspoon. (But that didn’t stop her from eating a second one later in the day.) So even though these didn’t turn out perfectly, I still rate them a “Hit” because we had fun making them, and I could taste their potential. And I got to think about them again when I took my bath later in the morning.

Love, Jude

Lemon Curd
(this is just a tiny batch)

¼ cup freshly squeezed lemon juice (if you get a good lemon and juice it really well, 1 should be enough)
small splash of vanilla extract
1 egg
bit of sugar (less than ¼ cup, but really, you can make it as sweet as you like)
6 tablespoons room temperature butter, cubed

Bring the lemon juice and vanilla to a boil in a small saucepan. Meanwhile, whisk the egg and sugar until well combined. When the lemon juice is boiling, begin whisking the egg and slowly pour the hot lemon juice into the egg, constantly whisking. (This is called tempering, like we did with the soufflés.) Once everything’s combined, pour it all back into the saucepan, and whisk it gently over low heat until it thickens. You’ll know when it’s thick. It will be like lotion. Take the pan off the heat and start adding the butter cubes, 2 or 3 at a time, and whisk until they’re nearly melted. (I helped with this part.) When all the butter’s added, refrigerate your curd until cold and ready to use. Yum! Stored in a closed container, this will keep quite a while, but do you really want it to last that long?


3 Comments

J’adore soufflés

By now, it’s no secret that I love eggs. I’ll take them any way I can get them. But Mama says people are a little afraid of soufflés because they have a reputation for being temperamental [insert joke about soufflés being like Mama here]. Kidding aside, Mama showed me that there’s nothing to fear about this puffy little delicacy whose name comes from the French word for  “blow.” I blow on my food when it’s hot, and just yesterday I blew my first bubbles outside, so I’m excited to learn how to make these.

First, Mama said we have to make a “roo.” We’ve made this before by melting butter in a saucepan, then whisking in flour until it’s all cooked and bubbly. Then we add milk. Mama says some people say to use cold milk, while others say to use hot milk. She “splits the difference” by using milk that’s been taken out of the fridge for a little while, “just to take the chill off.” Once the milk’s added to the saucepan, we stir and stir until it thickens. (Well, Mama took care of the stirring because it was very hot.) She said this is what’s called a béchamel, but it looked like a white sauce to me.

When butter's all foamy, add the flour all at once and start whisking.

When butter’s all foamy, add the flour all at once and start whisking.

This is how the white sauce will look once all the floury clumps are worked in to the milk.

This is how the white sauce will look once all the floury clumps are worked in to the milk.

This next part is where it starts to get a little scary. You have to separate your eggs. I don’t quite understand how sometimes I can crack the eggs and roll them around and the shell comes off, and other times, Mama cracks the egg and out comes a runny gloppy mess. But this is one of those times when Mama has to crack the eggs. She notes that the whites must be meticulously free of yolk, and because she doesn’t take her own advice to separate the eggs one at a time over a small bowl (and then dumping each white into a larger bowl), she creates an opportunity to show me how to remove errant yolk from the white: use the shell to scoop it out!

Now Mama sets aside the bowl of whites and sets the bowl of yolks on a damp dishcloth—she explains that it’s to keep the bowl from sliding when she “tempers” the yolks.  (I thought this must be why soufflés are considered temperamental, but Mama says it’s how you bring hot and cold liquids together without ruining them.) She whisks the yolks to break them up, and then she pours a little of the hot white sauce into them, whisking the whole time. She adds a bit more sauce, still whisking, and keeps at this until all the sauce is in the yolks. Now you have your soufflé base. Mama says this is the time to add any flavors—crumbled cooked bacon, puréed or small-dice cooked veggies, cheese, fruit, finely ground nuts, chocolate—but we’re keeping it plain today.

Mama notes that here’s a good place to stop, if you have to. If you’re making soufflés for breakfast the next day or for dessert later on, this is where you should stop, put everything in the fridge, then take it out about a half an hour before you want to resume cooking—to “take the chill off.” That’s when you should turn on your oven, too. But before finishing the recipe, there’s one more thing to be done: prepare the ramekins. I didn’t know these could be used in the oven or for food other than mine. Mama always used to feed me from these…until I discovered that they break into so many pieces when they hit the floor. (I’m just learning about gravity, you know.) Brush melted butter all around the inside of each ramekin (or other small ovenproof dish), then dust each with either parmesan cheese (if savory) or sugar (if sweet). (Mama thinks finely chopped nuts might work, too.) This step, Mama says, gives the soufflé something to grab onto as it climbs up the ramekin. Mama set the prepared ramekins on a baking sheet.

These are sugared.

These are sugared.

Next, Mama turned her attention to the egg whites. She plugged in the mixer and began to beat them until they formed soft peaks.

See how the "peak" flops over?

See how the “peak” flops over?

Then she folded the whites into the yolk mixture, being careful to not overmix—she explained that if she stirred too vigorously, she could deflate the whites, which would not bode well for the soufflés. Mama says that as soon as the whites are folded in, it’s time to pour the mixture into the prepared ramekins. Fill them nearly to the top (most ramekins have an inner rim that’s a good marking spot). She sprinkled a bit more parmesan on top and popped them in the oven.

Then we waited. Mama said we may not open the oven to check on them, otherwise they’ll deflat like a balloon. So when the time was up, we turned on the oven light to take a peek. Those soufflés had puffed up like my grandma’s hairdo and were golden brown. Mama called them gorgeous. The real test was taking them out of the oven… and they held! They stayed puffy until we dug in. They were eggy, and they tasted as soft and fluffy as they looked. I could eat these all day.

Love, Jude

Basic Soufflés

2 Tbsp butter
3 Tbsp flour
1 cup whole milk or half-and-half
4 eggs, separated
Salt and pepper, to taste
1/4 tsp nutmeg (optional)
Melted butter (about 2 Tbsp)
Grated parmesan cheese (or sugar, if making a dessert soufflé) (about 2 Tbsp)

Preheat the oven to 425°F. Brush six 6-ounce ramekins with melted butter, then dust with parmesan cheese (or sugar). Set aside on a baking sheet. Over medium heat, melt the 2 tablespoons butter in a medium saucepan, then add the flour, and cook, whisking constantly, until the flour is incorporated and the mixture begins to bubble, 1–2 minutes. Slowly add the milk and continue to whisk, working out any clumps. Then whisk occasionally until the mixture is hot and begins to thicken, 5–10 minutes. Do not let the mixture boil. Remove from heat and add the salt, pepper, and nutmeg.

Whisking constantly, pour a small amount of the milk mixture into the yolks. Add a bit more milk, continuing to whisk. Then add the remaining milk mixture to the bowl and whisk thoroughly. If adding flavors or cheese, do so now.

Beat the egg whites with a hand mixer on high speed until soft peaks form. Then immediately and carefully fold in to the yolk mixture in three additions. Immediately pour the mixture into the prepared ramekins, up until the inner line. Wipe the rims of any errant mixture. Sprinkle with additional parmesan, if desired.

Bake for 17–18 minutes in the center of the oven, until puffed and golden. The centers should look set and firm. Resist the urge to open the oven to check on them, but when you do take them out, a toothpick inserted into the center should come out clean. Serve immediately.

Yield: 6 soufflés

Note: Mama says it’s not a bad idea to add an additional yolk to the base if you’re going to be adding a lot of stuff to the soufflé; the extra yolk will make the base stronger. Try adding up to ½ cup shredded cheese and either ½ cup vegetable puree or 1/3 cup small-diced cooked vegetables or crumbled cooked bacon to the base (before folding in the egg whites). Some ideas: butternut squash-gruyere-paprika; onion-roasted pepper-rosemary-spinach; artichoke-red pepper-gruyere-thyme; red pepper-fennel-onion; or try blue cheese-walnuts by substituting finely ground walnuts for the parmesan cheese.

Variation: To make a chocolaty soufflé, whisk in 1/2 cup unsweetened cocoa powder and 1/2 cup sugar to the finished white sauce. After the mixture is tempered into the egg yolks, add 1 tsp vanilla extract. Add 1/4 cup sugar to the egg whites as they’re being whipped to soft peaks. Proceed with the rest of the recipe, but be sure to sugar your ramekins.

Soufflés will fall a little bit (cracking the tops) once they're taken out of the oven, but they really should remain fairly puffy.

Soufflés will fall a little bit (cracking the tops) once they’re taken out of the oven, but they really should remain fairly puffy.


5 Comments >

No, really, I am. Papa’s grandpap was Irish, so I don’t know what that makes me. (I’m just a baby—I can’t do that kind of math.) So Mama decided to treat us to some Irish fare for dinner. She had all the burners going, plus the oven, so there was a lot to take in.

First, she put a hunk of corned beef in a pot of water and set that to simmer with assorted spices. She would later add chopped cabbage and carrots.

Meanwhile, she started on the shepherd’s pie. First, she sautéed carrots, onion, and celery with salt, pepper, and Worcestershire sauce until the veggies began to soften. Then she added her faux meat, which just needed to be heated through. Sometimes Mama makes a beef shepherd’s pie for Papa, or she does it half-and-half, but since he had the corned beef tonight, she went for a full veggie pie. When the meat and veggies were all combined and hot, she spread them in the bottom of a pie plate. She poured some frozen corn on top of that. She didn’t have any peas—even though we planted some today!—otherwise, she would have added those, too. Meanwhile, she peeled and chopped a couple russet potatoes and boiled them in salted water until they softened. She told me that potatoes can be boiled with or without their skins, but chopping them definitely makes them cook faster. On the back burner, she heated a small saucepan of butter and buttermilk, which she happened to have because she was making soda bread. After the potatoes were cooked, she drained them, returned them to the pot, and mashed them with the hot milk and butter, which she told me keeps the potatoes from being lumpy. She spread the potatoes over the corn and popped the pie into the oven.

But not before she made Irish soda bread. She wanted a quick recipe, and boy did she find it. I’ve made bread with Mama before, and this recipe seemed more like scones to me. That’s how easy it was. We mixed a few ingredients, shaped it into a loaf, and into the oven it went. We couldn’t find dried currants, though, so we used raisins. I love raisins. Then Mama made honey butter to go with it. Then we just had to wait for it all to cook. (I helped Papa take down the storm windows. He let me use a screwdriver!)

Even Mama was a little surprised all this was done at the same time.

Sometimes I have a funny reaction to potatoes, and sometimes to corn, and sometimes even to carrots. Not funny-ha-ha, but rather funny-I-don’t-like-it. Not tonight, though. I thought the shepherd’s pie was really tasty. I even tried to feed myself with my own fork, but I became impatient with that. I didn’t have the corned beef, but Mama says I can have that for lunch tomorrow, even though she knows I don’t do leftovers. Papa declared it “delicious.” And the soda bread was soft on the inside and crunchy on the outside; it was yummy with the honey butter.

This shepherd’s pie was pretty good. Now, if only someone would explain to me what those shamrocks have to do with it…

I got down from my high chair, danced a jig to Flogging Molly, and went to bed with a full belly. Happy St. Patrick’s Day!

Love, Jude

Shepherd’s Pie

Canola oil (or other, favorite cooking oil)
2 carrots, peeled and diced small
2 stalks organic celery, diced small
½ onion, diced small
1–2 dashes Worcestershire sauce
Salt and pepper
1 package soy crumbles or other meat replacement (or 1 pound grass-fed ground beef)
½ package (8–12 oz.) frozen corn
½ package (8–12 oz.) frozen peas
2–3 large organic russet potatoes (or 4–6 red bliss potatoes), chopped large
4 Tbsp butter, melted (optional)
1/3–1/2 cup buttermilk, milk, or cream, heated (optional)

Preheat oven to 350°F (375° is okay, if you’re doing the soda bread at the same time).

Coat the bottom of a skillet with oil, then sauté the veggies until they begin to soften and caramelize. Season with W. sauce and s&p. Add the soy crumbles and heat through. (If using ground beef, sauté this first, breaking it up into small bits, until cooked through. Remove from the pan with a slotted spoon and cook the veggies in the remaining fat. Then combine it all before proceeding.) Place in a pie plate.

Top with corn and peas. (If omitting either corn or peas, use the full package of the other.)

Meanwhile, boil the potatoes in salted water until soft. Drain, return to the pot, then add melted butter and hot milk, if using. Season with s&p, if necessary, then spread over the corn & peas.

Bake, uncovered, for 40–60 minutes, until the potatoes start to brown. (You may dot the top with butter before baking, if desired.)

Note: Mama said if you really don’t want to cook the carrots, onion, and celery, you can add a packet of onion soup mix to the soy crumbles or ground beef and omit the W. sauce and s&p. Regarding organic produce, Mama tells me something called the Environmental Working Group publishes an annual list on the worst pesticide offenders. Celery is #2, and potatoes are #9. Onions, sweet corn, and peas are #s 1, 2, and 6, respectively, on the list of foods that are okay to buy nonorganic (if you really wanted to).

Honey Butter

1 stick unsalted butter, softened
1–2 Tbsp honey (to taste)
Sprinkle of cinnamon

Mash all the ingredients together in a bowl. Serve with warm bread.


14 Comments

Code name: “Kale Puff”

That’s what my cousins call me. When Mama and I visited them last summer (my first time on an airplane!), they thought it was both funny and sad that mama doesn’t give me much sugar to eat. Instead of fishy-shaped crackers and animal-shaped cookies, I get organic puffs. Sometimes Mama buys the banana ones, but when we were in Wisconsin, she happened to buy the kale kind. And we haven’t heard the end of it since.

For the record, I like kale puffs. I like all puffs. They were nice to eat before I had any teeth because they dissolved in my mouth, and they helped me hone my pincer grasp—something every baby needs to learn how to do. I didn’t really eat them as a snack, though. Instead, Mama would put a few puffs in a snacking cup for me when I started getting antsy about my car seat. “If you want puffs, you have to get in your car seat,” she still says. And because she worries that I might choke while she’s driving, she still gives me puffs, even though I now have four molars.

But back to my cousins. Mama says we come from a long line of good bakers, where you couldn’t visit someone without having several sweet options to nosh on. It’s something everyone comes to expect. Grandma always—always—has a pie or cookies or quick breads in the oven. It was she who taught Mama to take cookies out of the oven a bit early and let them finish baking on the cookie sheet to make them crisp on the edges while soft in the middle. (Apparently, this is a good thing, though I wouldn’t know, since I’ve never had a cookie.)

So everyone was a little surprised that Mama doesn’t feed me sugar—and more than a little repulsed by the idea of kale puffs. The cousins kept patting my head, saying things like, “Aww, poor baby…” Grandma always made fancy cakes for everyone’s birthdays (except for Uncle Scotty, who gets a coconut cream pie and a lemon meringue pie). Even though it was a few weeks before my birthday, Grandma wanted to make me a cake. She had a challenge ahead of her, as I still wasn’t up to whole eggs yet, and there was the whole sugar thing to contend with.

Well, Grandma took the challenge by storm. She made a banana cake using applesauce instead of eggs and brown sugar instead of white—and Mama convinced her that she didn’t even need all of what was called for in the recipe. She made plain whipped cream for the “icing,” which I dutifully smashed. But nobody wanted to try the cake… not right away, anyway. The cousins wouldn’t touch it, but my GeeGee and Aunt Karen liked it. And I thought it was pretty good too.

I made a pretty good mess of my birthday cake.

Mama would want me to point out that she hasn’t banned all sugar. I do get some, sometimes. She baked gingerbread biscotti at Christmas, which turned out to be the perfect teething biscuits—they’re hard, they dissolve when wet, and they’re minimally sweetened. She also makes various kinds of scones, which have hardly any sugar in them to begin with, and she sets aside a few for me that she doesn’t dust with sugar before baking. And she makes a variety of fruit-filled muffins with lower-than-called-for amounts of sugar, and usually she substitutes brown sugar (but not always whole-wheat flour). I eat lots of sweet potatoes. I don’t drink juice, even watered down, but I eat a lot of fruit. We skip pre-made yogurt, and instead make fruit smoothies with the plain stuff. But don’t think I’m immune to sugar. I can totally tell the difference when Mama tries to substitute something like puffed kamut in my snacking cup. She muses that if she had started with the kamut, rather than with the puffs, I might not have minded the difference, but they’re just too bland for me.

This is the first time I tried a marshmallow--Mama made it. It was squishy-soft and very sweet. I had just a couple baby bites.

So why have sugar at all? Why does Mama bother baking all these goodies if she has to alter recipes for me (or give me just a nibble, if she makes it full-fledged)? She can’t help herself, for one thing. She feels kids should experience the joy of stirring flour and eggs and oil—and yes, sugar—in a bowl, putting it in the oven, and as if by magic, taking out something completely transformed and delicious. I have to say, I like when she lets me help her. (That flour really flies far and gets all over the place!) Mama’s also careful of when she gives me any sort of sweet treat—not when I’m being fussy, and usually when I’ve already eaten something sensible. And she would also say it’s a “control thing.” She likes to be in control of the amount of sugar I put into my body, so she doesn’t accept the lollipop from the bank teller or the cookie from the nice lady at the bakery. She feels I have plenty of time to eat all the sugar I’ll ever want, so why rush it? She believes in real, whole food–which includes the occasional homemade treat. And one mini zucchini muffin is so much better than that box of Girl Scout cookies she has hiding in the cupboard, wouldn’t you agree?

Love, Jude

For Mama's chocolate cheesecake, she let me taste the batter before she added the eggs. Boy, was that good! I don't think I've ever had chocolate before (or since).

Pumpkin Muffins

1 cup all-purpose flour
1 cup whole-wheat flour
1½ tsp baking soda
1½ tsp cinnamon
¾ tsp salt
½ tsp nutmeg
½ tsp ground ginger
½ tsp allspice
½ tsp cloves
2 cups cooked pumpkin (from a pumpkin that was roasted; may also use a 15-oz can of pumpkin puree)
¾ cup firmly packed brown sugar
3 large eggs
½ cup canola oil (use ¾ cup if you use solid pack pumpkin, rather than pureed)
1 cup raisins or dried cranberries (optional)

Preheat oven to 350°. Line a muffin tin with cupcake liners or spray liberally with cooking spray.

Whisk together the flours, soda, and spices in a medium bowl. In a large bowl, whisk together the pumpkin, brown sugar, eggs, and oil. Add the dry ingredients to the wet and stir to combine. Add the raisins or cranberries, if using. Scoop the batter into the prepared tins.

Bake mini-muffins for about 15 minutes, regular muffins about 18 minutes. (They should feel firm, yet spongy, to the touch; or a toothpick inserted into the center should come out clean.) Cool in the pan a few minutes, then remove to a wire rack to cool completely. Store in an airtight container. These also freeze well.

Yield: 1 dozen regular muffins + 1 dozen minis

Note: Mama says if you use an ice-cream scoop to put the batter into the tins, it’s not only faster, but your muffins will turn out to be the same size. Mama also says roasting a pumpkin is almost as easy as roasting a squash—just cut it, scoop out the seeds, and bake it in a pan with a little water until it’s soft. Just don’t use “face” pumpkins (the kind you’d use for jack-o-lanterns).