First, Happy New Year! (Mama told me it’s a nice thing to say to people.)
We started today’s breakfast last night by making challah bread. We’ve made it before when Mama made angel food cake and used the leftover egg yolks for challah. Last night, we made the challah so that this morning we could have it as egg nog French toast! Mama knows only a little bit about challah’s origin, and she says it’s fitting to make the bread one night and eat it the next day.
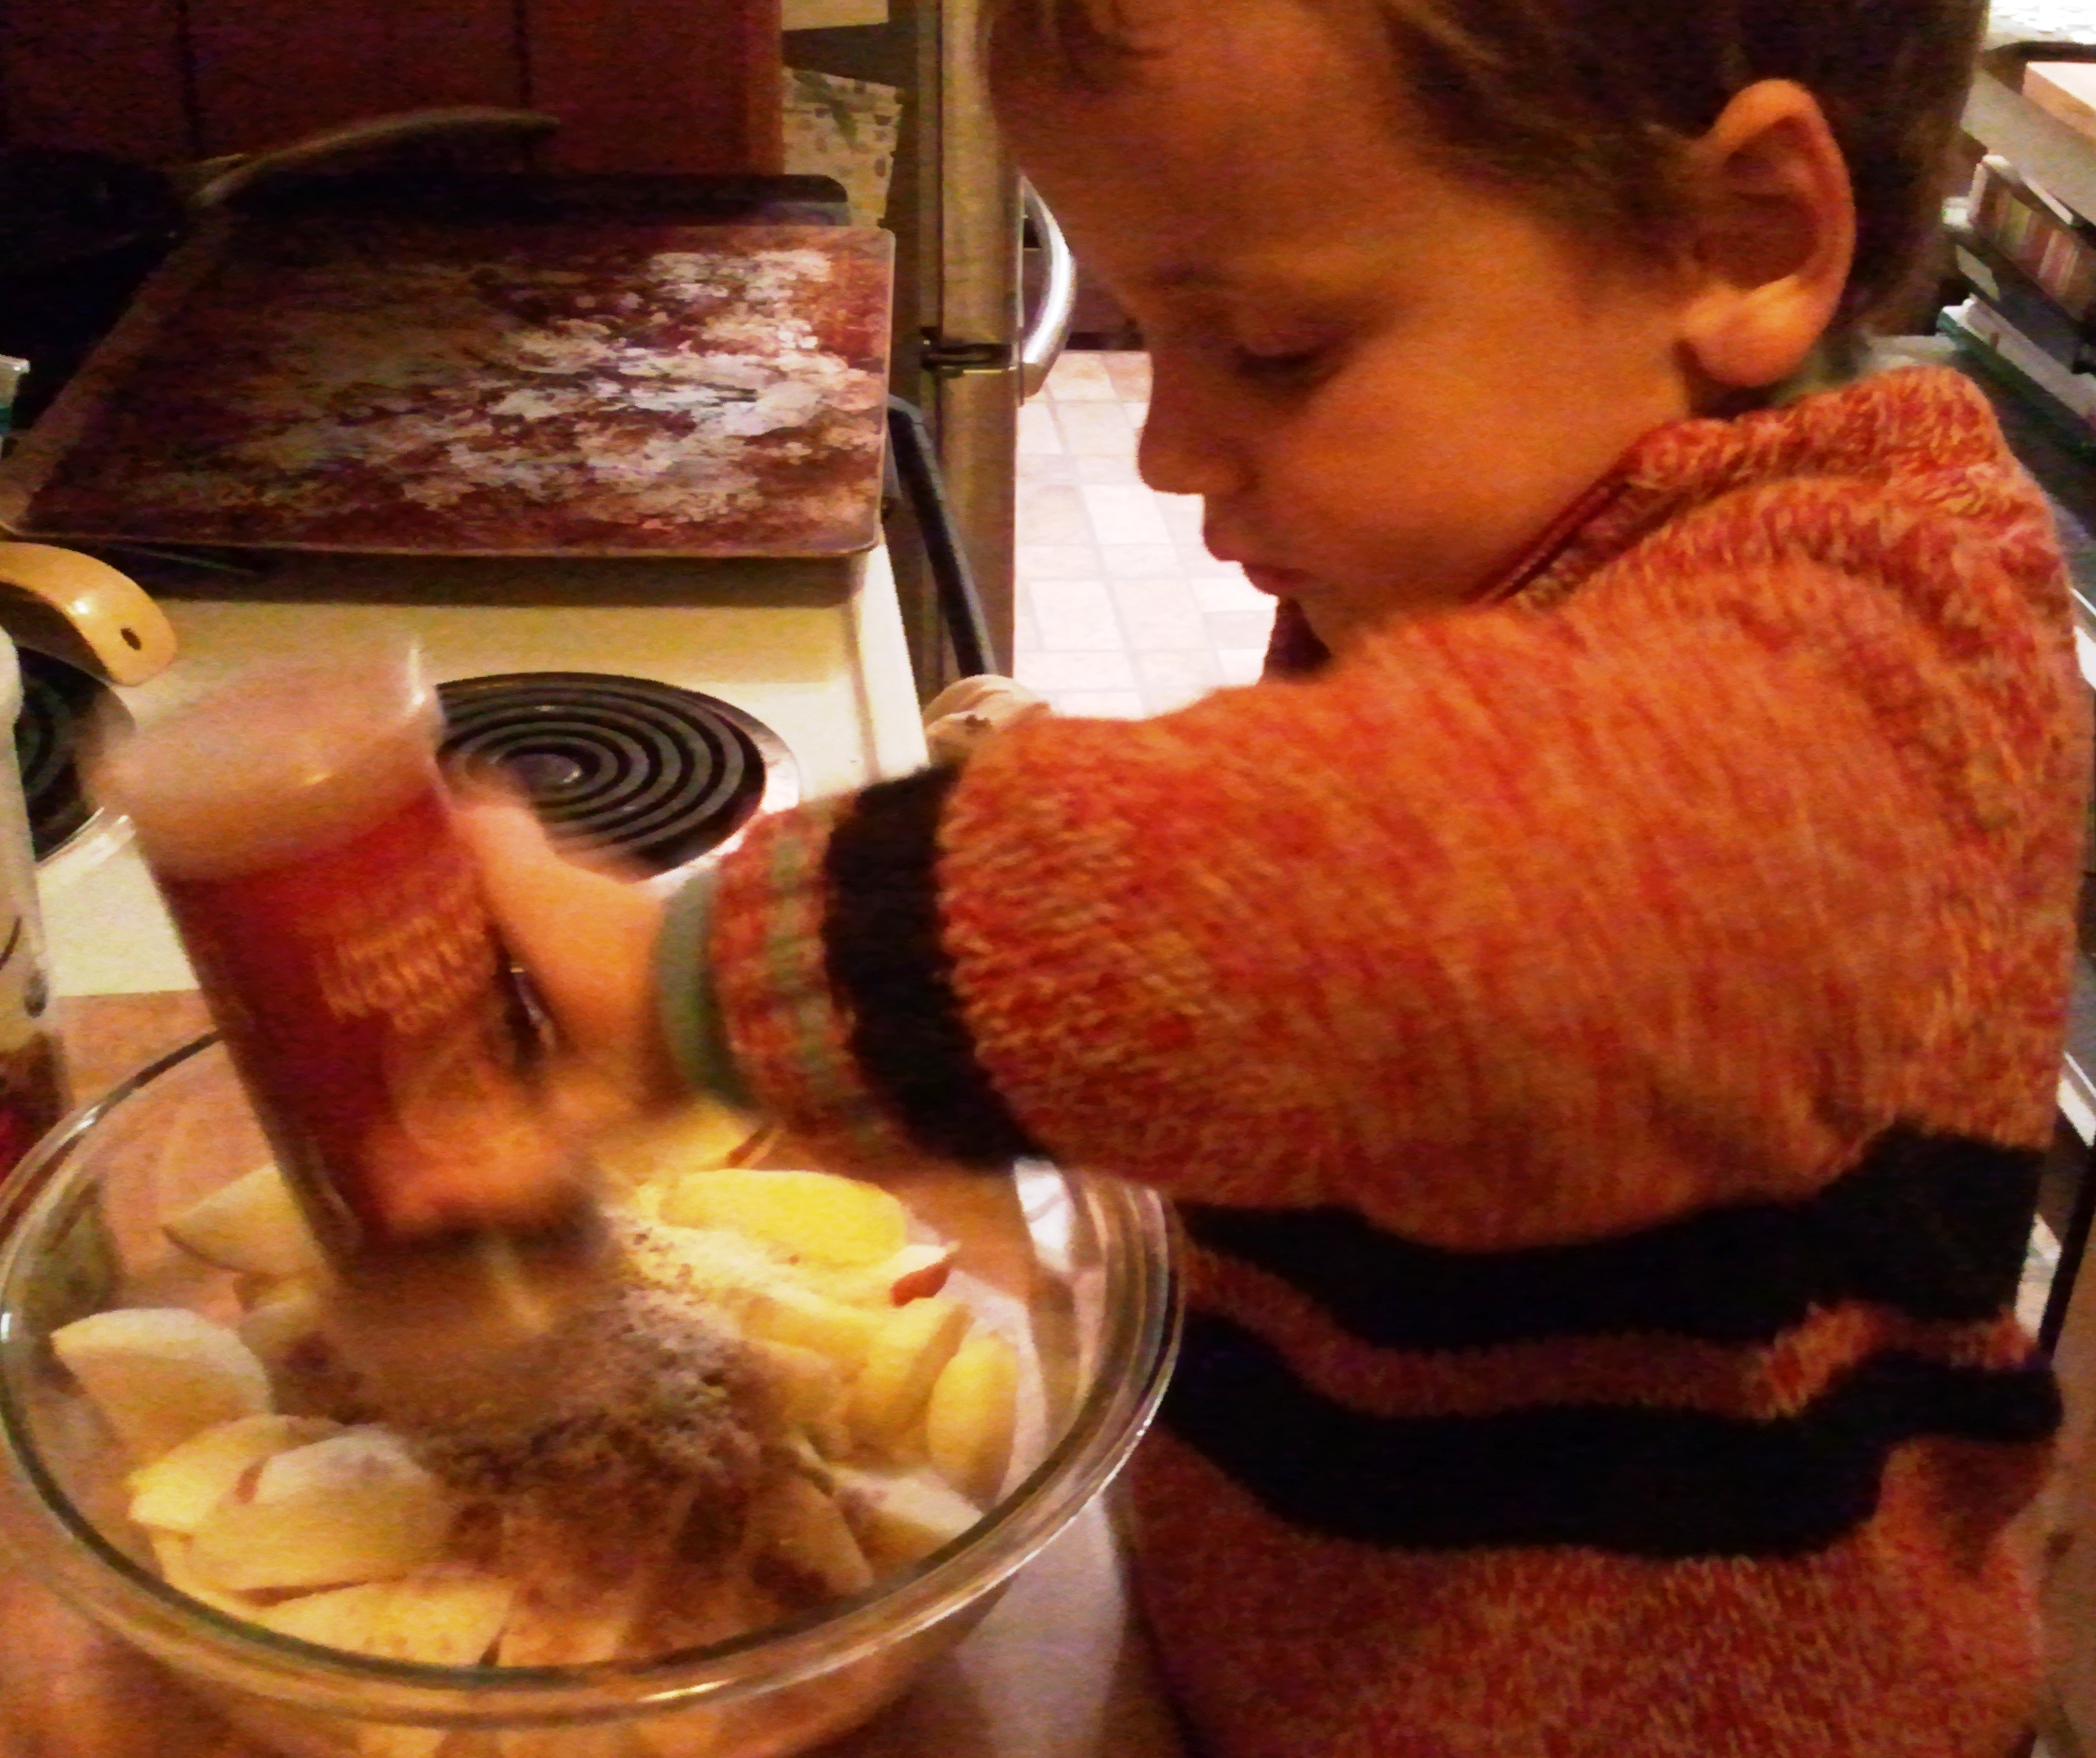
When making bread, it’s important to gather all the ingredients first. It’s also helpful to use a scale. Mama’s made bread with standard measures, but if you’re looking to have consistent results every time, then weighing your ingredients is the “weigh” to go. (I don’t know why that’s supposed to be funny.)
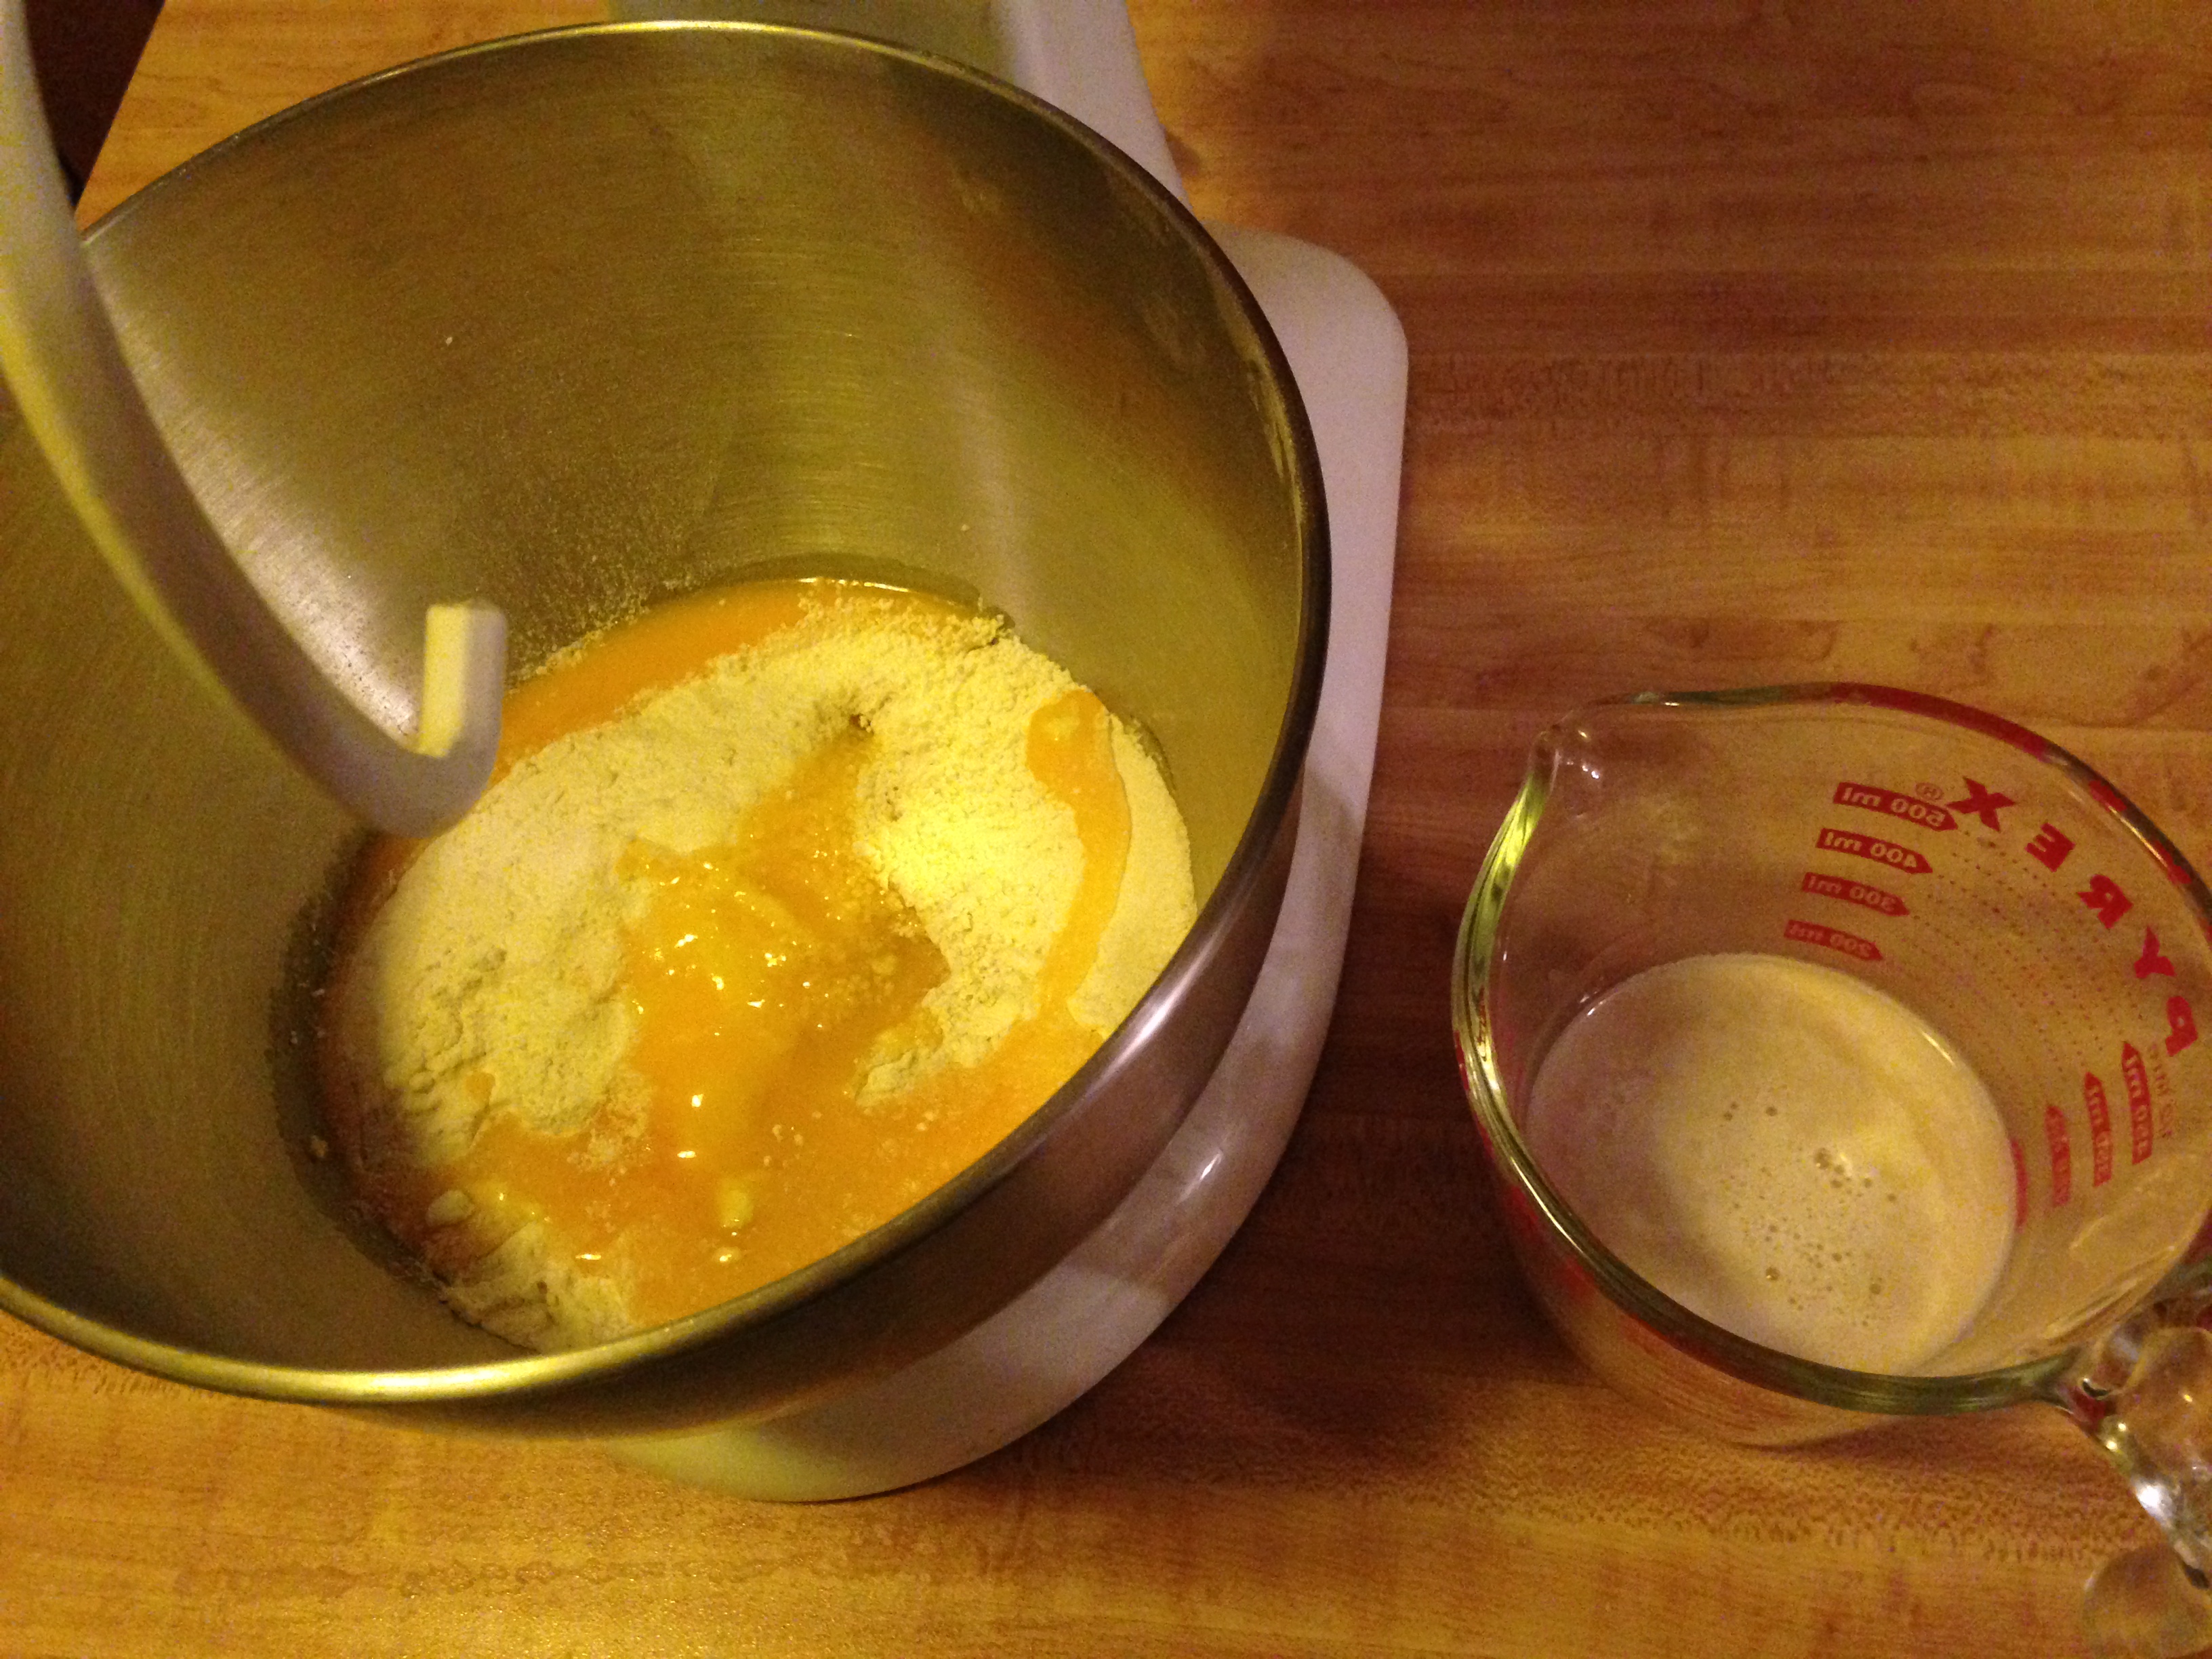
The flour, salt, milk, yolks, and oil are in the mixing bowl, and the yeast and water are getting cozy in the measuring cup.
After you’ve mixed your dough, there’s nothing much to do except wait. And as I wasn’t allowed to stay up to ring in the new year, Mama took the waiting shift as I went off to bed.
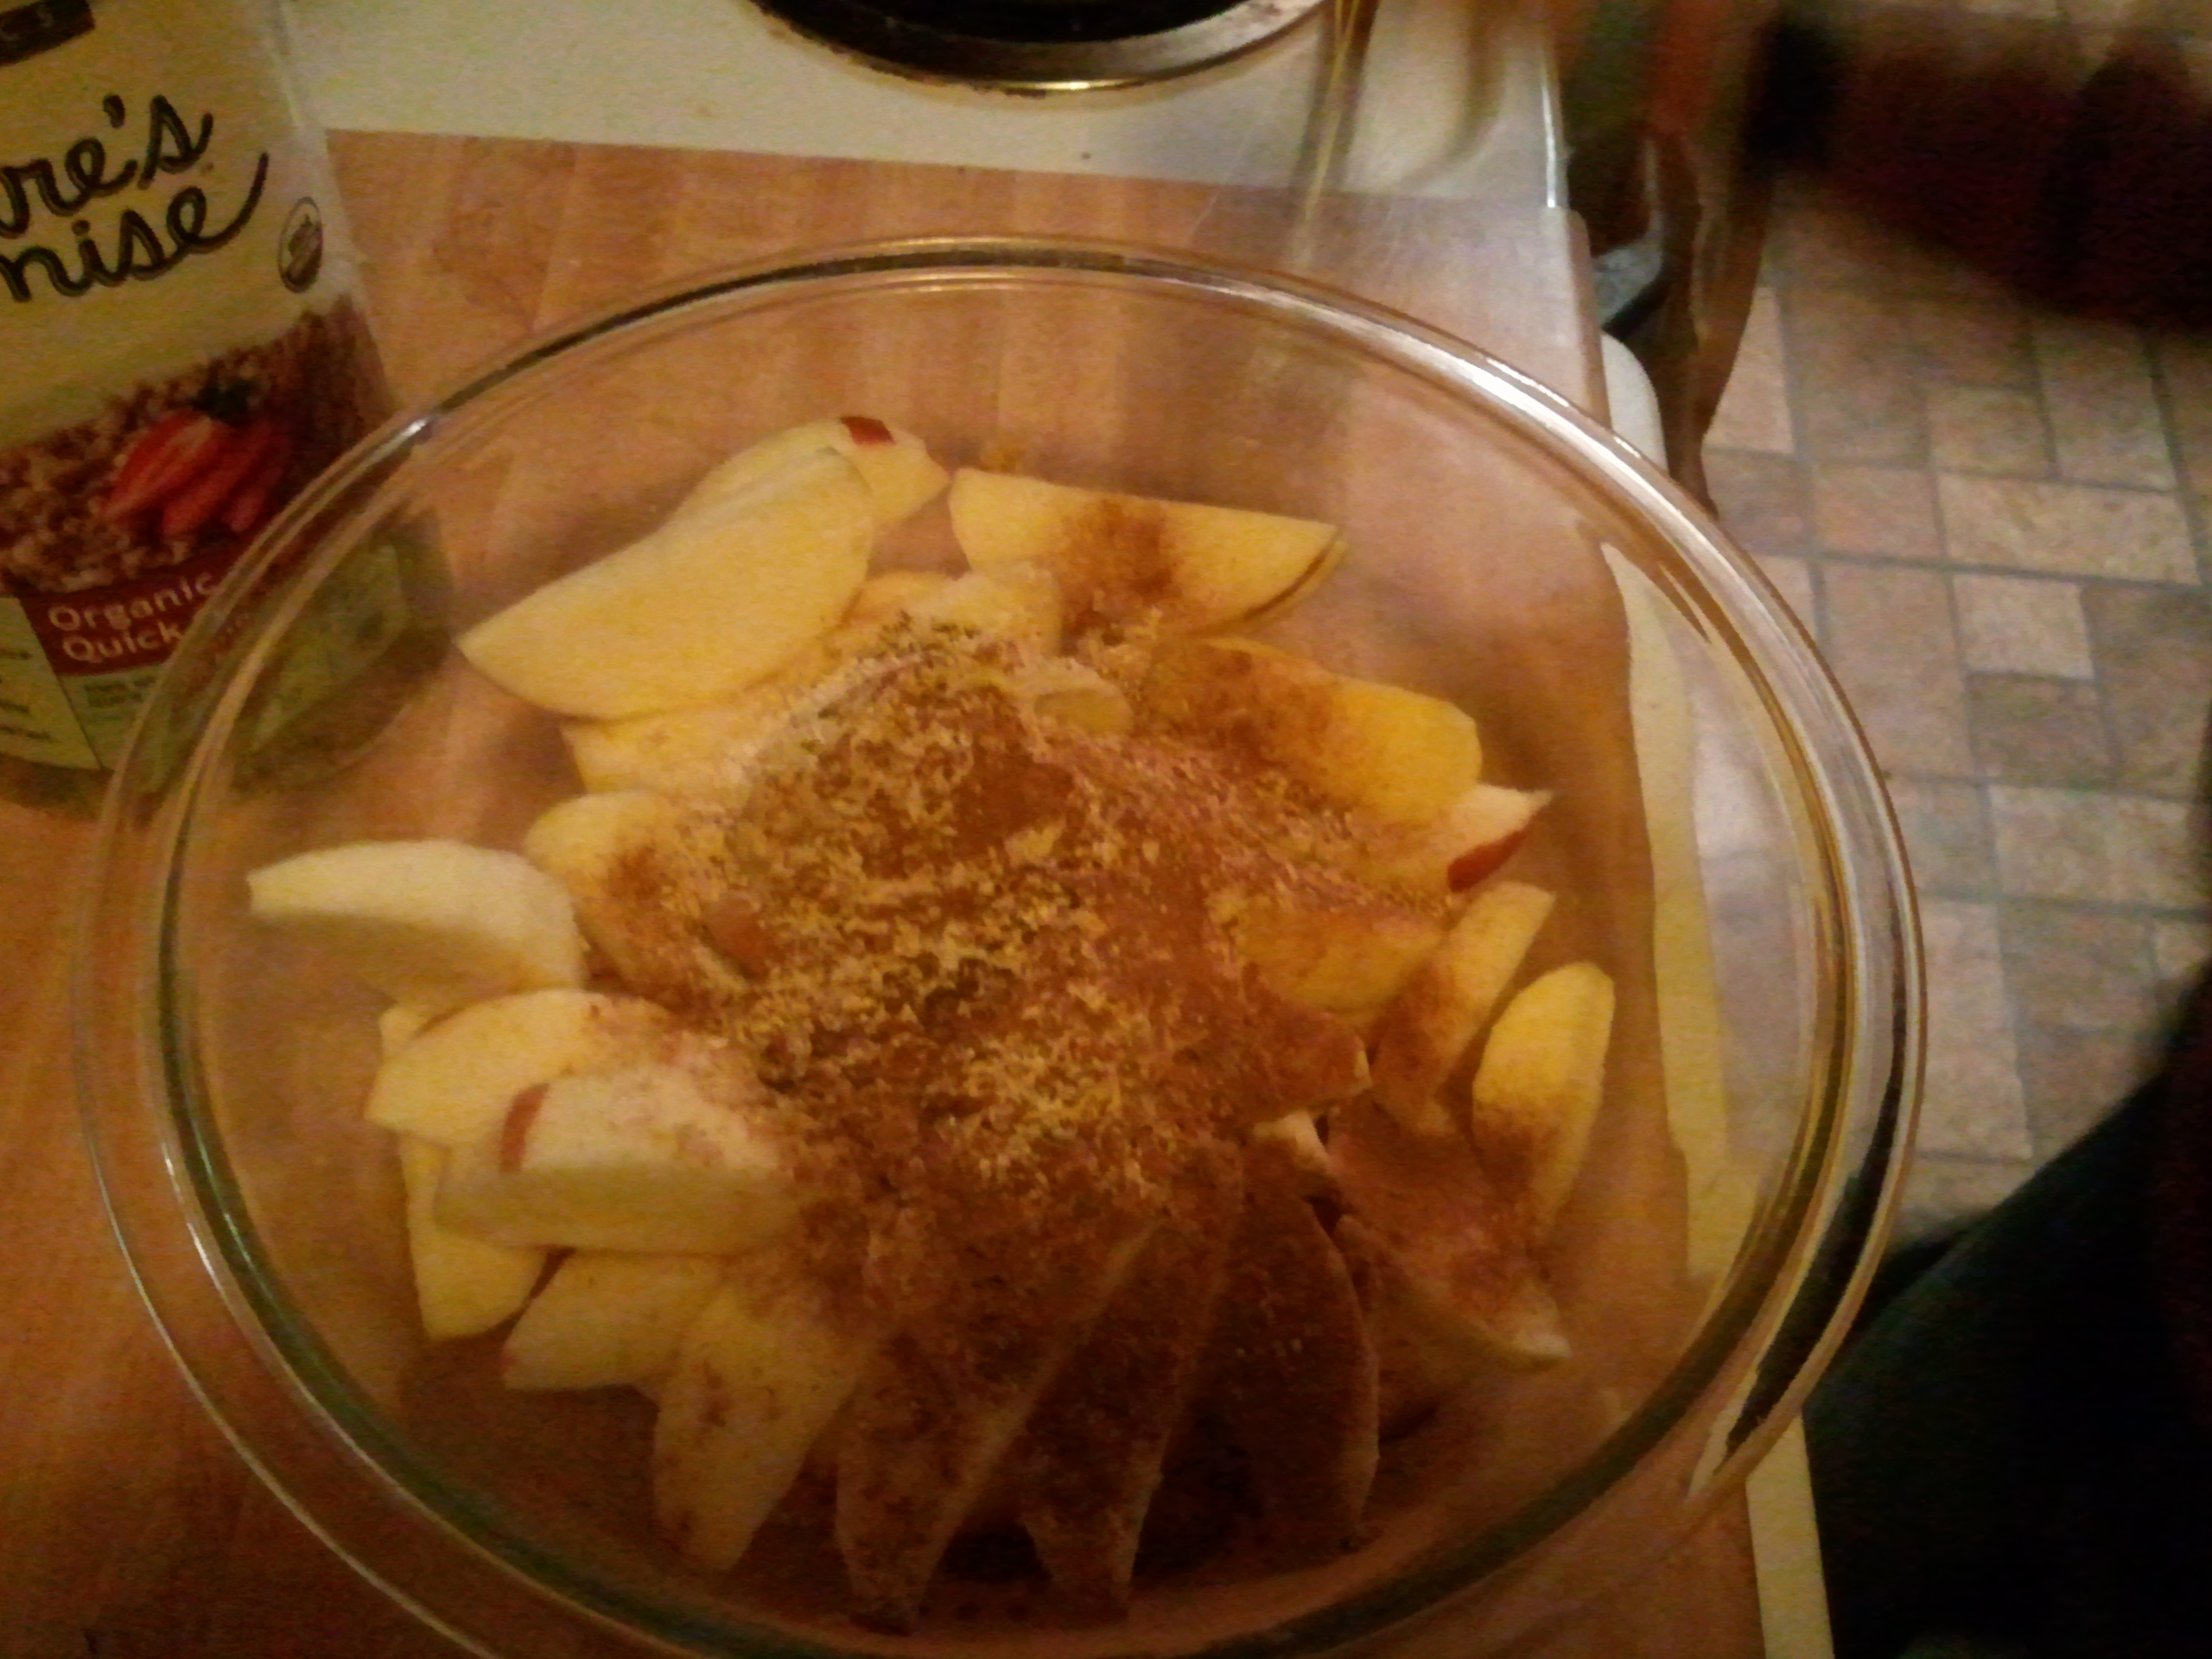
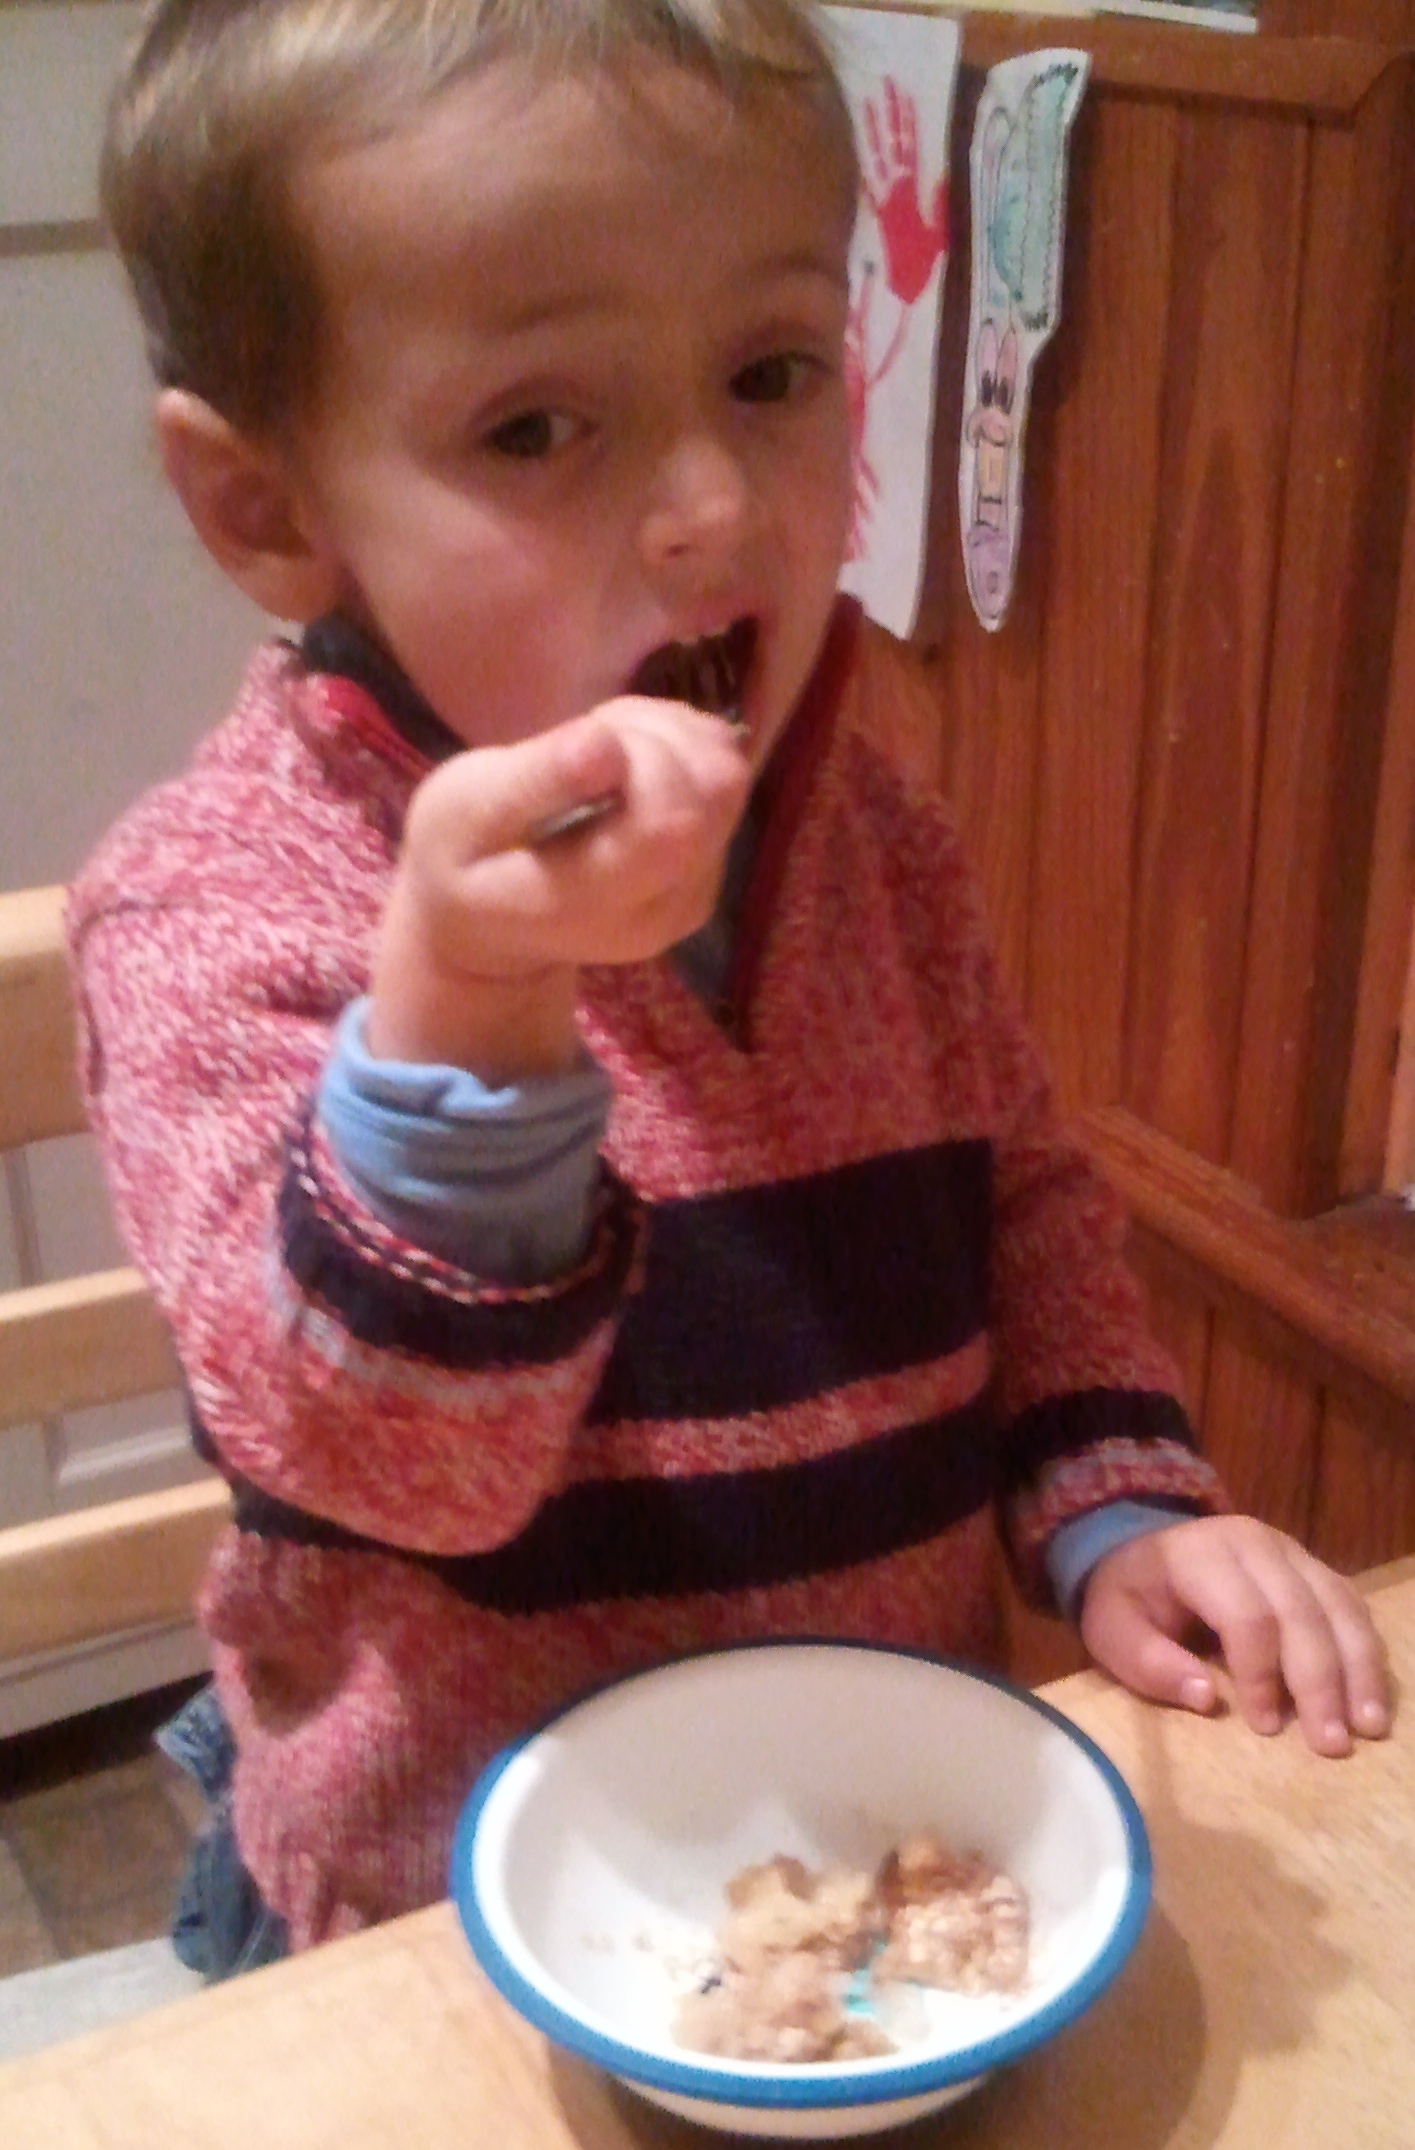
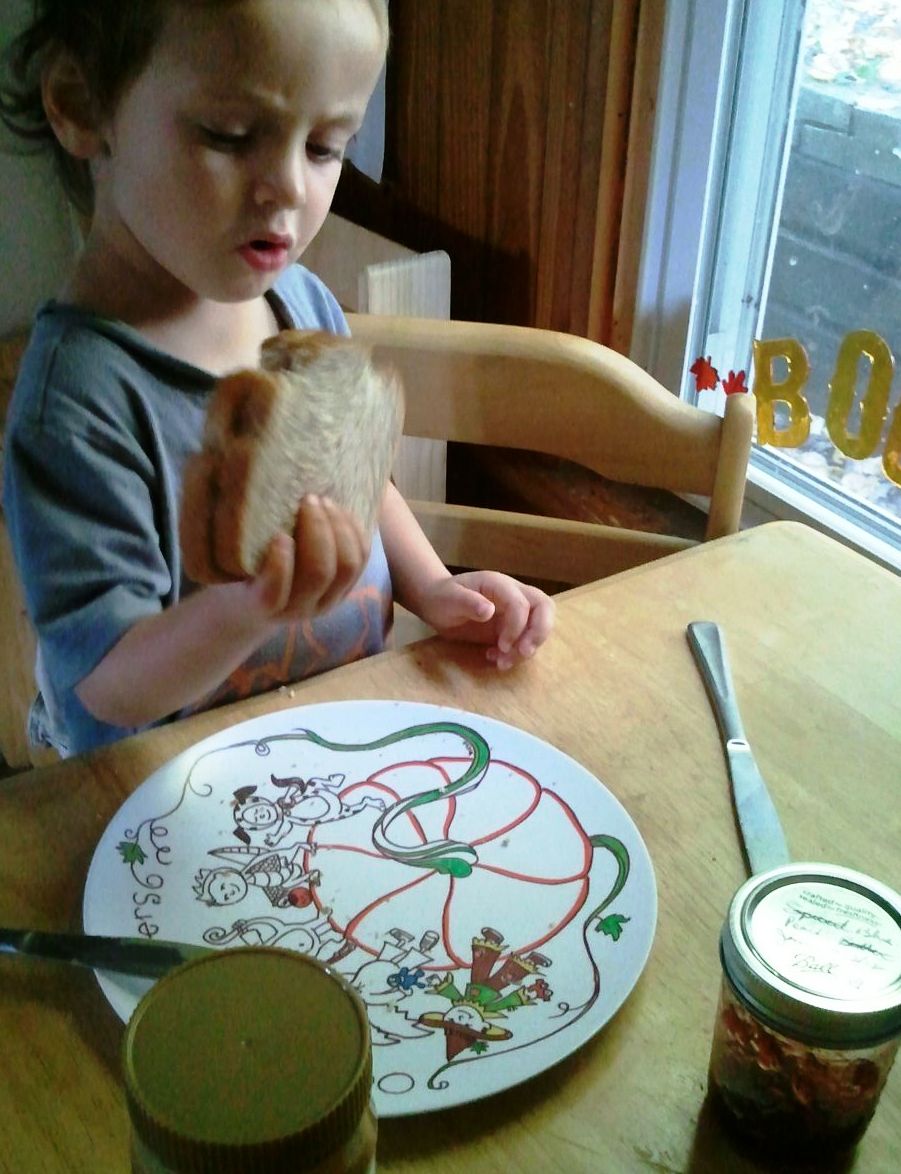
But for breakfast, I was all-hands-on-deck. Choose any French toast recipe you like (we usually wing it) and simply substitute the milk or cream for egg nog. (I call it “donut milk” because it’s so yummy.)
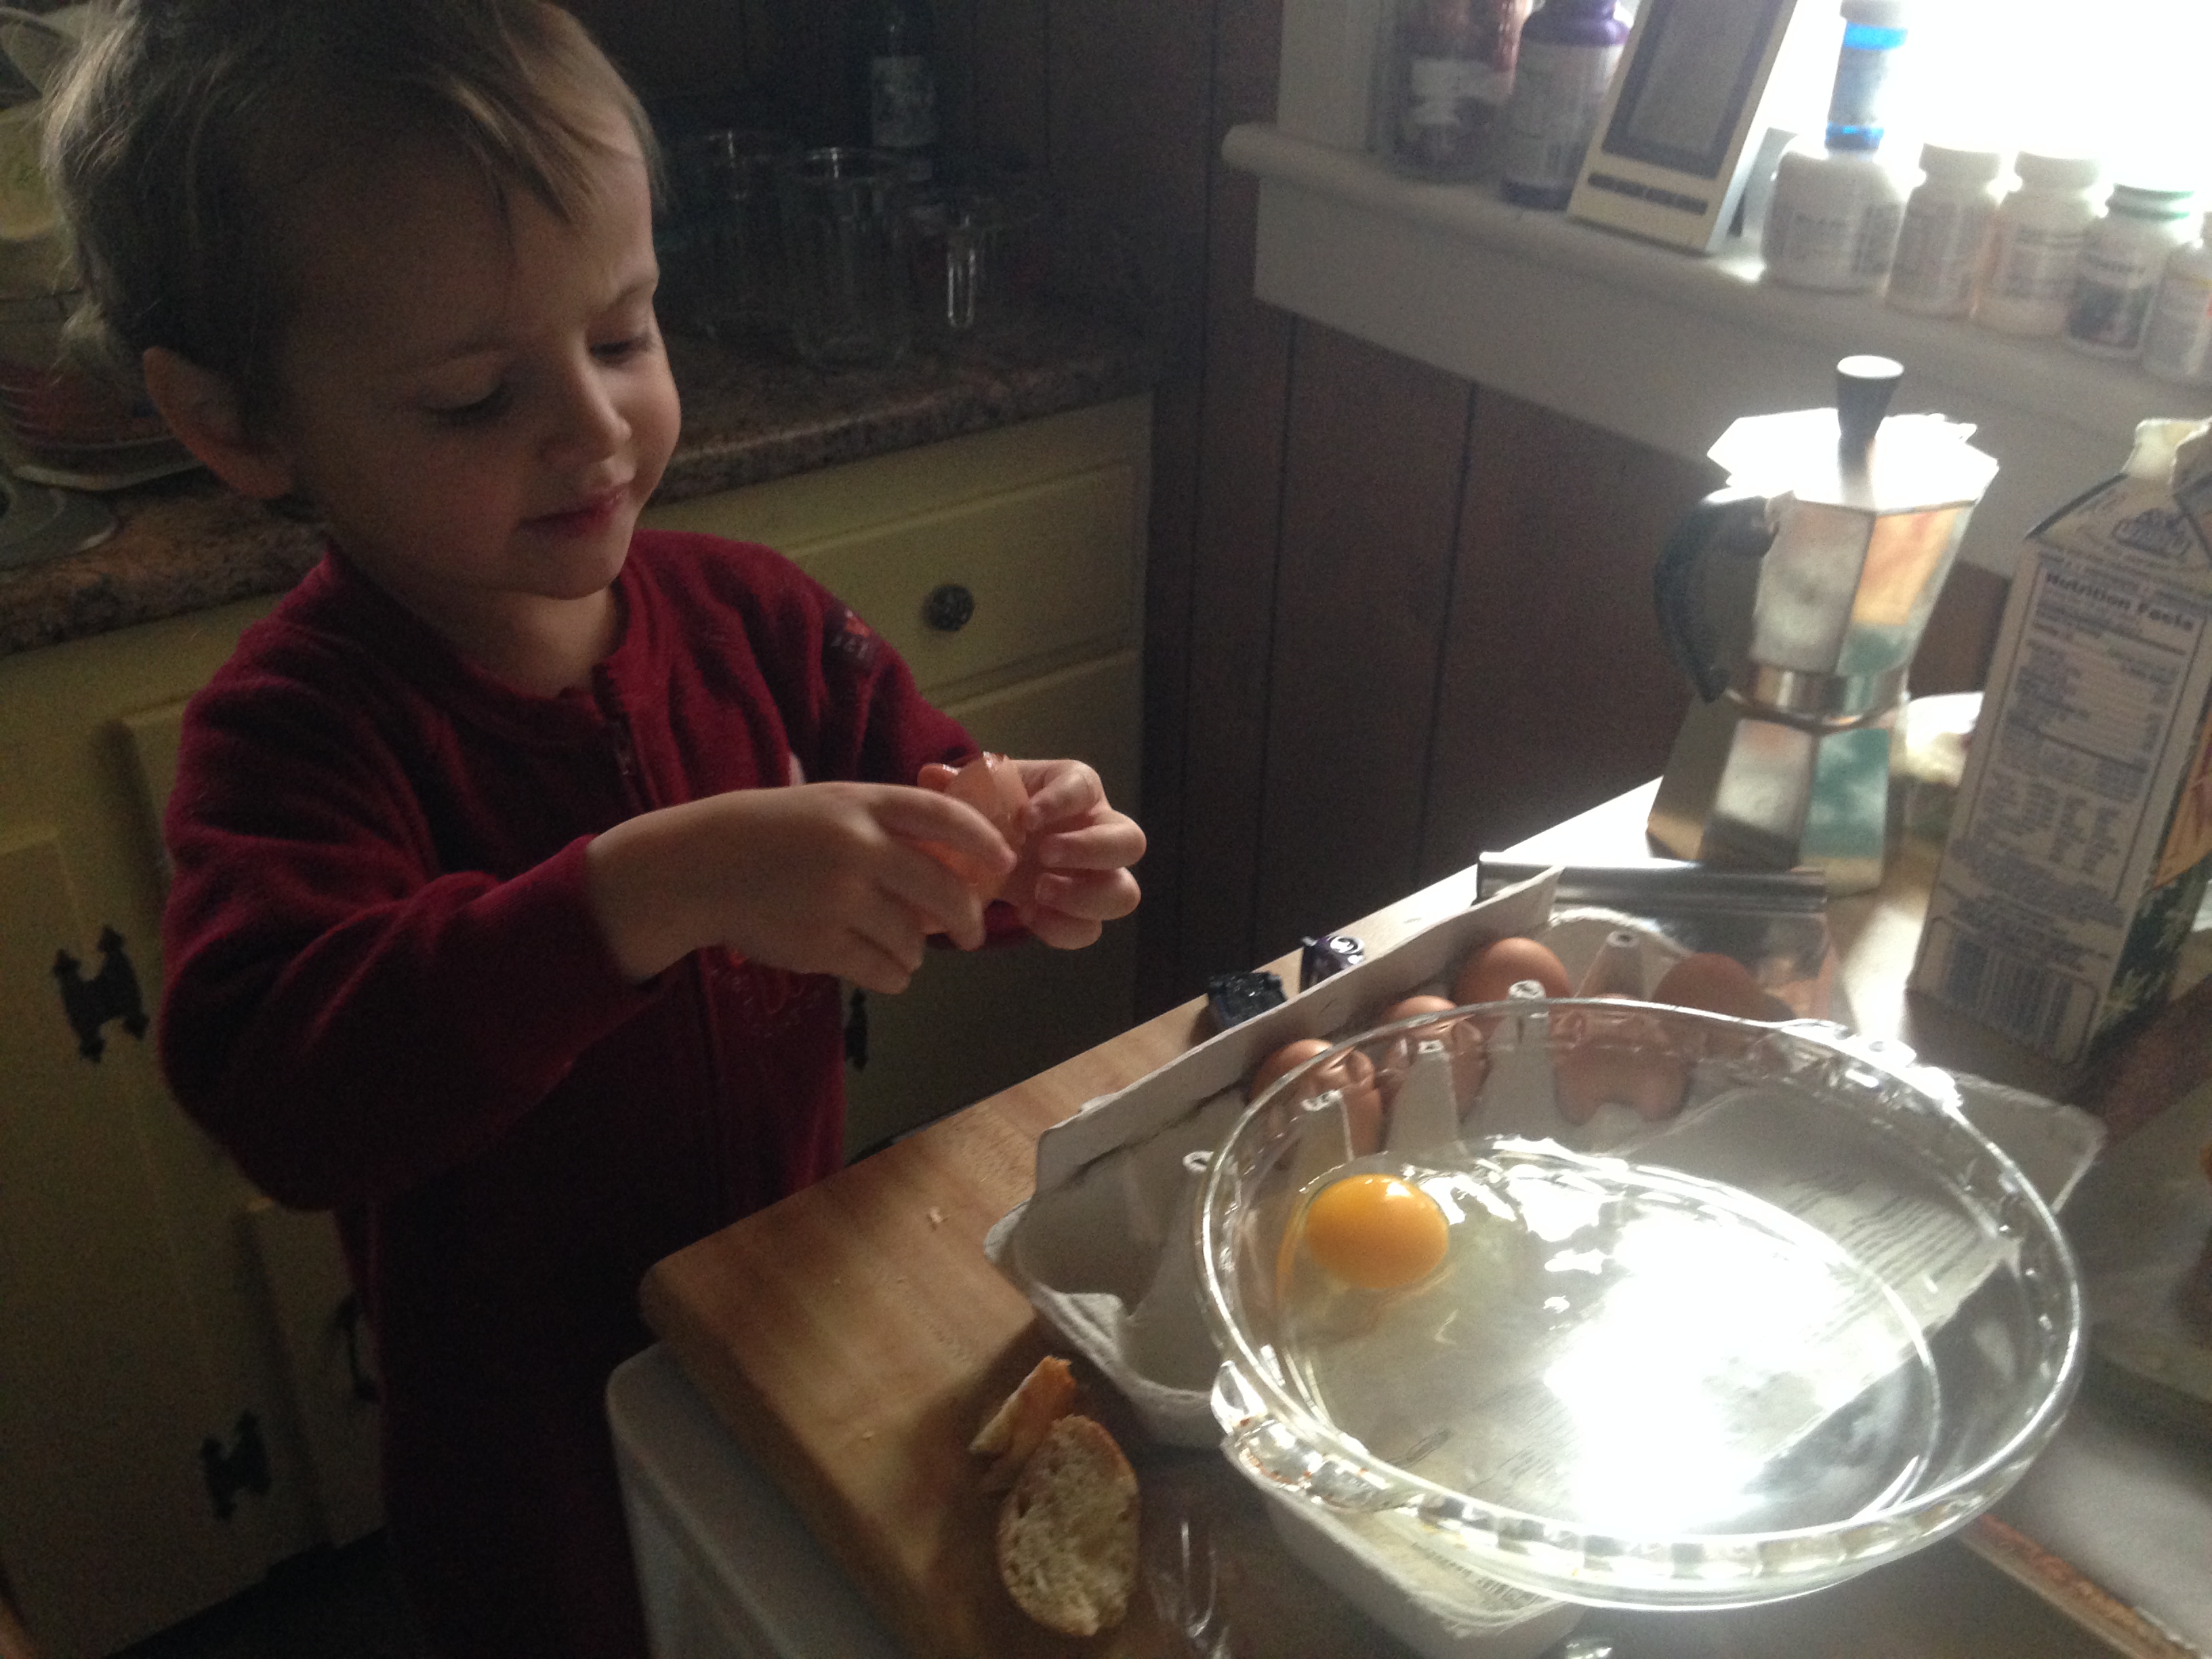
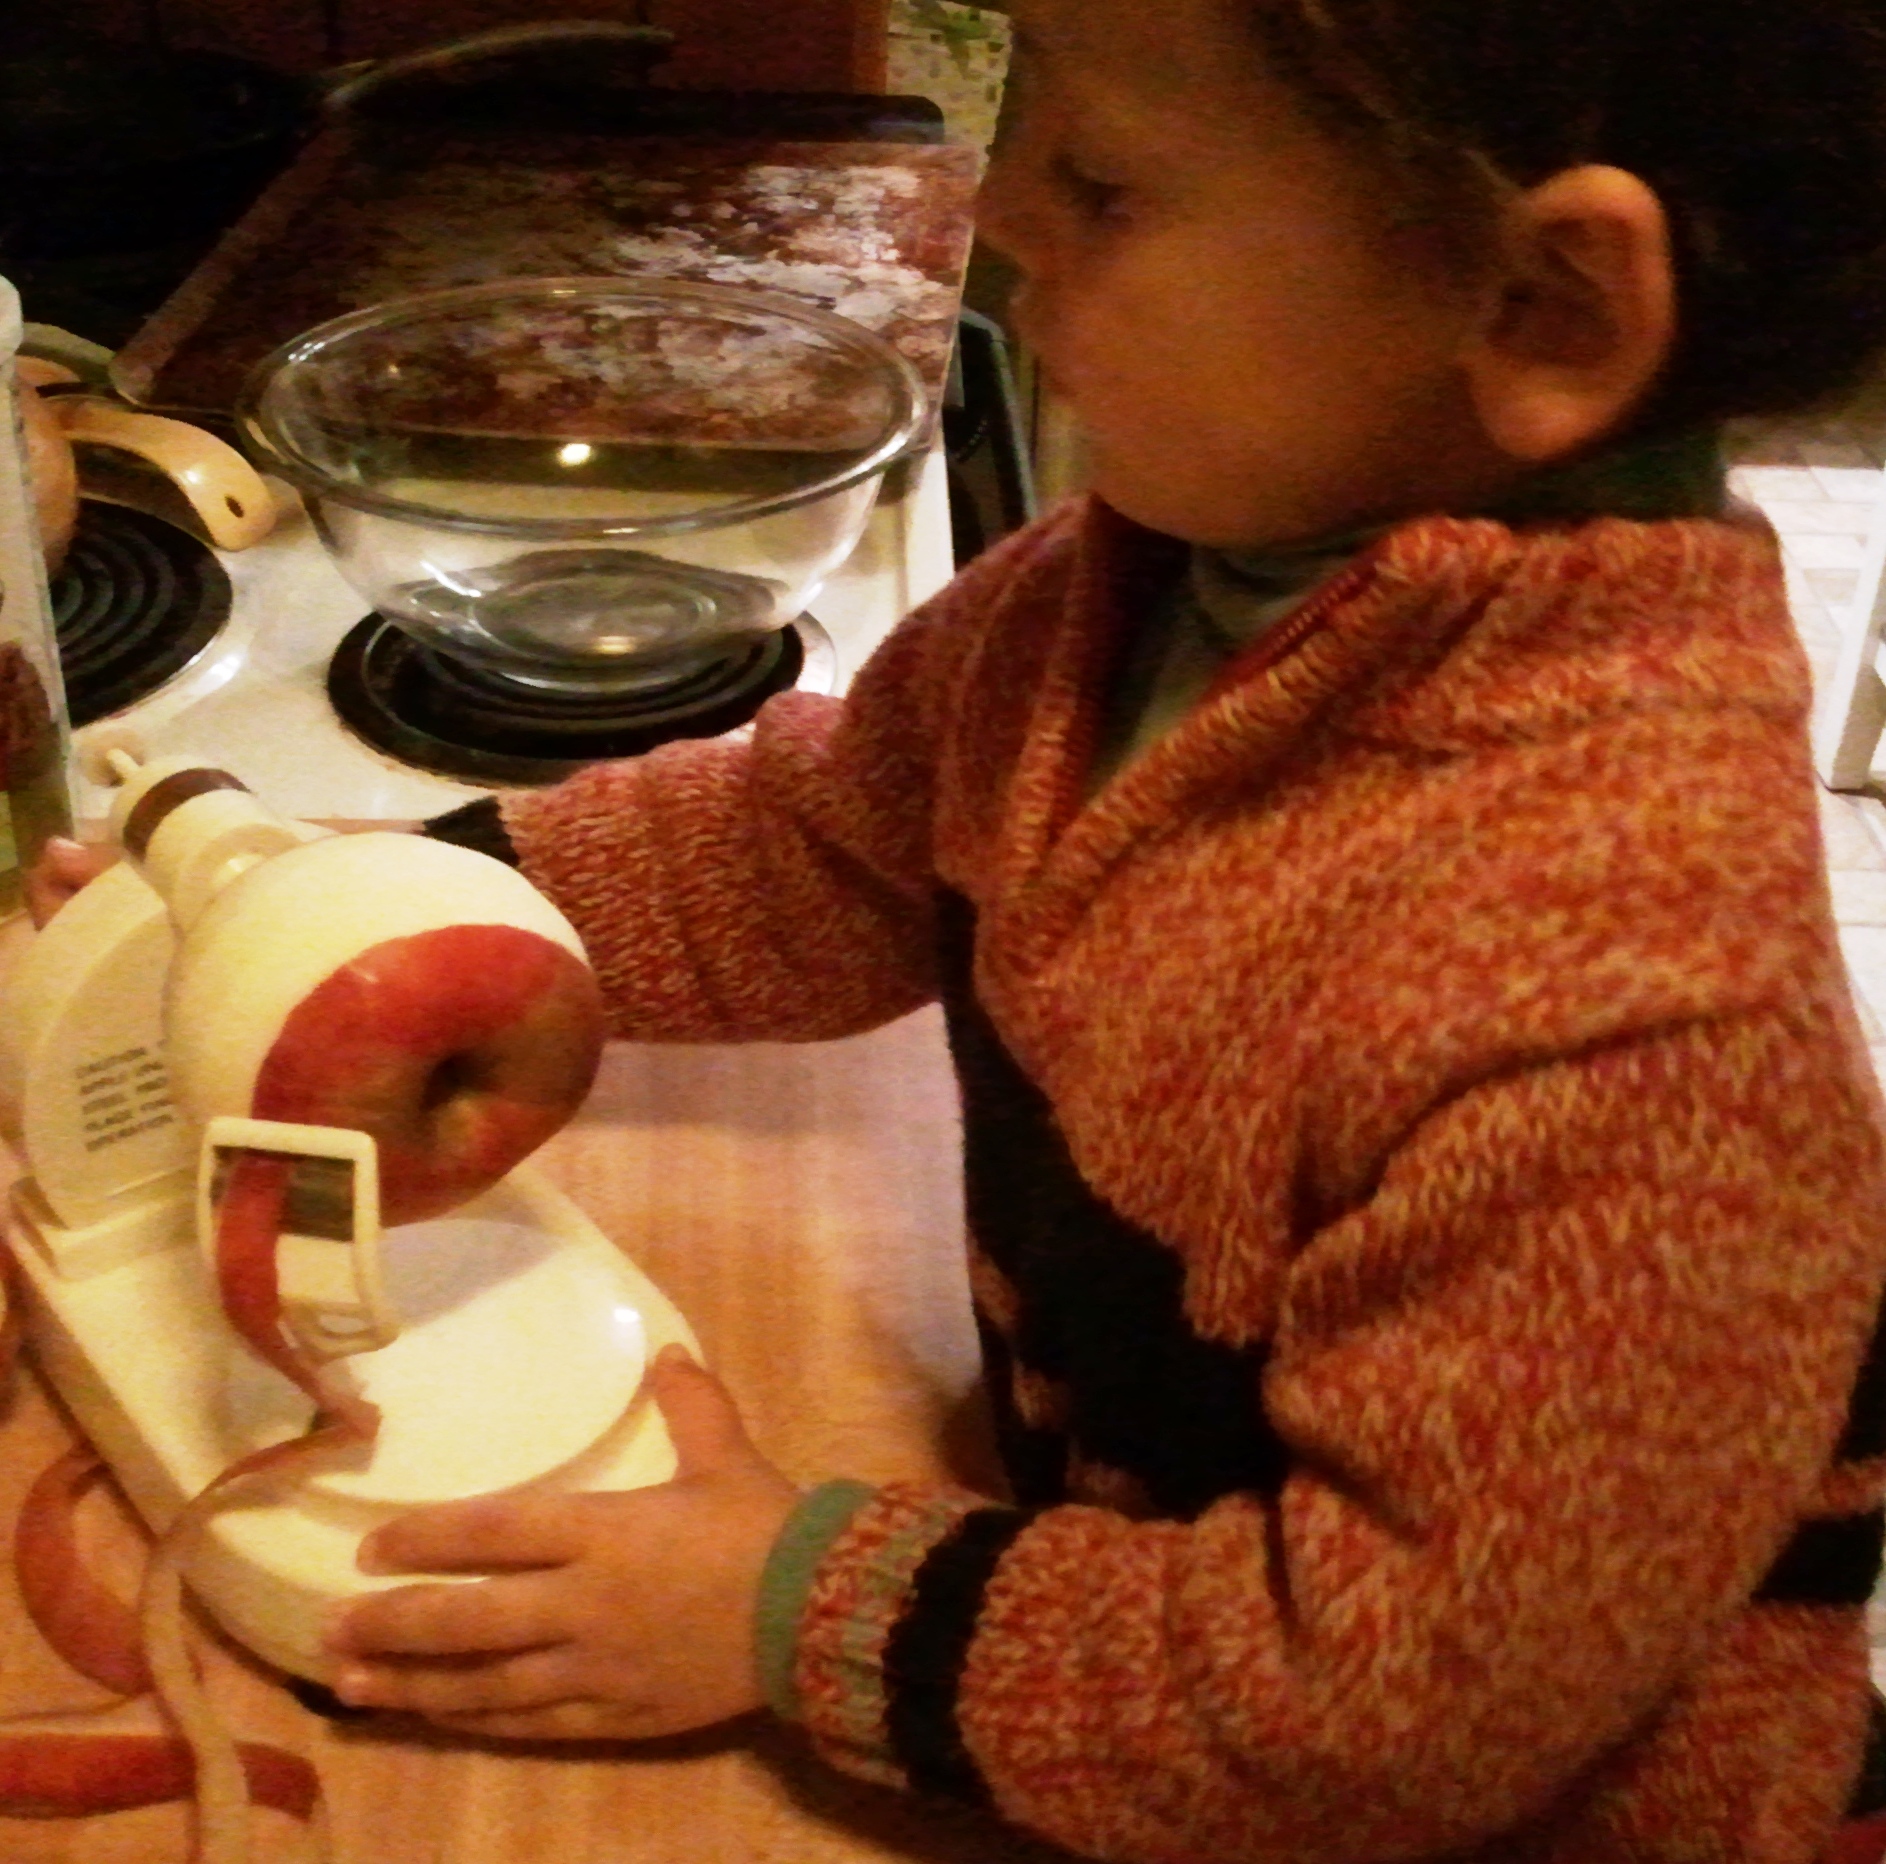
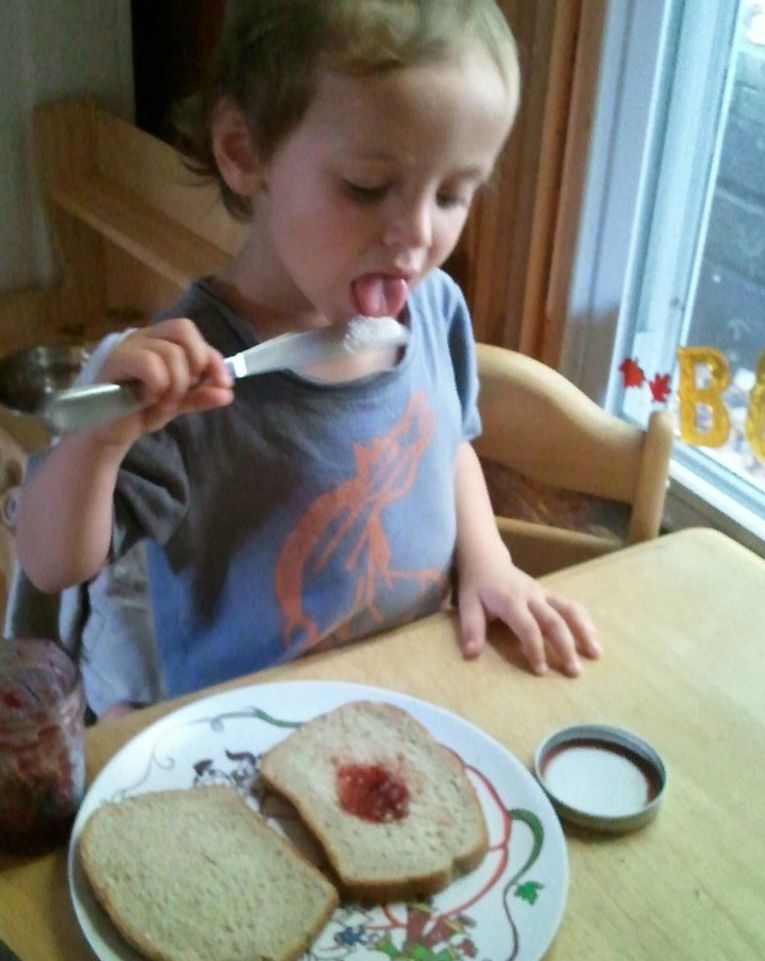
I cracked this egg by myself, and I didn’t even break the yolk!
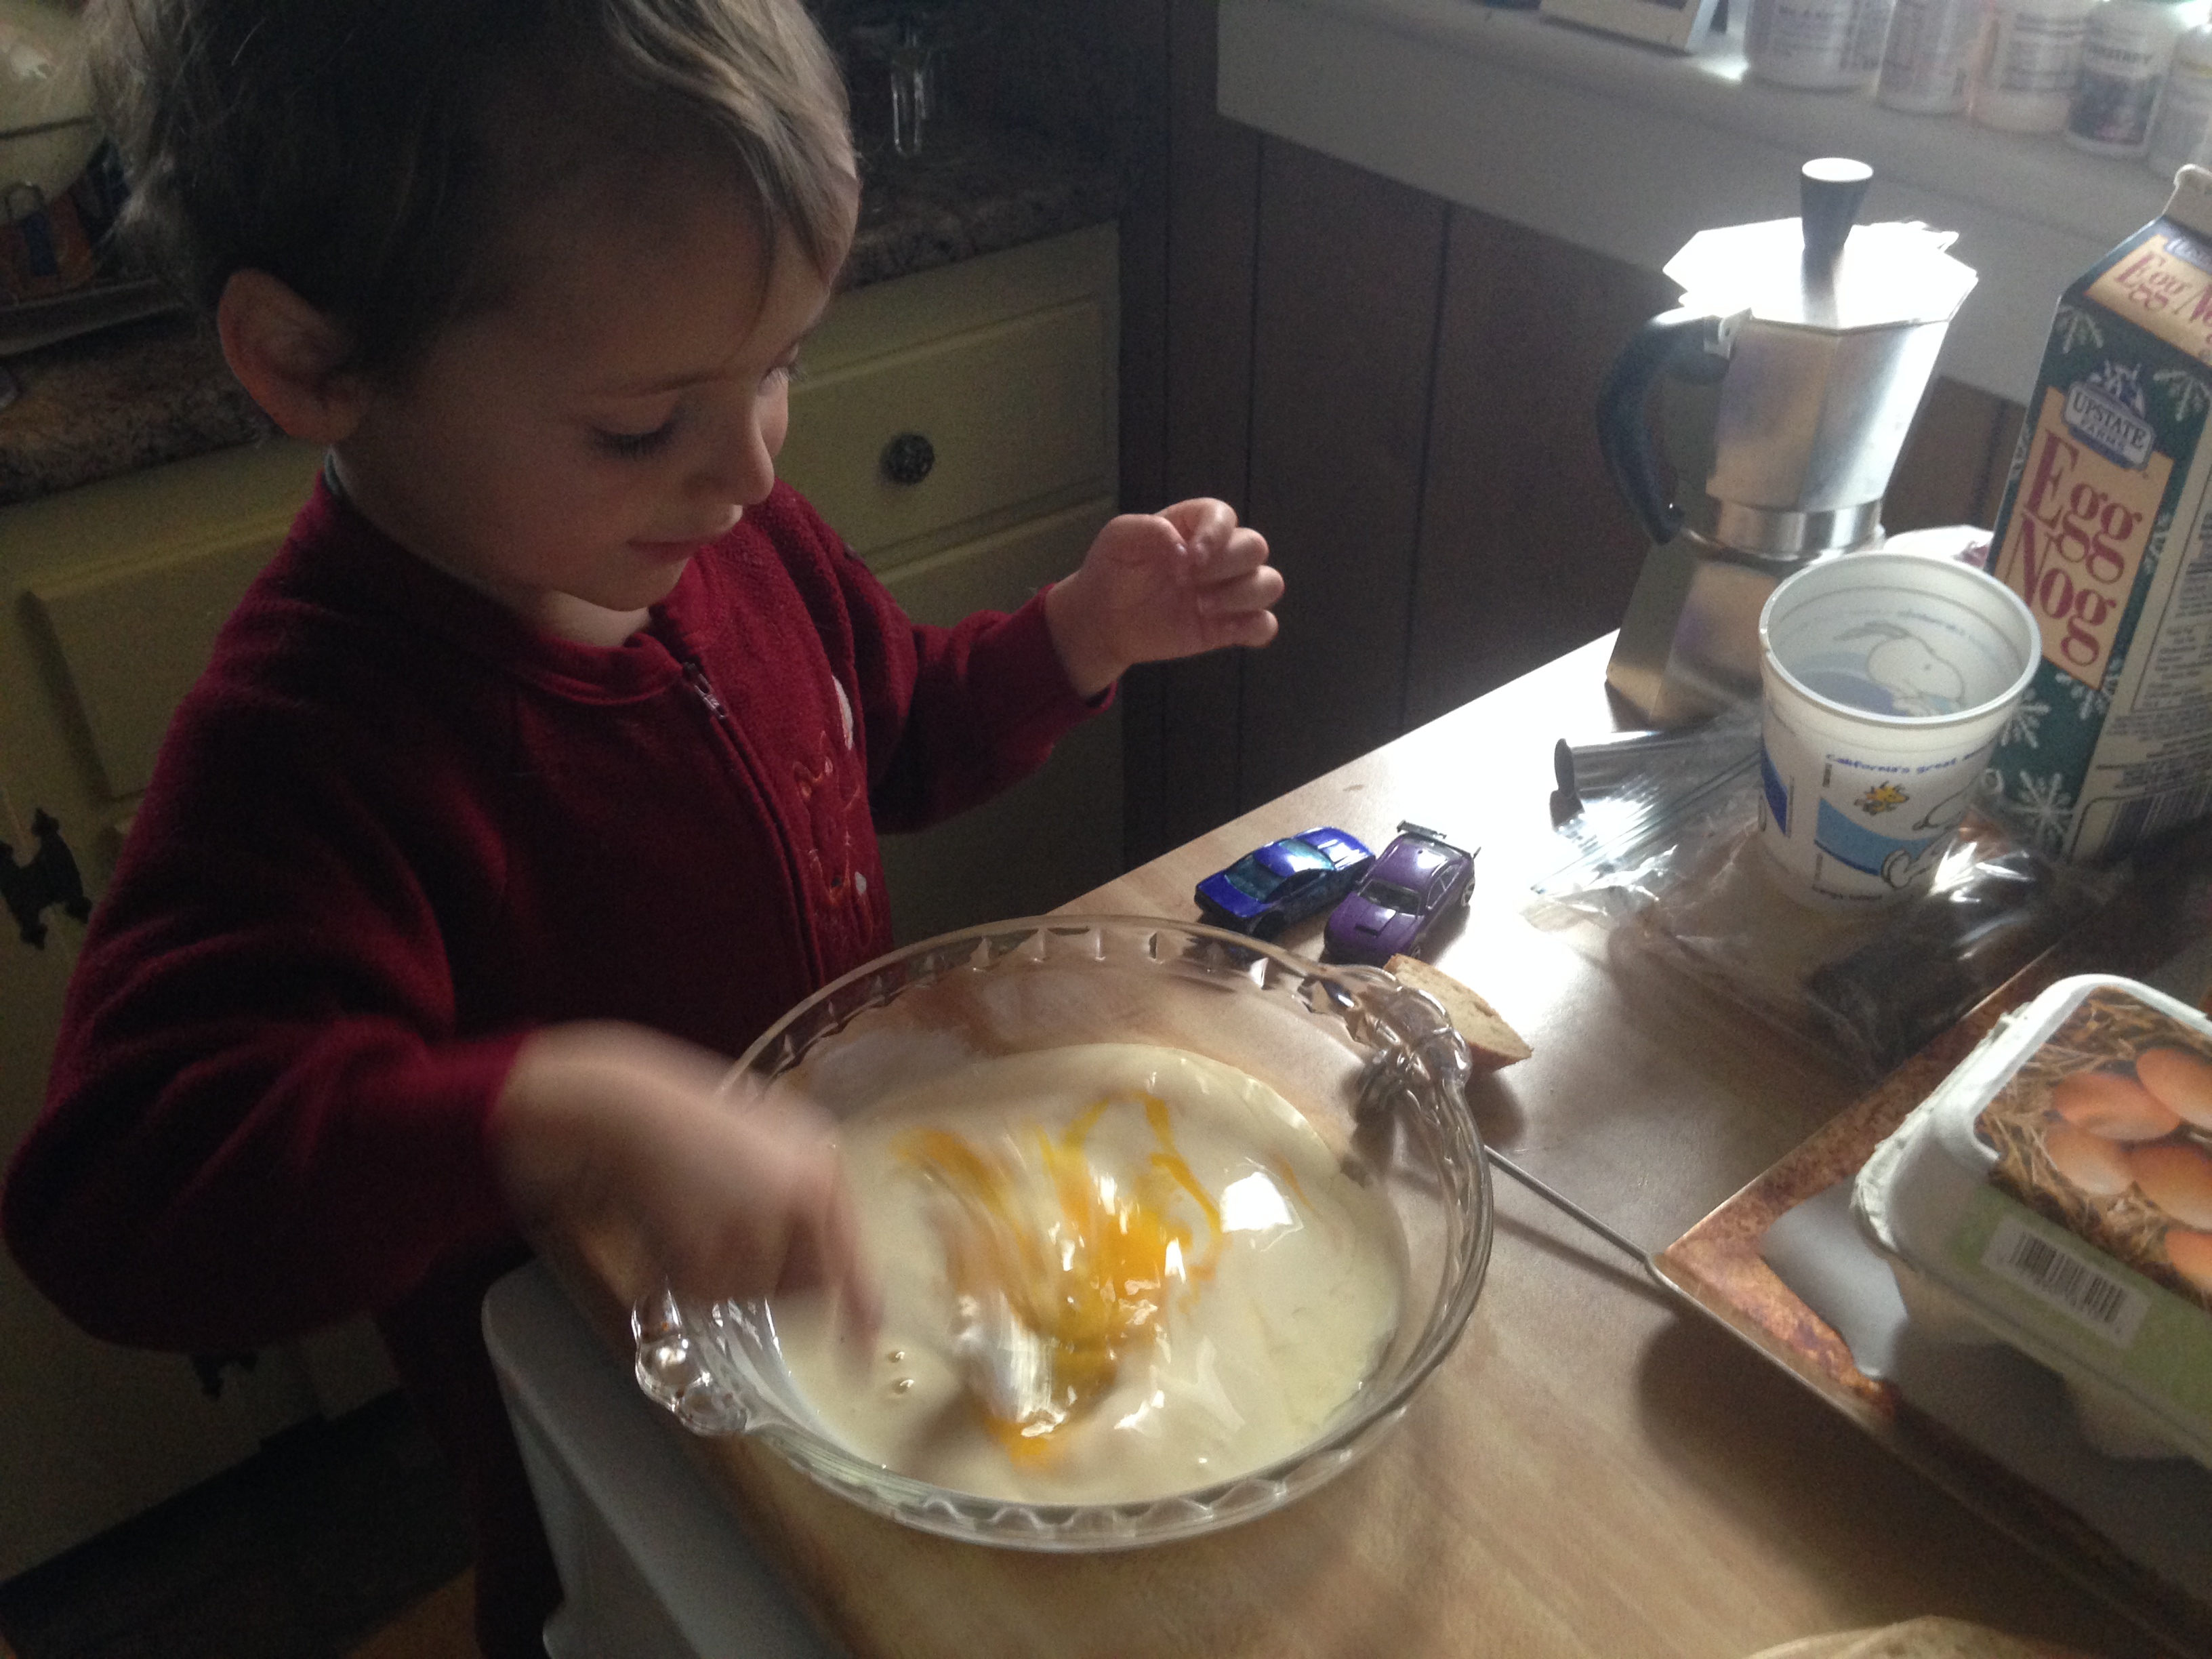
I insisted on mixing the egg and egg nog.
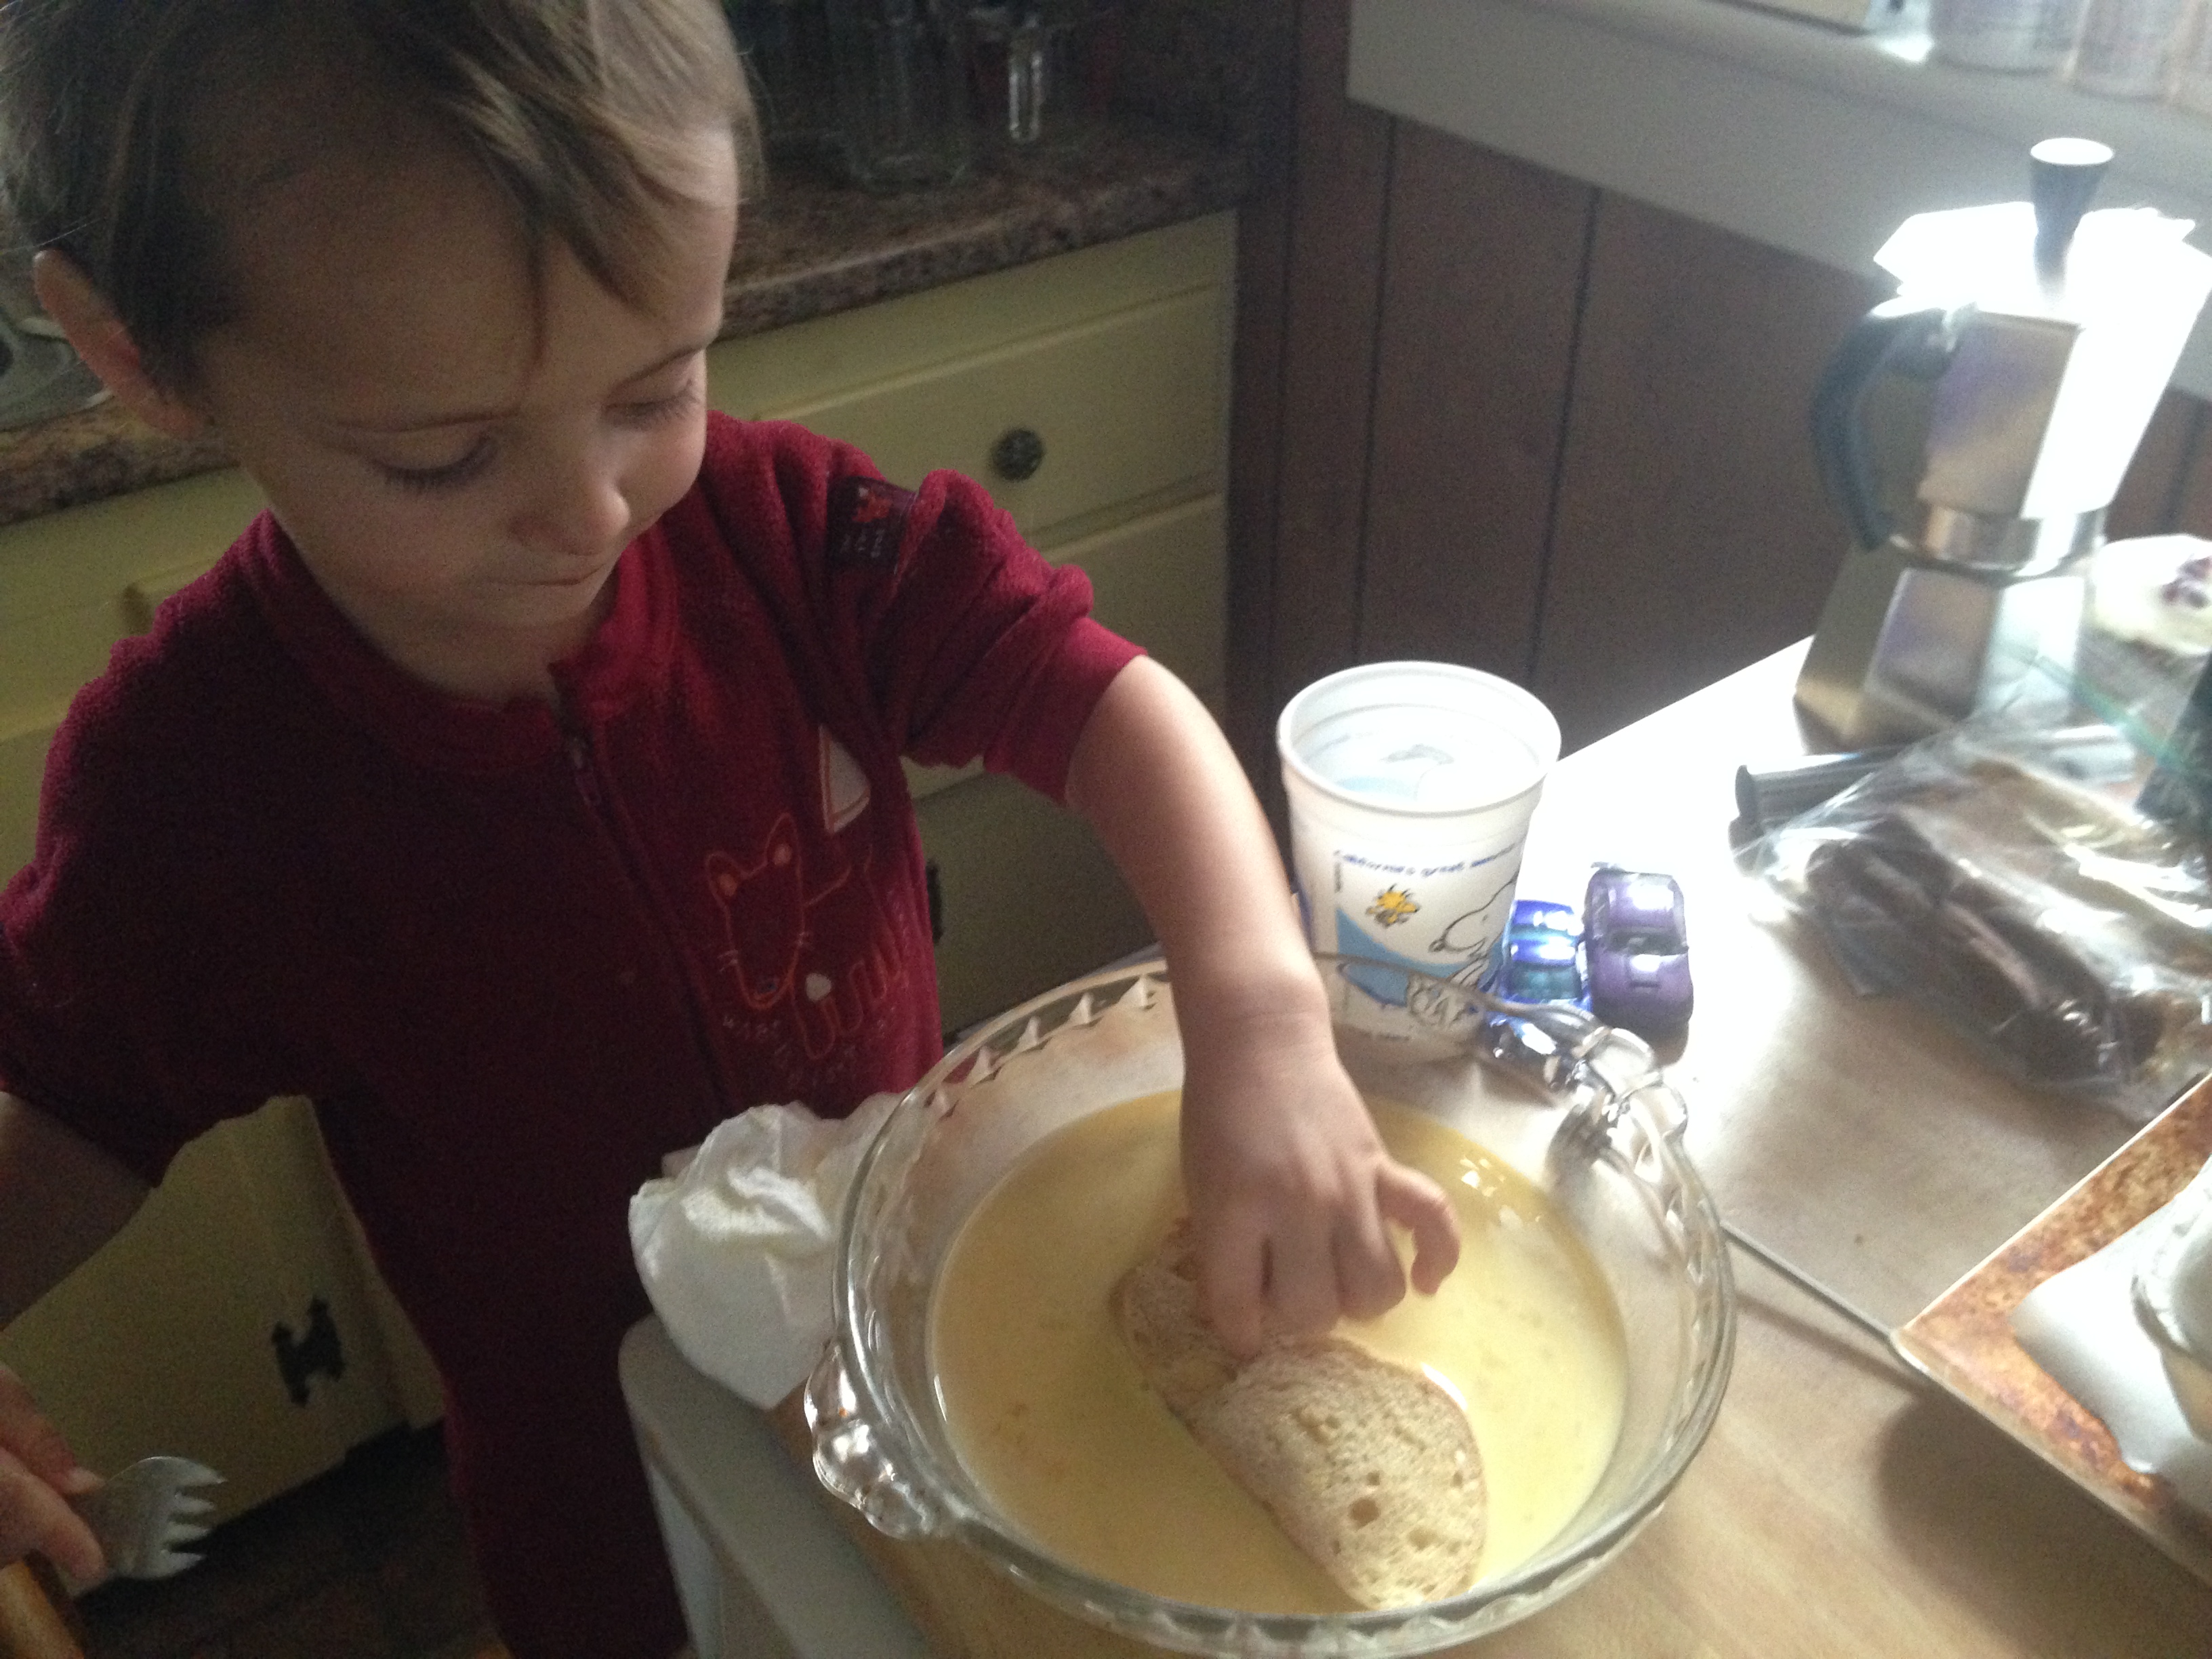
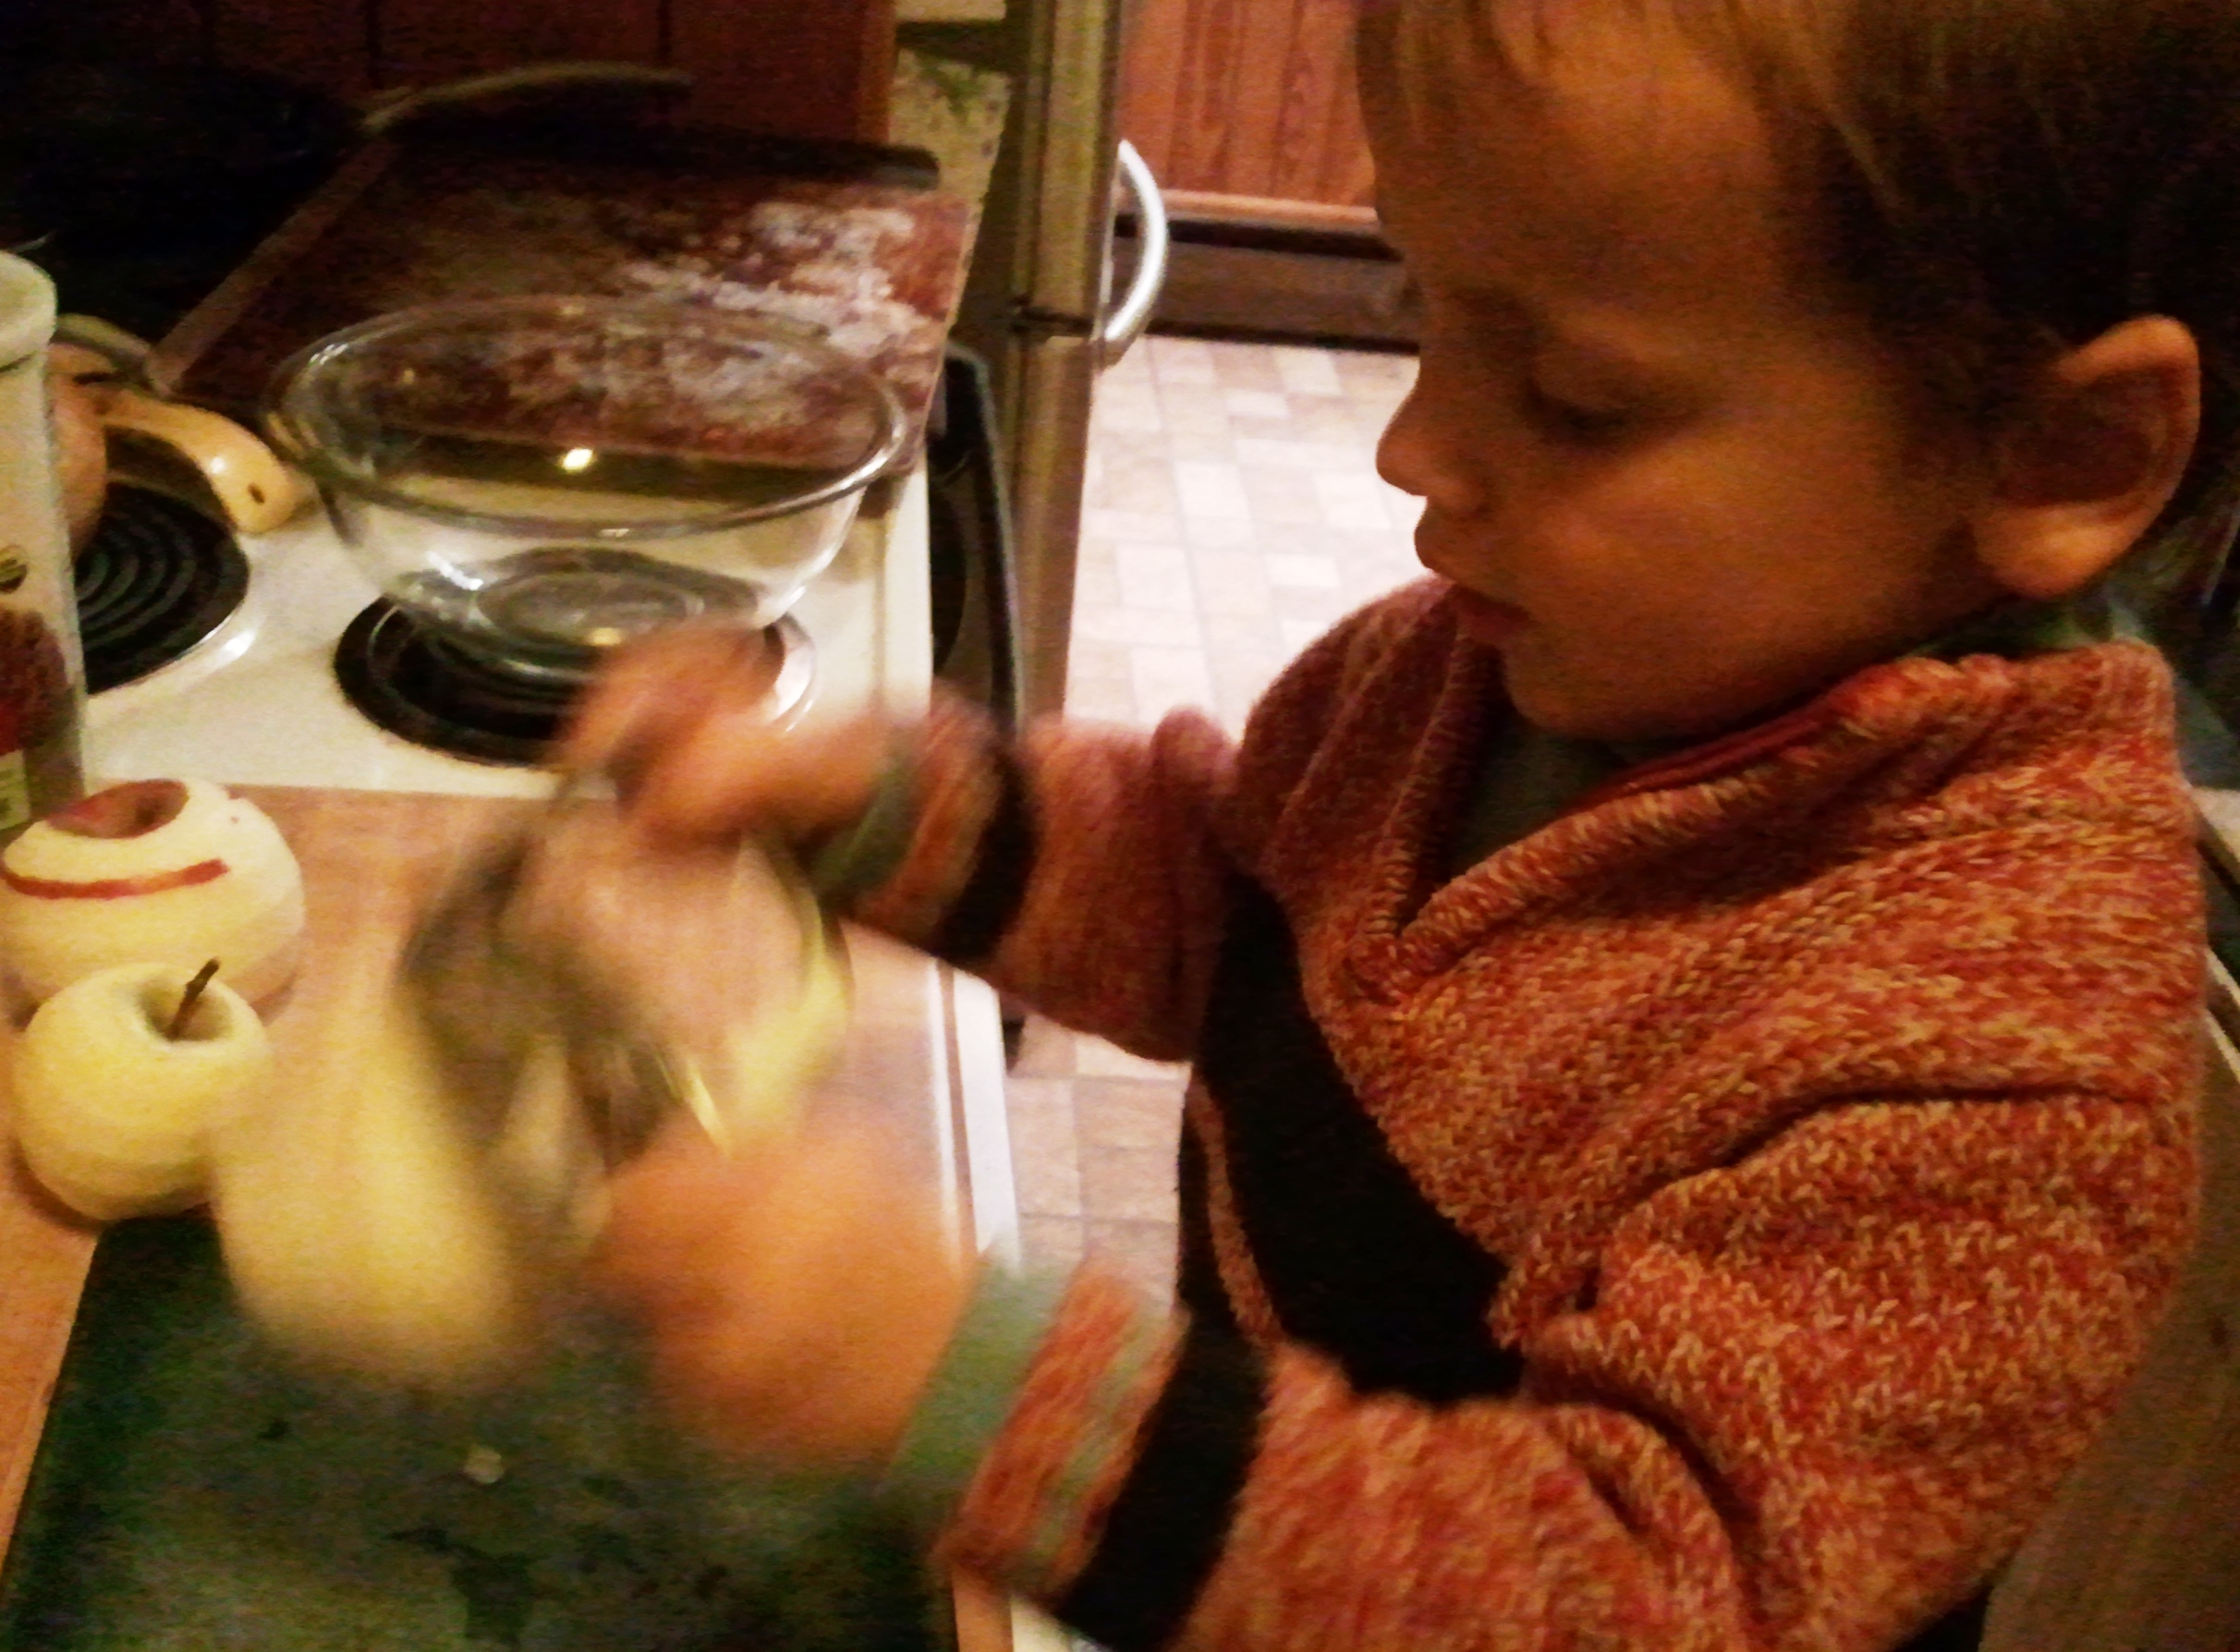
I used my hands to dip and turn the sliced bread to get it coated in nog mixture. Mama likes to use a fork.
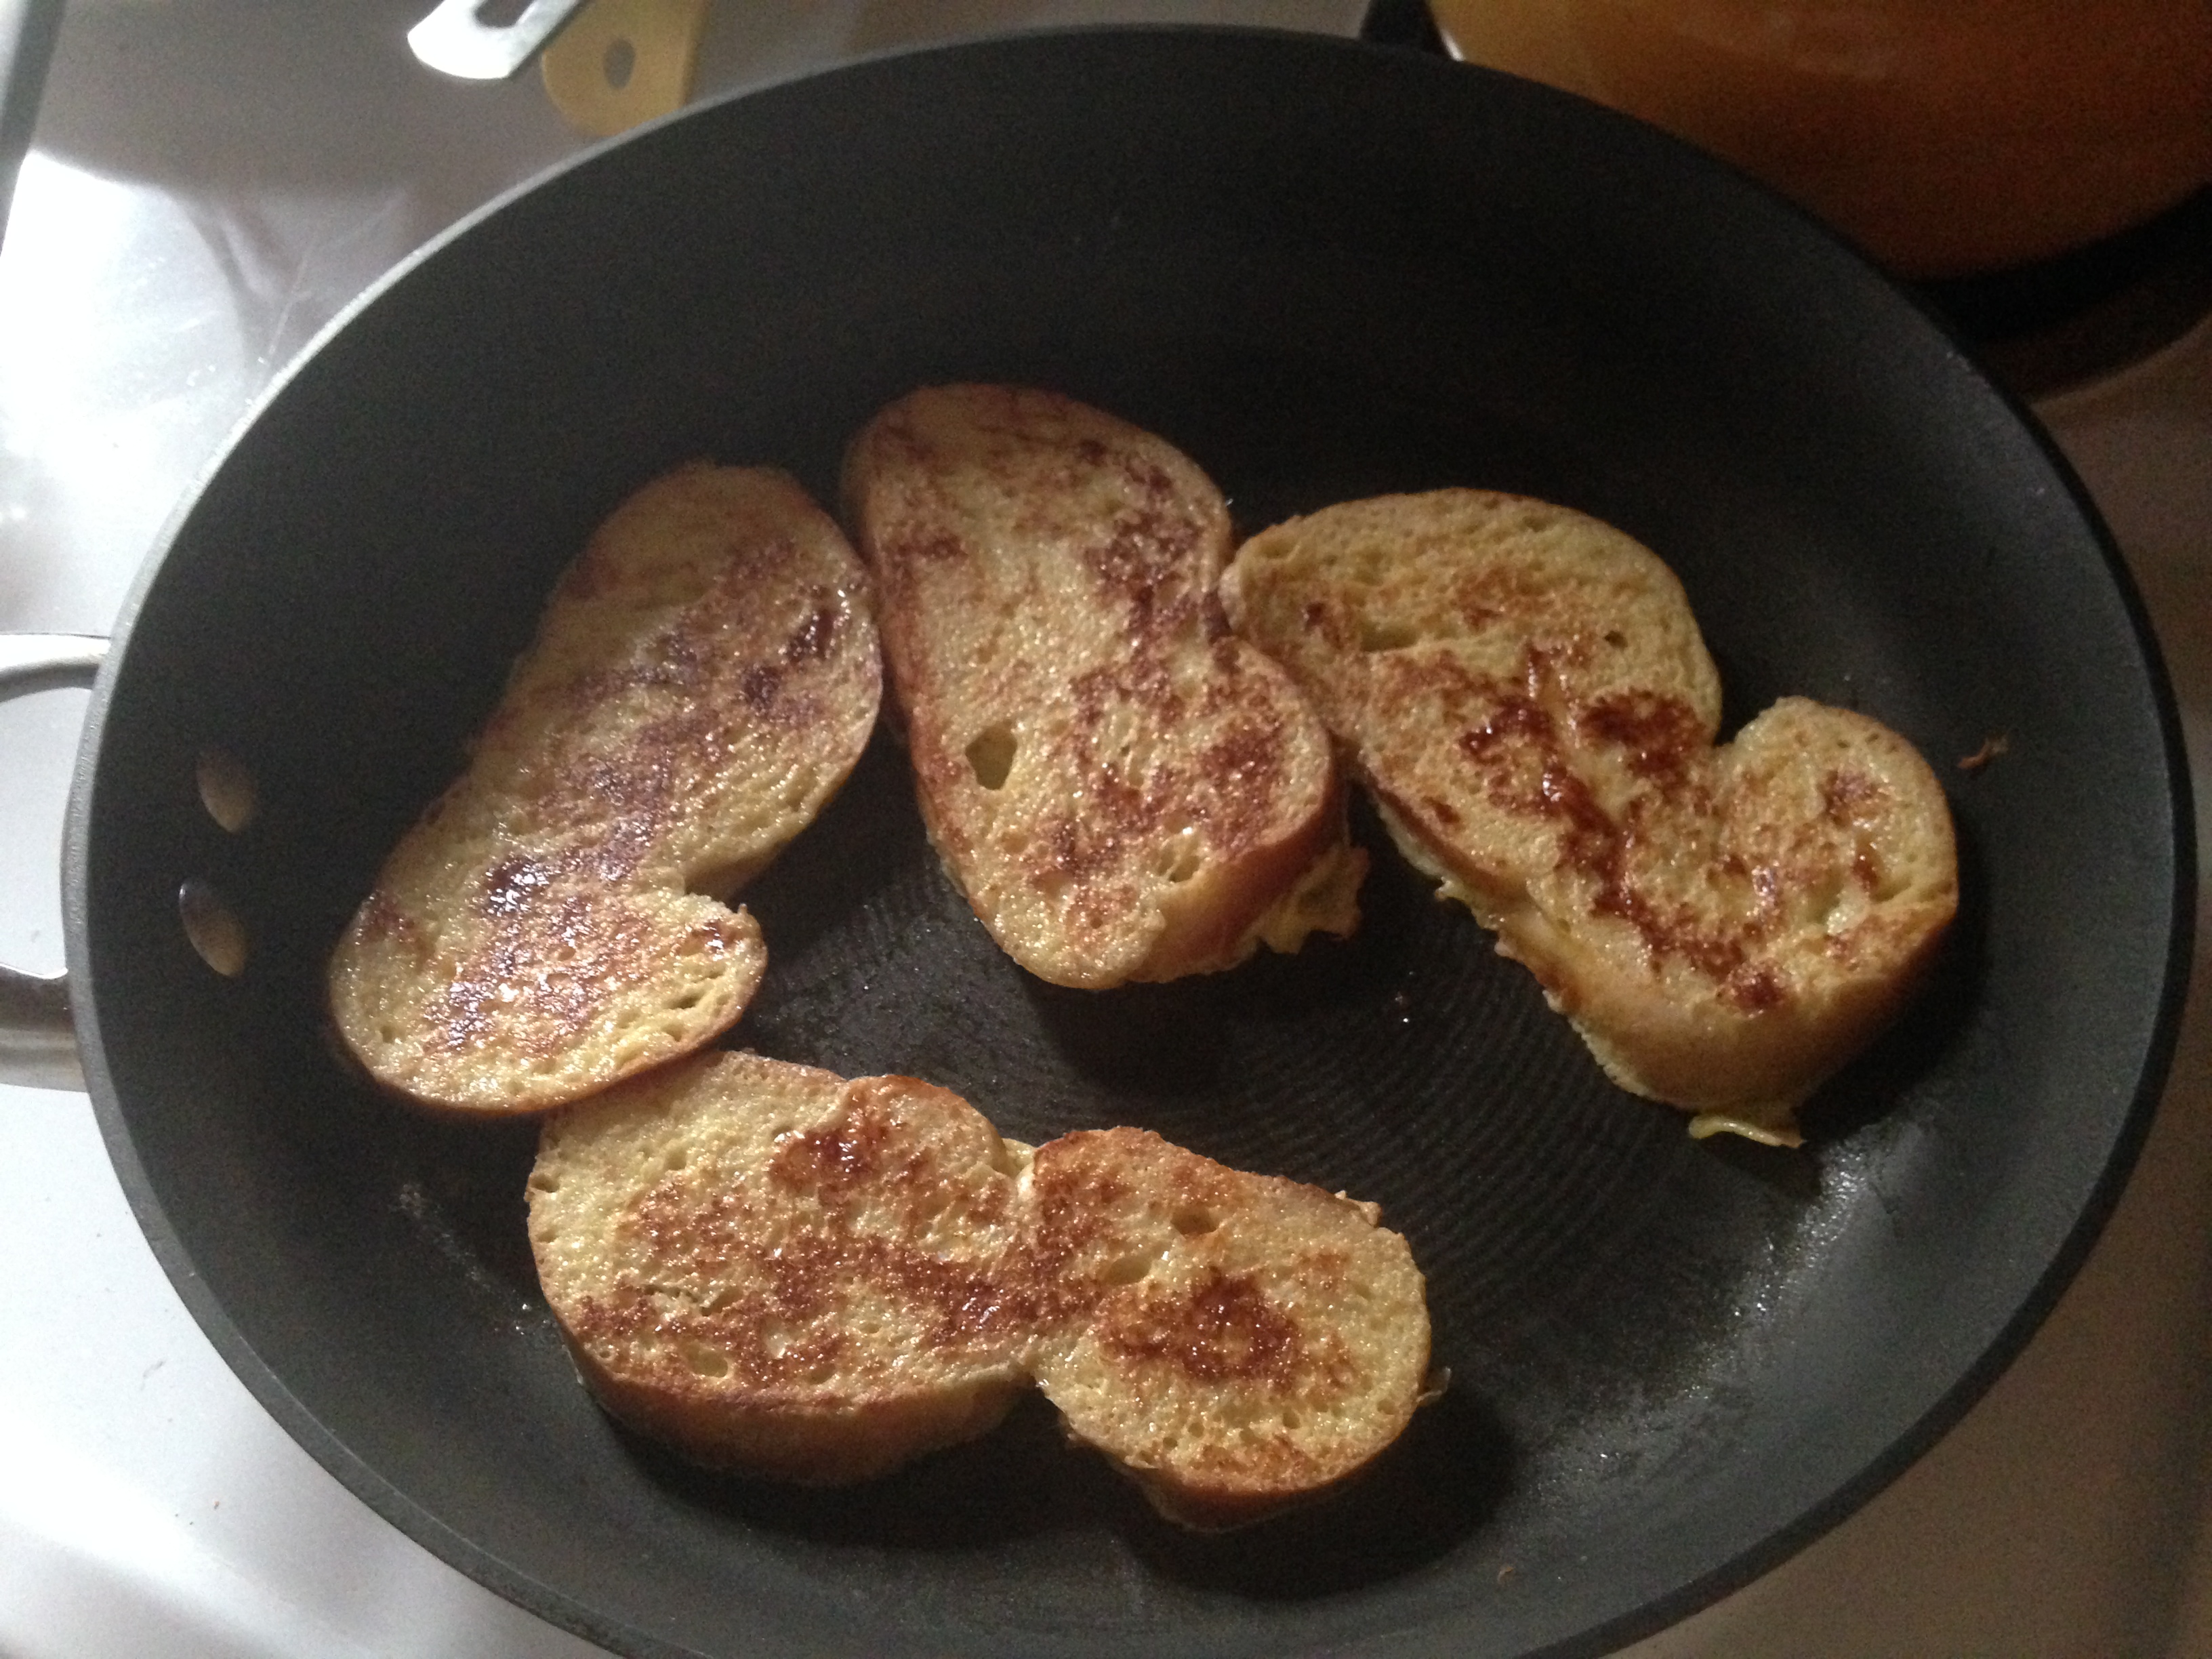
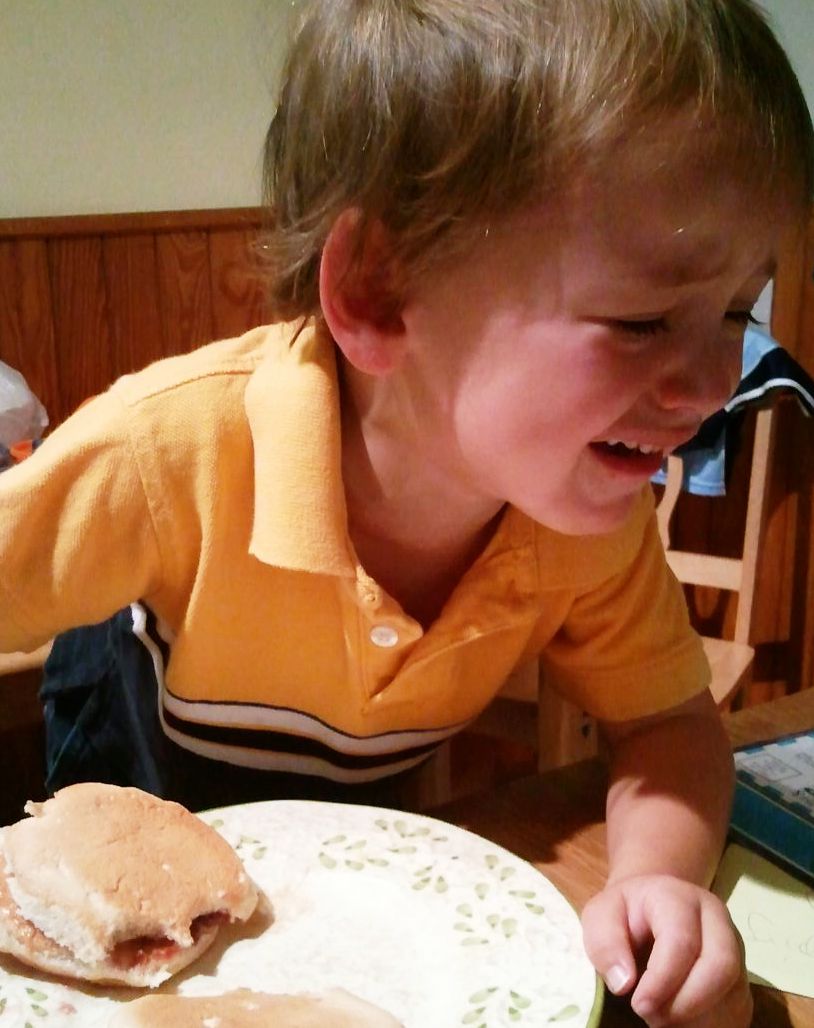
The French toast is super golden, which makes it extra yummy.
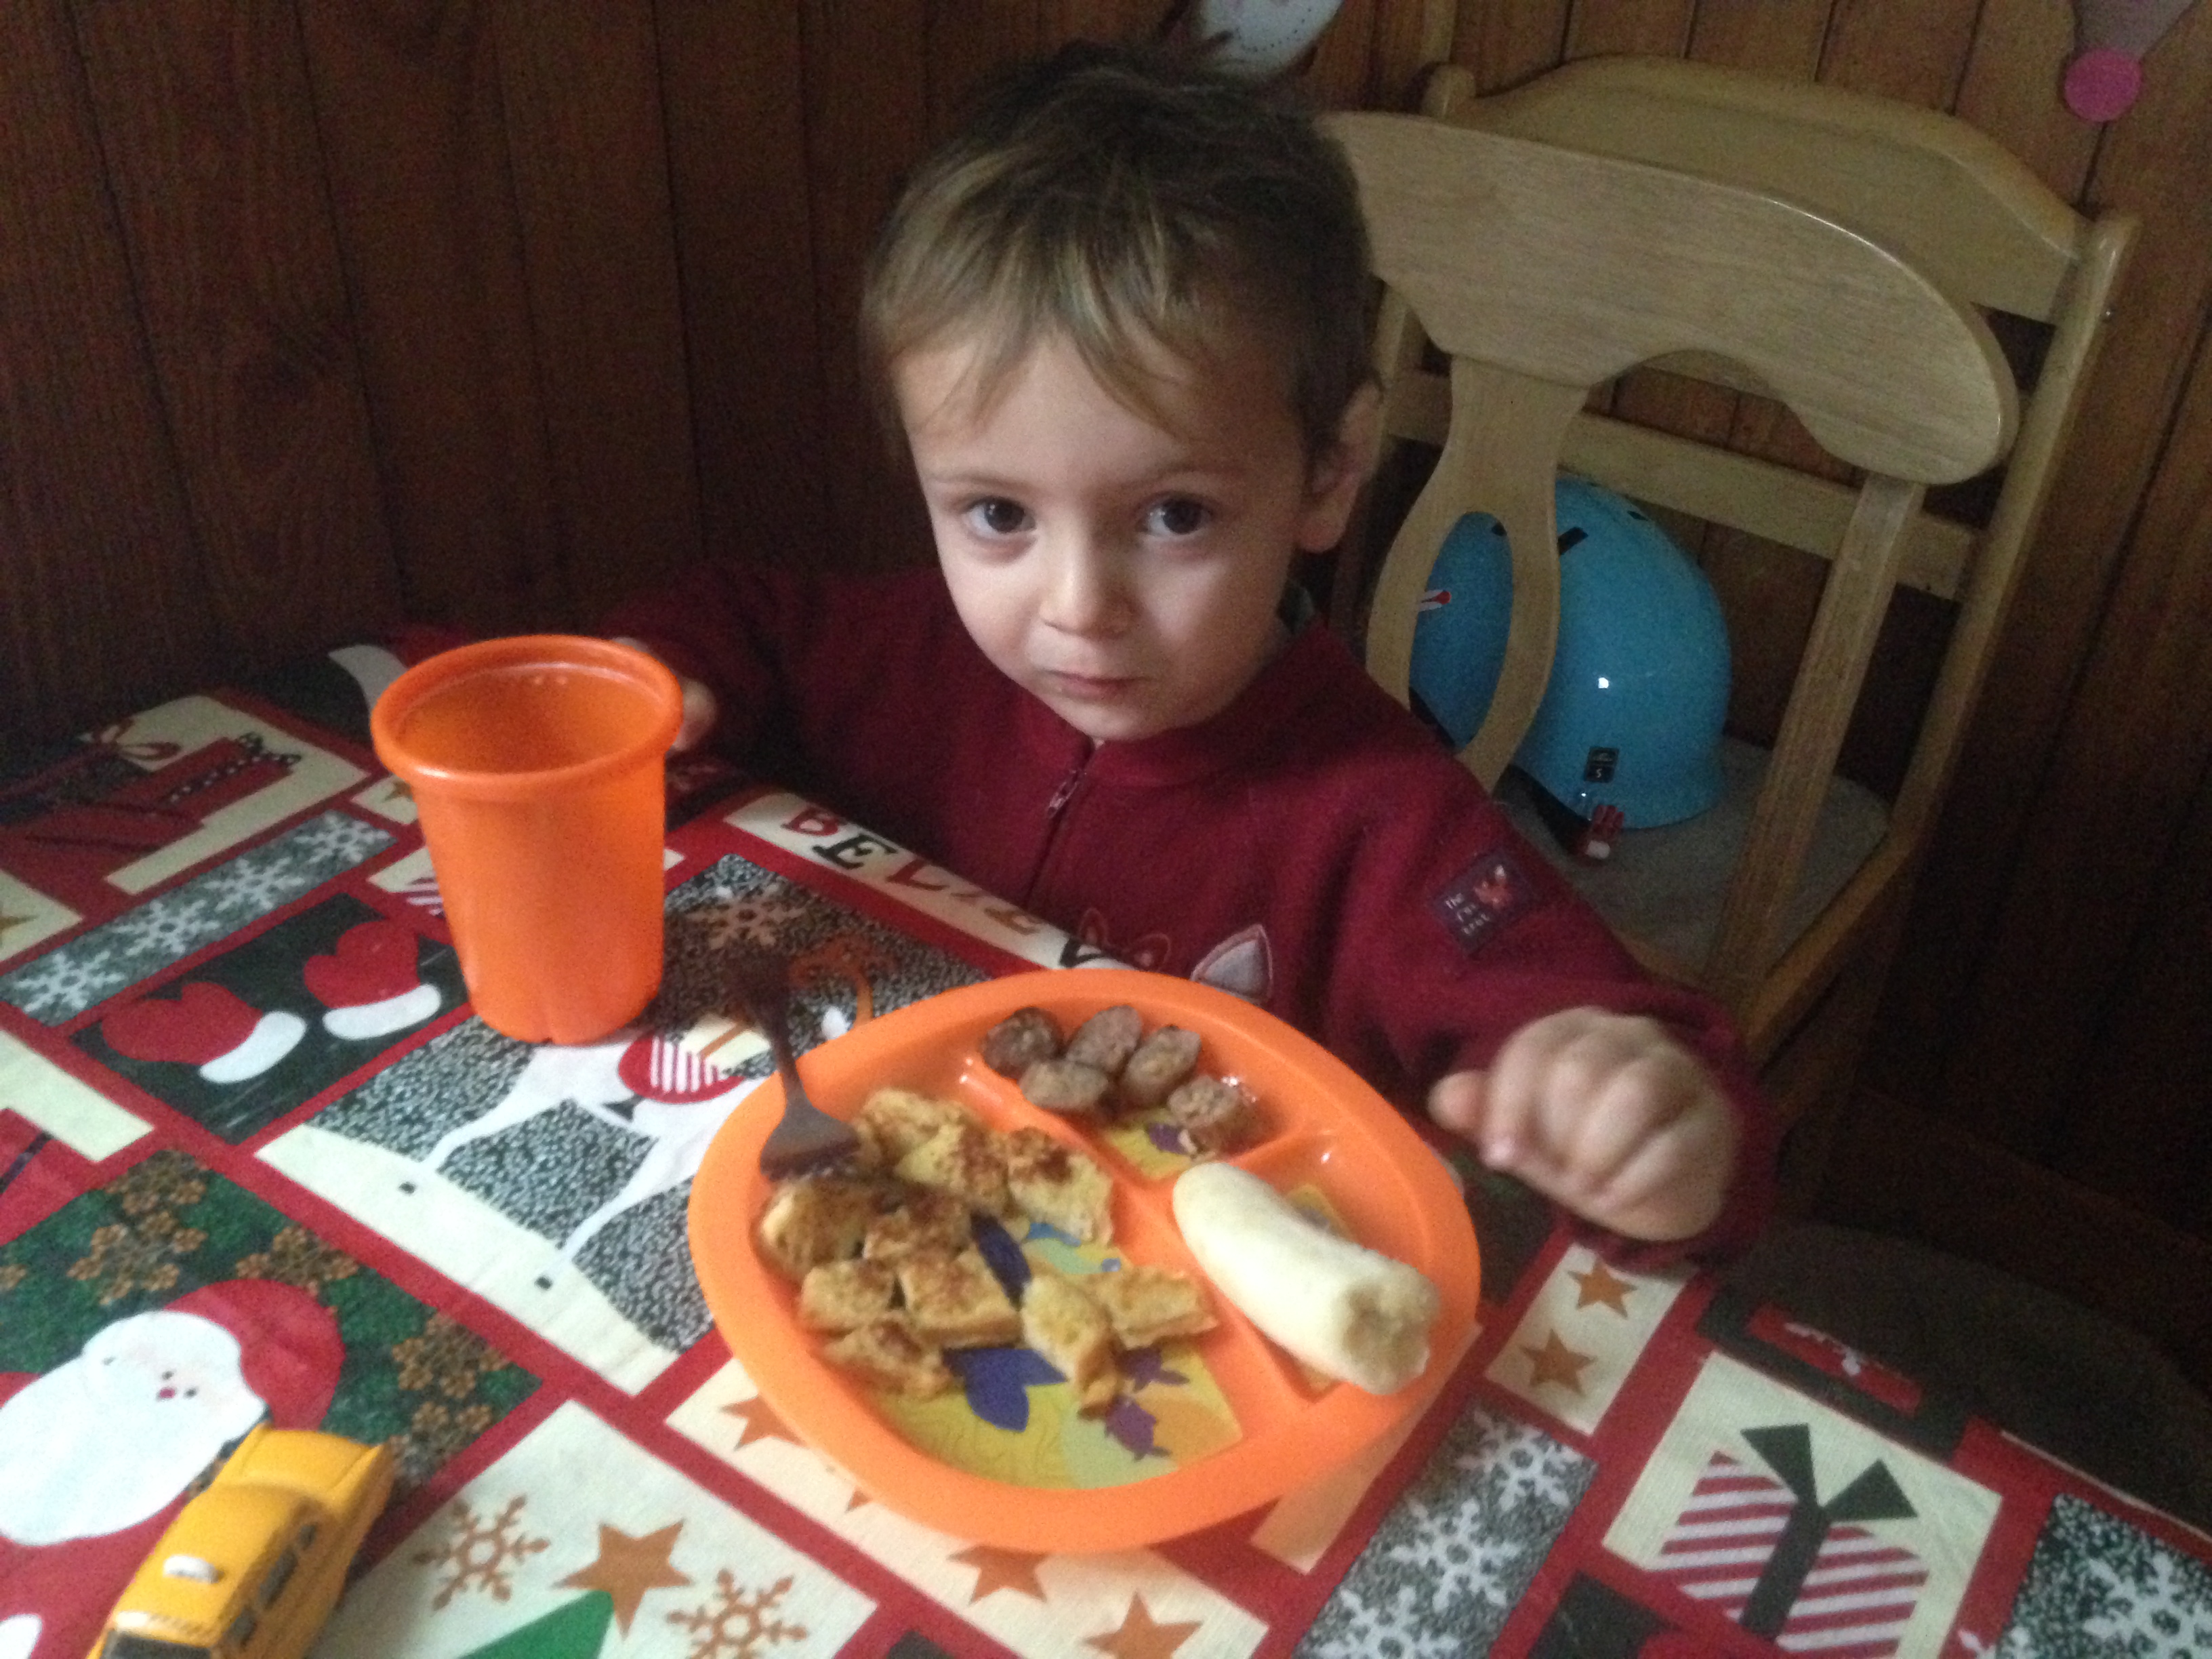
I didn’t even need syrup with my egg nog French toast.
I have to say this was a good start to 2014. I look forward to many more surprises like this one.
Love, Jude
Challah Bread
11 fluid oz warm water, 105–110°F (or, just hot enough so you can hold your finger in it without too much discomfort)
2 Tbsp active dry yeast
20 oz bread flour (Mama replaced about 4 oz. with regular whole-wheat flour)
2 tsp salt
2 Tbsp dry milk powder
1 Tbsp oil (canola works fine)
6 large egg yolks
1 egg + splash of milk for egg wash
In a glass measure or bowl, whisk together the water and the yeast until foamy. Set aside. In the bowl of a stand mixer, add the remaining ingredients (except egg wash) in the order listed. Pour yeast mixture on top. Mix with the dough hook on low speed for a minute or two to bring everything together, then increase speed to #2 for about 5 more minutes. Test the dough by stretching a small bit between your fingers. If it gives a good stretch before breaking, then you’re set.
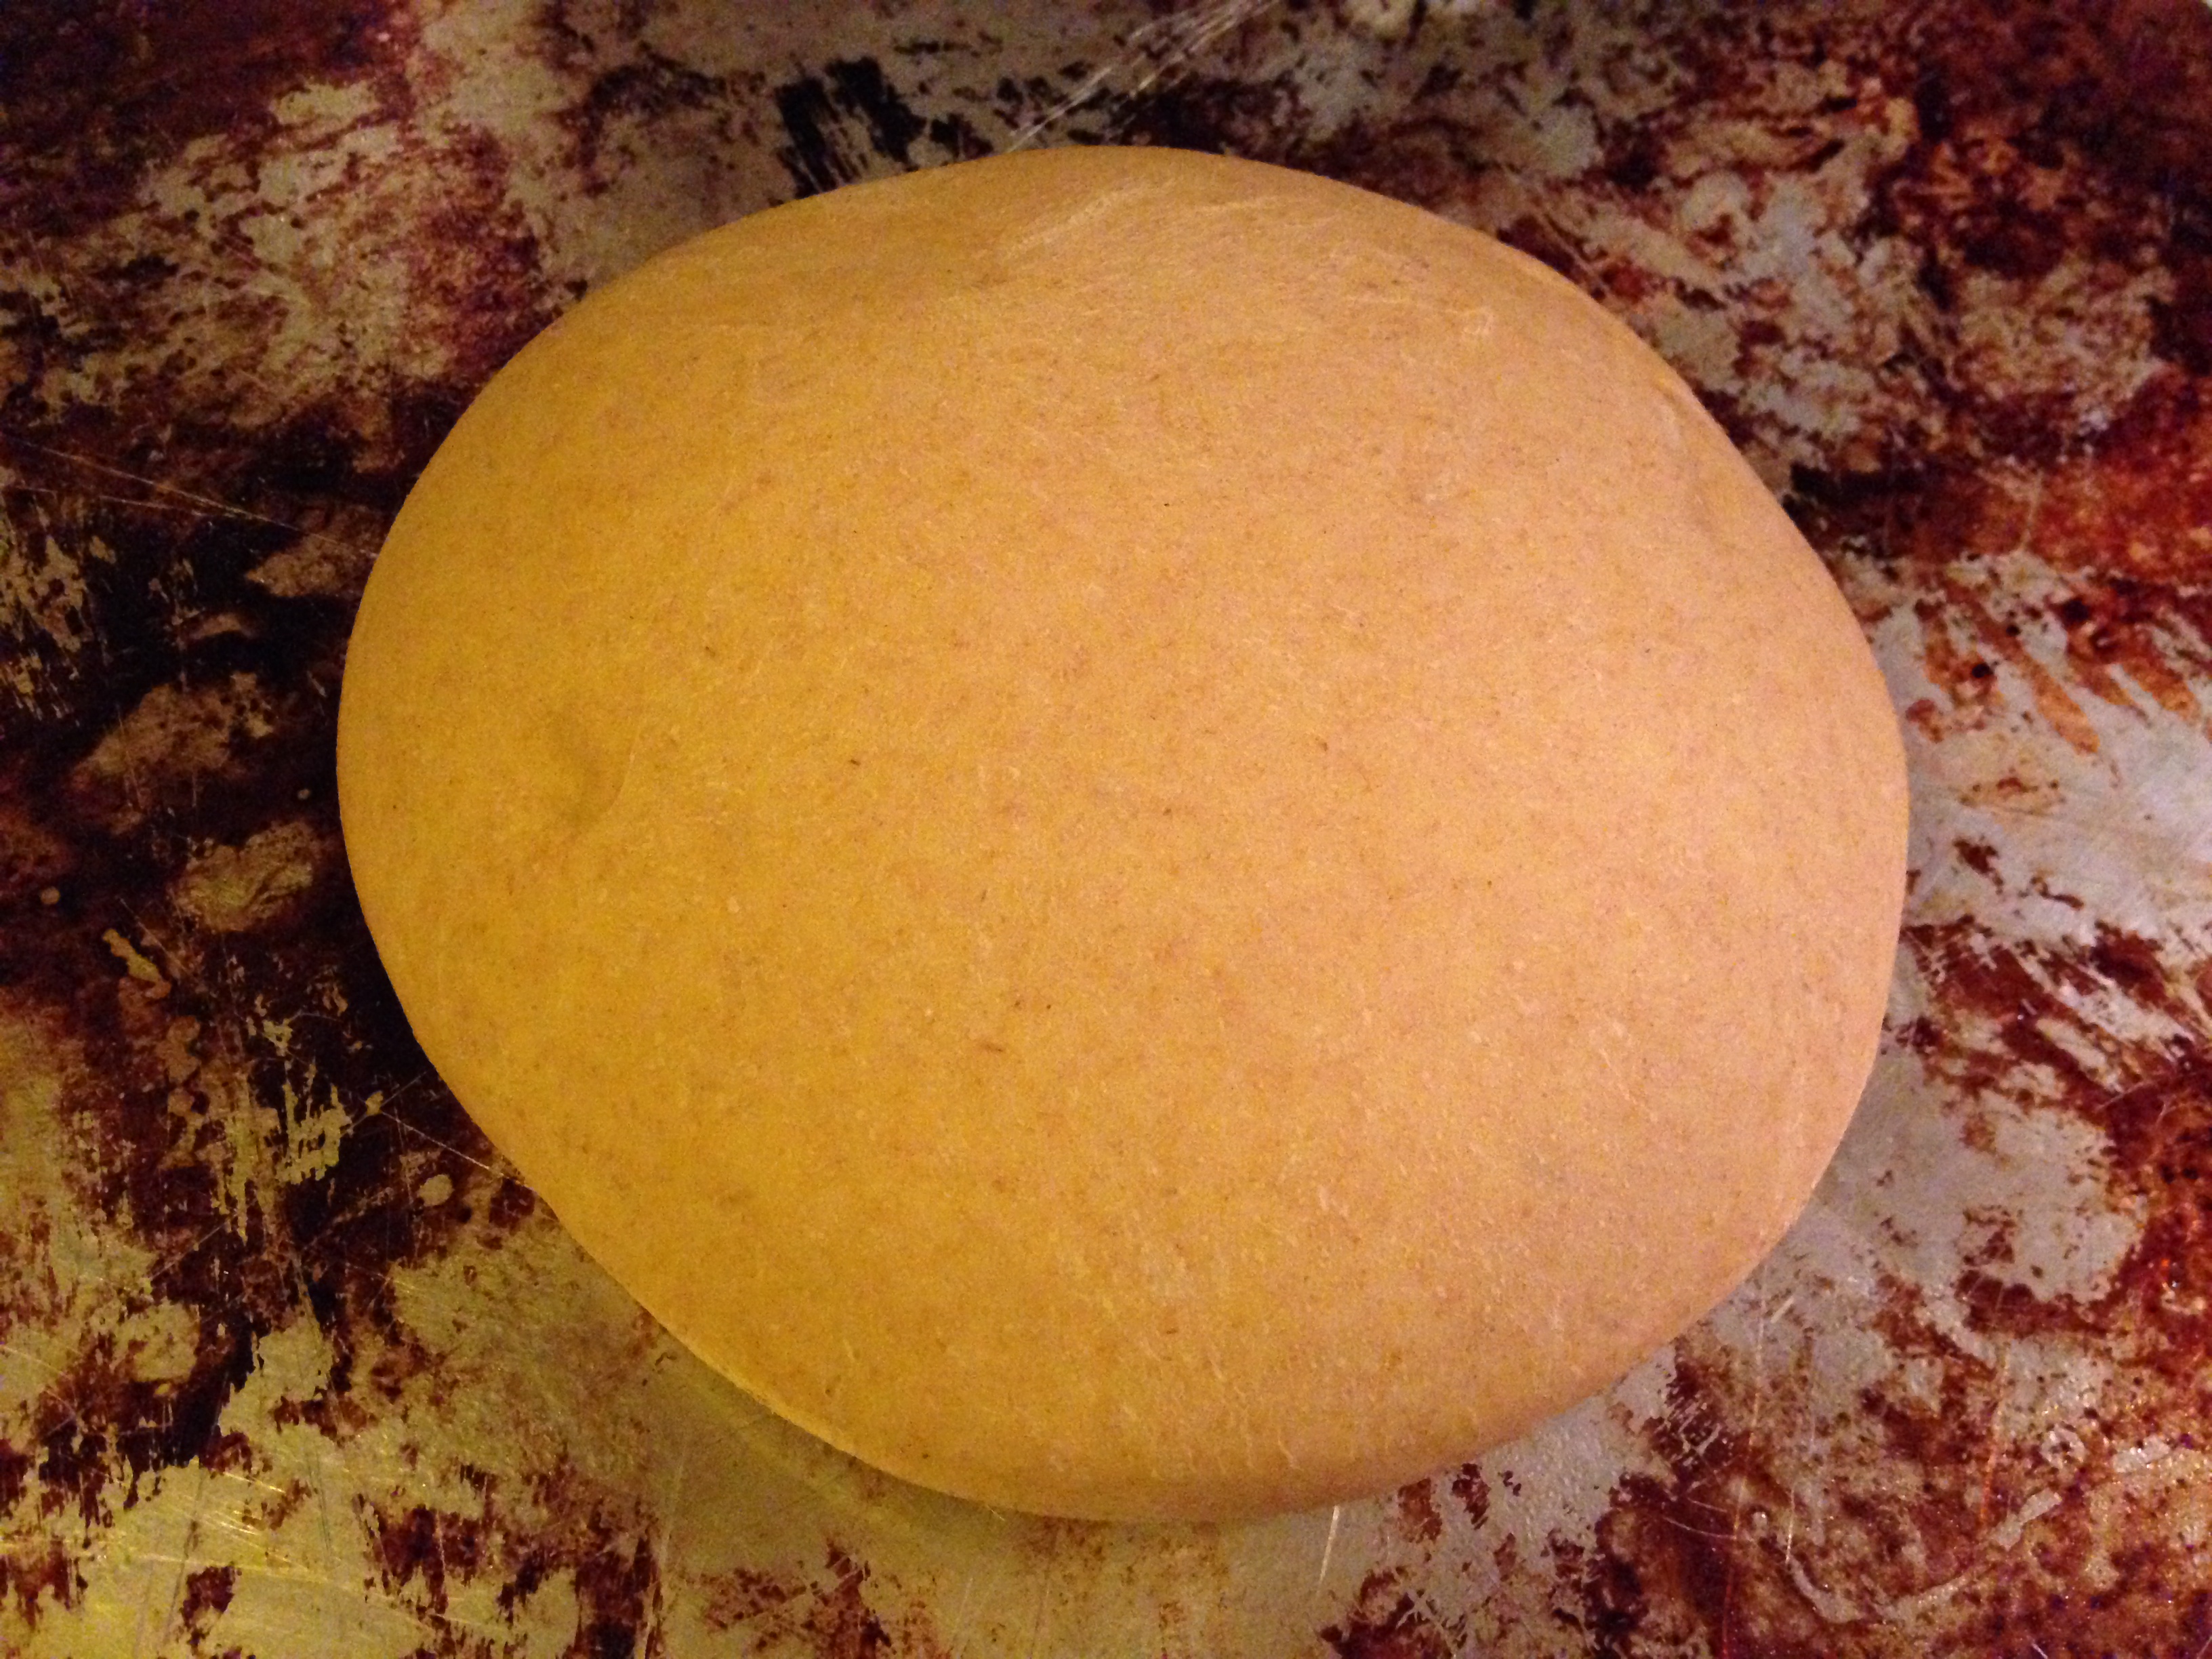
Remove the dough to a greased sheet tray, cover with a clean towel, and allow to rest in a warm spot until doubled in size, anywhere from 1-2 hours. (You can shape the dough in to a lovely ball first, but it’ll still proof without the beauty treatment.)
Here’s the dough after it’s proofed, or doubled in size. It’s smooth and puffy.
And here’s why Mama loves to make challah: you get to braid it! First, give the dough ball a few good kneads to get out all the air. Divide it into 3 equal pieces, then channel your inner 3-year-old and roll them into ropes (or snakes!).
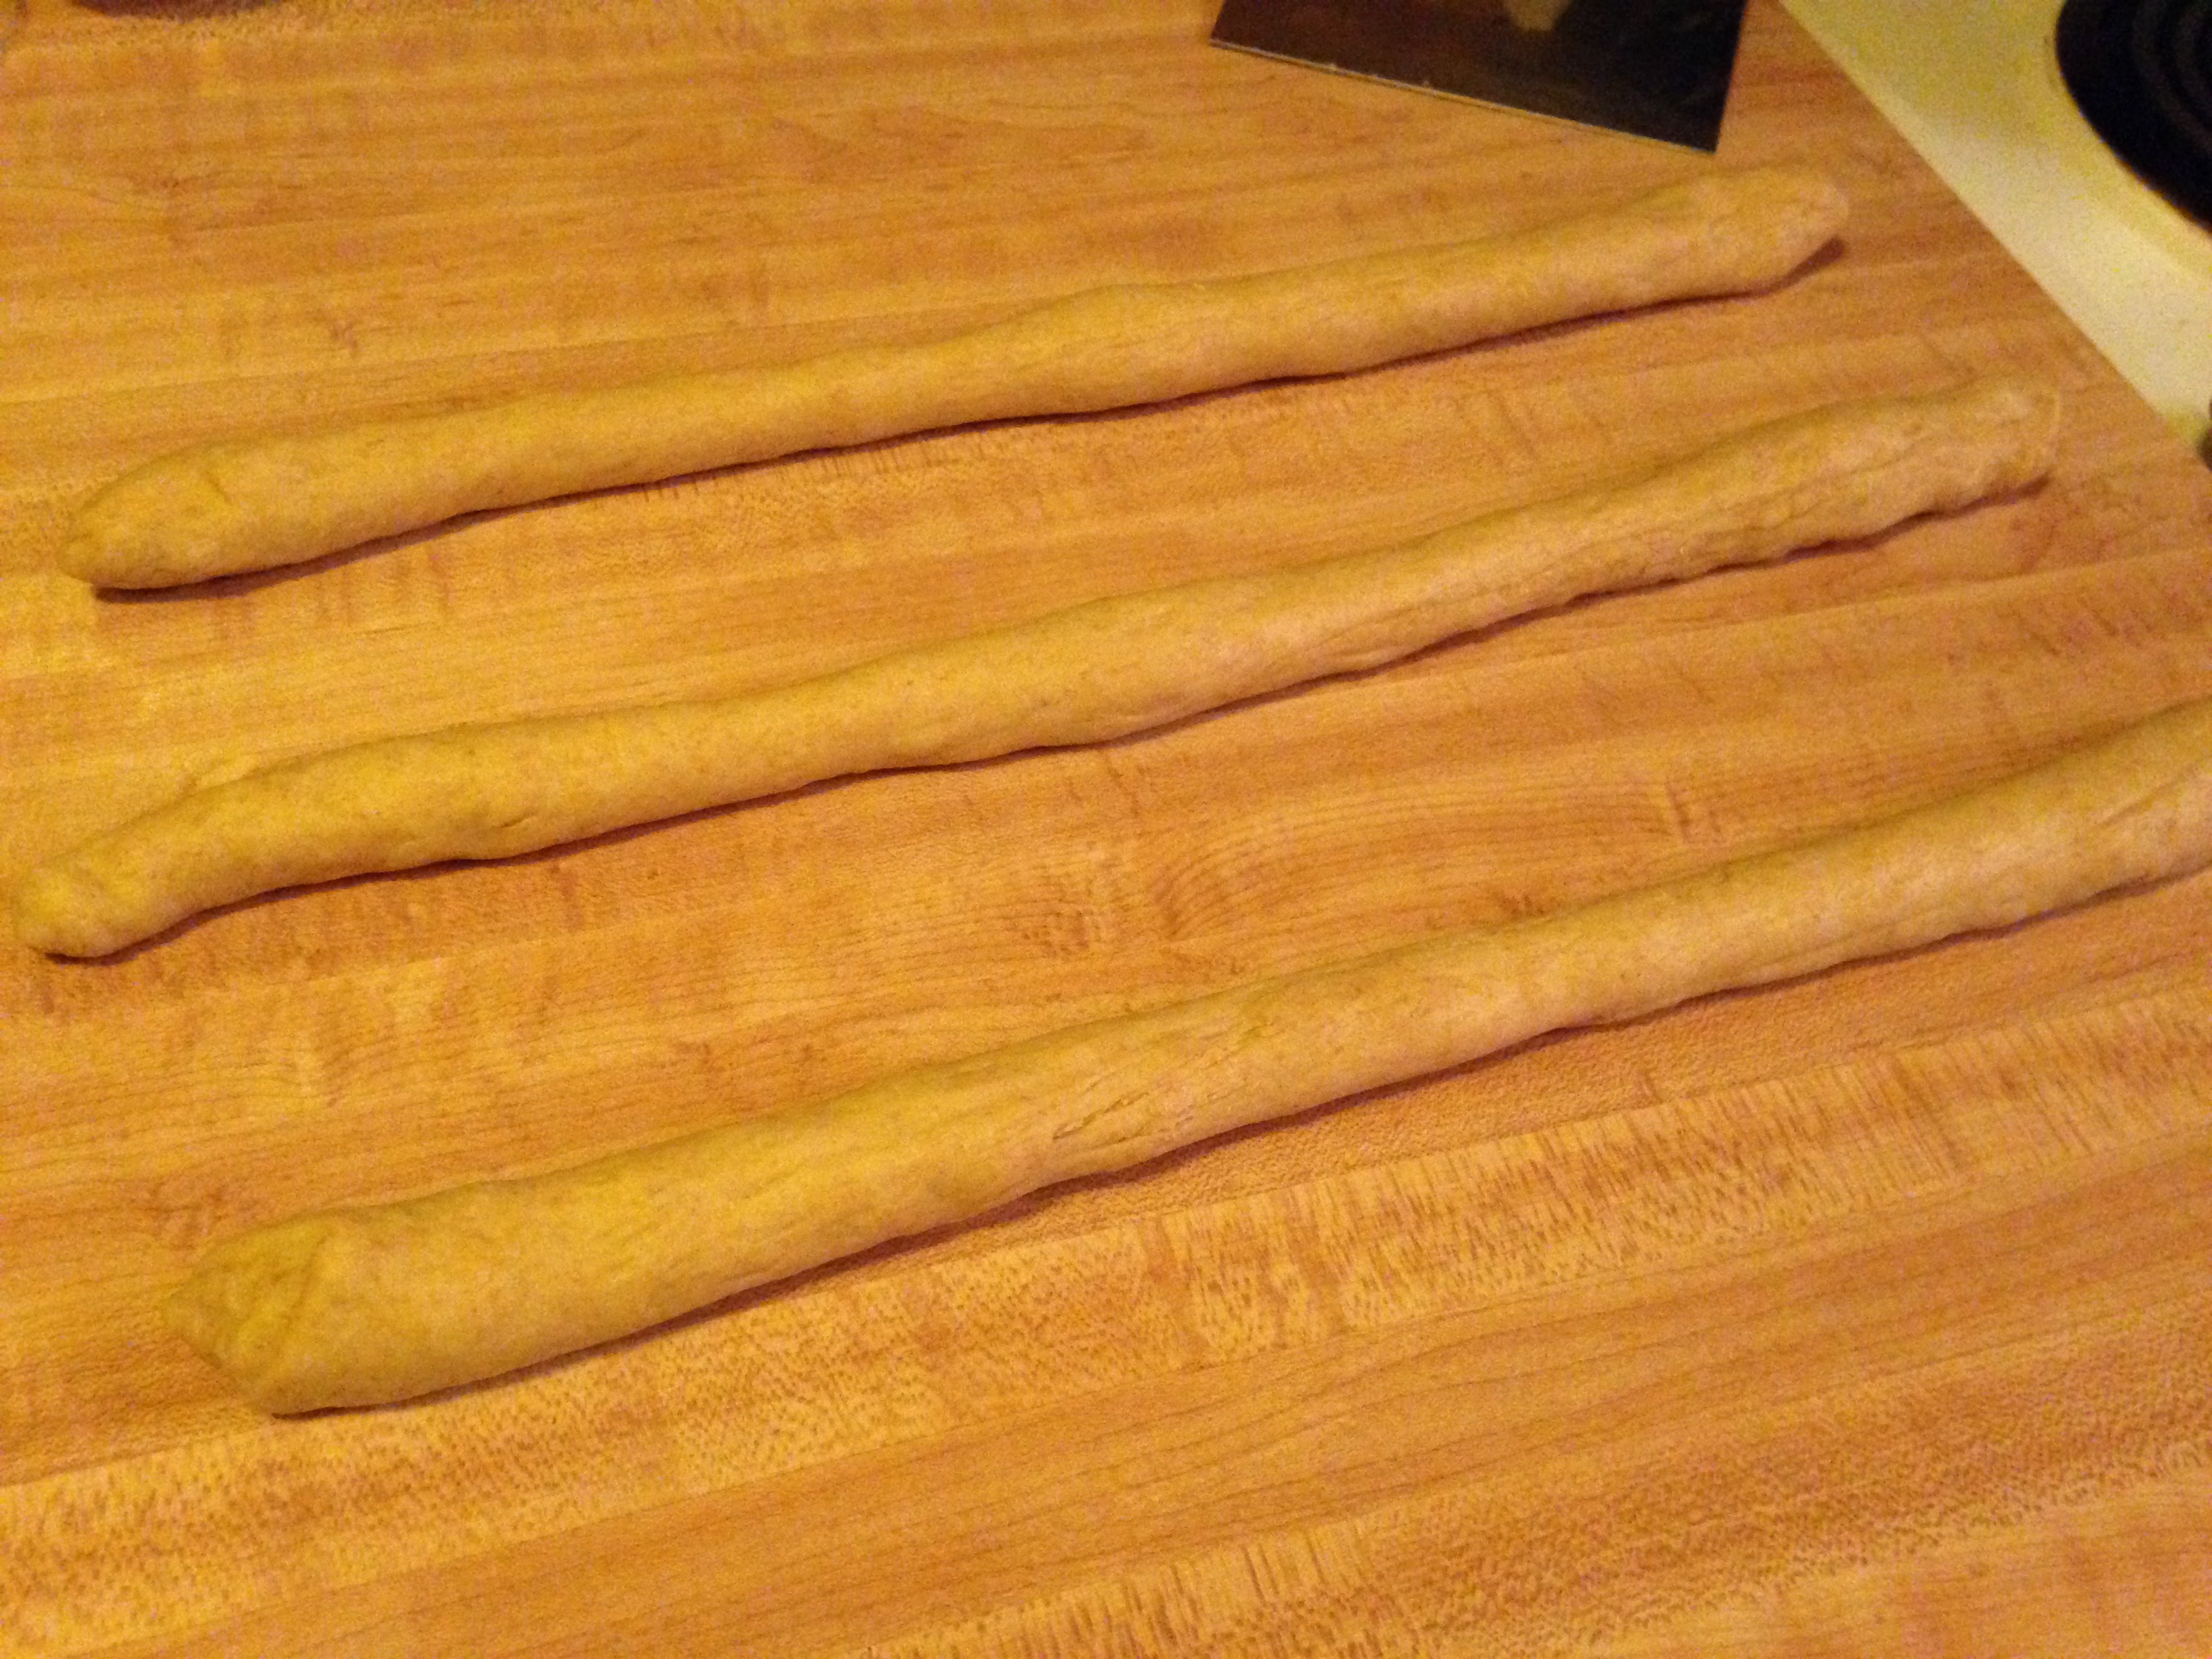
Roll out each piece of dough into a rope, however long you like–just not too skinny. You’ll know when the dough has had enough.
Set the ropes on a parchment-lined baking sheet and pinch together 3 ends.
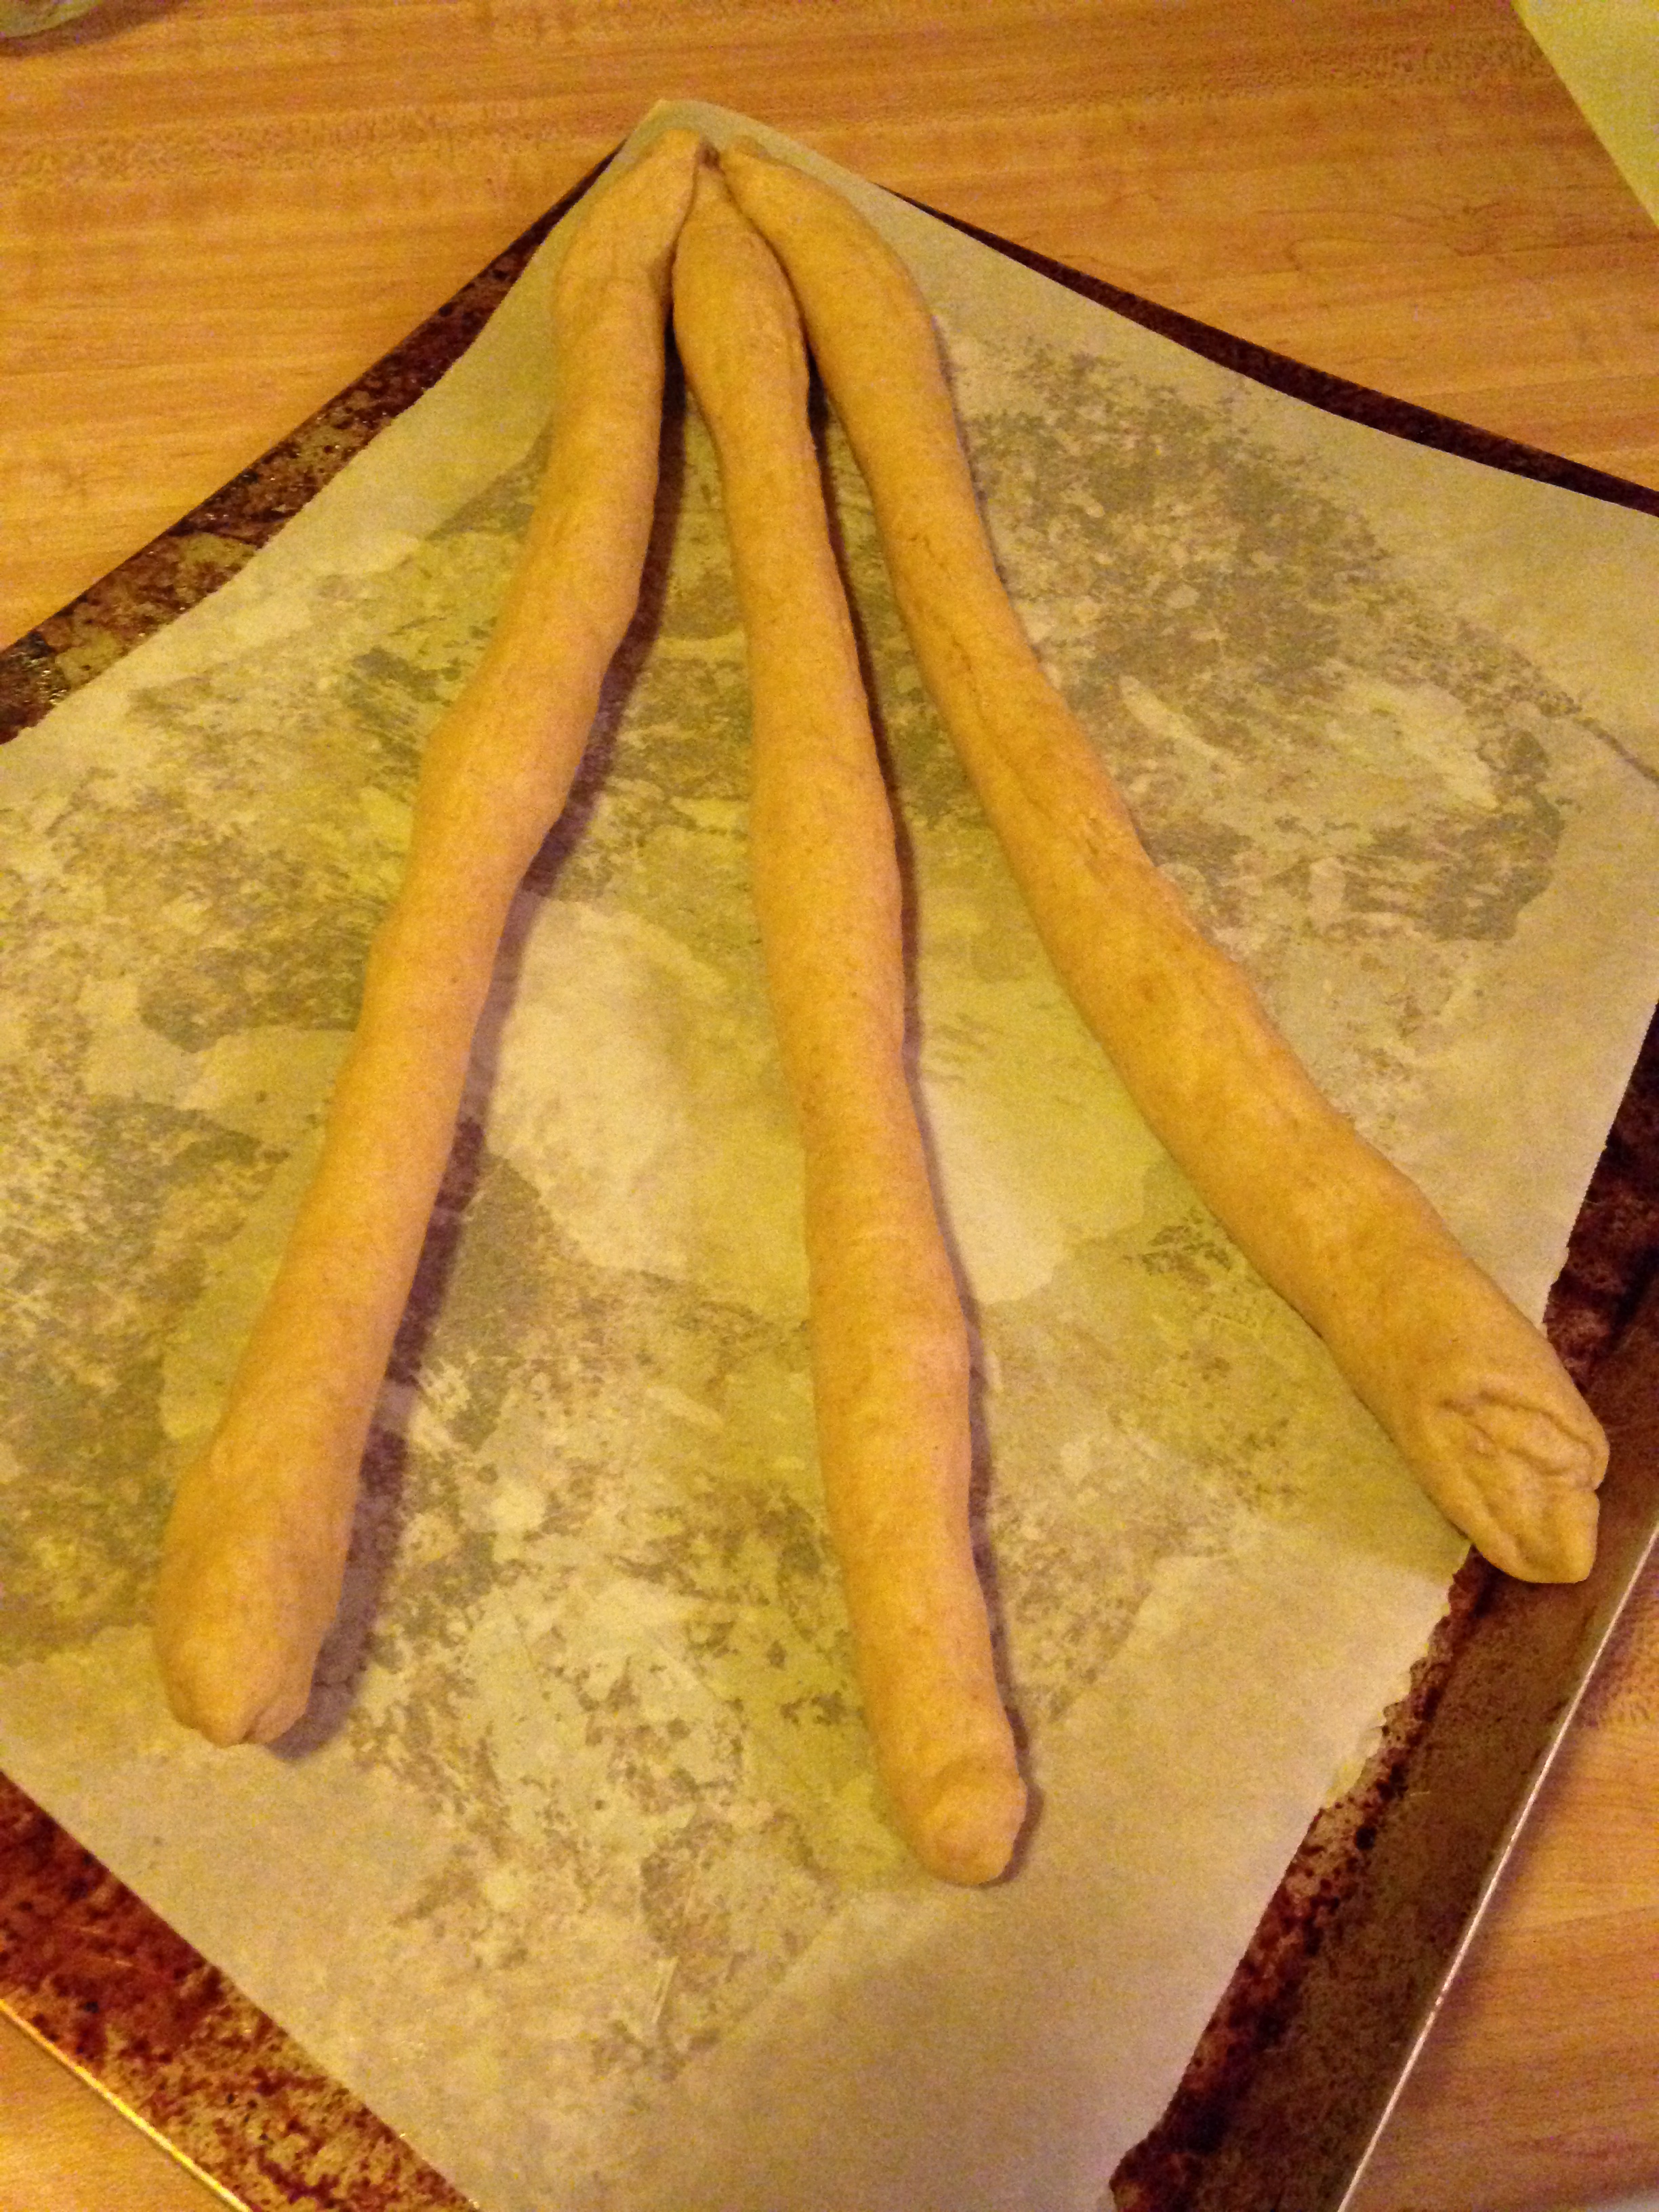
Pinch together the top of the braid. This isn’t prom, so there’s no need to make it pretty just yet.
Mama’s left-handed, so she starts the braid with the left strand. Start it with the right if that is more comfortable for you. Gently cross the left strand over the center strand.
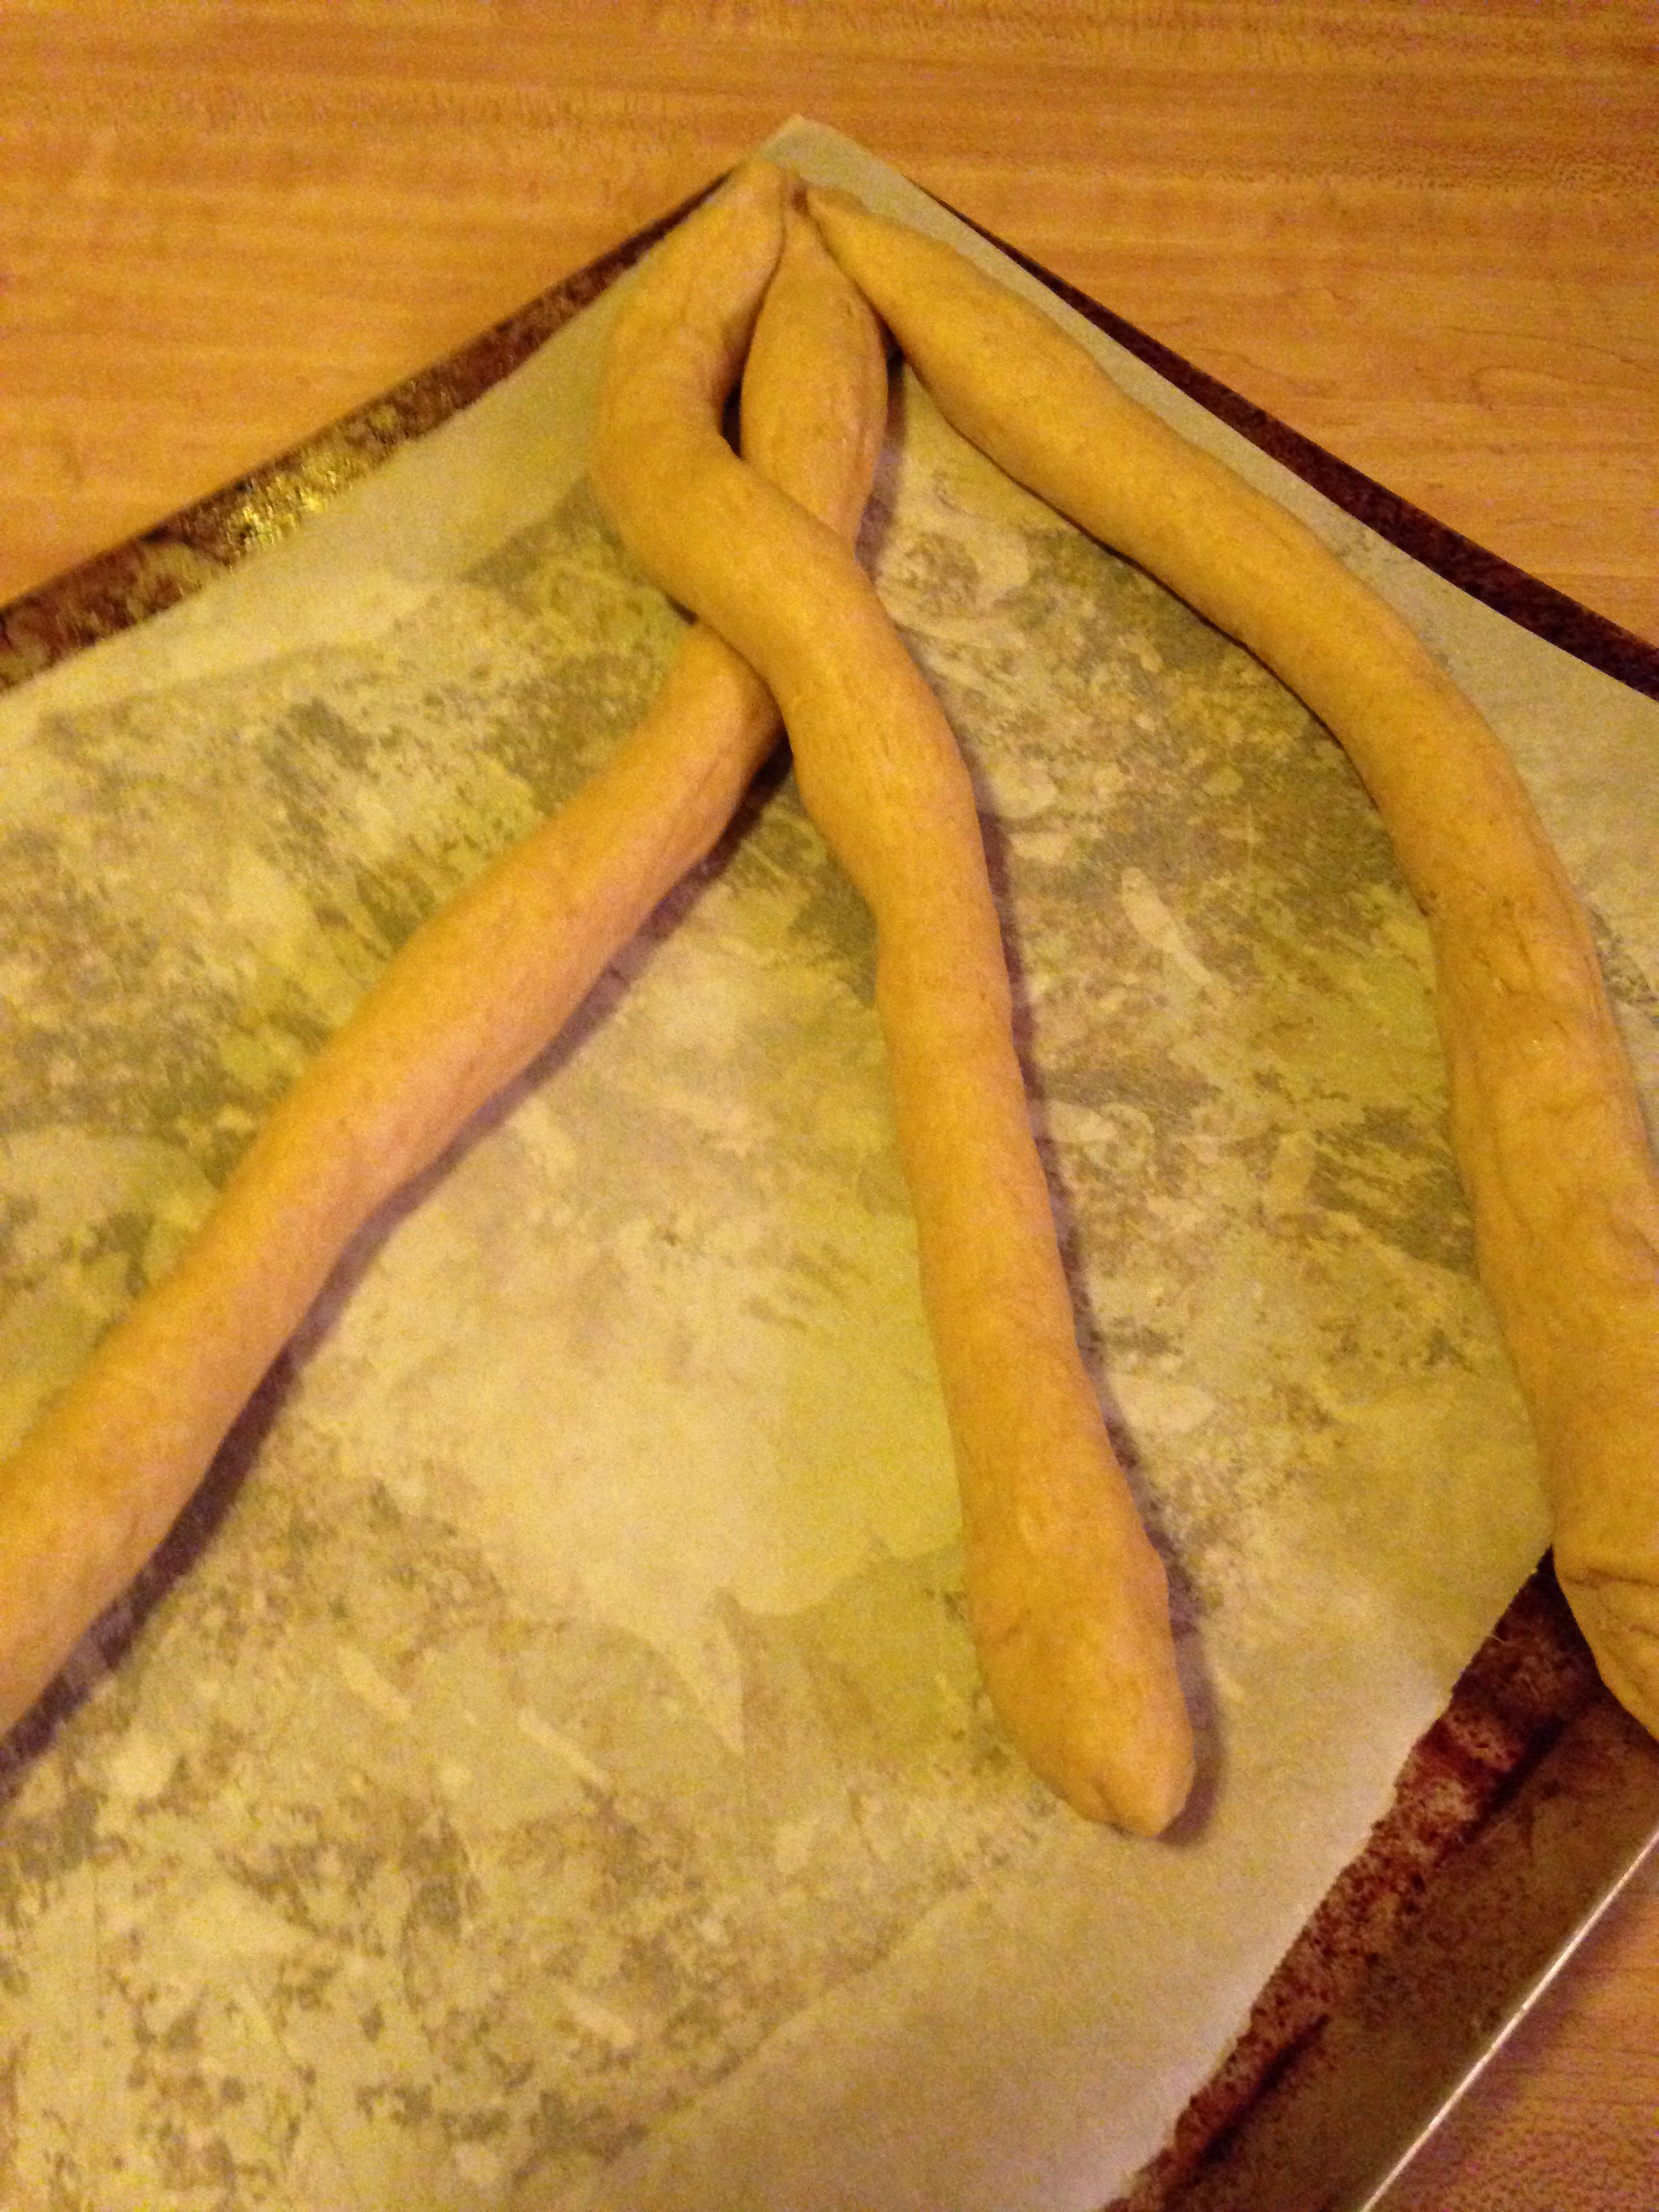
Left goes over center.
Then the right strand goes over the “new” center strand (the one that was just the left strand).
Now right goes over the center. Braid them loosely because they’re going to need room to proof again.
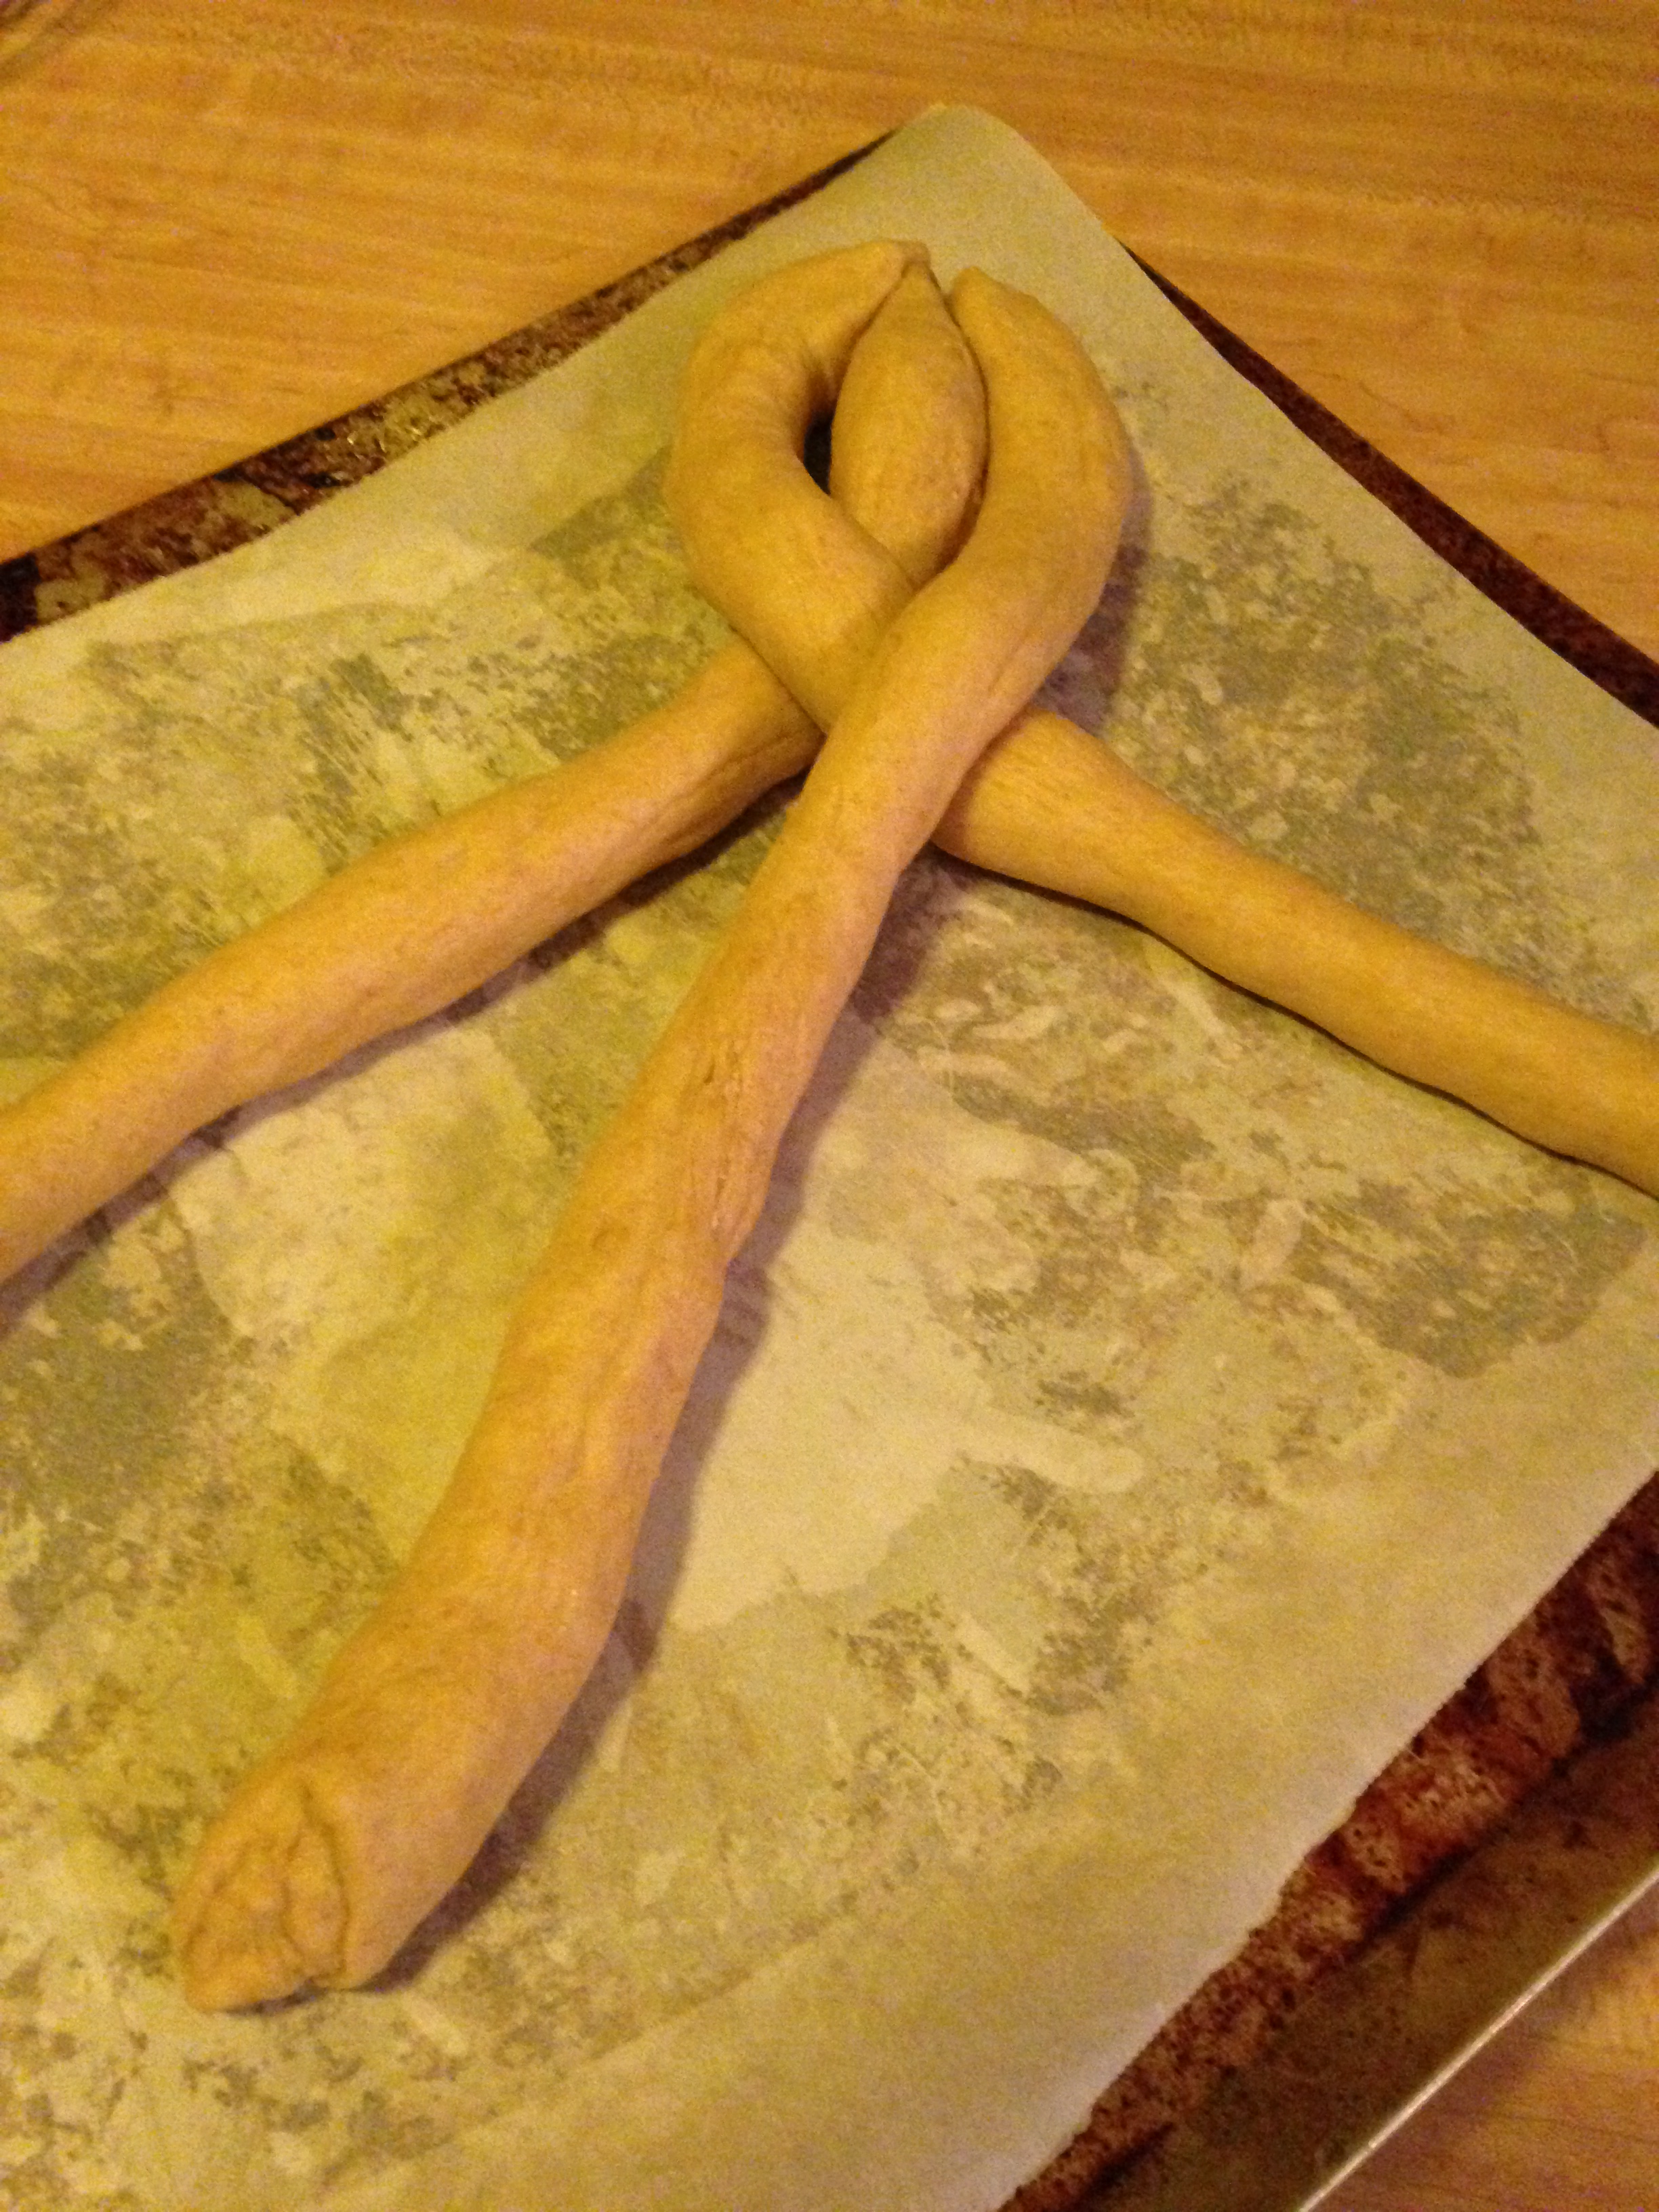
And so on. When you get to the end, pinch the strands together and tuck them under a little bit.
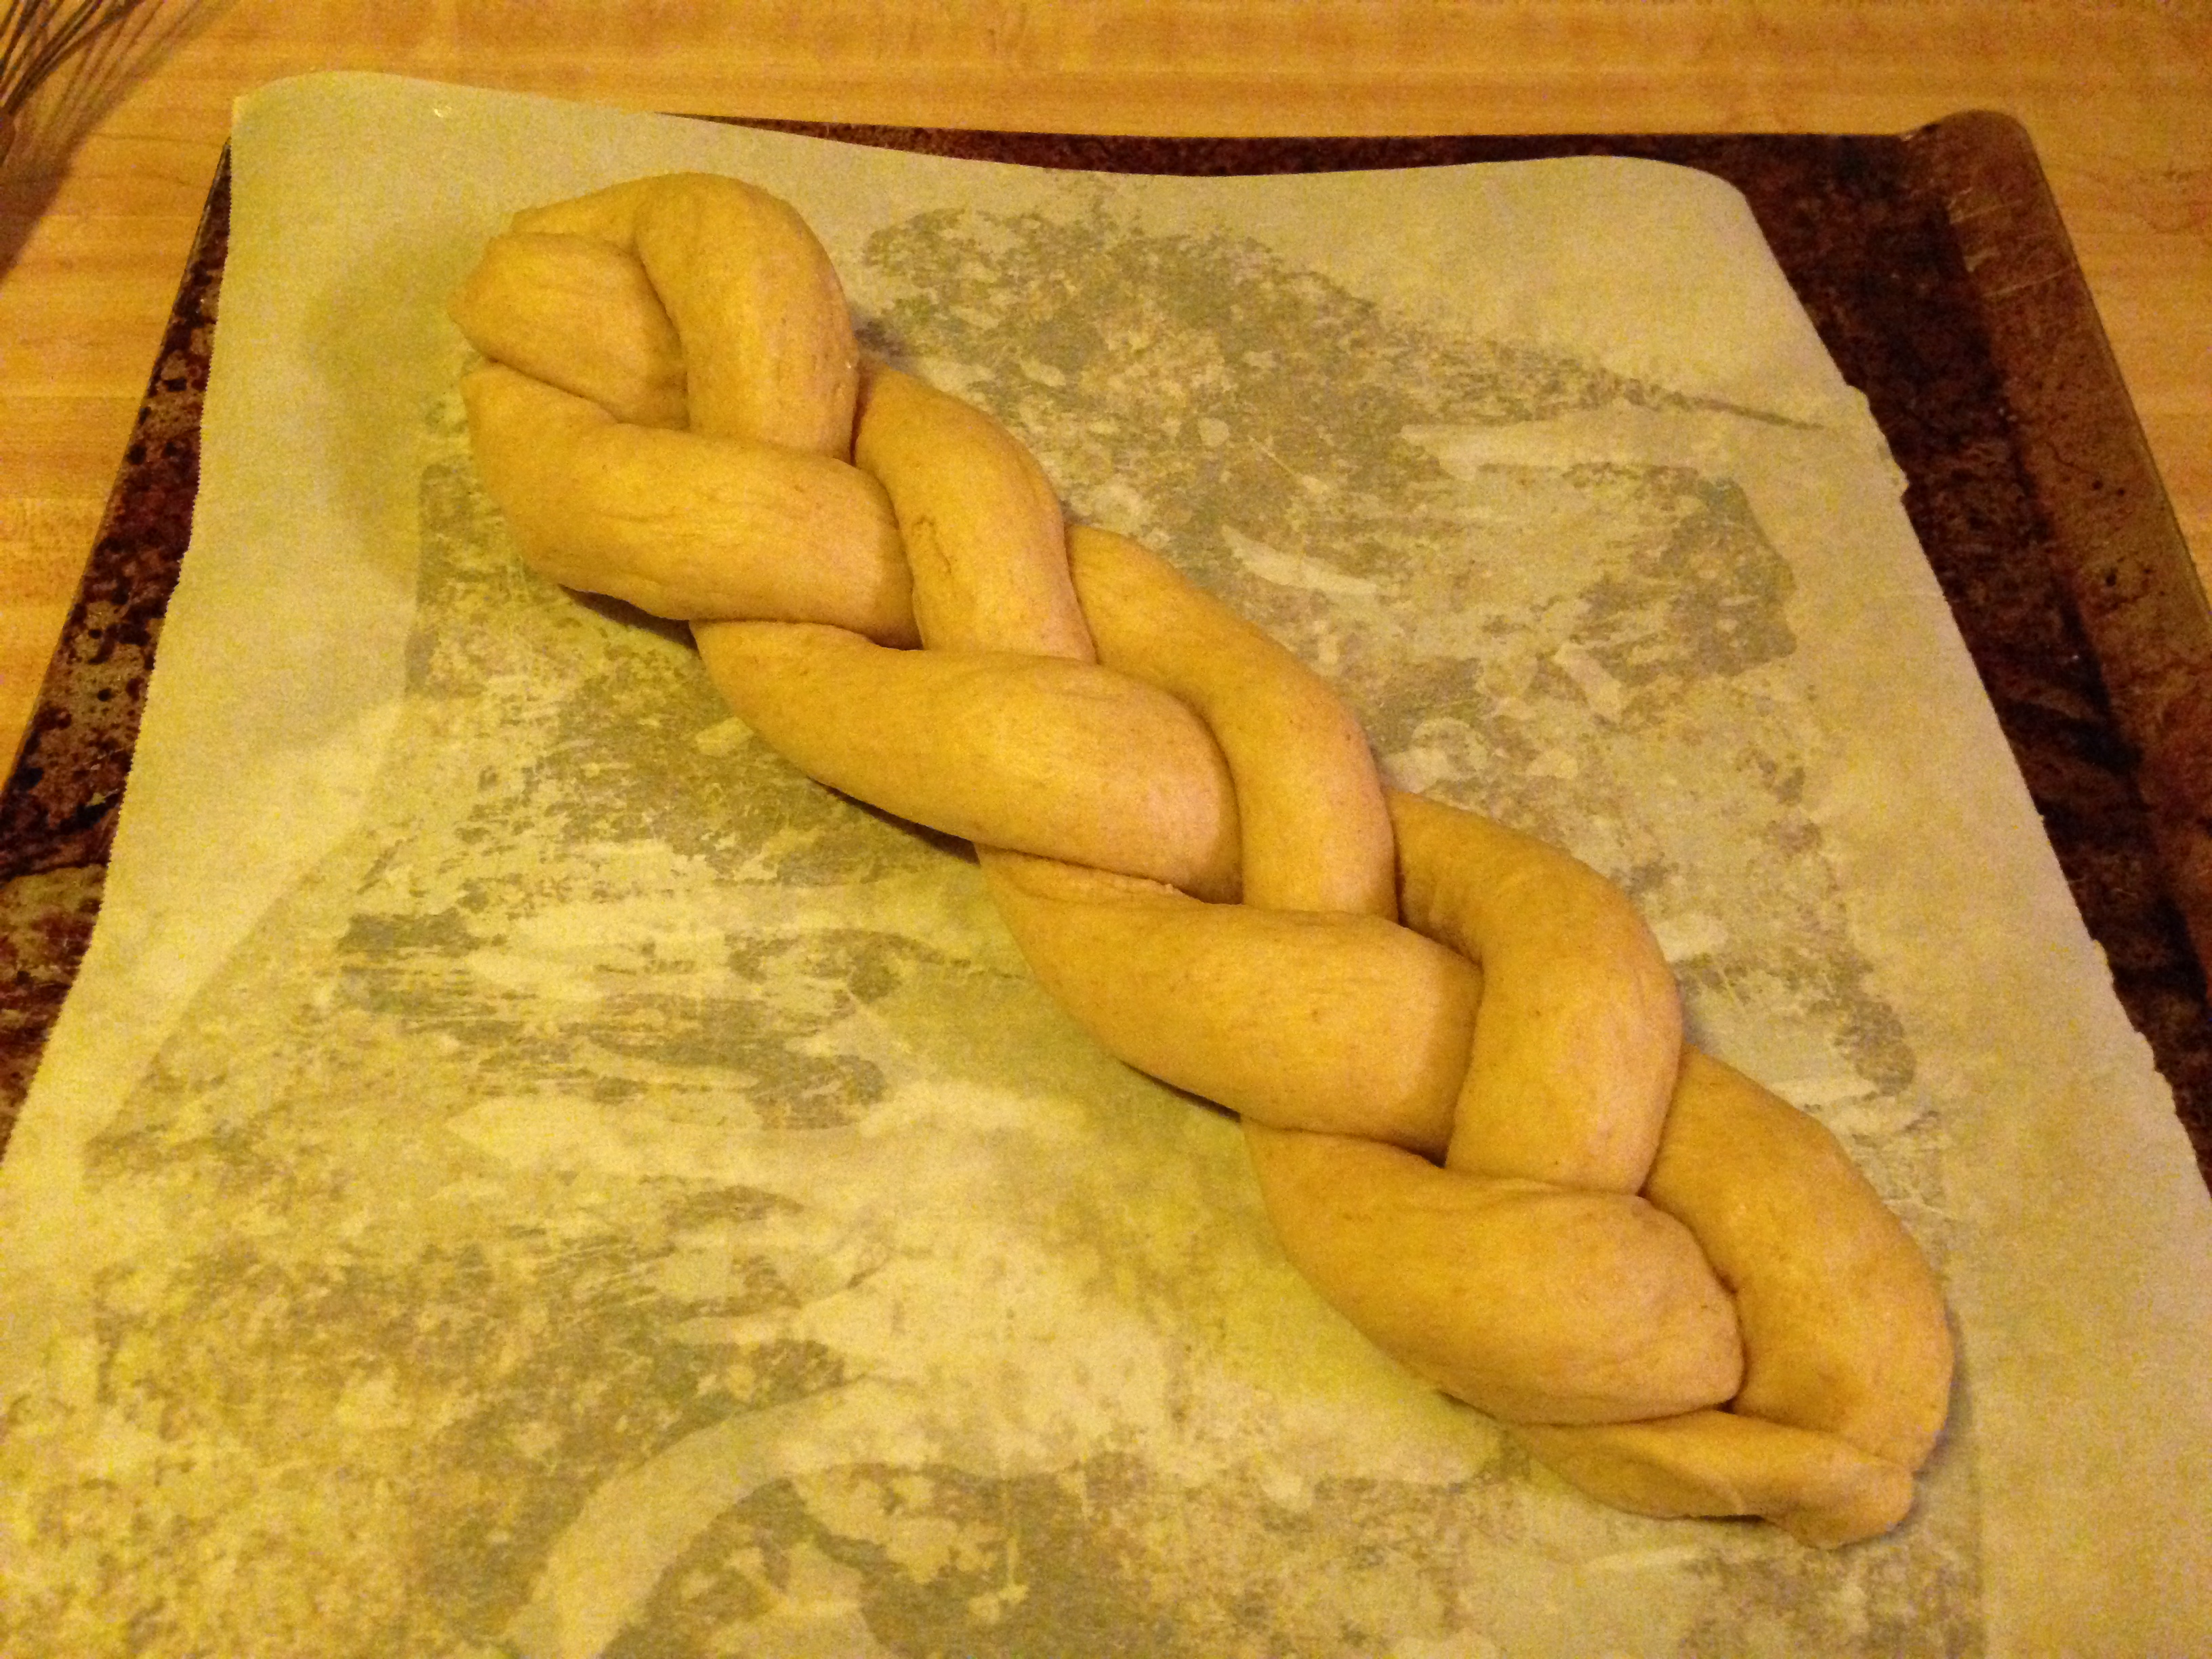
The strands are tight enough to stay together but loose enough to allow the dough room to expand.
Because Mama divided her dough a little unevenly when she first separated it into 3, she had one strand that was a bit larger than the other two. So she lopped off a hunk of that dough and made a tiny little challah with it to decorate the bigger loaf. With or without the add-on, now’s the time to make the egg wash and gently brush it on all parts of the bread–really get it in between all those twists.
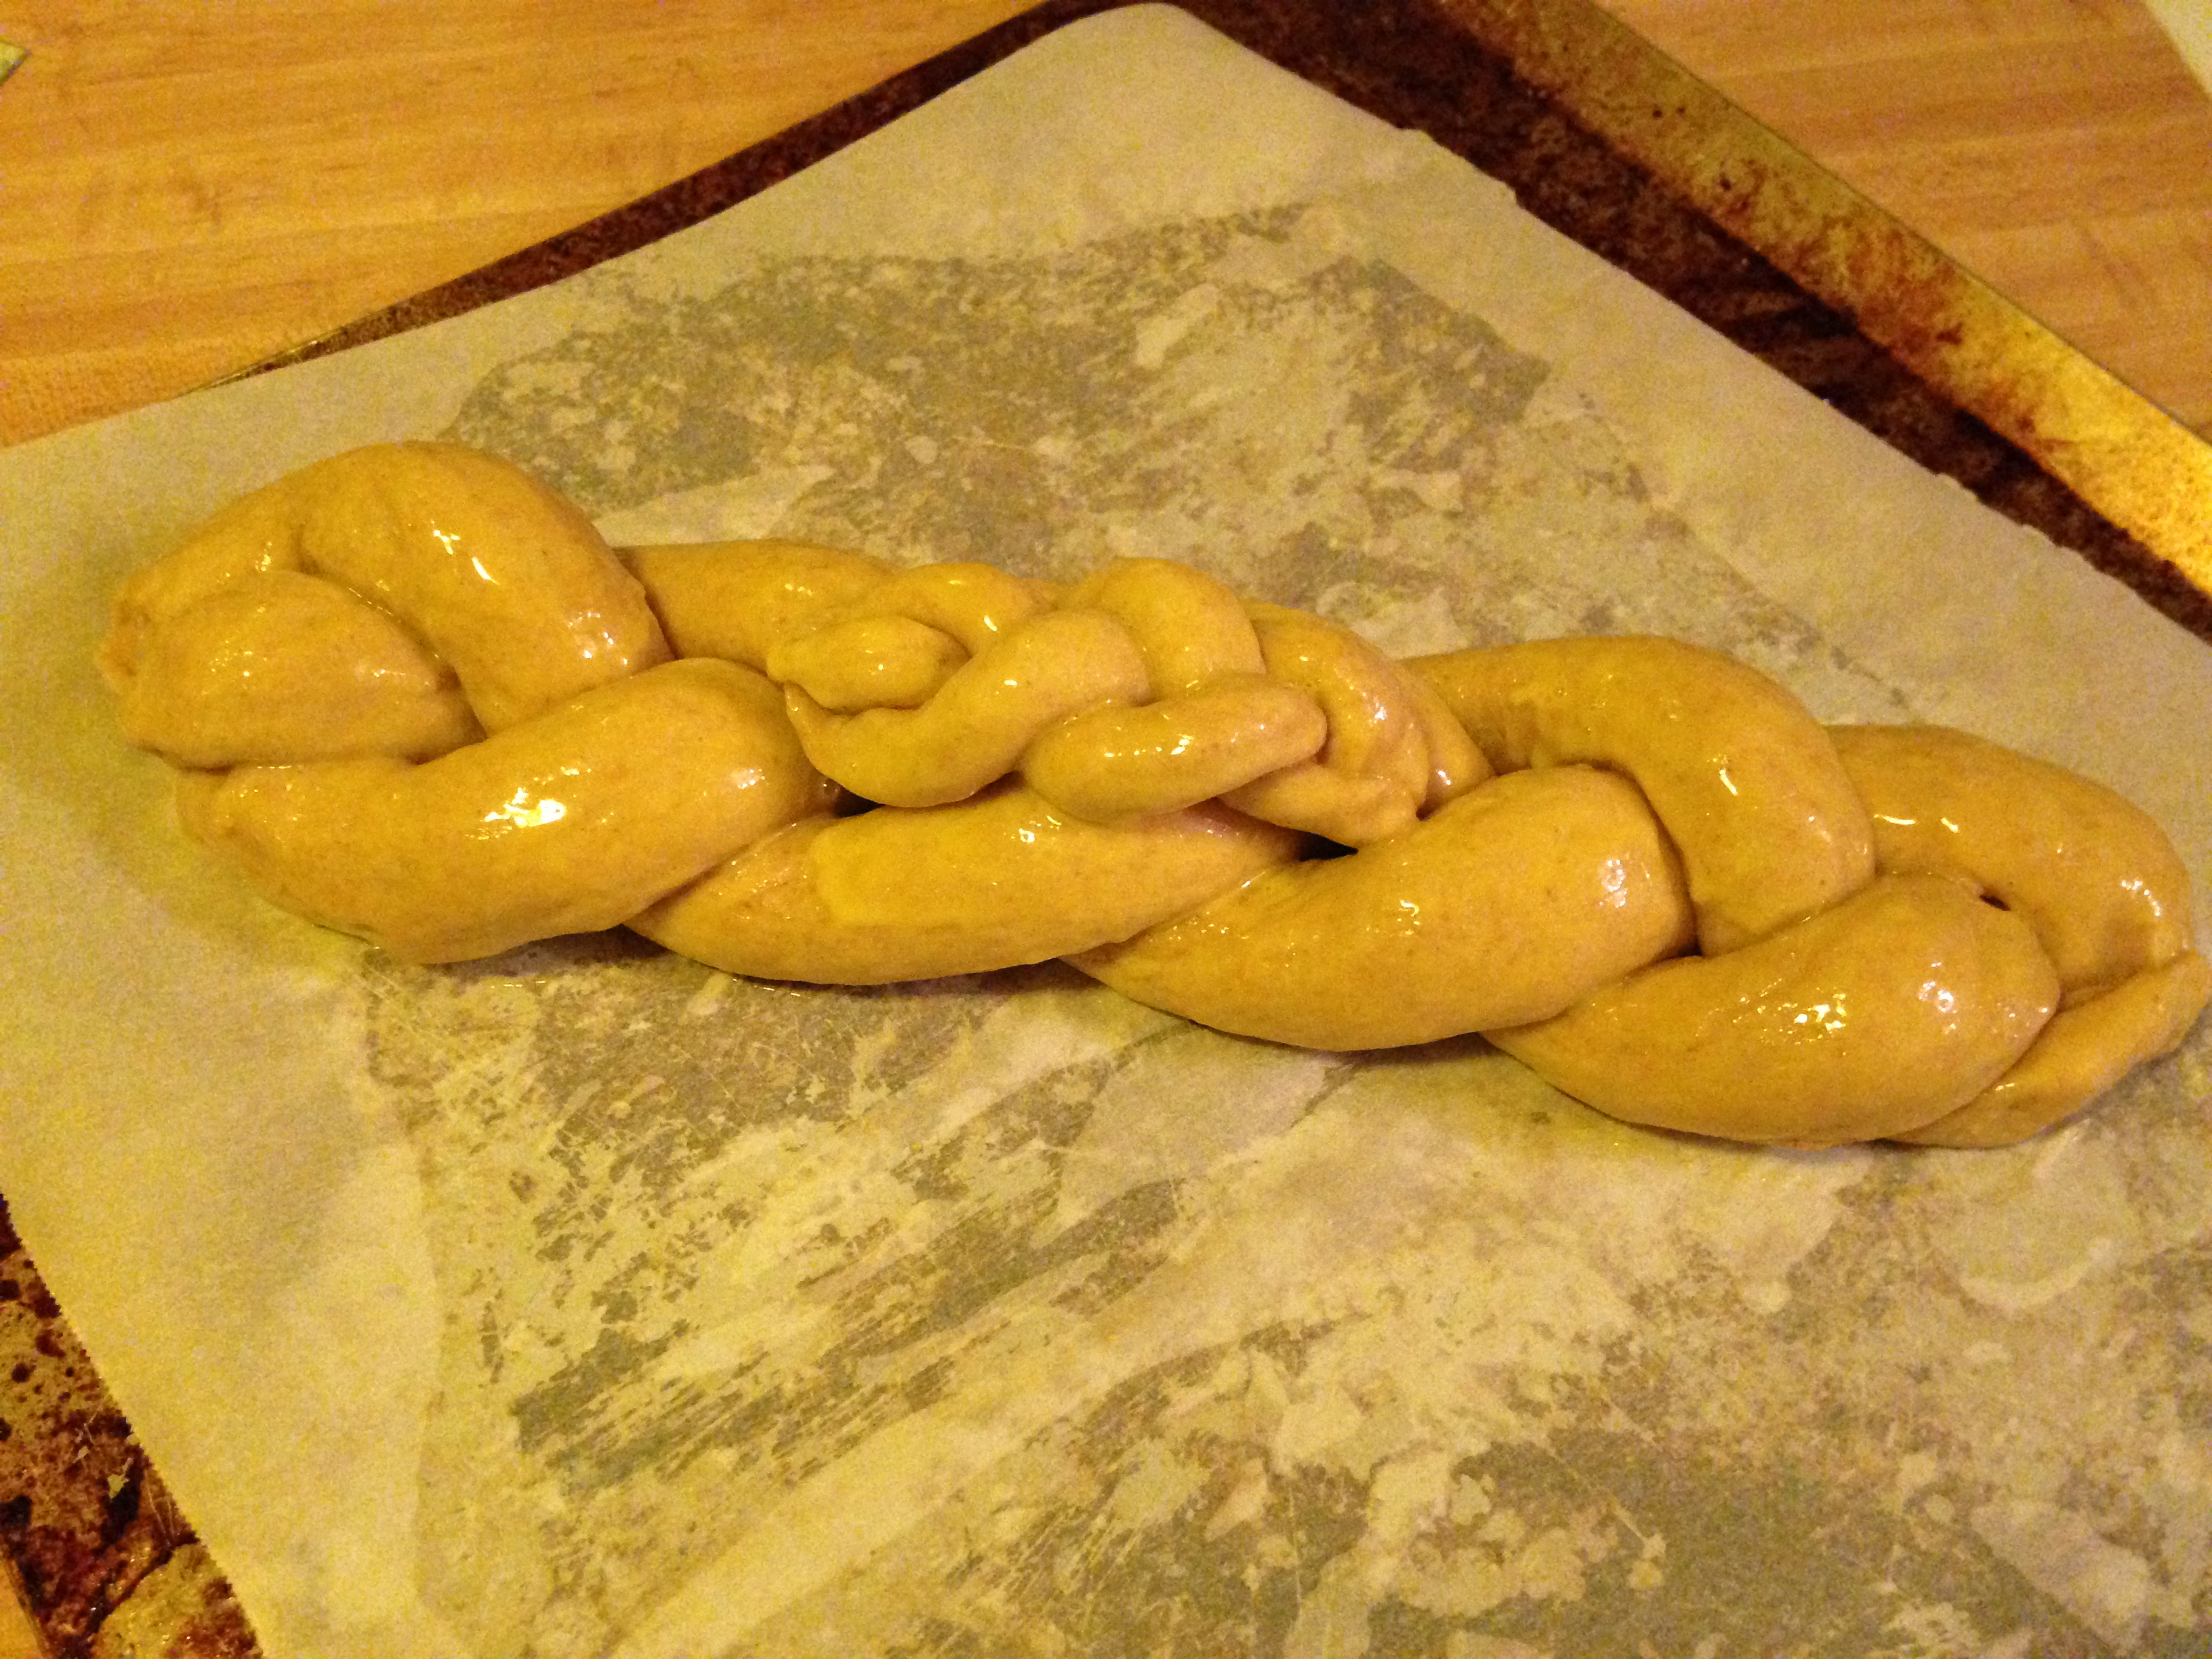
Egg wash the dough first, then adorn with any embellishments. Egg wash the add-ons, too.
Allow it to proof once more, about an hour or so. Have the oven preheating to 350°F.
Good thing there was space between those braided strands.
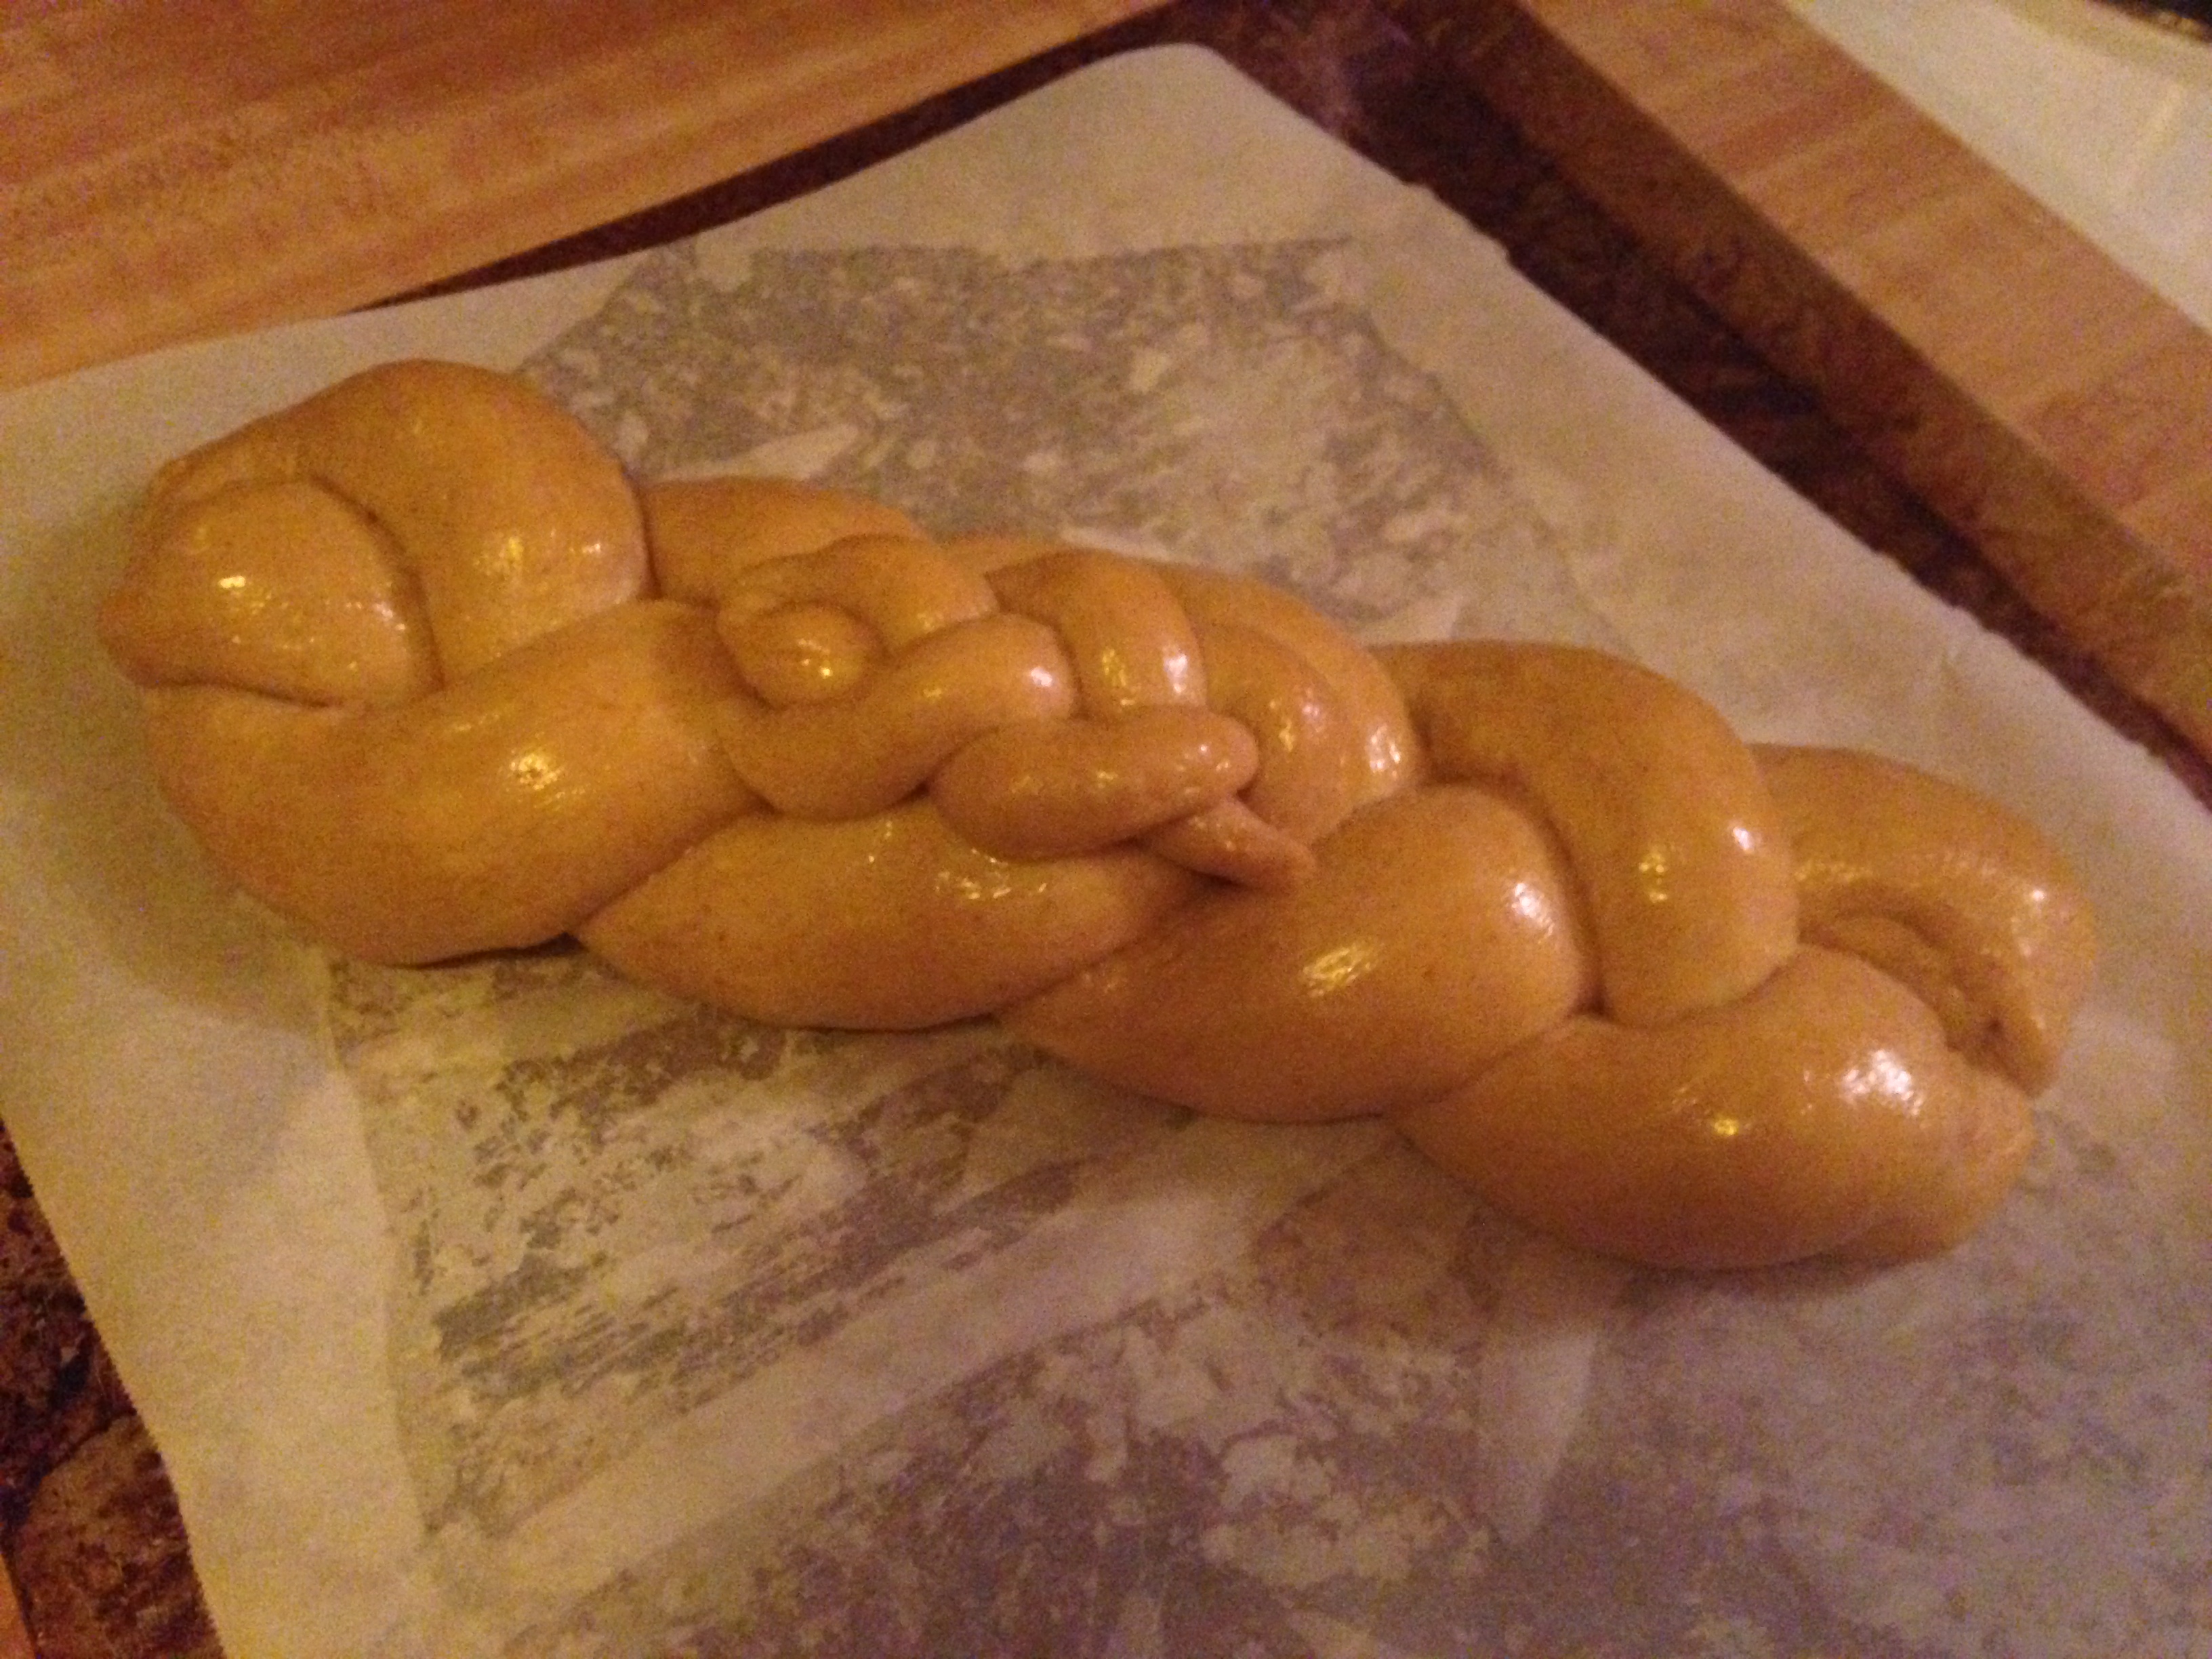
Egg wash again, if desired. Bake until it reaches an internal temp of 190°F or higher, 20-25 minutes. It should be beautiful and golden.
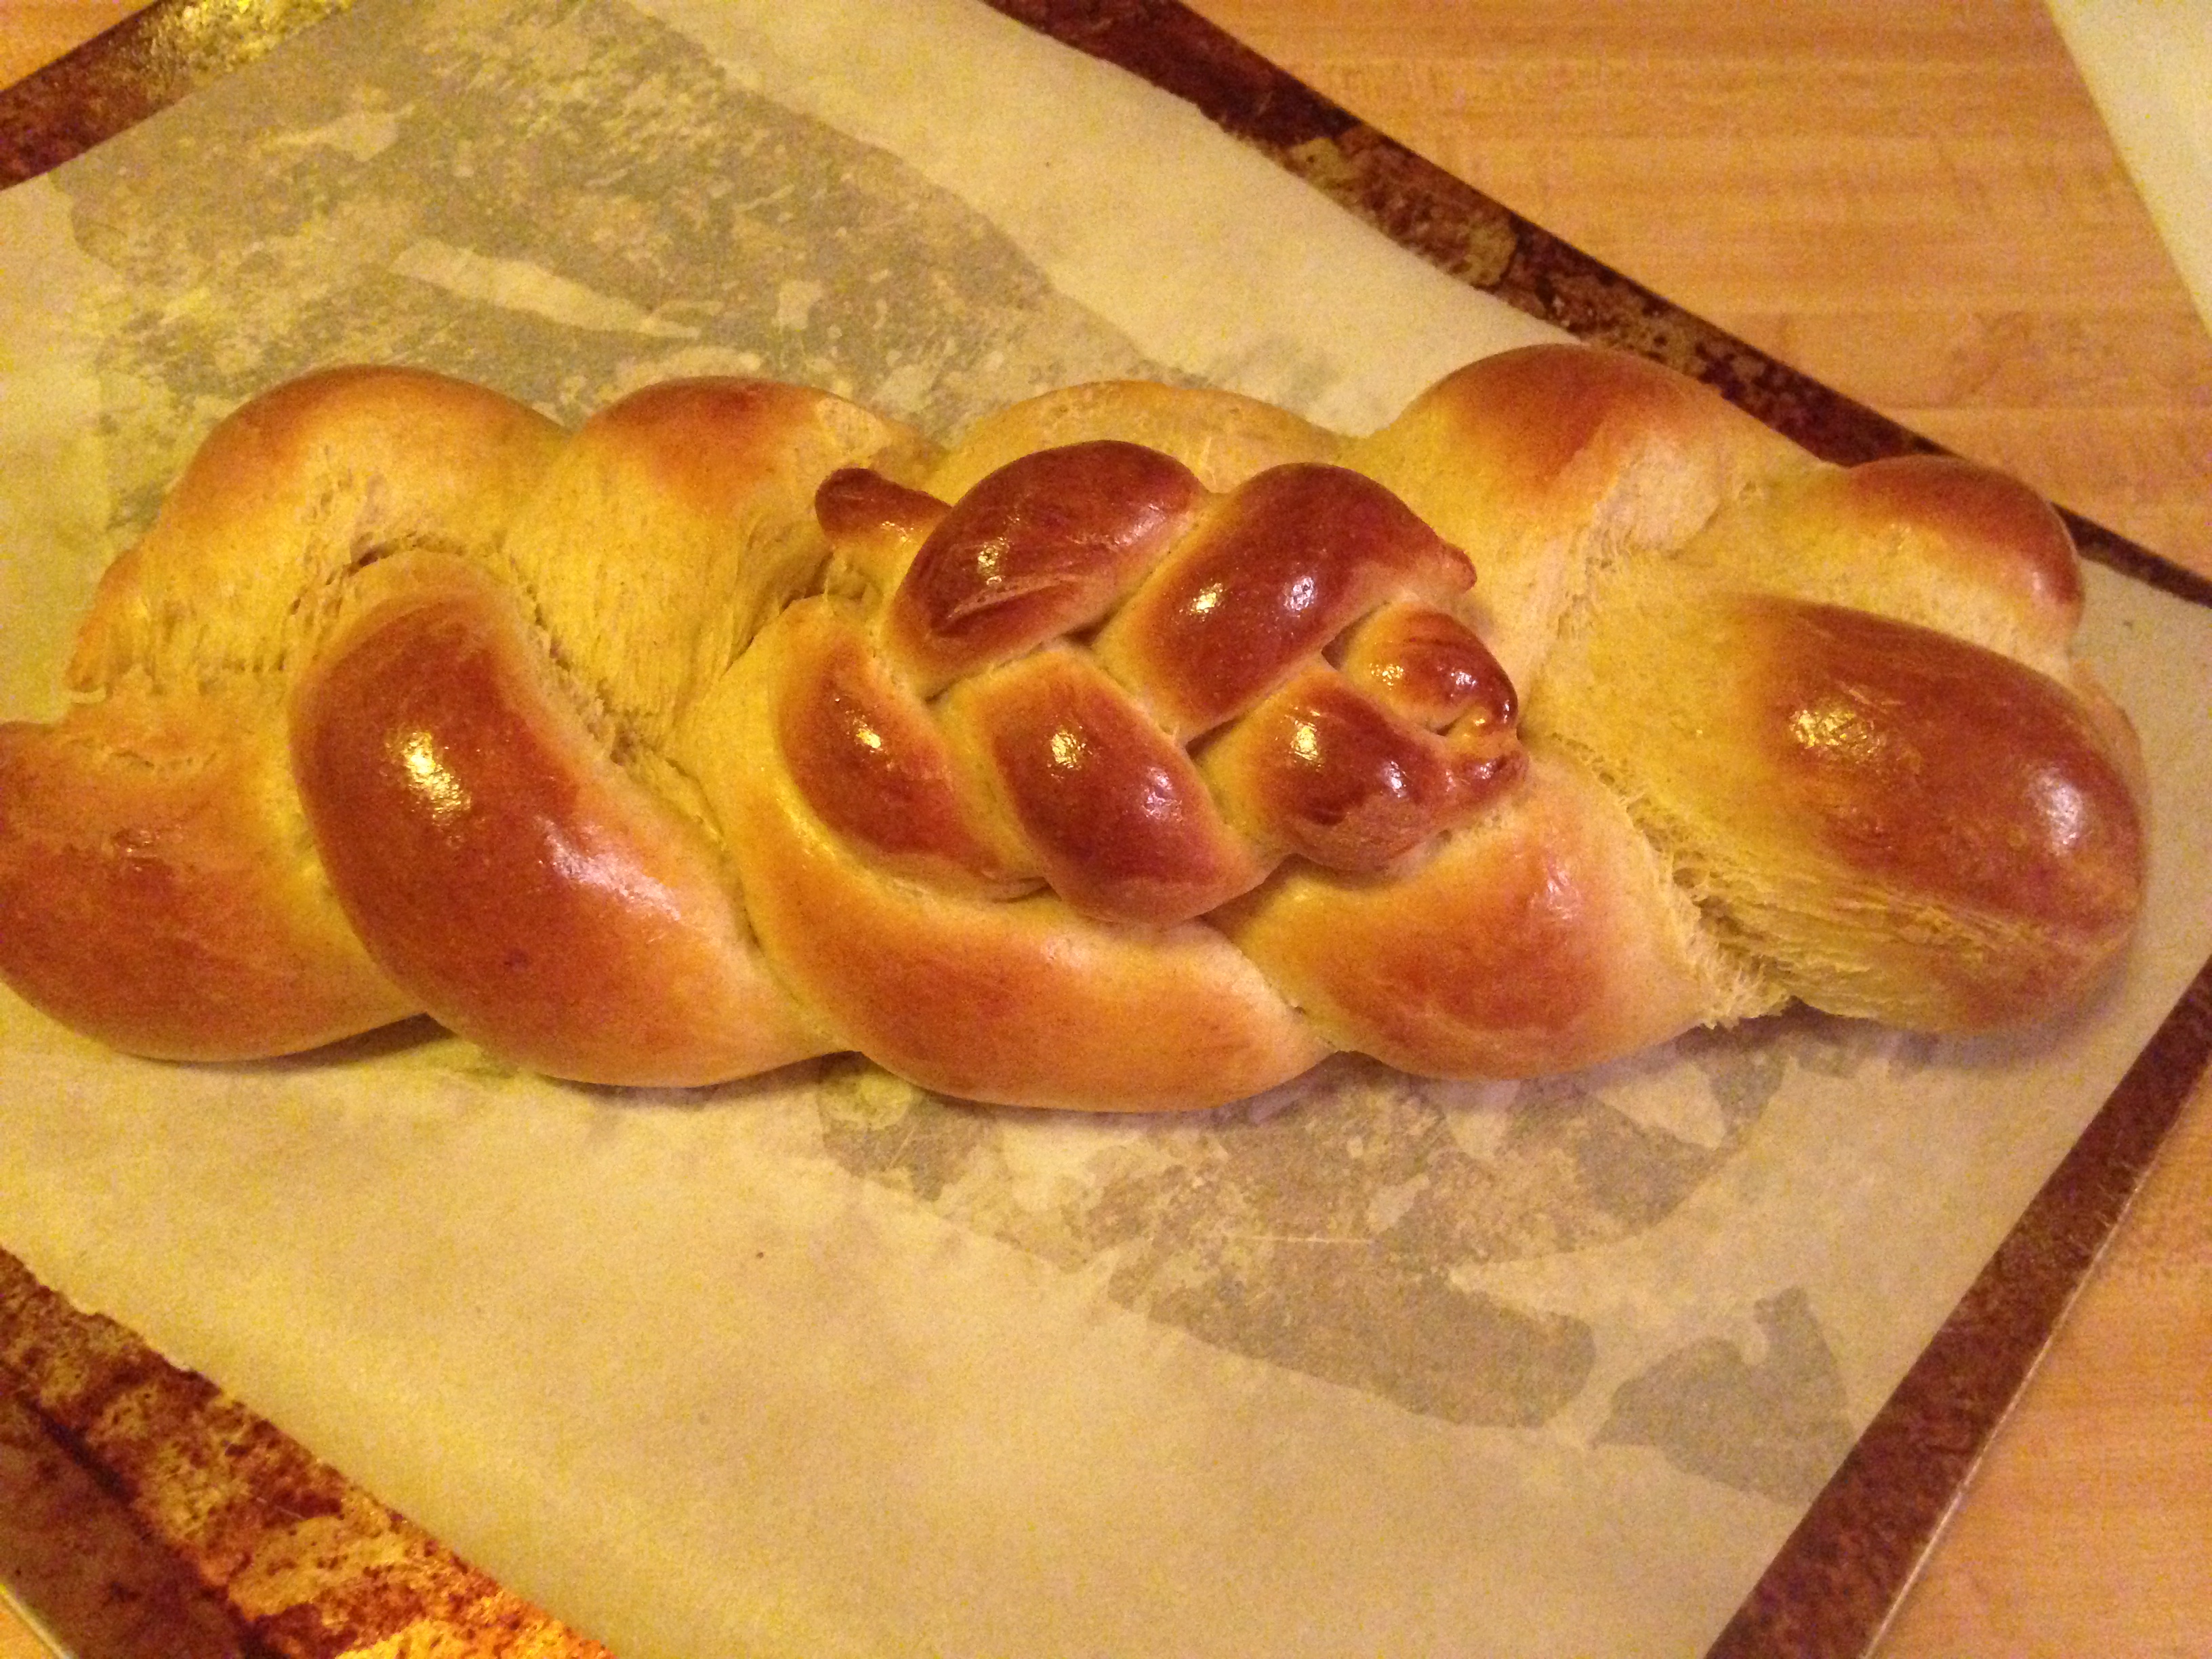
Golden on the top and light and fluffy on the inside.
Try as hard as you can to let it cool before diving in. The house will smell wonderful in the meantime.
Makes 1 large loaf or 2 smaller loaves.