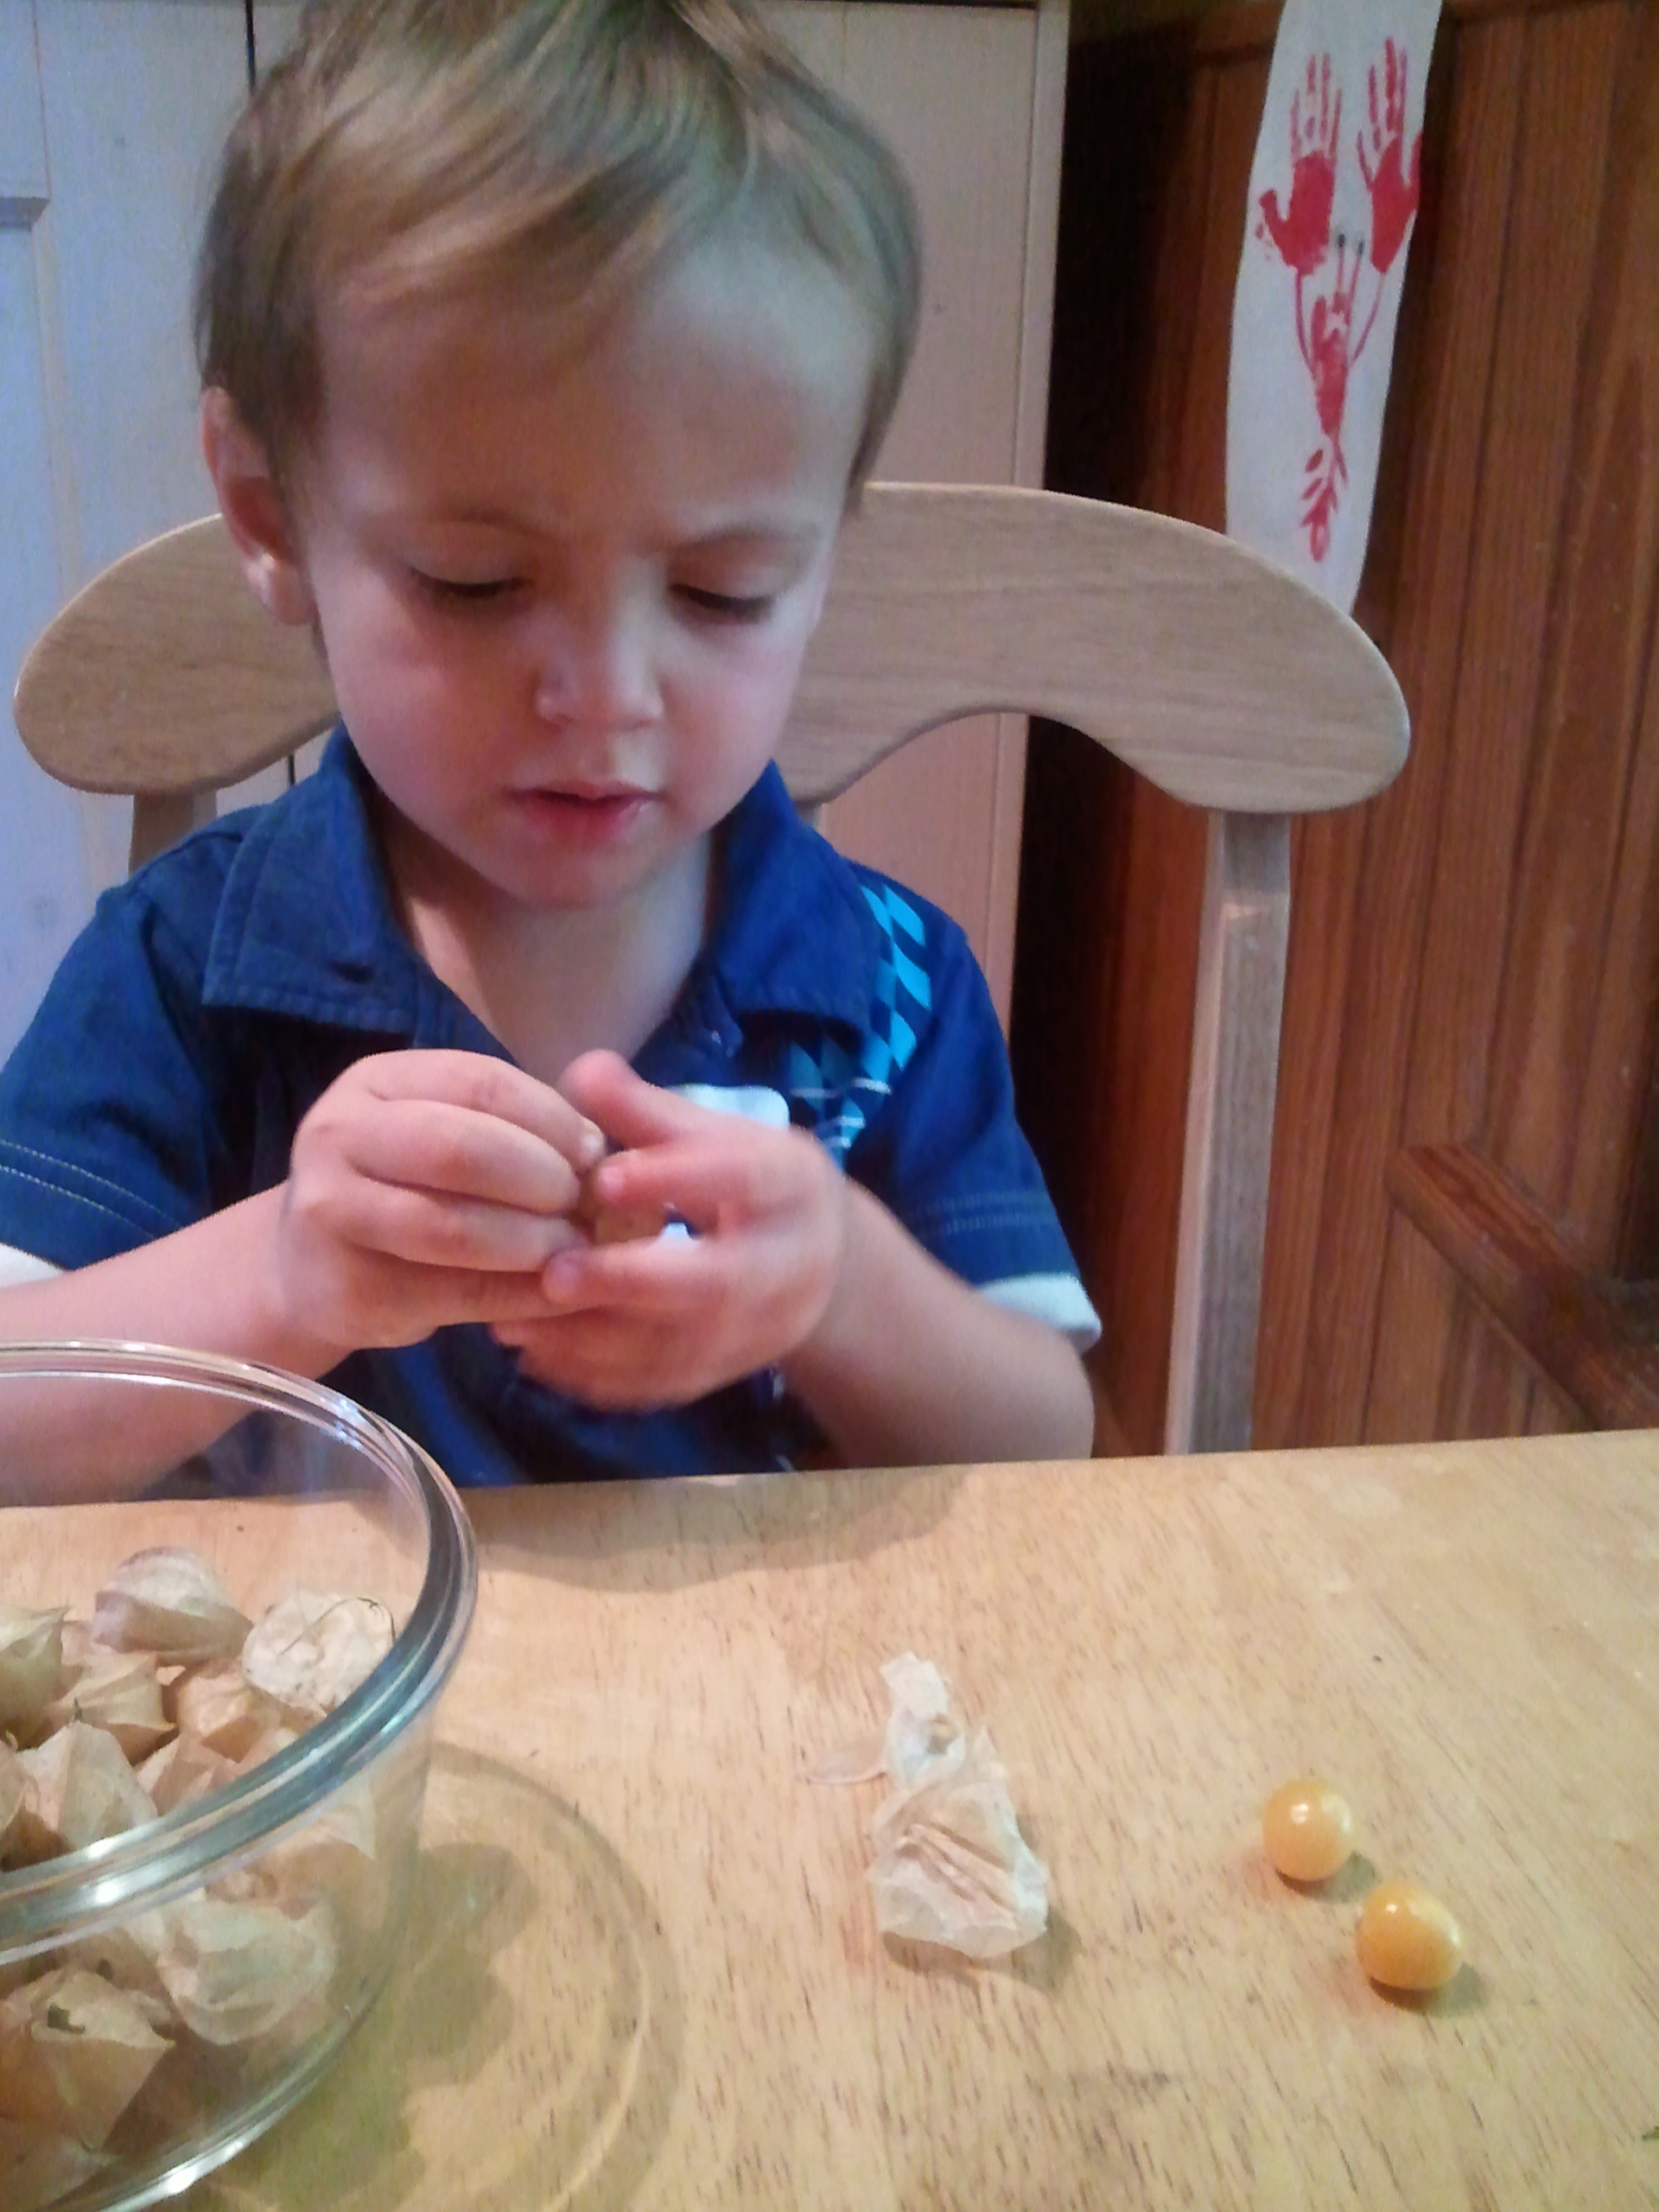
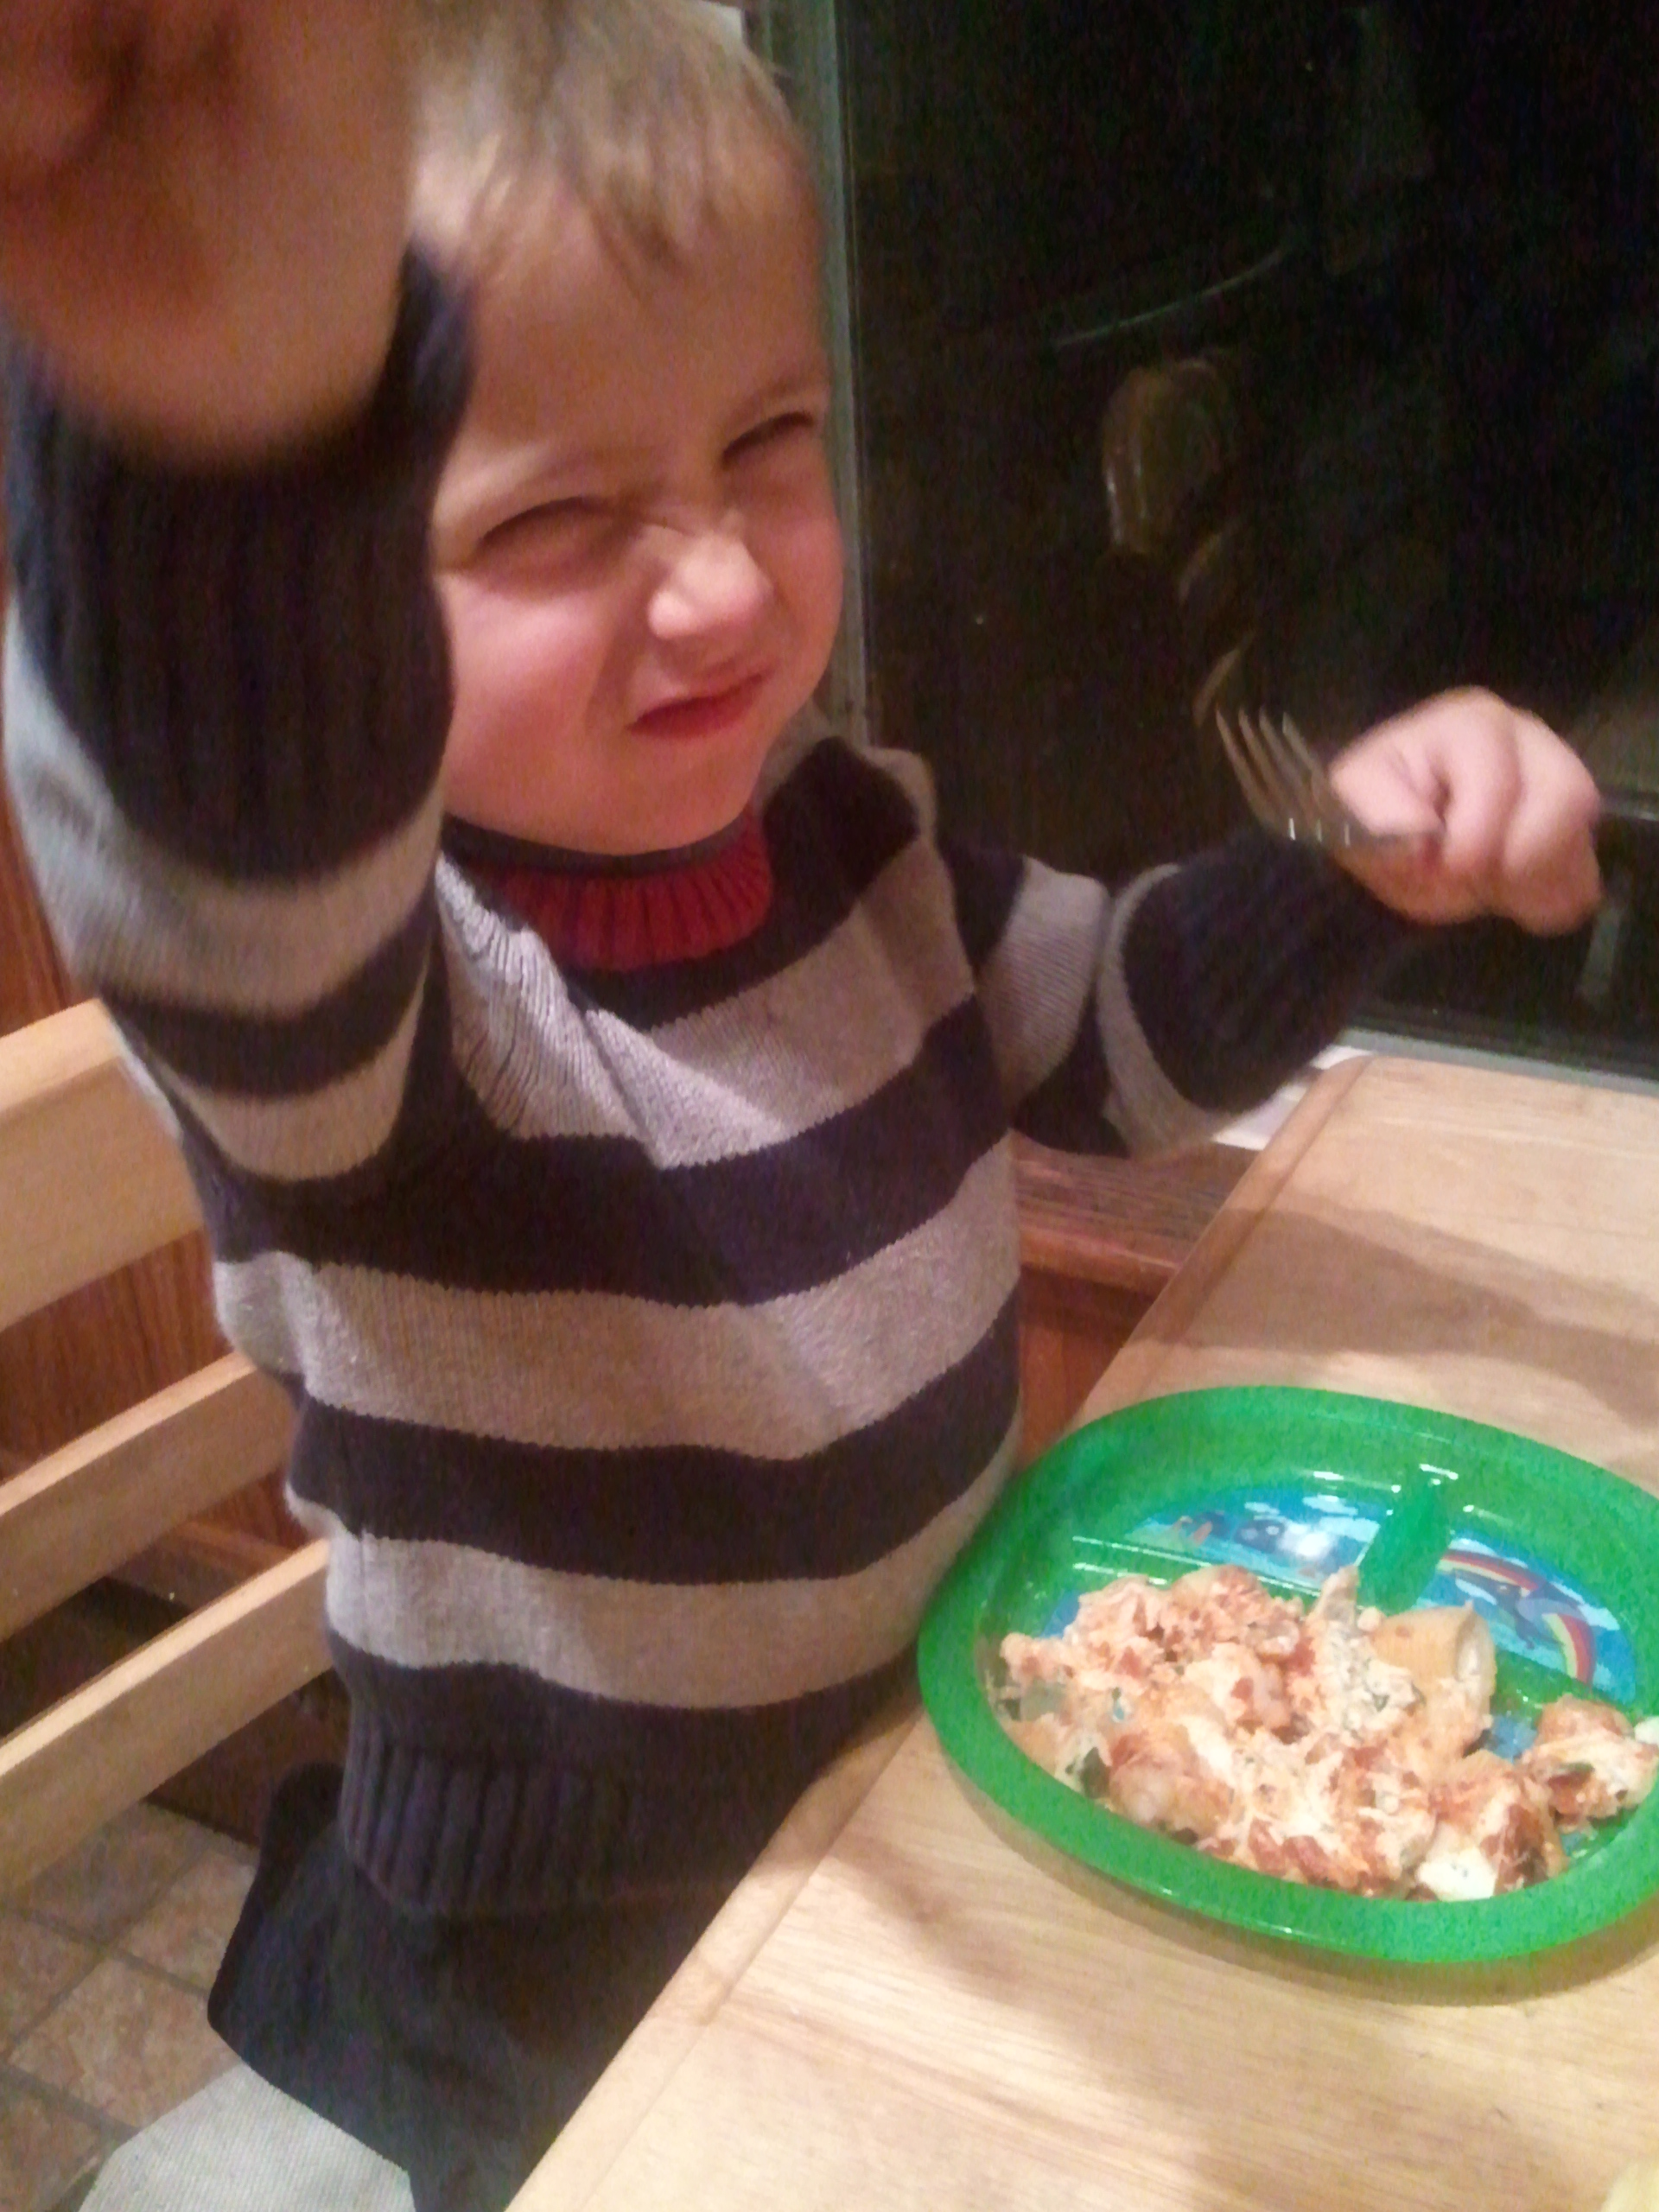
I helped Mama make stuffed shells. They’re really easy. Basically, I took a cooked pasta shell and, before handing it to her to stuff, I took a bite out of it.
Usually Mama makes a double batch of shells, bakes ones, and freezes the other in a disposable pan. But then you have a large “brick” (so she says) taking up freezer space, which’ll take longer to bake, and you’re left with acidic tomato sauce sitting in aluminum—and they don’t like each other very much.
Tonight, Mama tried a new approach: freeze the stuffed shells like she would berries. That is, spread them out on a baking sheet, freeze them until they’re solid, then bag them together in dinner-size groups. Then, when it’s time to use them, just take out a bag and arrange them in the baking pan with fresh sauce for dinner in no time at all.
A nice side of veggies made its way on the plate shortly after this was taken.
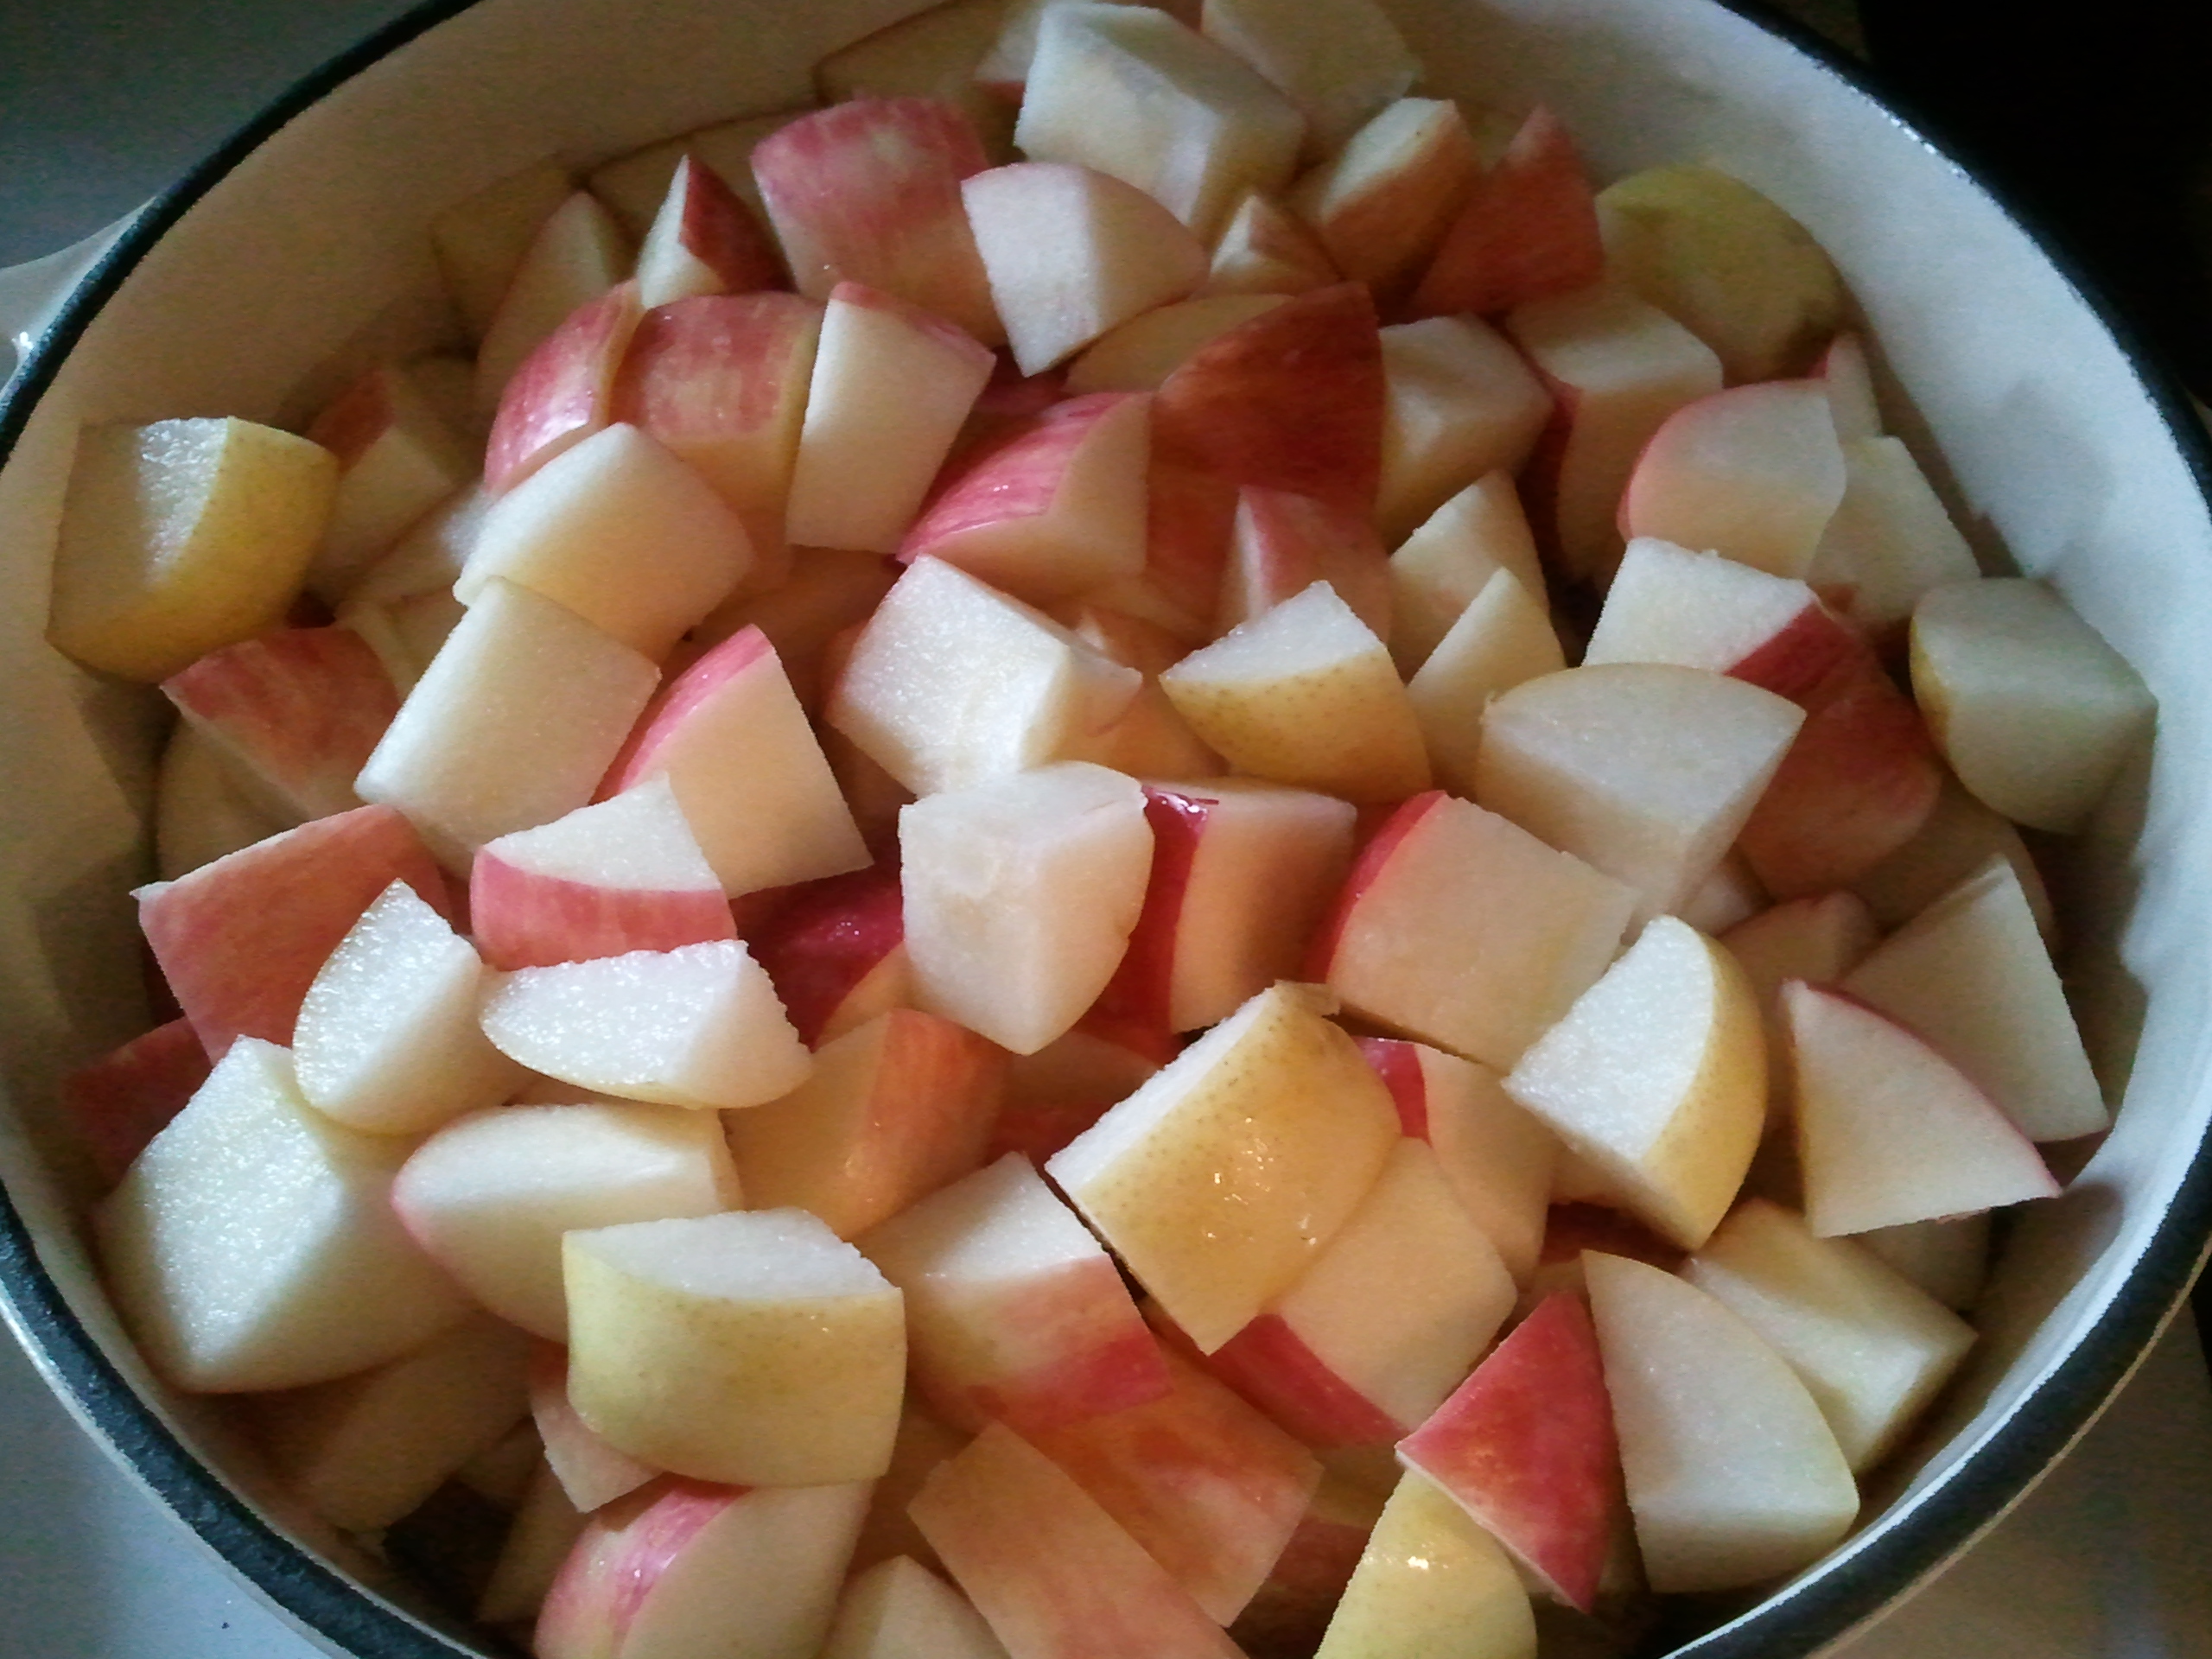
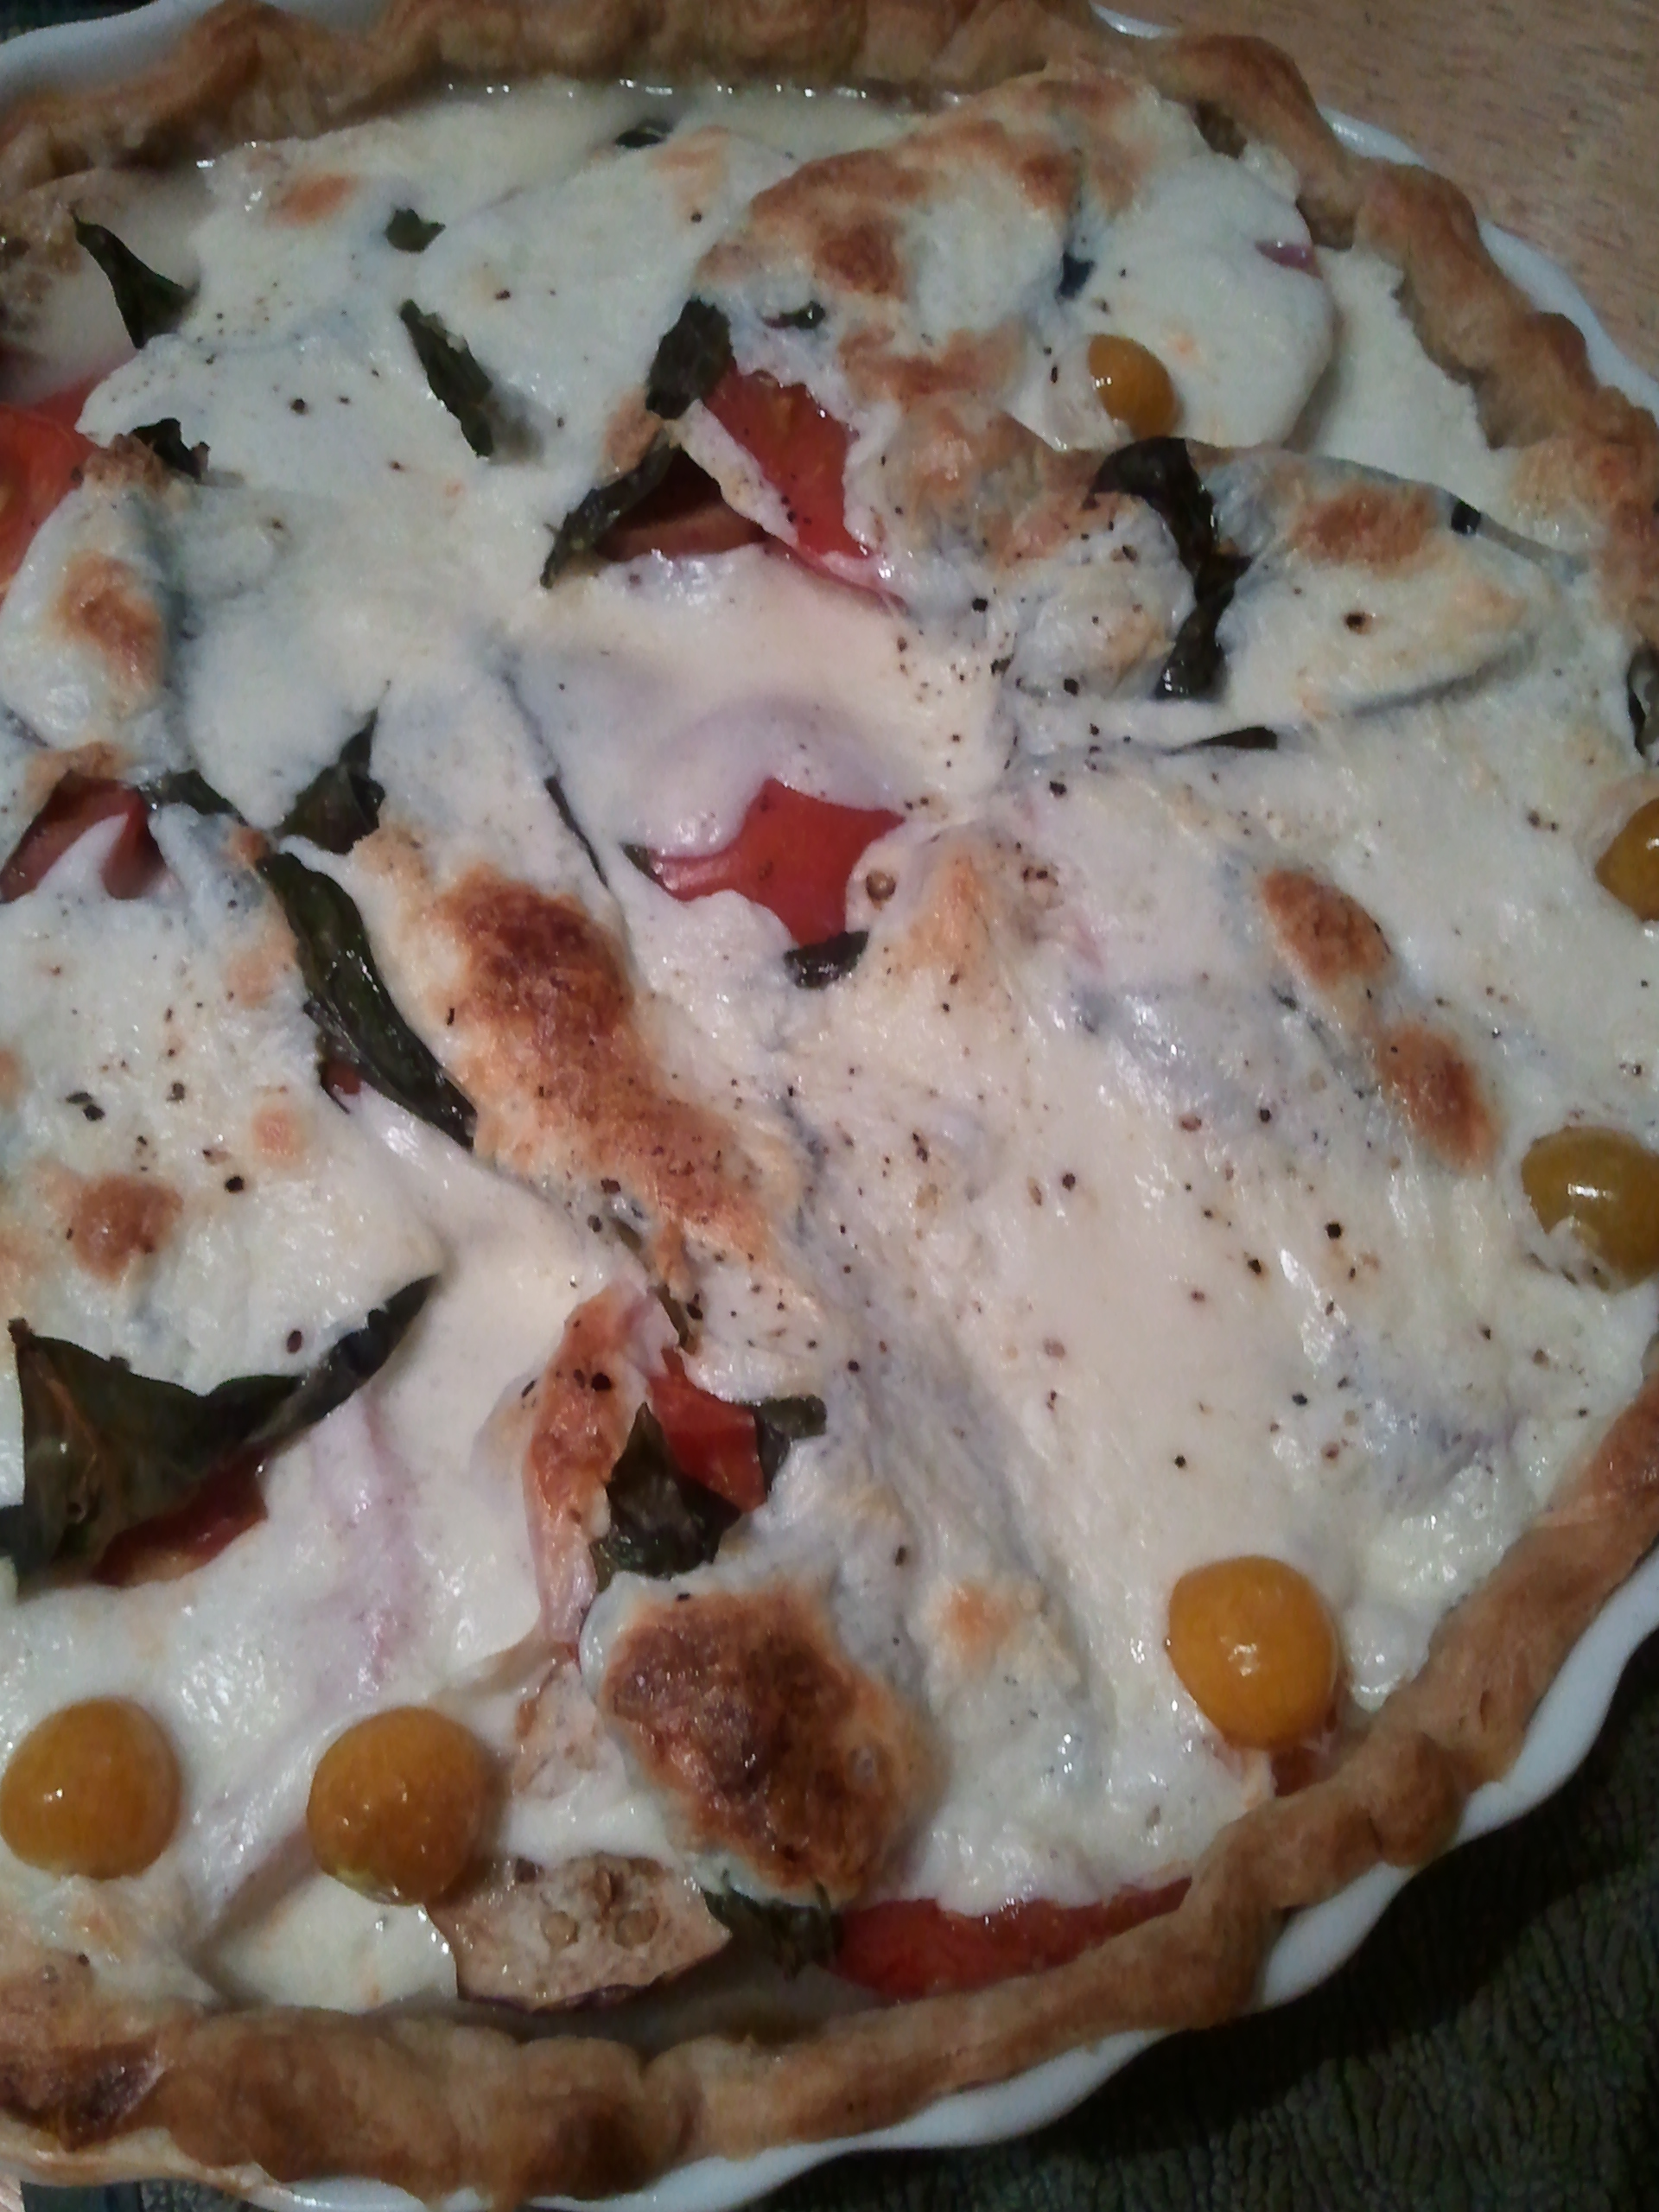
I like the shells very much. They’re cheesy and noodle-y, and they have lots of good sauce. And they really do look like sea shells.
Love, Jude
Stuffed Shells
(this makes a double batch, or enough for a few freezer-size portions)
2 boxes (12 oz each) jumbo shells
2 large containers ricotta cheese (we used part-skim)
3 cups grated Parmesan cheese
8 eggs
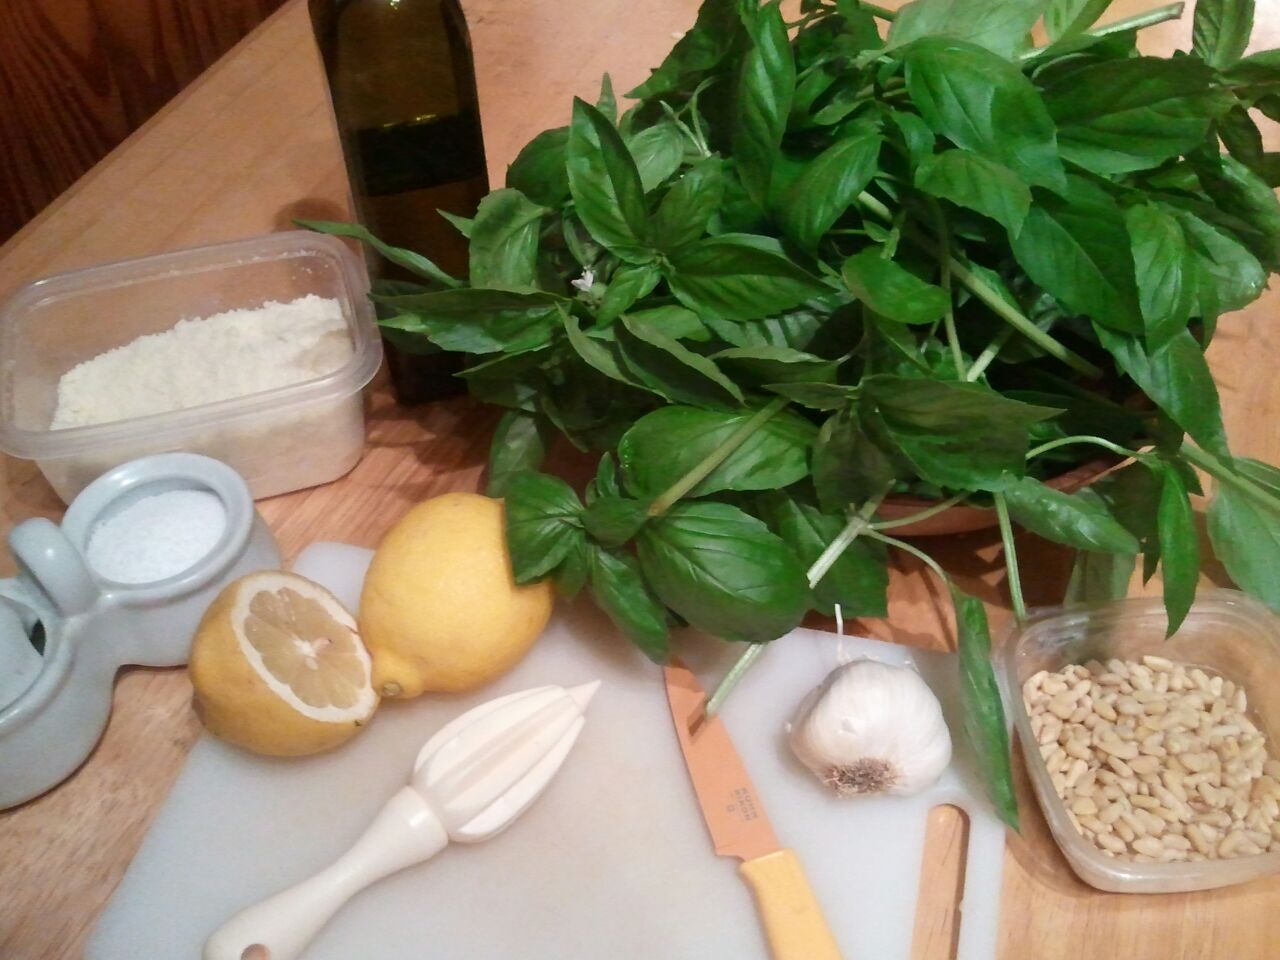
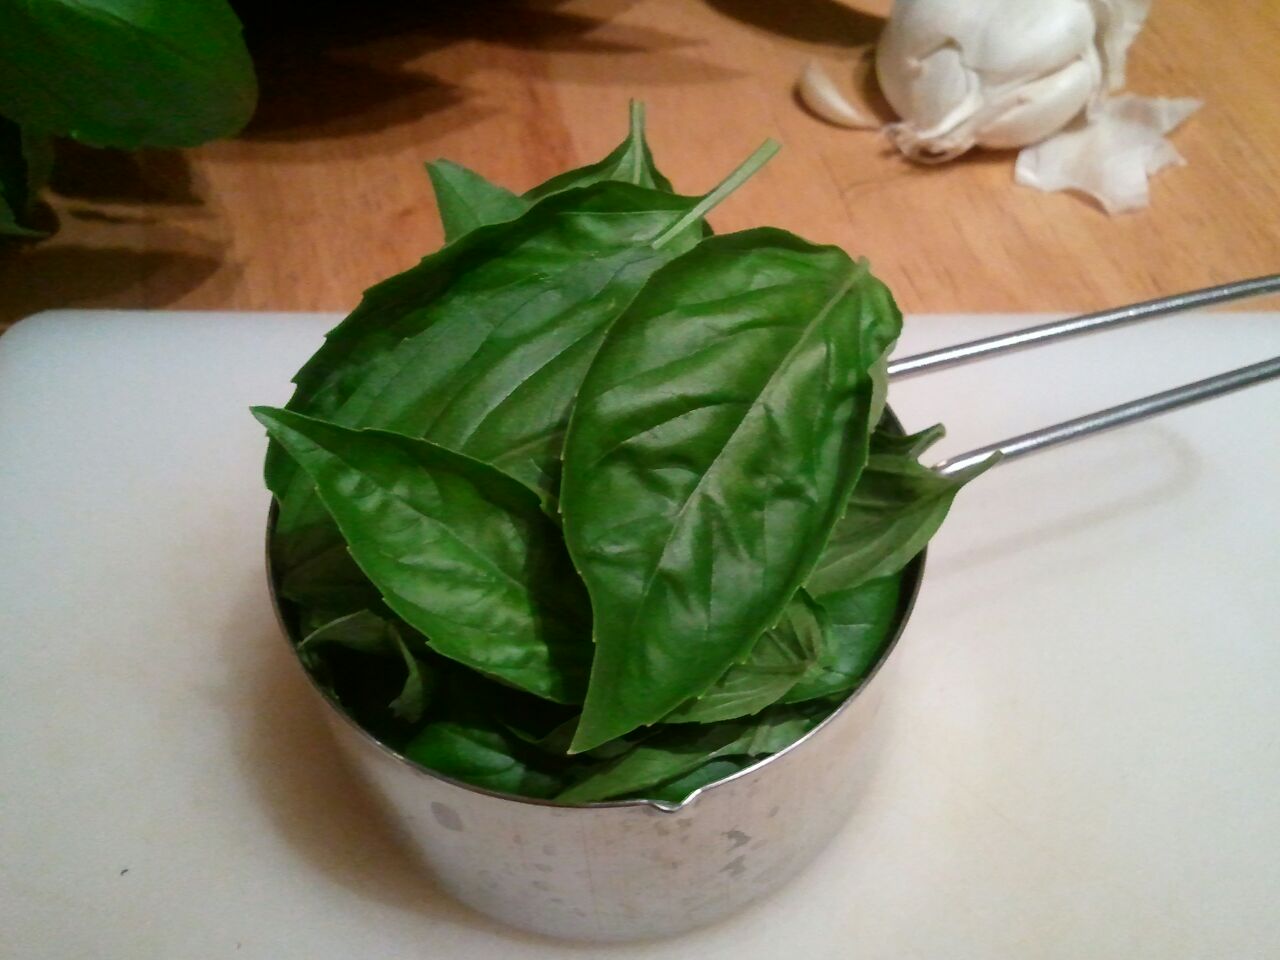
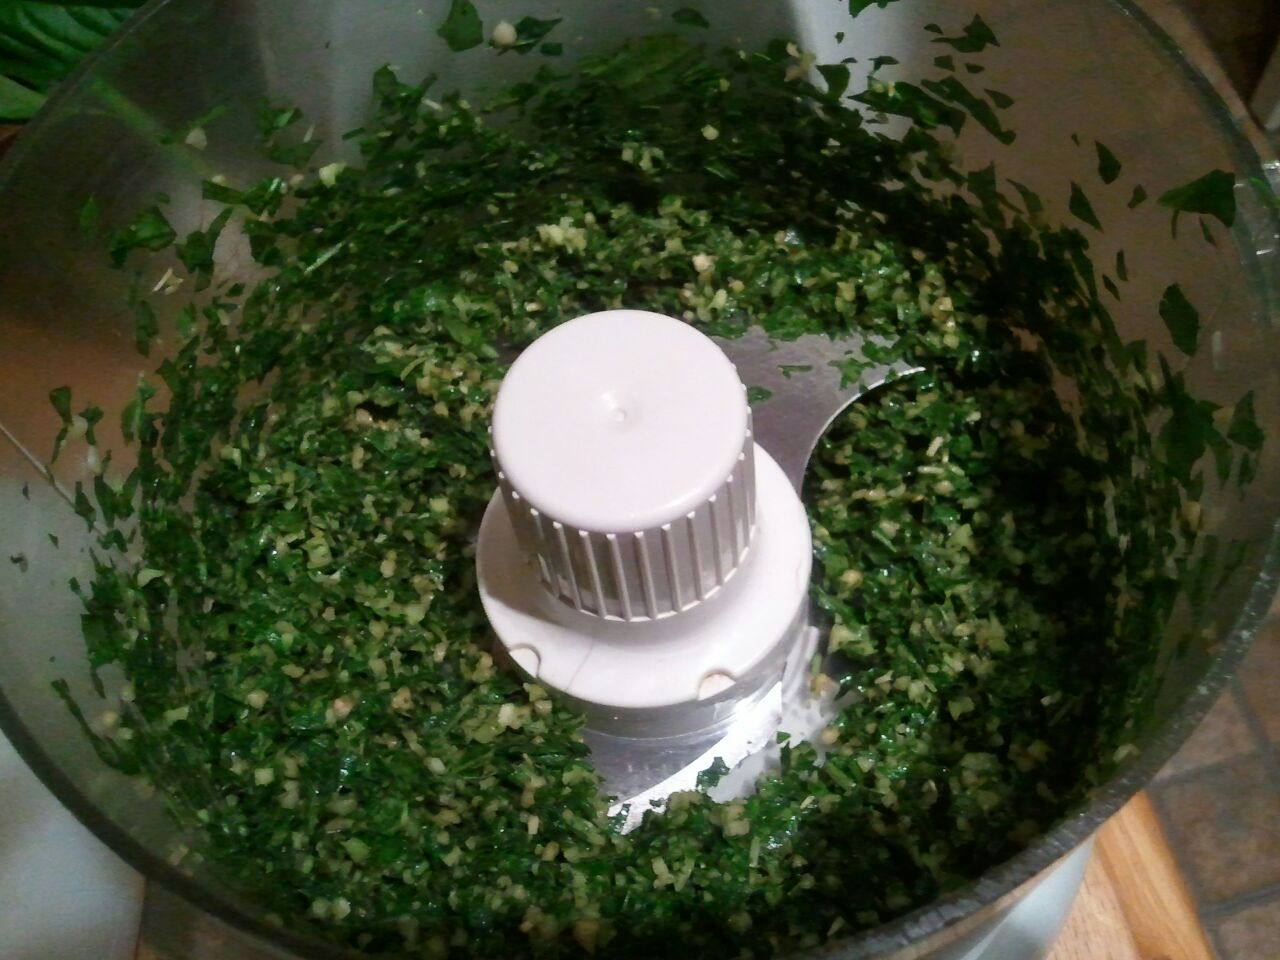
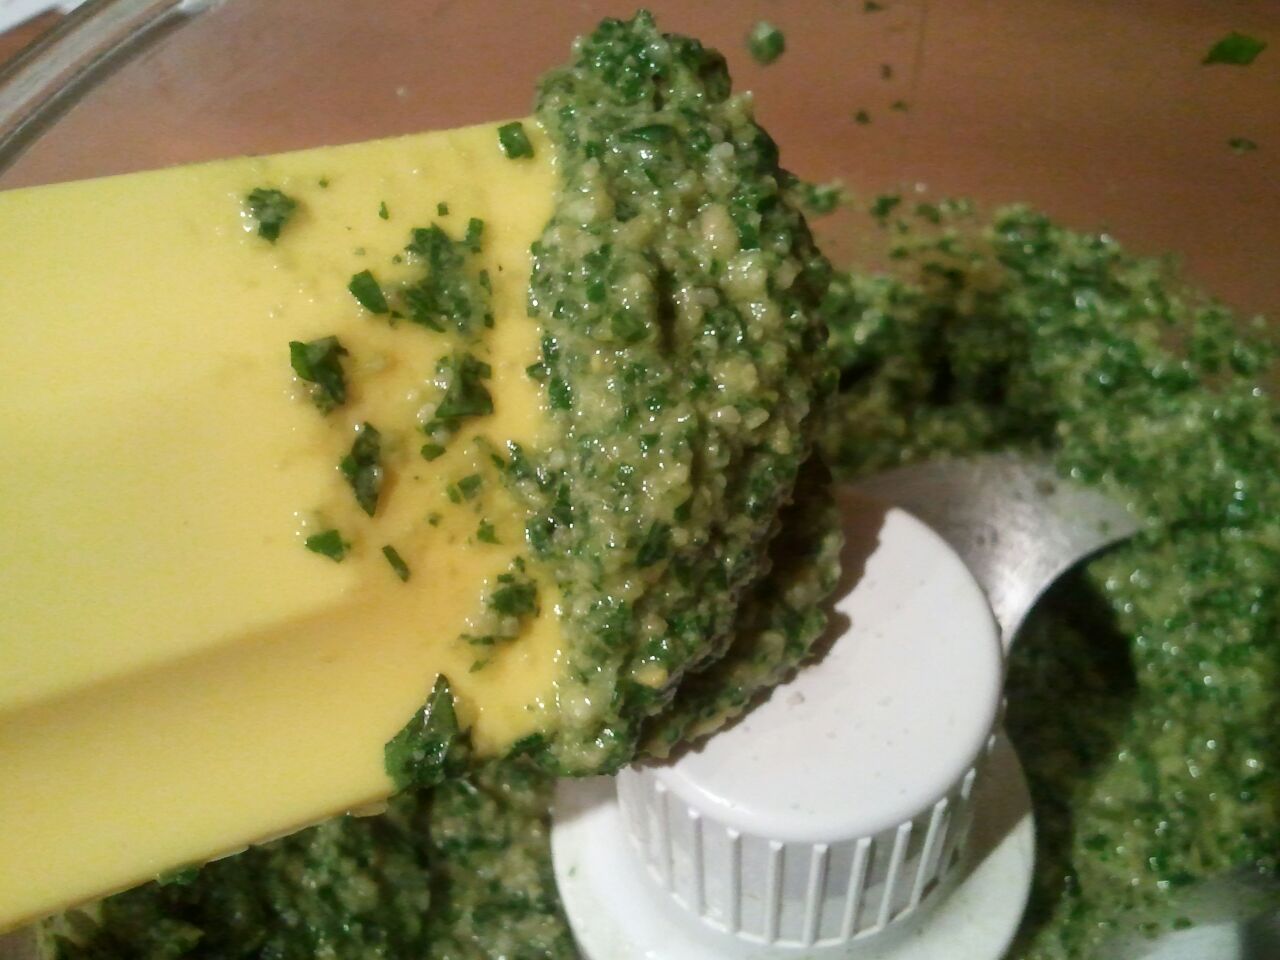
Chopped fresh herbs, if desired (we used parsley, chives, and oregano from the garden)
Salt and pepper
Chili flakes, if desired for heat
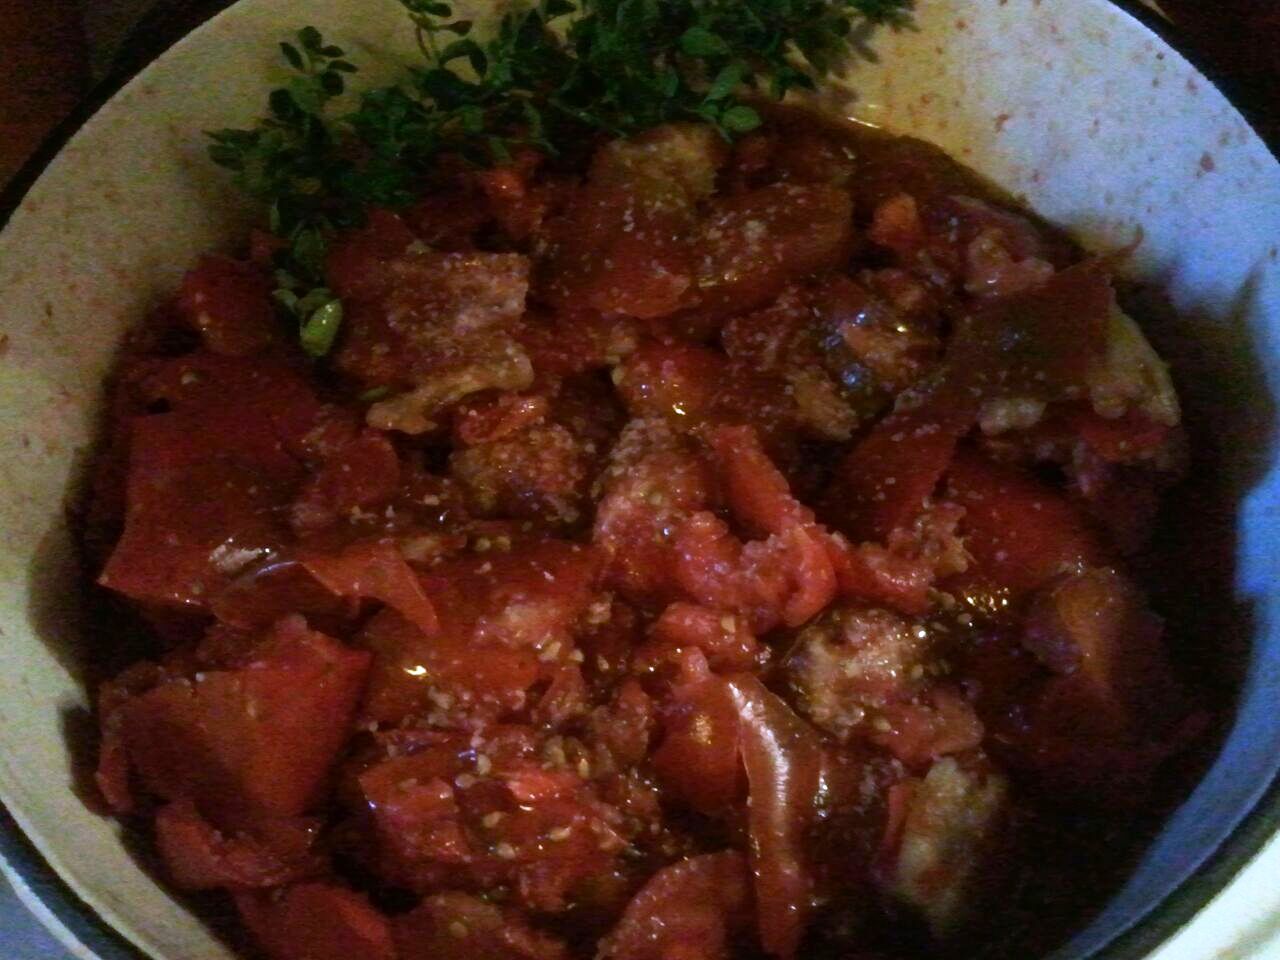
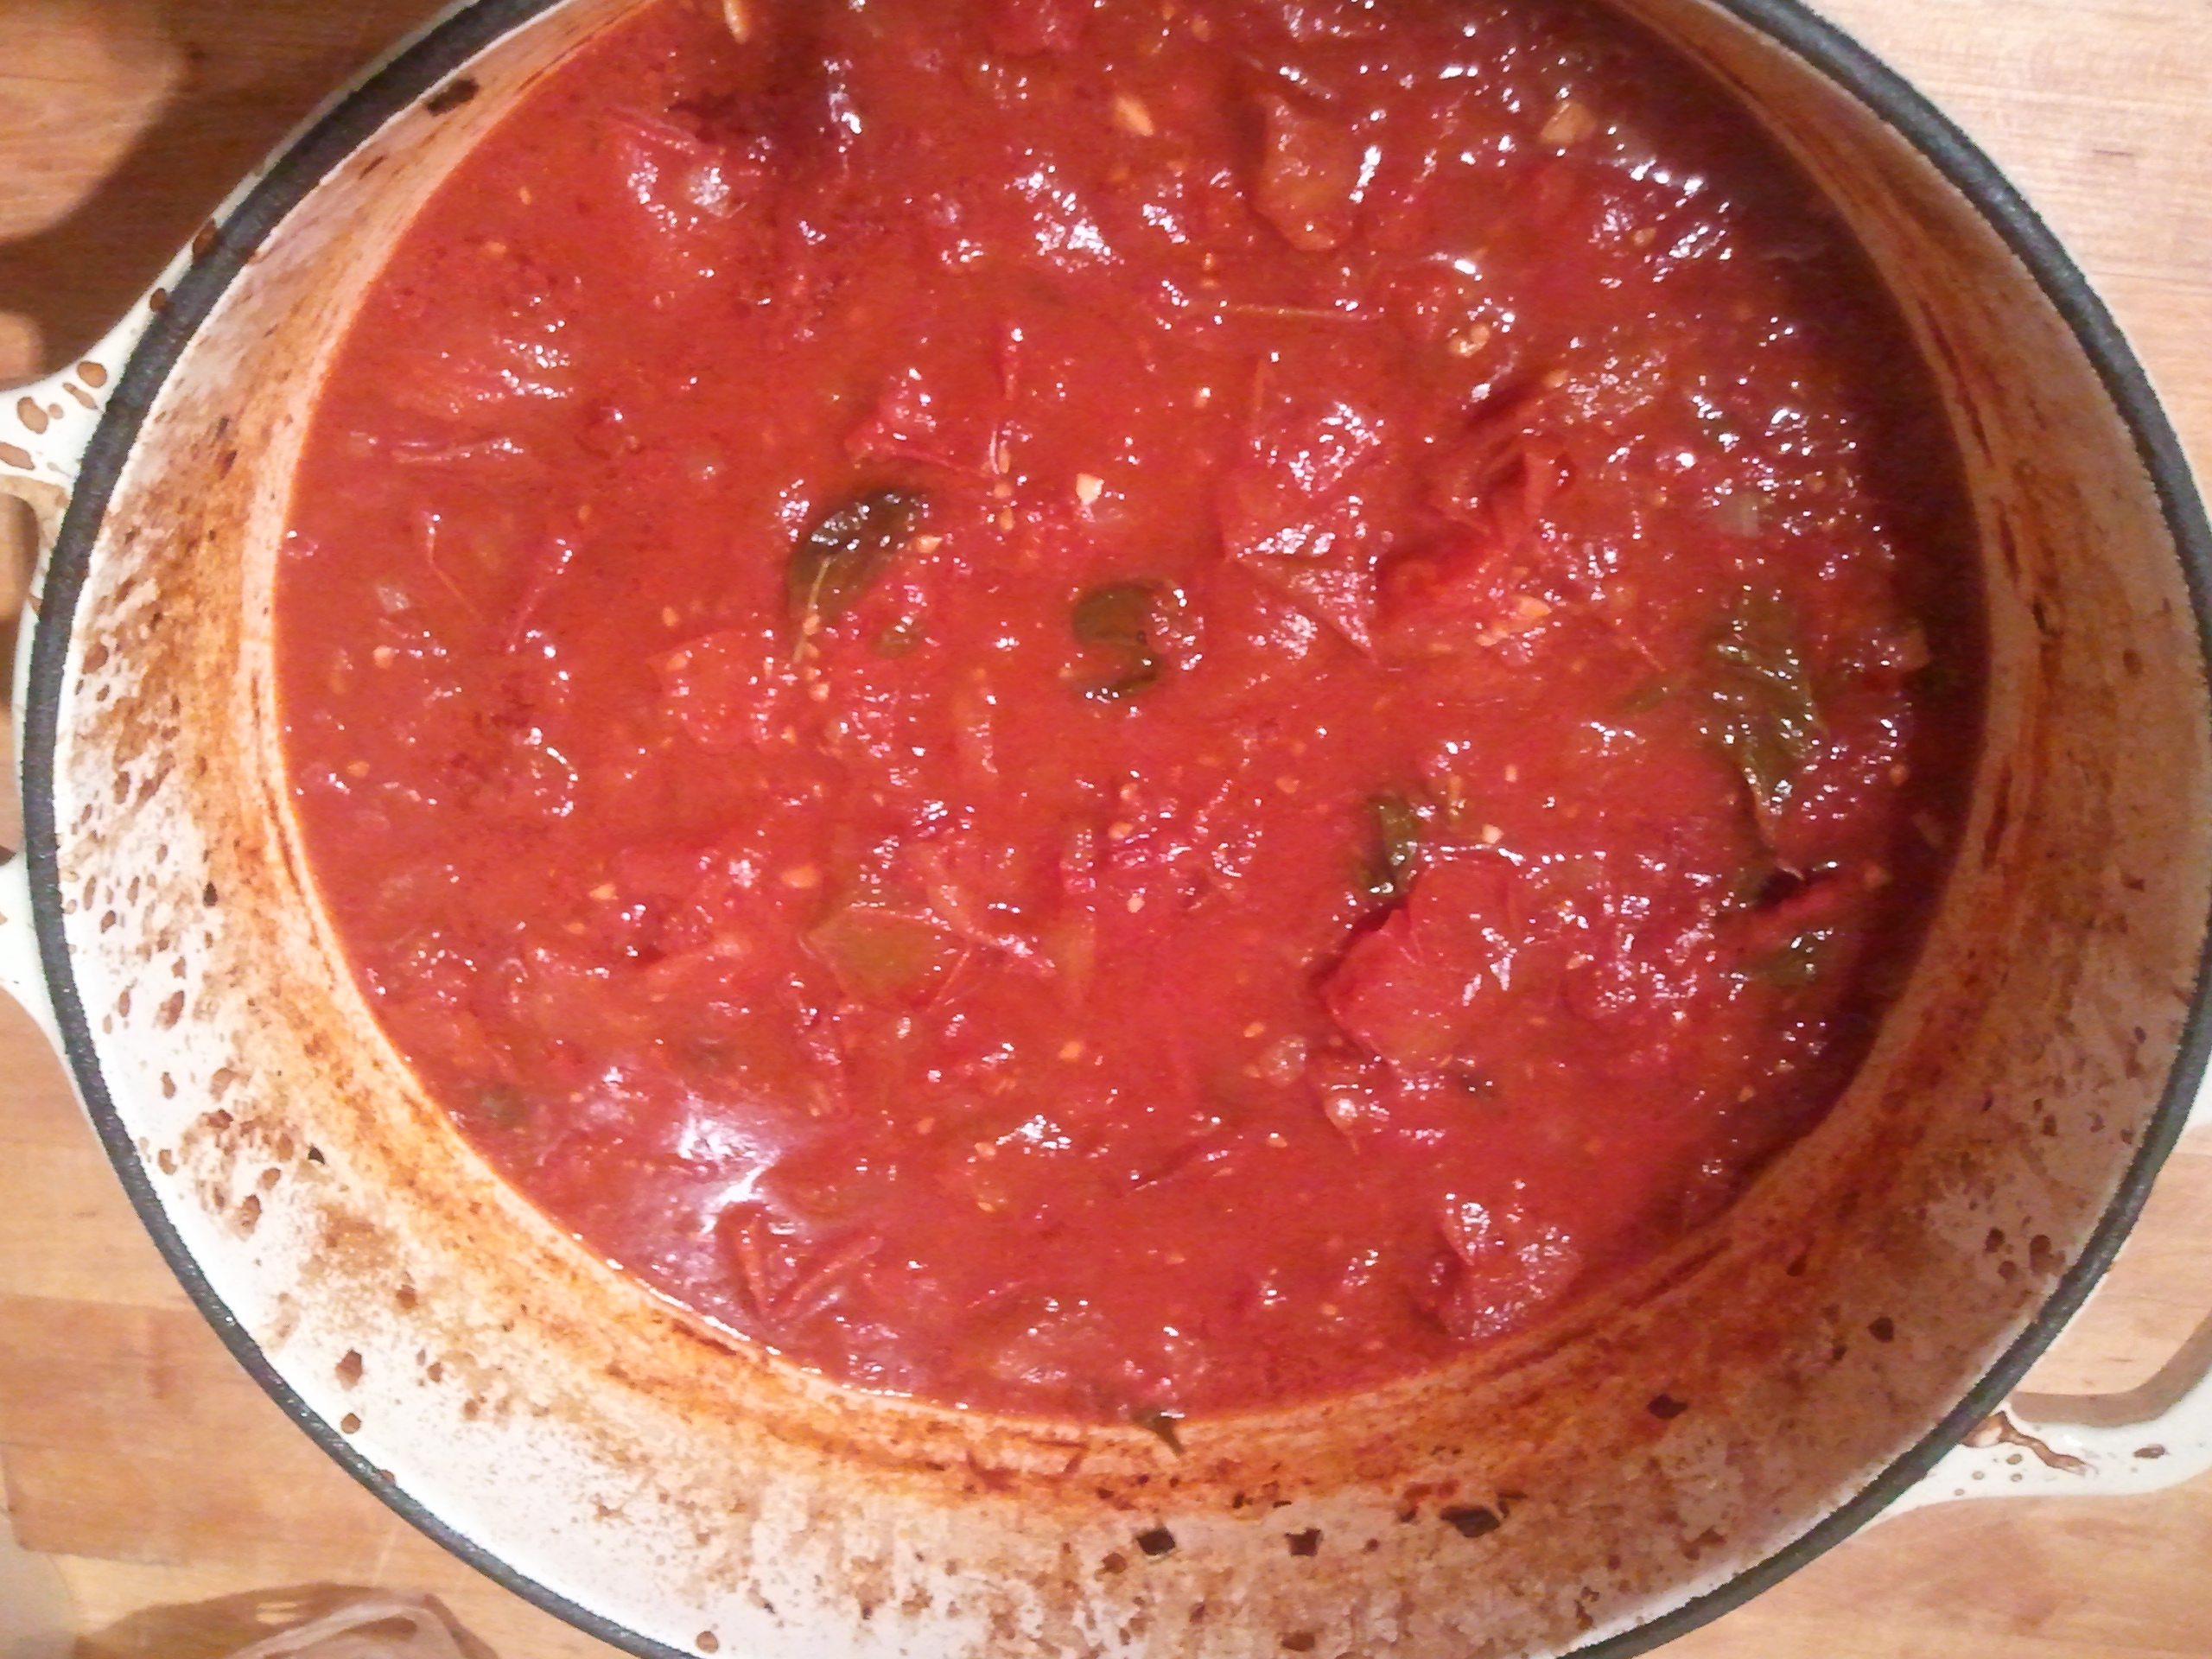
1 quart tomato sauce (we used homemade, but make this easy on yourself and used jarred if desired)
1 cup shredded mozzarella cheese (or more, as desired)
Preheat oven to 350°F.
In salted boiling water, par-cook the shells (you’ll probably need to do this in 2 batches). This means to cook them just until they become pliable, 5 or 6 minutes. Drain, quickly rinse to help cool them down, and toss with a little bit of olive oil. Set aside on a baking sheet.
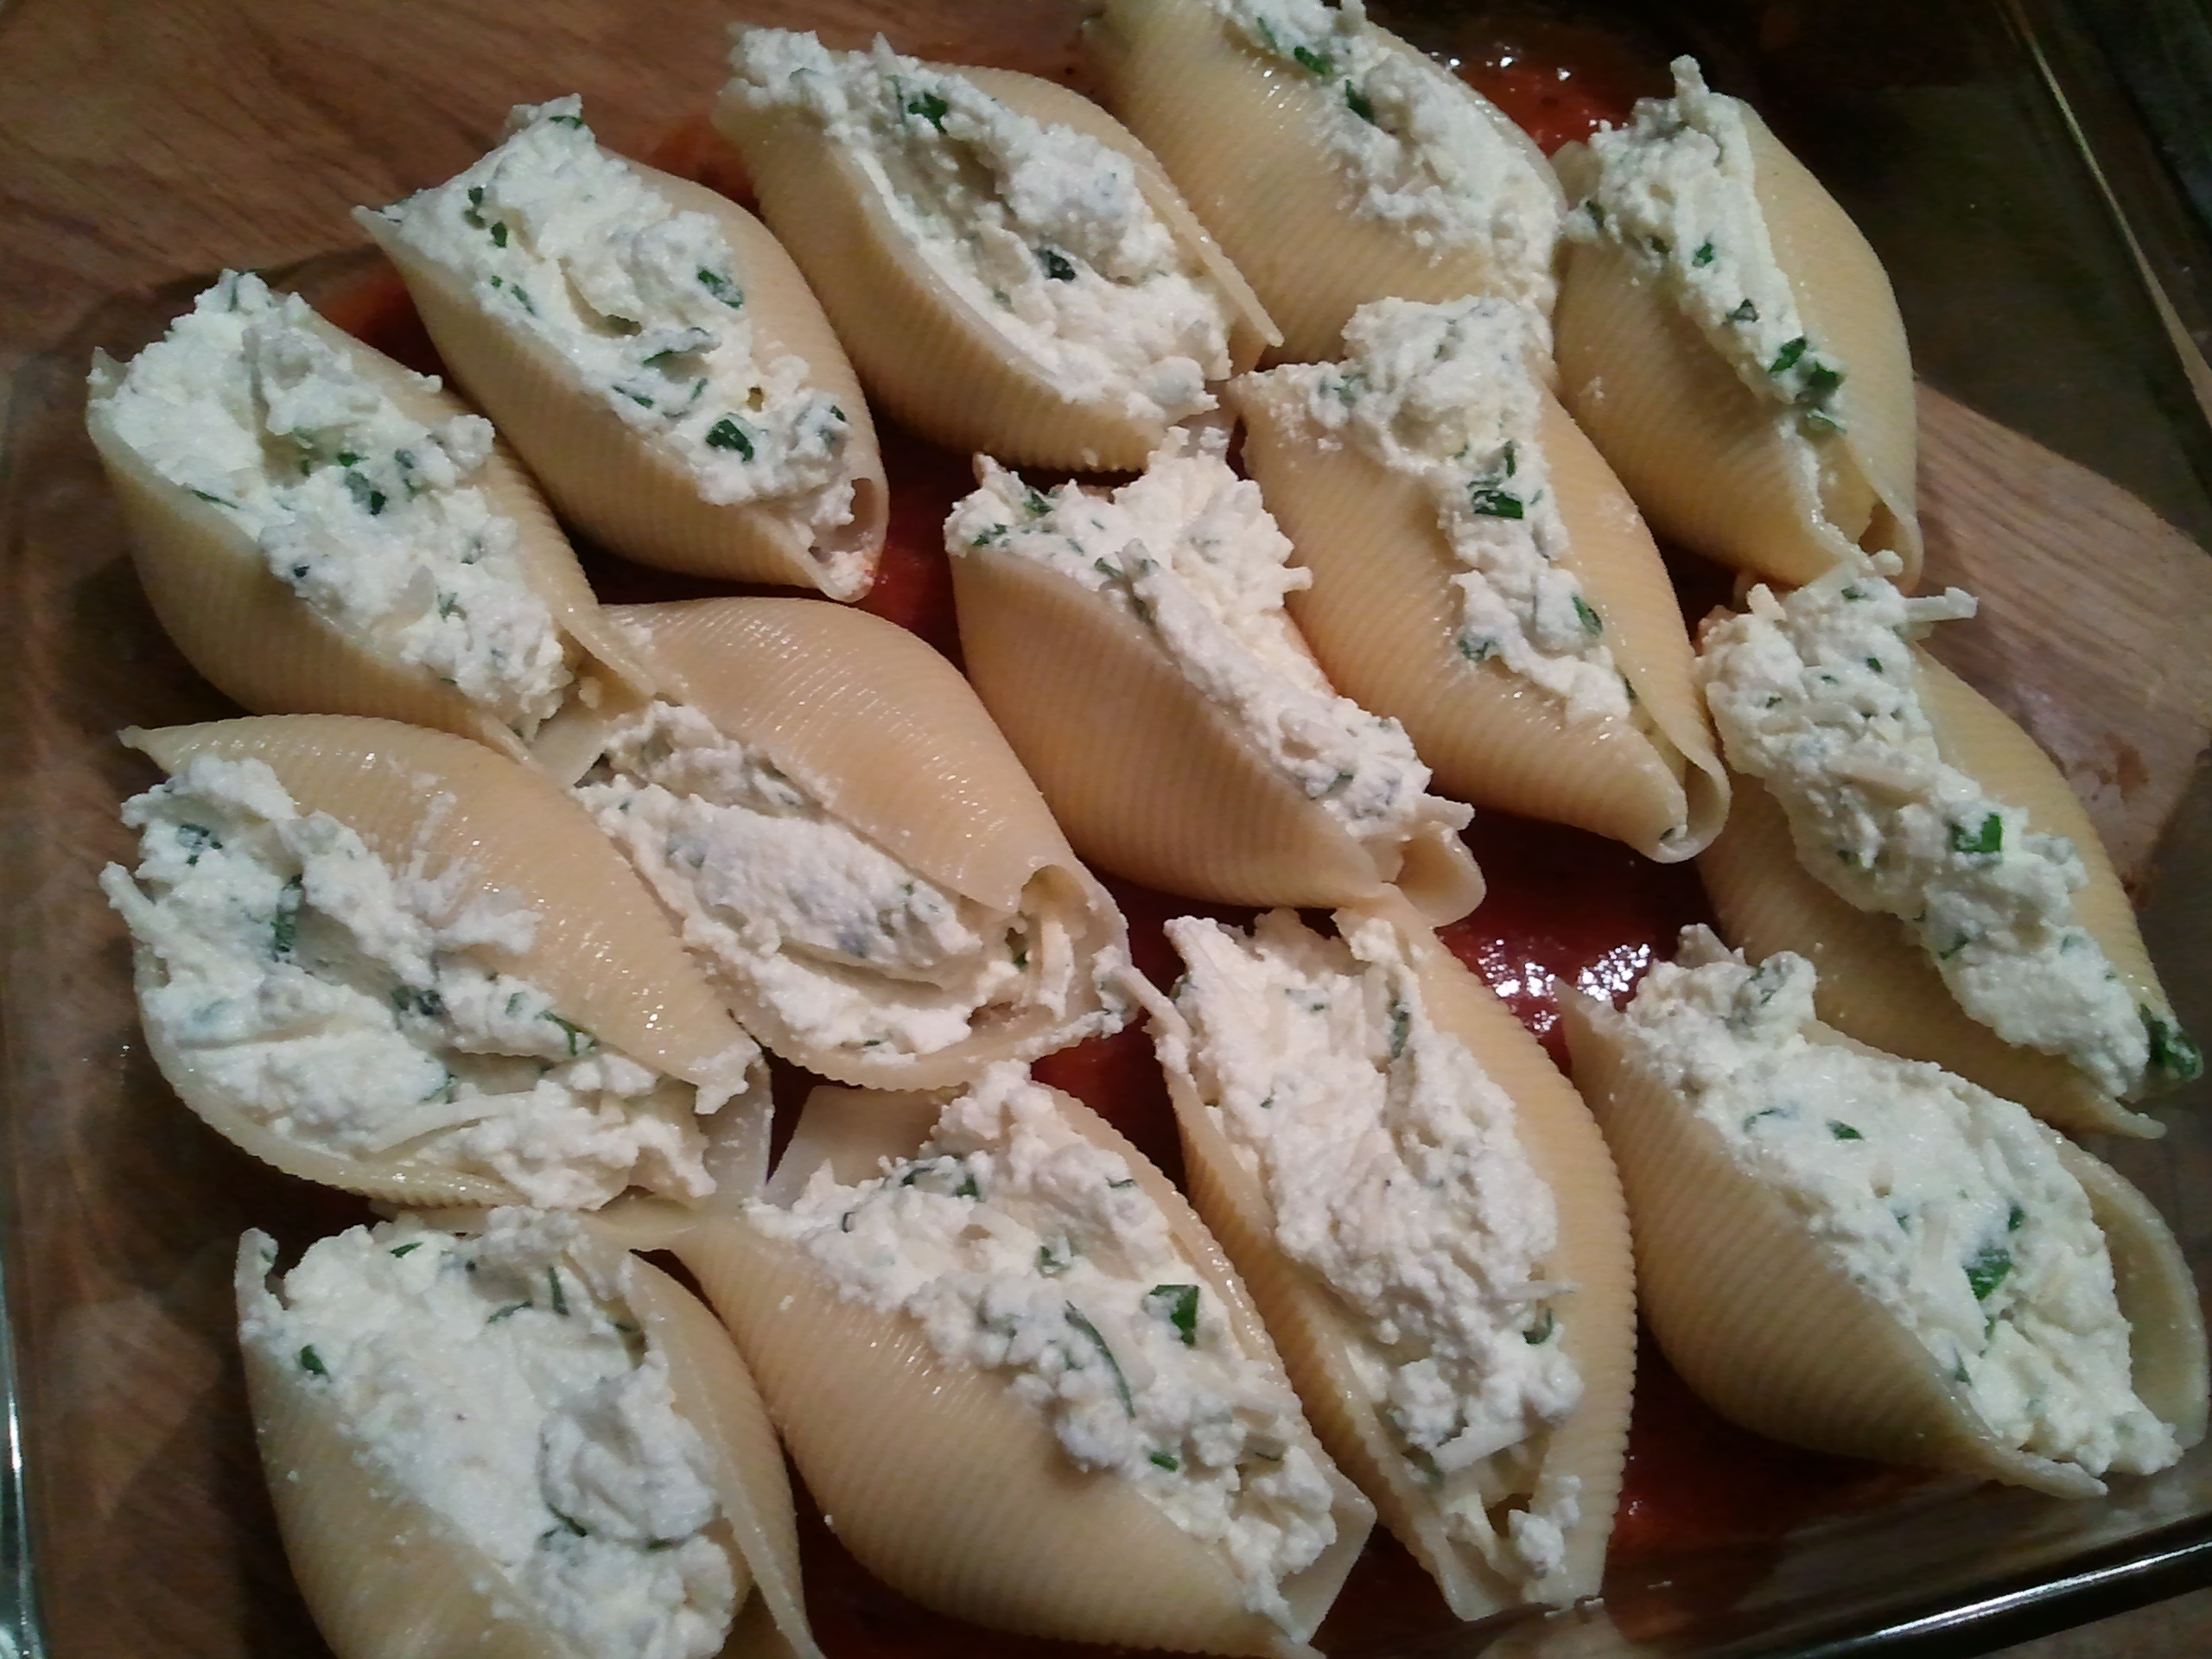
Meanwhile, in a large bowl, mix together the ricotta, Parmesan, eggs, herbs, salt and pepper, and chili flakes if using. When the shells have cooled enough to handle, spoon the filling into them. Fill them as much or as little as you like. They’re your shells. Mama stuffs them enough to keep them open without too much filling piling out. (She used a large table spoon.)
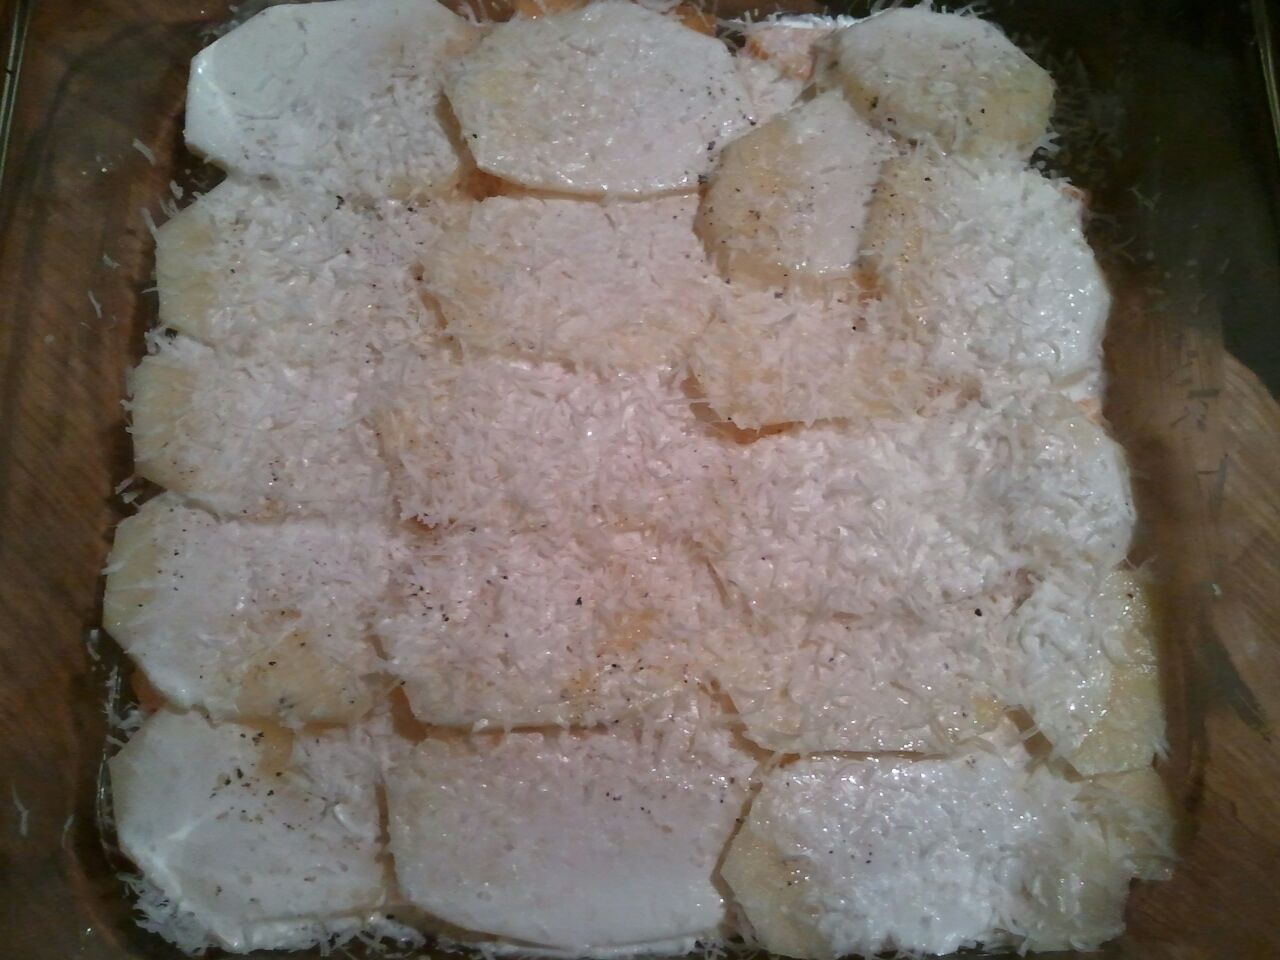
Spread 1 cup tomato sauce around the bottom of an 8 x 8” baking dish. Arrange 12 stuffed shells in it. (It’s okay that they touch.)
If you can fit a few more in there, go for it.
Pour the remaining sauce over the shells, making sure all the shells are completely covered, as they’ll need the moisture to finish cooking in the oven.
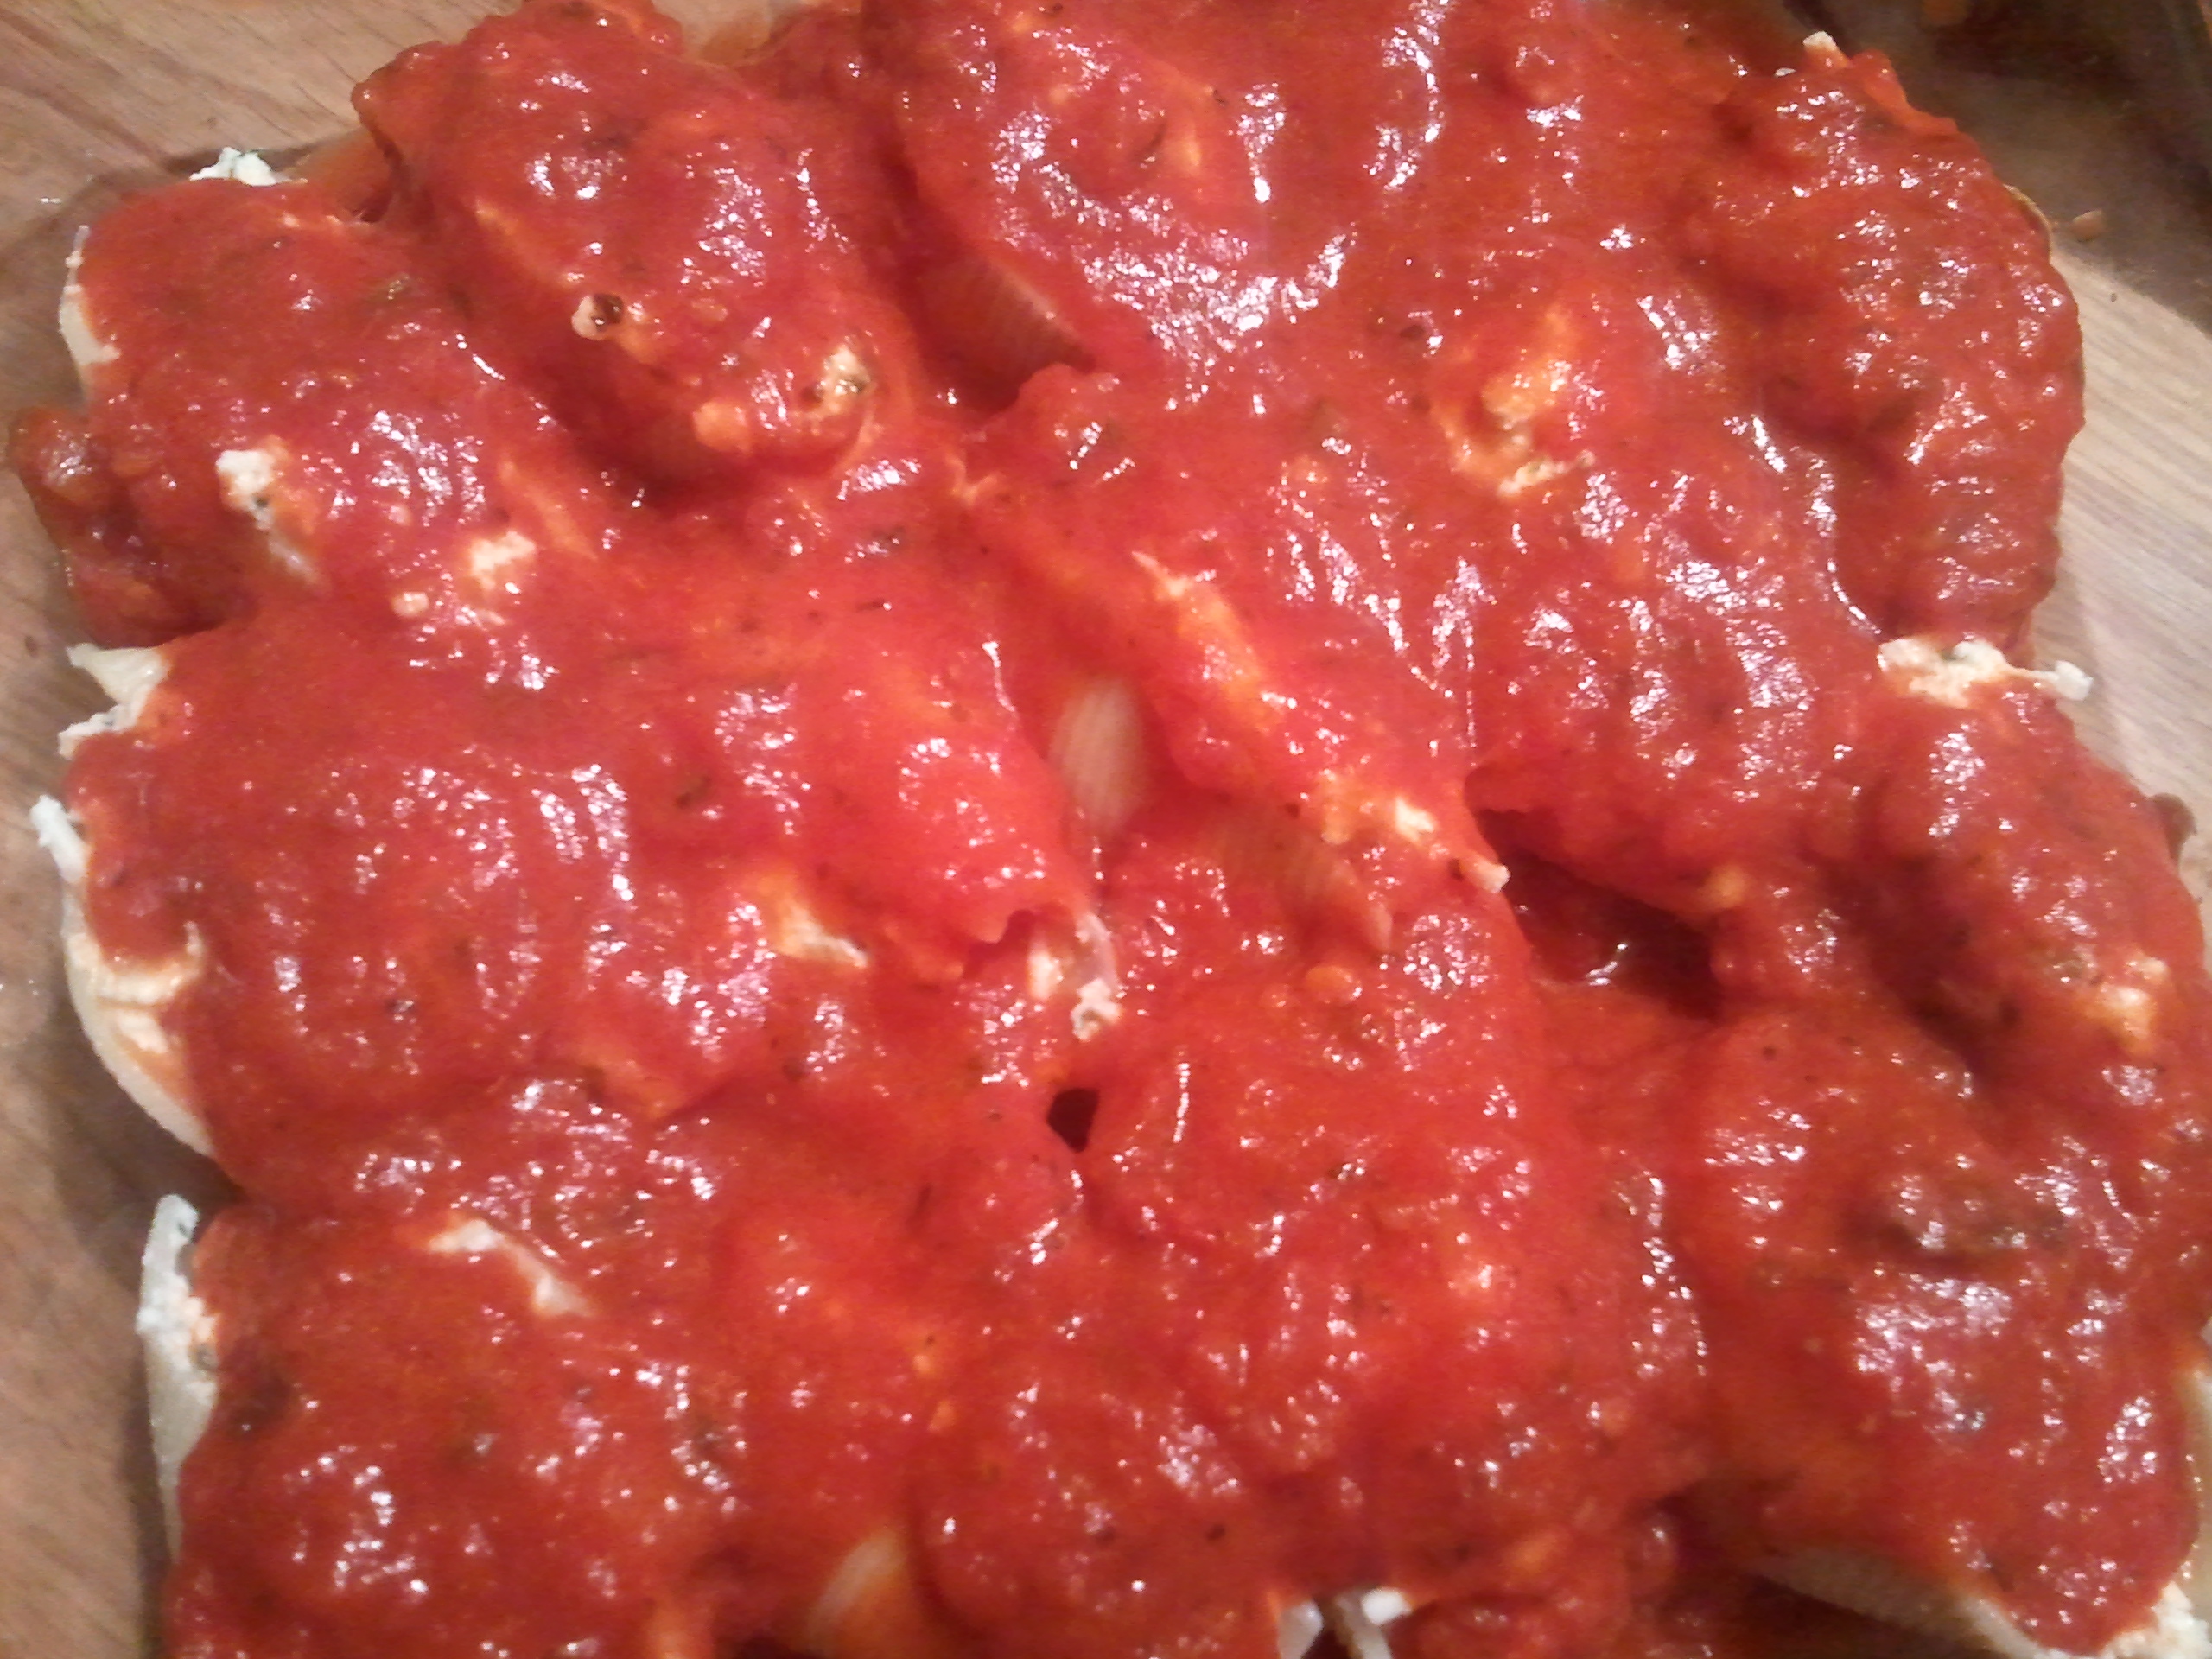
Don’t be shy about the sauce.
Sprinkle with mozzarella to cover.

Ready to be baked.
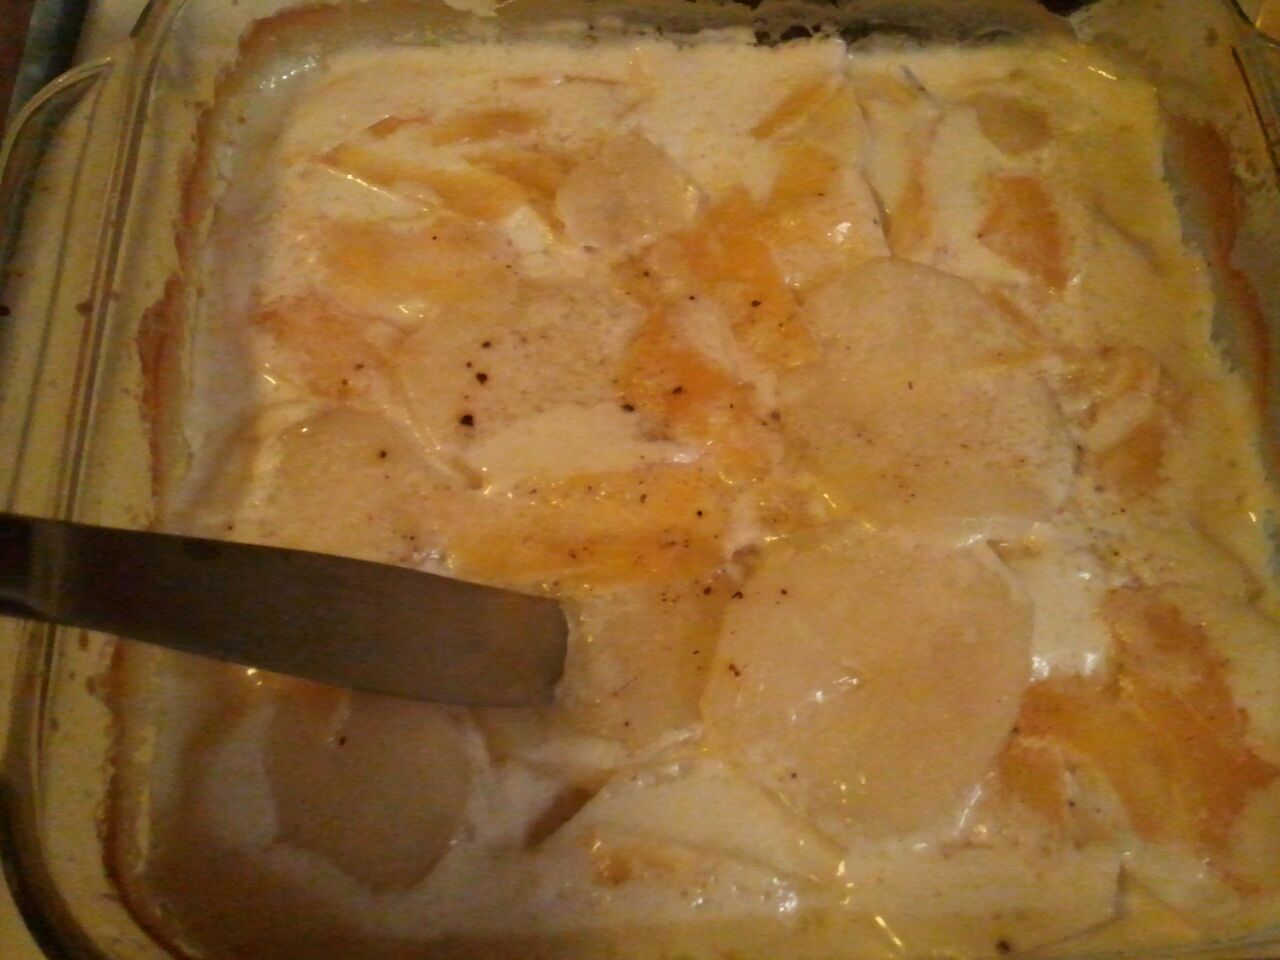
Bake, uncovered, for about 30 minutes. The mozzarella should be bubbling and golden, and the center should be hot. Let sit for 10 minutes to allow the cheeses to congeal.

Mama took out a few for me so they could cool. It’s a little runny in that corner as a result. Resist the urge to dig in right away!
To freeze the remainder of the stuffed shells, arrange them on the lightly oiled baking sheet. Try to keep them from touching (but it’s okay if a couple do). Set in the freezer until frozen solid, at least 1 hour.
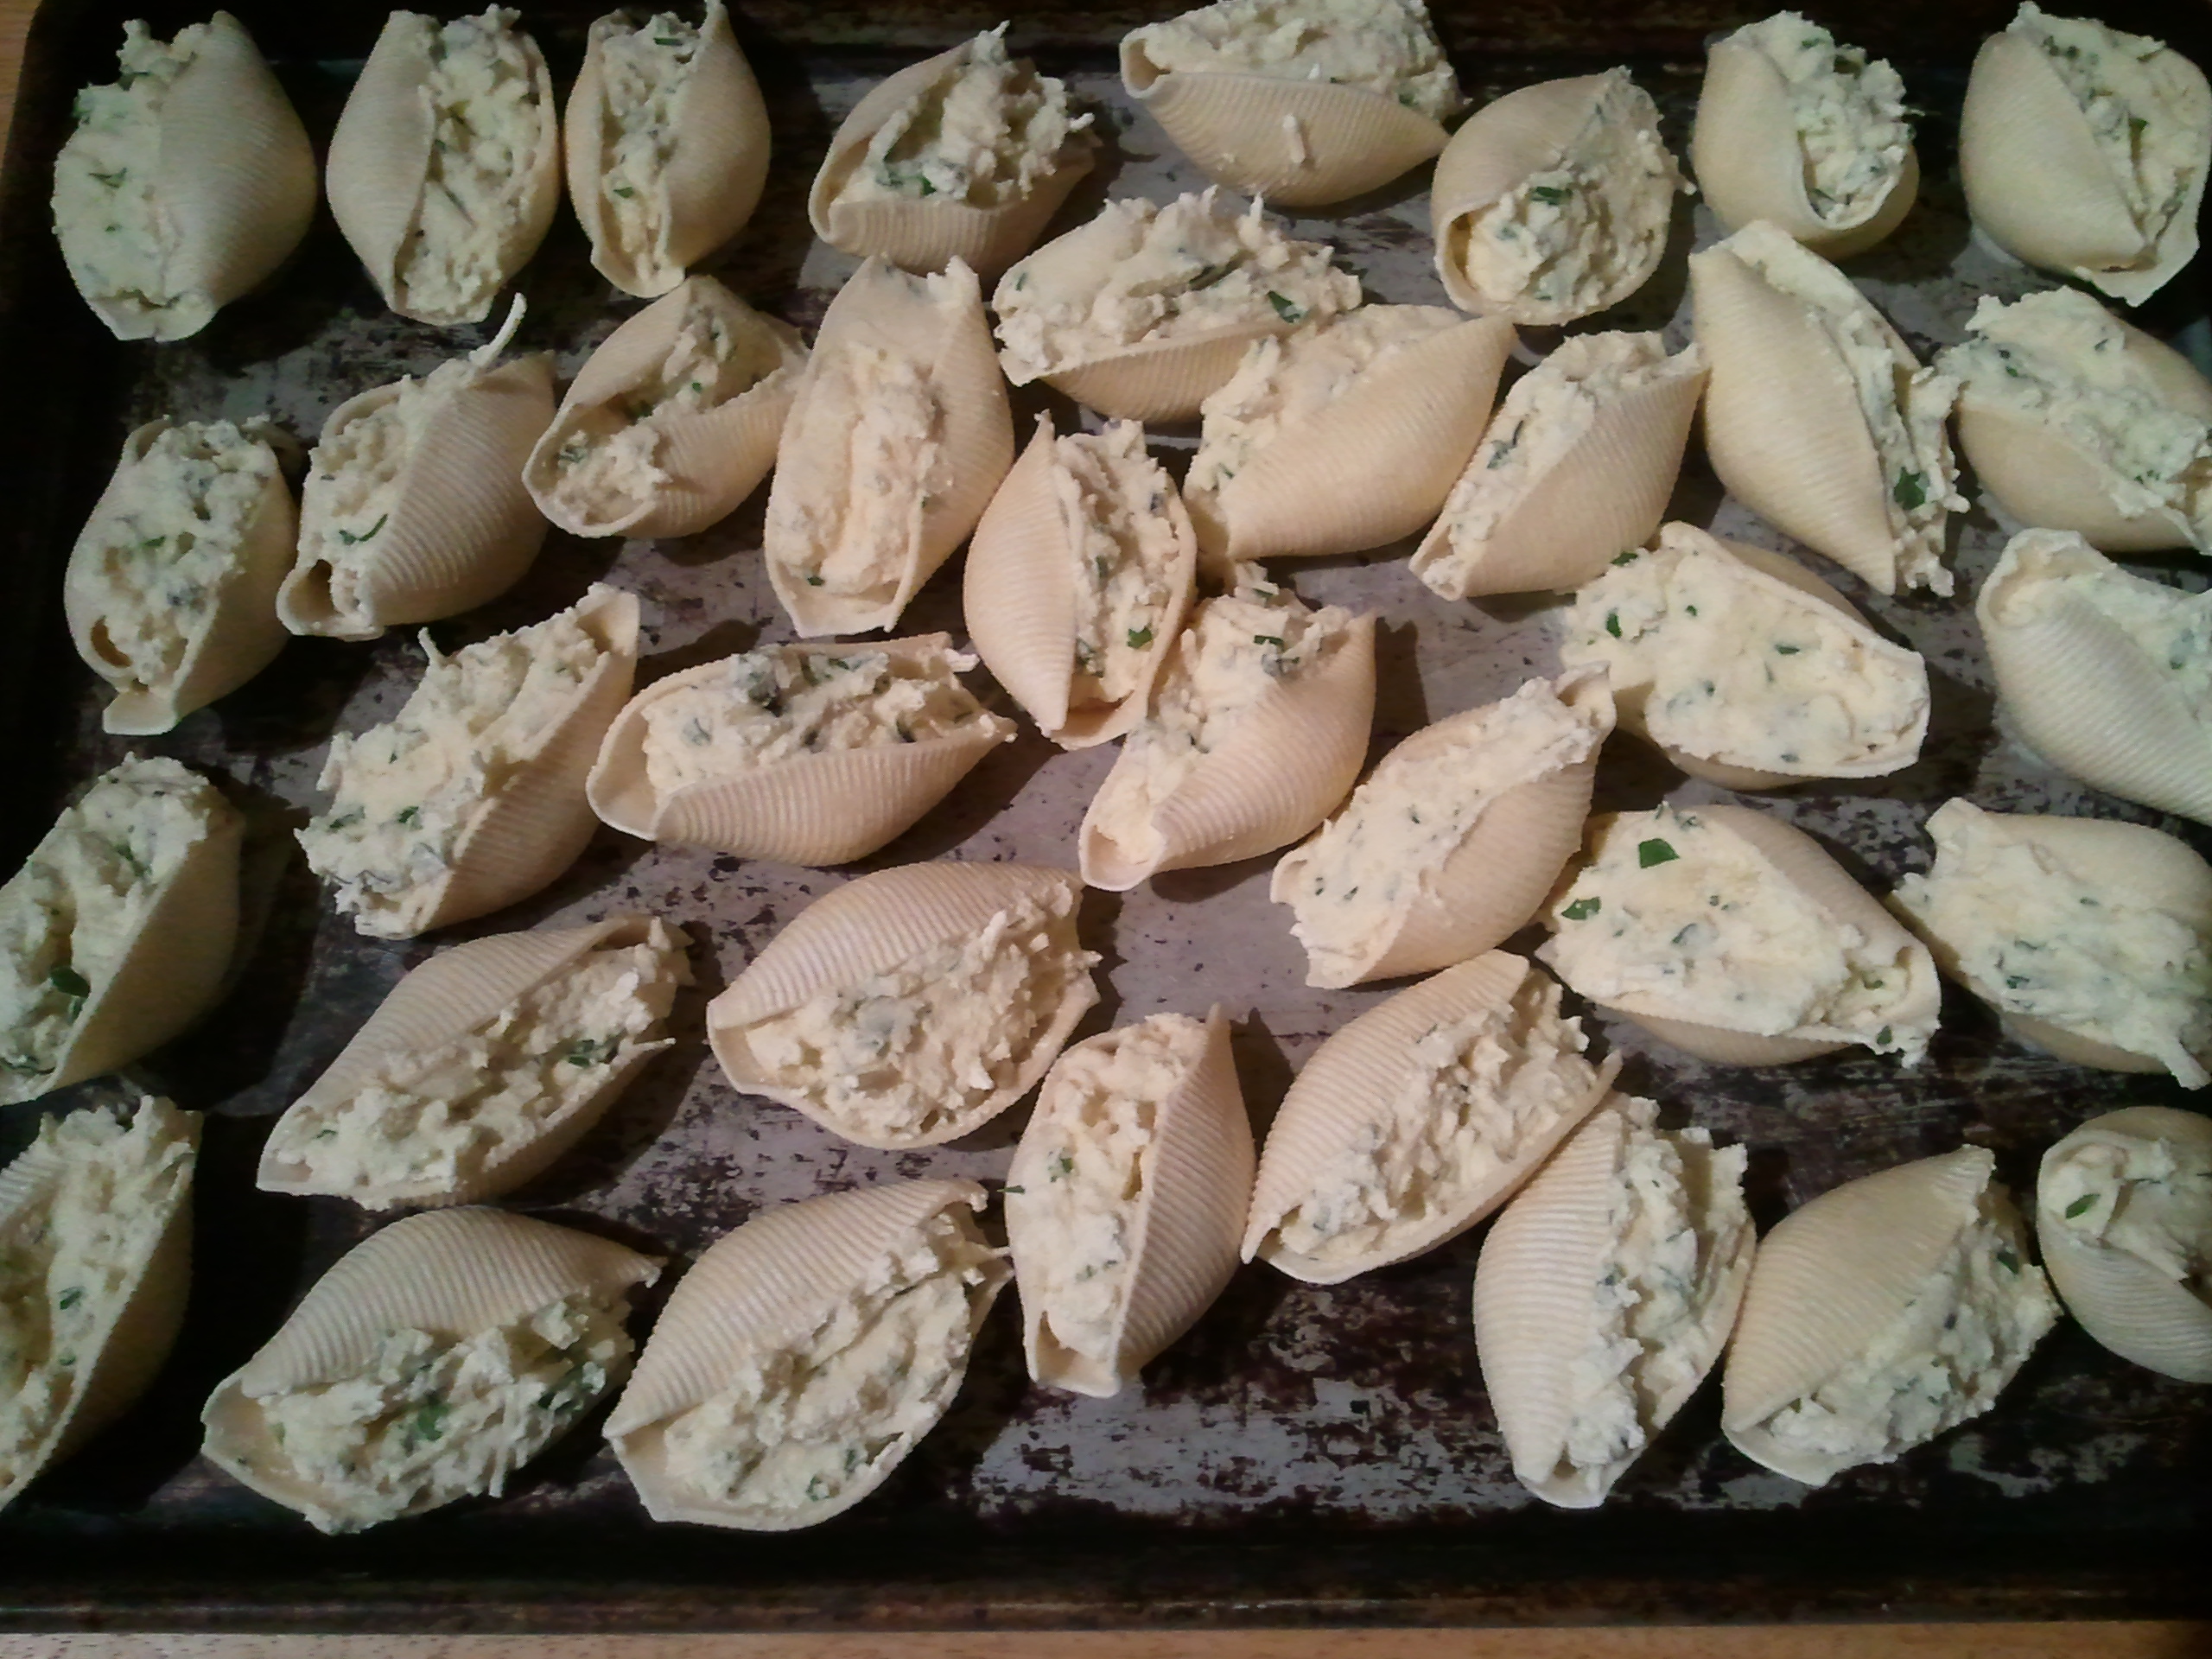
They really do look like sea shells.
Remove from the freezer and bag in desired portions. Mama did baker’s dozens because that’s what fit in the bags; she got 4 bags (+ dinner). May also make a second assembled batch, with sauce, and freeze the whole thing. It can go right into the oven, but you should decrease the oven temp to 325°F, and bake until the center is hot.
Serves 3–4
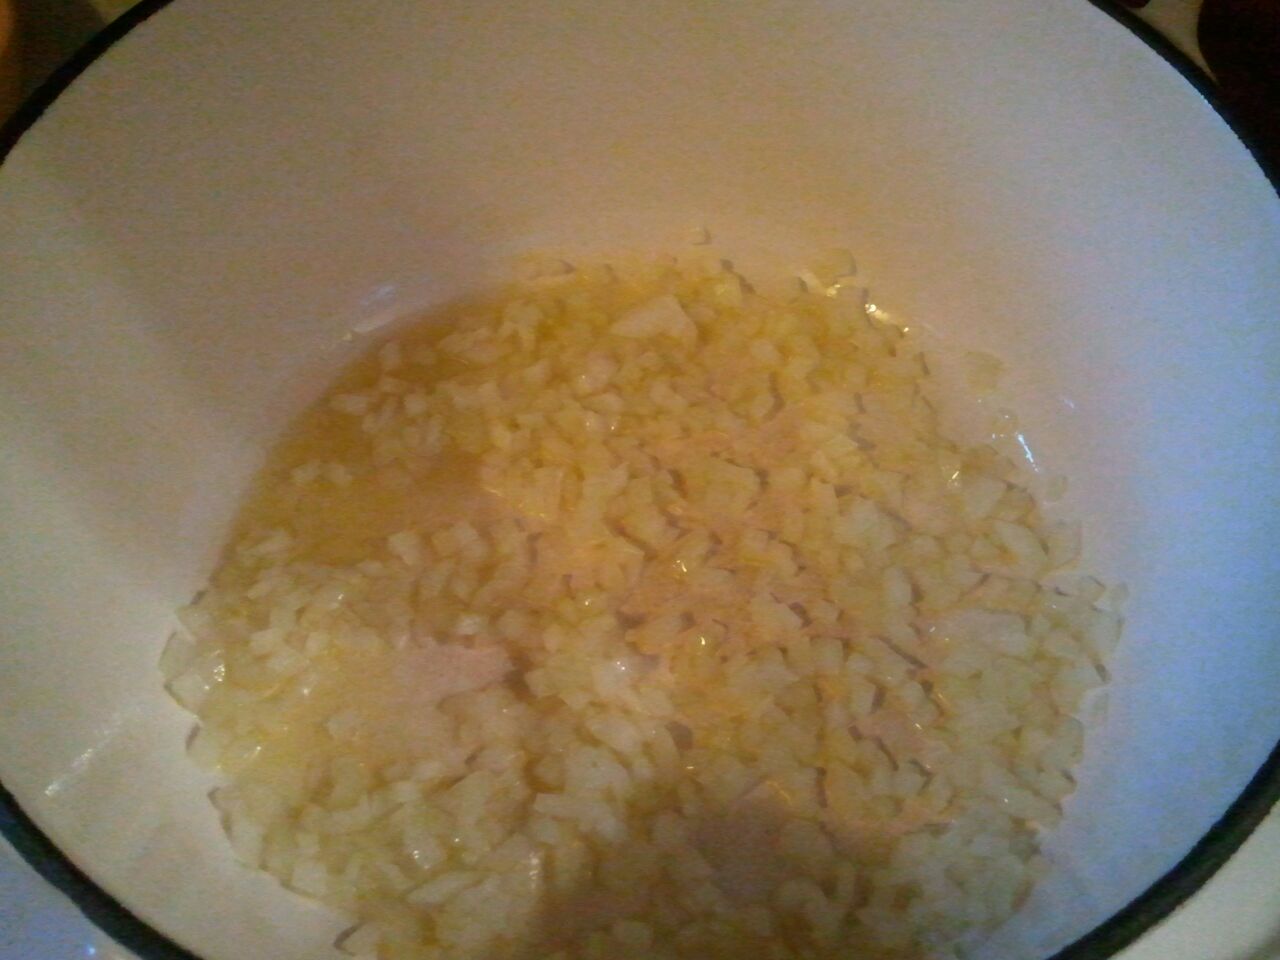
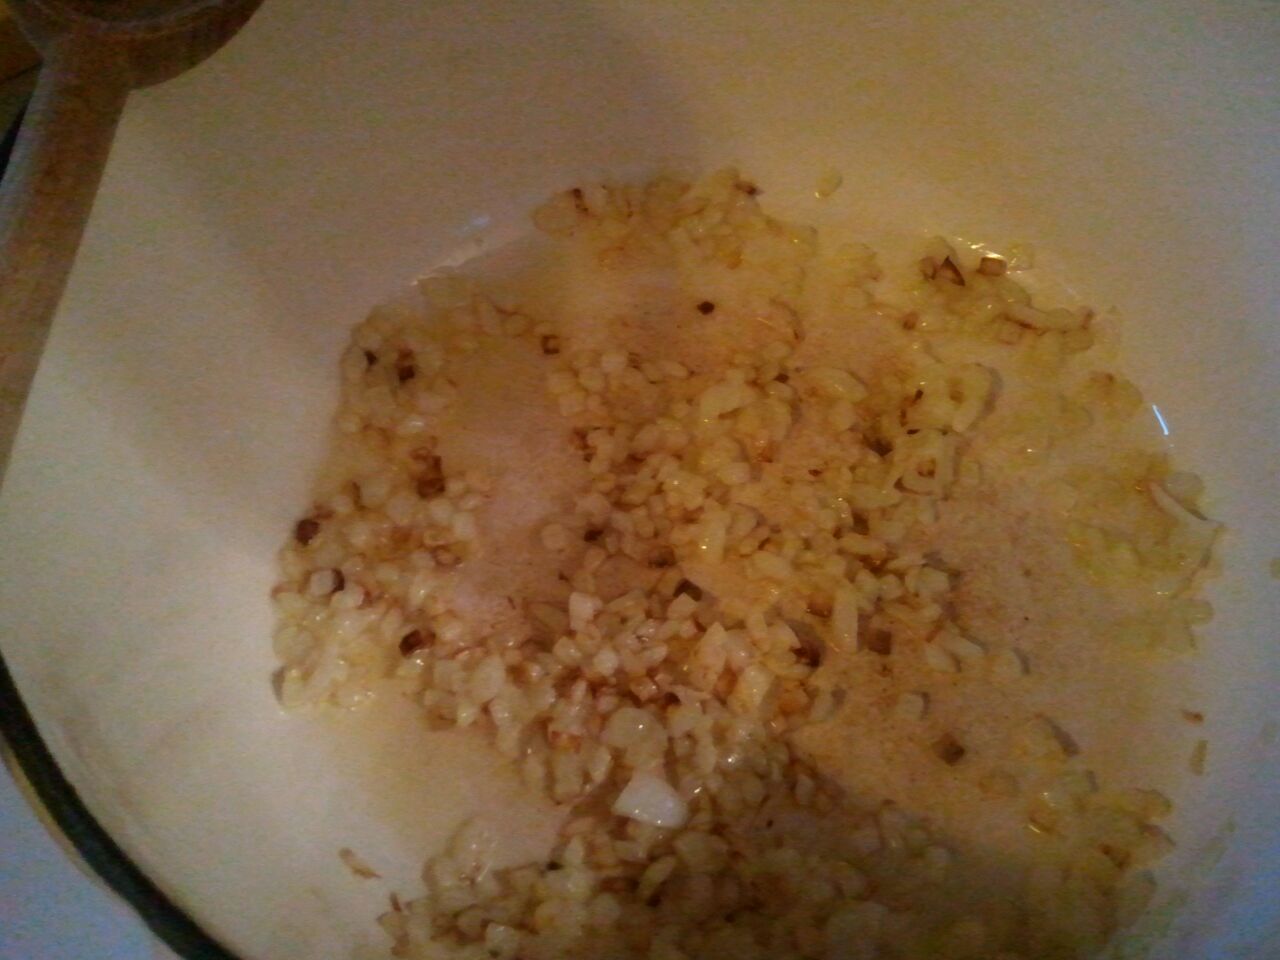
Note: Feel free to bake off more than 12 in a larger size baking dish. You’ll need to increase the amount of sauce and mozzarella accordingly. If using jarred tomato sauce, consider livening it up by sautéing half an onion in olive oil until soft and golden; then add a clove or two of minced garlic a minute before adding the sauce to heat through.