Mama says it’s funny that we pine 10 months out of the year for vine-ripened tomatoes only to bemoan their abundance come August and September. Since we don’t grow them at home (as I tend to pick them too early… I just can’t help myself!), Mama brought home a nice big box of organic heirlooms. In it were Rutgers, Moscovich, Brandywines, Cherokee purples, and Japanese Trifles, which are apparently a hot commodity in Russia. Mama roasted a few dozen, and then she made sauce.
Mama tells me that you’re going to find as many variations of tomato, or marinara, sauce as there are tomatoes. There are quick tomato sauces and slow tomato sauces. Some stay on the stove, while others are tucked into the oven. Some rely on fresh garden produce, while others punch up the flavor by adding sugar or balsamic vinegar. Because she was asked, here’s how Mama does a quick, fresh tomato sauce:
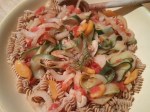
Finely chop 1 yellow or sweet onion and sauté it in olive oil until soft. Add 1–2 minced garlic cloves and sauté 1 minute. Add 2, 3, 4, or 5 chopped tomatoes and cook until tomatoes break down and are heated through. Add salt and pepper, to taste, and stir in chopped fresh herbs (basil or oregano, but whatever you like). Done. Use immediately.
If you have more time, however, why not cook a little bit of summer in a pot that you can freeze for delectable dining come December?
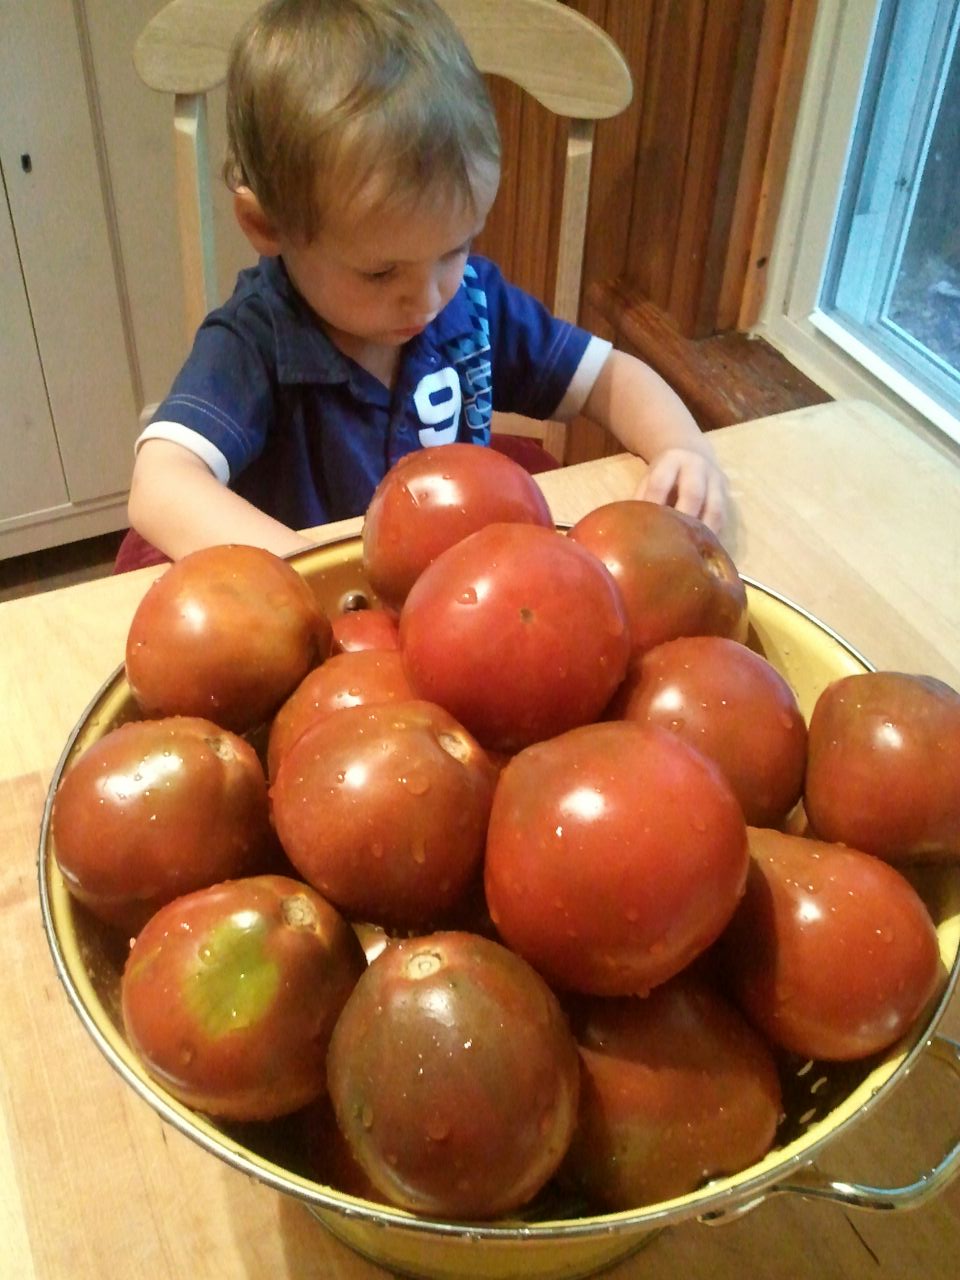
This isn’t even remotely close to half of what Mama brought home. Sheesh.
Regarding peels: They’re fine in a fresh sauce, but you don’t want them in your long-cooked sauce. Peel ripe tomatoes by hand, or try this method: core them (or lop off the top), cut a small X in the bottom, dunk in boiling water for 20–30 seconds, then plunge into ice water. Alternatively, you can run your finished sauce through a food mill, which will remove the seeds and skins. (While some folks feel the seeds turn bitter with prolonged cooking, Mama doesn’t mind them, so she doesn’t use a food mill.)
As with most things delicious, Mama insists on starting with a good base of sautéed onions and garlic in olive oil. Depending on personal preference, you can keep the heat low and cook them until tender, or you can raise the heat a bit and cook them until soft and caramelized (that’s when they turn brown). In either case, start with a big pot, and don’t add the garlic until the onions are where you want them (otherwise it’ll burn).
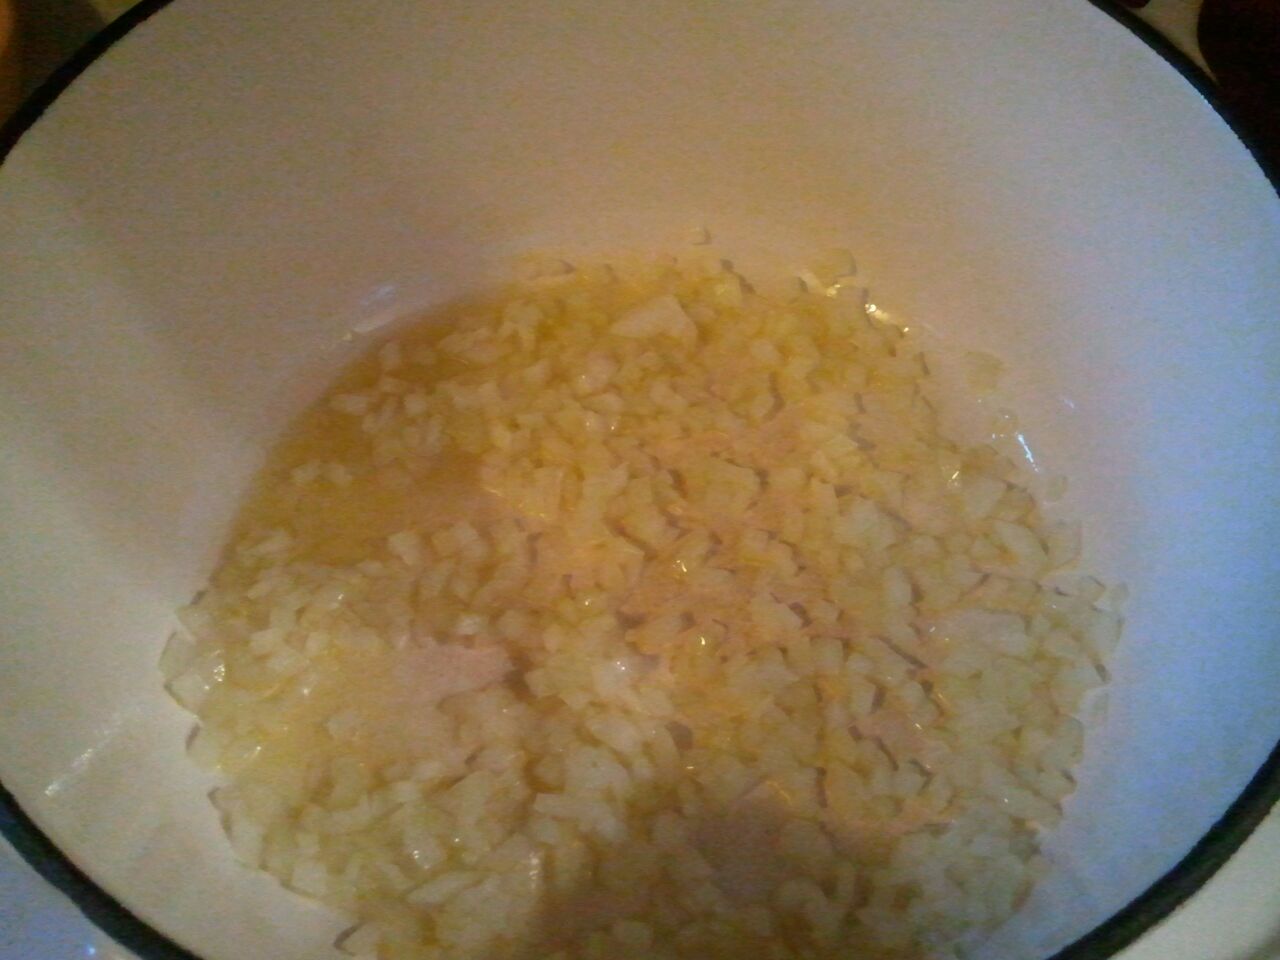
Even if you don’t like to eat onions, you would notice their absent flavor if you skipped them.
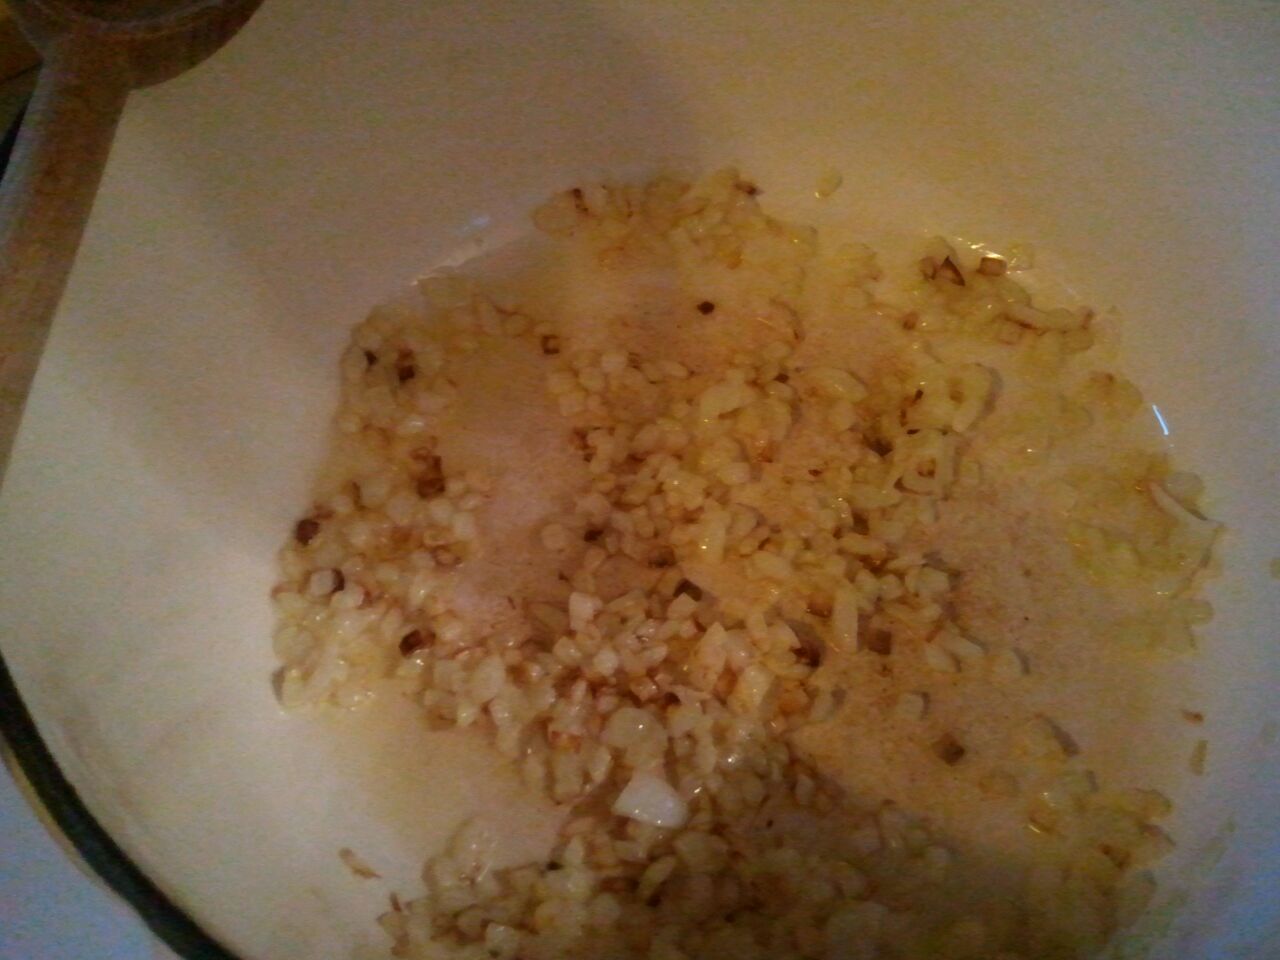
The darker you brown the onions, the more flavor they’ll have.
Mama chose to deglaze the pot with some red wine since she happened to have some on hand. No red wine? No problem. Just add the roughly halved tomatoes. But here’s the catch: You have to squish them. This is a great thing for a kid like me to do! Lower the heat, and begin simmering. Give them a good dose of kosher or sea salt and toss in sprigs of fresh herbs.
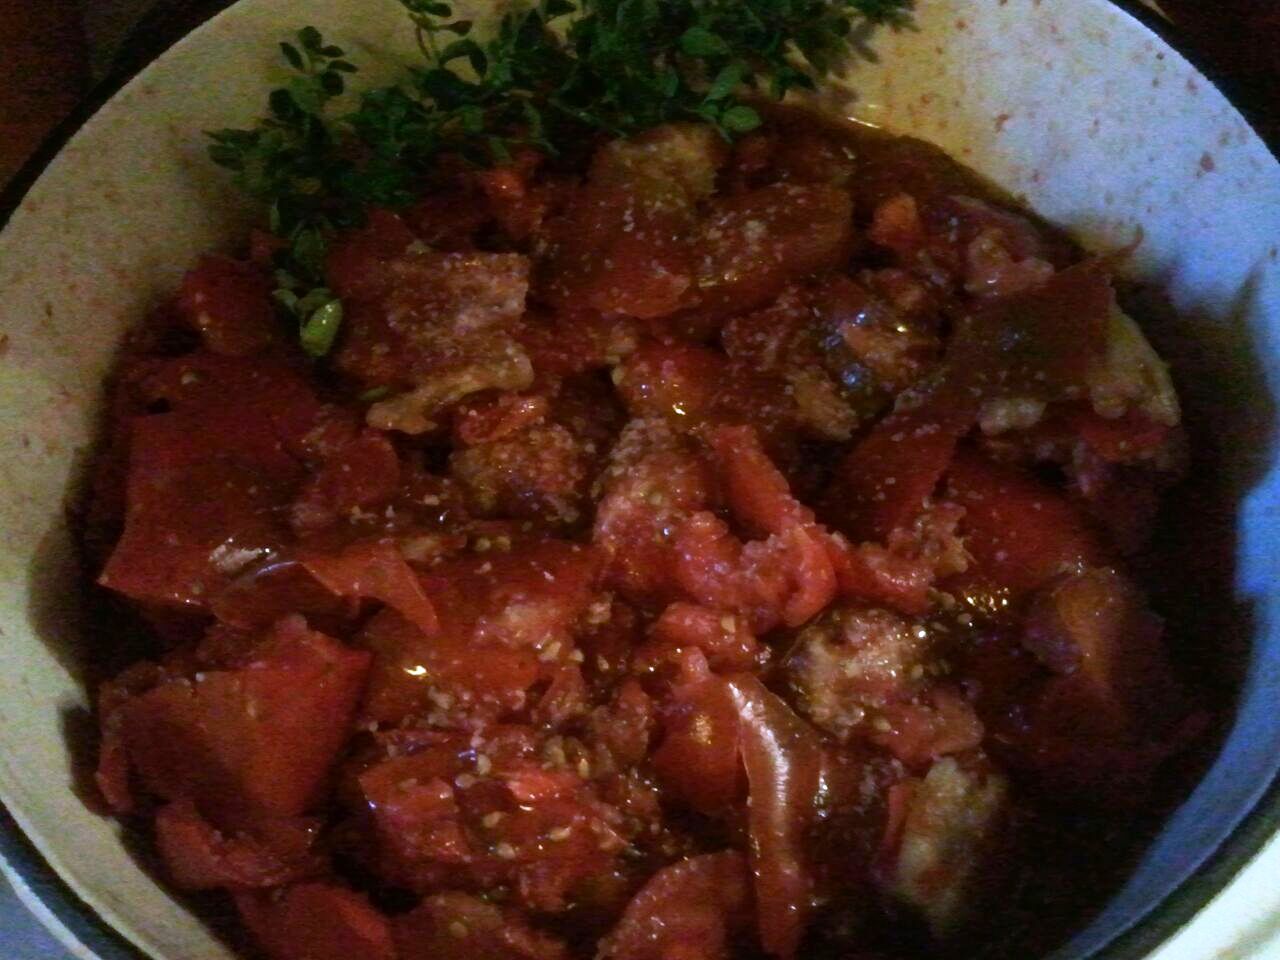
Mama clipped some oregano from the garden. (She’ll add the basil later, since it’s more delicate.) You should’ve seen the mess these tomatoes made on the walls!
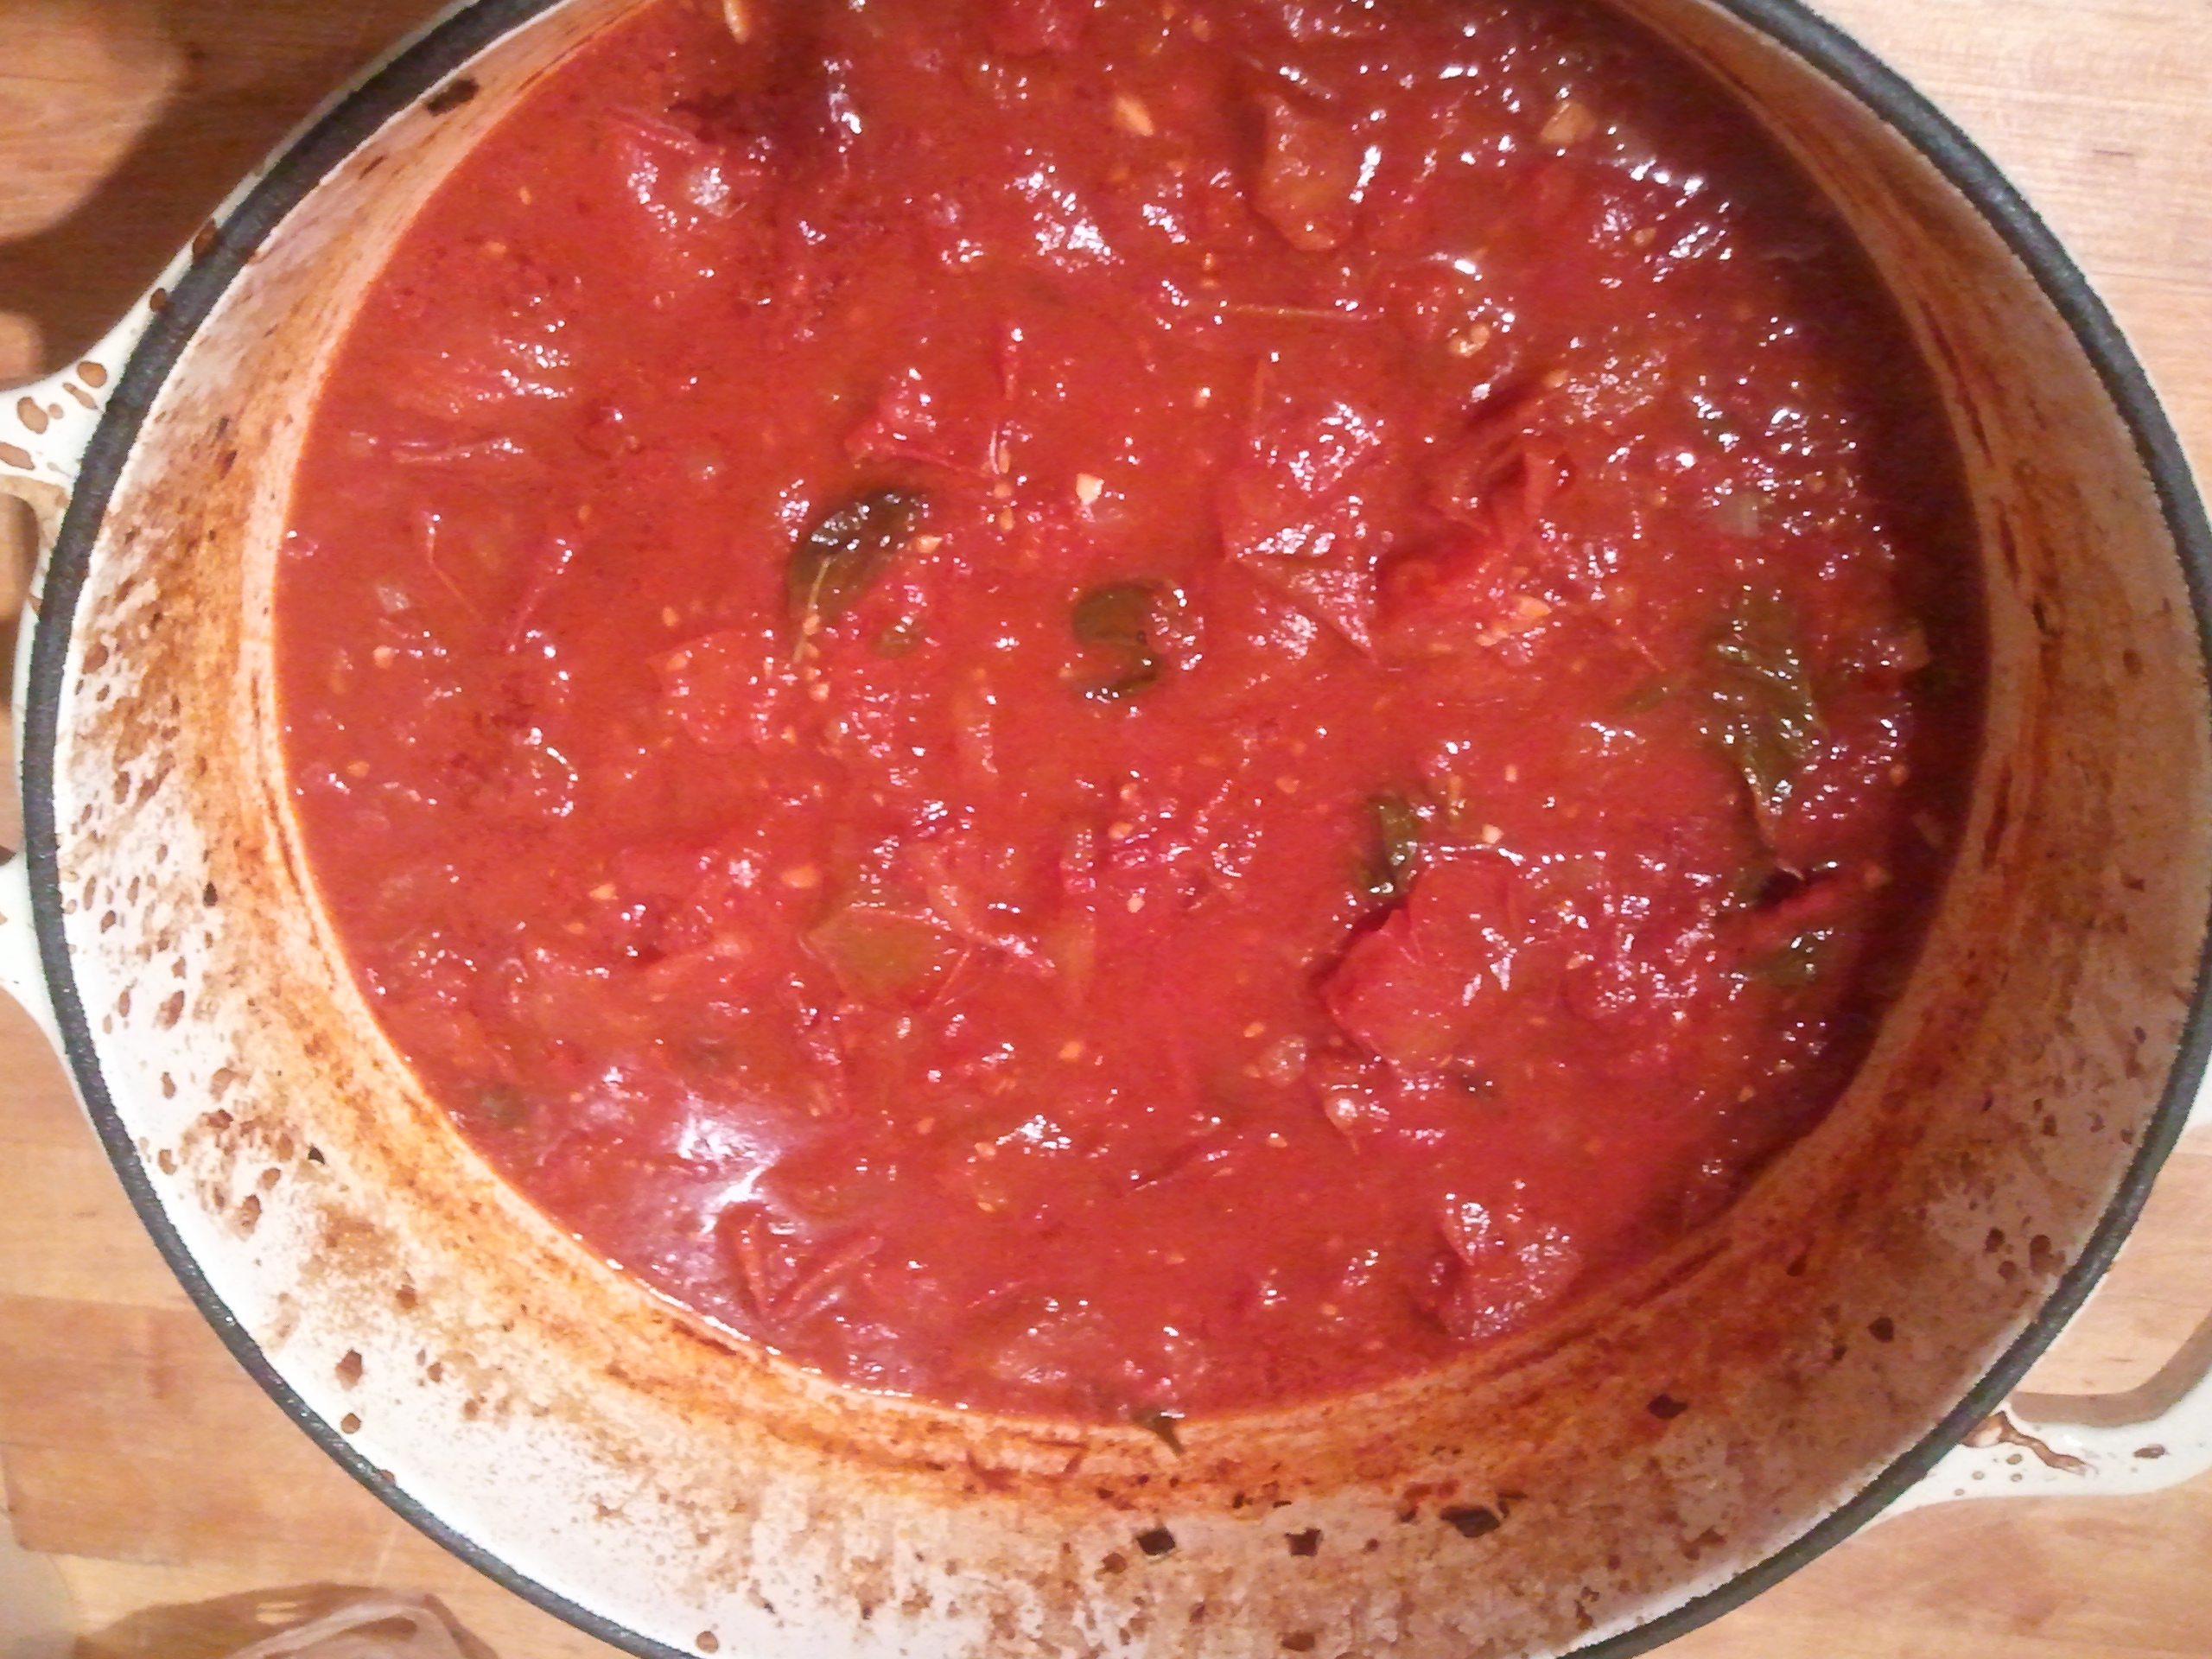
Once the tomatoes cook down, they’re going to release all their delicious juices. To add a bit of body (and to give the sauce a fighting chance of sticking to pasta), Mama did add a small can of organic tomato paste. When everything was good and bubbly, she put the whole pot, lid and all, in the oven on a lowish heat, about 300°F, and forgot about it. Well, not really. Every now and then she left me to play on the porch while she stirred the sauce, and the heavenly sweet smell would waft through the windows to where I sat. She cooked it until it reduced to a thickness she liked and the flavor was concentrated enough to be considered “awesome.”
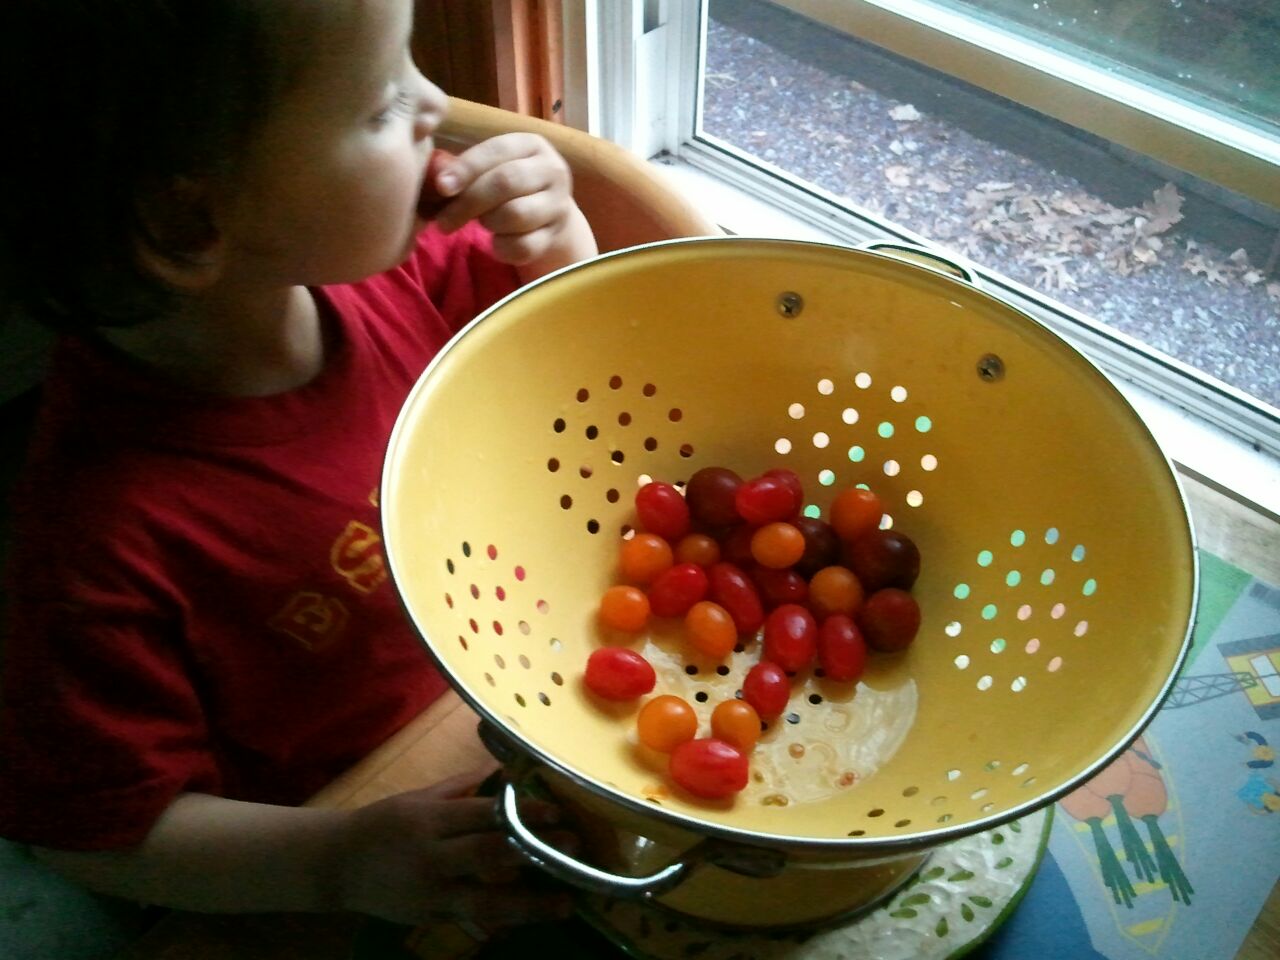
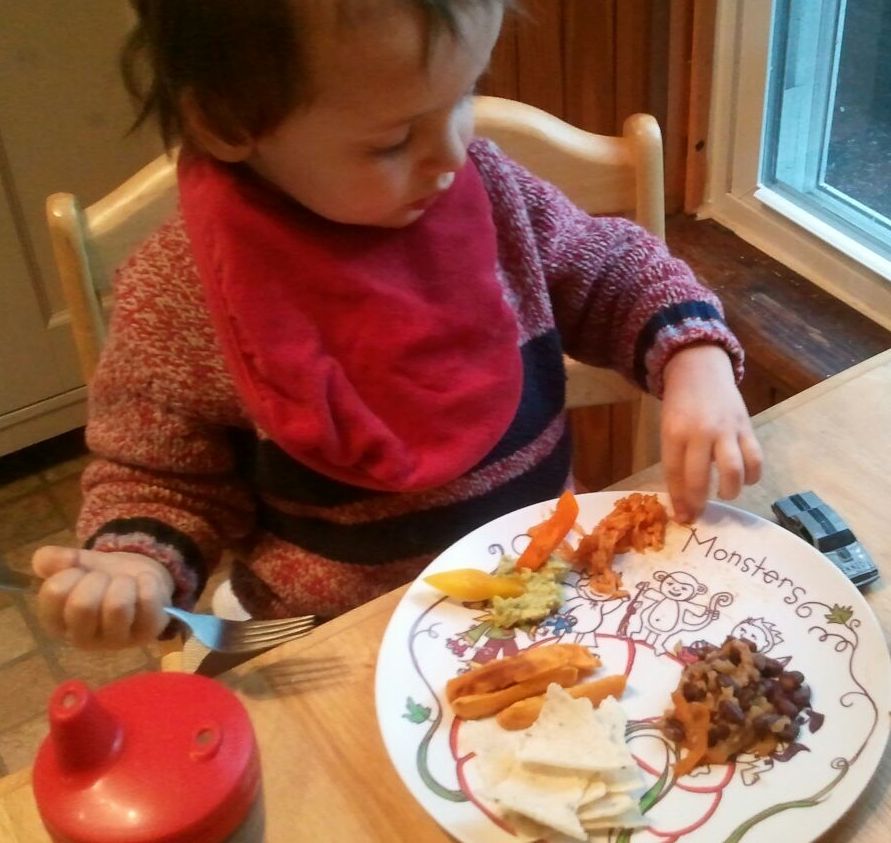
What do you think was for dinner?
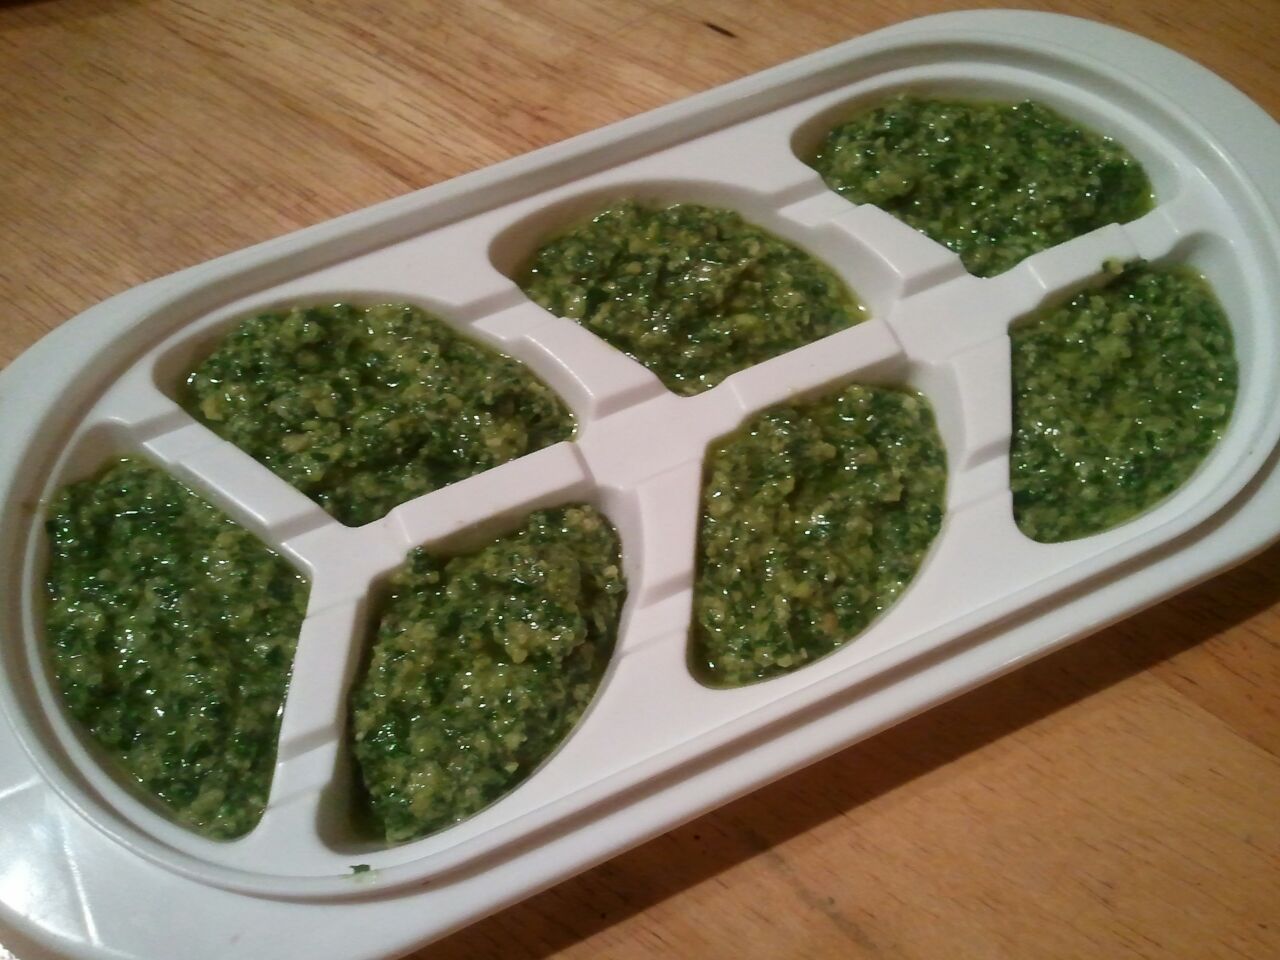
If you prefer a smoother sauce, run it through a food mill, or take an immersion blender to it. We happen to prefer a little heft to our sauce. Set some aside for dinner, then allow the rest of the sauce to cool before portioning it into jars or zip-top freezer bags.
Poor Papa. He wanted to take a bag out of the freezer a few days after Mama made it, and she said he wasn’t allowed! It doesn’t matter that she froze several quarts. She doesn’t want to run out before the end of the year. Which is a shame, since I could see eating this every day.
Love, Jude
Oven-Roasted Tomato Sauce
Extra-virgin olive oil
1 (or 2) yellow or sweet onion, finely chopped (depending on how many tomatoes you have)
2–4 cloves garlic, minced (depending on how garlicky you like it)
Red wine (optional)
12–15 pounds fresh tomatoes, peeled* and roughly halved (crosswise preferred)
Kosher or sea salt
6 ounces tomato paste
Several sprigs fresh herbs, as desired
Preheat oven to 300°F.
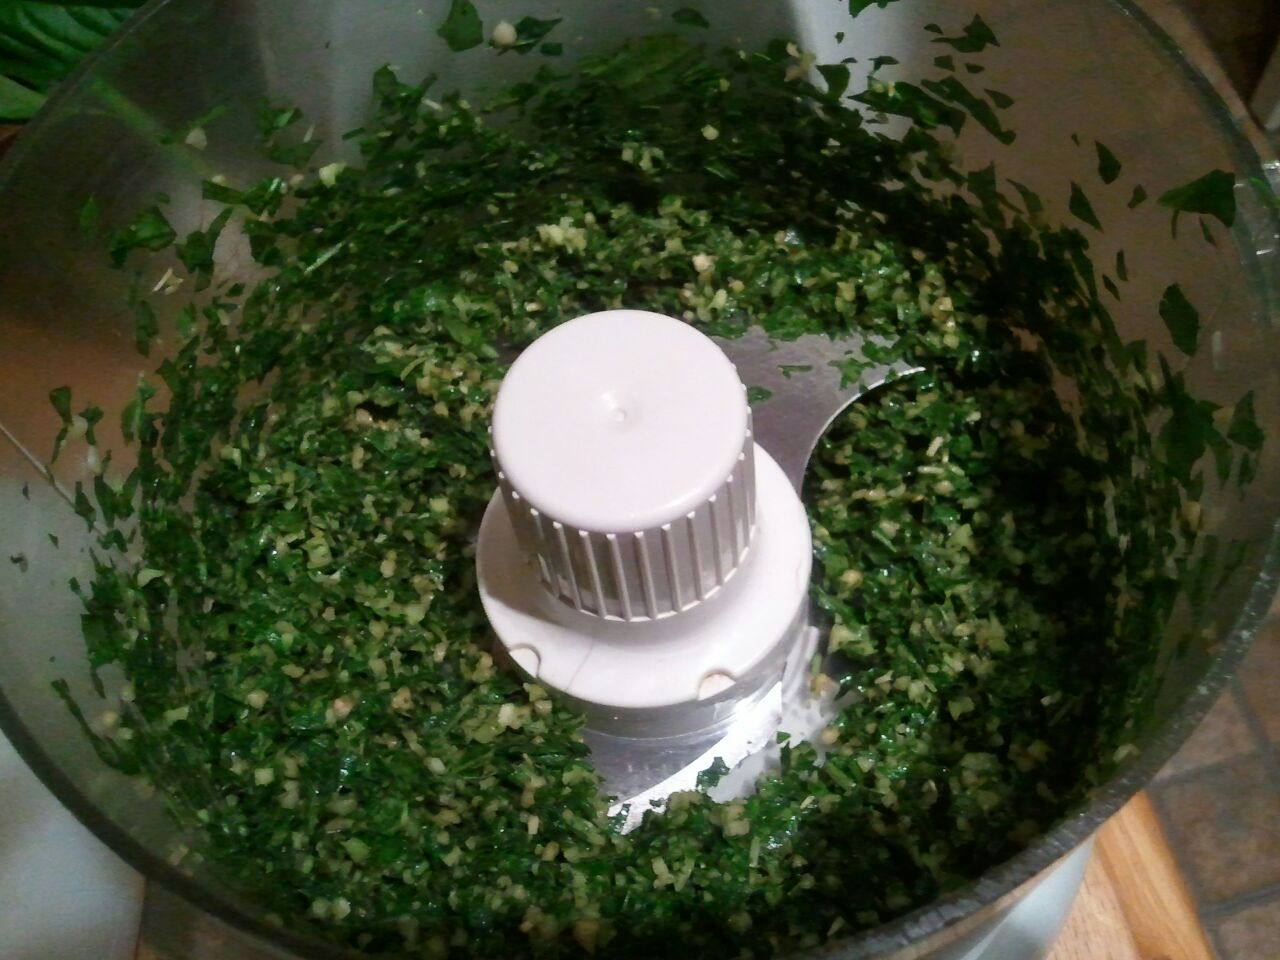
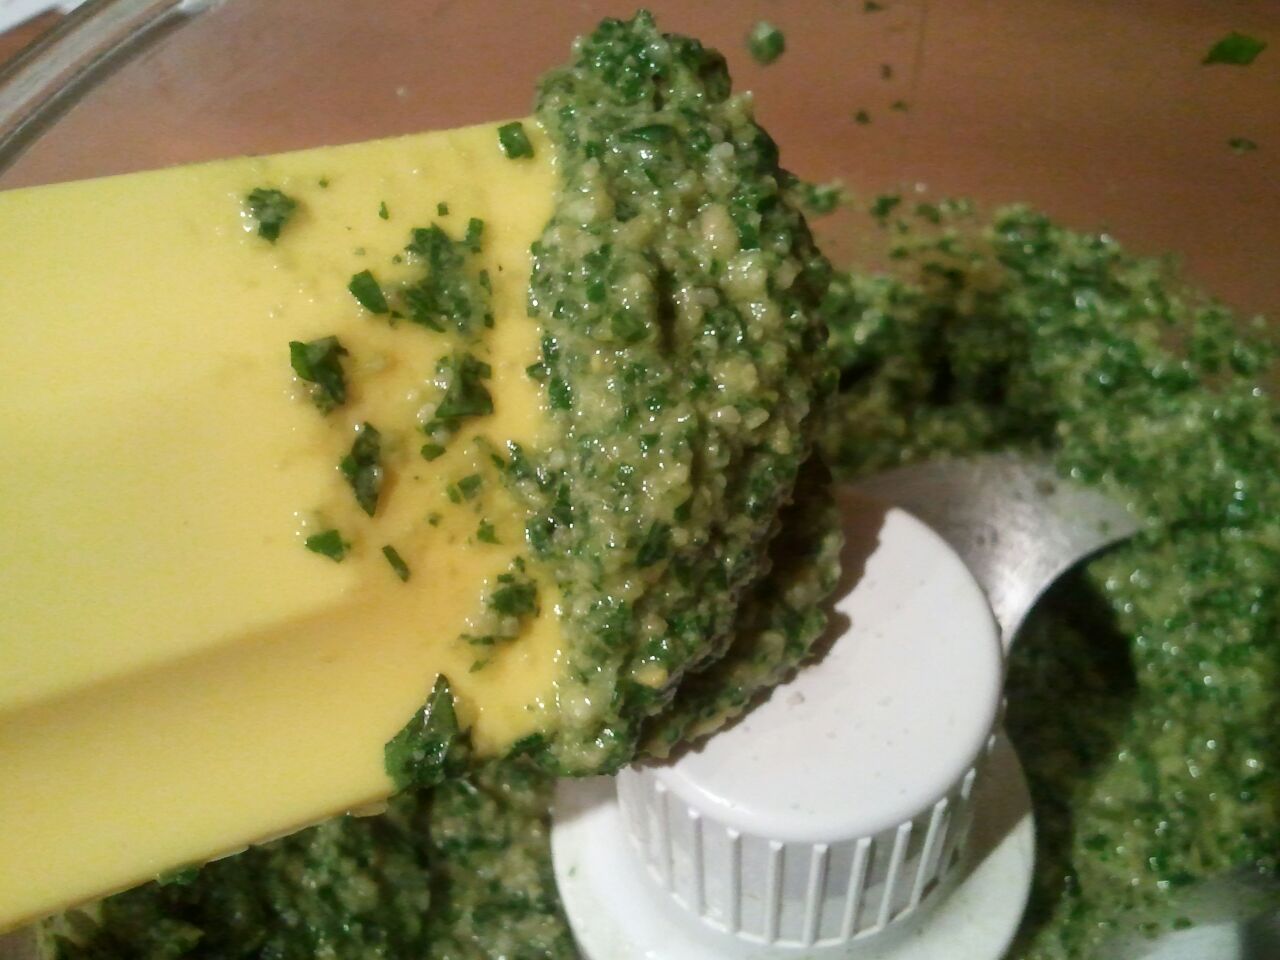
Coat the bottom of a large, oven-safe pot or Dutch with olive oil and heat it over medium heat. Add the onion and sauté, stirring occasionally, until very soft and beginning to caramelize, about 10 minutes. Add the garlic and sauté 1 minute more. If desired, deglaze the pot with a healthy splash of red wine. Carefully add the tomatoes in batches, squishing them with your hands as you go. Mama supposes you could skip the squishing step, but it gets the juices released a bit quicker. Alternatively, you could give them a few pulses in a food processor to speed things up. But we’re not talking fast here, are we?
Get the tomatoes going at a low simmer. Add a generous helping of salt and stir in the tomato paste. Toss in a few sprigs of hearty herbs like oregano. Just put the whole thing in; you can fish it out later or catch it in the food mill. Cover and put in the oven for a couple hours, stirring occasionally. Towards the end, add more delicate herbs, like basil.
*May also reserve peeling for after the sauce is cooked, either by hand (tedious!) or with a food mill.